
Gimli's Double Bladed Axe
Print Profile(4)



Description
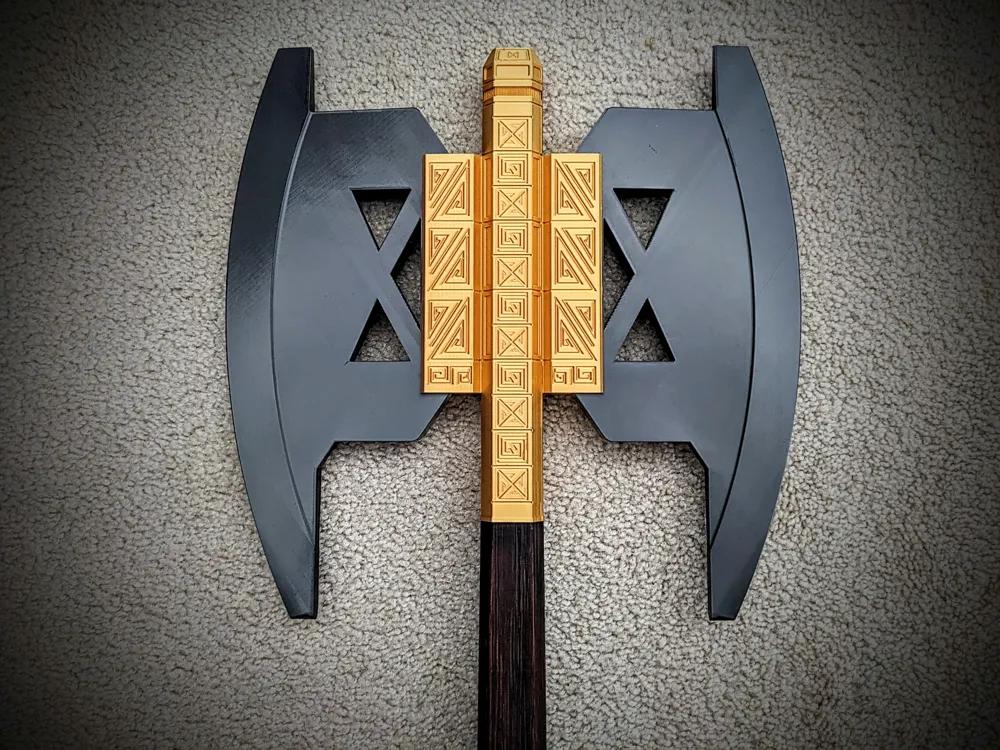
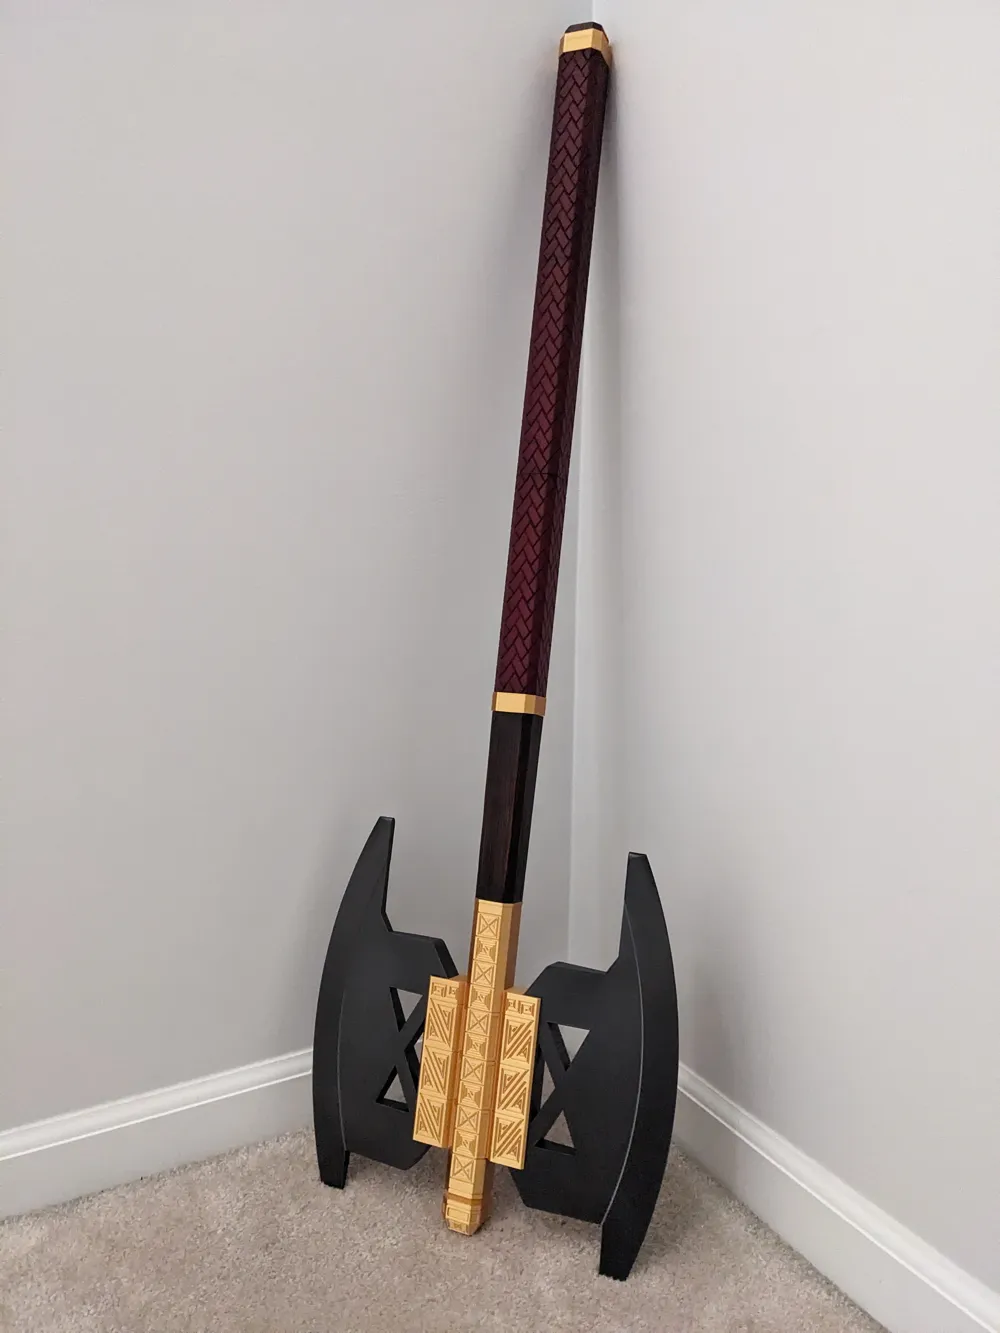
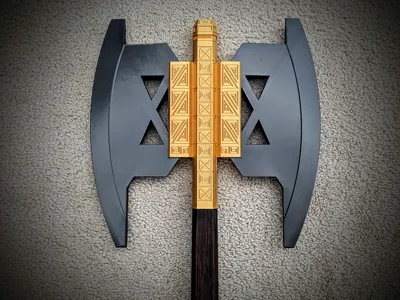
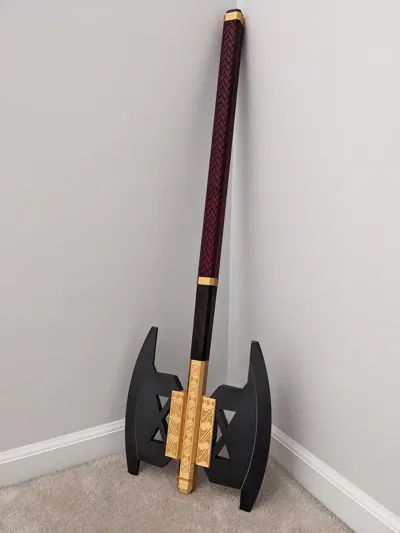
Gimli found his double bladed axe in the mines of Moria, but you can just easily print yours without leaving your home.
As with most of my prints, this one utilizes the entire volume of my P1S, so sorry to A1 mini fans. I have done many other builds without use of internal structures, but there has been lot of feedback about having some cheap internal structure to keep everything together better, so this model utilizes an internal ½ inch PVC pipe that can be purchased at a hardware store. You will need 755 mm, so I purchased a 5ft piece ( which gives you an extra in case of an issue).
Print Guide
- There are two print profiles that I have posted:
- One is for printing with only generic PLA settings for those that may wish to post process
- The other uses settings to print the handle out of TPU and the “metal” portions out of silk PLA (which is what is seen in the photos--I will post my post processed version later).
- Most printing will be relatively straightforward with most of the pieces being printed in the vertical direction and not needing supports
- The blades are printed at an angle and require a decent amount of supports. However, the supports should come off easily and any scarring on the back of the blade will be hidden after assembly.
- I attempted to print the blades on the large flat area, but the angles of the cutouts consistently caused issues with those cutout sections. I would highly recommend printing at the angle
- The blade holder section is printed upside down in order to limit support generation--splitting this into two sections also allows for a better way of connecting the blades. When connected, the cut ends up being seamless due to the design
- The profile also uses print by object for the two pieces because I find detailed parts are better printed all at once
- Because of the detail, the print time is very long for this piece and the file size is very large, so please be patient
- There are two plates for the “wooden” parts of the axe. Only one of the two plates needs to be printed
- One plate is plain geometry that someone can use to post process any way they want
The other has been edited in blender to give a wood texture look that can either be processed or simply printed out of wood filament
Assembly Guide
- For ease, all pins have been designed as the same size. However, due to the design, the depth of the cutouts in the model differ in the handle sections to accommodate the other parts that go above or below them.
- The handle sections are a seamless pattern that needs to line up perfectly, so the way these are put together will matter
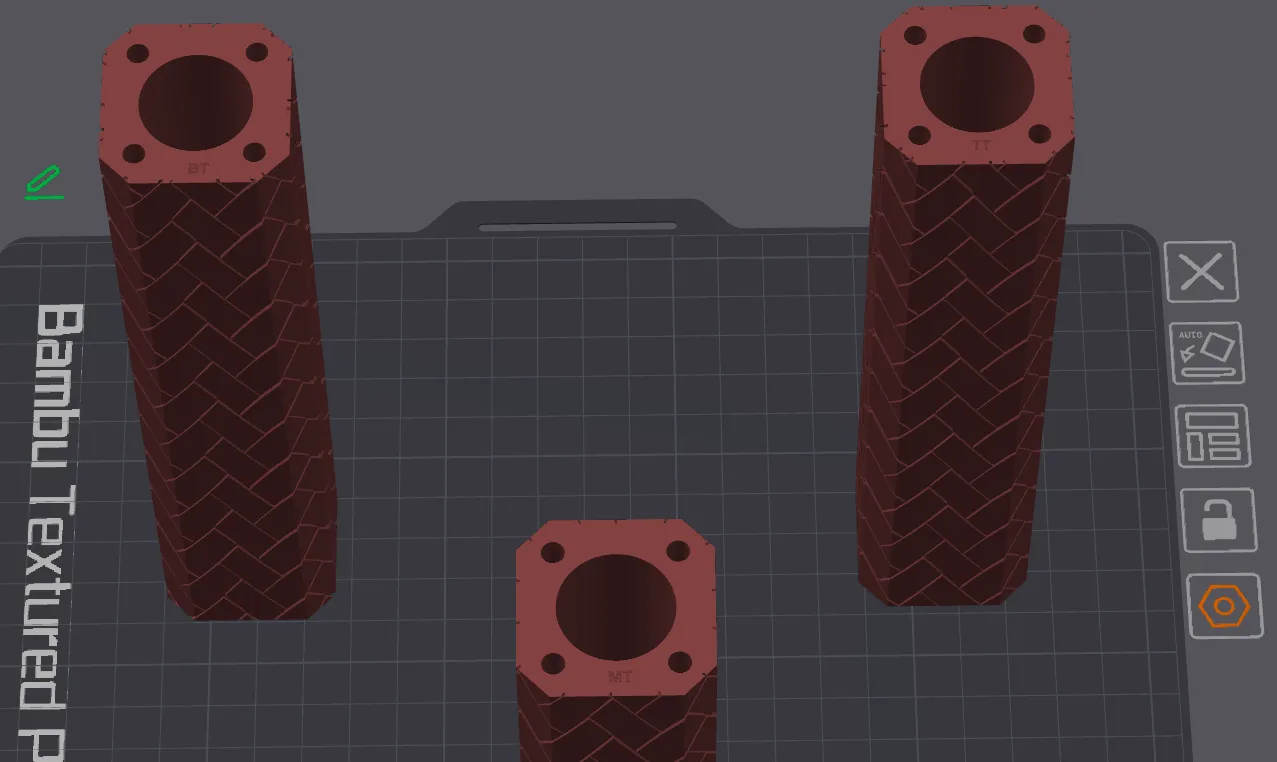
- To help the process, each piece's top has been debossed with lettering indicating the order they should go together; the debossed letters face the same direction to ensure the print is as seamless as possible
- BT stands for Bottom Top-this means that face should go up and that piece is the bottom-most handle. The bottom handle will have the bottom pegs stick out the least to allow the bottom ring to fit flush
- MT stands for Middle Top-this means that face should go up and is the middle section. The middle will have both peg connectors stick out the same amount
- TT stands for Top Top-this means that face should go up and this is the top section. The top will have the peg connectors stick out the most to allow the top ring and the wooden handle to both be attached by the same peg
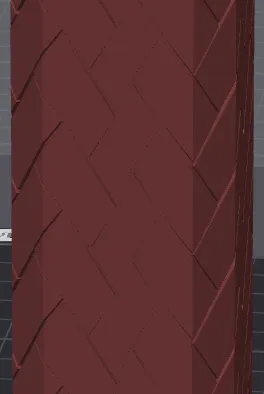
Due to the limitations of patterning around something that is not circular the pattern is not absolutely perfect. One side of the pattern is slightly misshapen (a real leather weave wouldn't look perfect in any case). This, however, does allow for that side to be used as the side to align the seamless pattern (I would still highly suggest to dry fit everything together before assembly to make sure the pattern is seamless and the pieces and pegs all fit correctly)
- I assembled the handle as a single piece before final assembly as I found this easier than stacking everything one at a time onto the PVC pipe. I also put the bottom ring over the bottom of the pipe and then slid down the entire handle flush while pressing the bottom ring into the floor, this allowed for the handle to move down to the prefect height that it should be before gluing the bottom ring
- To help the process, each piece's top has been debossed with lettering indicating the order they should go together; the debossed letters face the same direction to ensure the print is as seamless as possible
- The vertical stacking is fairly straightforward
- The butt piece glues into the bottom ring which then all sits flush against the bottom of the PVC pipe
- The handle section then slides down onto the PVC and connects to the bottom ring
- The top ring slides down and sits flush against the top handle
- The wooden handle then slides down and sits flush against the top ring
- The wooden handle is slightly tapered so the wider section goes on first
- Be careful if gluing with superglue as this reacts very strongly with the PVC and it may be too hard to move the pieces down. I would suggest to only add glue to the connectors and the faces and to work fast when pushing the pieces onto the PVC (dry fit before gluing)
The top section can then be put on--though I assembled this entire section first
- A large connector piece slides into the top section that will allow the blade pins to align
- Before gluing this, press into place and align and slide in the pins to ensure they can be pushed in
- When gluing, press the connector into place and then add a pin to perfectly align everything while the connector cures in place (though make sure you don't add too much glue so that it gets into the connector holes and locks the pin in the wrong place
- The cap piece can then be glued onto the top of the connector
- I glued the pins into one of the handles first and then added glue to the blade connector, pins, and other blade and then pressed the two pieces together (again dry fit this connection before gluing)
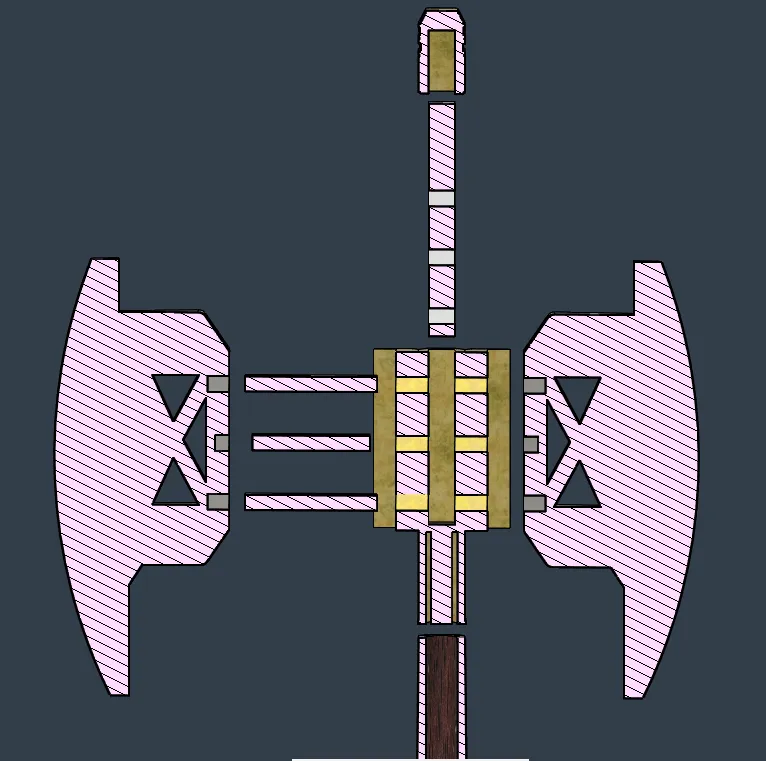
- A large connector piece slides into the top section that will allow the blade pins to align
Post-Processing Tips
For my silk PLA axe is still performed two bits of post processing to give a more realistic look
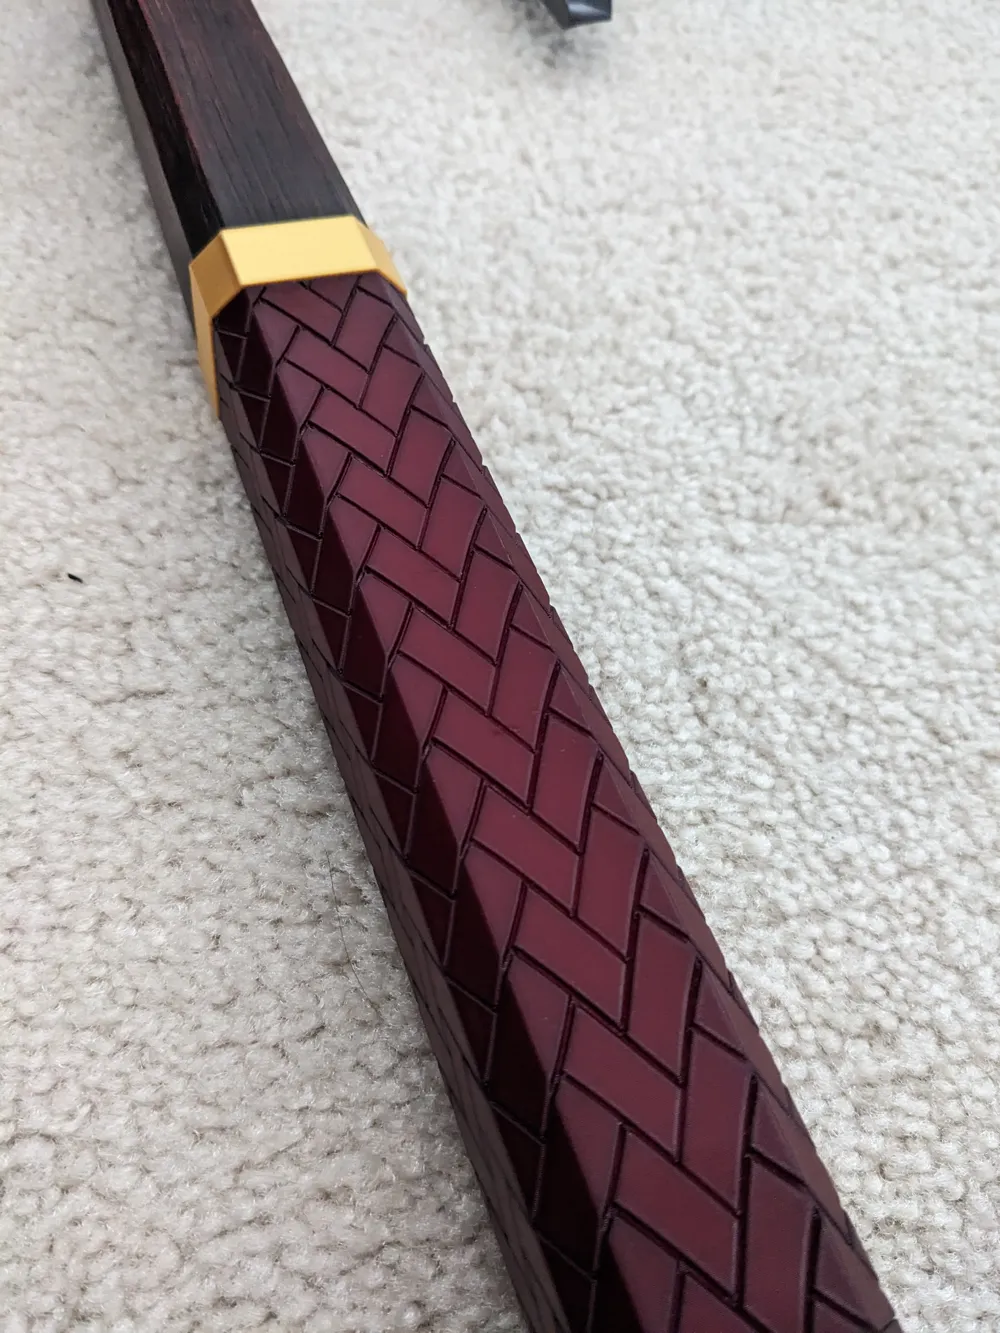
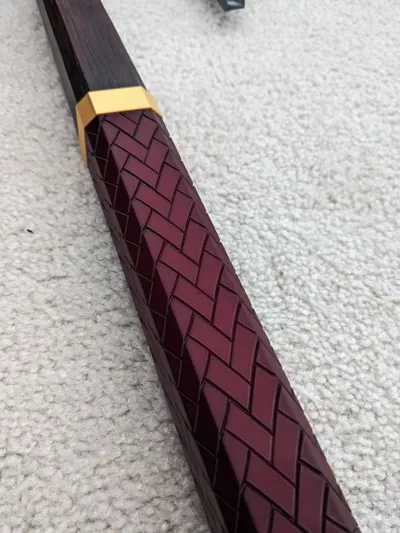
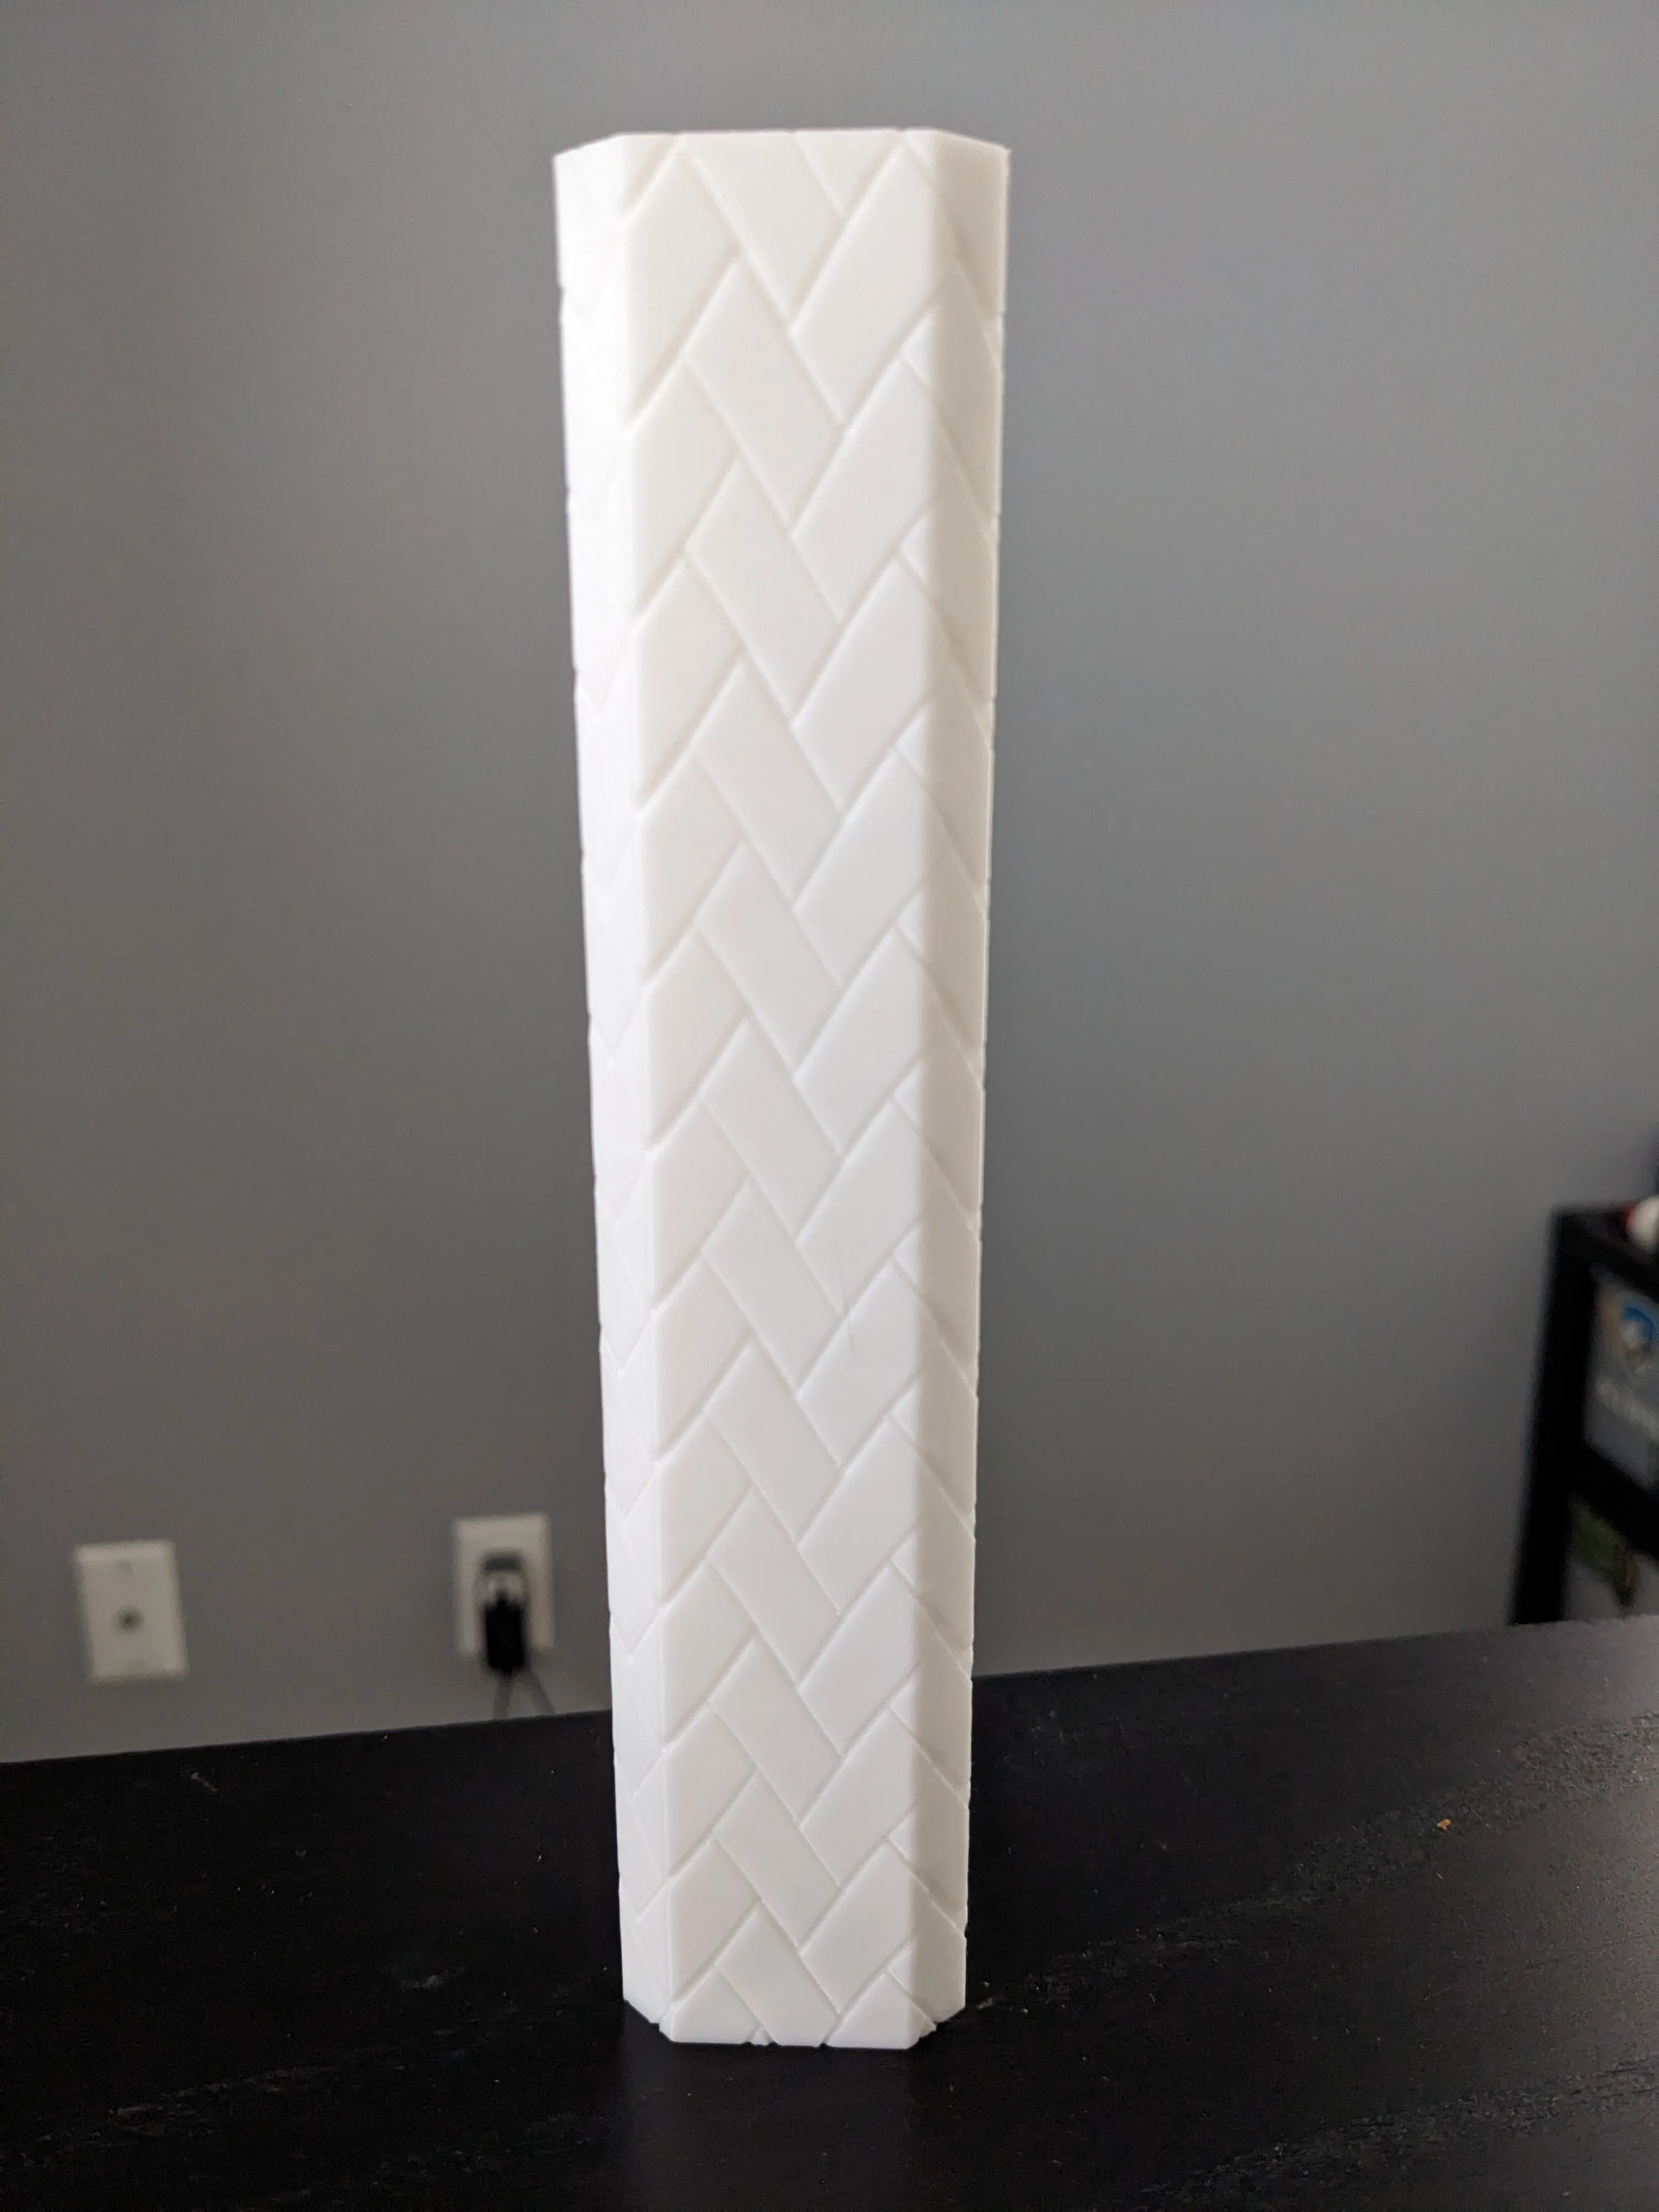
The handle section was printed out of white TPU in order to both give a softer texture and to dye the TPU to look more like leather
To dye to TPU, you can use Rit brand Synthetic dye. To give that very dark brown look, I used the brown color only.
- For the TPU, I find that Eryone white TPU prints and dyes amazingly--below is a picture before dyeing
- To dye the handle, its mostly just following instructions on the bottle and waiting long enough to get the color you are after
- In a large pot add a small squirt of dish soap and 1500 mL of hot water
- Heat this on the stove to just before boiling (keep the temperature warm but not boiling throughout)
- Add 25 mL of dye and mix well
- Add the three pieces and constantly move and roll them (they will float so you have to rotate them to soak evenly)
- The darker the color, the longer the time necessary to yield the color you desire--this took about 30-35 minutes to get the color very dark brown (almost black)
- Wash the parts to get them clean of excess dye and the soap
- Dry these in the dryer for about 10 hours at 48C to remove any moisture trapped inside the print (not quite waterproof)
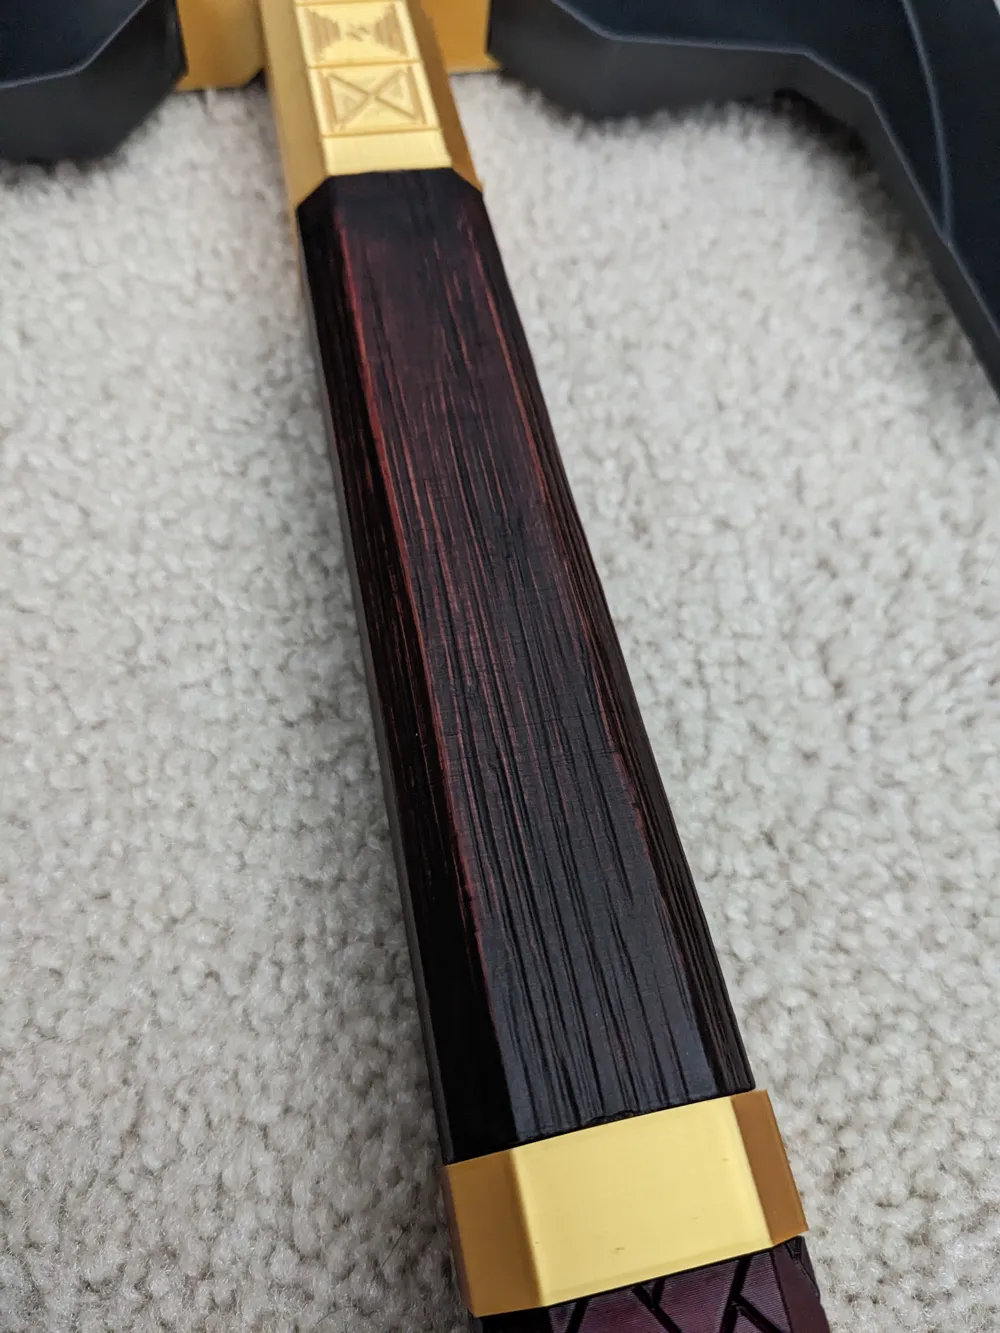
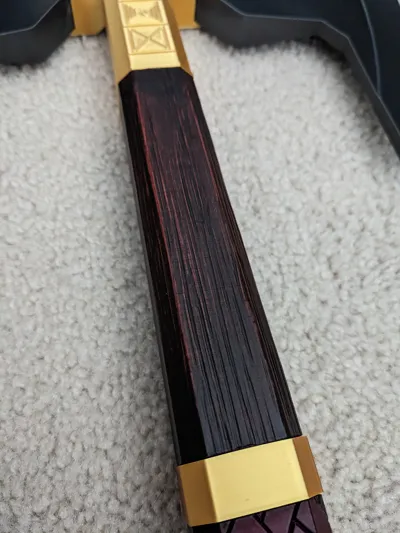
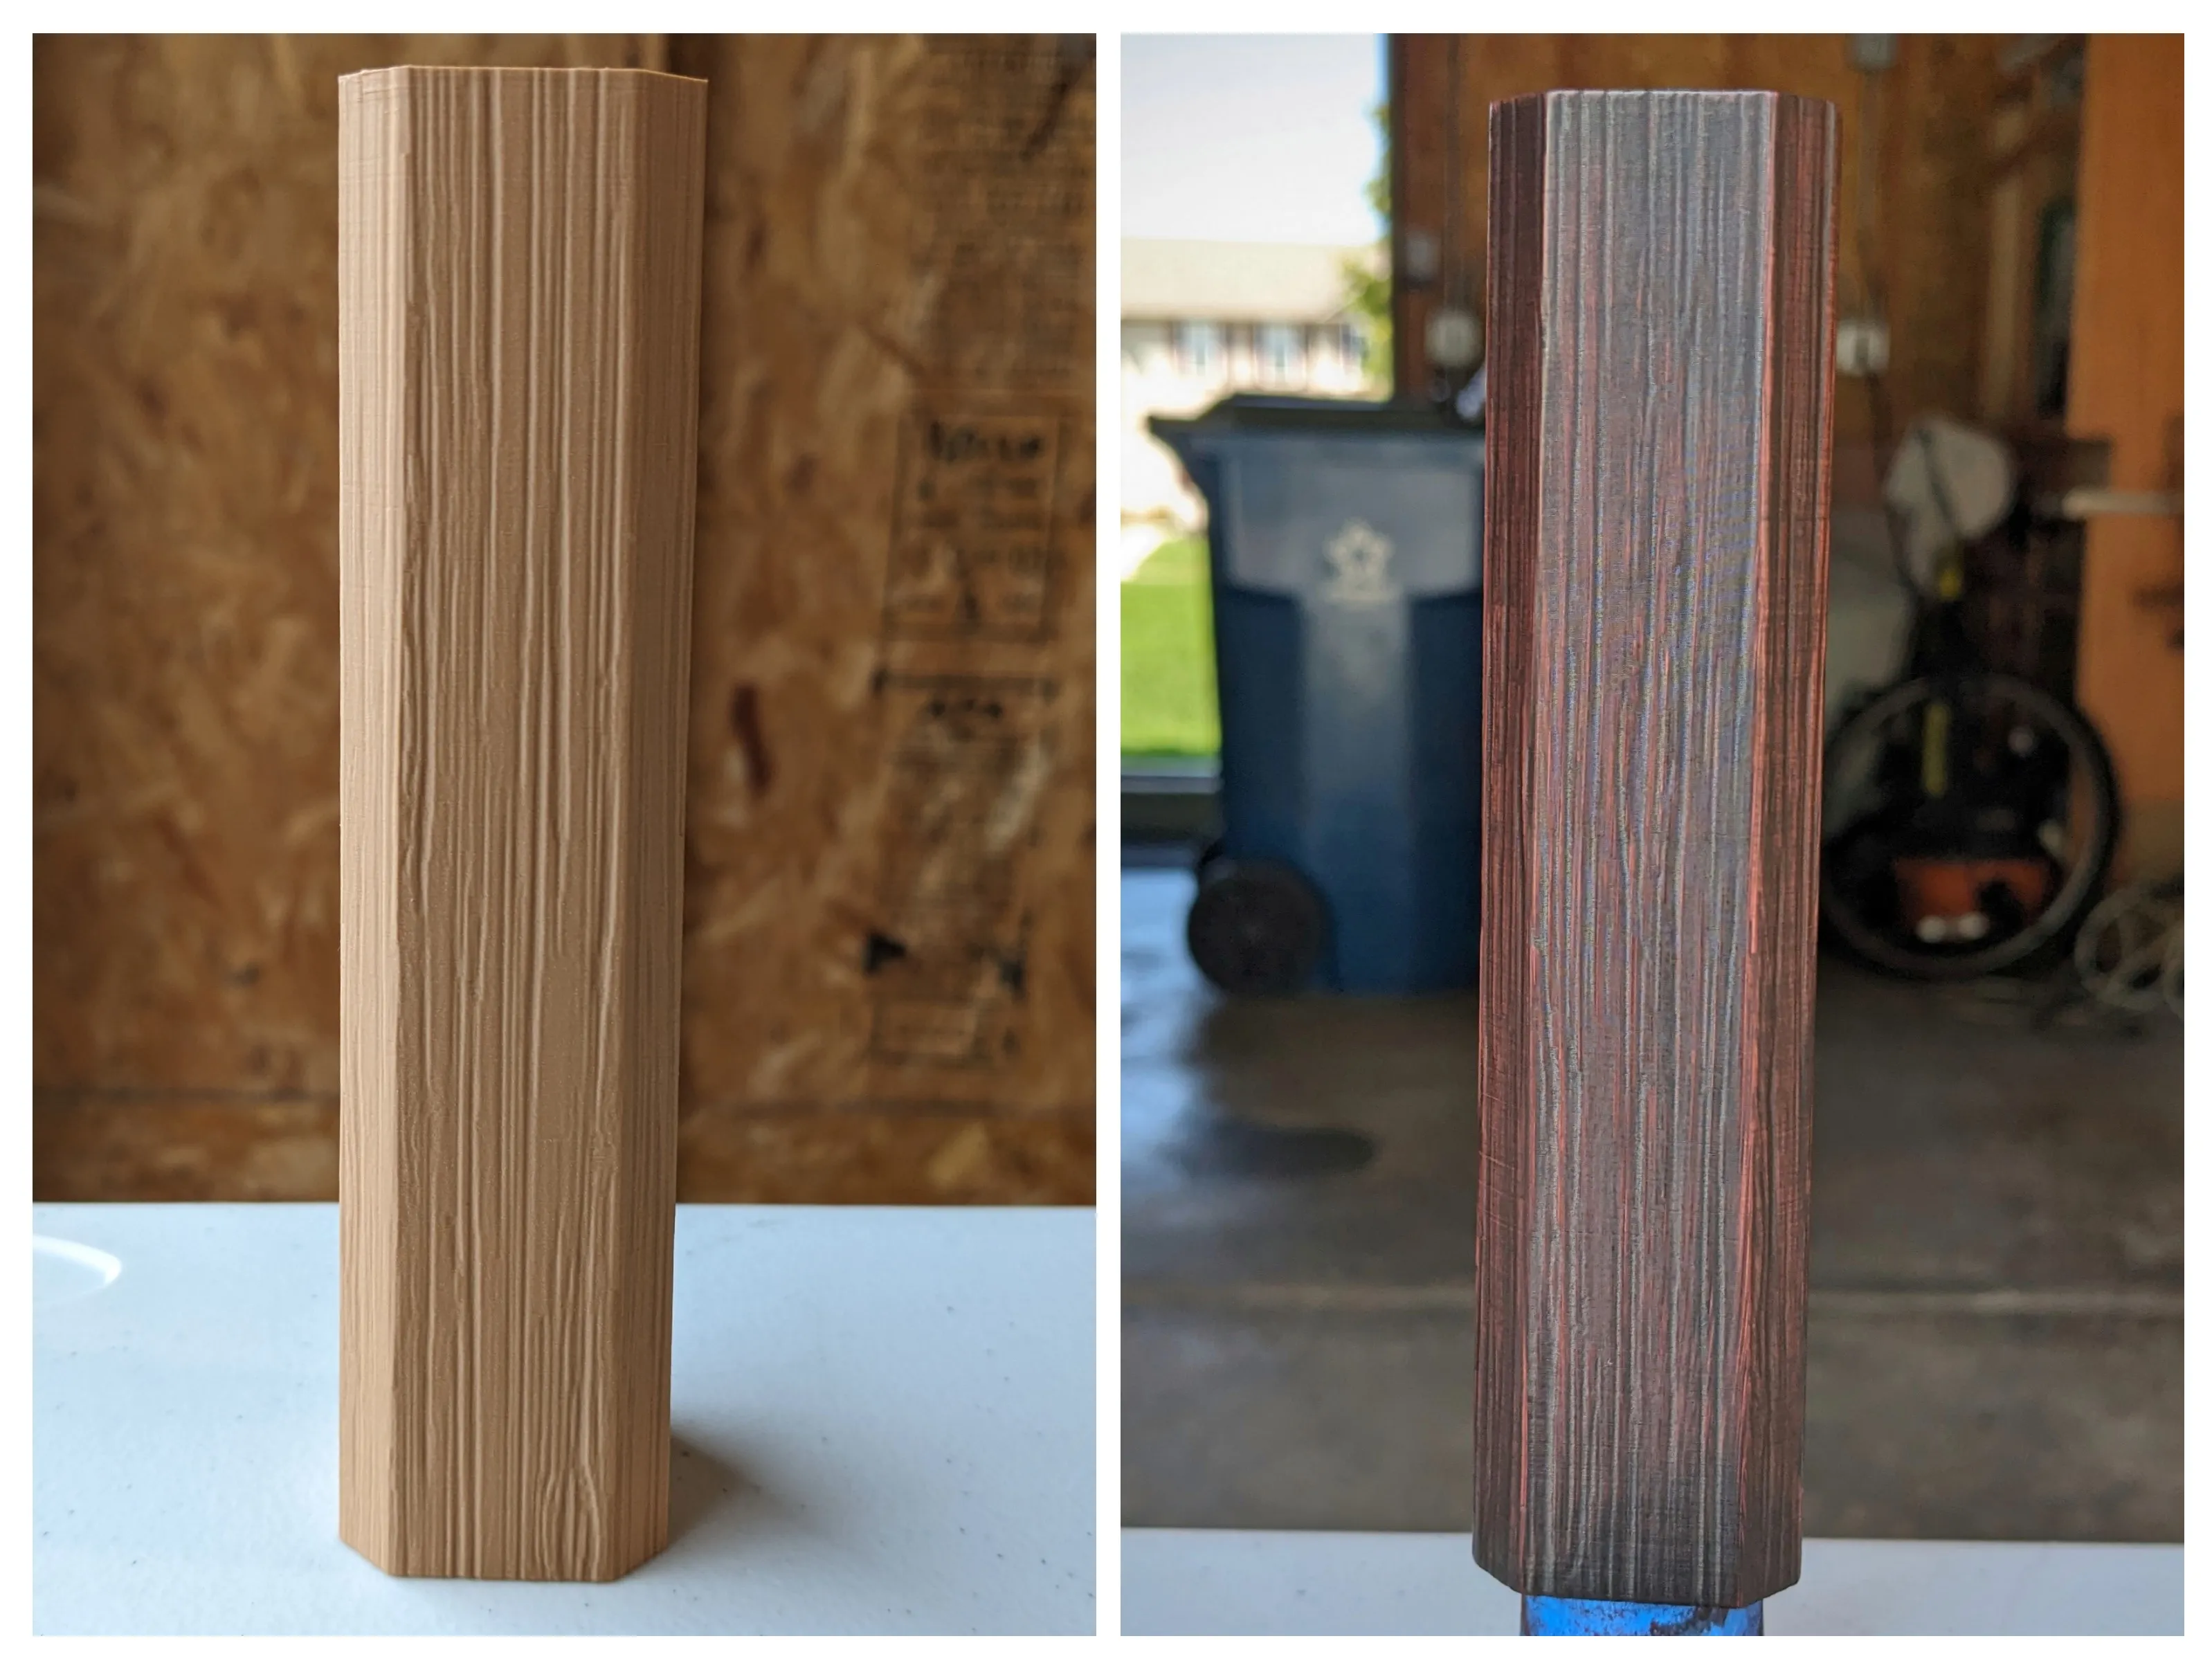
- For the handle section I printed a wood grain texture using wood colored (not wood filled) PLA and then sanded and stained the handle with a water based cherry wood stain--below is a before and after
- The sanding is very light to knock the layer lines down and open allow something for the stain to stick to
- In order to yield a darker color, I had to put on many light coats
- In order to give the depth with blacks I added a small amount of black acrylic paint to the stain, mixed it and then brushed it on last and then wiped most of it away leaving the darkest color in the recesses.
To seal the color I used matte rustoleum clear coat--which did not negatively affect the color or the finish
License

You shall not share, sub-license, sell, rent, host, transfer, or distribute in any way the digital or 3D printed versions of this object, nor any other derivative work of this object in its digital or physical format (including - but not limited to - remixes of this object, and hosting on other digital platforms). The objects may not be used without permission in any way whatsoever in which you charge money, or collect fees.


Comment & Rating (61)