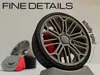
Working Car Wheel that Spins!


Print Profile(2)

Description
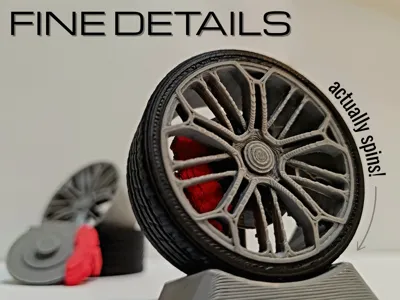
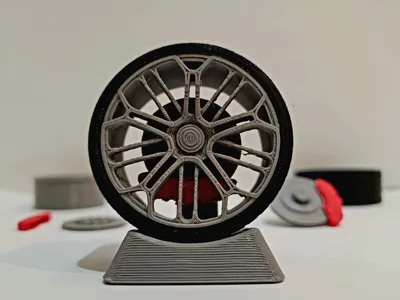
Give your desk a fun spin, with a fully 3d printed wheel model.
Show your love of cars, by printing my new car wheel model! This model was inspired after BYD's YangWang U9 car wheel. There are 2 versions of this wheel, One that doesn't spin, and one that does. All parts can be printed separately and assembled, so there's no need for AMS. Assembly also doesn't require glue or sanding, unless your printer tolerance is different.
The two types of wheels:
- The normal wheel, is a static wheel. Everything is solidly attached to each other, and nothing really spins.
- The advanced more complicated wheel has a rod at the back, where if you hold onto you can spin the actual wheel. The brake disc also will be attached to the rod, meaning it won't spin with the other parts. (Much like in a real car)
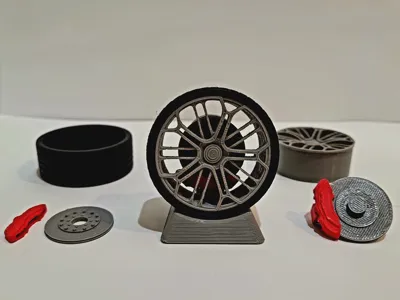
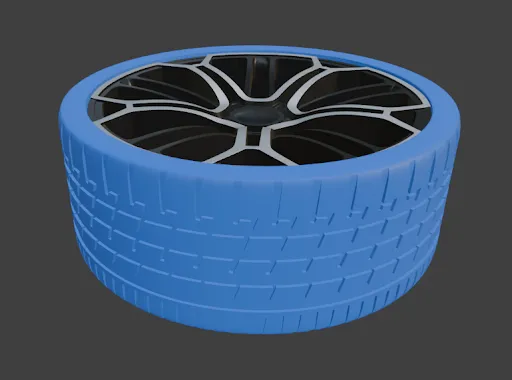
Depending on the wheel design you choose, the assembly process will be a little different. The normal wheel includes 4 pieces, while the advanced wheel needs 5 pieces. NOTE, WHEN PUTTING ON THE TIRE MAKE SURE THAT THE LONGER TREAD LINES FACE THE FRONT. The assembly instructions are below, enjoy! (Keep in mind that the blue highlights the part being added in the assembly)
NORMAL WHEEL ASSEMBLY:
First, attach the brake caliper to the brake disc by simply snapping it on. Make sure the detailed side of both pieces are facing the same direction.

Next, take the disc and caliper (what you just assembled), and put it onto the pole coming from the rim. Make sure to put it on so the detailed bits of the caliper and disc are facing forward, towards the spokes.

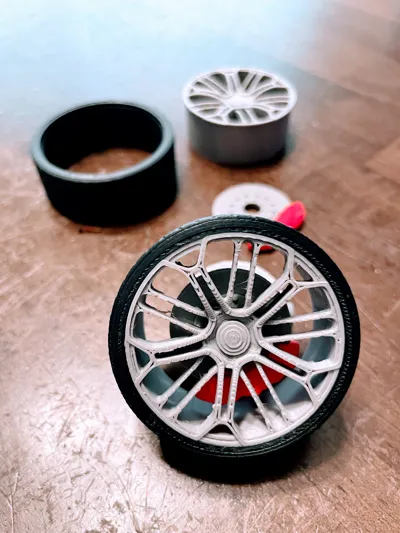
Finally, take what you've just assembled, and slide the tire onto the rim, from the back. Again, make sure that smooth top layer of the tire aligns with the front of the rim. The tire should have the longer tread lines facing the direction you're supposed to slide it on.
ADVANCED WHEEL ASSEMBLY:
First, take the brake caliper and “clip” it onto the brake disc. The caliper won't actually be attached, but for now just loosely slide it on.

Next, slide the disc onto the rim's pole. It's going to be very stiff since it's supposed to be firmly attached. Once it's fully on, the brake caliper won't come off of the disc, since it's being blocked by the rim.

Now, you can insert the axle through the hole in the brake caliper, and into the hole of the rim. Remember, the axle is supposed to be extremely tight and almost attached to the brake caliper. It should very stiffly slide in, and stay in. The axle will not be tight in the rim however, for it's supposed to spin freely.

And finally, slide the tire onto the rim, with the long tread lines facing the front of the spokes.

Some quick tips:
- When putting on the tire make sure the longer tread lines are facing the front, otherwise the tire won't fit as snug.
When slicing the model, I recommend making the support top z distance a higher number like 0.23mm. This will make it a lot easier to remove support from delicate pieces like the back of the spokes.

- Turn on scarf seams for better precision and tolerance!
Using variable layer height for objects like the rim and tire will help a lot with detail. You can turn it on by selecting your object, going to the top and pressing “variable layer height”, then pressing adaptive, and then smooth.
This model took countless hours of work, including modeling and testing. It would really help out if you gave it a like, maybe followed me, and even better, boosting!
Boost Me (for free)
I spent hours on this, and if you like it a boost would be very much appreciated! :D
If you have any questions, just drop a comment.
License
You shall not share, sub-license, sell, rent, host, transfer, or distribute in any way the digital or 3D printed versions of this object, nor any other derivative work of this object in its digital or physical format (including - but not limited to - remixes of this object, and hosting on other digital platforms). The objects may not be used without permission in any way whatsoever in which you charge money, or collect fees.
Comment & Rating (2)