Radiomaster Boxer 21700 battery tray


Print Profile(2)


Description
Hello.
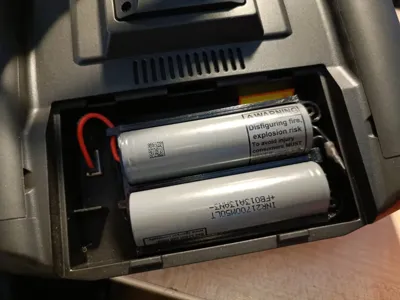
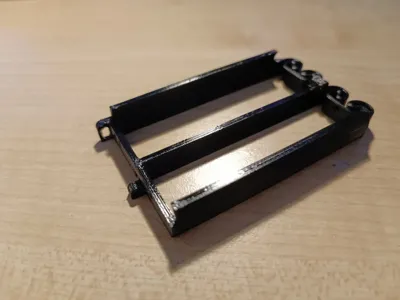
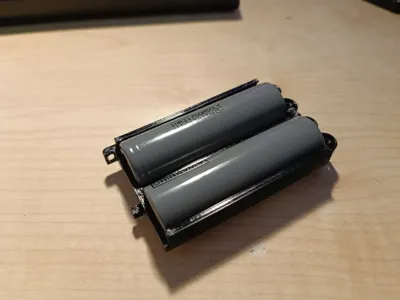
I have designed a battery tray that fits into Radiomaster Boxer radio with 2 21700 batteries. Its also intedended to be compatiable with internal chargining that radio suports. I have printed mine from PETG (i think its better than PLA since there is spring like aspect to the model). The model is desighned to be printed in place with no supports. The wireing is verry simple but if you are not confident or something is not understandable pleas ask someone that knows what is dooing. (I will not be responcible for any damage it may cause in case you wire the battery wrong).
Parts needed
(these are the parts I used, u can use whatever you want that is similar)
- 1x Printed part
- 2x 21700 Li-ion battery (Must be Li-ion battery with nominal voltage of 3,7V and charged voltage 4,2V; Battery should be unprotected and button-top type cells). https://eu.nkon.nl/rechargeable/li-ion/21700-20700-size/lg-m50lt.html
- 1x 2s JST-XH balance lipo connector: https://www.aliexpress.com/item/32864333223.html?spm=a2g0o.order_list.order_list_main.314.db651802a574jq
- aprox 10-20cm of 22AWG wire to connect this all togetherI recommend silicon wires because insulation wont be damaged when u are soldering :) https://www.aliexpress.com/item/32429405173.html?spm=a2g0o.order_list.order_list_main.22.14b21802zi10uq
For more information about the Boxer radio and supported types of batteries you can check manual.
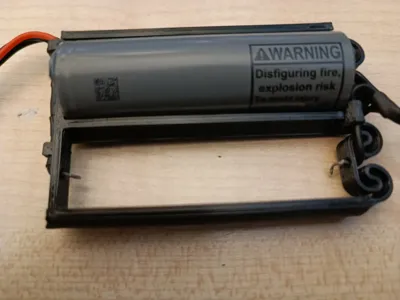
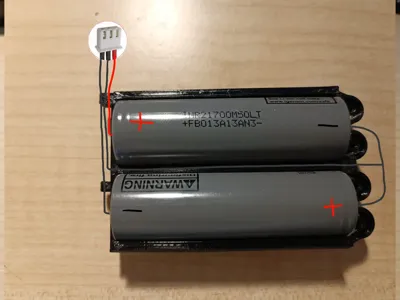
Wireing
(I will not be responsible for any damage it may cause in case you wire the battery wrong).

Please pay attention to the correct orientation of the battery.
Now I have designed small holes on each end of where the battery is supposed to have contact with the wire … I have putted some solder on all ends of the wire that will be making contact with the battery and put the trough the hole and slightly bend them downwards. The tray is made to apply pressure to the wires sticking at the ends, when battery is inserted from the top.

If there is anything unclear please don't hesitate to ask. i will try to answer all the questions.
Print settings
The stl model is not complicated. I have designed it so it is printed without supports. Use you normal setting apart from the next ones that i recommend:
- No supports
- Layer height 0,2mm
Print is very small, mine printed in 45mins but that may vary depending on your overall printer settings.
If you think i did a good job you can support me on my paypal or maybe go check some of mine FPv videos on youtube and maybe like and subscribe ;D
Happy printing
License
You shall not share, sub-license, sell, rent, host, transfer, or distribute in any way the digital or 3D printed versions of this object, nor any other derivative work of this object in its digital or physical format (including - but not limited to - remixes of this object, and hosting on other digital platforms). The objects may not be used without permission in any way whatsoever in which you charge money, or collect fees.
Comment & Rating (3)