
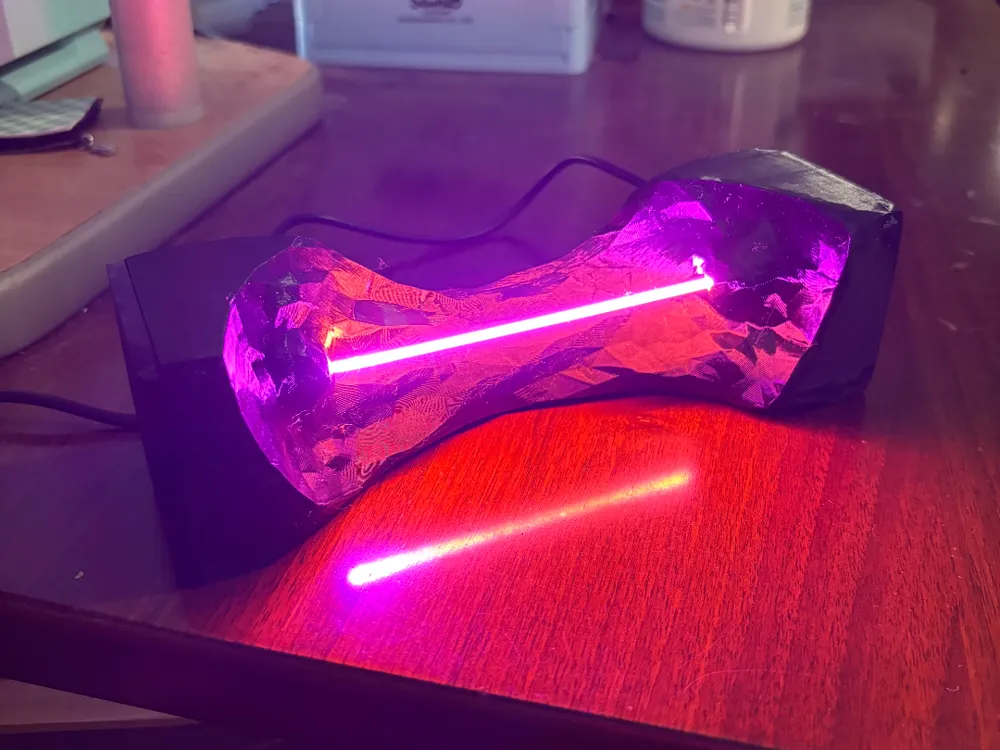
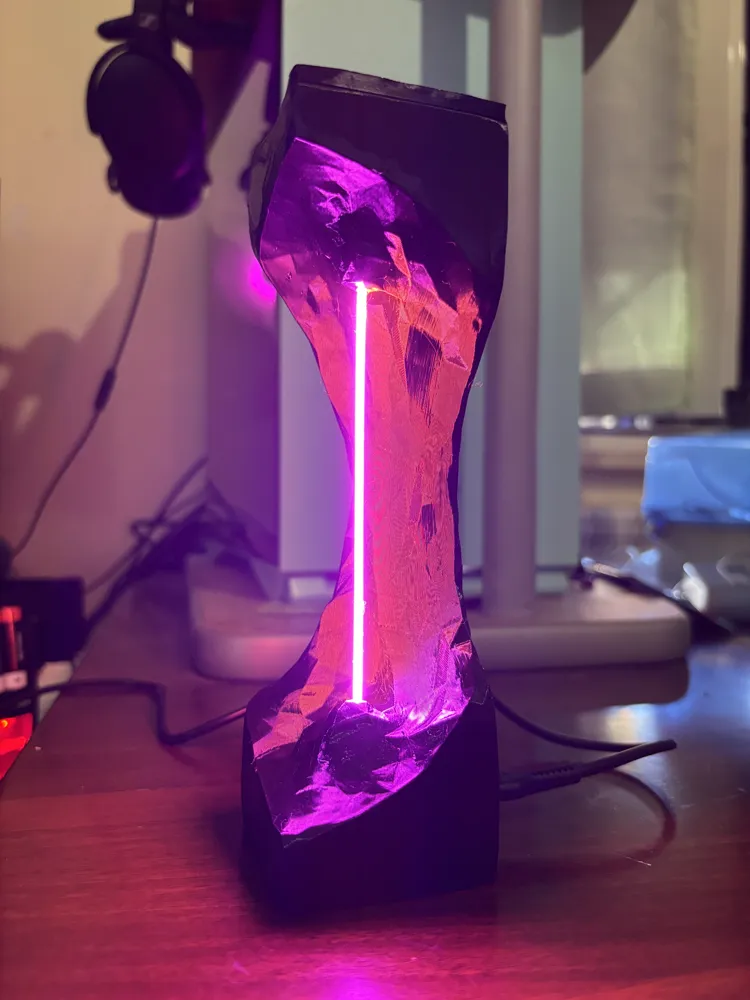
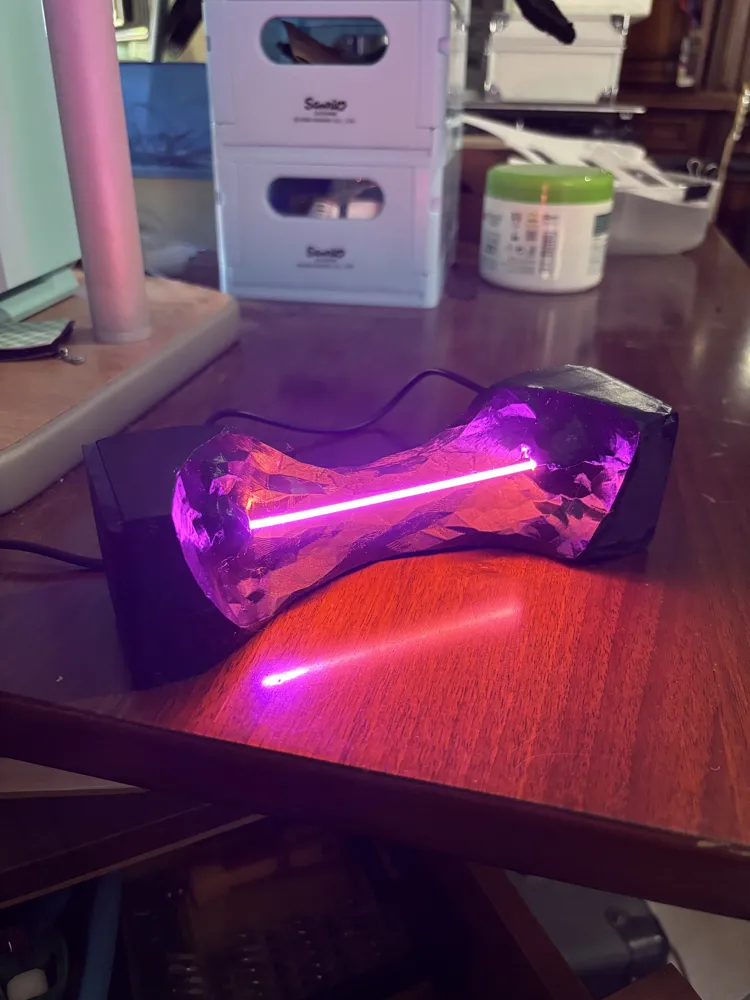
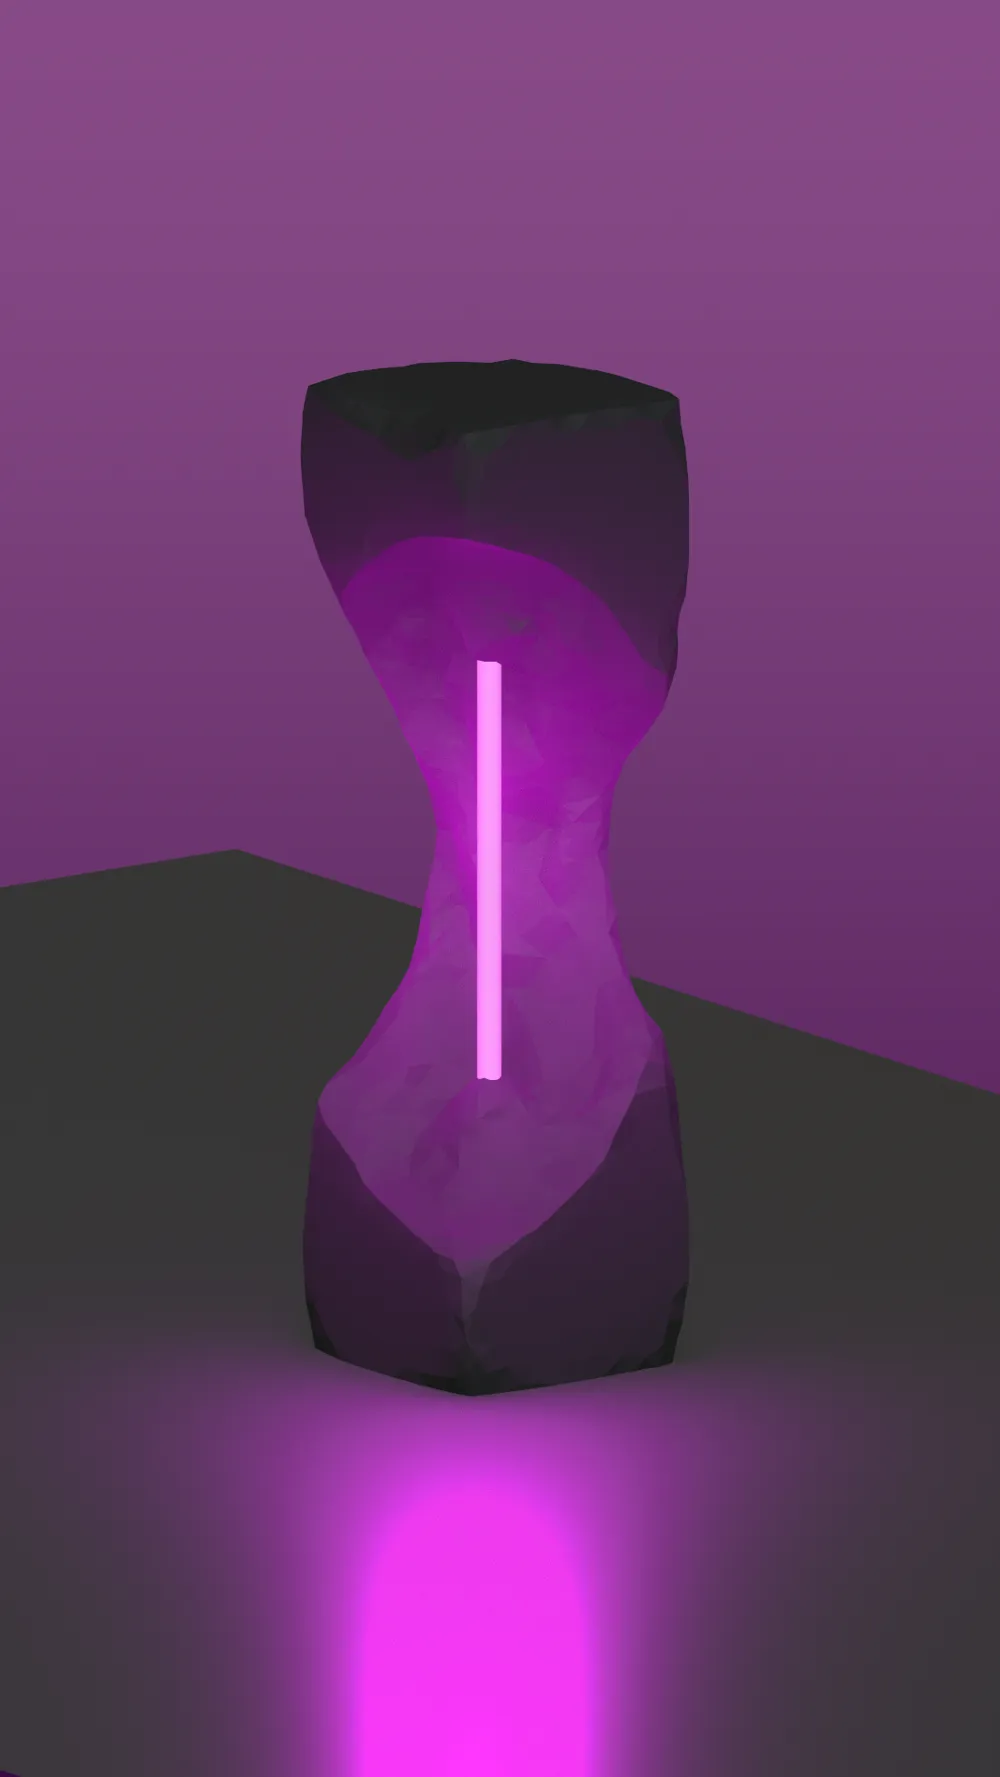
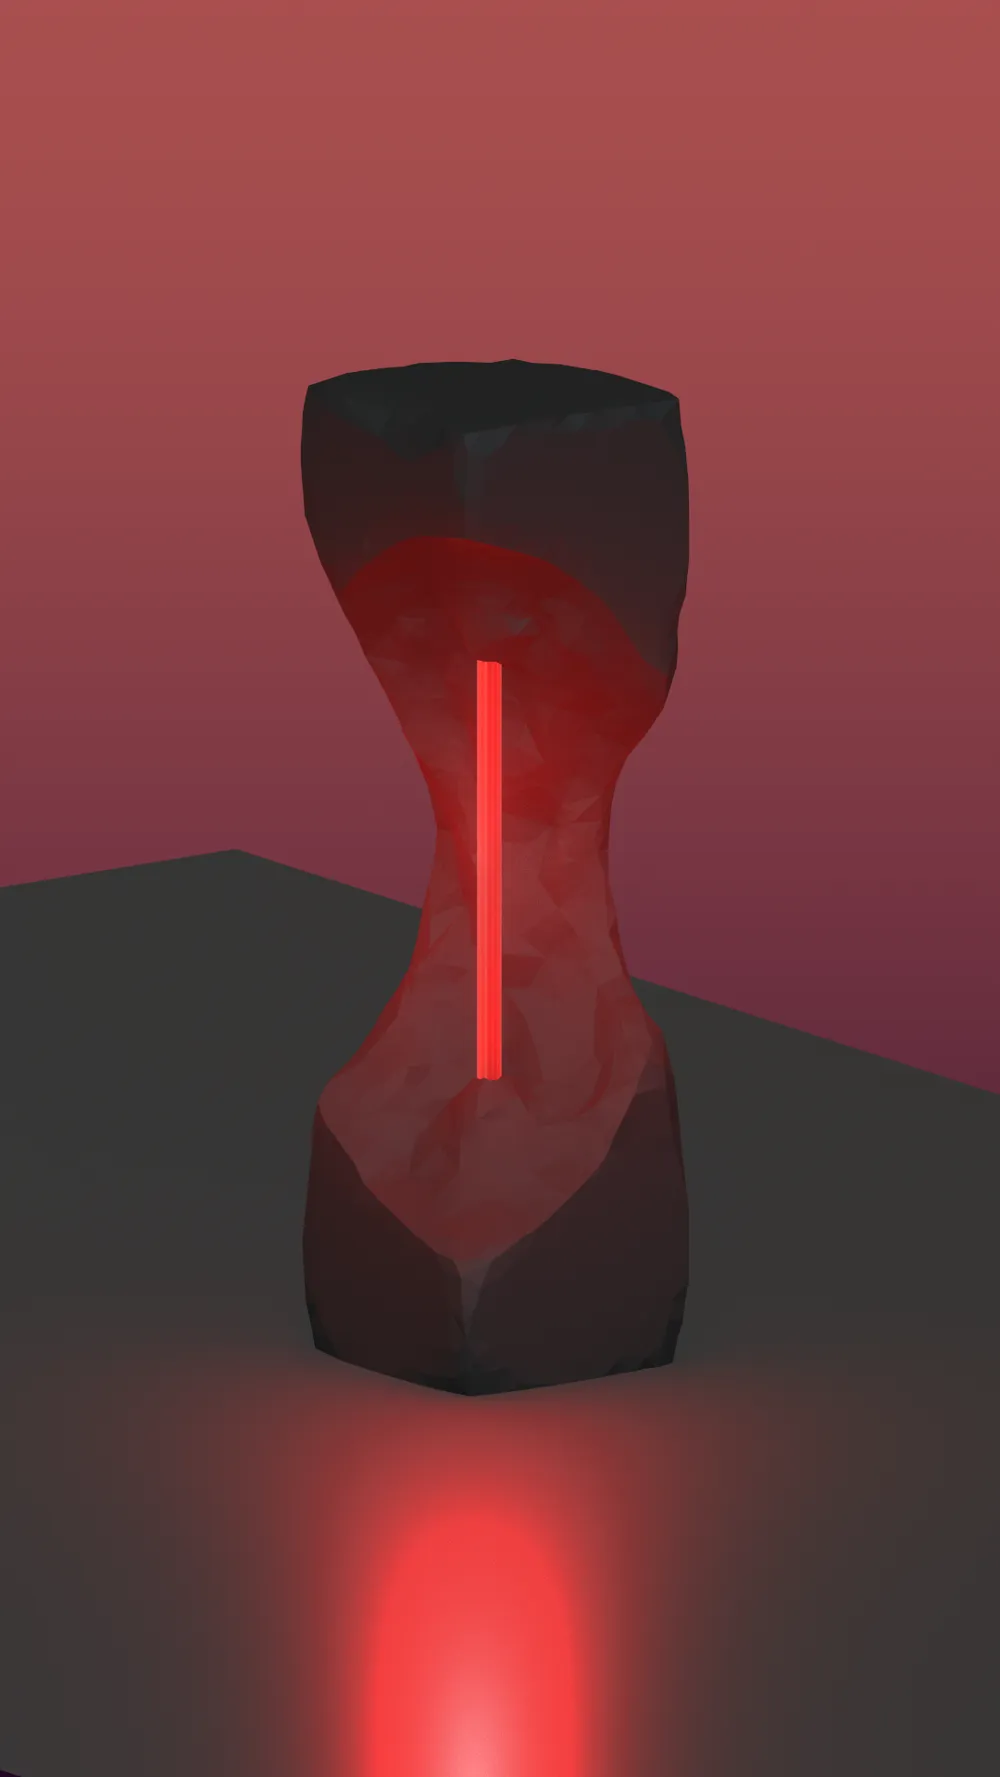
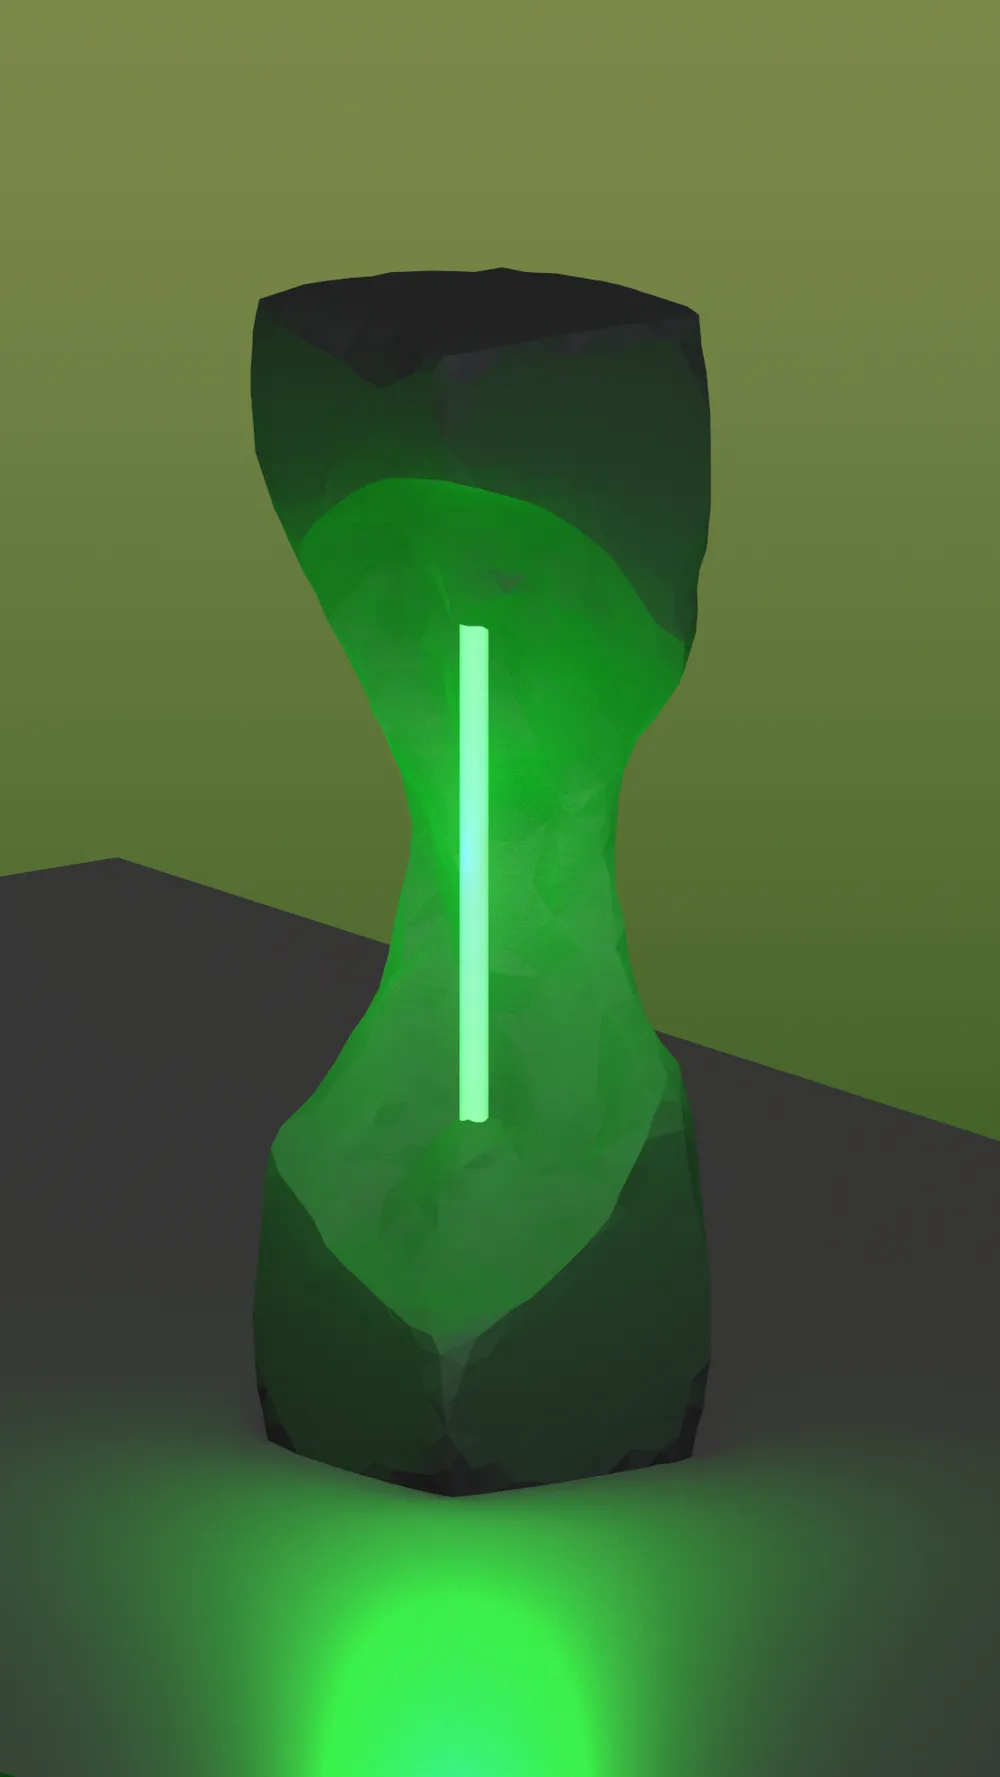
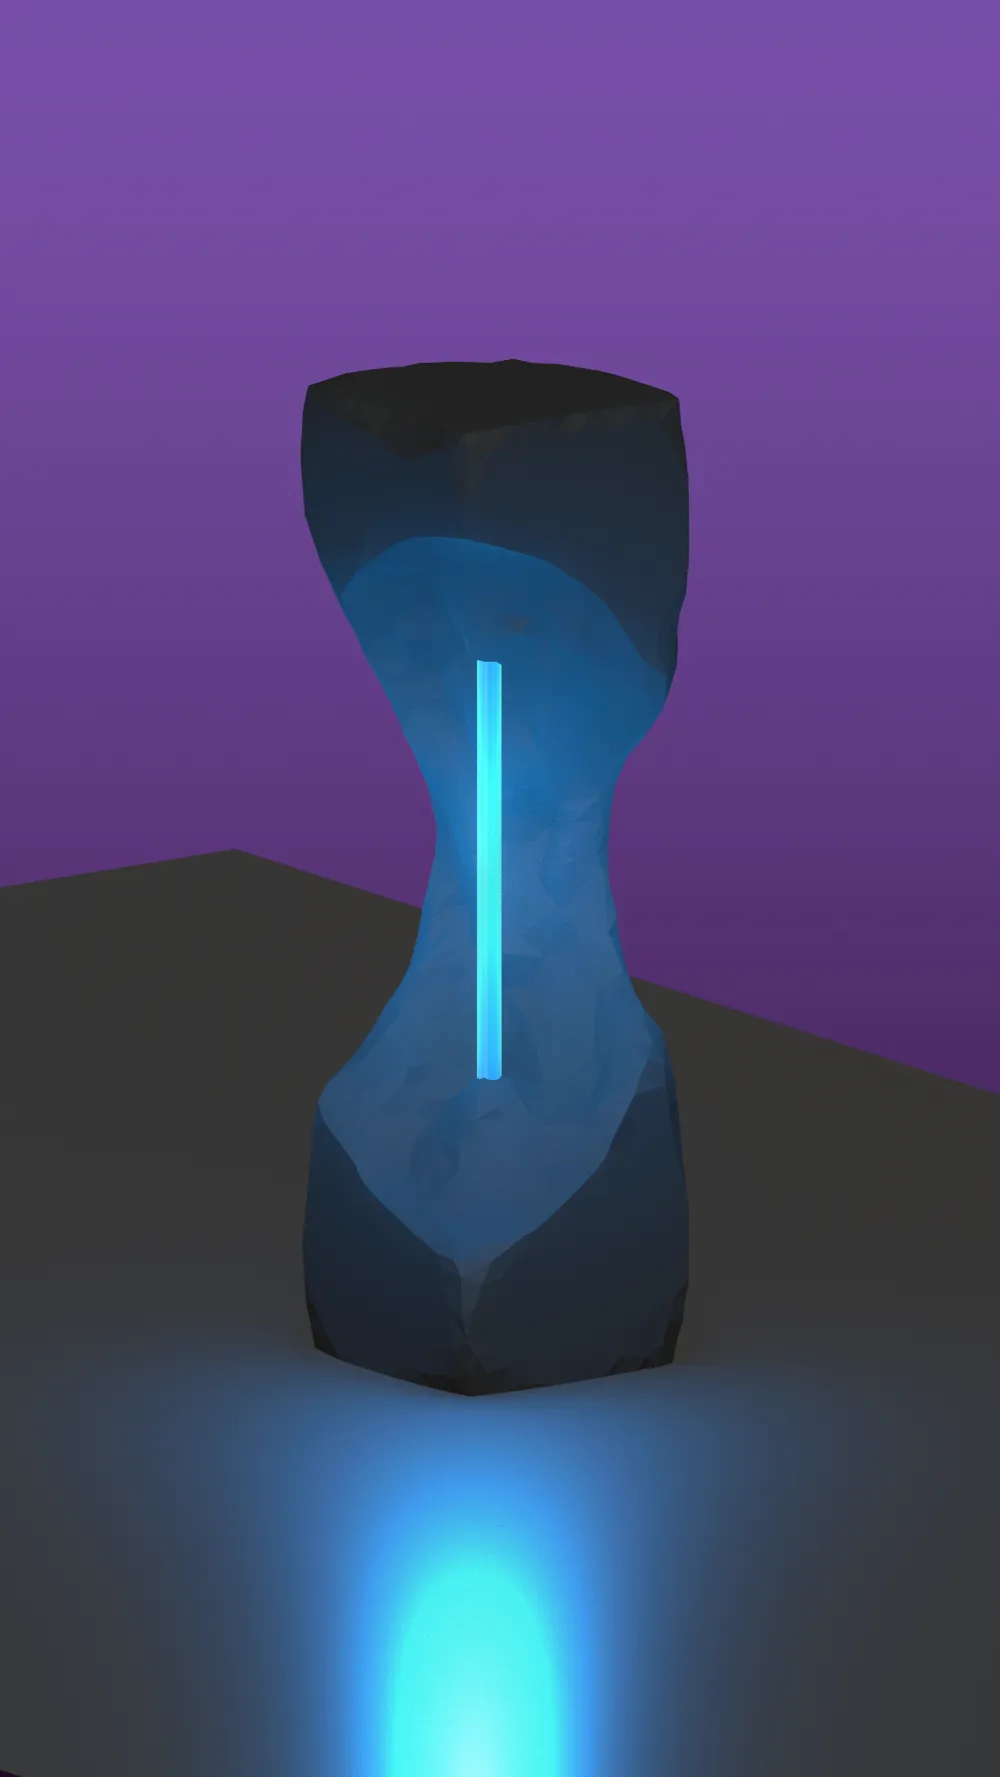
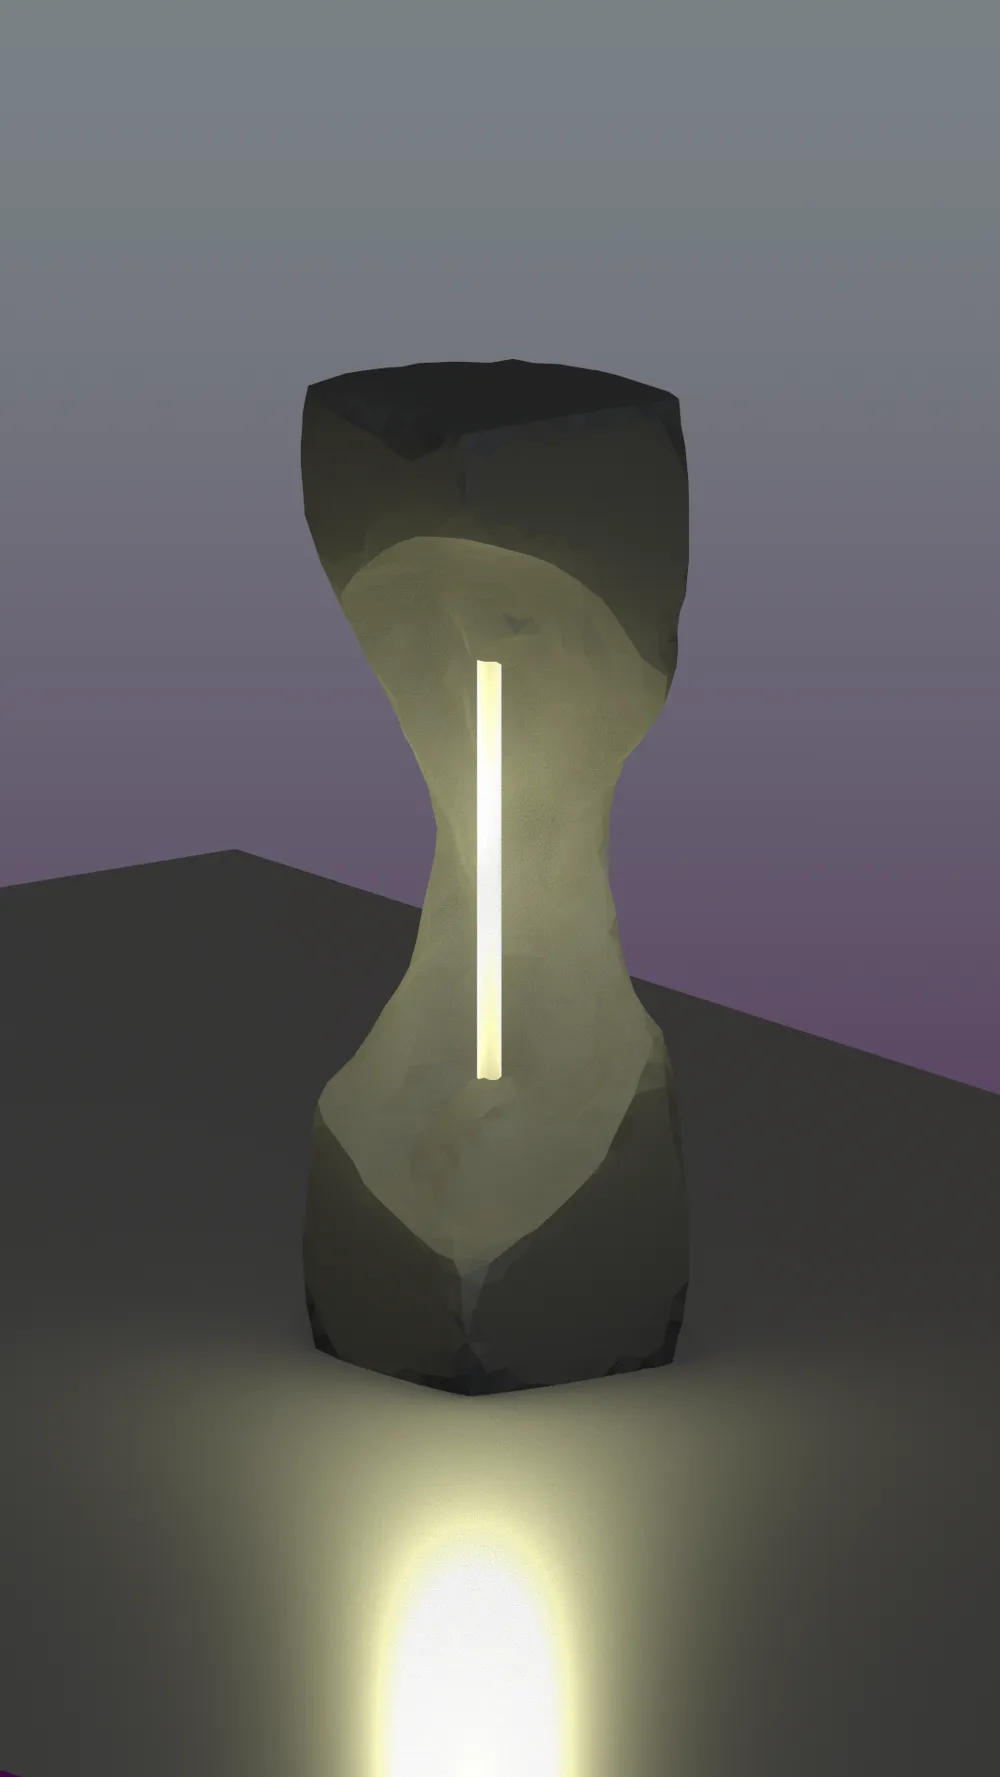
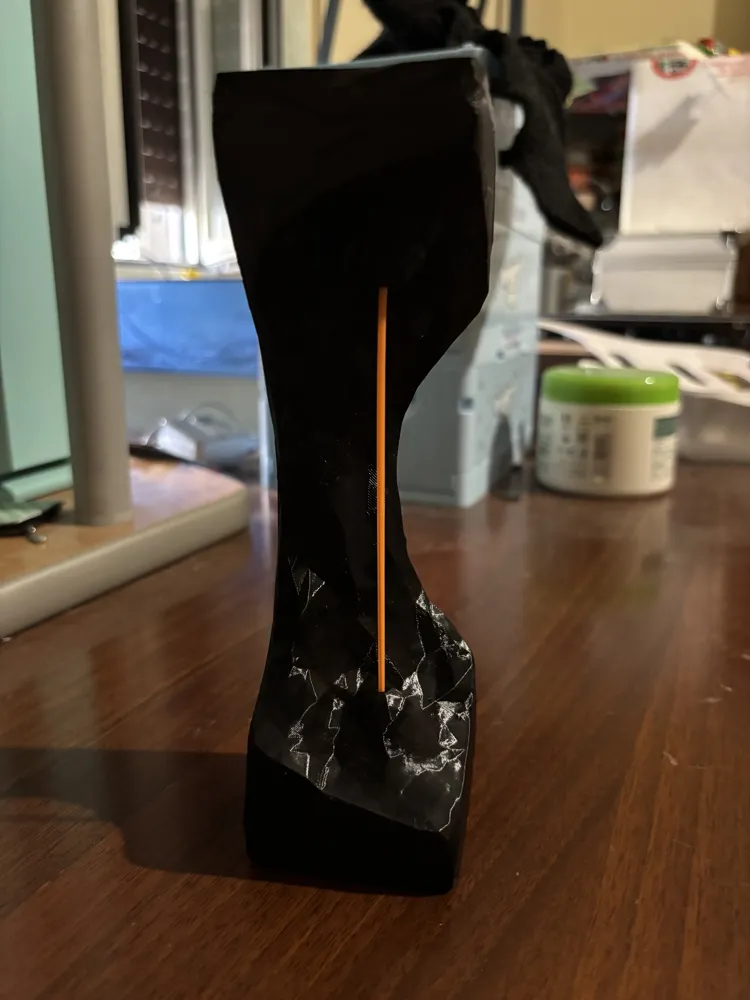
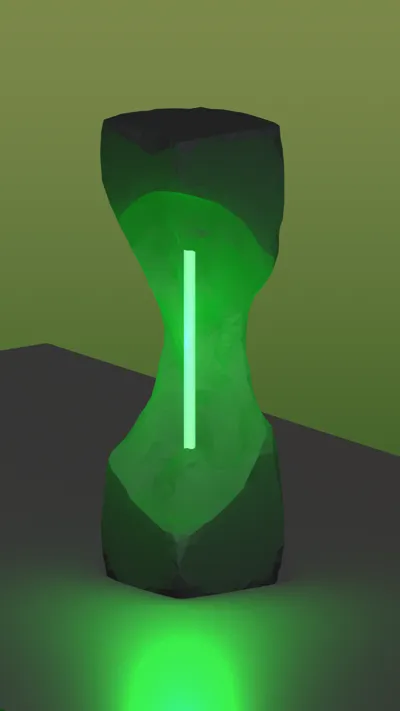
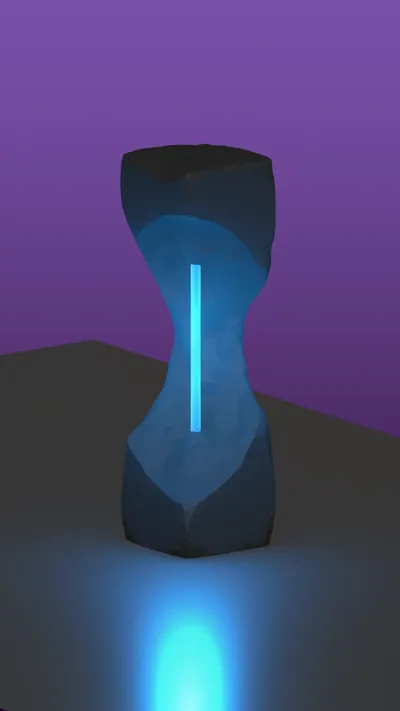
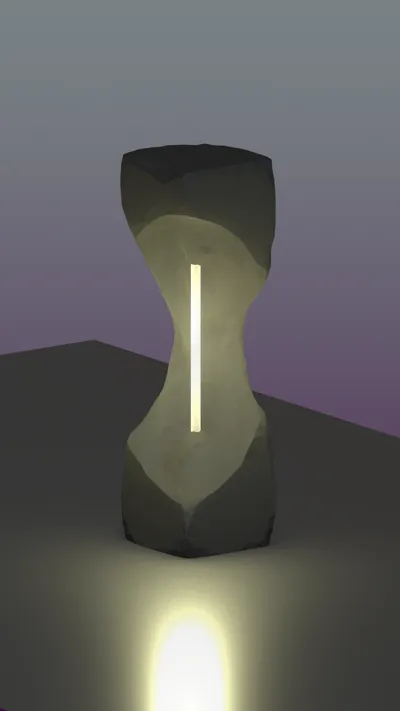
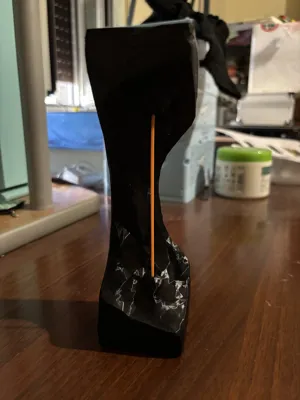
LED Filament ruined column low poly lamp
Print Profile(4)


Bill of Materials

Description
DESCRIPTION
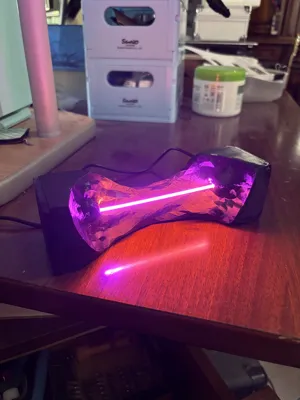
I made this for a friend, but decided to refine it and publish it since other people asked for the files. Here they are!
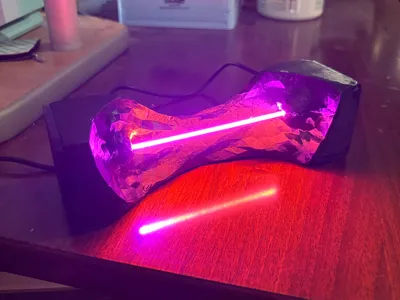
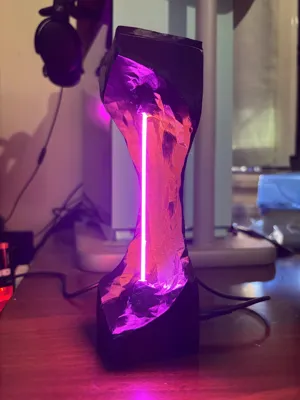
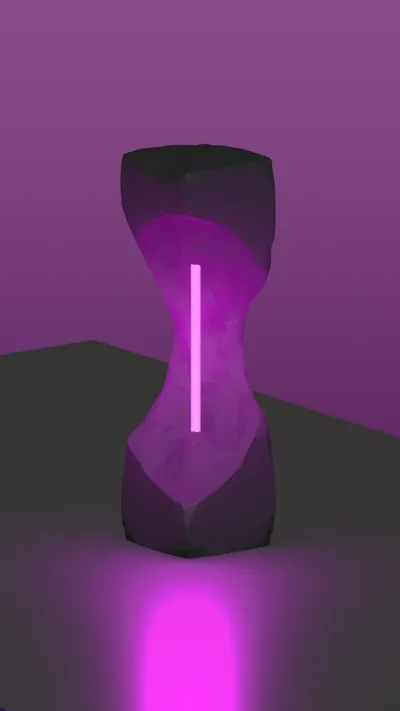
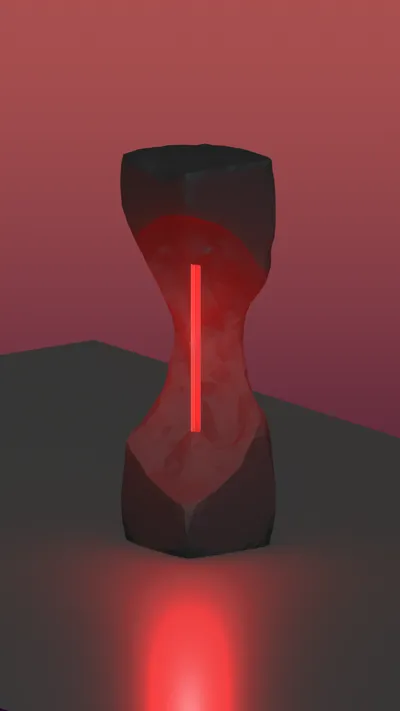
It's a lamp, if you couldn't already tell, it's pretty basic in functionality but personally I think it looks really cool, but again so does anything that uses these led filaments. Shiny colors!
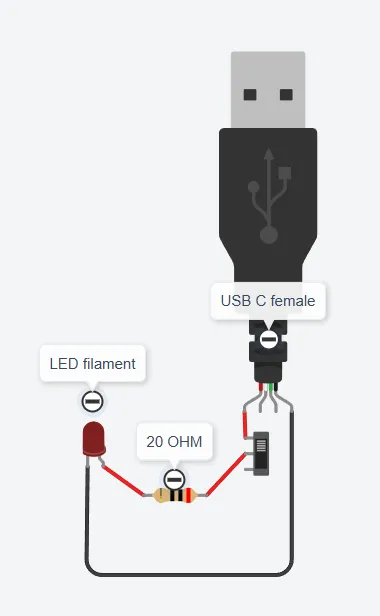
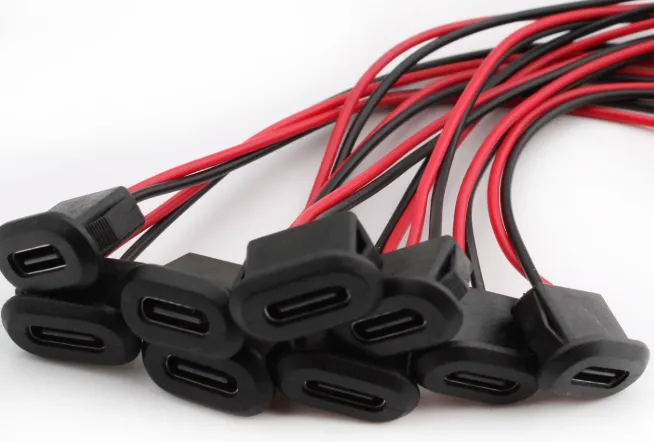
The electronics are pretty simple, I used a basic 2 way switch at the top, a female usb C connector at the bottom, inside the filament is connected to power via a 20 ohm resistor. These filaments run at 3.3v, the resistor is there because you get 5v from regular usb.
LIST OF PARTS
- 1x 20ohm resistor or 2x 10ohm resistors in series;
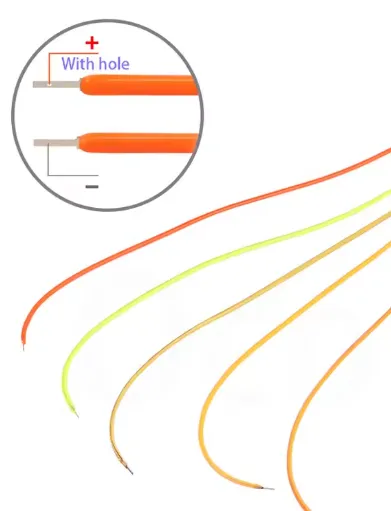
- 1x 3v 130mm led filament, the ones you need have metal prongs at both ends, don't get the ones with both anode and cathode at the same end like a fork;
- 1x 2 way switch;
- 1x usb C female connector.
INSTRUCTIONS
- fit the usb C connector in its hole;
- solder the positive wire of the connector to a longer wire that will travel through the lamp, in the bigger hole;
- at the top, take the positive wire you just pushed through and solder to one of the switch's legs;
- solder the resistor to one of the adiacent legs;
- solder the other side of the resistor to the positive side of the led filament;
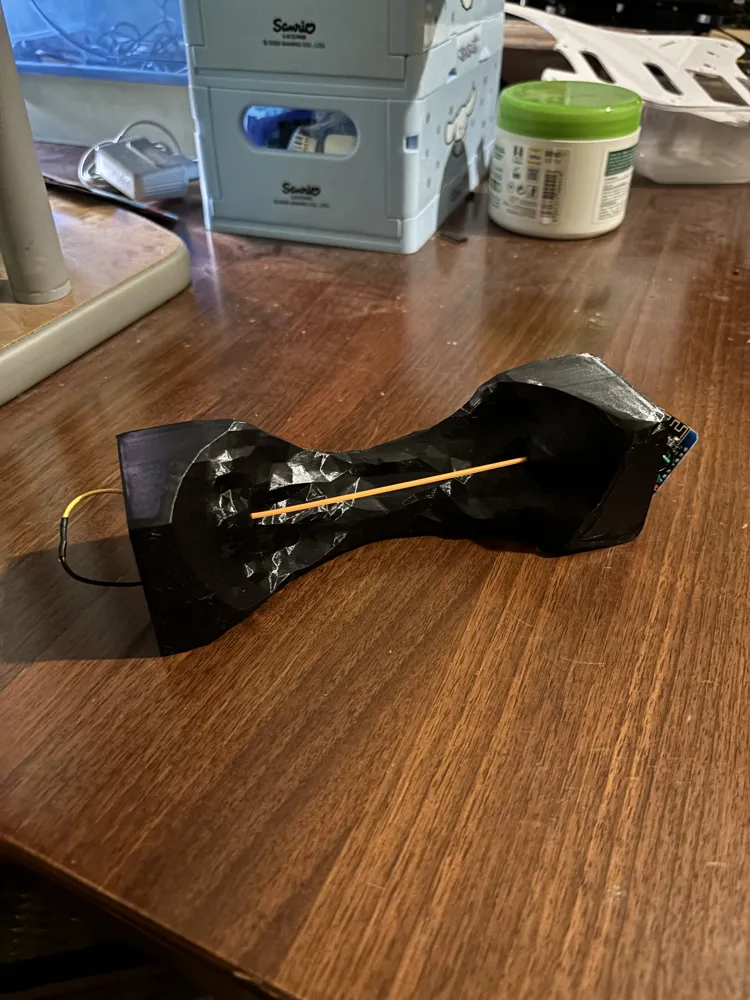
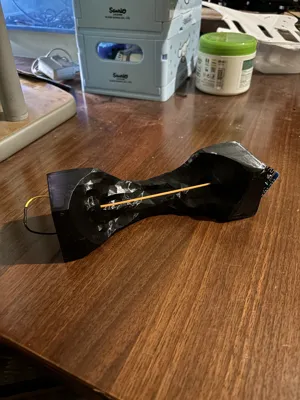
- push the filament through the tiny holes in the lamp, look at the pictures, you can do it;
- at the bottom again, solder the other side of the led filament to the connector's negative (black) wire;
- fit the switch through its hole, apply hot glue or superglue to both the switch and the usb c connector;
- carefully tension the led filament to make it straight, then apply hot glue to the wires it's soldered to;
glue the caps on, both hot glue and superglue will do the trick.
Documentation (1)
License

You shall not share, sub-license, sell, rent, host, transfer, or distribute in any way the digital or 3D printed versions of this object, nor any other derivative work of this object in its digital or physical format (including - but not limited to - remixes of this object, and hosting on other digital platforms). The objects may not be used without permission in any way whatsoever in which you charge money, or collect fees.


Comment & Rating (3)