
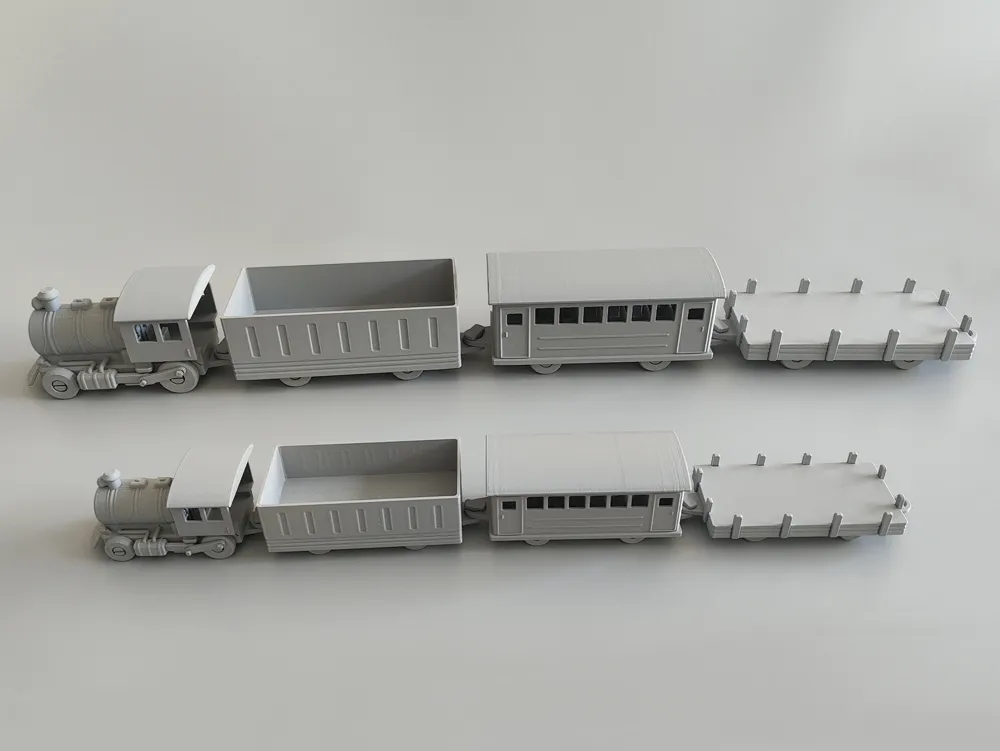
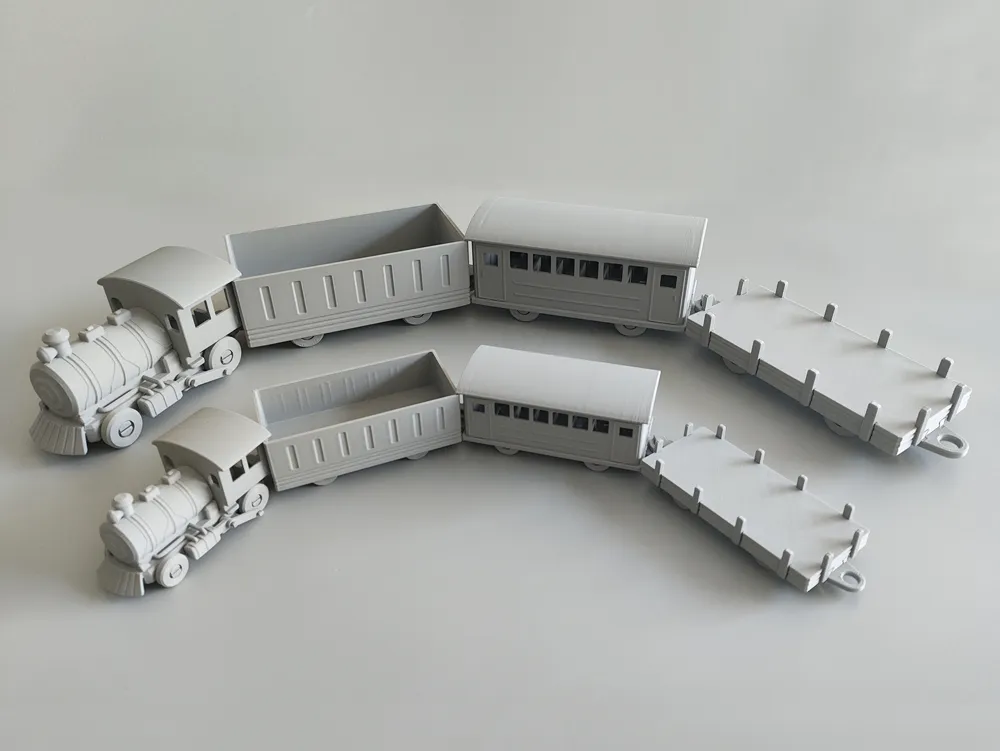
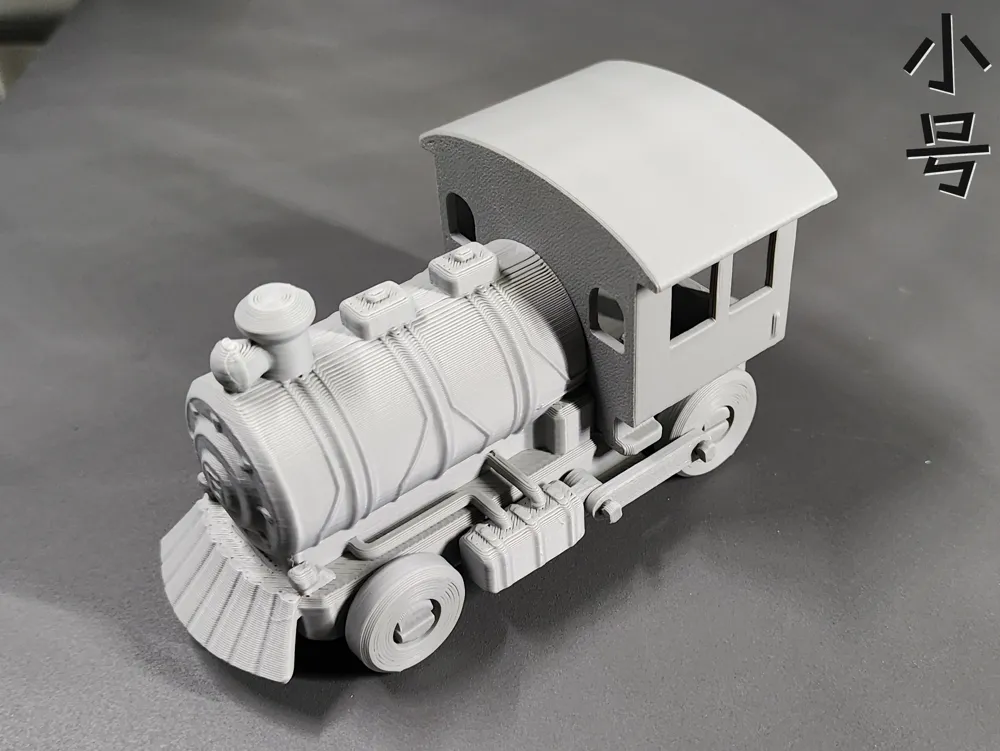
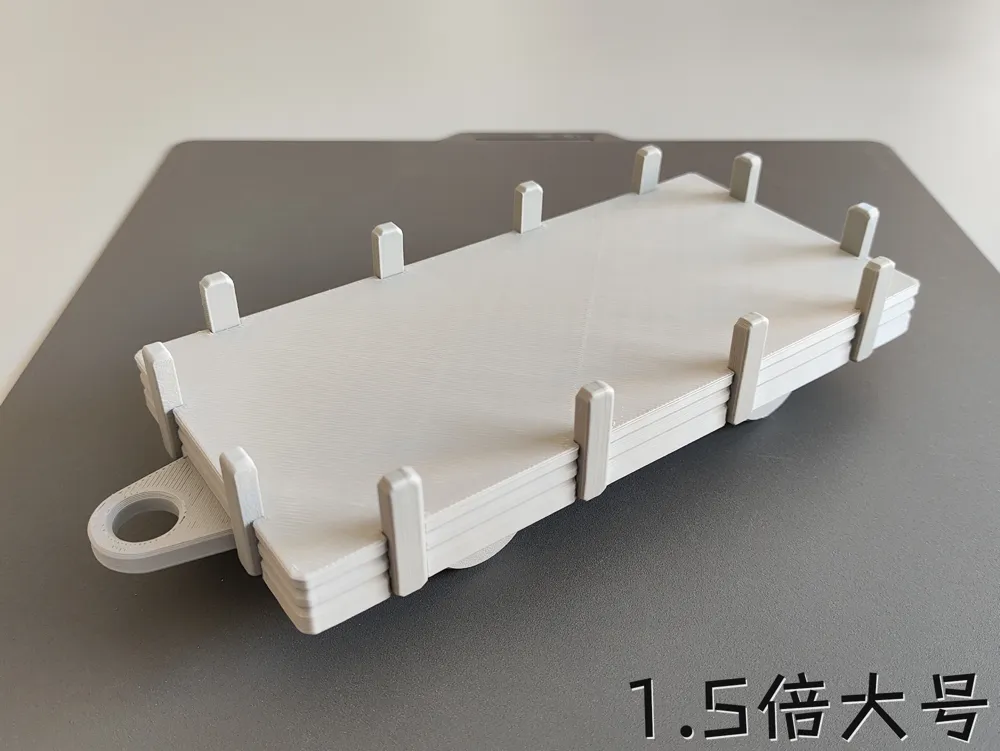
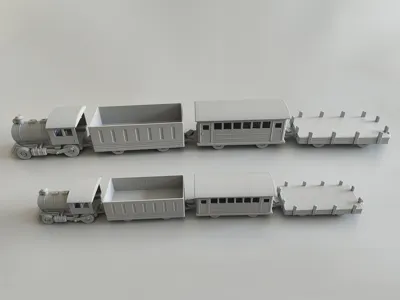
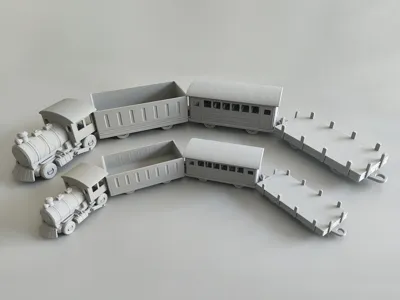
Steam train, rods linked to wheels, new carriages added: passenger car, cargo car, flatcar (no supports, no hardware needed)
Print Profile(8)


Description
Boost Me (for free)
Your likes and boosts are my motivation to update!!! Thank you~

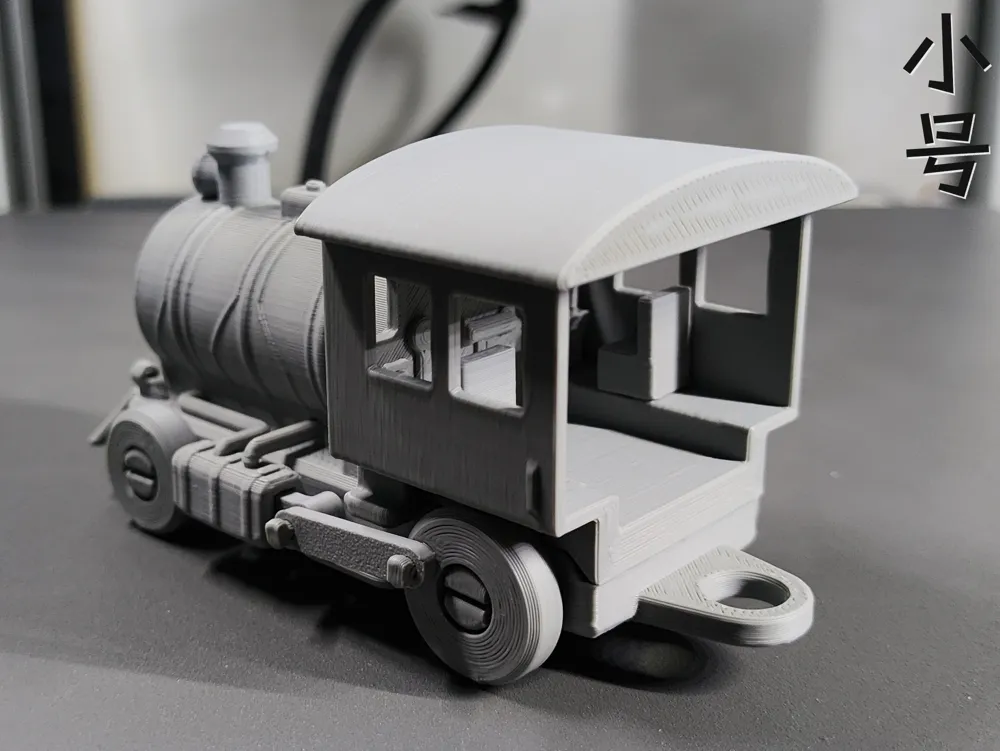
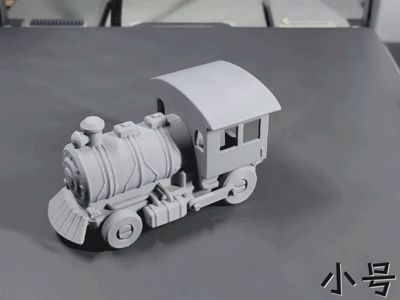
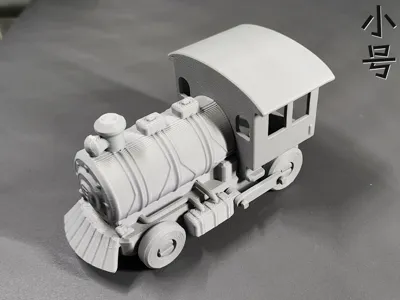
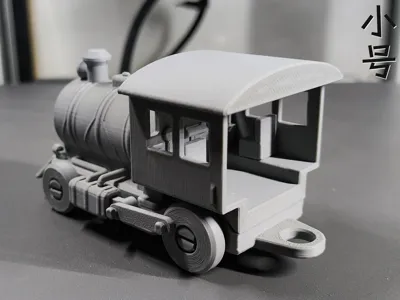
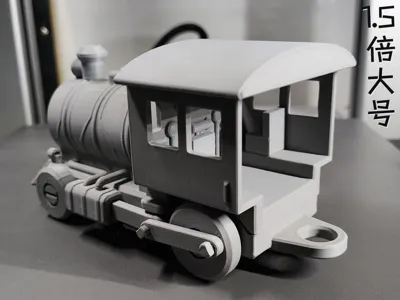
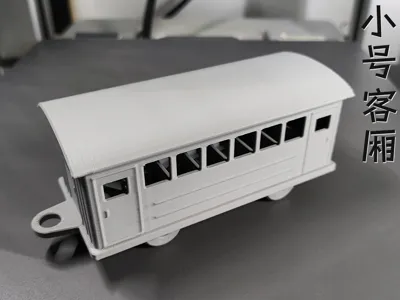
This is the **steam train** with a connecting rod linked with the wheels requested by another friend! I'm very sorry I couldn't update it before school started. Printing two was a bit challenging, and I've been constantly debugging the connecting rods. It was originally designed for a 2-wheel linkage on the side, but it was never smooth. It's too small to make it too complex, as that would affect strength, so I had to reduce it to one on a single side. I'm truly sorry (╥_╥) The corresponding card boxes will be updated gradually later (this might be slow) (Small size engine dimensions approx: 98.5*49*49.8mm LWH, each carriage approx 130*49mm LW, single-side swing approx 25°)
Notes:
1. The structure of the small parts is relatively fragile and prone to breaking! Do not press the pins crookedly, otherwise they are highly likely to break. Apply some force during installation!
2. Installing the small seat may be difficult for those with large hands!
3. If the pins are not secure, you may need to enlarge them by about 0.1mm yourself, or use glue. Different filaments and printing environments can slightly affect accuracy!
4. The connecting rods on both sides cannot be synchronized!

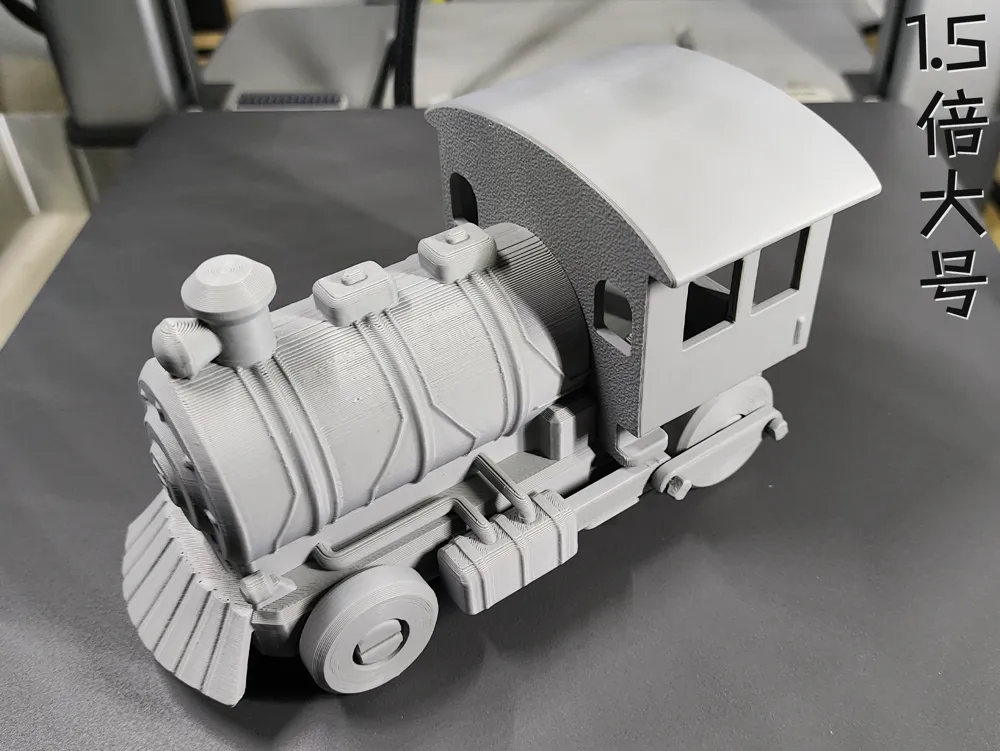
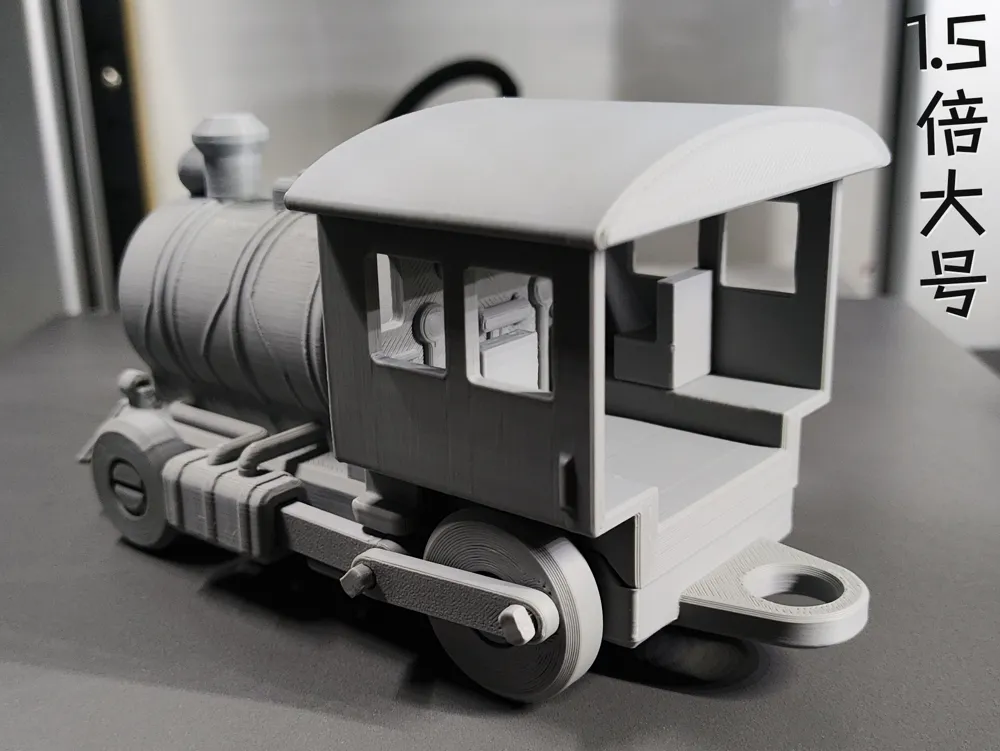
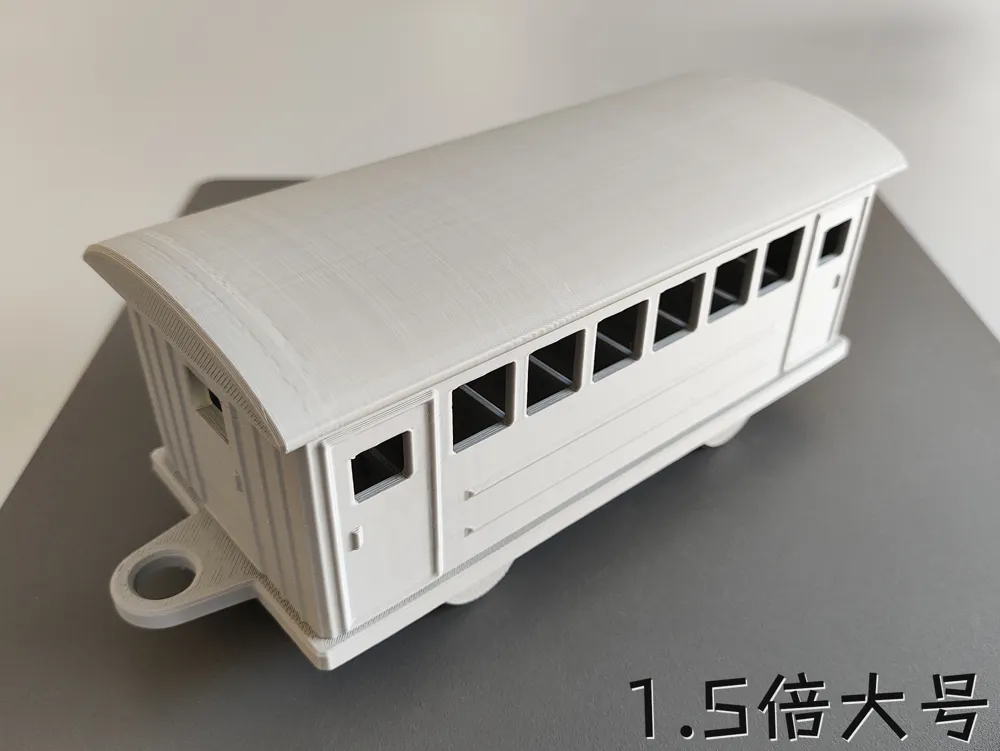
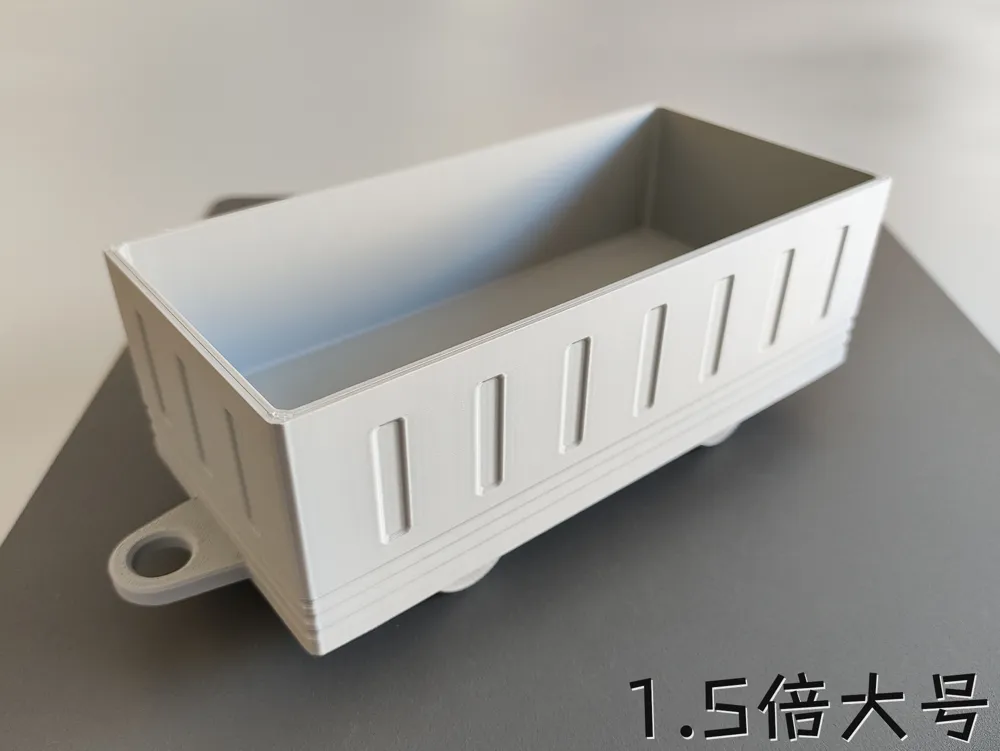
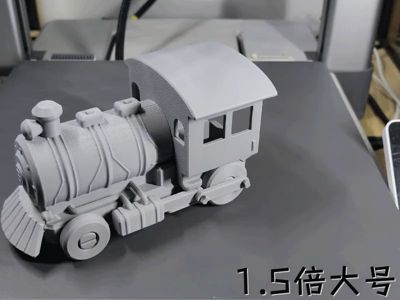
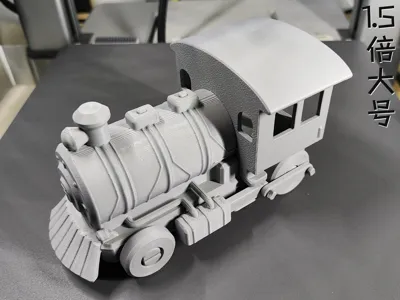
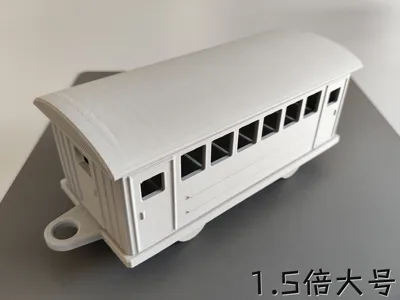
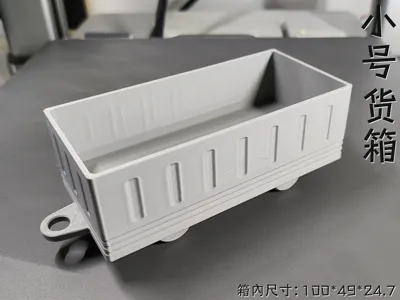
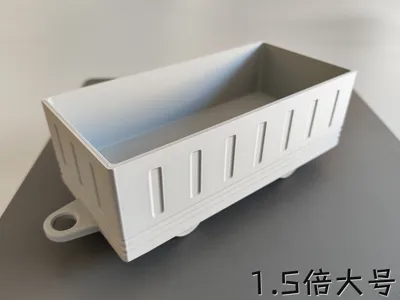
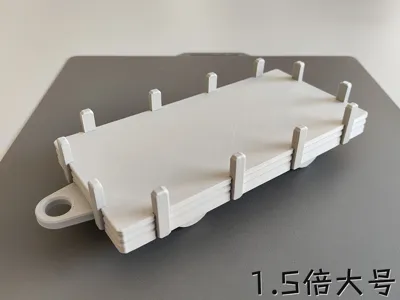
2025.9.4 Update: Preview images and 1.5x large size have been updated~
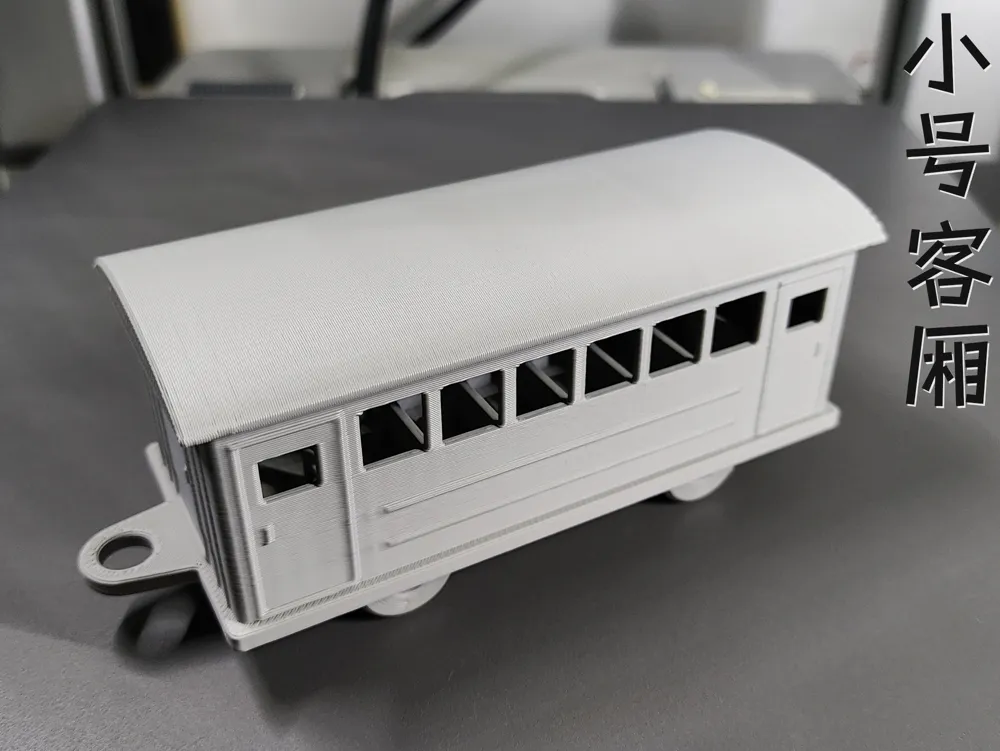
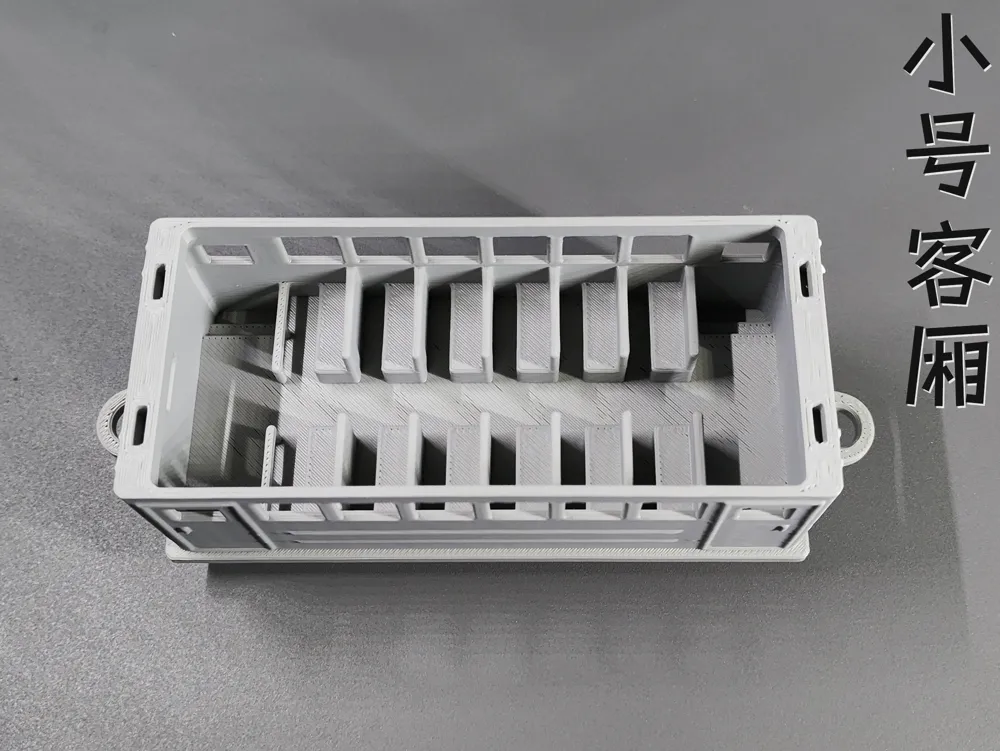
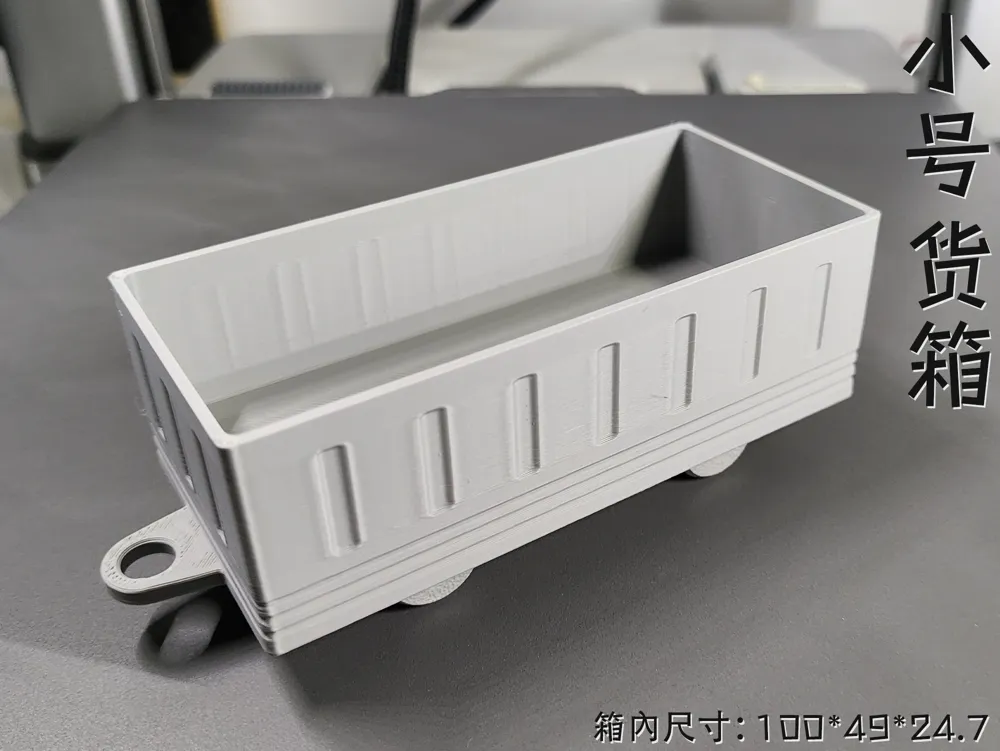
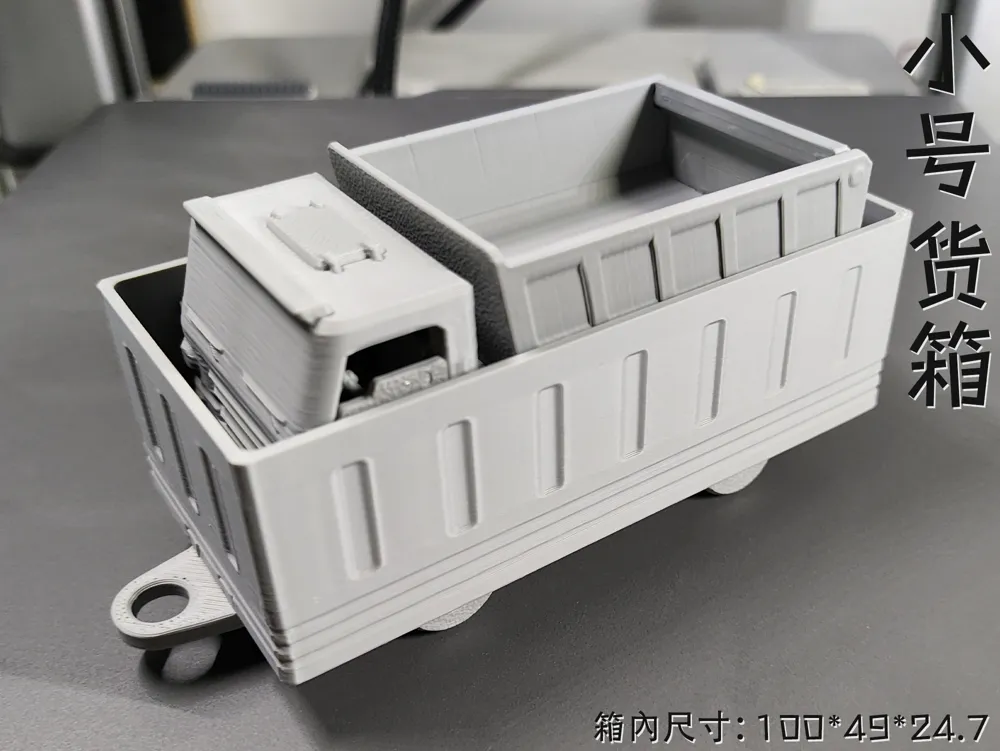
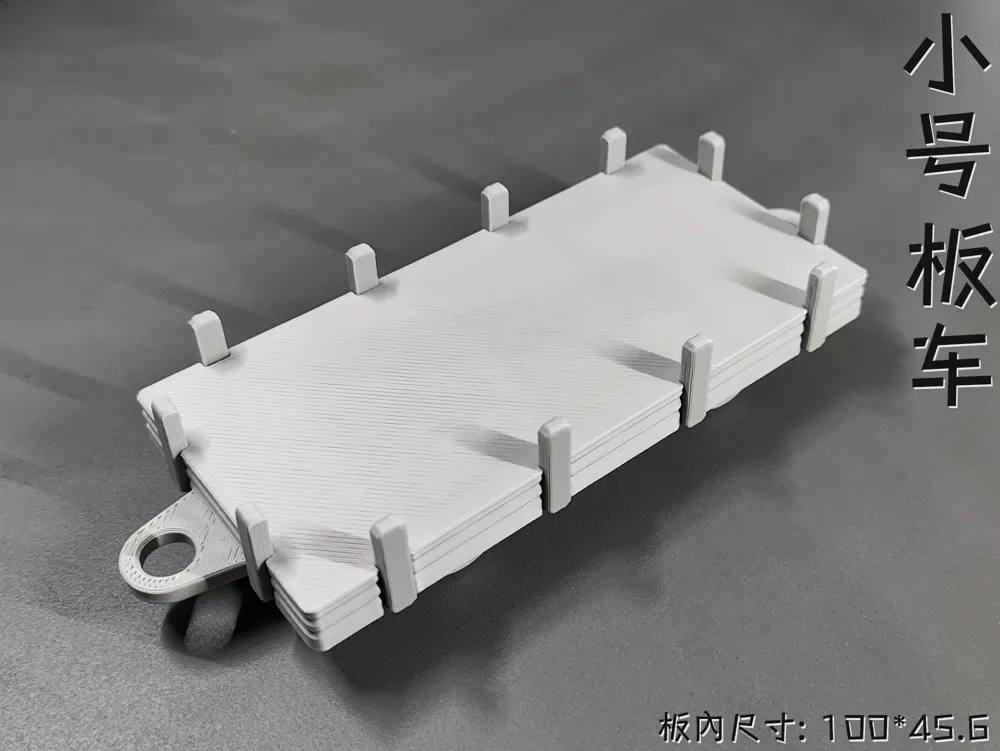
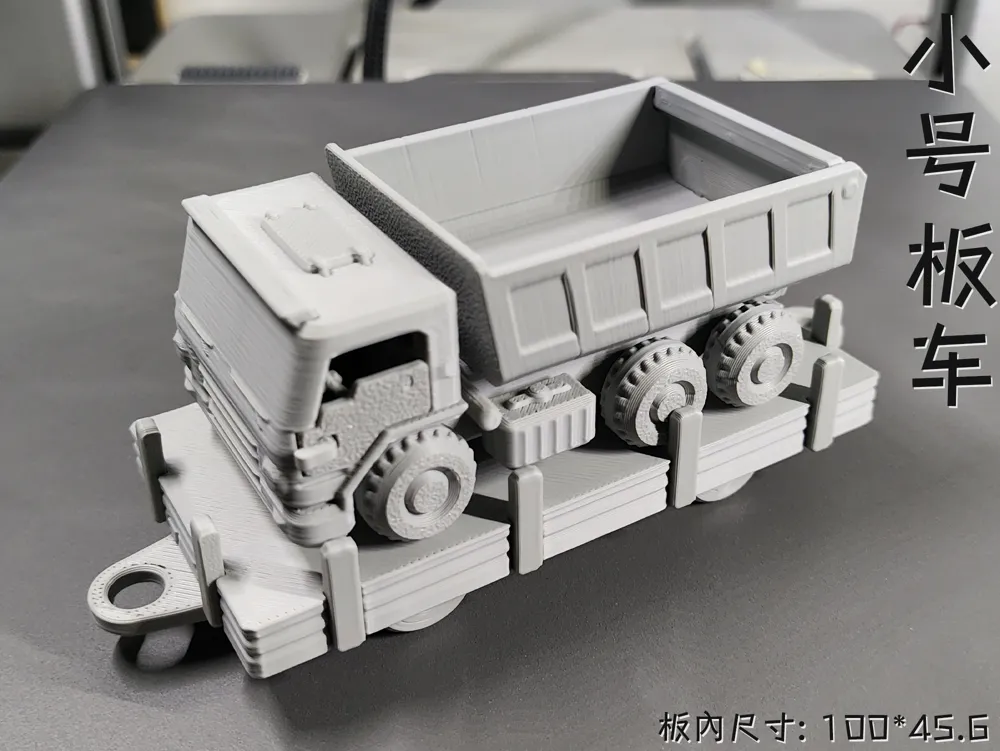
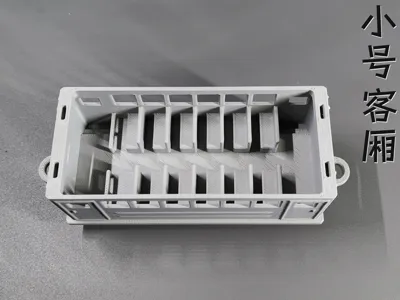
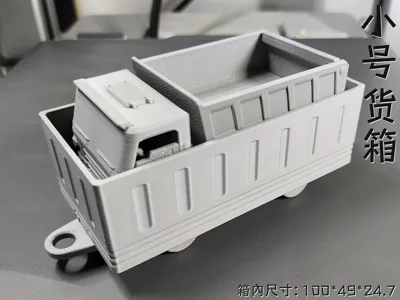
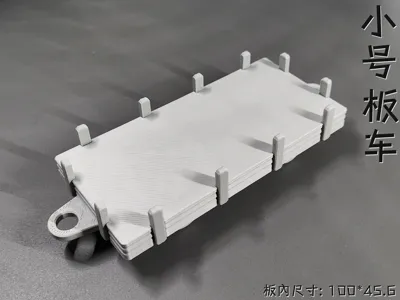
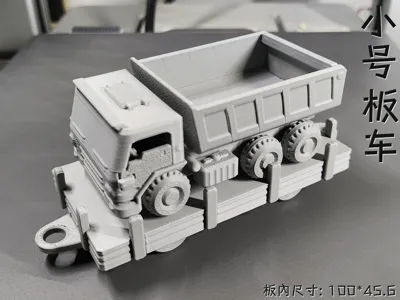
1. Added 1 each of **passenger car, cargo car** (note: do not squeeze the outer wall hard when holding the car body; the recessed part only has 2 walls), and **flatcar**! Installation is relatively simple~ The skirt needs to be removed
The GIF below is an assembly diagram:
1. Slightly clip the carriage roof connecting buckle (the buckle is relatively fragile) into the carriage slot, then align and press the roof plate onto the buckle!

2. First install the rear carriage connector, then install the pin (the red part below)

The GIF below is an assembly diagram:
1. Note: Align the red part in the image below with the slot and then press to avoid breaking it!

The GIF below is an assembly diagram:Please install in order! Please install in order!
1. Install the cab seat into the cab, align with the slide groove, and push it in!
2. Install the cab, align with the slide groove, and push it all the way in!
3. Install the front and rear axles, clipping into the cab!
4. Install the piston connecting rod
5. Install the wheels, minding the direction; the stepped side should face outwards!
6. Install the wheel connecting rod
7. When installing the pins, do not press crookedly, otherwise they are highly likely to break. Use a hard object to push them in!
Note: 1. Both PLA and PETG can be printed. It's best to understand the characteristics of these two materials before printing to avoid printing failures!! For example, PLA can become brittle if left for a long time or at low temperatures, while PETG has good toughness. Please choose the filament that suits you!!
2. If it's for younger children, and the parts are small and easy to disassemble, it's better to glue them firmly with 502 or other adhesives to prevent them from being swallowed!!
3. If there are no special requirements, please do not use your own advanced process settings for printing~ to avoid printing failures!!
If your printd part has local spaghetti, or the filament doesn't stick to the build plate, please recall if you touched that area (hands secrete sweat and oil, touching it has a very high chance of causing spaghetti) or if the build plate is dirty. The solution is to search online for how to clean a 3D print plate!! If other problems occur, please describe it in the comments section and add pictures, so it's easier for us to solve it~ Otherwise, I can't imagine the situation = =!!
License

You shall not share, sub-license, sell, rent, host, transfer, or distribute in any way the digital or 3D printed versions of this object, nor any other derivative work of this object in its digital or physical format (including - but not limited to - remixes of this object, and hosting on other digital platforms). The objects may not be used without permission in any way whatsoever in which you charge money, or collect fees.


Comment & Rating (67)