


Print Profile(3)


Description
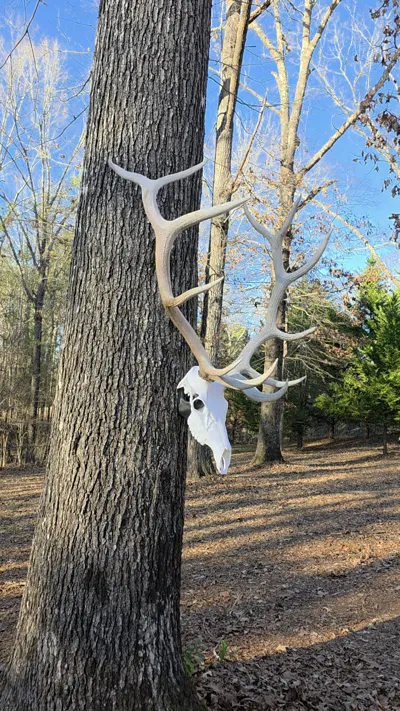
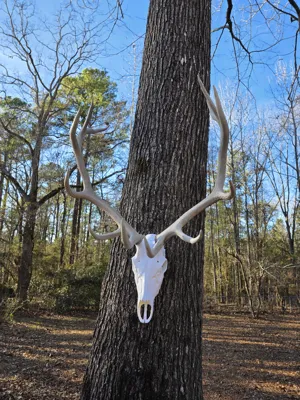
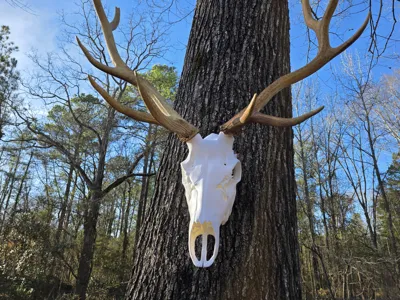
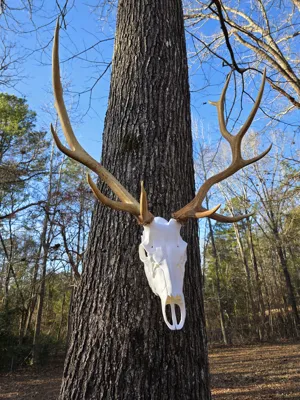
Elk Skull Antler Mount - Version 1 featuring “Bullet Anchors”
If you want to hang this skull on the wall, please use the wall mount bracket and also test in a safe location to make sure they are not too heavy :)
WALL MOUNT BRACKET:
https://makerworld.com/en/models/2174071-elk-skull-wall-mount-bracket#profileId-2358417

Ultra-Realistic Skull Design
Sculpted for anatomical accuracy and a lifelike display.
Video of partial creation!https://www.tiktok.com/t/ZT6nA7Y3d/
High-Strength Mounting System
Designed to support real or shed elk antlers securely when leaned against a wall for additional support or hanging on the wall mount bracket-Epoxy is recommended for added strength, especially with larger/heavier antlers.
- Optimized for A1-Sized Printers
Print profiles are tailored for standard A1 machines.
(An A1 Mini version is in the works!) - Whole Skull Option Available
Scaled to 95% of original due to height limits on H2 printers
Suggested Instructions:
- Print the skull and bullet anchors using high-strength filament only
- Recommended: PETG, ABS, Nylon, CF blends
- Avoid low-strength materials like PLA
- Do not modify the print profile for the upper skull (with mounting features) unless you are:
- Increasing wall count
- Increasing infill
(This helps support heavier antlers safely)
Assembly:
- Assemble the Skull
- Align and connect the two skull segments with square dowels
- Use epoxy or a strong adhesive between sections for a semi-permanent bond
- Prepare the Antlers
- Designed for low to medium weight antlers
- Drill the center of each antler base using a ¼" drill bit
- Choose a high-strength lag screw to secure the antler
- Recommended: #14 x 3" lag screw for low to medium-weight sheds
- Designed for low to medium weight antlers
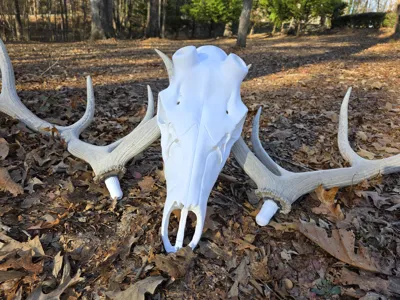
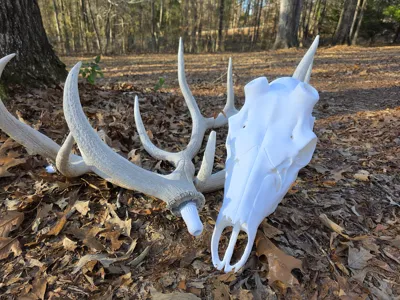
- Install the Bullet Anchors
- Slide the screw through the bullet anchor, then screw it into the drilled hole in the antler
- To prevent the antler from spinning, apply a small dab of epoxy between the anchor and the antler
- Mount the Antlers
- Insert the bullet anchor (with antler attached) into the skull’s mount feature
- Push firmly until fully seated
- Repeat for the second antler
- Current size of bullet anchors creates a semi-permanent assembly due to the friction fit. It is not designed to be removed easily.

Please read below
- It is the user’s responsibility to ensure the final print is structurally sound, properly assembled, and suitable for supporting the weight of antlers or other mounted materials.
- Strength, durability, and safety of the mount depend on multiple factors, including print settings, material choice, printer calibration, and antler weight.
- Always test your setup in a safe environment before wall mounting or long-term display.
- This design is not intended for commercial load-bearing applications or unsupervised installations in areas with foot traffic or children.
If you're selling or distributing prints of this design, you are responsible for providing appropriate safety warnings and disclosures to your customers.
With all that said, I hope you enjoy this model as much as I enjoyed creating it.
Boost Me (for free)
Boost for more!
License
You shall not share, sub-license, sell, rent, host, transfer, or distribute in any way the digital or 3D printed versions of this object, nor any other derivative work of this object in its digital or physical format (including - but not limited to - remixes of this object, and hosting on other digital platforms). The objects may not be used without permission in any way whatsoever in which you charge money, or collect fees.
Comment & Rating (71)