3min30s spin time - fully modular pull-string spinner (5 types of spinner discs, 4 types of tips, updated as inspiration strikes)


Print Profile(13)


Description
Pinned: In the print profile, "Basic Spinner V1.0" only includes the spinner body; the launcher and pull-string require downloading "Standard Launcher V2.0". Current spin time record: 3min30s
25.10.19 Update: Weight plate, requires 20 D10x10mm cylindrical pins. With the V2.0 launcher and steel ball spinner tip, the maximum spin time reaches 3min30s.
The previous version of the spinner only had a maximum spin time of about 30s, so I researched how to increase the spin time and improve the moment of inertia.
The key formula is the moment of inertia I = Σmr², for a single disc, the moment of inertia I_disc=½ x m1 x r1^2 =½ x 0.02 kg x (0.035m)^2 = 1.225 x 10^(-5) kg·m^2
The moment of inertia for three discs is only 3.675x 10^(-5) kg·m^2.
So, a powerful remedy is needed. The key indicators are actually weight and radius.
The mass of a single D10x10mm cylindrical pin is m2=π x r^2 x H x ρ = π x (5mm)^2 x 10mm x 7850 kg/m^3 / 10^6 ≈ 6.17 g
After fully equipping the weight disc with 20 pins, the moment of inertia is
I_disc + m2 x d^2 = I_disc + 0.00617 kg x (0.04247m)^2 x 20 pins ≈ 1.225 x 10^(-5) + 2.228 x 10^(-4) ≈ 2.35 x10 ^-4 kg·m^2
The result is a 6-fold increase in spin time.

However, because the spinner is much heavier, the original claw disc tends to detach easily. A reinforced claw disc replacement will be better than the default version. This part should not be too tight, as it can cause the spinner to become unbalanced from launch. I have included the reinforced claw disc in the print profile for the weight disc, which you can replace yourself.

---------------------------------------------------------------------------------------------------------------------
25.09.24 Update: Steel ball spinner tip, requires one 4mm diameter steel ball, to be glued into the tip slot.


---------------------------------------------------------------------------------------------------------------------
25.09.06 Update: Battle disc, Type 2 rudder, Type 3 fan blade


----------------------------------------------------------------------------------------------------------------
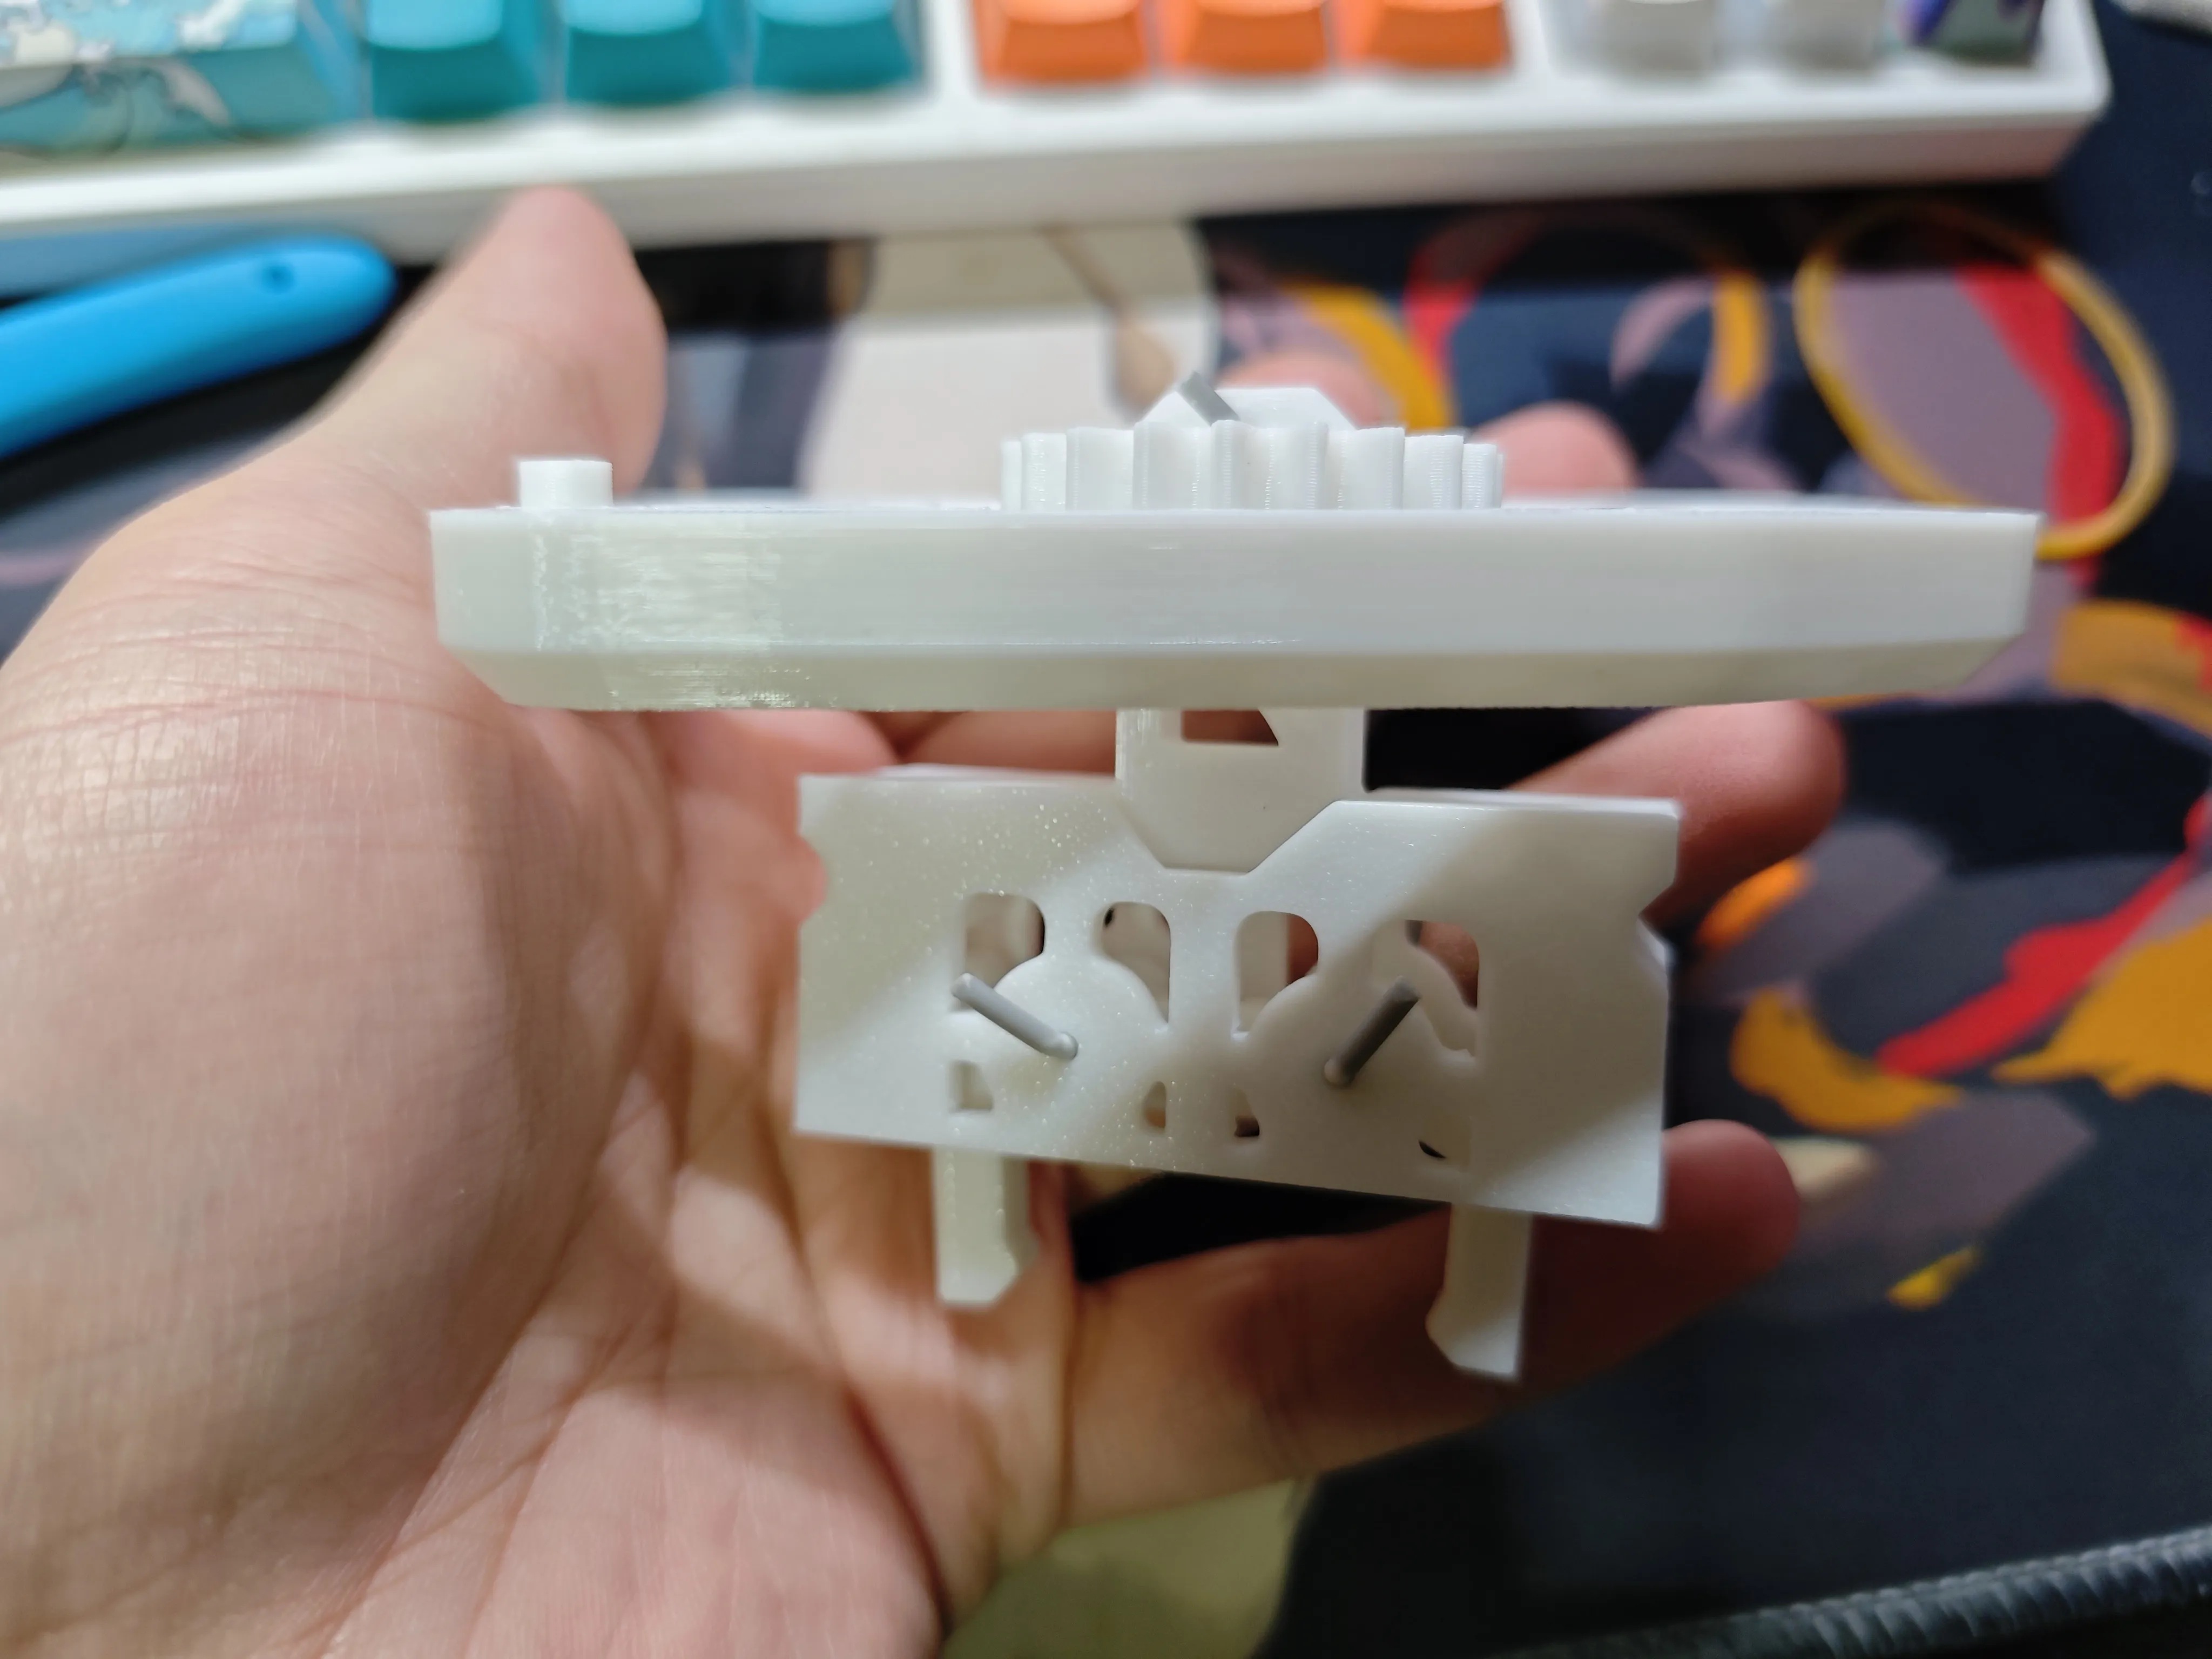
25.09.03 Update: Launcher V2.0, optimized weight and geared pull-string. The shaft rotates twice as many turns compared to the first generation.
The installation process is similar to before, but the shaft connection is now secured with a short filament as a pin, and the optimized launcher does not require supports.
The upper part of the launcher can be glued with a short round shaft, or a 5x2mm magnet can be used (for my optimization, the cable ties in the picture).
If unsure, refer to the disassembly instructions uploaded in the installation guide.


------------------------------------------------------------------
25.08.30 Update: Attack type, endurance type spinner tips, and defense disc.
------------------------------------------------------------------
Suddenly remembered the Auldey spinners I played with as a child, wanted to play, so I made one.
Note: Have needle-nose pliers and regular pliers or a wrench ready for easier installation.
After revisions, the first version was made. Subsequent optimizations will mainly focus on the launcher's gear set, as the spin time was not satisfactory, only around 1 minute.
In the basic spinner print profile, the spinner tip is a defensive round-head tip. I will modify and upload the attack and endurance type tips when I have time.
For the discs, the basic spinner uses two hexagonal hollow discs I designed, offset by 30 degrees each. I will upload attack and defense type discs separately later.
If you have any preferred disc designs, you can also leave a comment with pictures, and I will make them later.
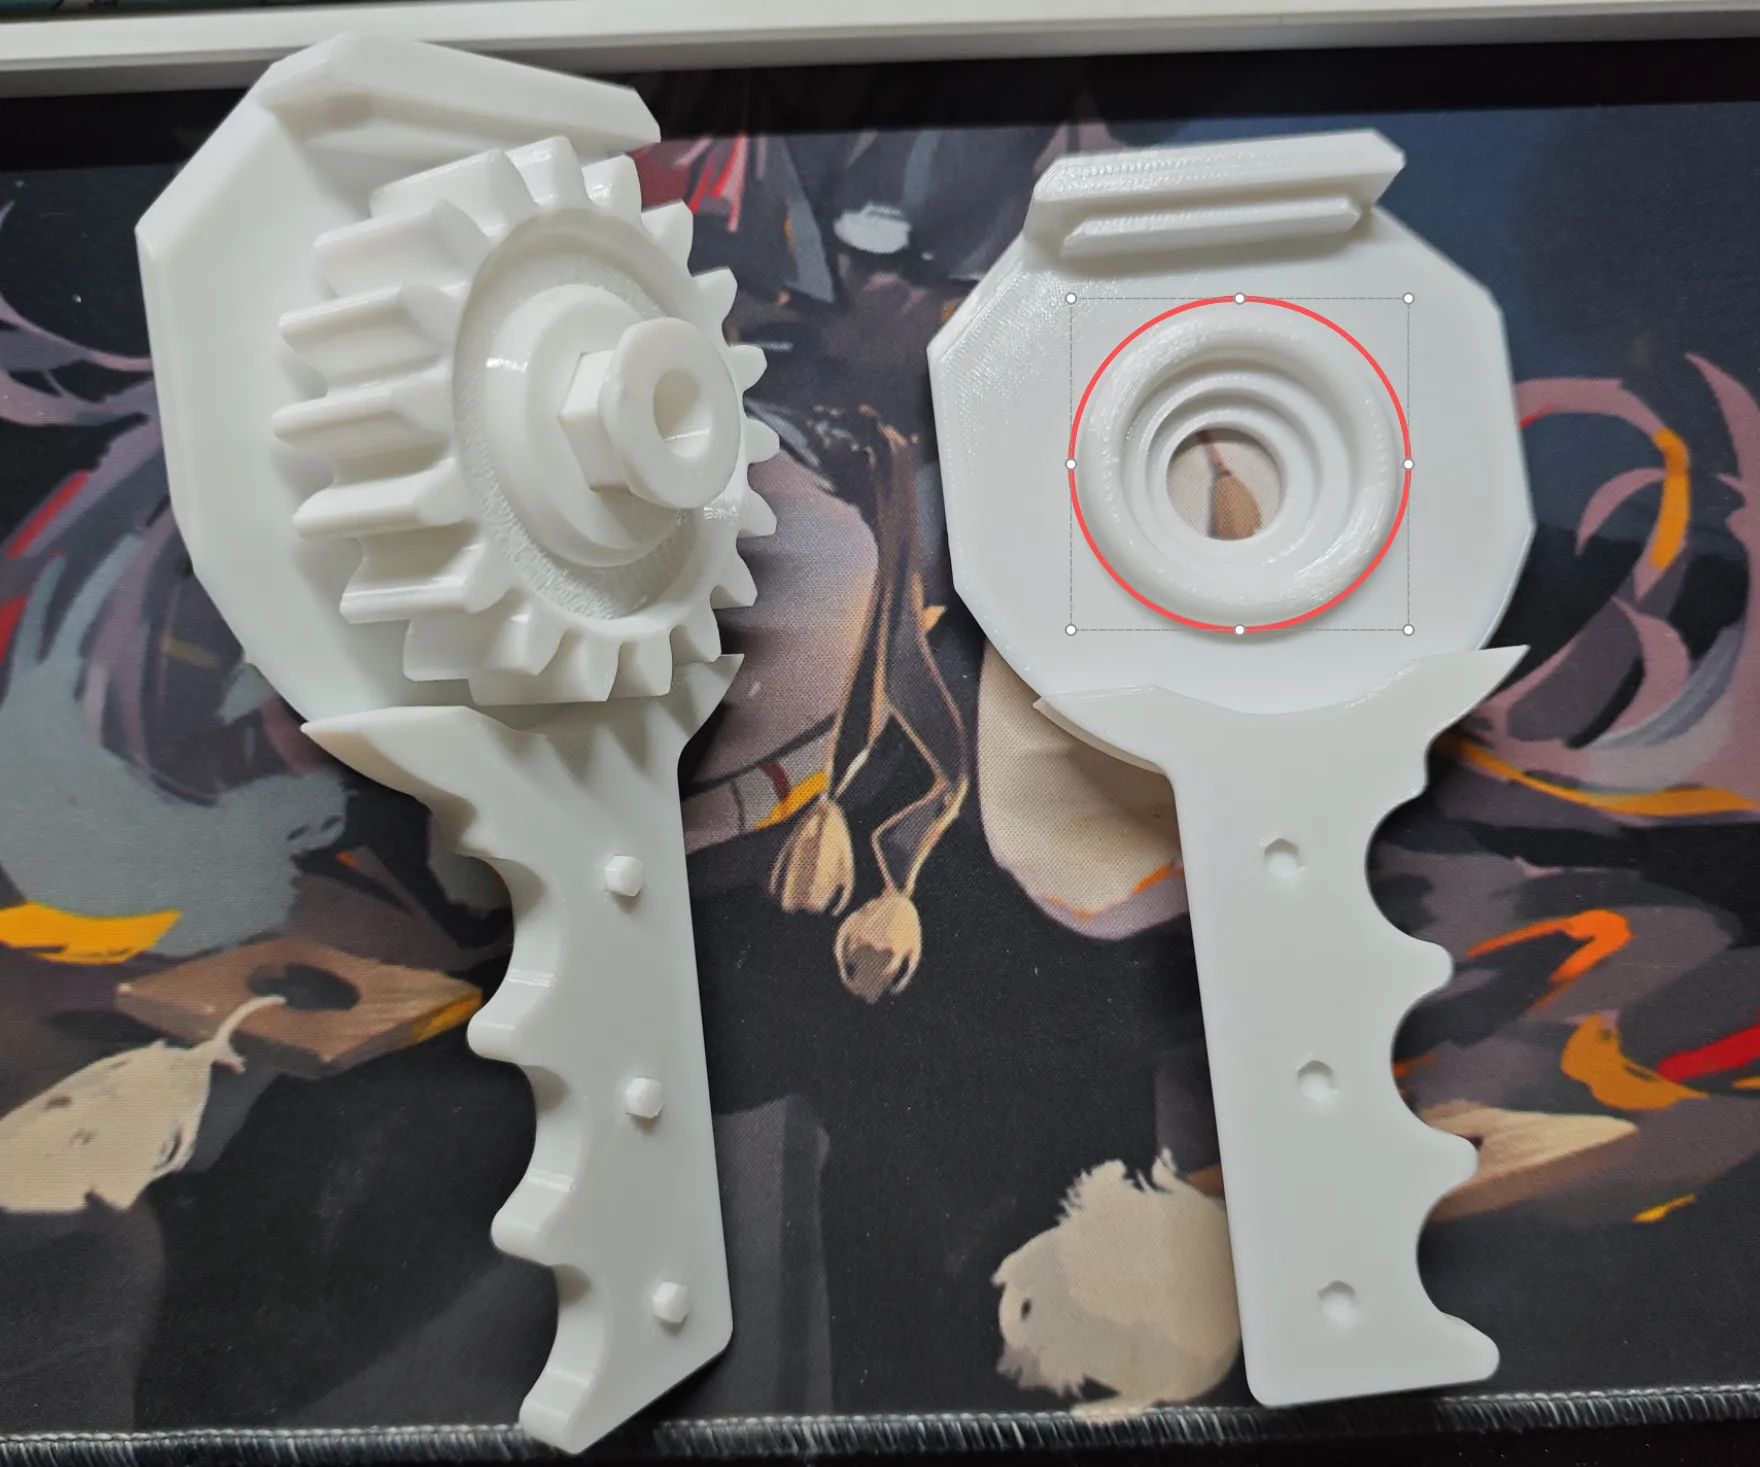
Overall installation is not too complicated, just pay attention to the indentation where the axle comes out on the upper side of the handle (red circle position).
For detailed shaft installation, refer to the assembly guide. Do not use too much force when installing the tenon joint of the hexagonal drive shaft, as the snap-fit location is sharp and can easily injure your hand (speaking from experience o(╥﹏╥)o)
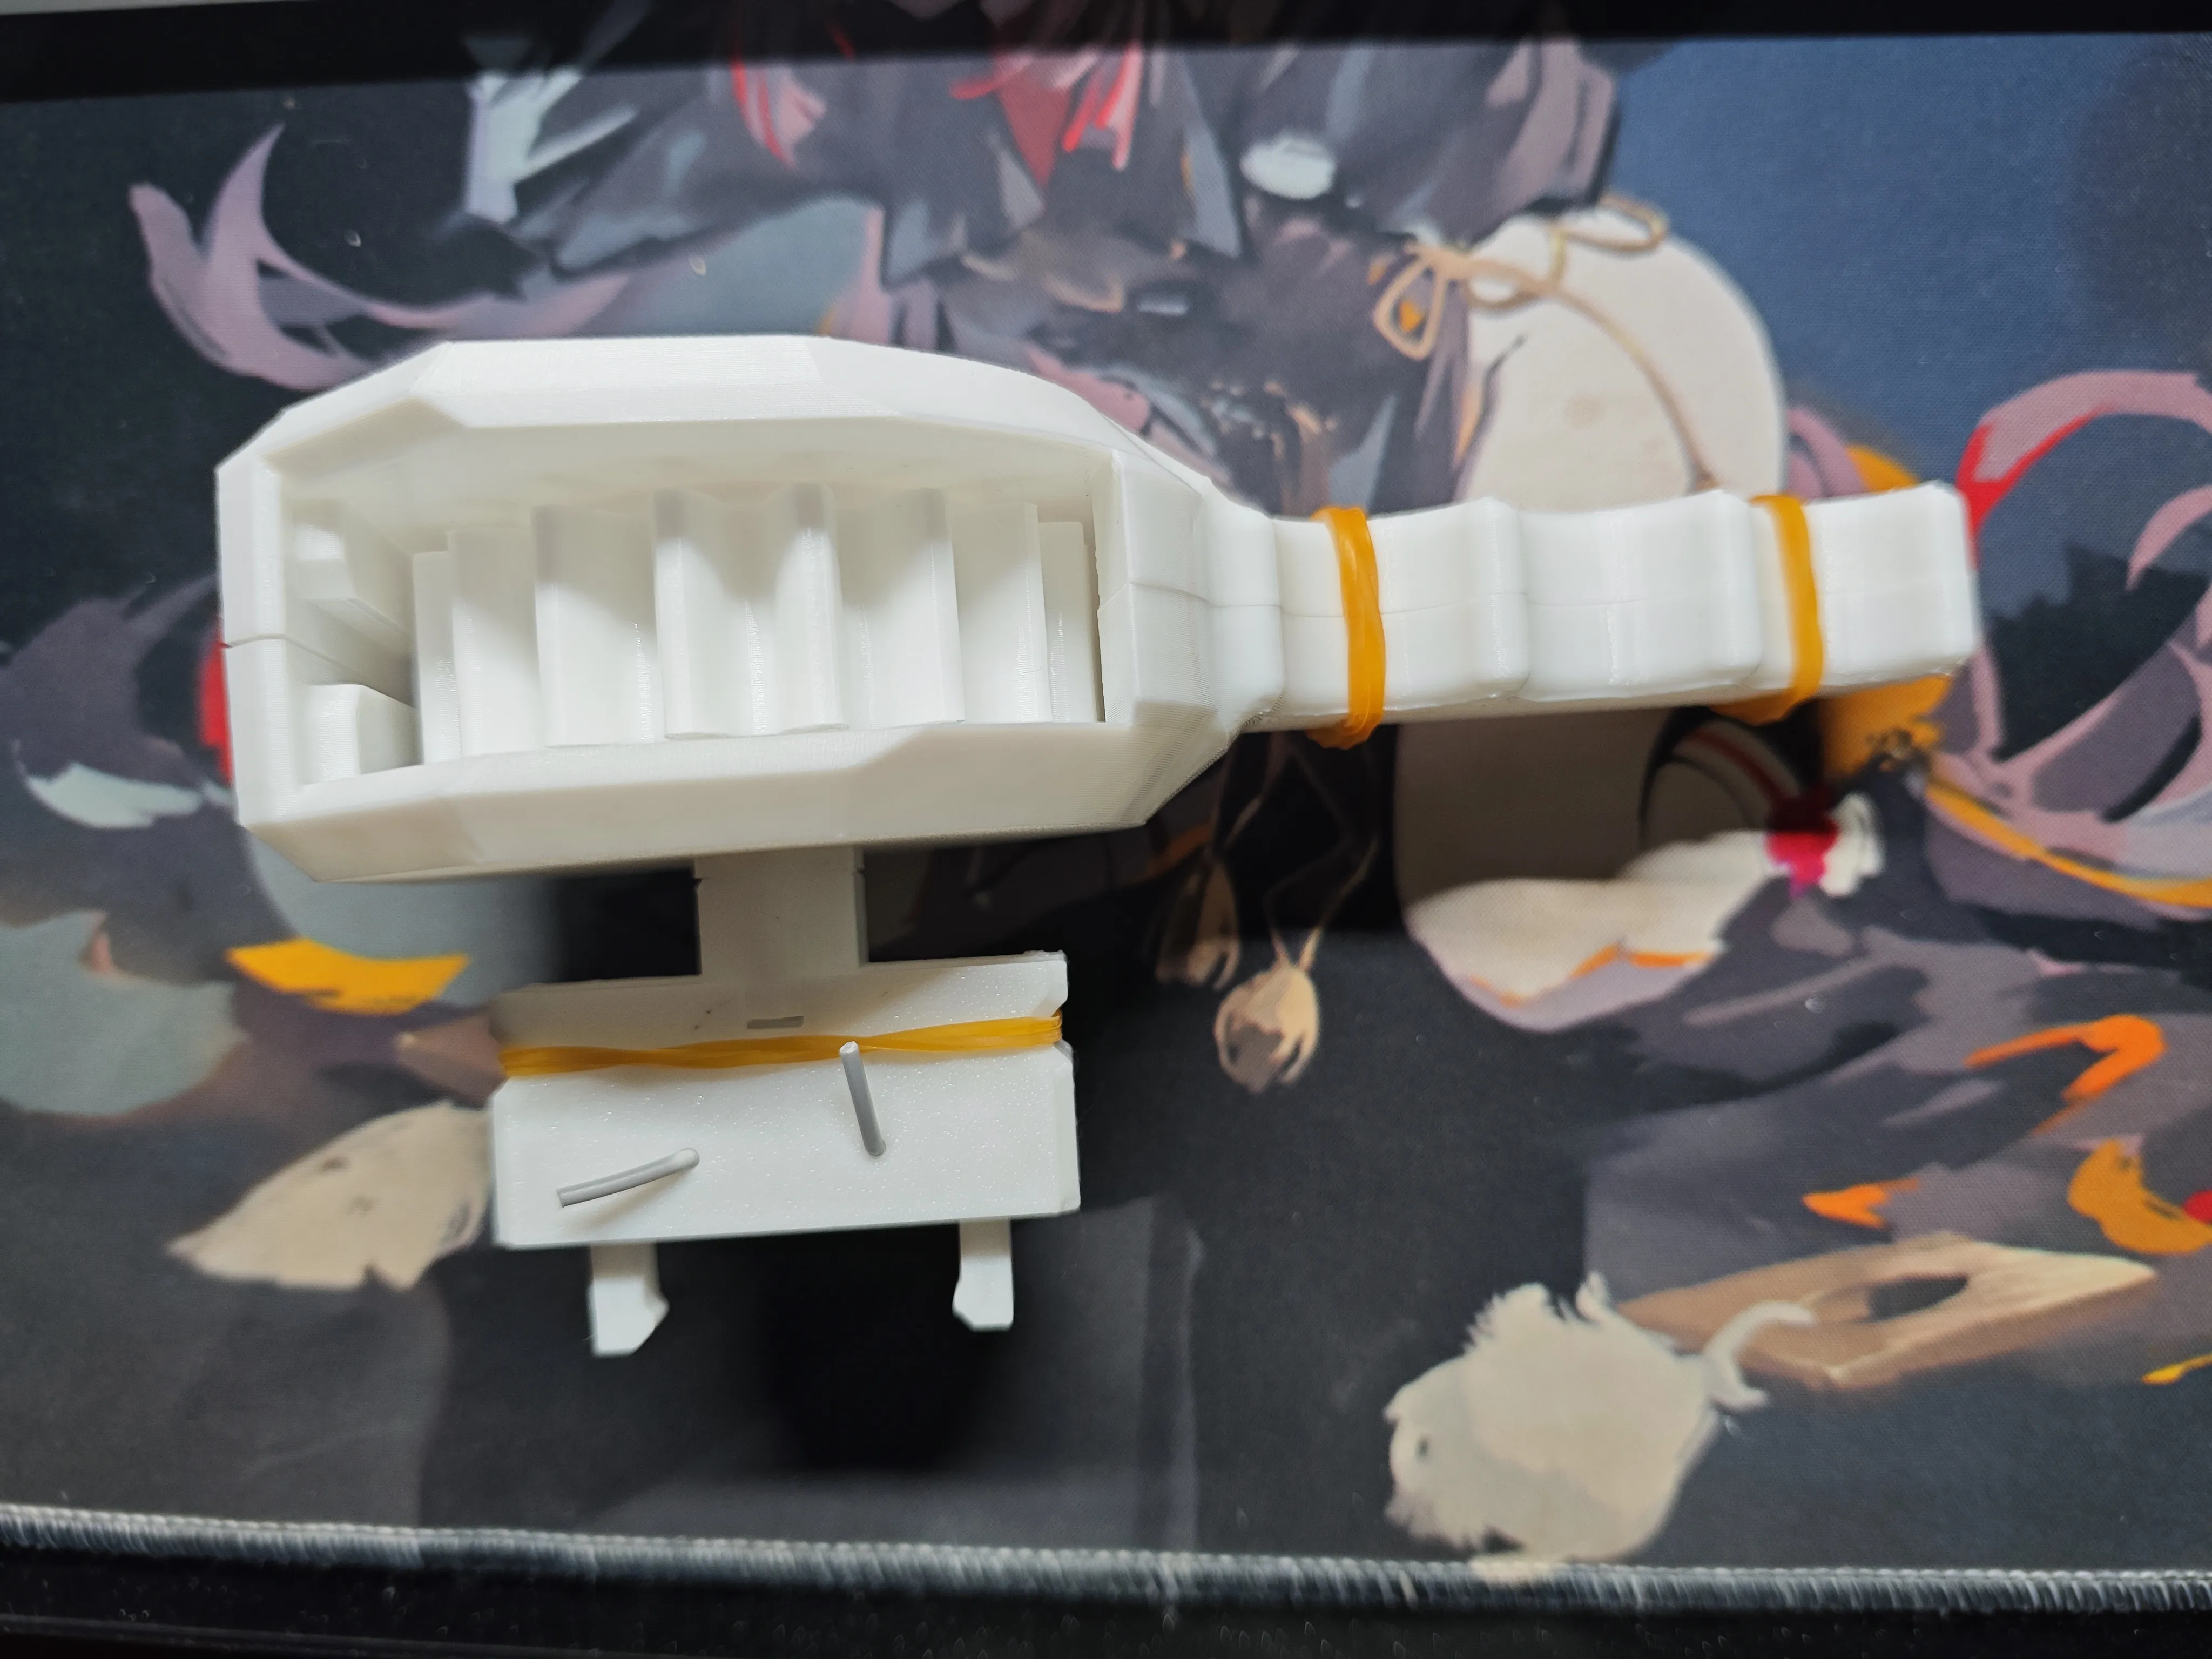
Besides the printed parts, only two pieces of filament are needed as the claw disc's rotating shaft. The handle can be glued with pins, or use 5x2 magnets for magnetic attachment (rubber bands are just for easy adjustment).
The claw disc has a reserved slot for rubber band fixation, making it easy to replace the claws.
It is important to note that needle-nose pliers are best for removing internal supports during support removal.


Documentation (3)


License
You shall not share, sub-license, sell, rent, host, transfer, or distribute in any way the digital or 3D printed versions of this object, nor any other derivative work of this object in its digital or physical format (including - but not limited to - remixes of this object, and hosting on other digital platforms). The objects may not be used without permission in any way whatsoever in which you charge money, or collect fees.
Comment & Rating (0)