LED Lights for Arrma Vorteks 2WD 550 Mega


Print Profile(2)


Description
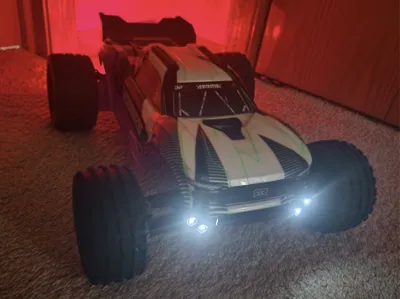
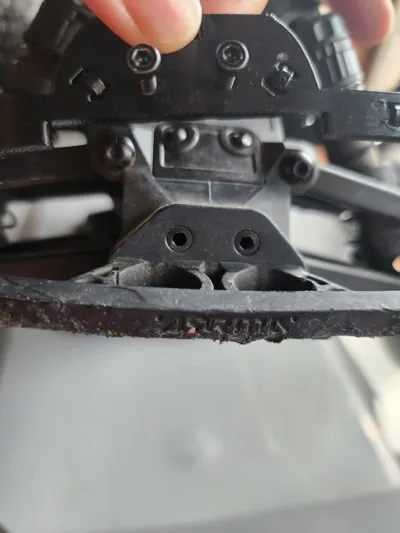
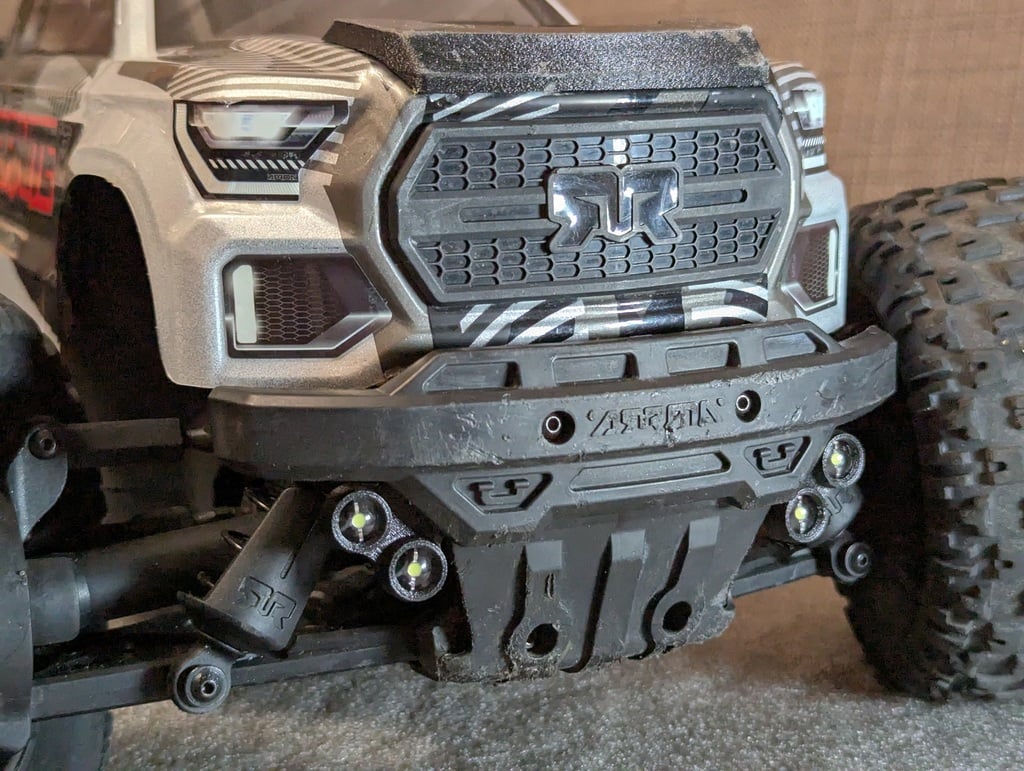
I've adapted the model found on Thingiverse to fit the Arrma Vorteks. The original model was for the Granite, which had a narrower space under the bumper. The remixed version I'm posting widens the space between the LEDs, and slightly tilts them, as the spot to screw them on the vehicle is on a slight angle - this helps the lights be more forward facing instead of upward. I also removed the extended screw posts from the original model, as they aren't needed on the Vorteks.
For the rear lights, I have included a print profile here. NOTE, please read the instructions on the print profile, the wiring is slightly different from headlights due to the addition of a resistor.
Below is the original wiring diagrams that were on Thingiverse . One note: after some trial and error, I found that wiring the lights in parallel, with one resistor (same one specced in the rear lights - 27 Ohm, 0.25W) will give you a nicer brighter light output, as the original design in series has too much resistance, causing the lights to be dimmer. Here are the instructions from the original, which will work, but do consider the tip I mentioned:
BOM:
- 4pcs 3.0v 8mm white "straw hat" LEDs AliExpress link.
- 2pcs M3x10 BHCS screws.
- 1pcs Servo Y-splitter cable AliExpress link.
- 1pcs Pre-crimped 3p DuPont cable 30cm AliExpress link.
- 3pcs 2.5mm zip ties.
- 1pcs Silicone free RTV sealant.
- 1pcs Super glue.
Installation instructions:
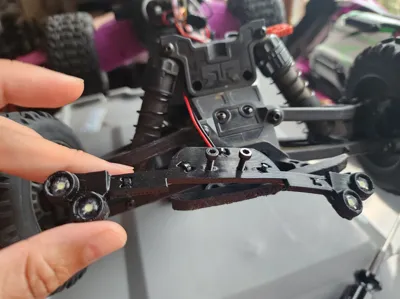
- Print light holder, use moderately flexible filament like TPU-GF, PA, PA-CF, etc.
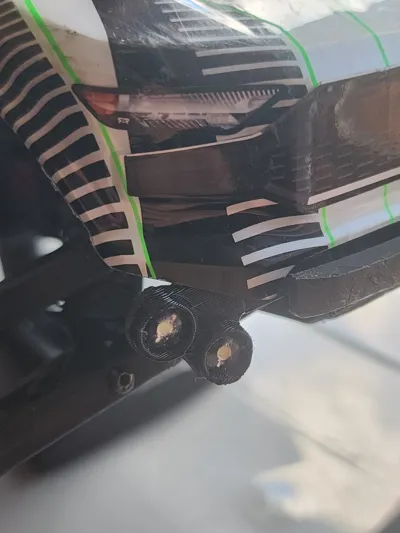
- Glue LEDs to the holder with super glue. Mind LEDs polarity (see attached wiring diagram and soldered LEDs pics).
- Solder LEDs and cut excessive leads (refer to wiring diagram and soldered LEDs pics).
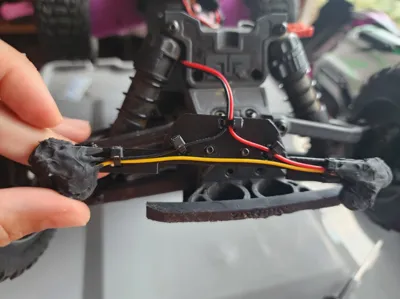
- Remove 3rd not connected wire from the pre-crimped DuPont cable and solder cable to the LEDs (see attached pics).
- Apply RTV sealant to make soldered connection waterproff.
- Connect female connector of the Y-splitter cable to the ESC's fan output, pay attention to the polarity.
- Connect female connector of LEDs to the one male connector of the Y-splitter cable, connect motor fan to the other. Pay attention to the polarity.
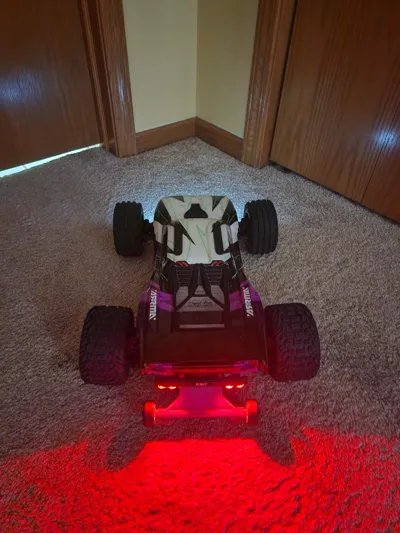
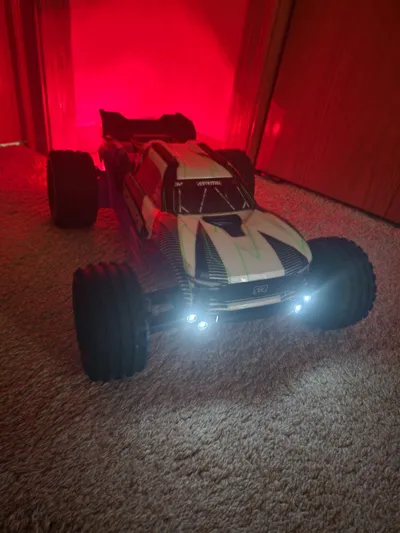
- Turn on power and check if front light works.
Note:
- The circuit is designed for 6V DC power supply and 3.0V LEDs. If you want to use it with 7.4V separate BEC, then you need a 4.7 Ohm 0.5W current limiting resistor (refer to the wiring diagram here).
Boost Me (for free)
If you like this model, please consider giving it a boost! It helps encourage me to continue supporting the community, and helps others find this design!
Comment & Rating (1)