
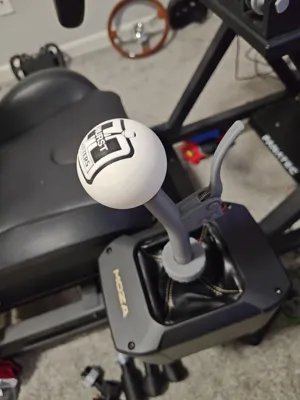
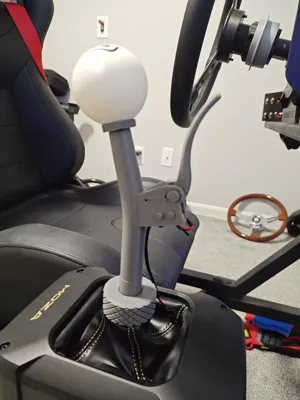
Moza AB9 Hurst Ball Shift knob bent rod + N lever
Print Profile(1)




Description
Boost Me (for free)
Since you can't buy me a beer, help me get a spool or two!
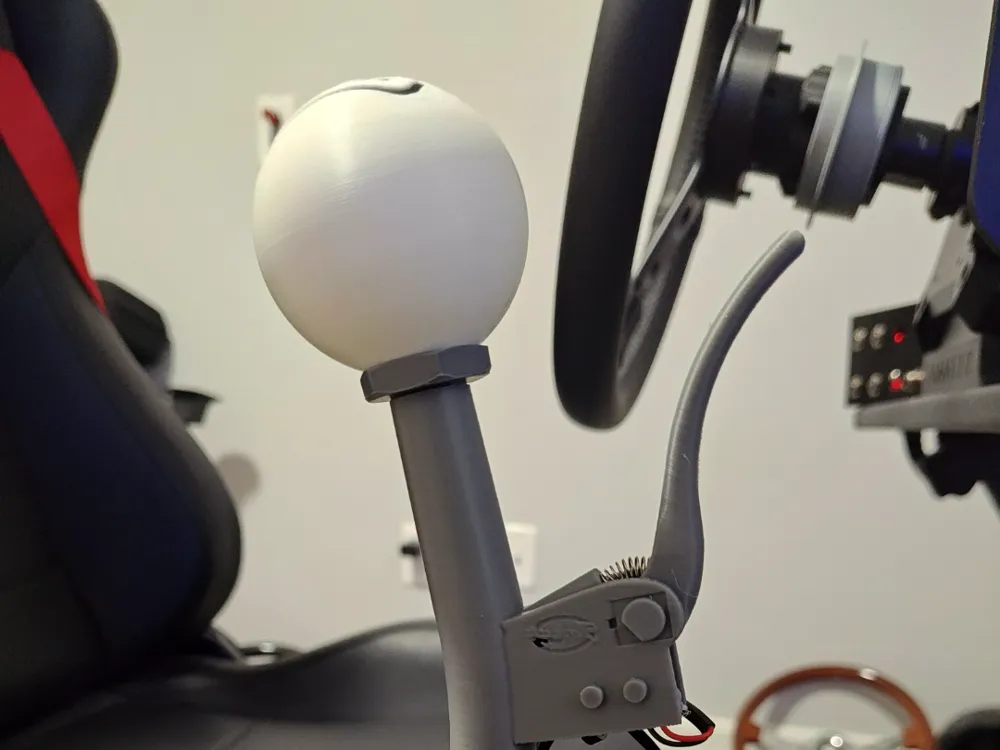
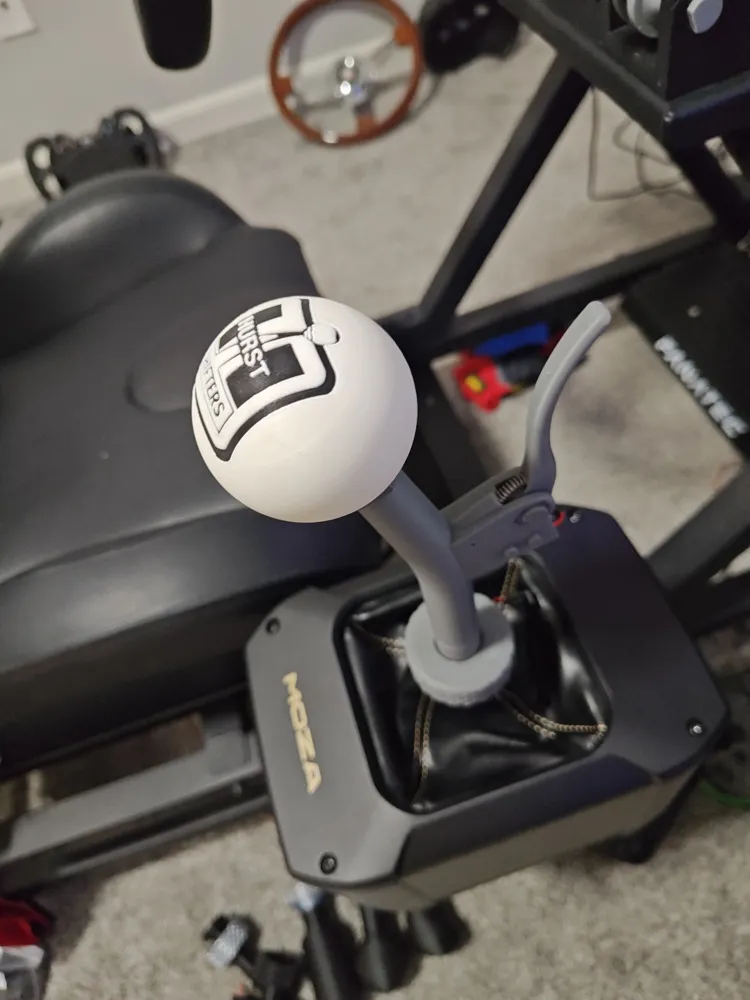
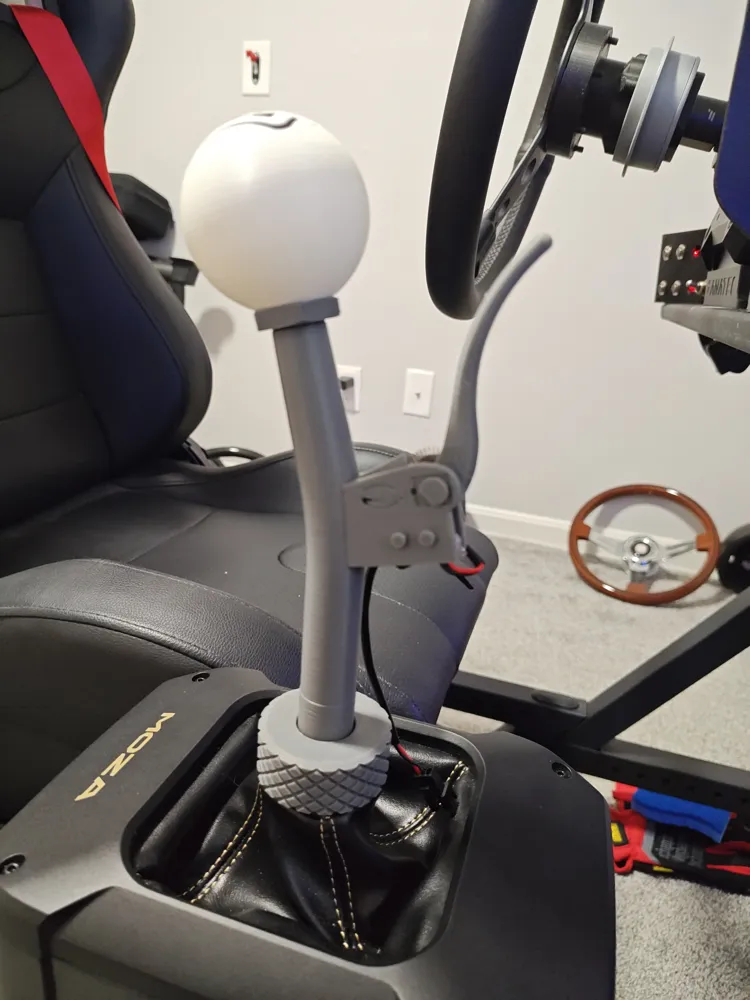
Moza AB9 Active H Shifter Hurst Ball classic muscle car style - bent rod - with Neutral switch (or use it for whatever you want)
I like to match shift knobs to the cars I use in Assetto Corsa. I use this when driving classic cars that have this style knob
I use the switch for neutral gear as I don't like having to knock down 6 gears to get to neutral if I crash.
It's not pretty or perfect since I do not have CAD but it works. The boolean subtraction function would not work on the negative object if you try to execute the function before slicing so I had to leave the negative modifier in place as it will apply the subtraction fine when it slices.
I recommend not modifying the settings. Do not remove the negative modifiers (it is to secure/zip tie the wire in place)
It has supports painted and that are not plainly visible but they are on the base of the rod (inside the screw coupling) that support the top of the screw coupling.
Once printed you just twist the coupling for the supports to break, then remove them with some needle nose pliers.
The main shifter Rod has 6 walls, 25% infill (If you shift like the hulk print 100% infill)
Screw coupling has 100% infill.
Hurst ball knob has 5 walls, 25% infill. (If doing two color knob use at least 5 walls to help avoid color bleeding)
BOM - Purchased parts:
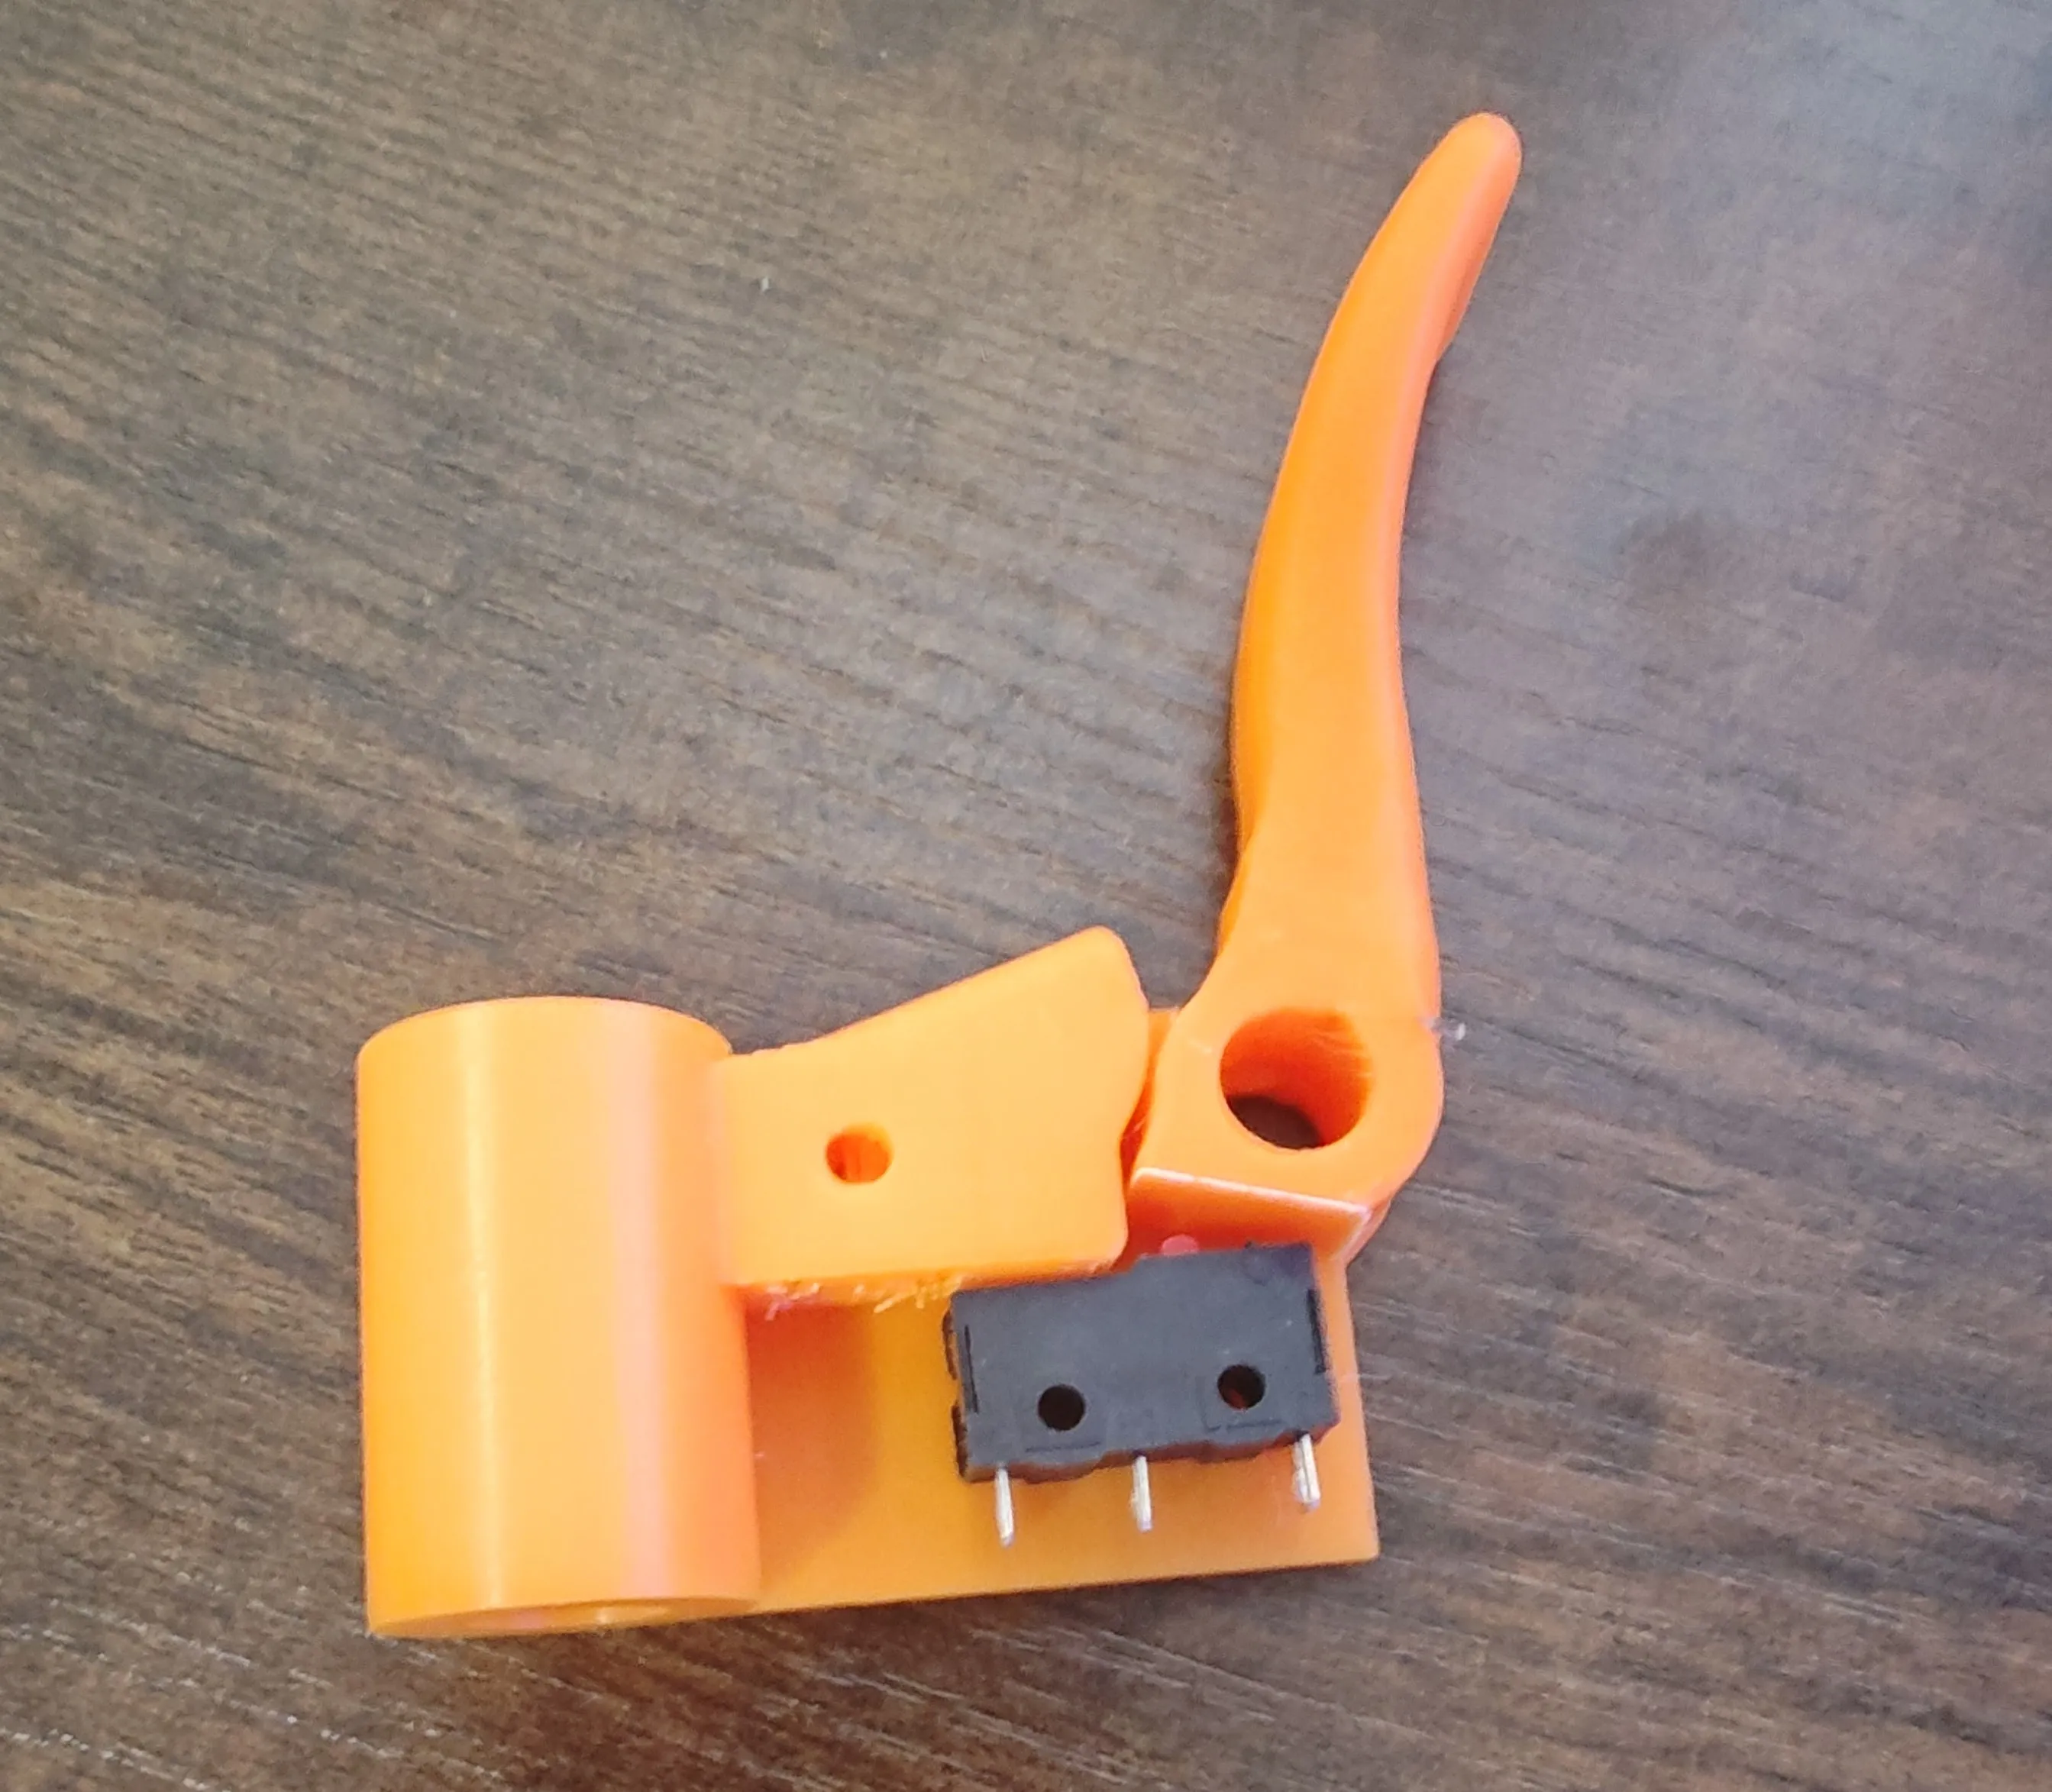
1- 20mm x 6.5mm x 10.2 micro limit switch
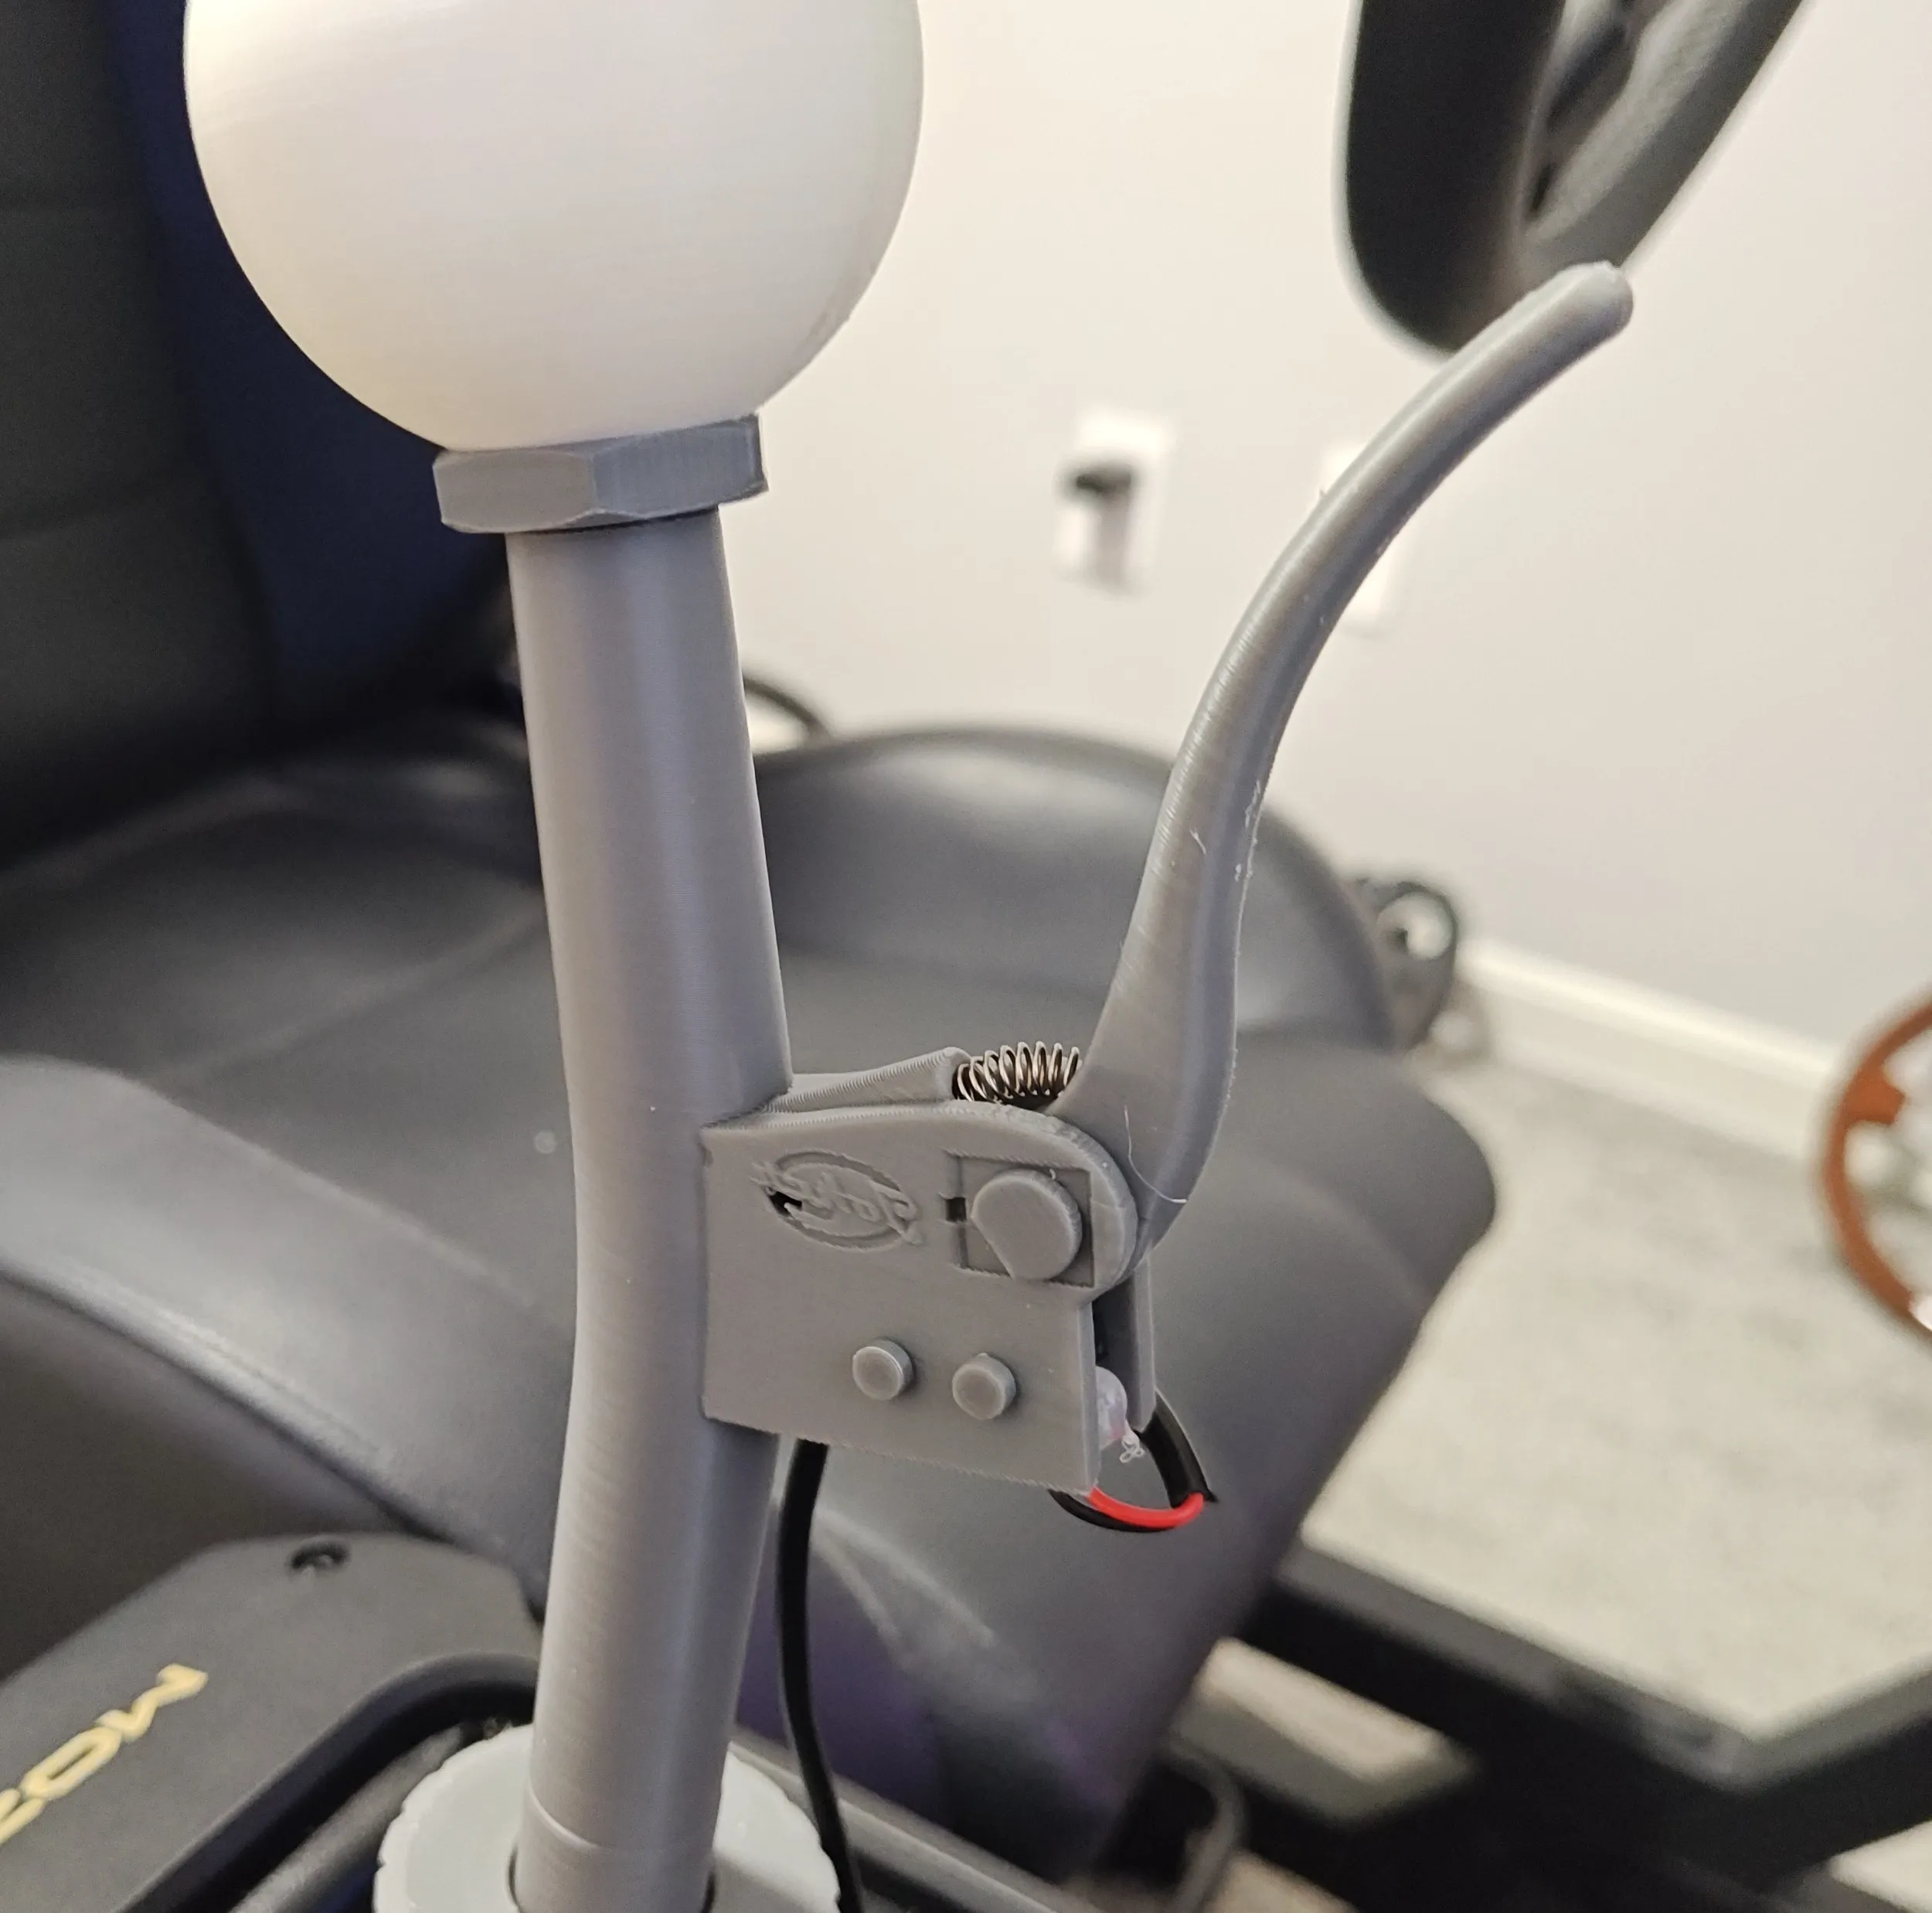
2- 0.5mm x 25mm x 2.5mm spring that I had lying around (spring form a pen could work).
3- Switch controller - I have mine wired to a zero delay arcade encoder that I have as a button box. You can also use an Arduino (cheaper but will require you to program it).
Assembly
1 - Insert the micro switch (with wires already soldered) from bottom of the housing upwards with the little red button closer to the front of the shifter.
2 - Insert the two micro switch pins to hold it in place (you may need to scale the pins (increase or decrease by 0.1mm) depending on the filament you are using.
3 - Put the spring into the hole on housing, hold it there and slide the lever into the housing.
4 - Insert the large pin (C clip really is not necessary but there just in case).
5 - Use the square hole in the switch housing for a zip tie to secure the wire into place. (When unscrewing/changing shifters over many times it can loosen the solder of the wires on the micro switch so the tie wrap avoids that stress. I also used a hot glue gun to help reinforce the solder in the pins.)
6 - Attach the Hurst ball knob on top and glue into place if needed.
5 - Then just screw the shifter on to your AB9, connect the switch wire to whatever board you are using and configure the setup in game.
Ready to race.
License



Comment & Rating (4)