
Natural Pattern Lithophane Lamps
Print Profile(9)


Bill of Materials


Description
Changelog
28.08.2025: initial upload of the collection
12.09.2025: License change to CC-BY-NC
Boost Me (for free)
Help me creating more pattern lamps by boosting my models!
Introduction
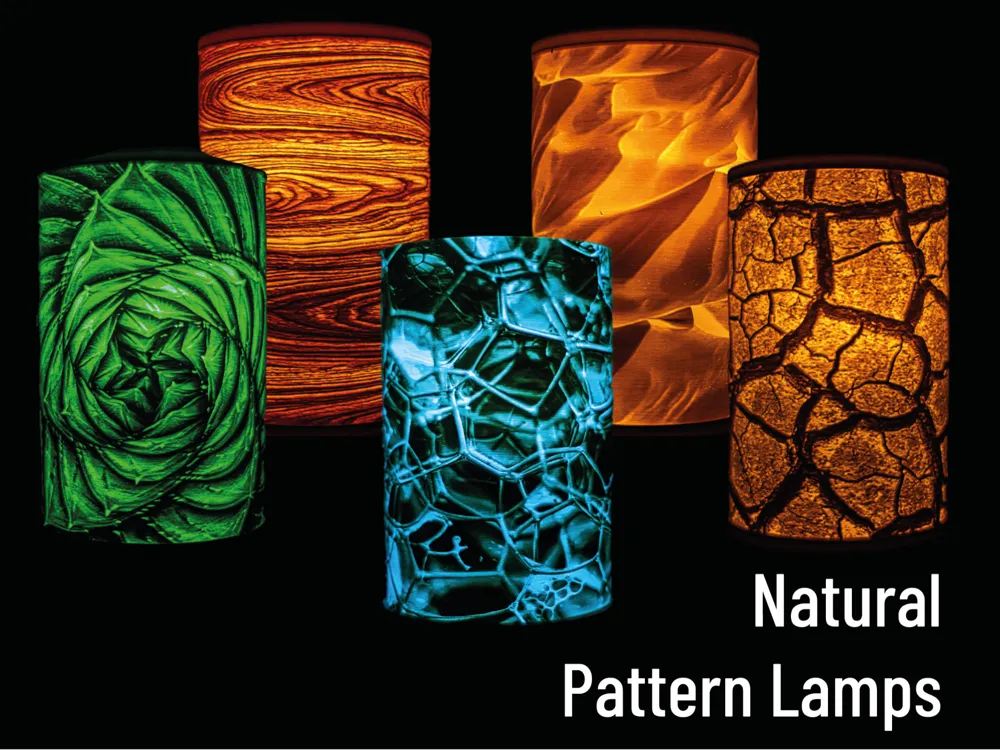
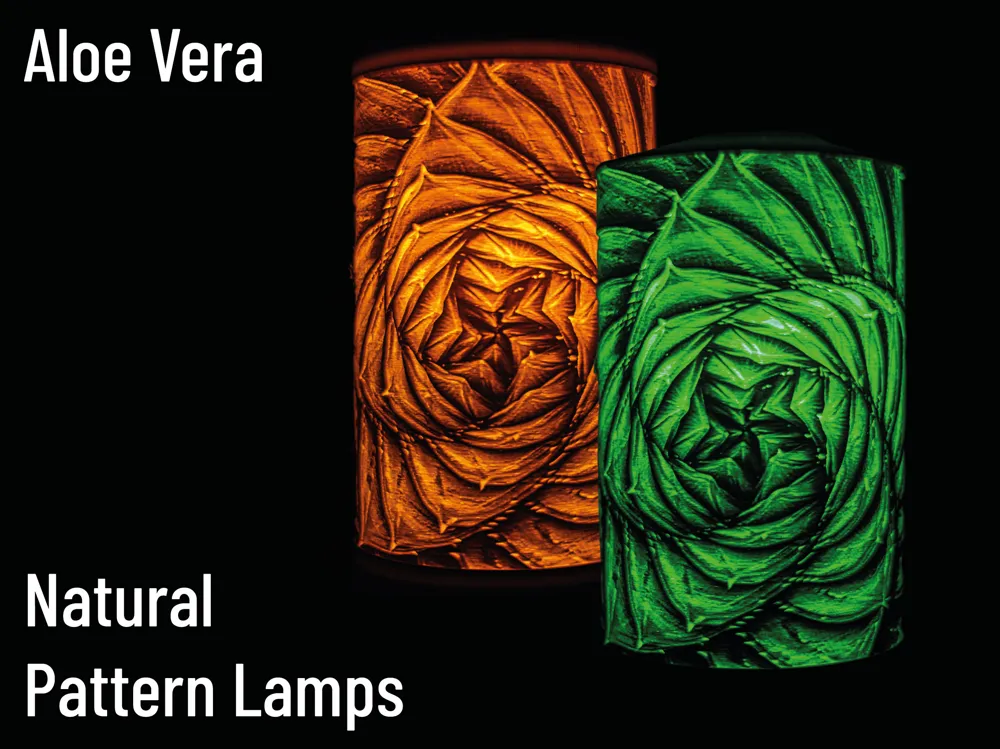
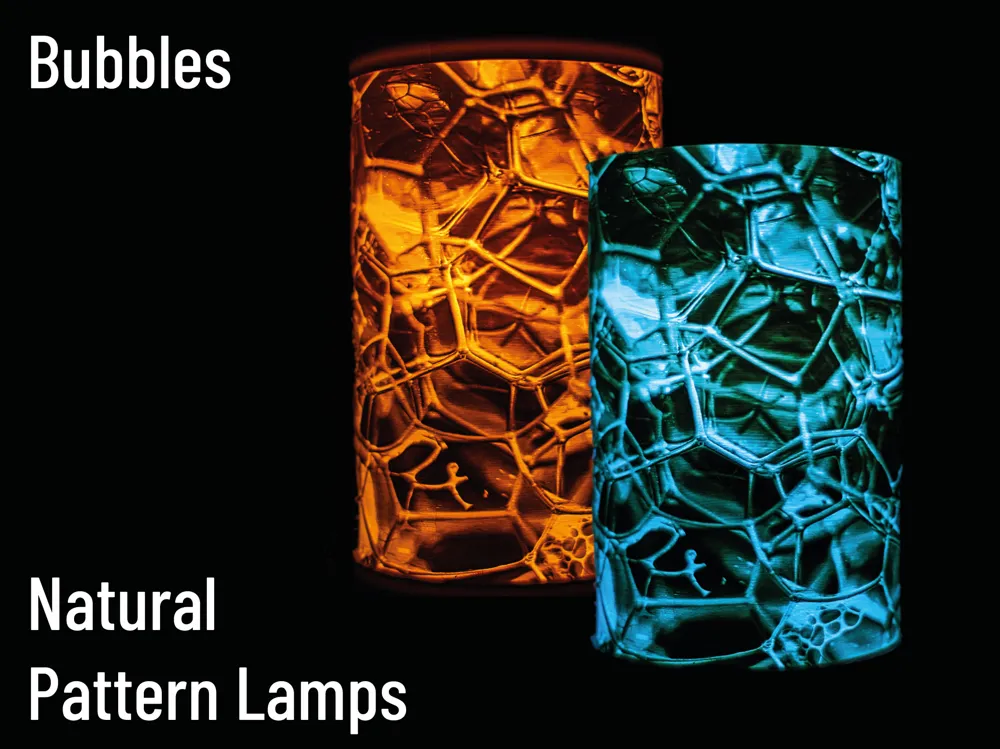
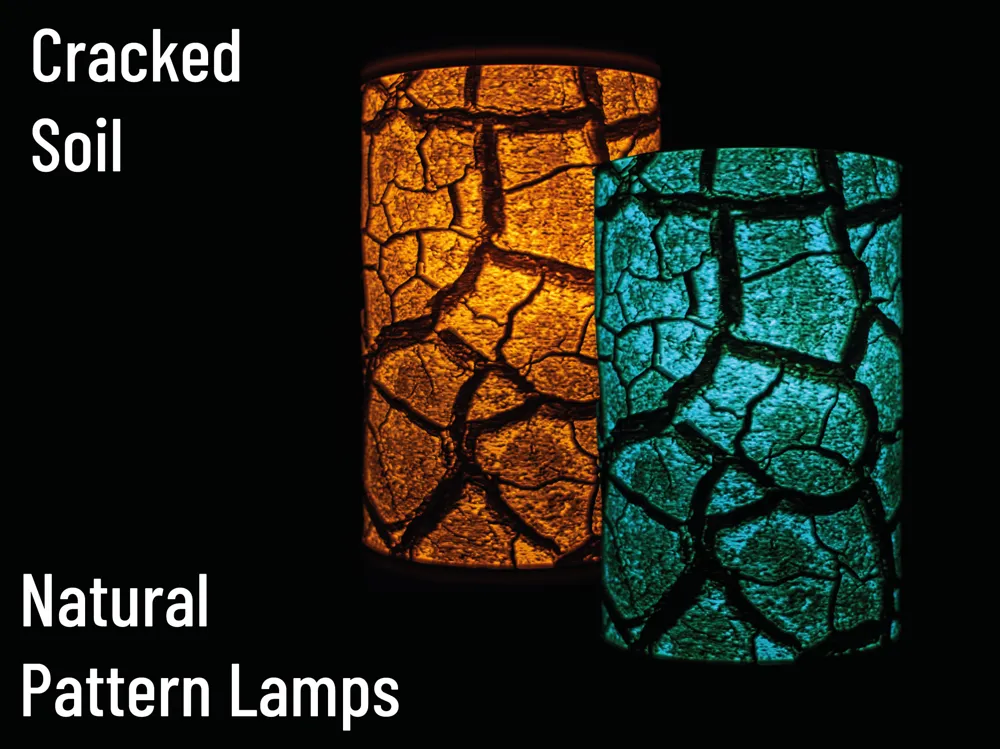
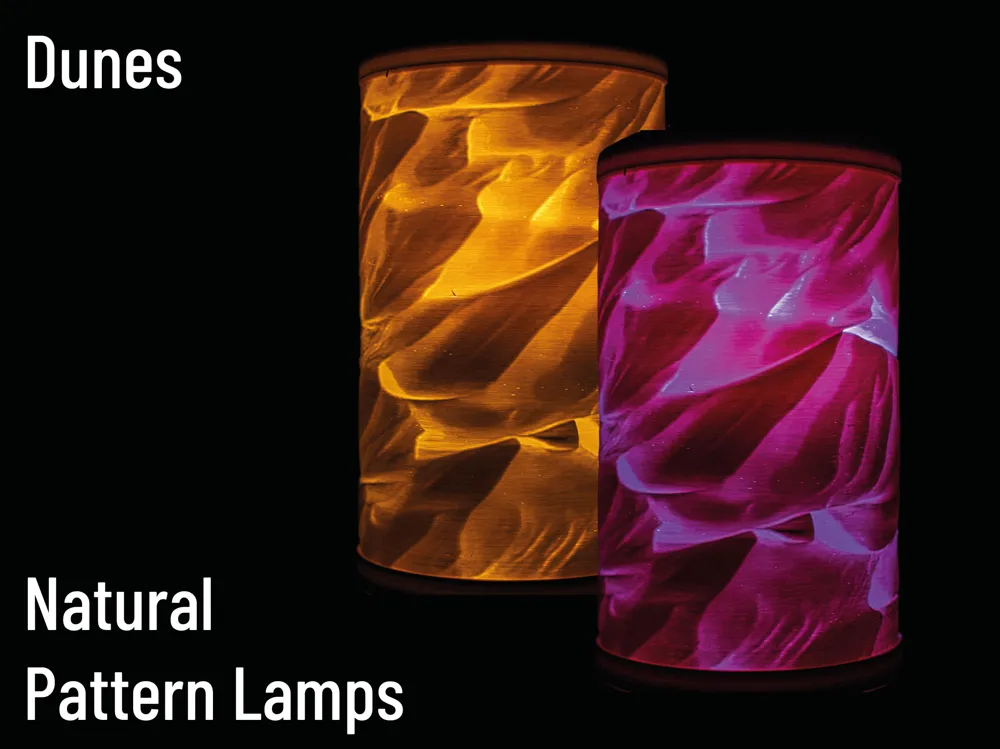
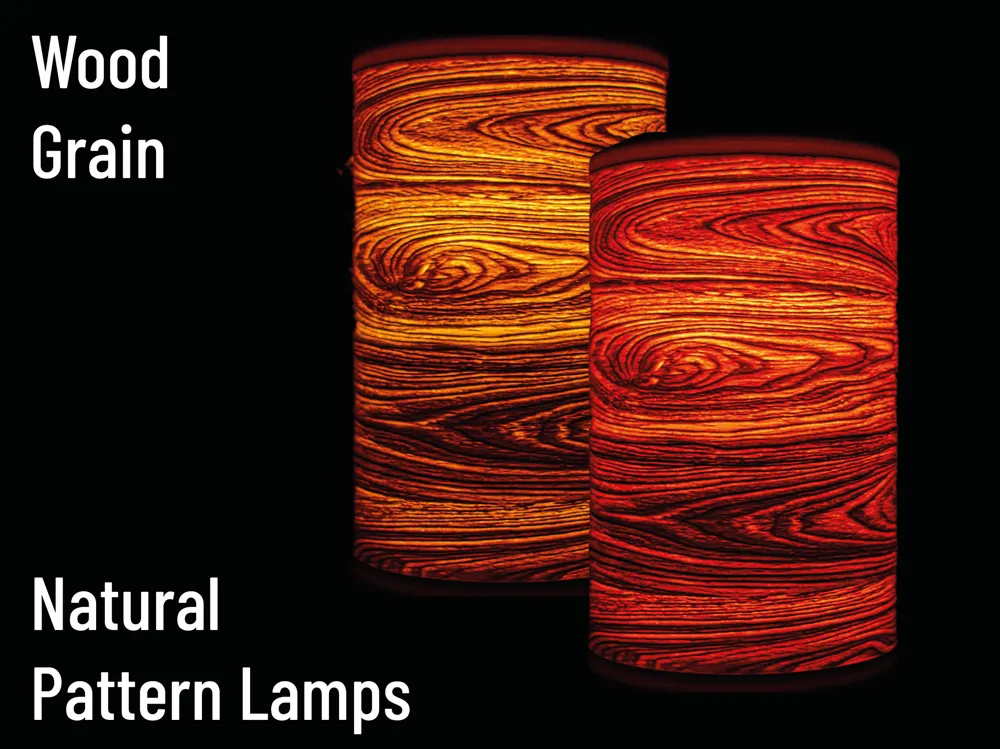
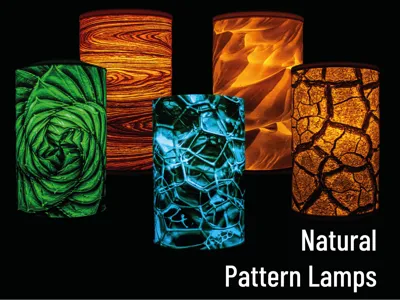
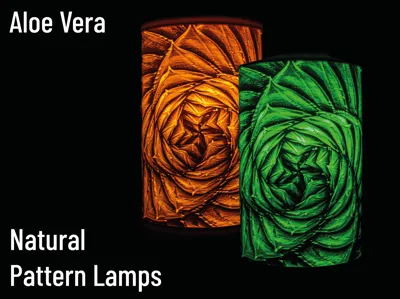
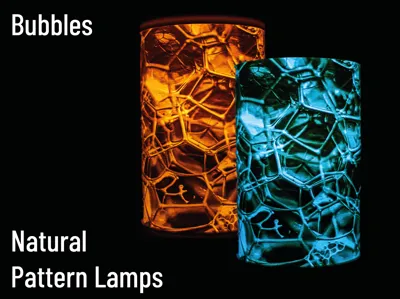
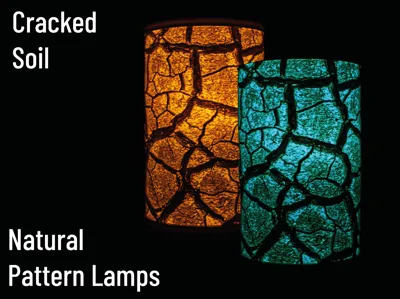
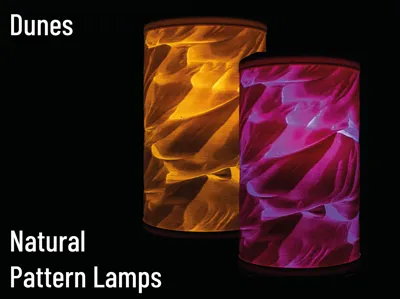
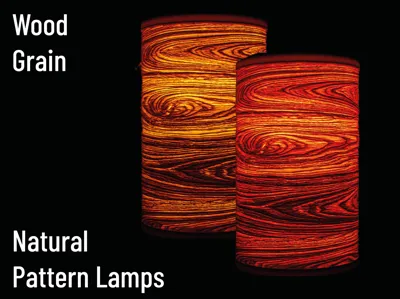
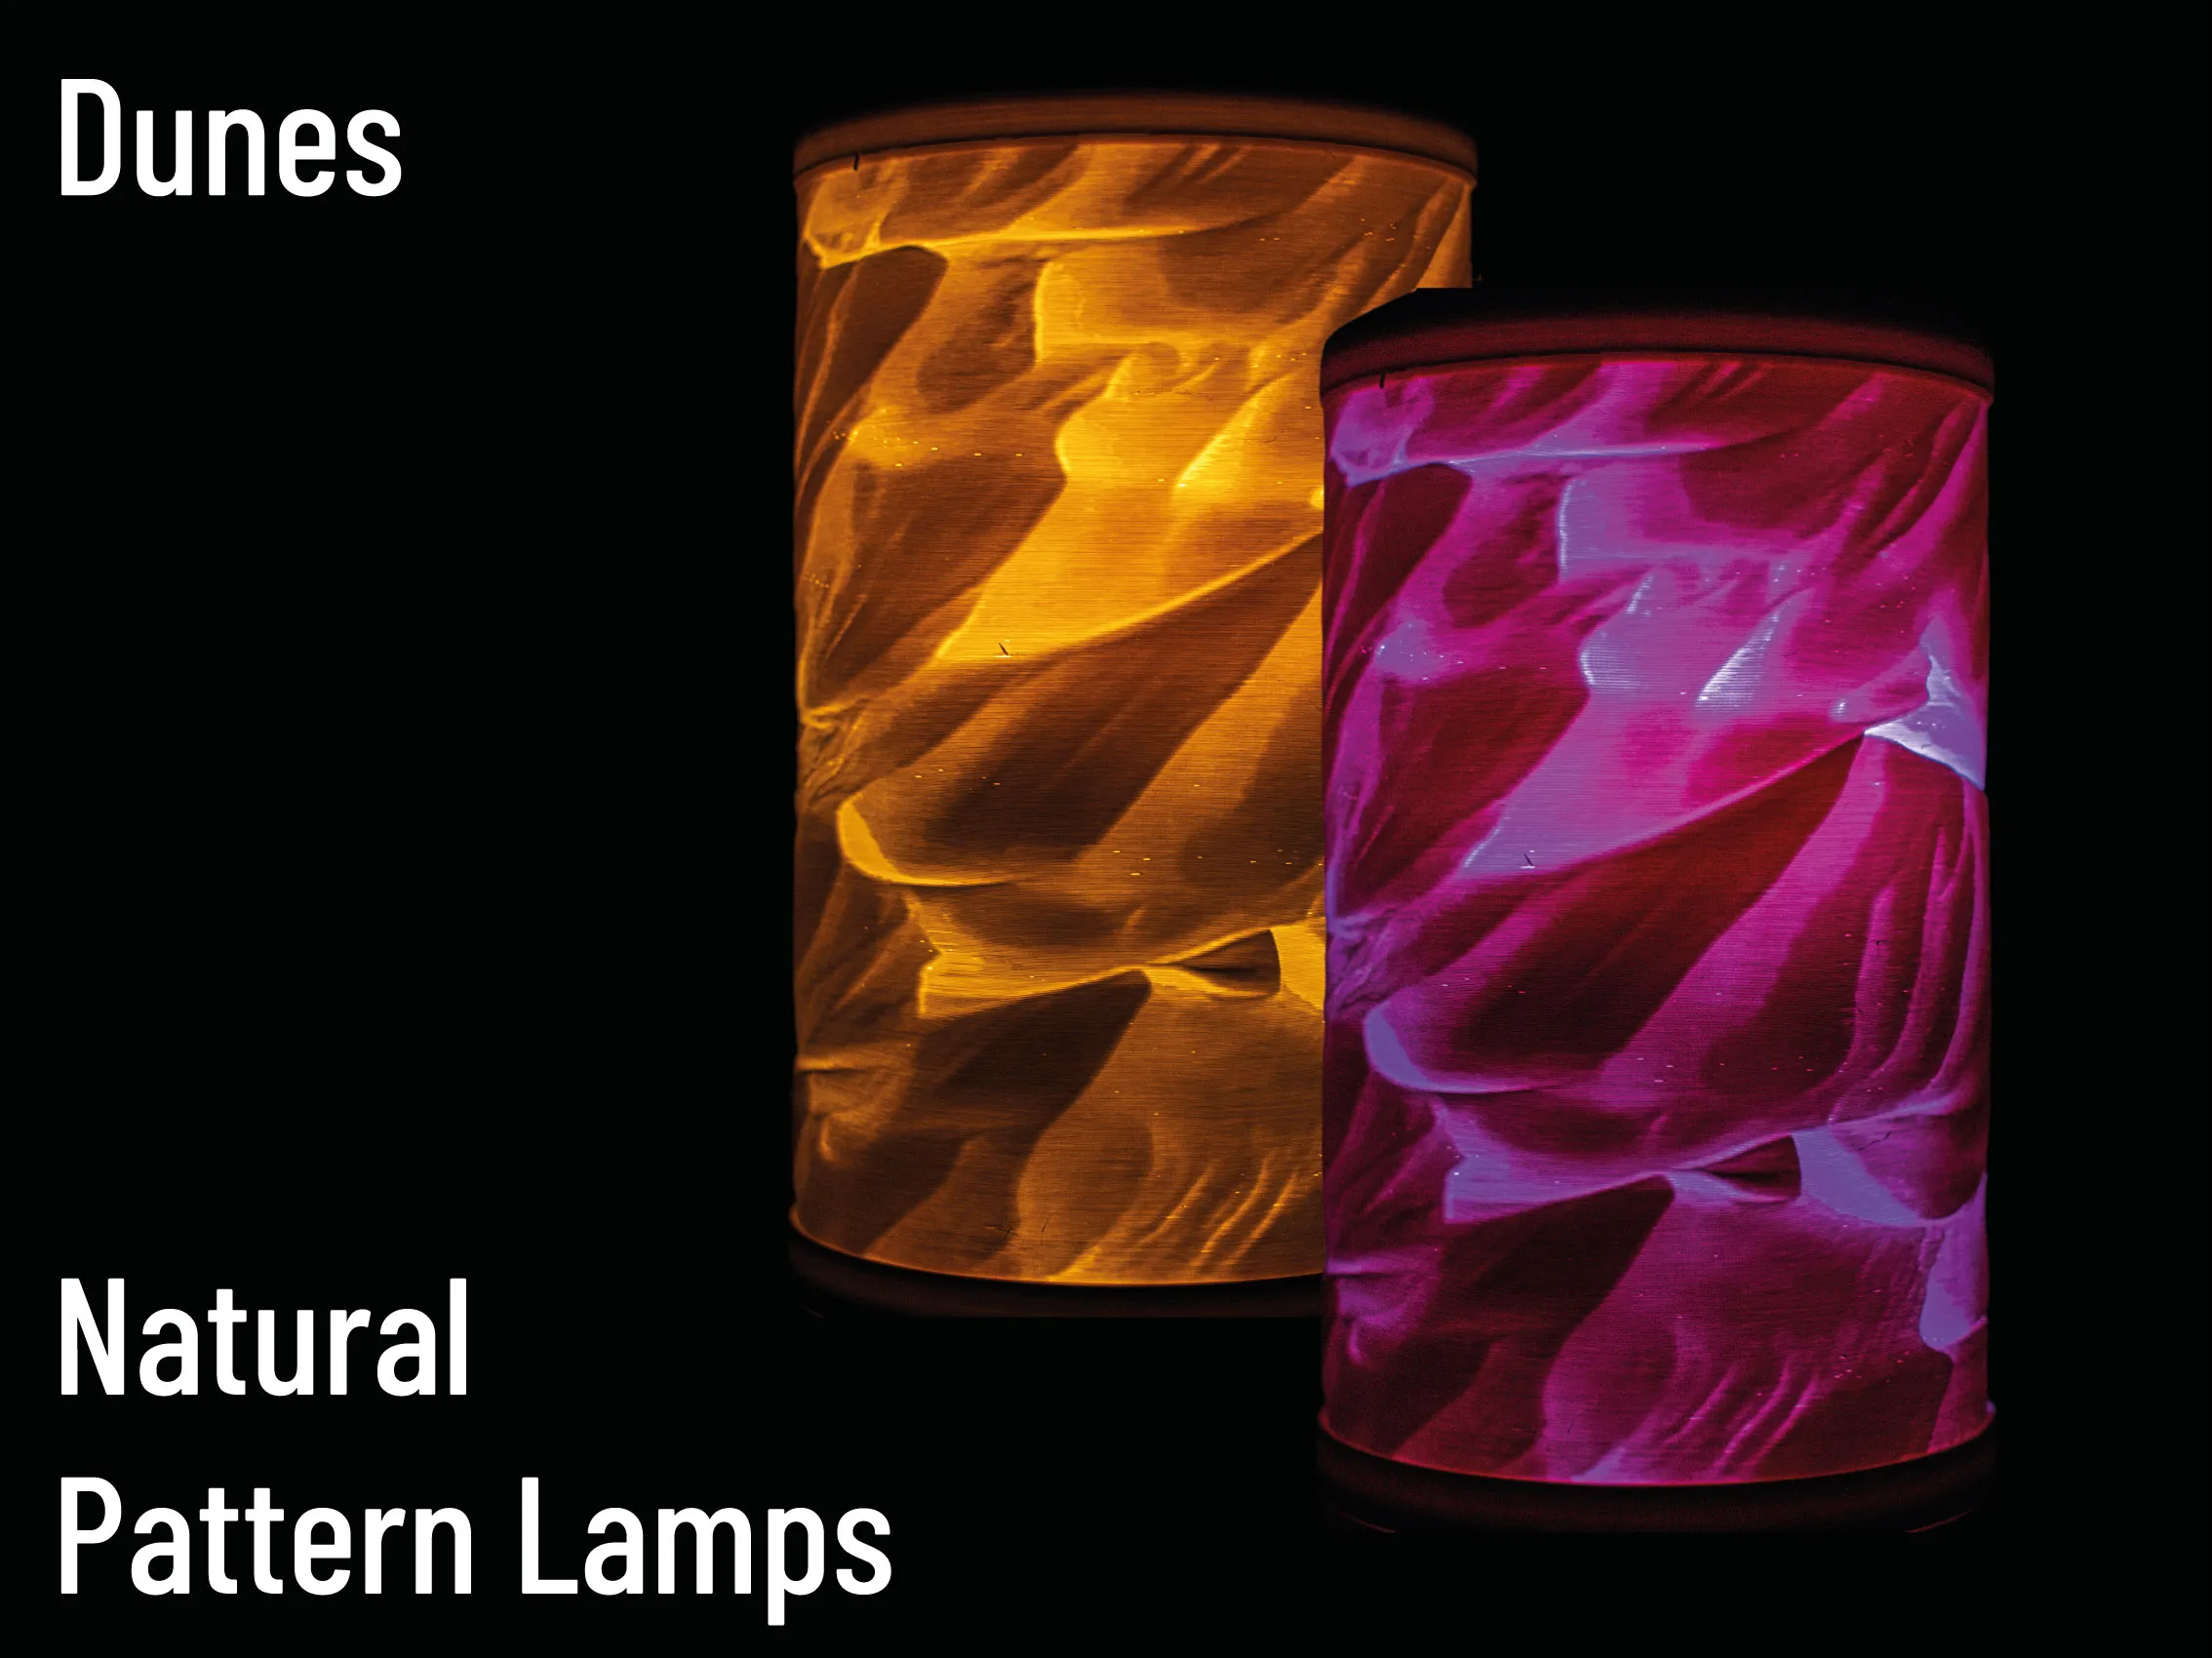
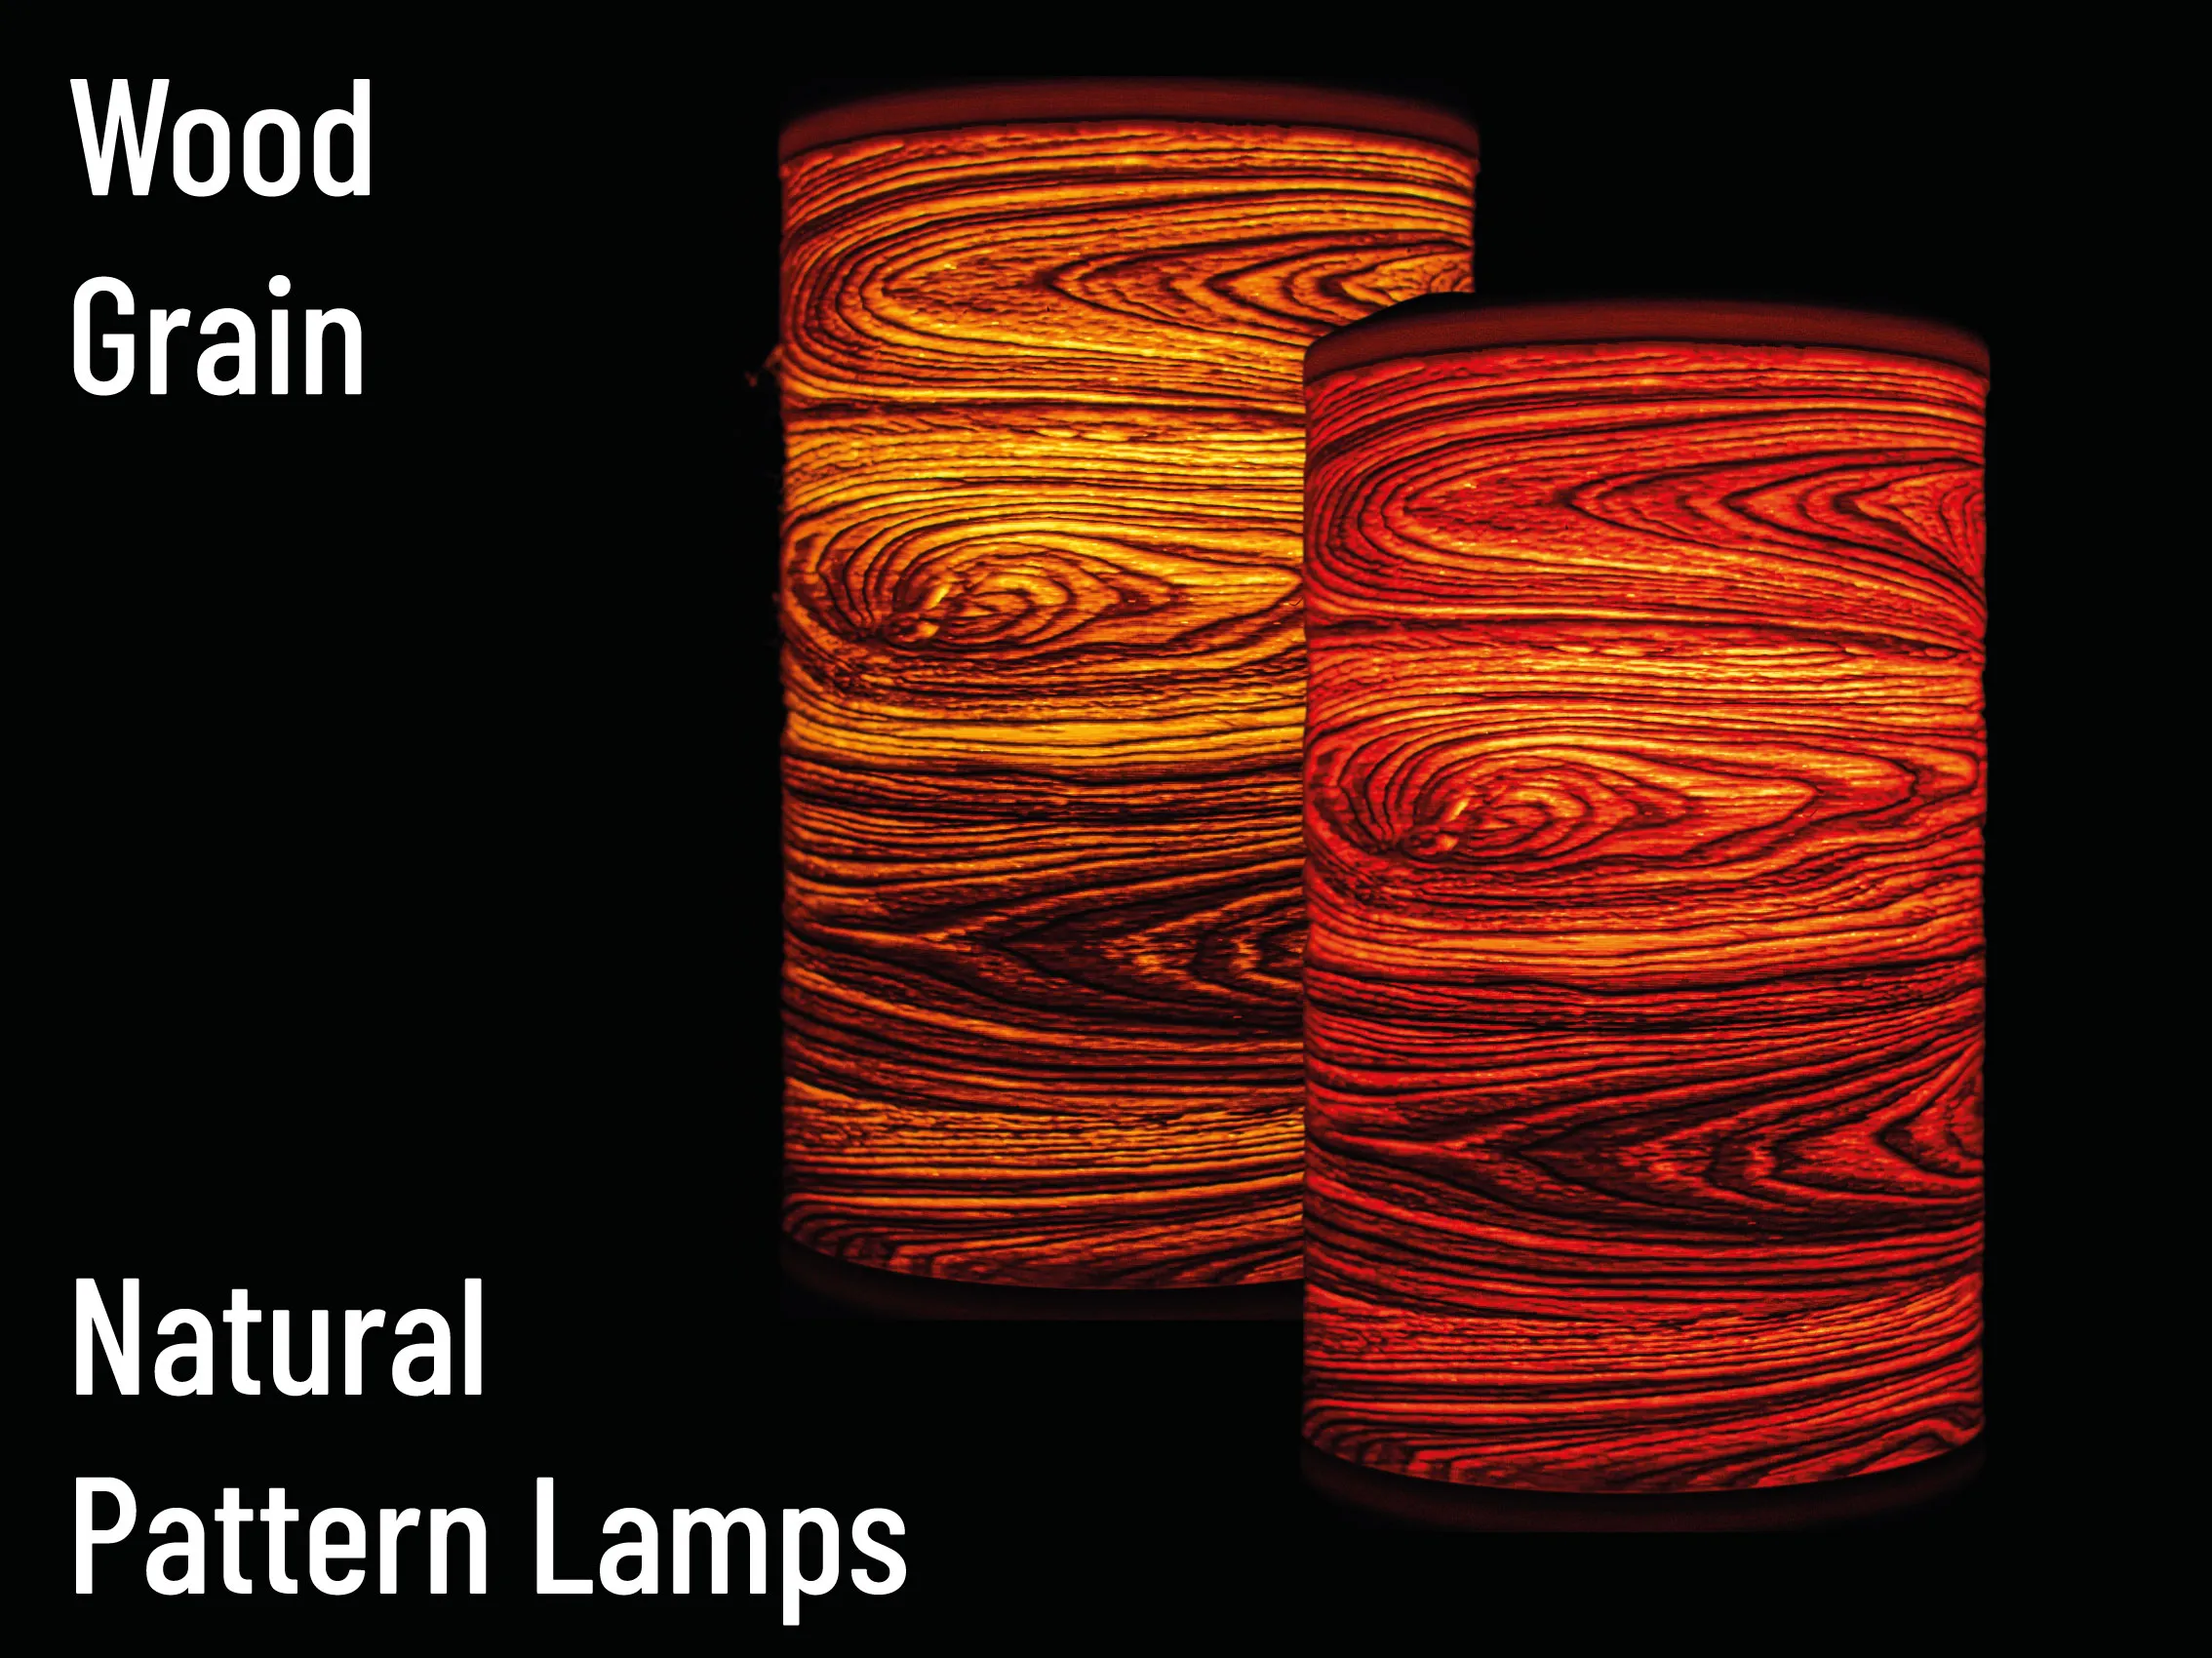
These minimalist lamps show the beauty of nature by exhibiting the beauty of naturally occuring patterns.
If you like my work, please consider supporting me. Your support will help me to make more models available for free. https://ko-fi.com/fritzpeppone. If you like to use my models commercially, please obtain a commercial license on Makerworld.
Membership
Become a Member to use my models commercially!
Requirements
All lamps have a size of ~ 105mm x 105mm x 174mm, making them printable on almost all printers, even the Bambu A1 Mini. Each lamp requires ~130g of filament (preferably PLA or PLA+) and around 12h of print time.
You have to print a natural pattern lamp shade of your choice, a lamp base and a lid to cover the top part of the lamp shade. These three parts are connected with a M100x2 metric thread. Different illumination options are listed below.
Print Settings
There are only a few settings you should tweak in the slicer to print the lamps.
Print in PLA or PLA+
Recommended layer height: 0.20mm
Use the Arachne Perimeter Generator for more precise printing with better details
Set wall count to 5-6 to obtain a solid lamp
Set seam position to Back (hiding it at the rear of the lamp)
No brim required. If you struggle with adhesion, use Inner Brim to avoid visible defects.
No Support required! The lamps print perfectly fine without support. Your slicer may complain about overhanging perimeters but trust me, briding works fine!
Be aware, that slicing and printing may take a very long time. The STL files can take several minutes to slice.
For Bambu Studio users: Bambu Studio seems to struggle with the Arachne Perimeter Generator. If you are unable to slice a lamp with Arachne, use the Classic Perimeter Generator.
Filament
Filament matters. A lot! Depending on your filament choice, your lamp may have more or less contrast or a warmer or cooler color temperature. You can also change the outcome by choosing light sources with different wattage or color temperature. The picture below illustrates this:
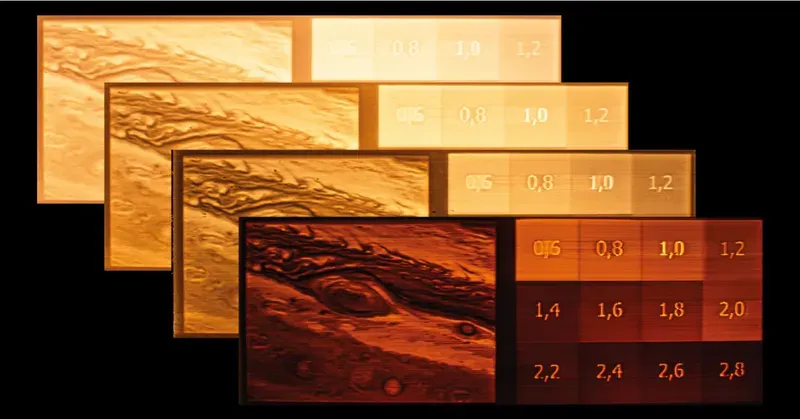
All of the four Panels above were printed with different white PLA/PLA+ filaments but illuminated with the same 1W LED bulb.
Before starting a multi-hour print, I recommend printing a Calibration Panel to test how your print will turn out. You are also by no means limited to white lights and filaments. Check the makes below to get inspired what color and light choices other makers made.
Be aware that RGB(W) lamps usually don't emit the same light intensity for each color channel. For a blue lamp, you may need a much more transluscent filament then for a red or white lamp!
Natural Pattern Lamps
The list below contains all natural pattern lamps currently available.
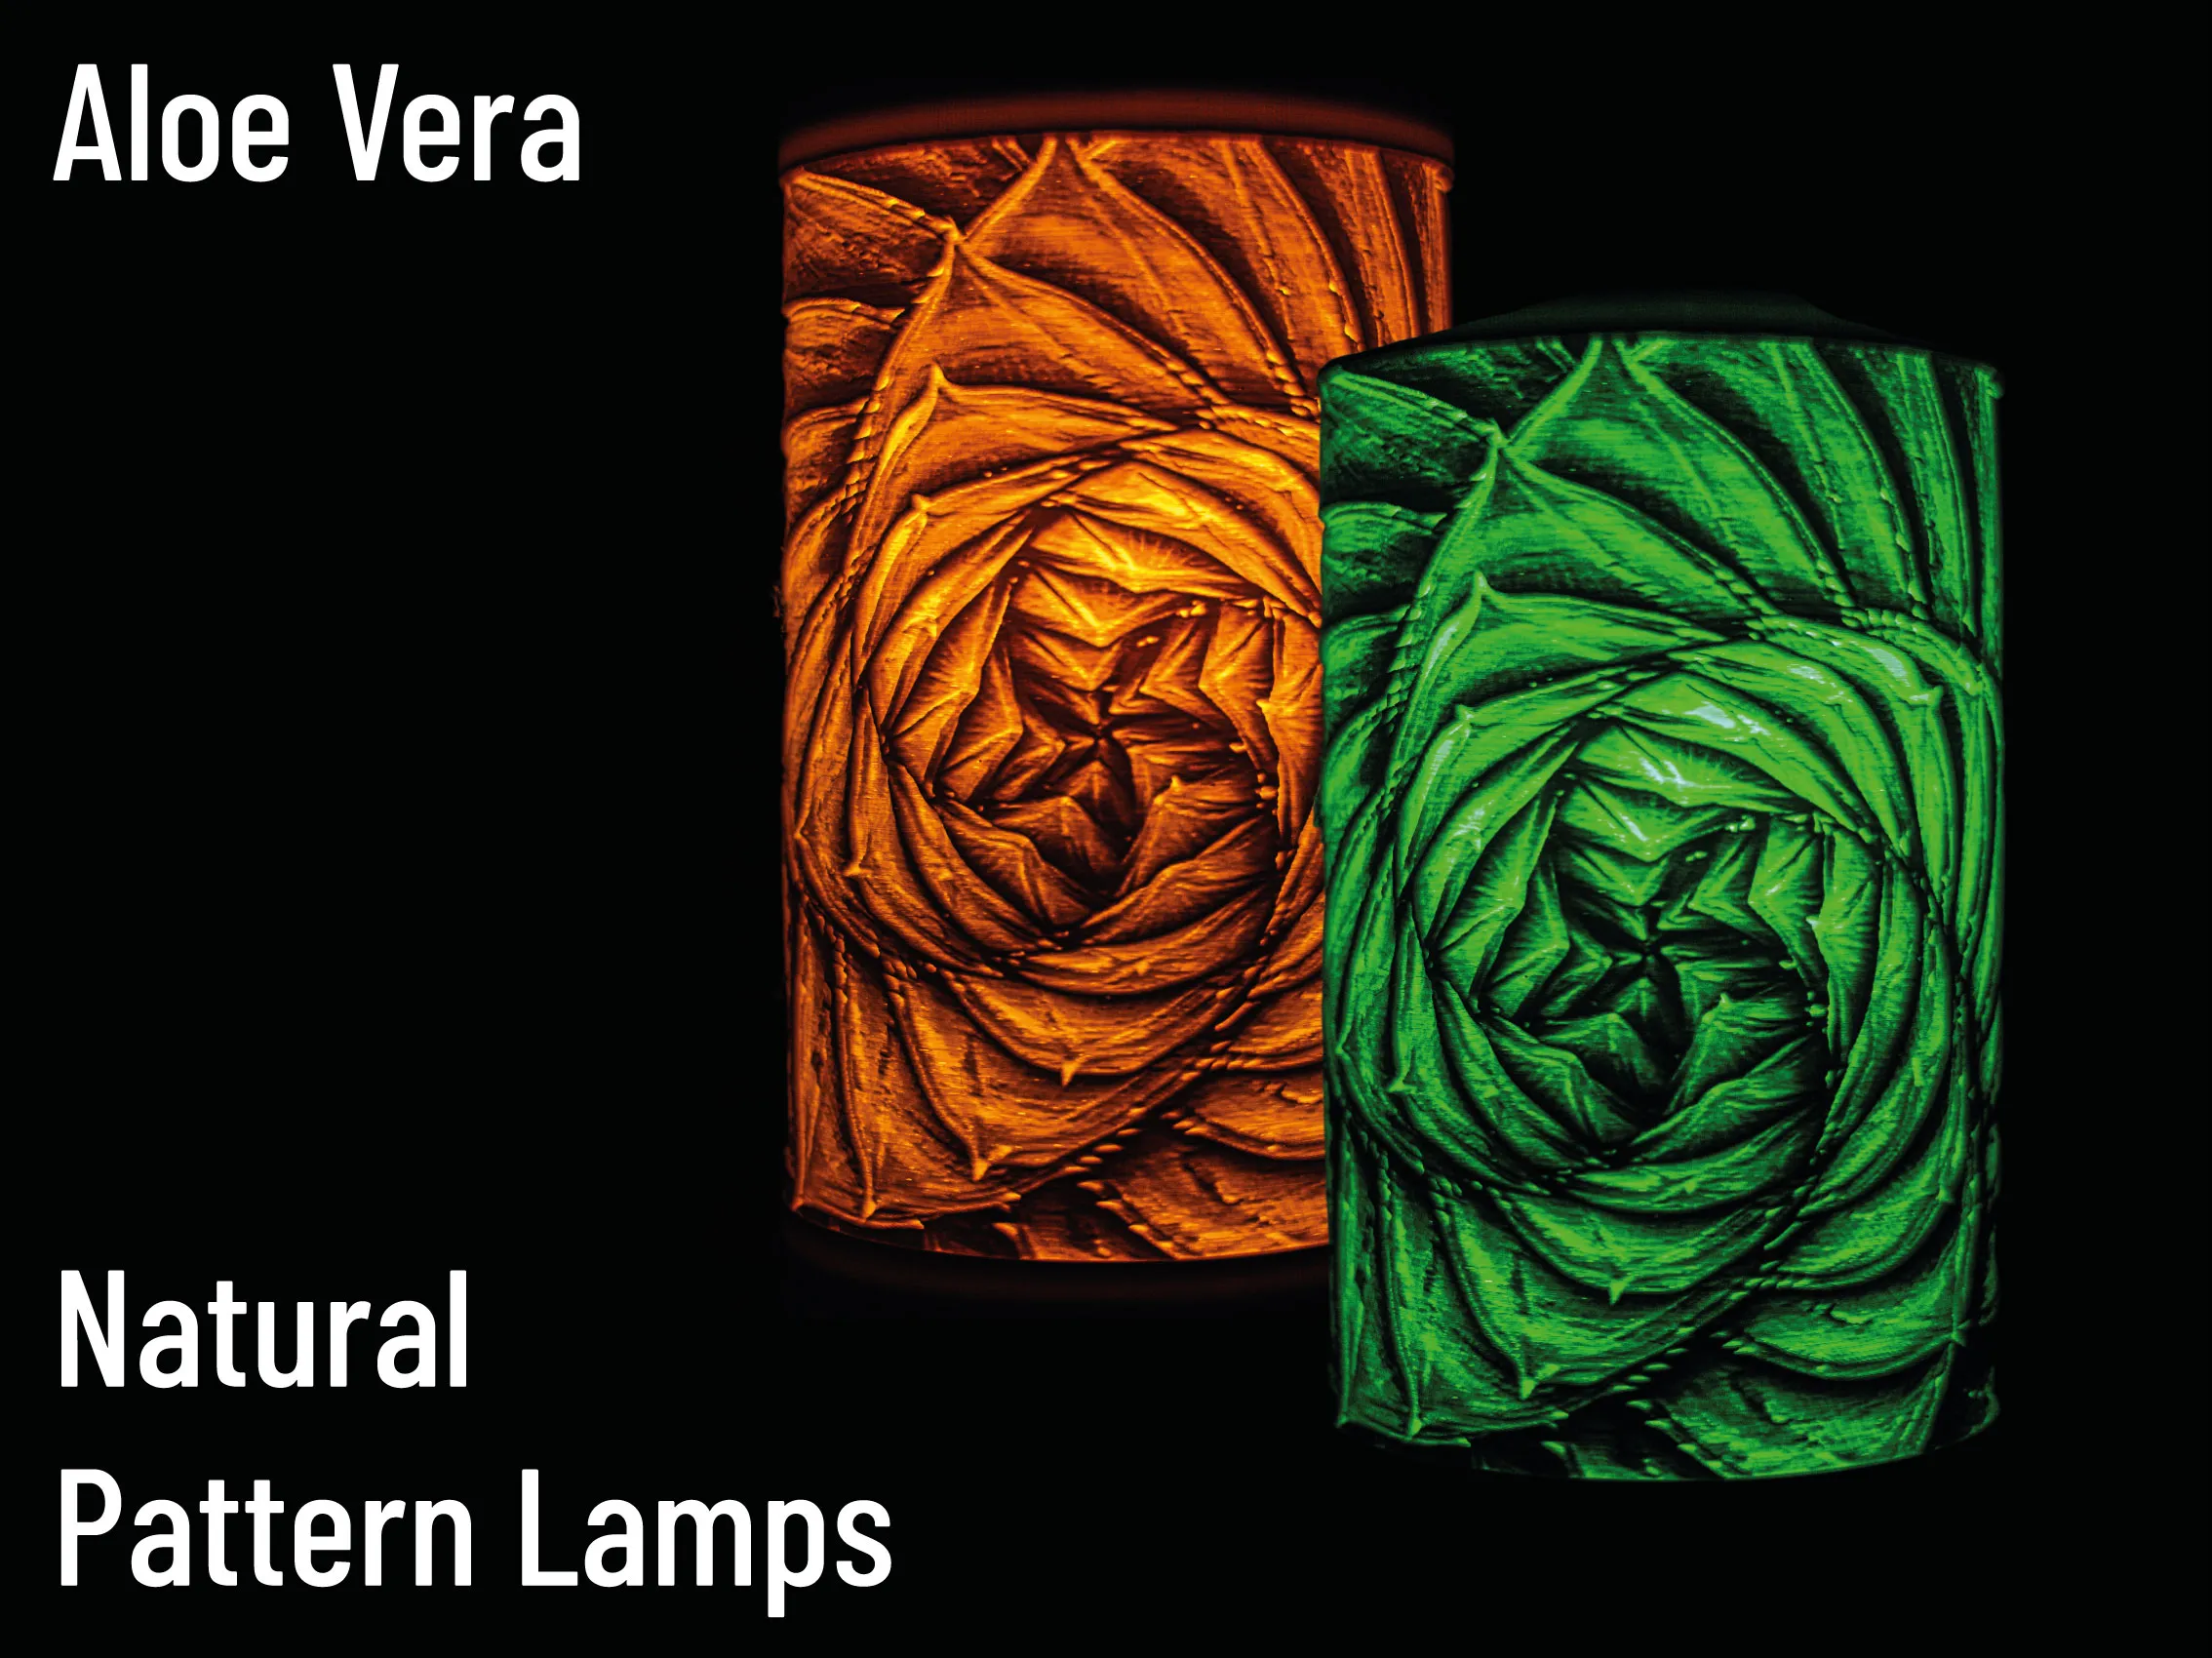 |
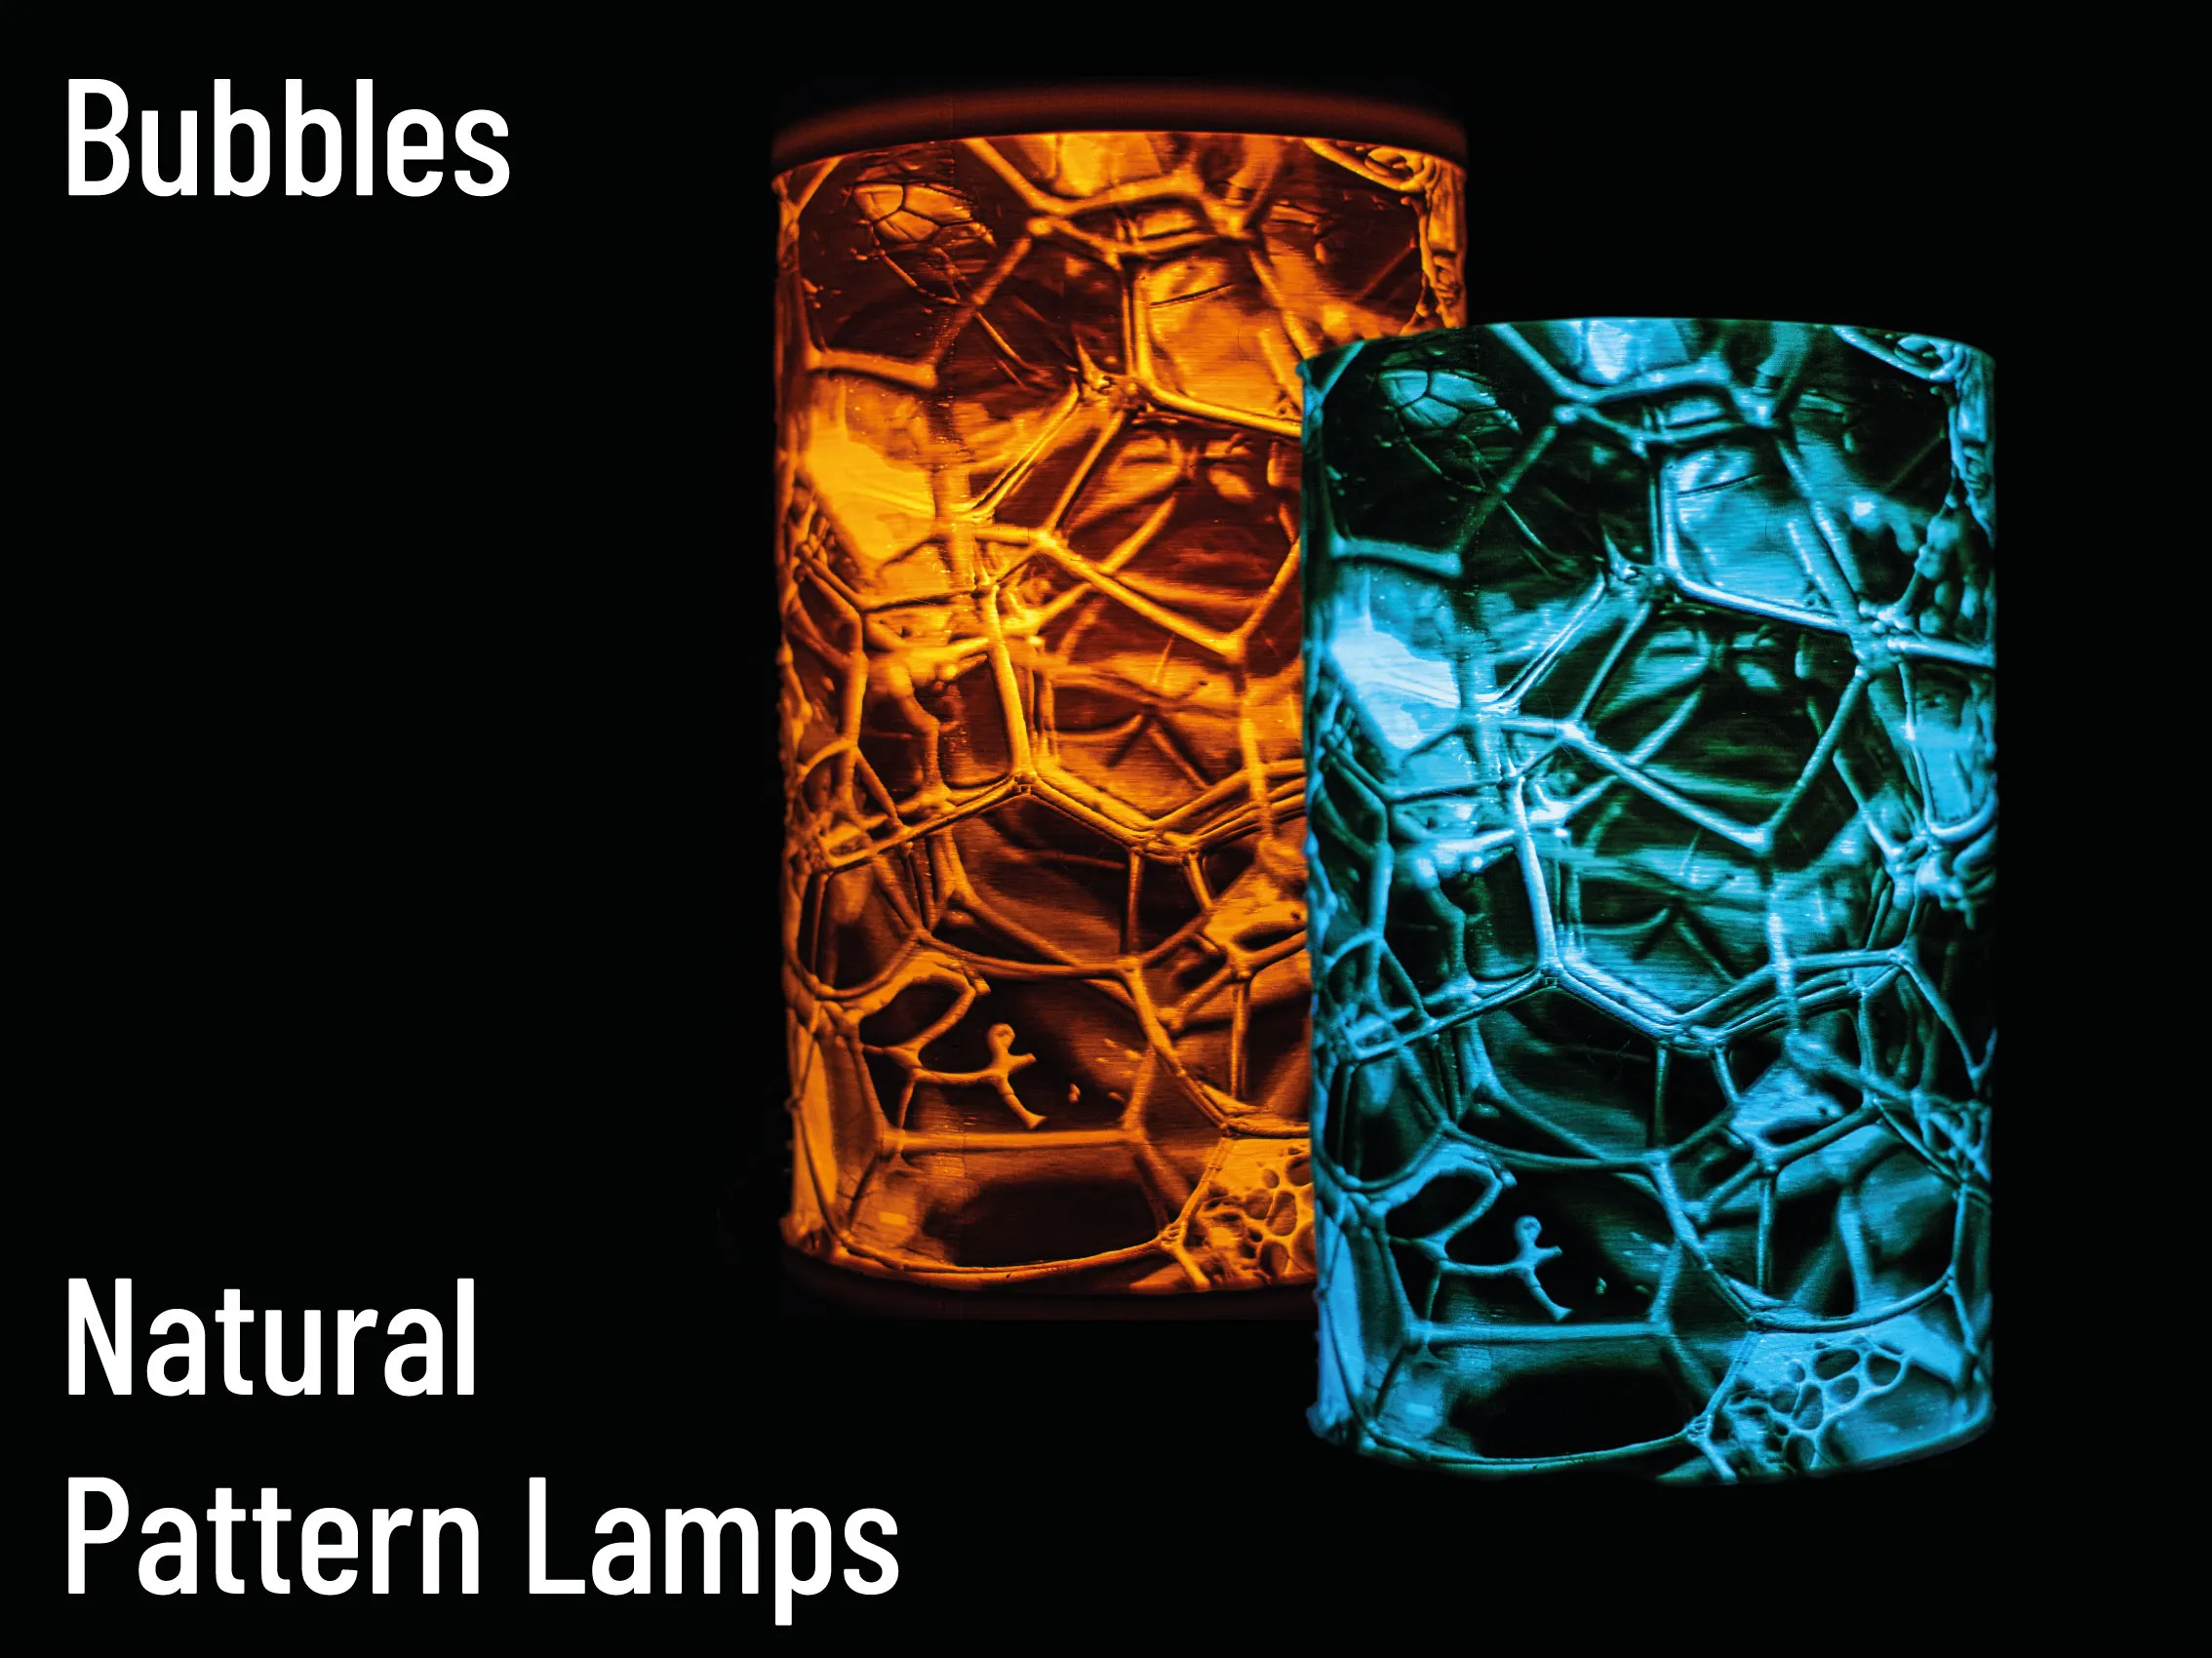 |
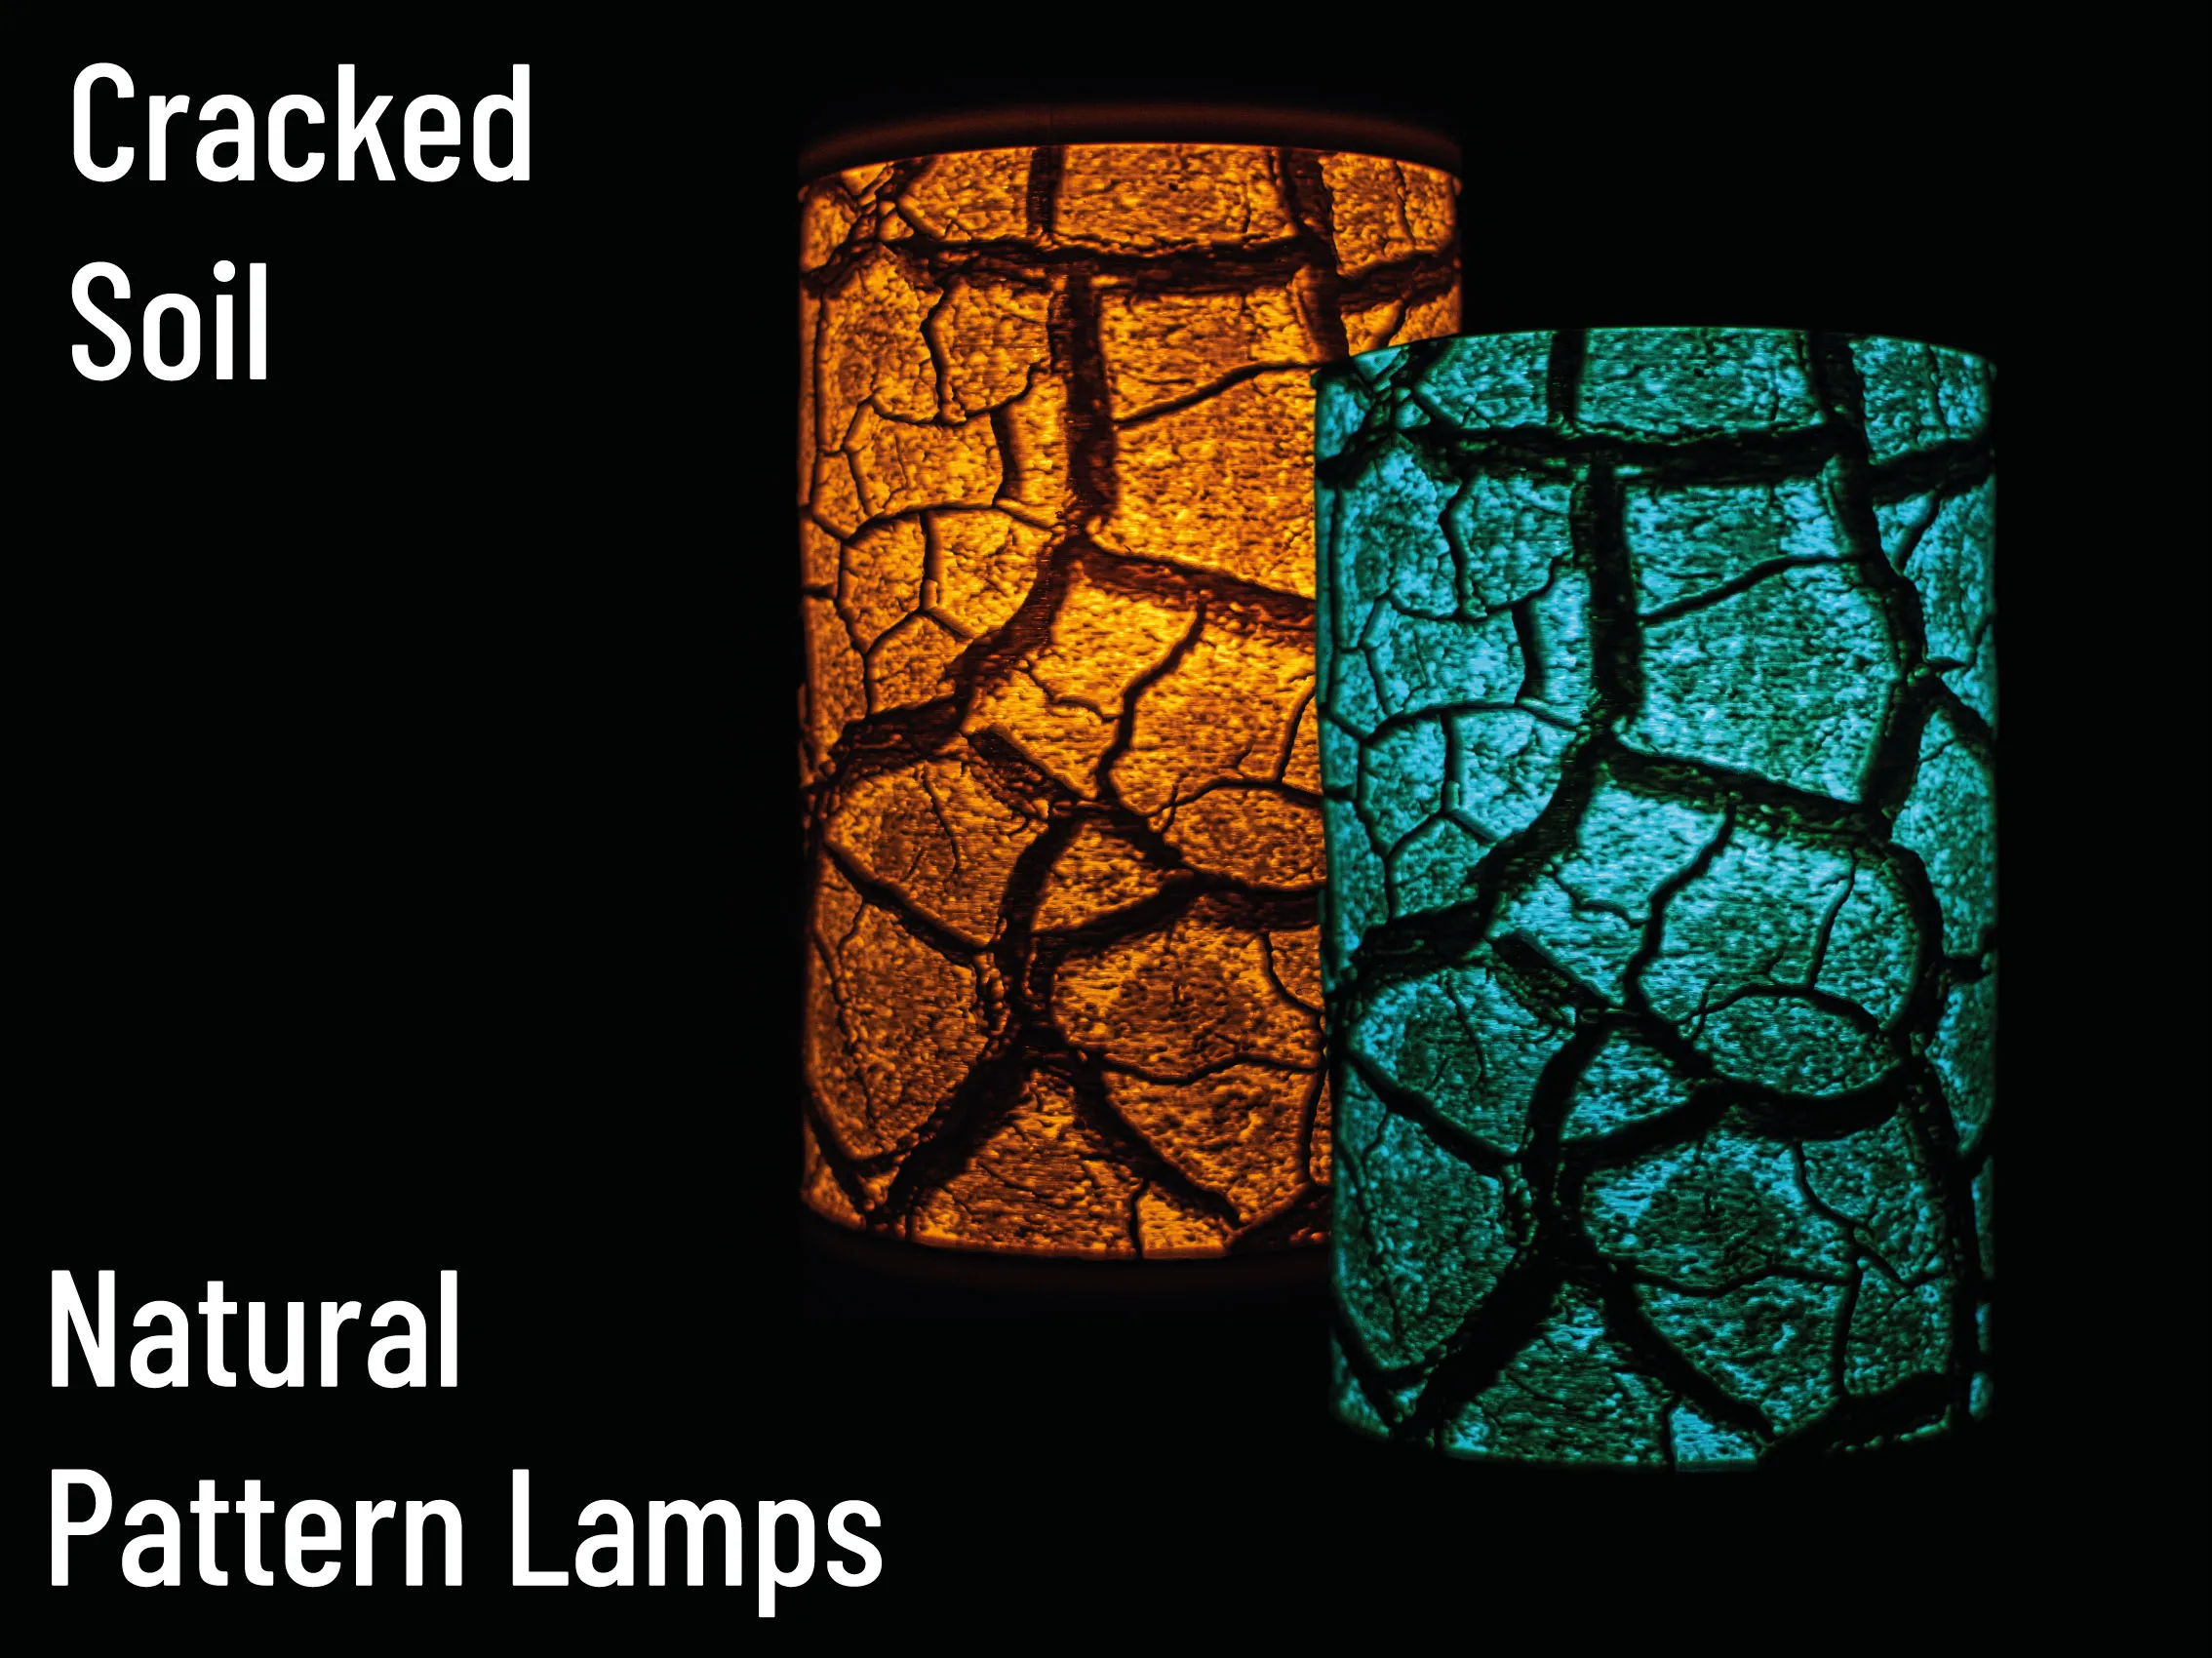 |
 |
 |
Lamp Bases and Lids
Printing the lampshade of your choice is only a part of creating your own lithophane lamp. You will additionally need a Base that contains your light source and a Lid for the top of your lampshade. All Bases and Lids currently available are listed below.
Lid | |
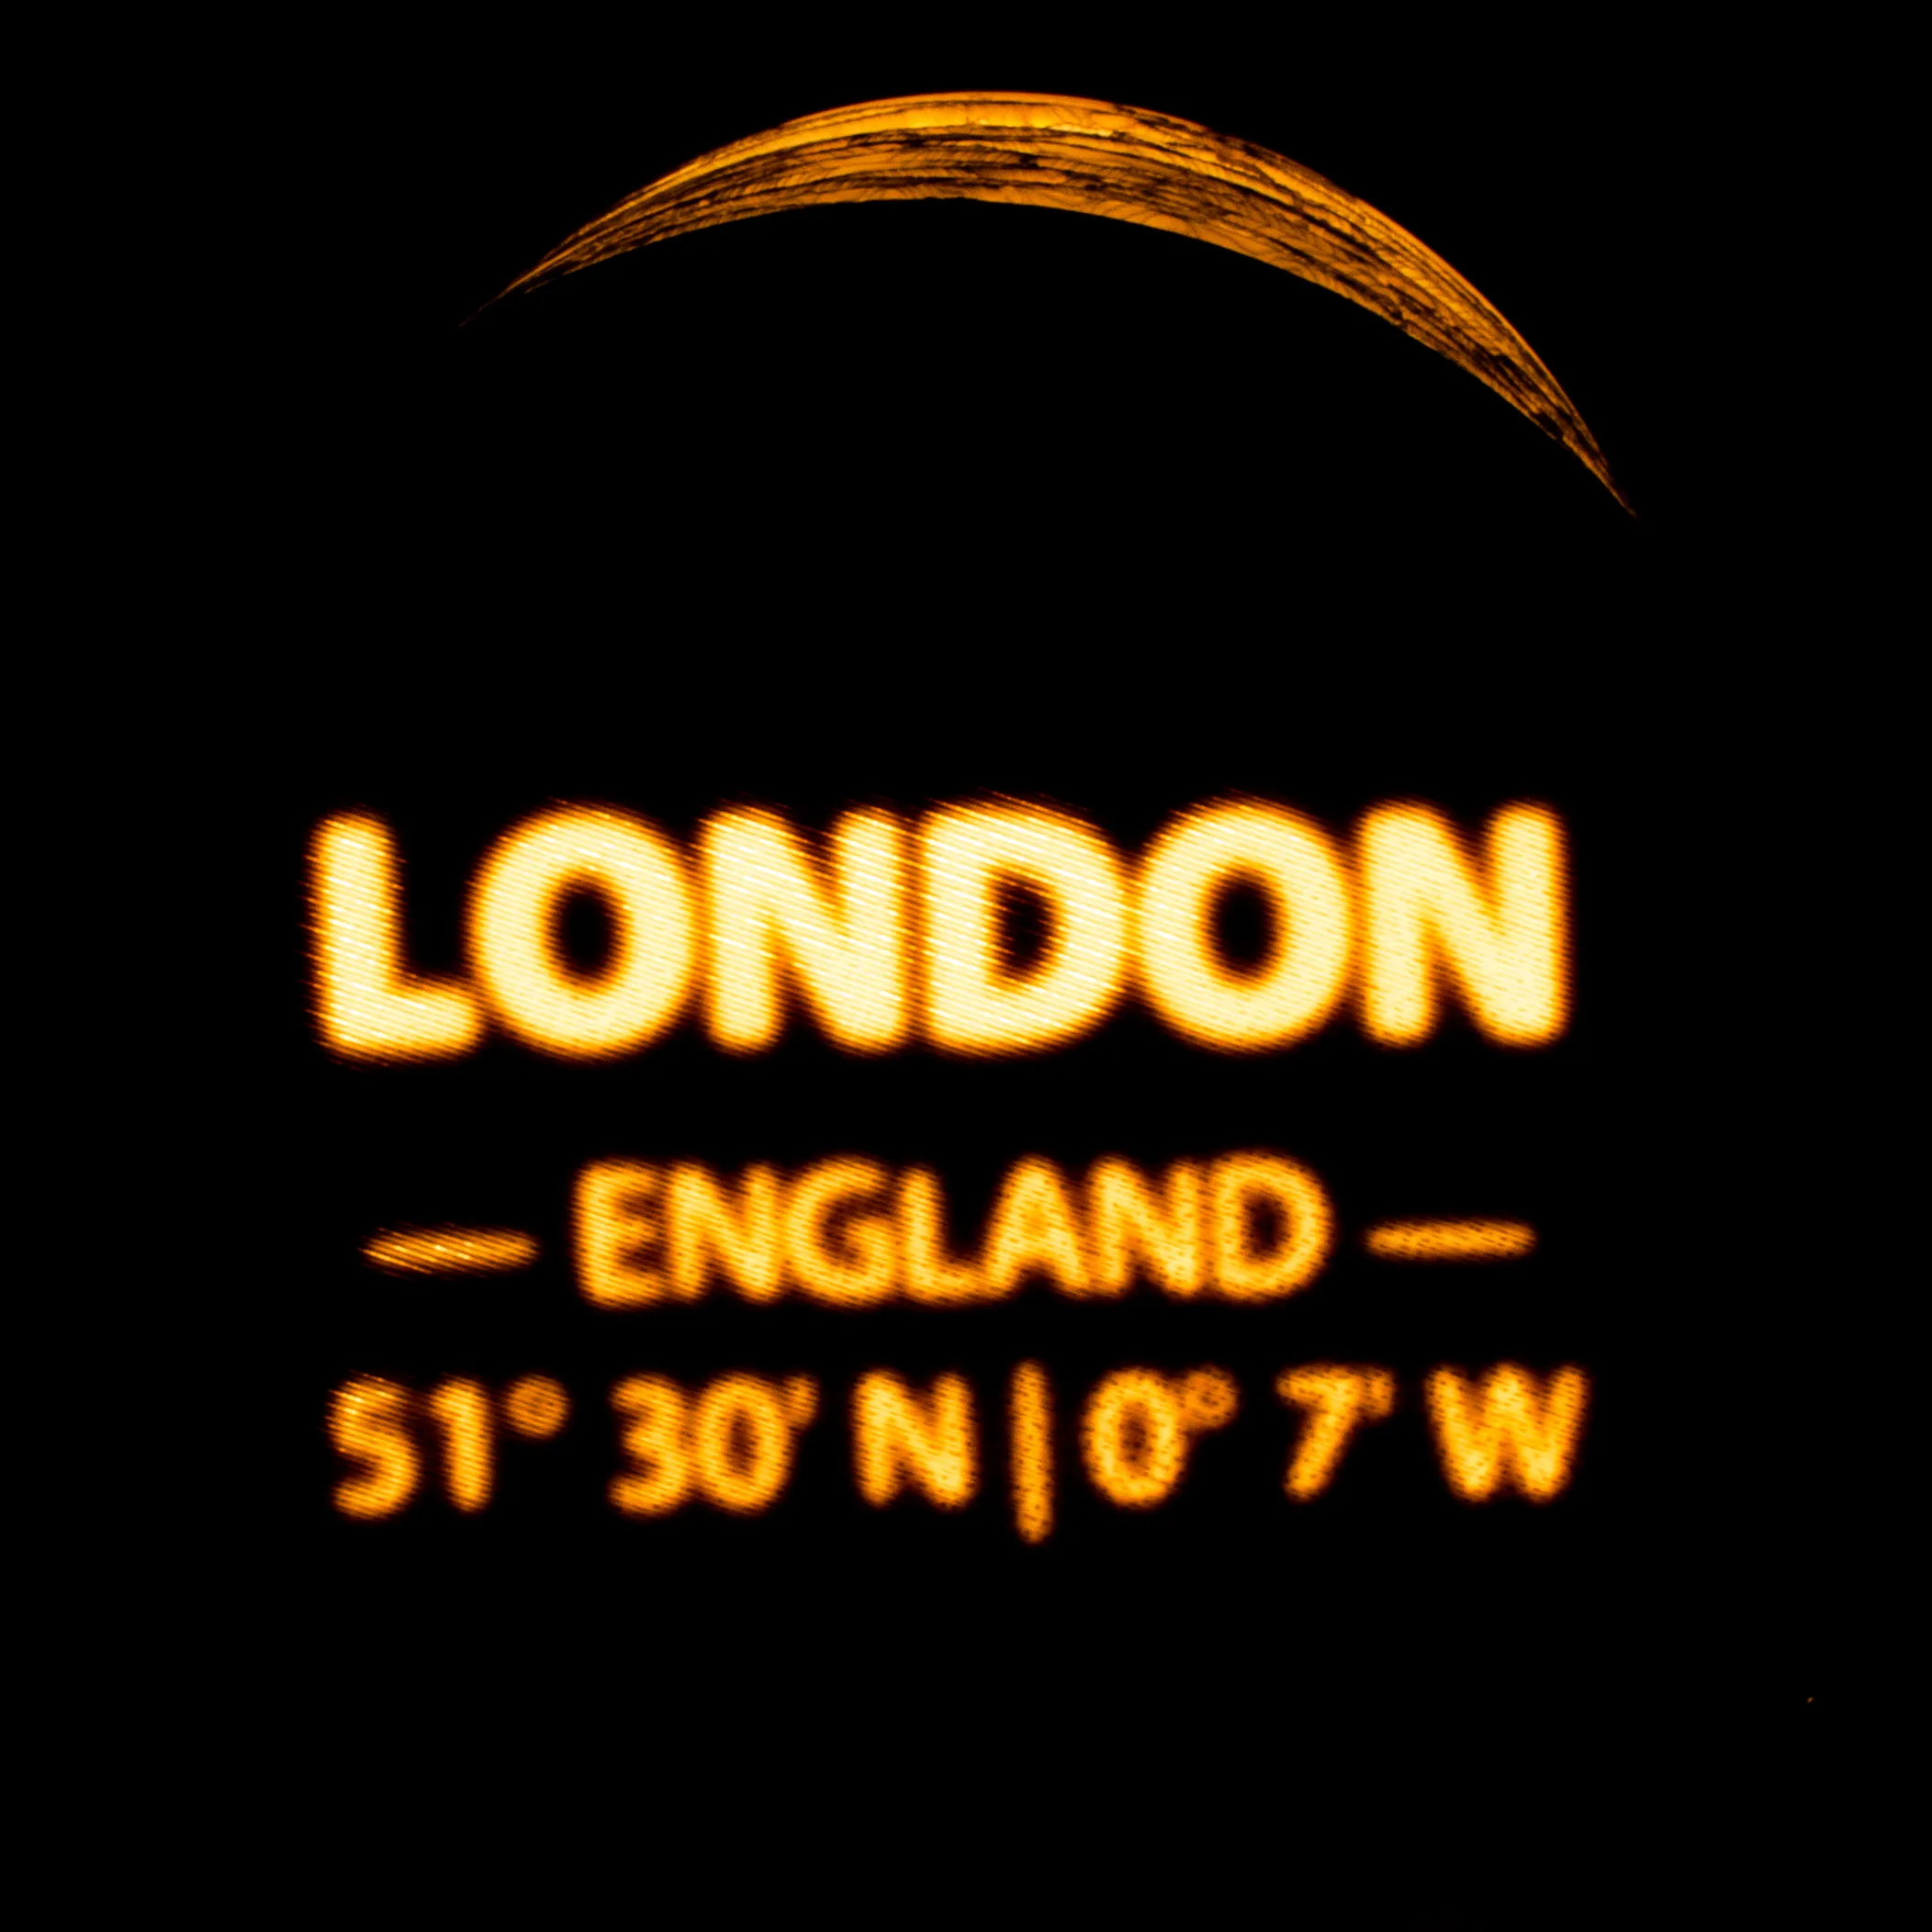 | 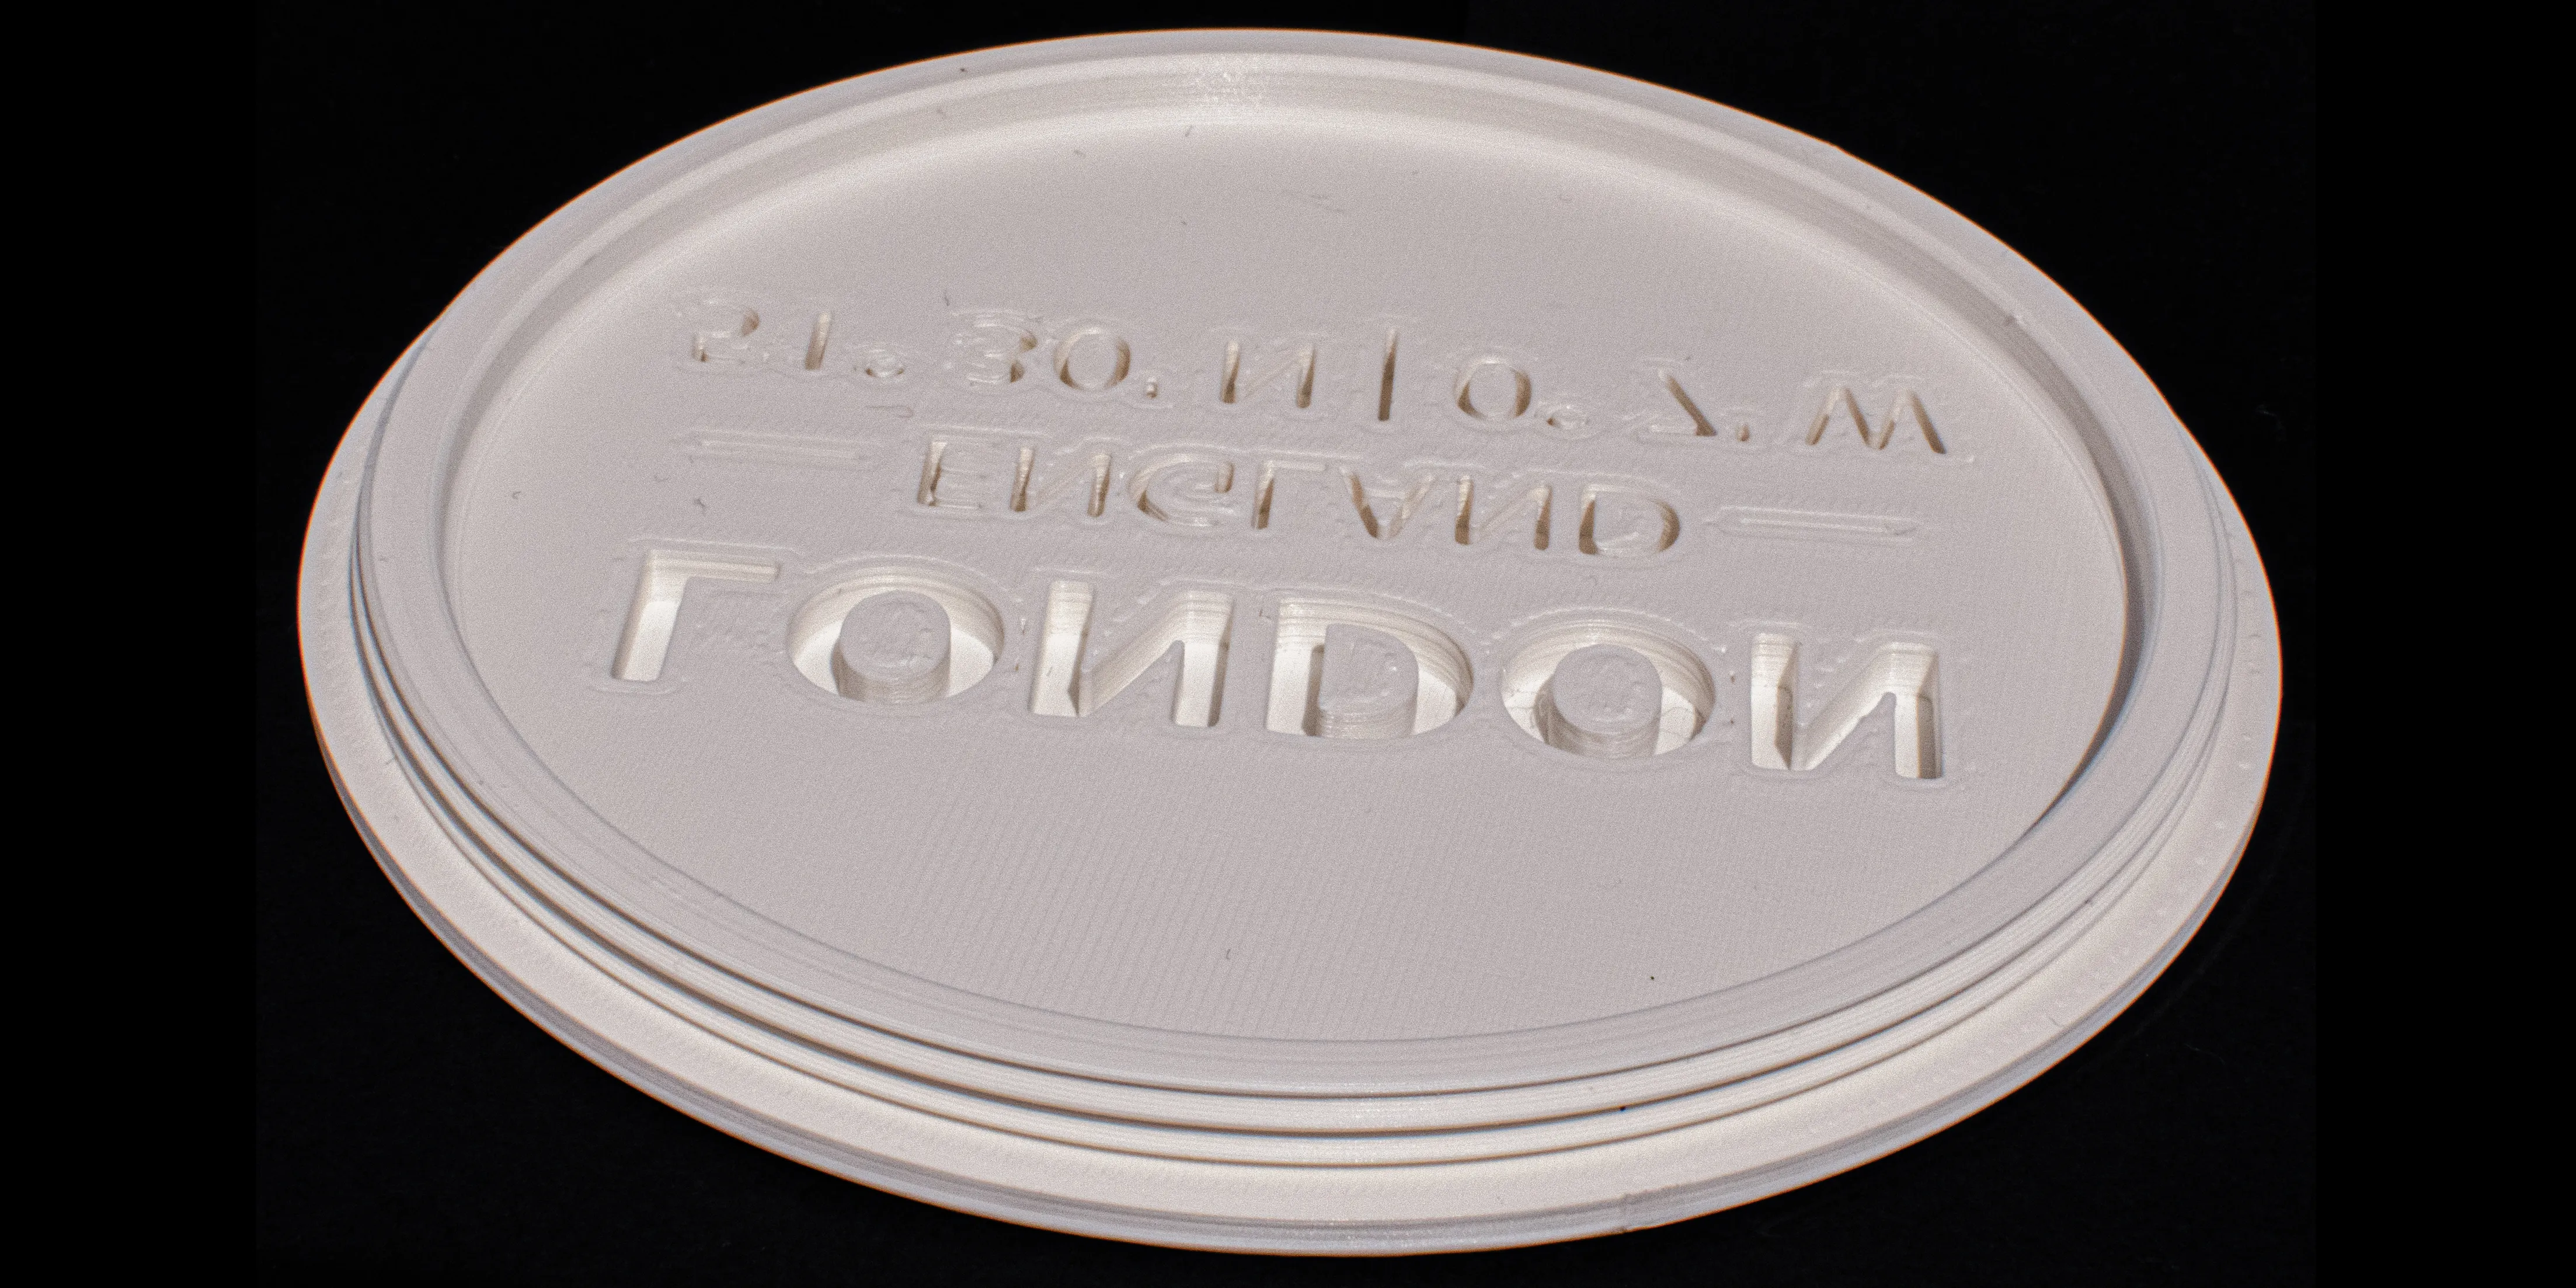 |
A simple screw-on cover featuring the M100x2 thread of the map lamps.
There are two print profiles online. A customizable and a default profile. The customizable profile can only be customized in Bambu Studio. Switch to Objects and right click on the text you want to change. Change the type of the text from negative part to part. Bambu Studio only permits text changes of parts, not of negative parts. After you customized the text, switch from part back to negative part again and slice your file. | |
LED Lamp Kit 001 Base | |
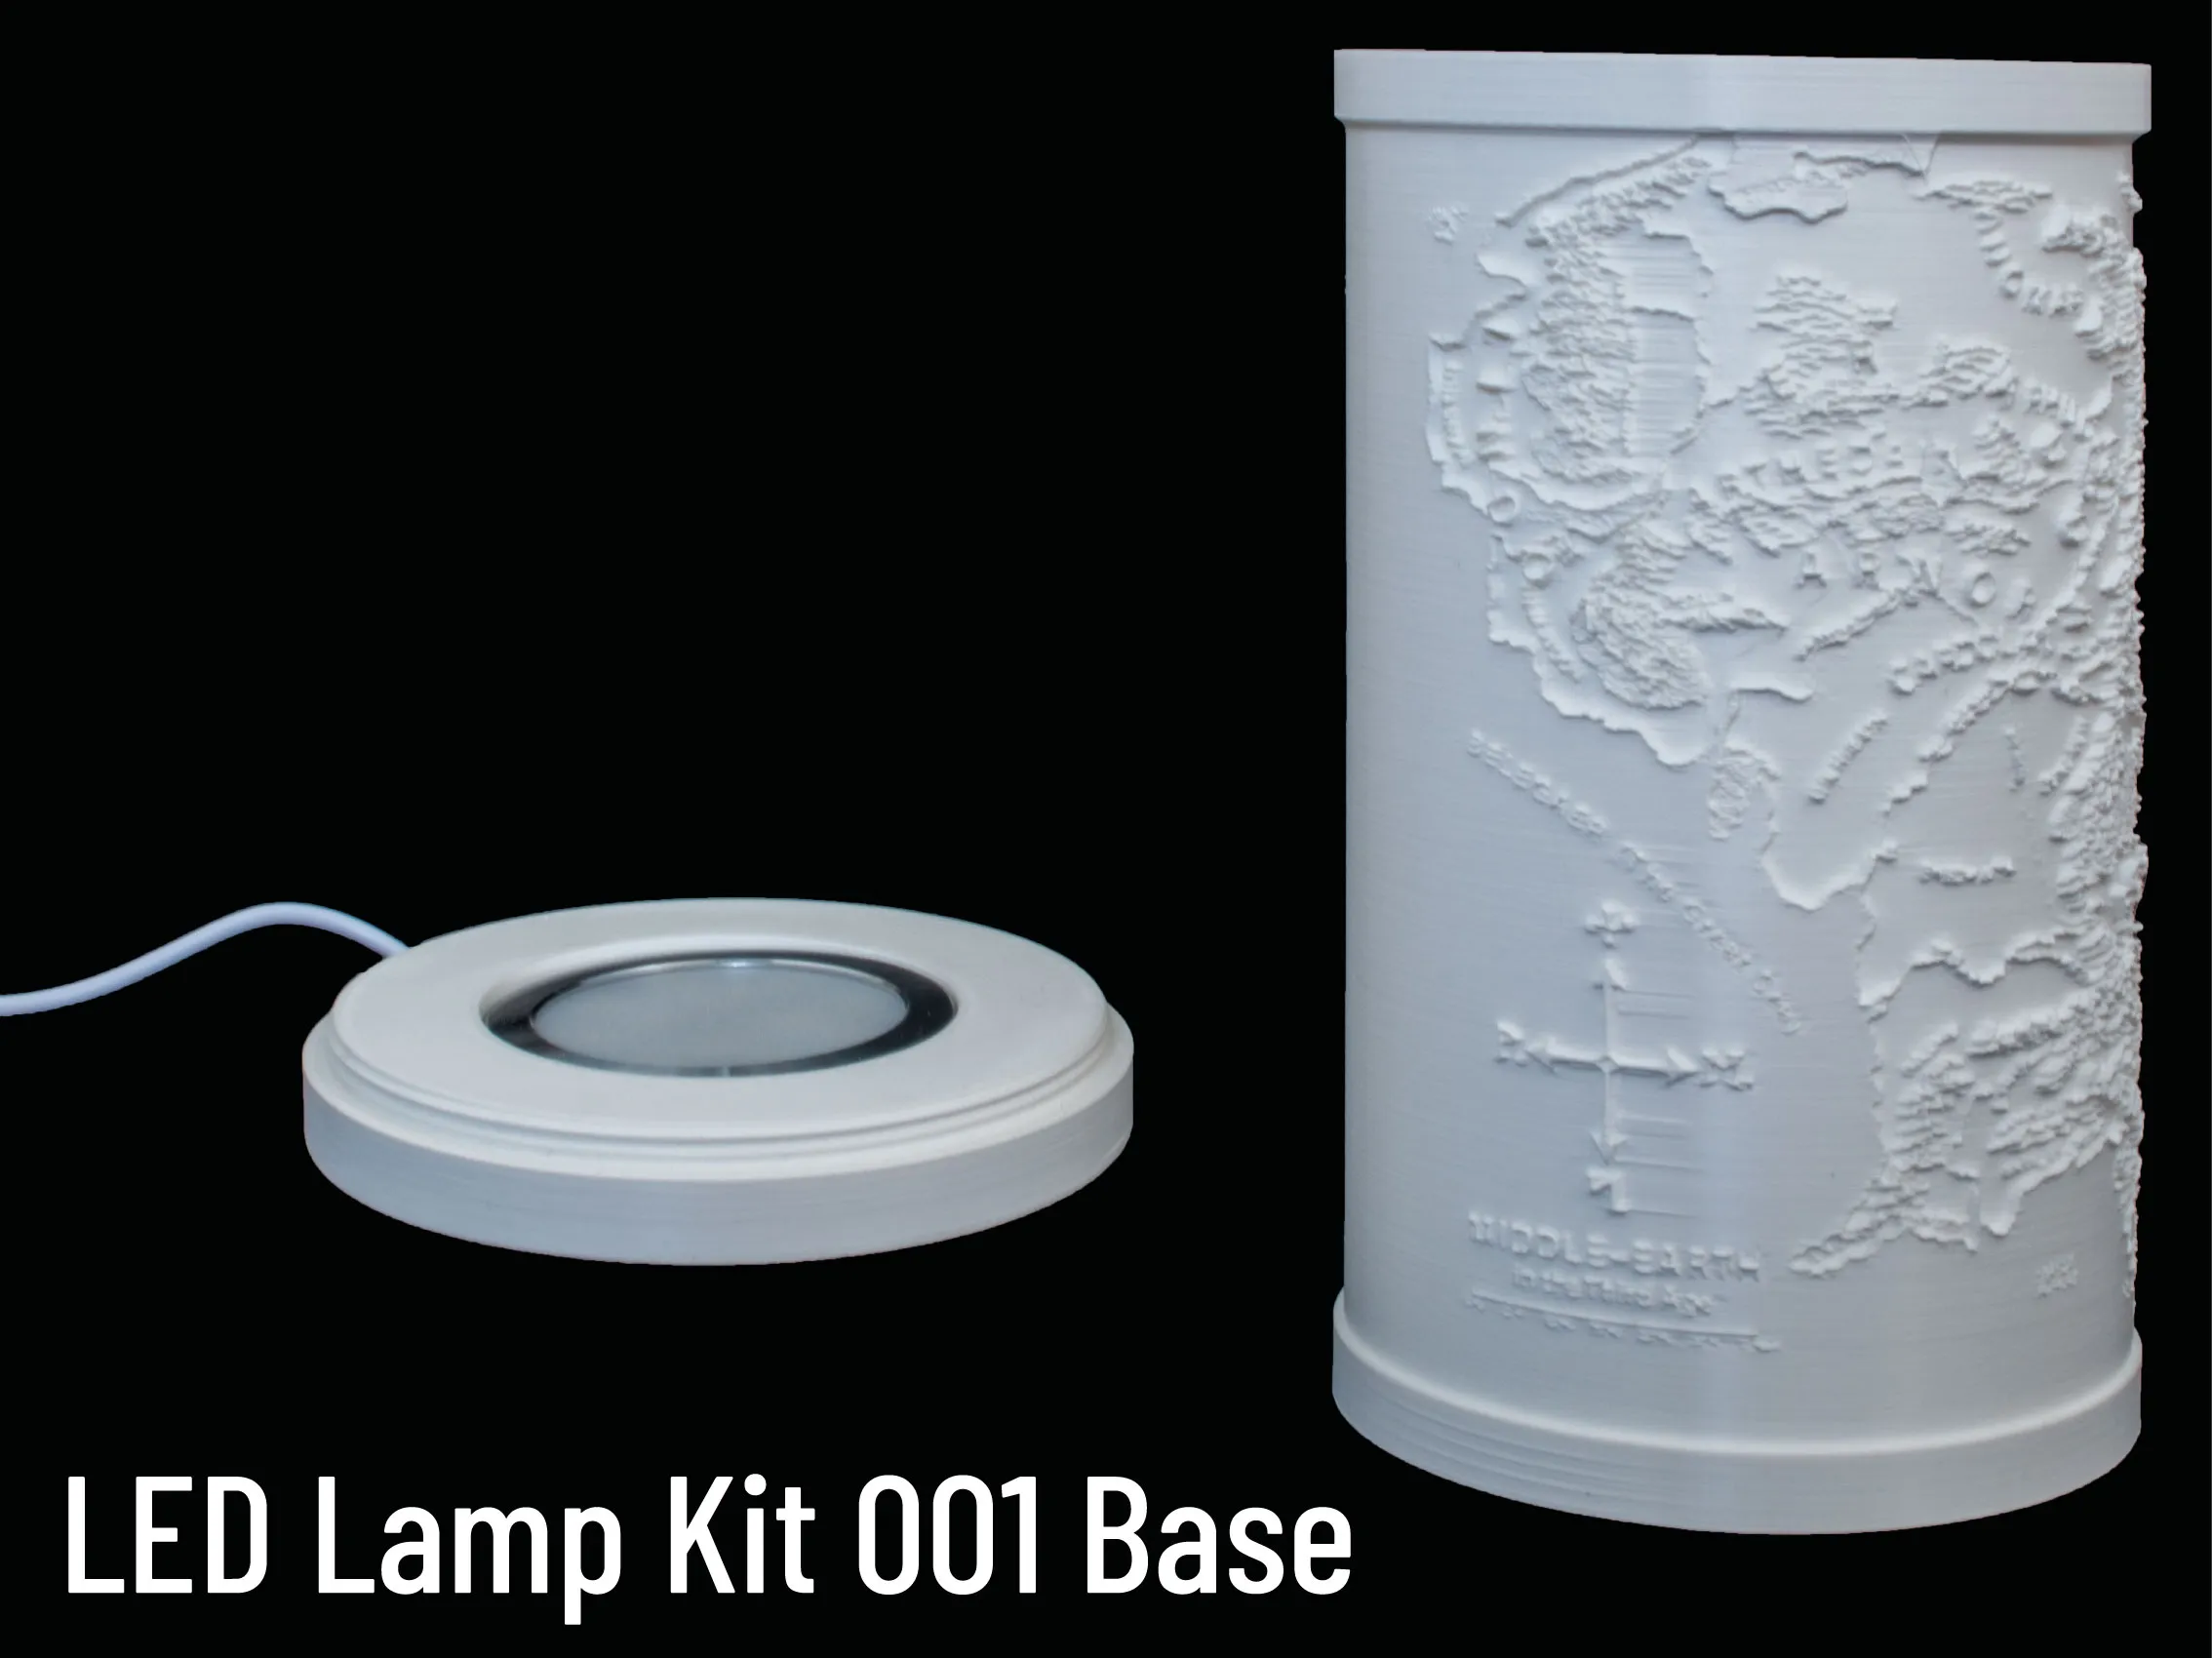 | 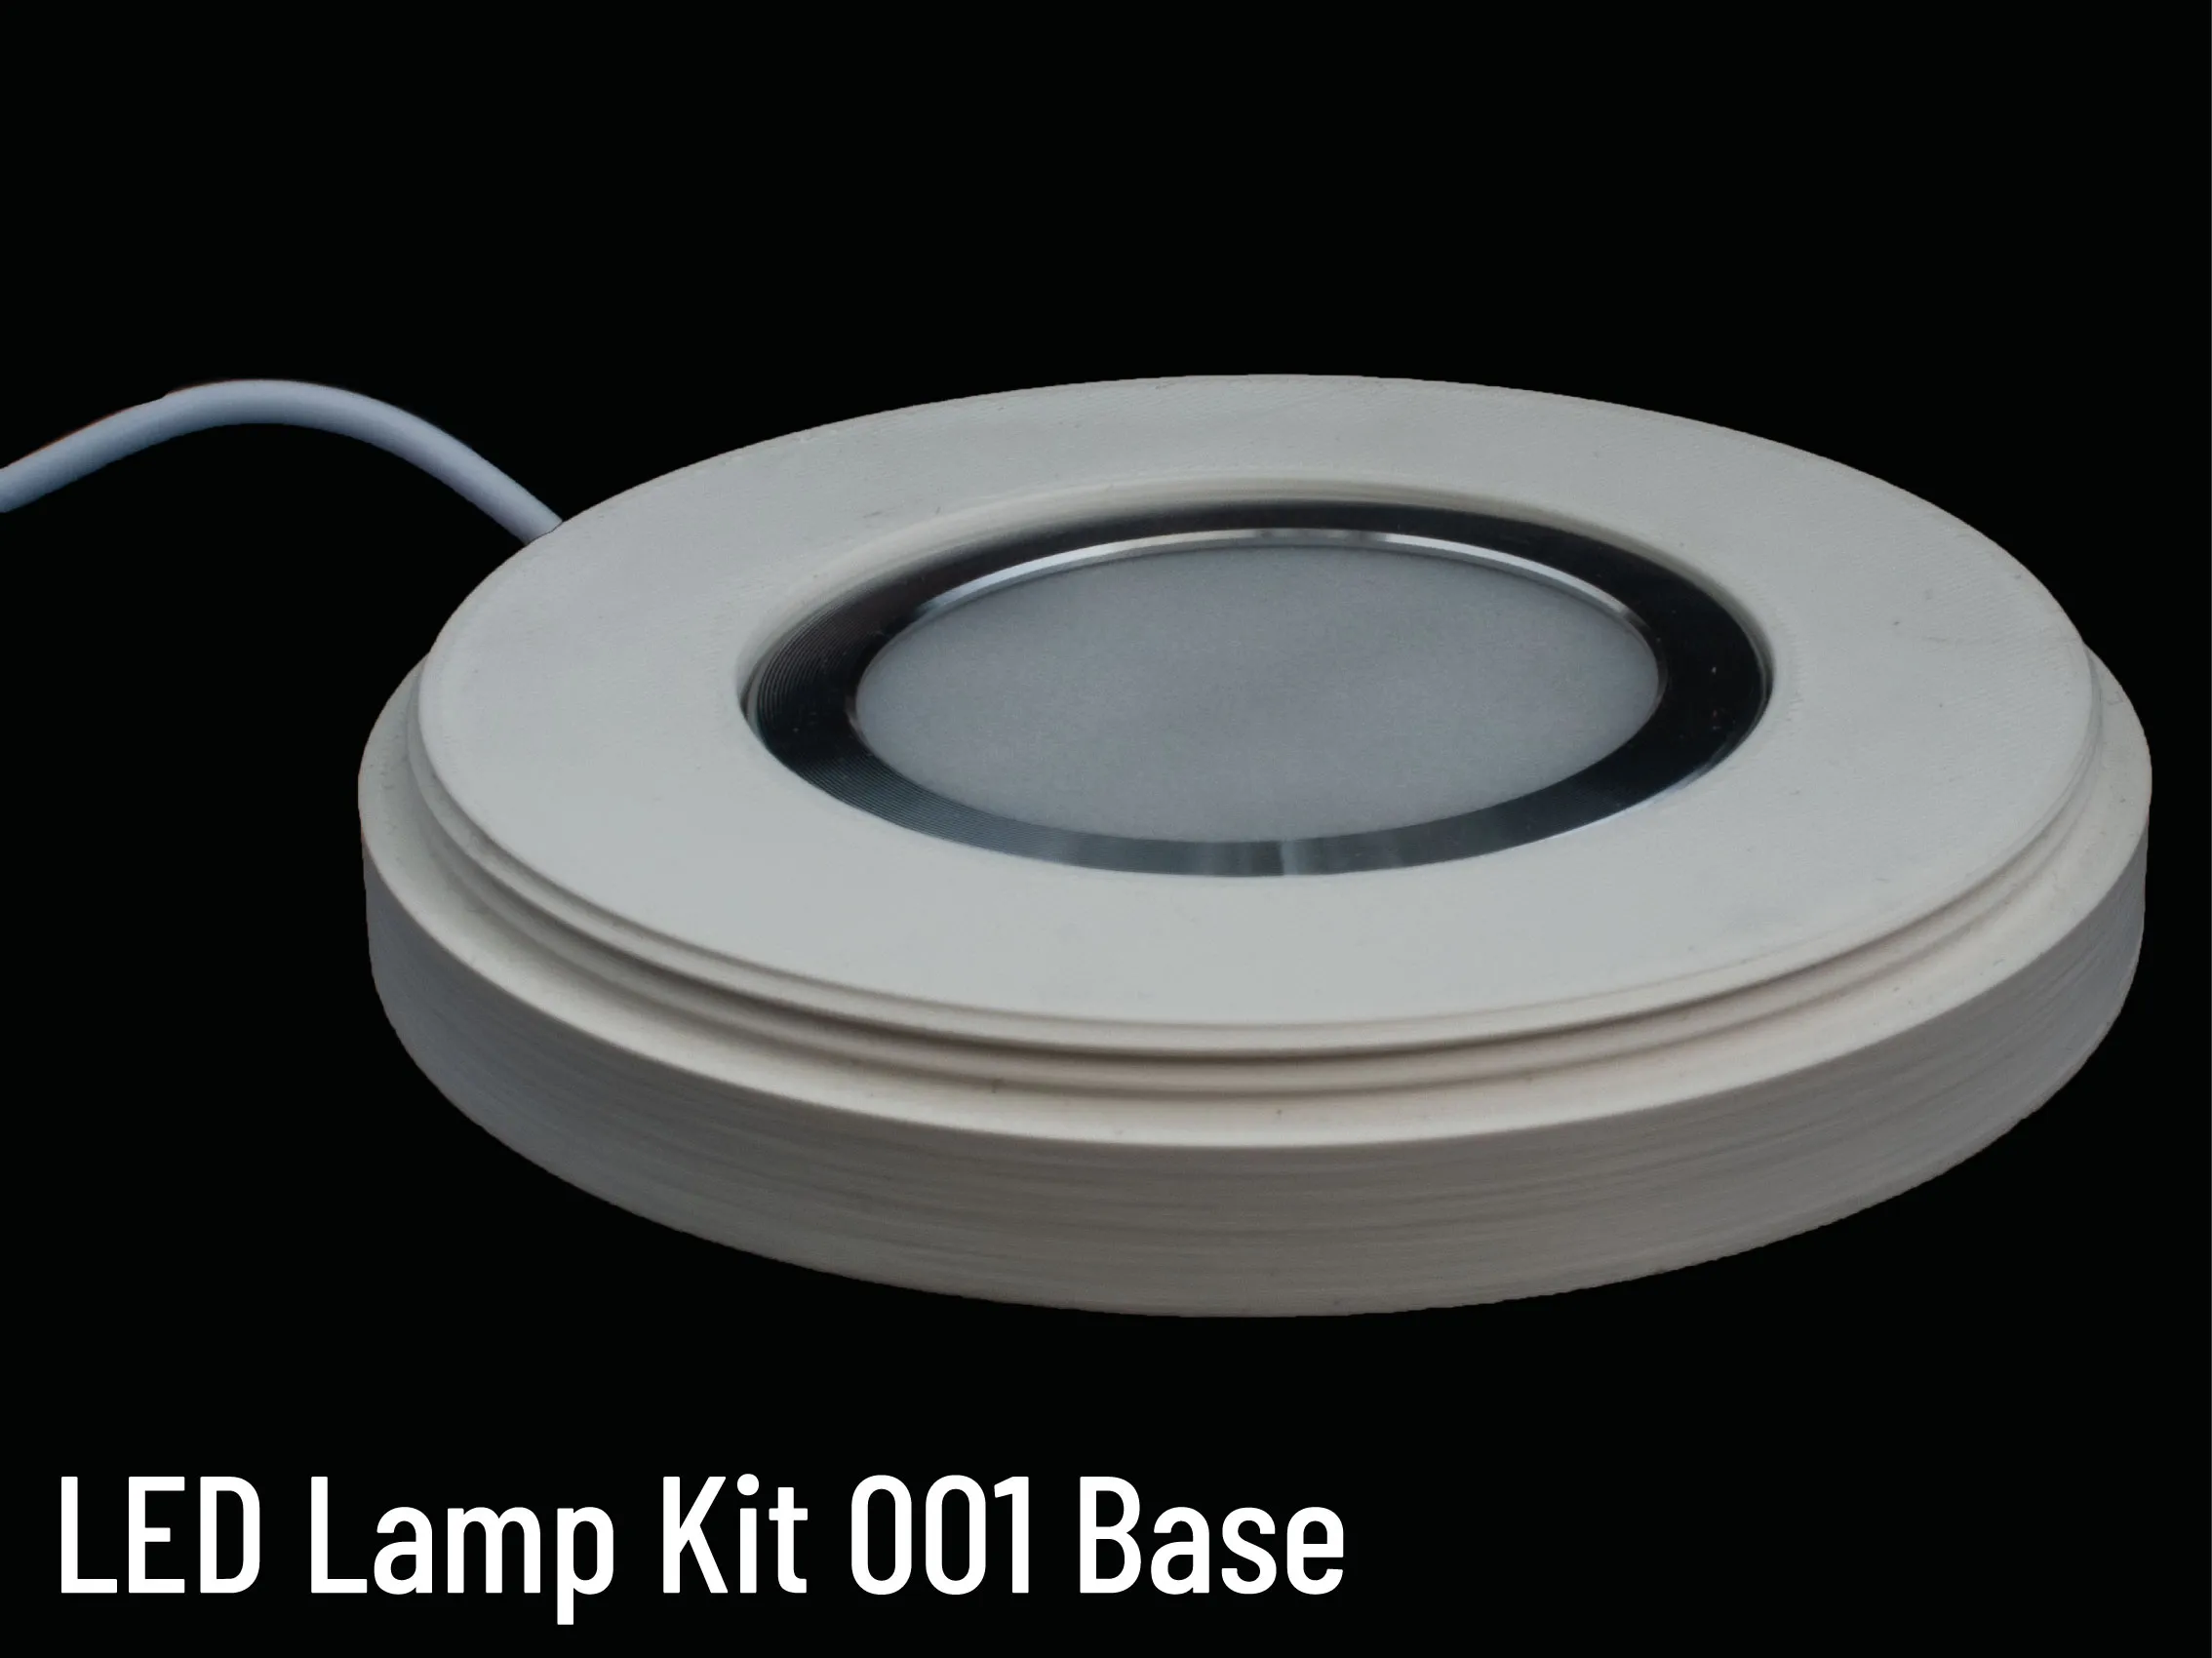 |
The LED Lamp Kit 001 Base comes in three different heights: 10mm, 30mm and 60mm. Simply insert the LED Lamp Kit in the base, guide the cable through the bottom hole and through the cable channel.
The base features the same M100x2 thread as the map lamps. You can get the LED Lamp Kit 001 from Bambu | |
E14 Puck Base | |
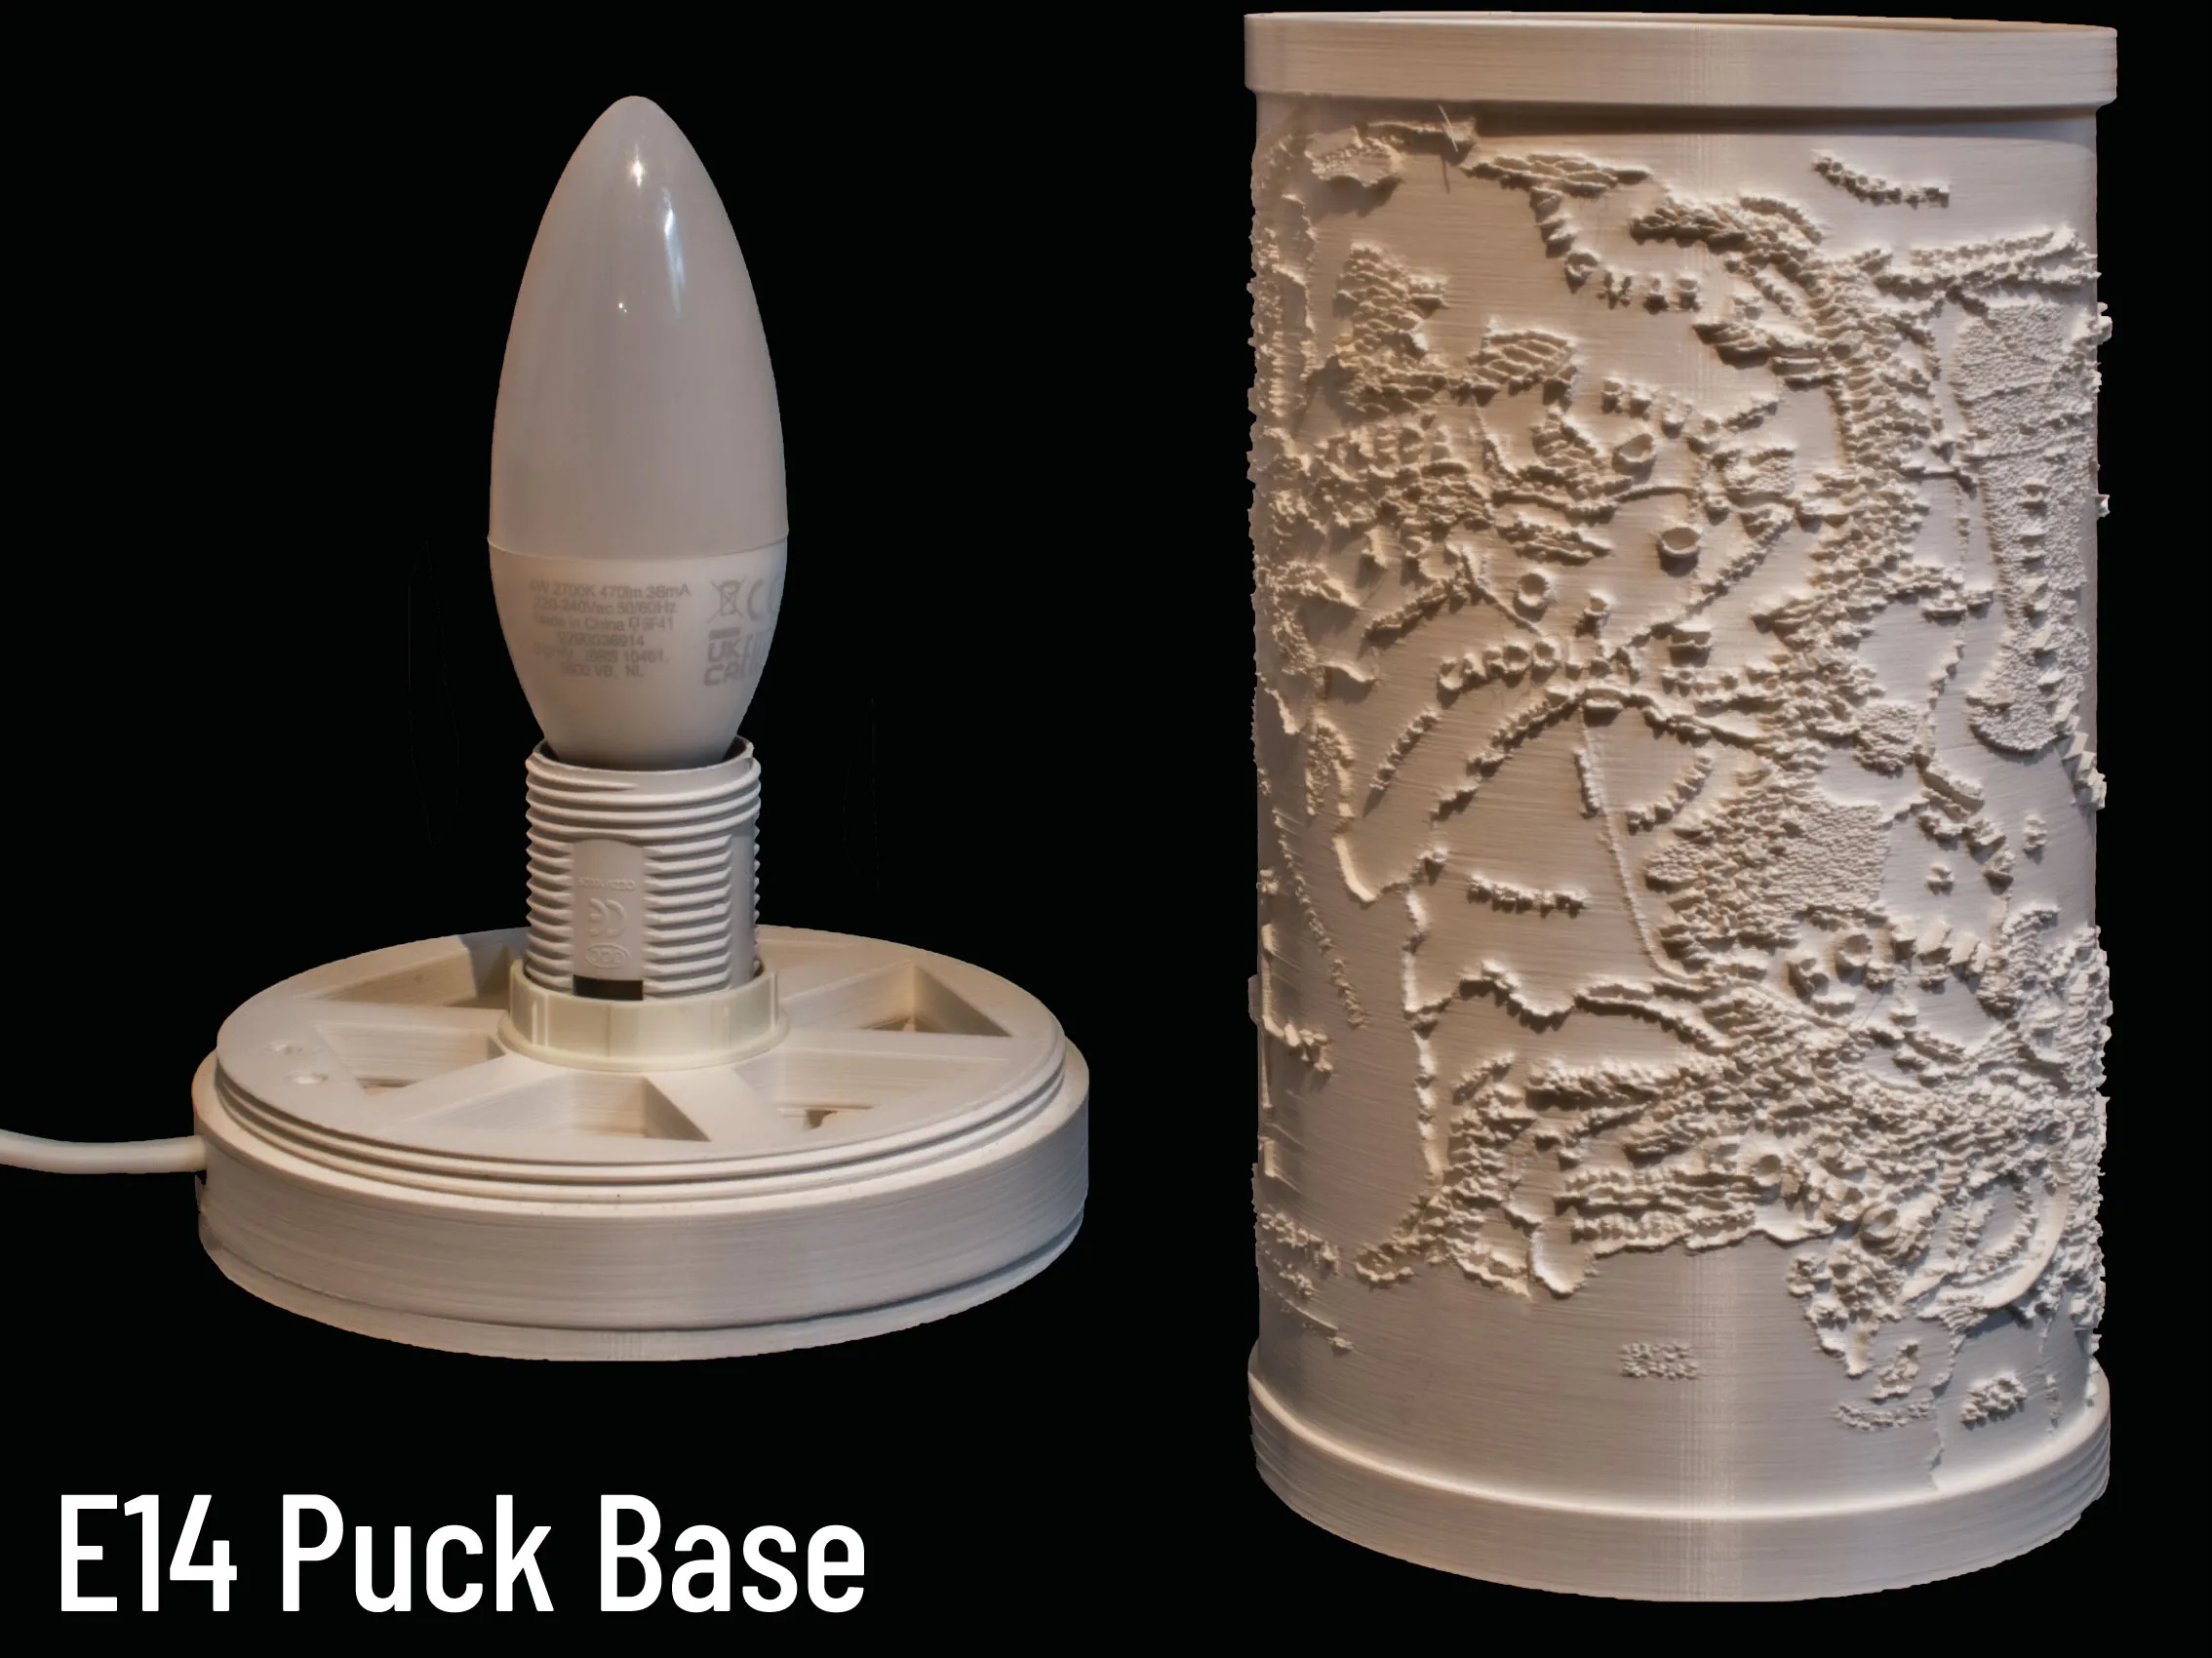 | 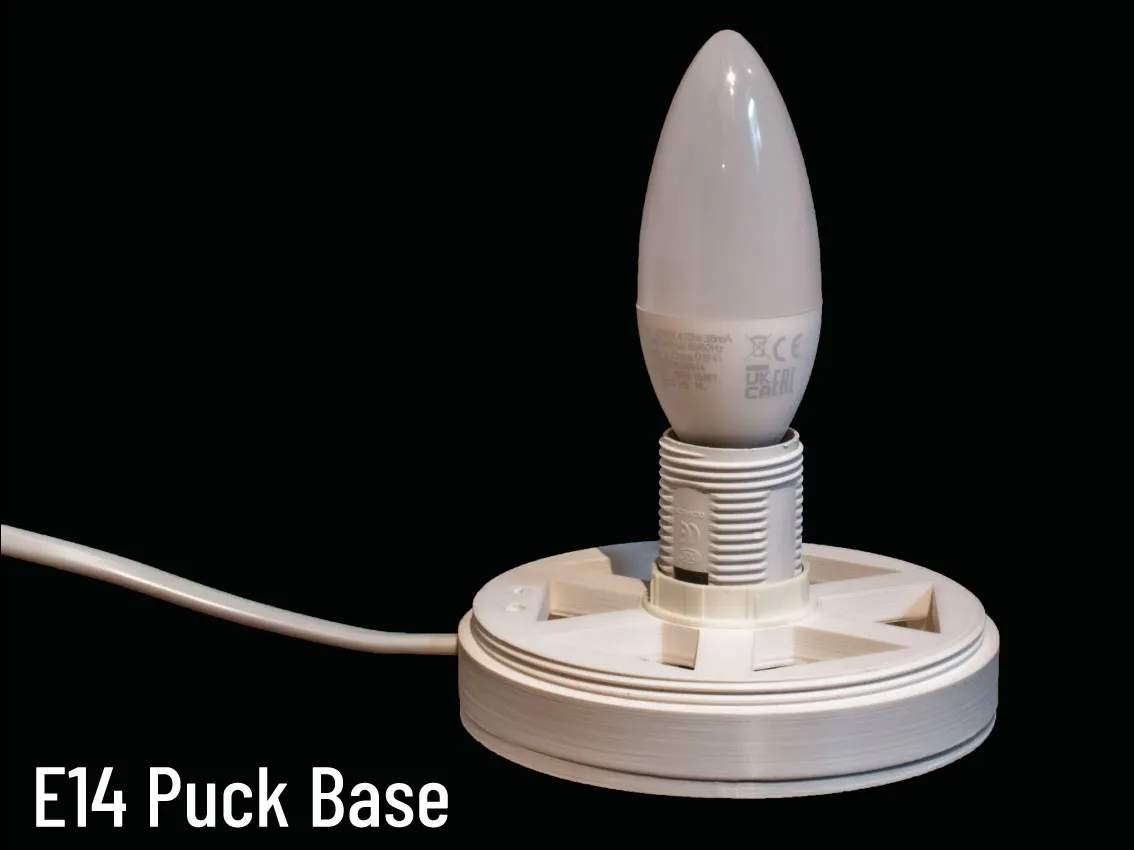 |
This Base uses E14 or E27 lightbulbs, making it easy to maintain and switch out lamps. Additionally, you can use differently colored lightbulbs and even color changing lightbulbs. Some electrical knowledge (crimping ferrules, connecting lamp sockets) required. It is available in three different heights as well.
BOM:
Printed Parts:
Assembly:
| |
E14/E27 Adapter | |
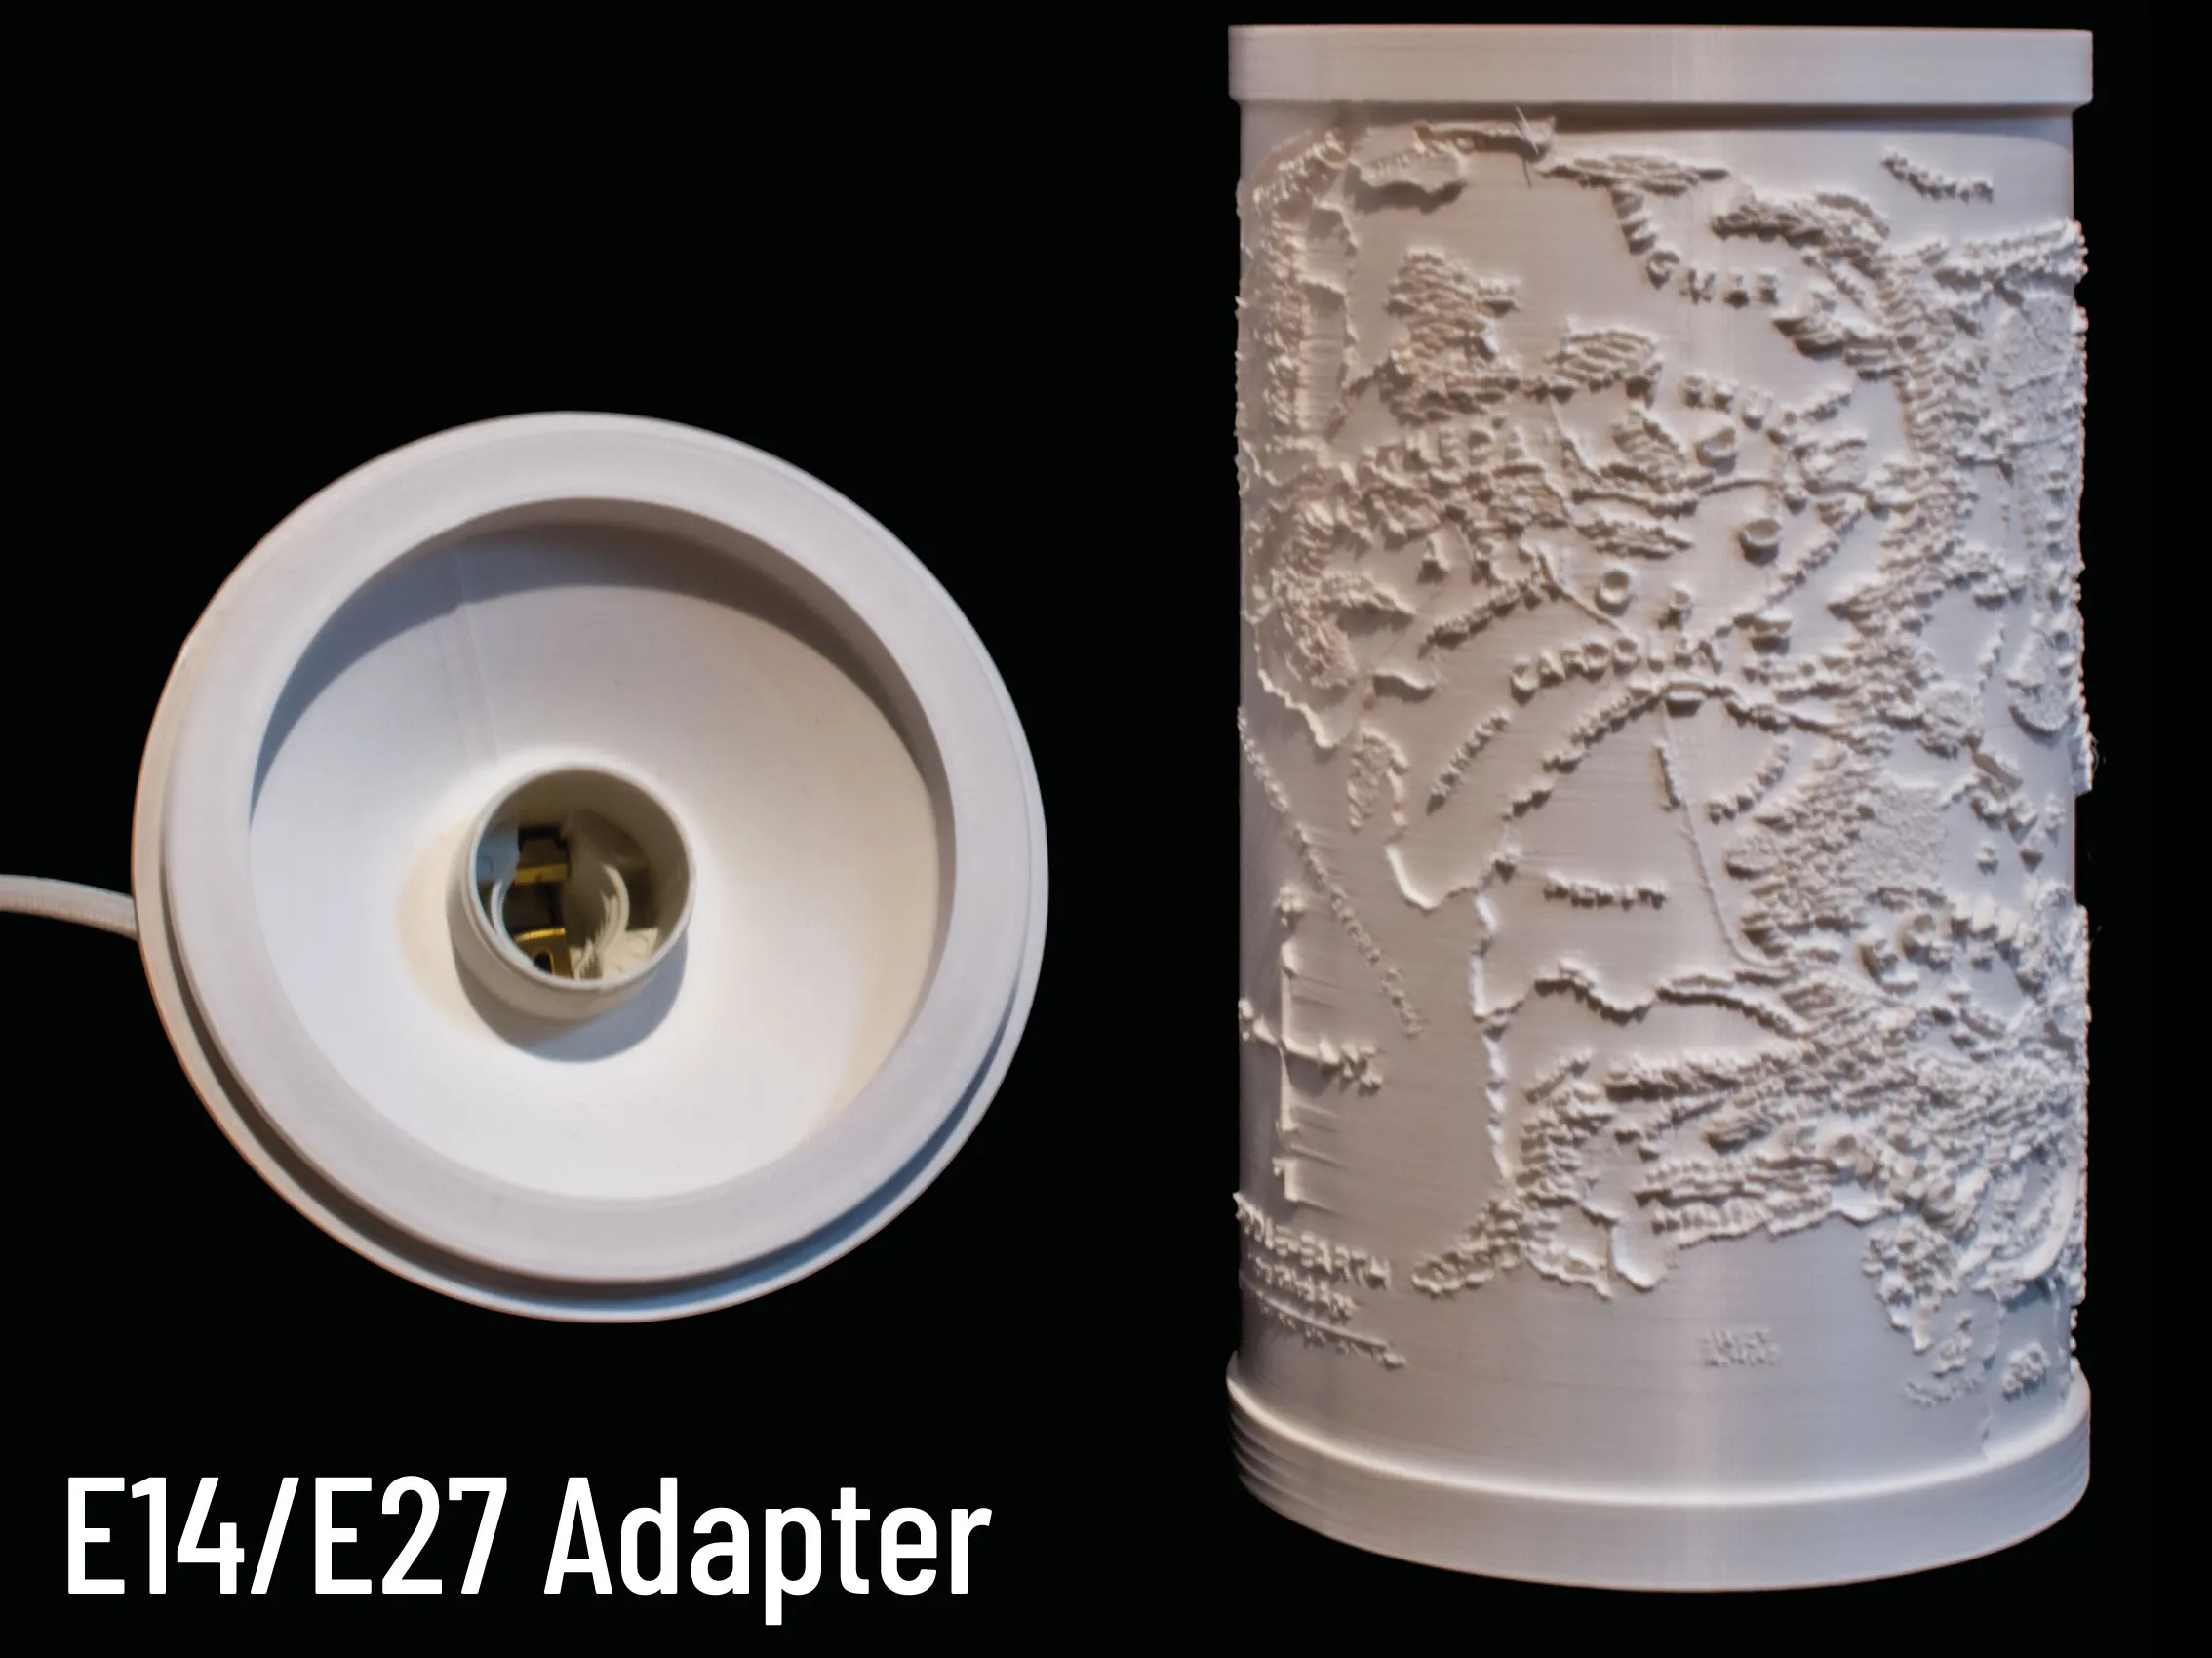 | 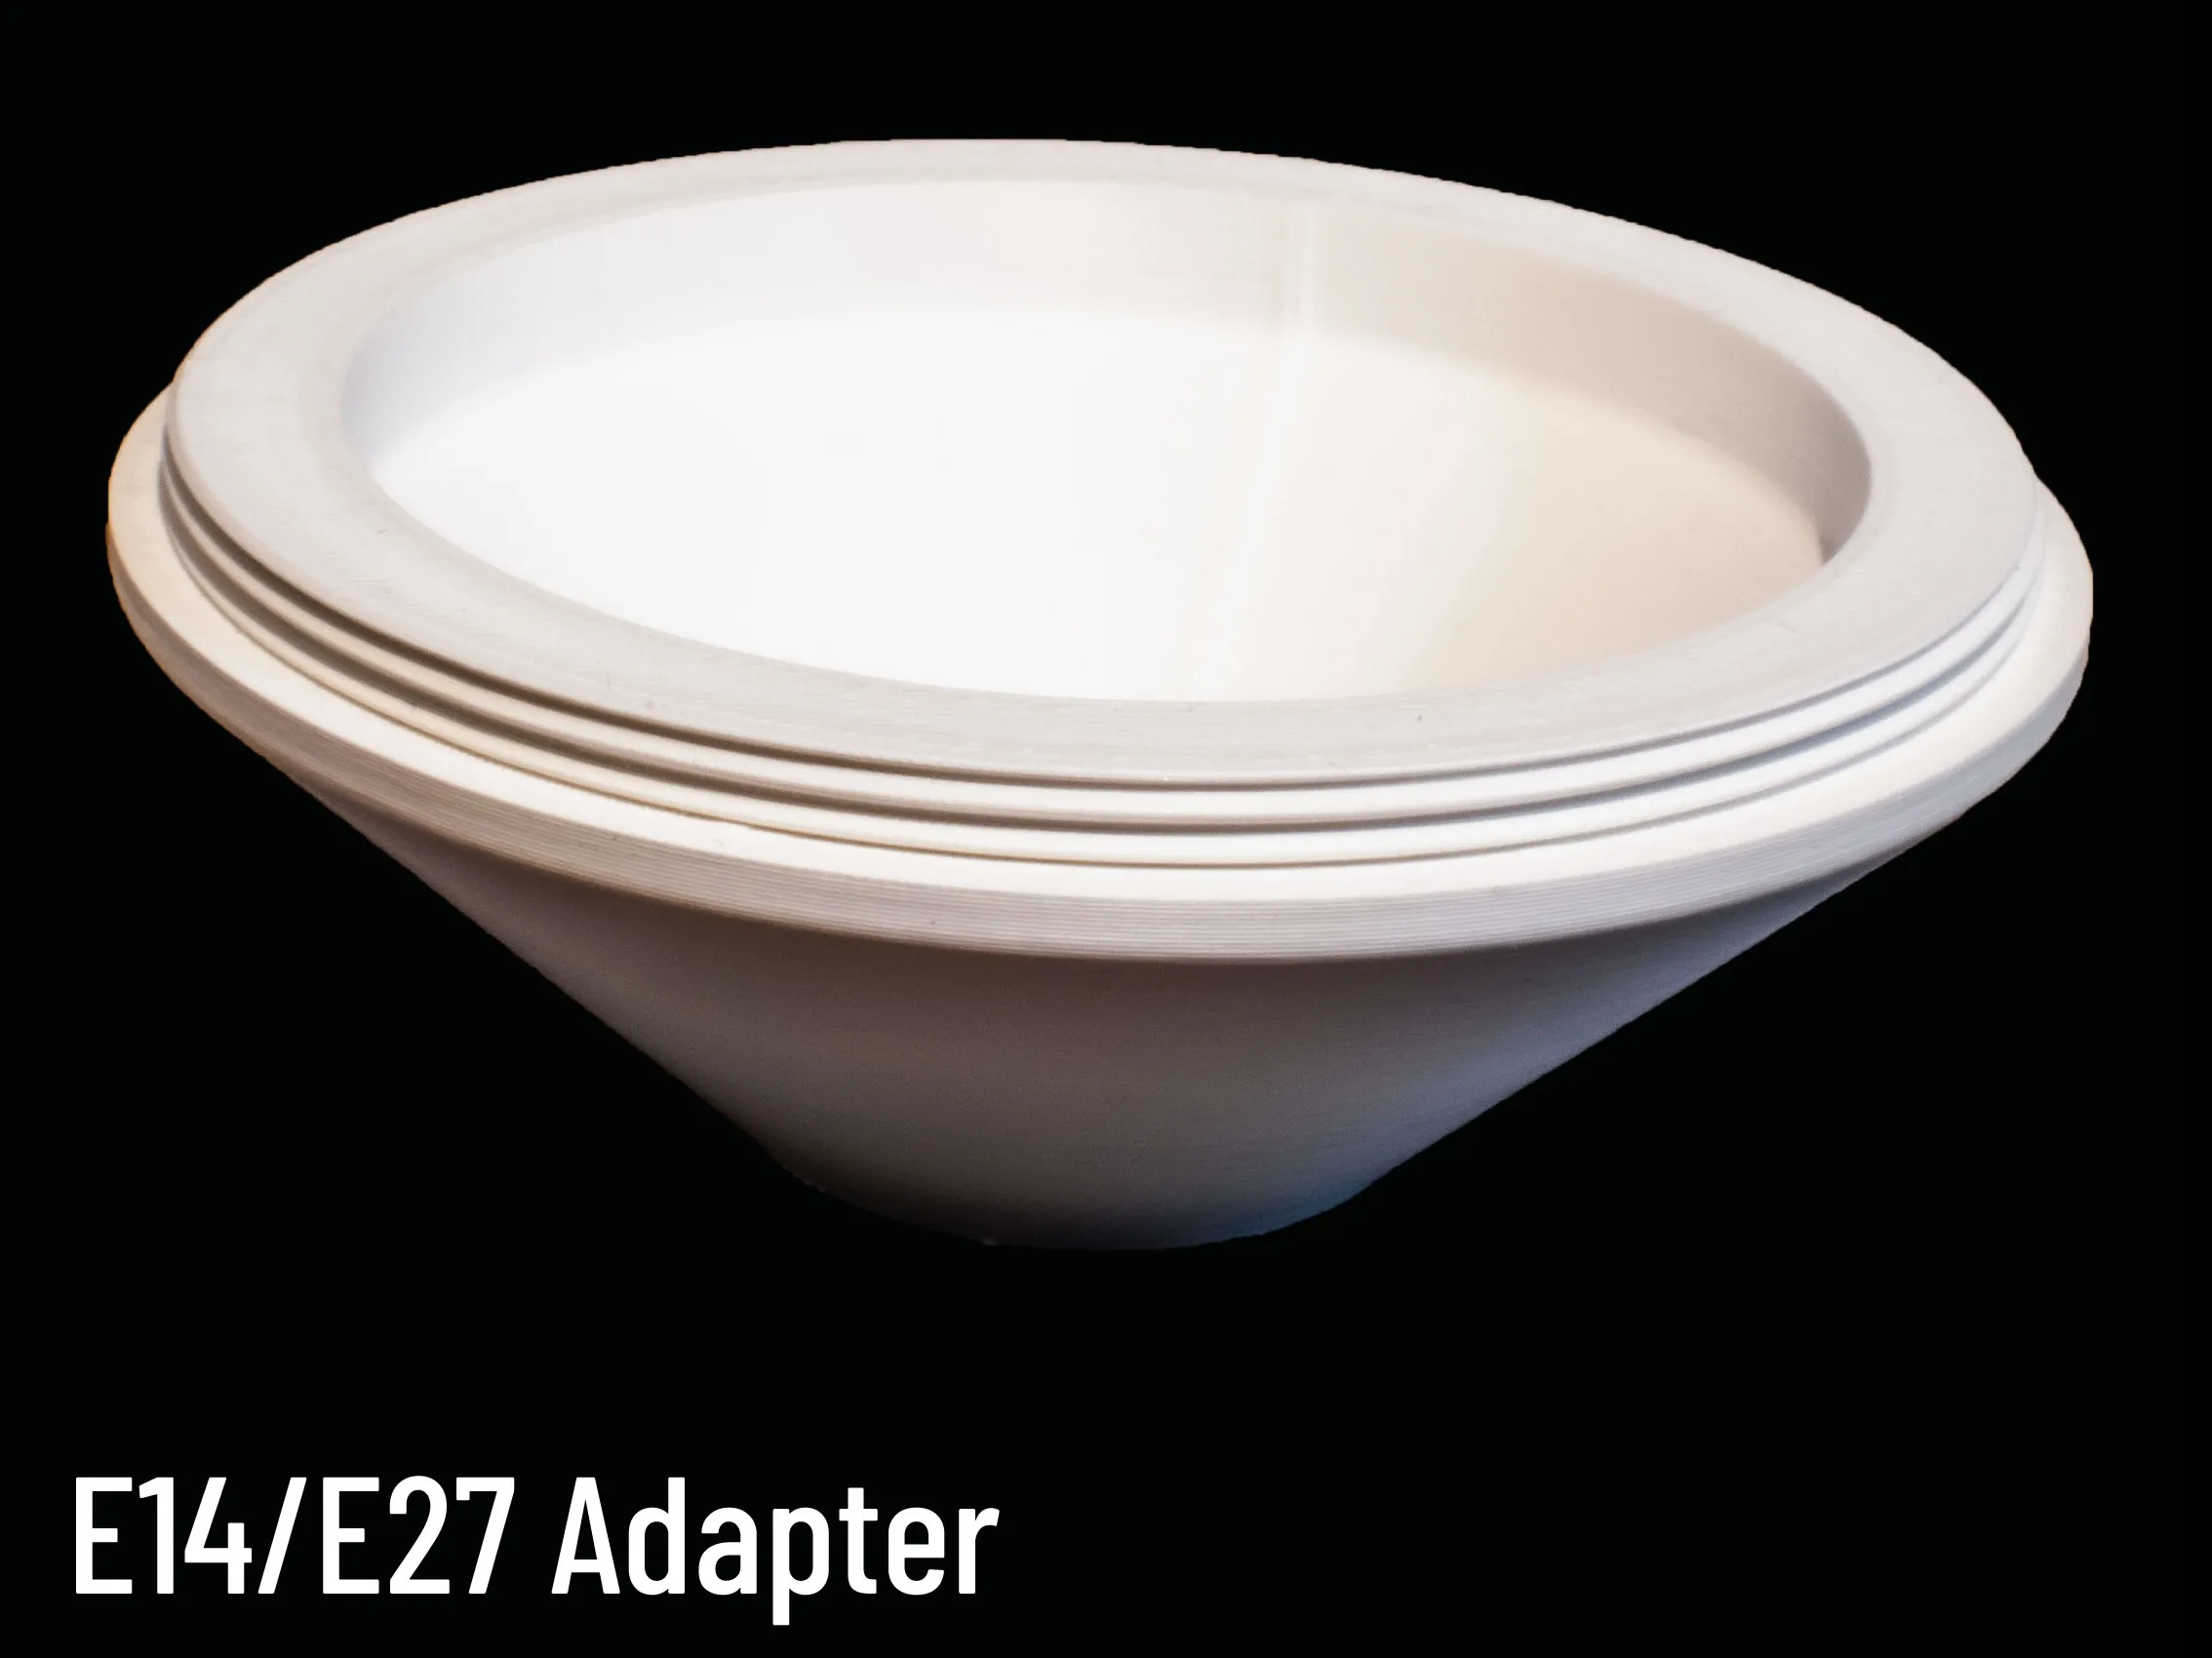 |
This is a set of simple, yet effective adapters, allowing you to mount the lamps to any lamp base that uses E14 or E27 sockets. The possibilities are endless.
BOM:
Printed Parts:
Assembly:
| |
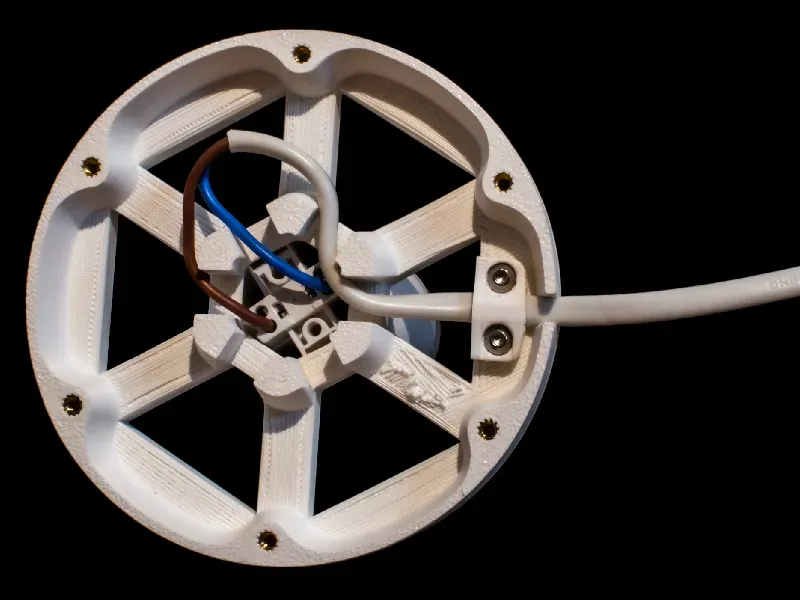
Assembly
Base, Lampshade and Lid are connected with a simple M100x2 thread. If you experienced a bit of stringing (especially possible for the nut-threads of the map lamps), clean up your threads carefully by cutting loose strings with a knife.
When threading parts together, make sure not to apply pressure to the thread areas. If you deform the threads, they may bind. I recommend to hold the map at the opposite end of where you are screwing your part in. Other than that, assembly and disassembly of the lamps is straightforward.
Your very own pattern lamp
I published a tutorial that can help you to create your own circular lithophane lamp. The tutorial as well as all files (including files of all bases) are public domain, so you can create your own lamps and license them as you please. Check it out:
https://makerworld.com/de/models/1174521-minimalist-city-map-lithophane-lamps-tutorial
Other models
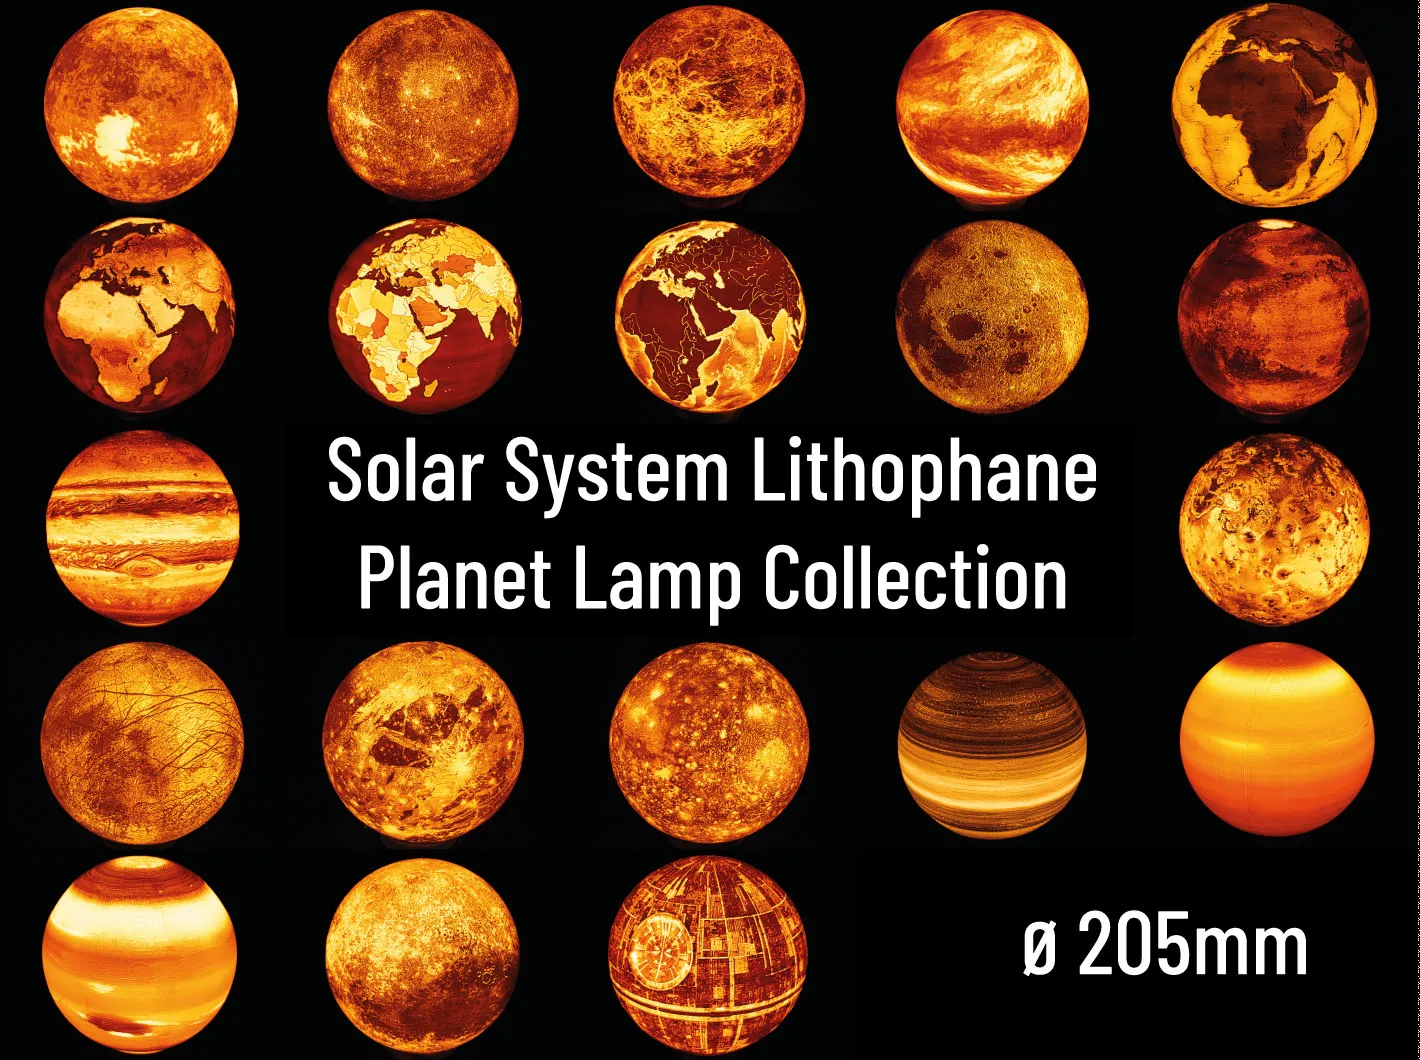
If you are interested in Lithophane lamps, consider checking out my other models. Click the images below for the respective models or check my profile.
 | 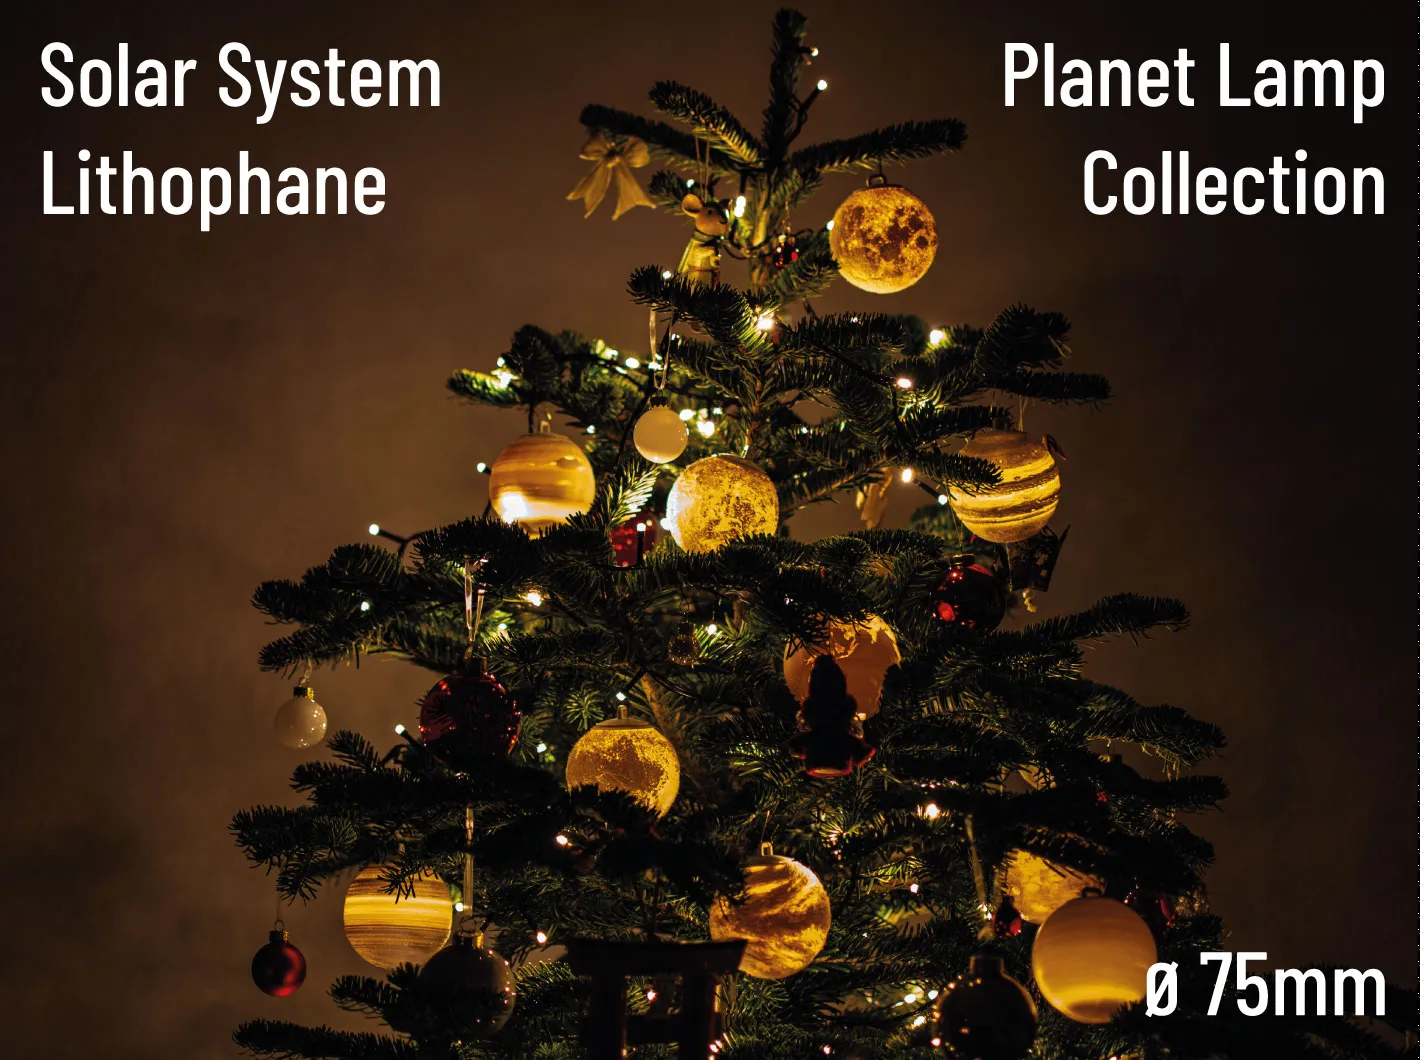 |
Acknowledgements
A big shoutout and thanks to:
lithophanemaker for providing an easy to use tool to create lithophanes
Without access to the tools and resources above, I would not have been able to create this collection.
License



Comment & Rating (57)