
Flysky FS-i6X (Fs-i6) 3rd Gimbal
Print Profile(3)


Description
Boost Me (for free)
Thank you for supporting my designs!!
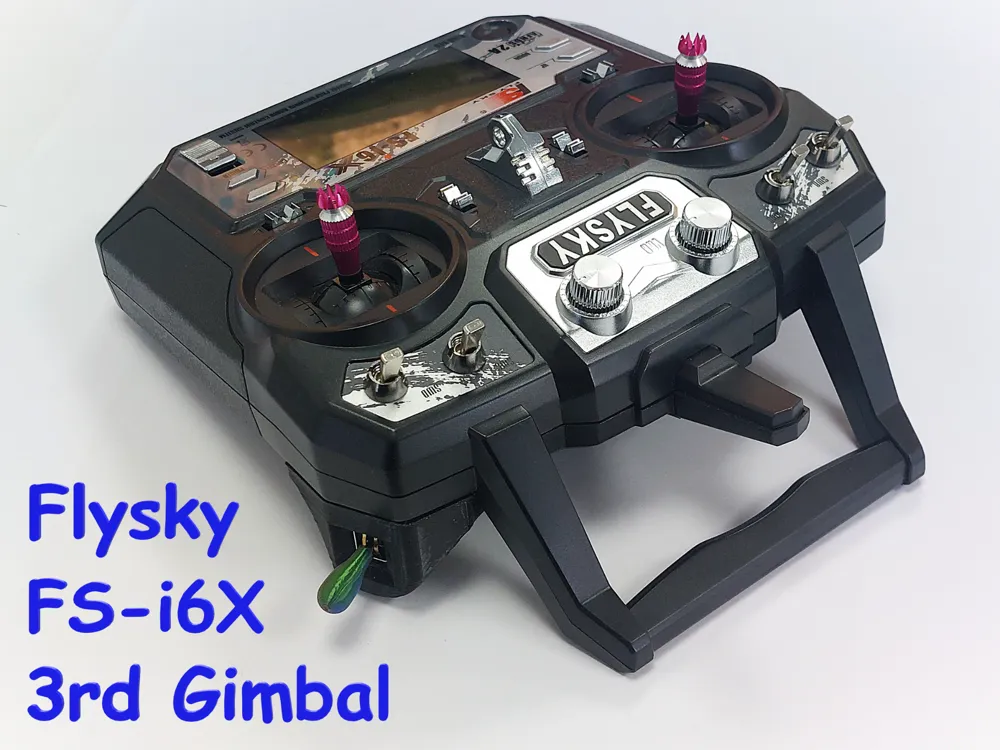
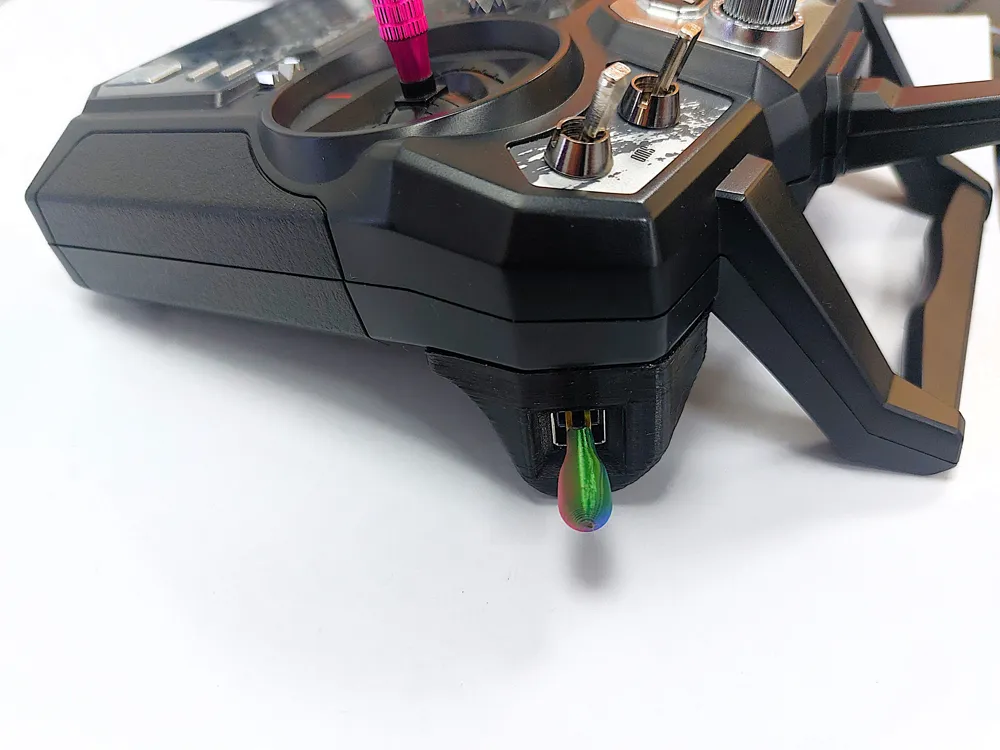
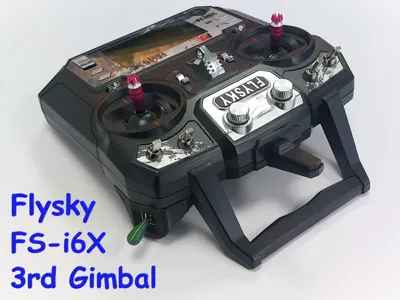
Flysky FS-i6X (FS-i6) 3rd Gimbal
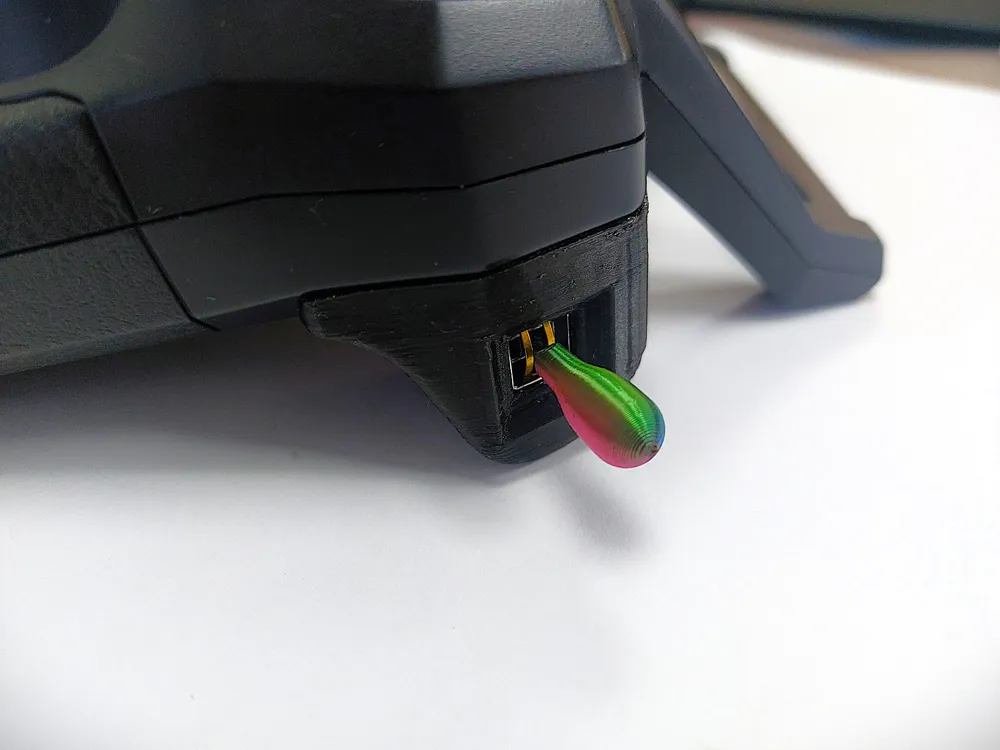
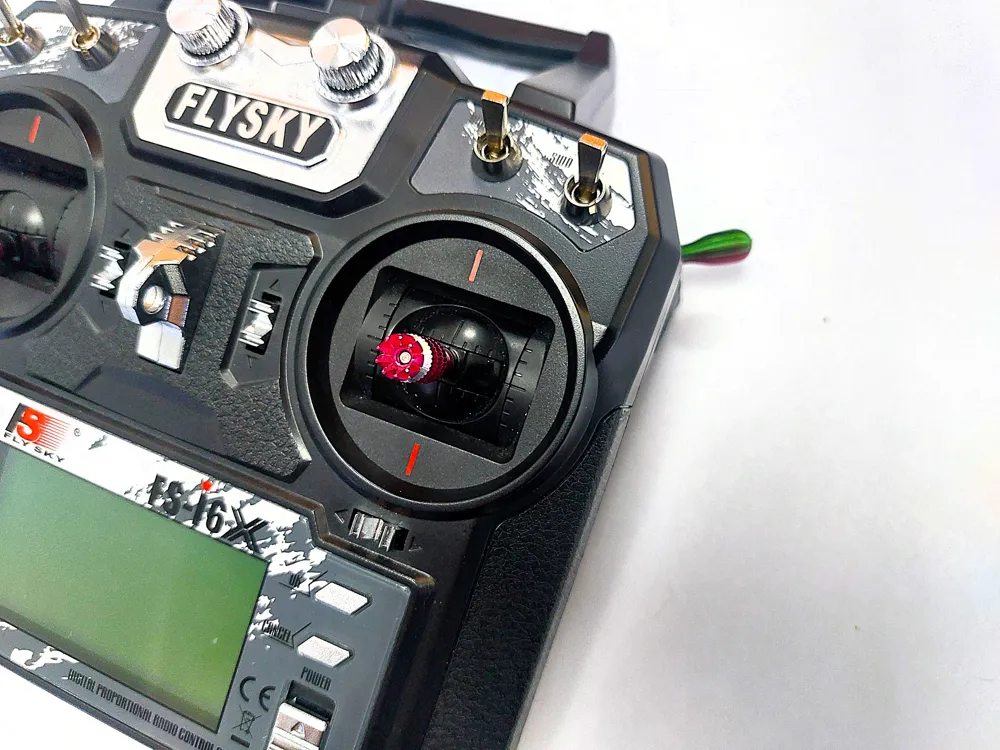
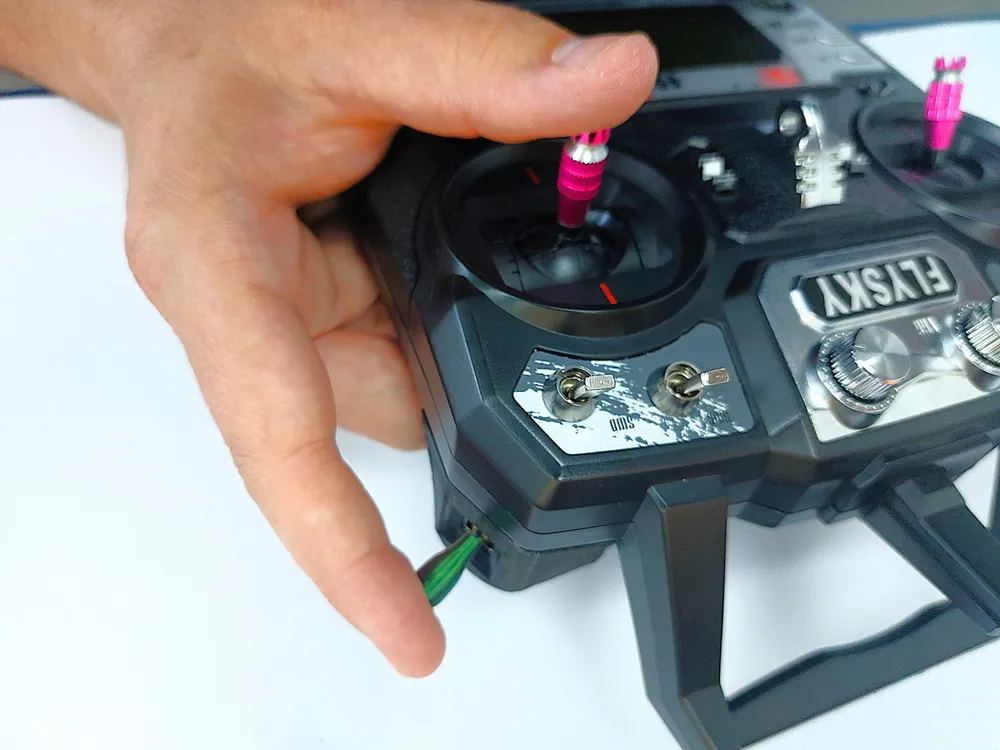
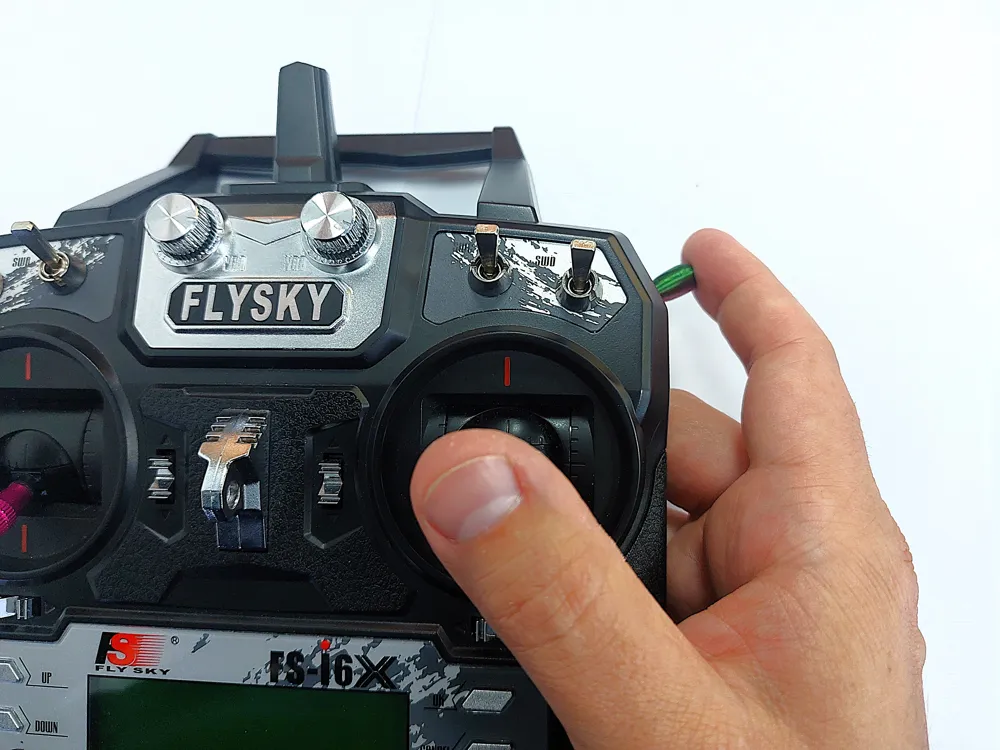
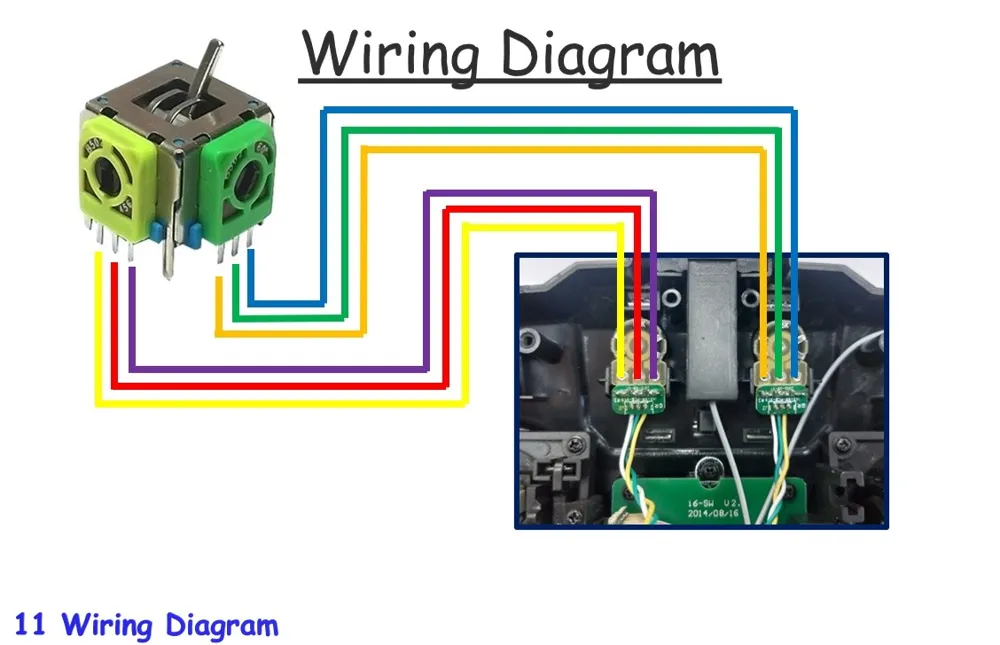
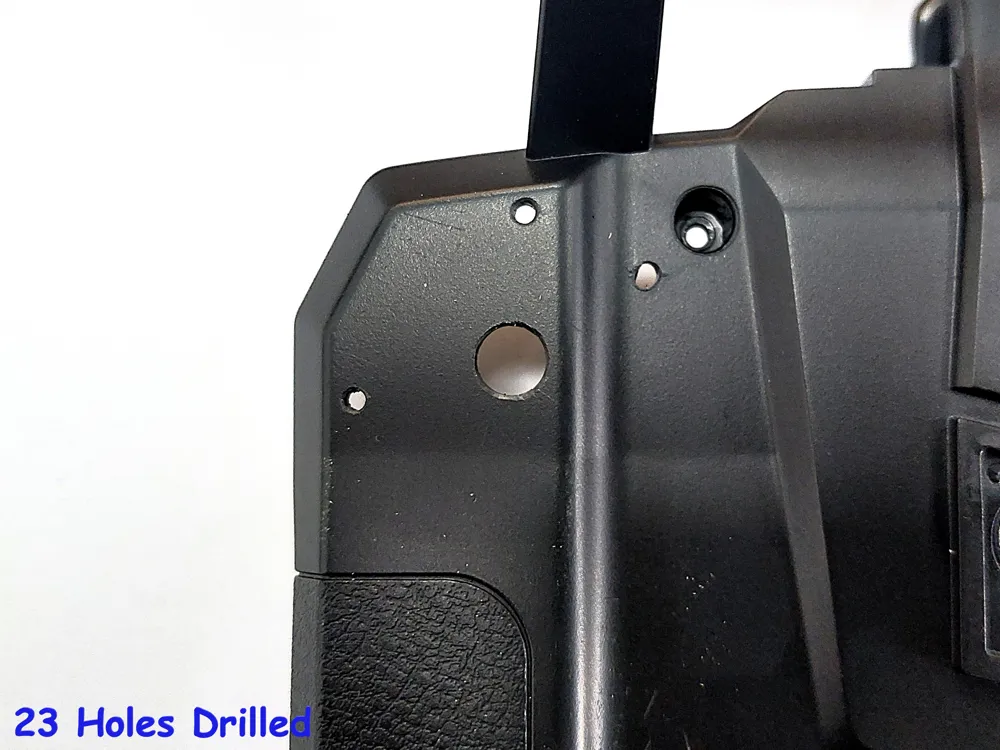
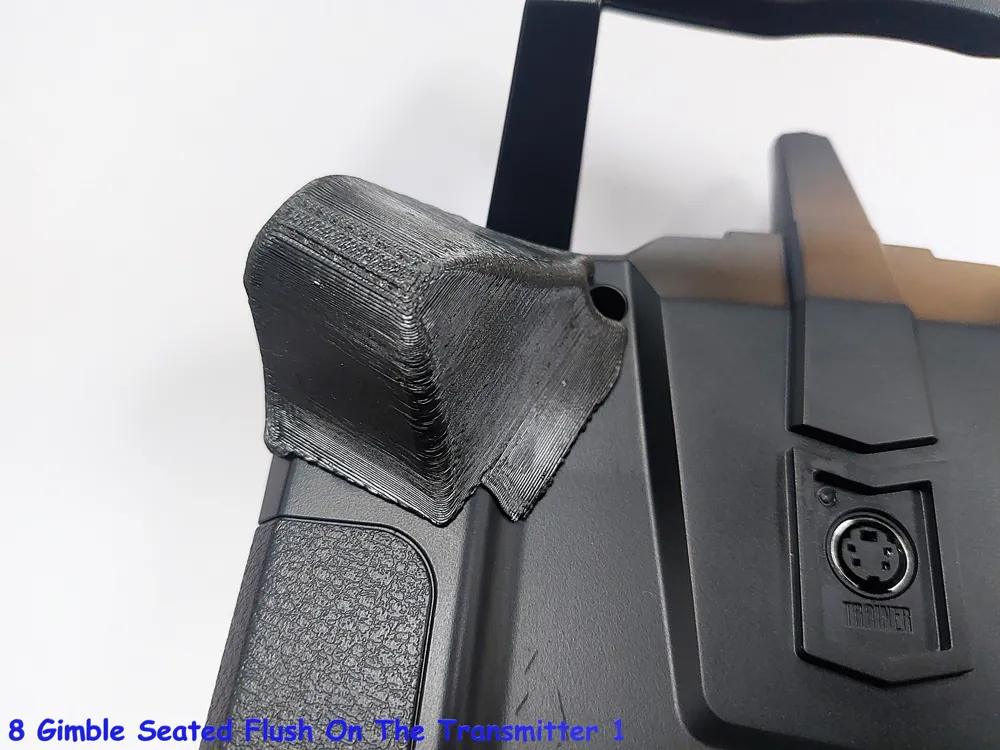
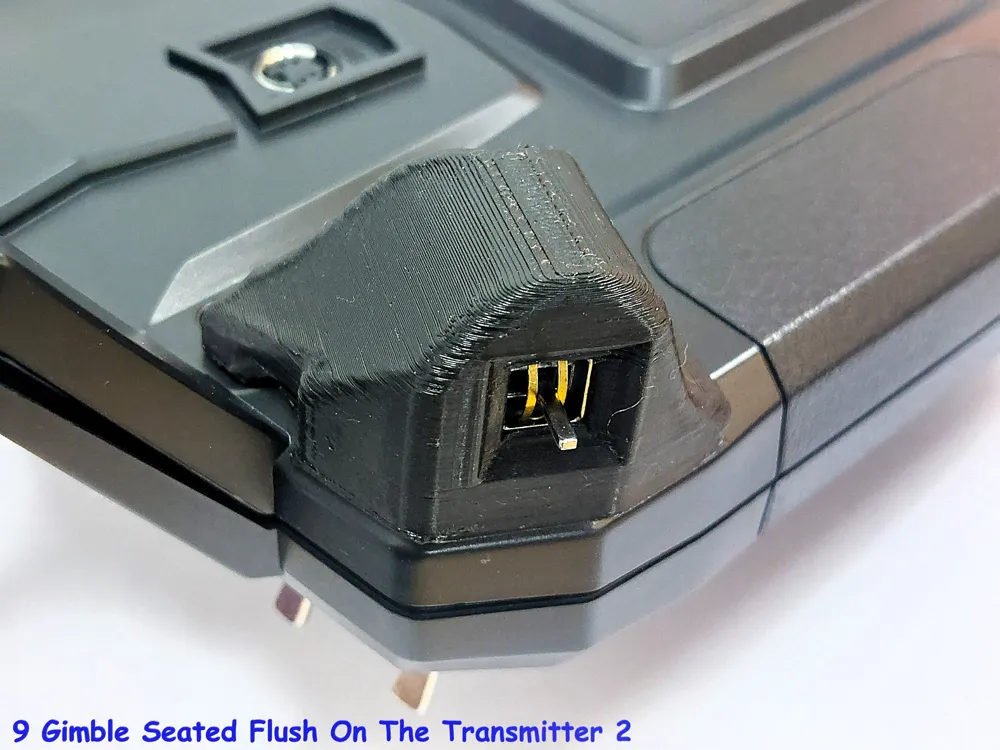
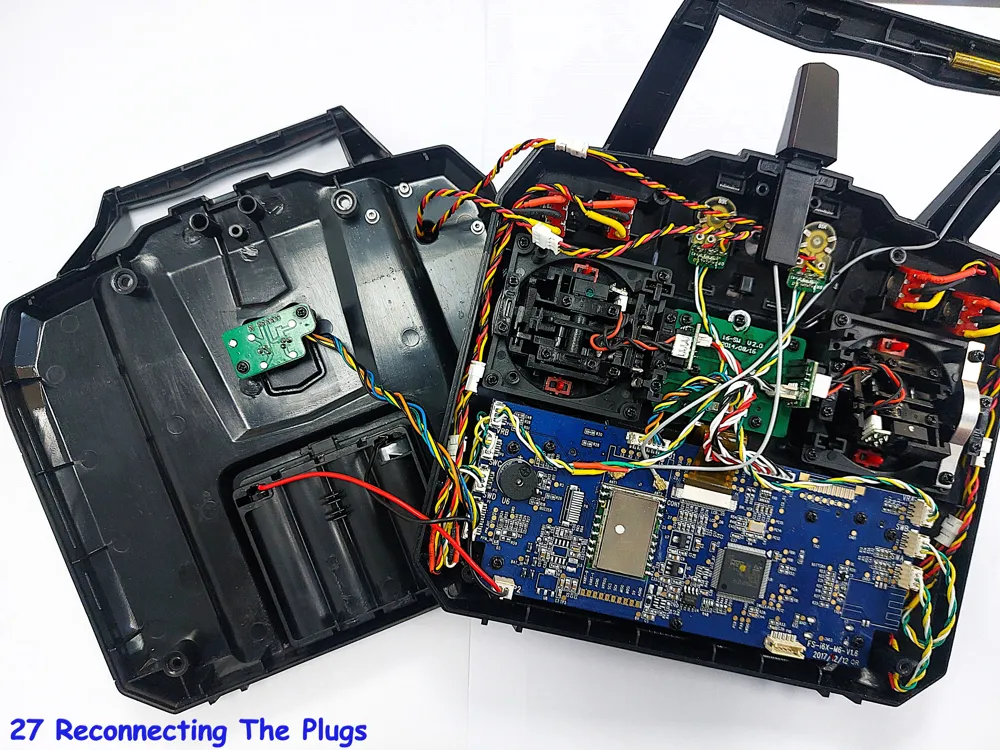
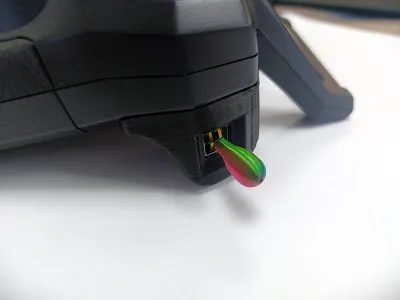
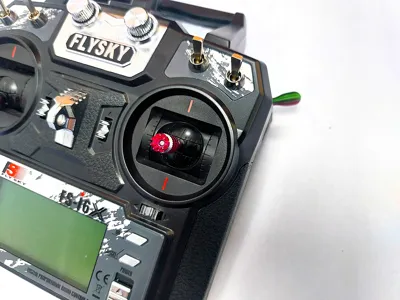
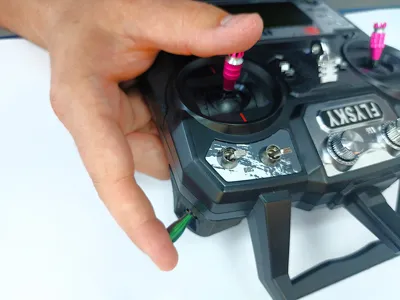
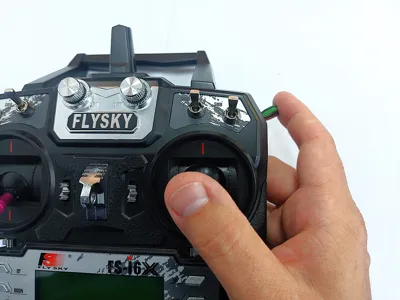
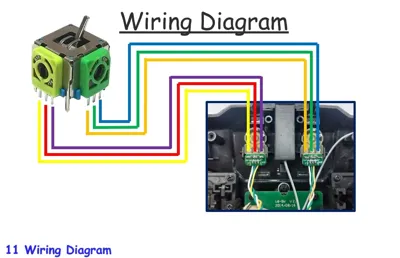
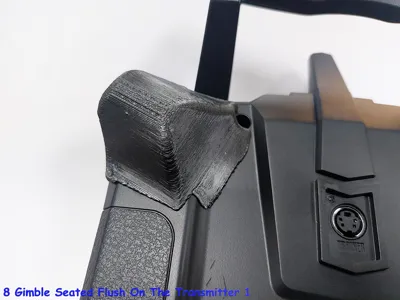
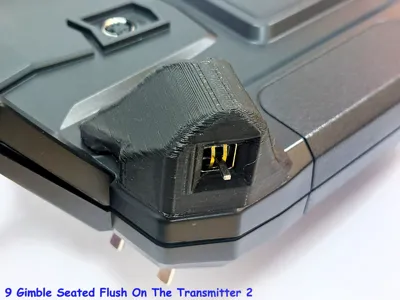
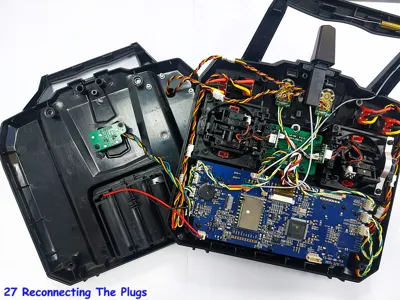
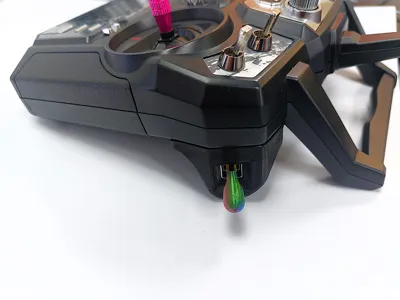
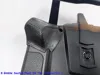
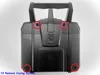
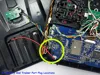
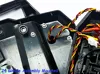
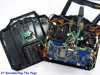
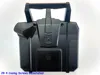
Hi, I have designed a fully functional 3rd gimbal that can be run off 2 of the Aux’s (VRA & VRB) with minimal modification to the original components and no extra programming needed while still maintaining the full functions of the VRA & VRB Aux dials!
Personally, I found the VRA & VRB dials are in the wrong position on the controller and the dials too difficult to use reliably while operating the model that I tend to try and avoid using them. This mod makes use of the VRA & VRB dial potentiometers to allow an ergonomically placed gimbal/joystick to operate them and is perfect for FPV or camera pan and tilt operations while simultaneously operating the main joy sticks. The original dials can still be used in their normal way without the need for switches or unplugging anything (they can be used to trim the 3rd gimbal too!).
For the full in-depth step by step build guide, please see my Instructables: Click Here
You can also find the full guide in the downloadable files
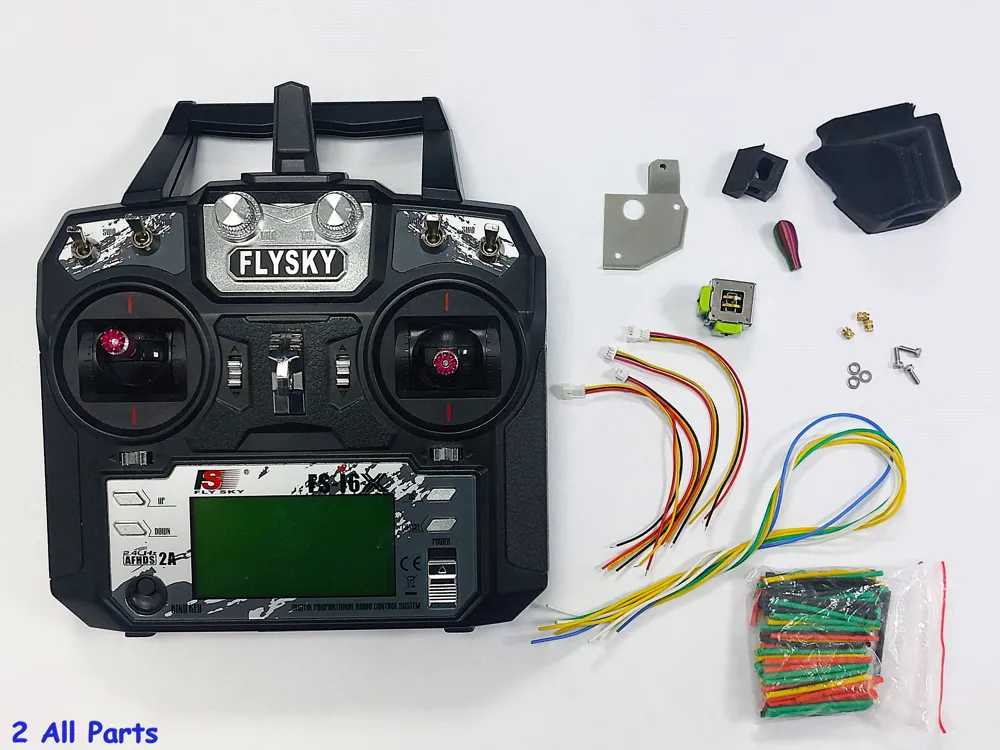
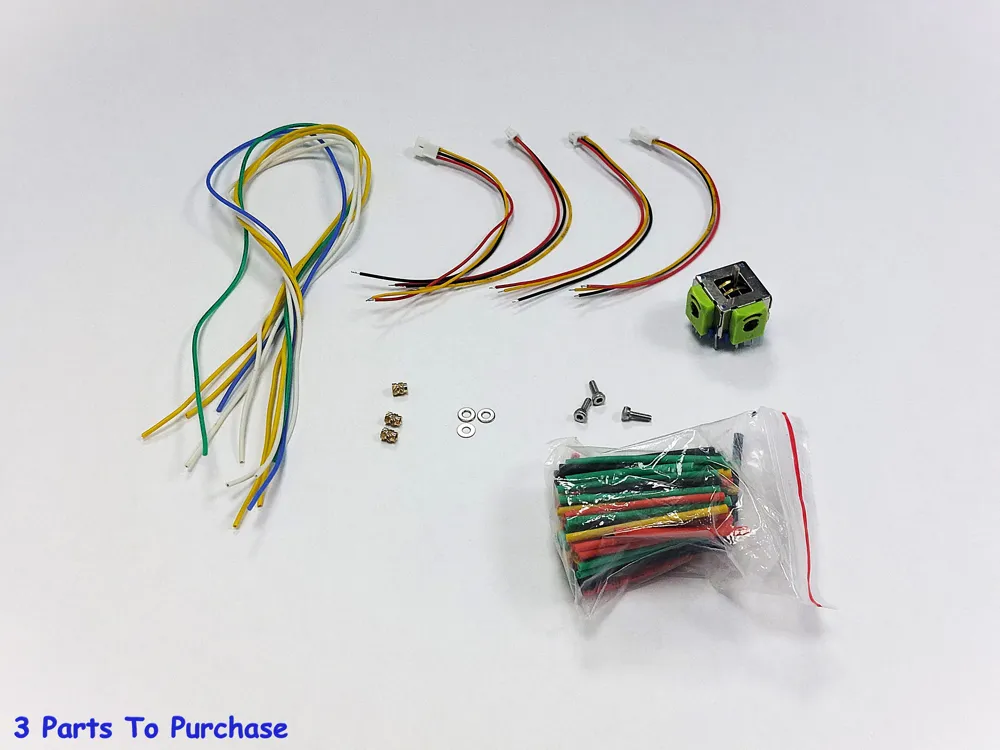
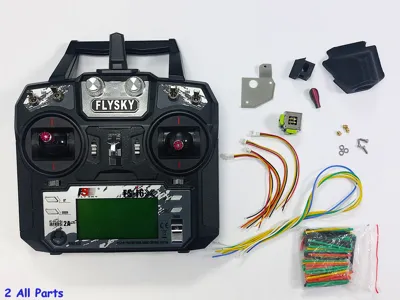
Parts Needed:
- Flysky FS-i6 or FS-i6X Controller
- 3D printed parts (listed below)
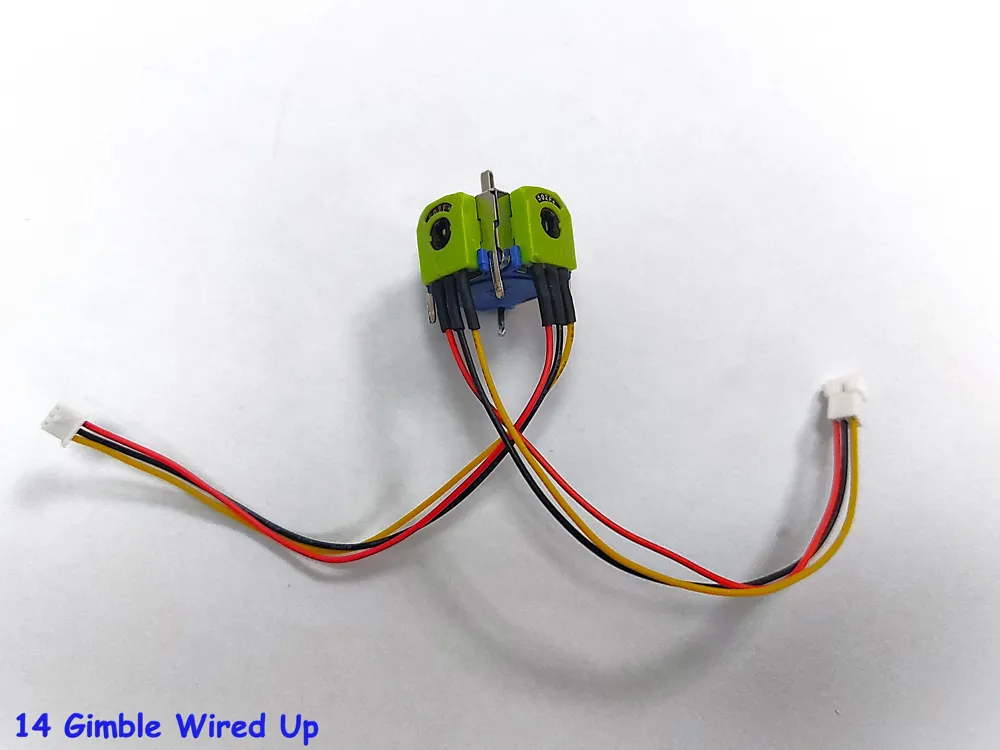
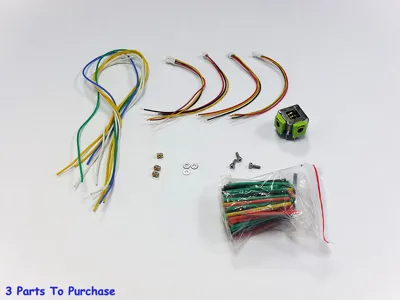
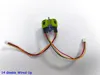
- 16x16 B502 2 axis gimbal – also known as joystick or rocker - these can be sourced off most toy style transmitters or very easily online (I got mine from an old Syma controller) - (Ideally you want one with both axis self-return but non-self-return variants work too)
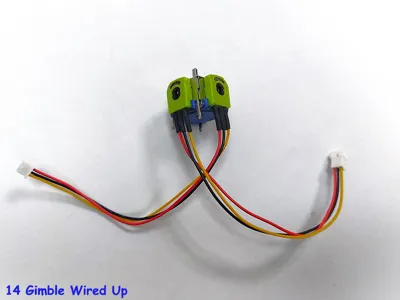
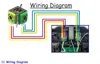
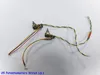
- 6 x approx. 300mm lengths of 22AWG wire (of different colours) OR
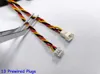
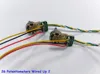
- 2 x sets of prewired 3 Pin 1.25 mm JST Plugs or similar (optional)
- Heat Shrink
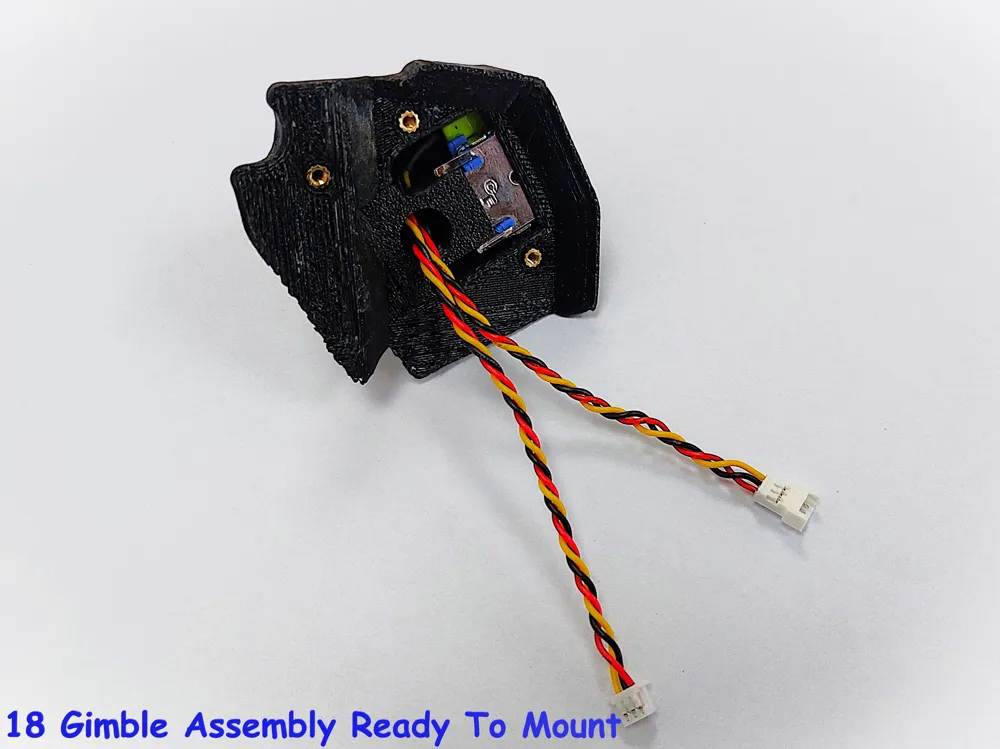
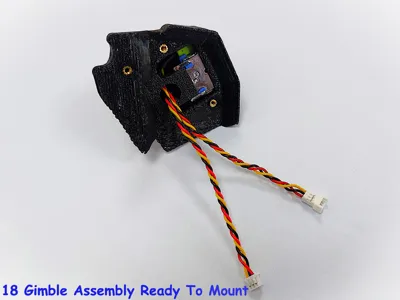
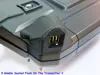
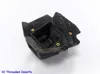
- 3 x M2 Threaded inserts
- 3 x M2x6mm screws
- 3 x M2 Washers
Option – if you don’t want/can’t use threaded inserts. It is possible to use M3/M3.5 x 6mm self-taping screws instead.
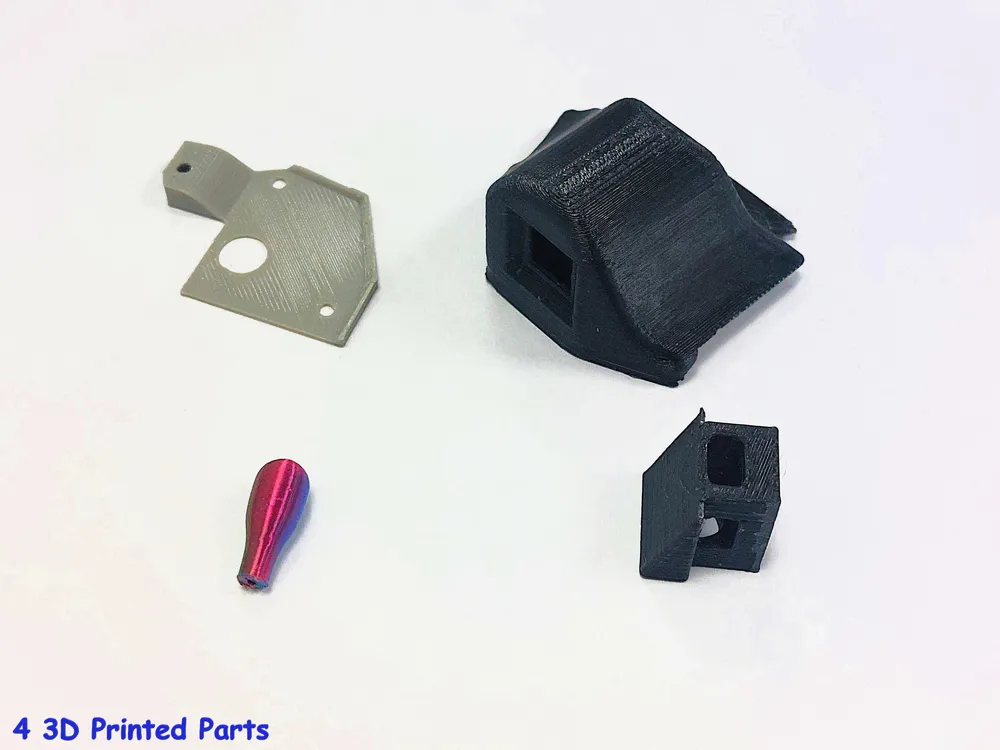
Parts To Print:
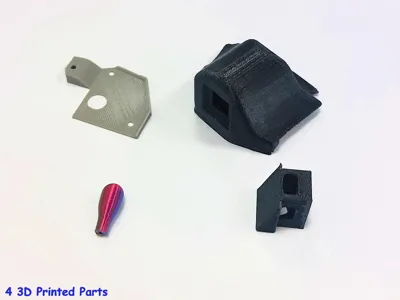
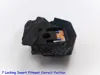
- Gimbal Housing
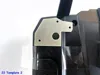
- Gimbal Locking Insert
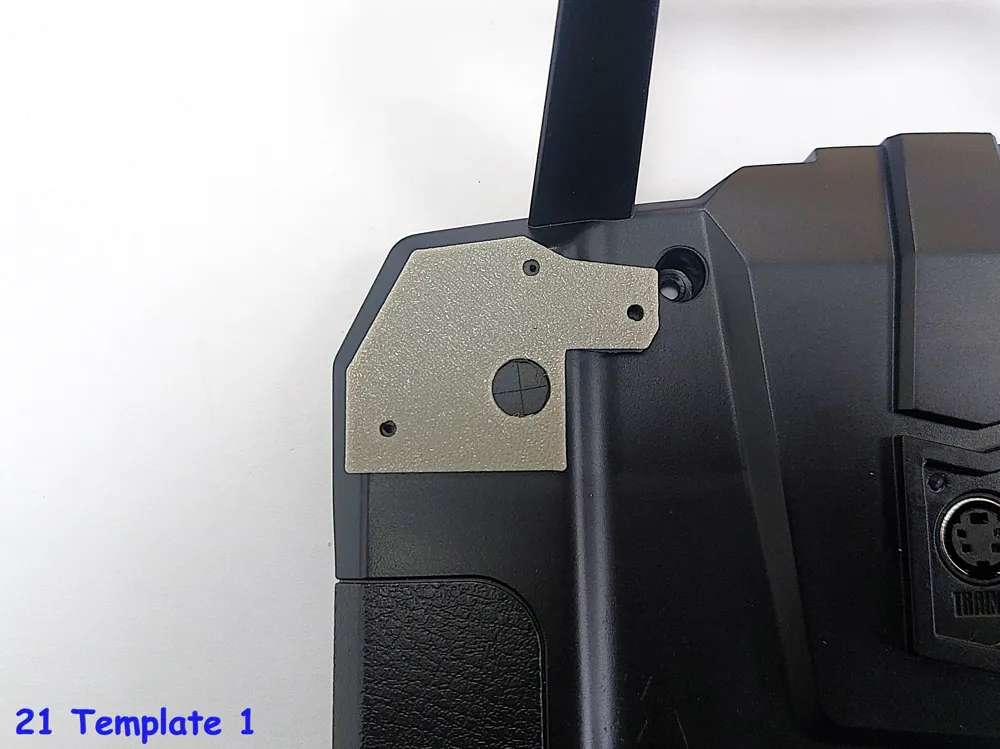
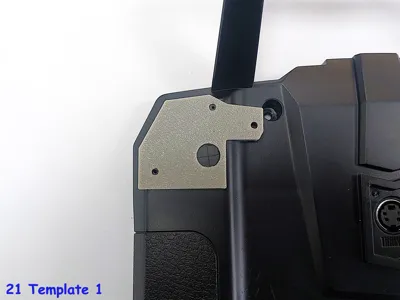
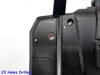
- Gimbal Mounting Hole Template
Gimbal Stick
I am a hobbyist designer and creator and love to know how I can improve my designs so any comments or advice on how my design or guide could be improved are always welcome! Thank you for reading my tutorial and have fun making!
Happy Printing!
Documentation (25)
License

You shall not share, sub-license, sell, rent, host, transfer, or distribute in any way the digital or 3D printed versions of this object, nor any other derivative work of this object in its digital or physical format (including - but not limited to - remixes of this object, and hosting on other digital platforms). The objects may not be used without permission in any way whatsoever in which you charge money, or collect fees.


Comment & Rating (1)