


Print Profile(1)

Bill of Materials


Description
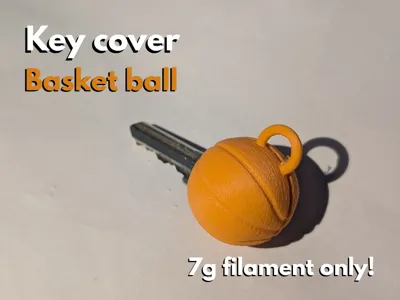
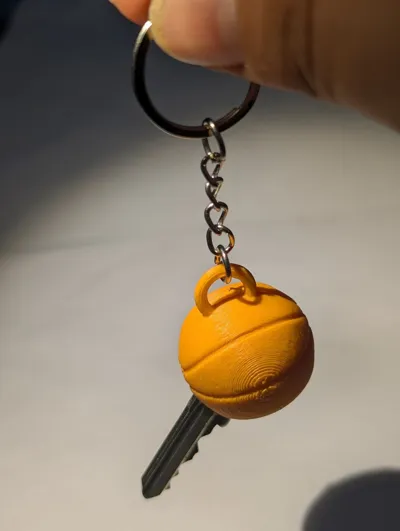
Basketball Key Cover with Keychain Function
This 3D model was designed to transform a simple key into an original, functional, and durable object.
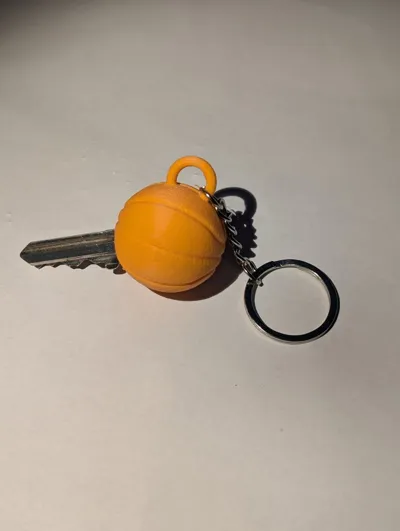
The shape reproduces a miniature basketball, complete with surface details that recall the classic lines of the ball. In addition to protecting the key head, the design integrates a practical upper ring that allows the key cover to be used as a keychain as well.
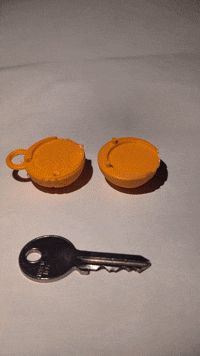
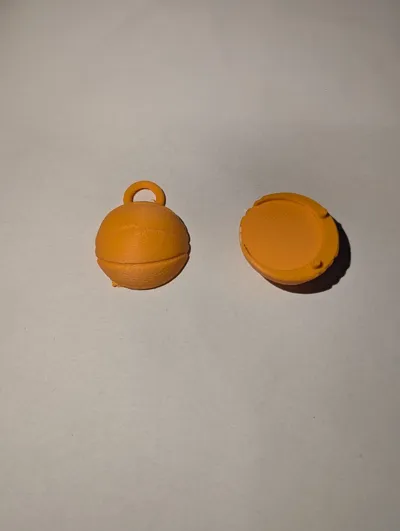
The model consists of two complementary hemispheres, designed with precise tolerances to fit together stably. On the back there are two attachment points that, once aligned and pressed, allow the sphere to be securely closed around the key. This mechanical system ensures a secure attachment without the need for additional components.
Printing requires just 7 g of filament, making it a quick and economical project, ideal for both personal use and as a small gadget to give as a gift or propose in series.
Assembly
To achieve the best result, we recommend following these steps:
- 1. Preparation of the pieces
After printing, carefully remove any supports or excess filament residue to ensure a precise fit between the two halves. - 2. Key Placement
Insert the key head inside one of the two hemispheres, making sure it is well seated in the designated recess. - 3. Hemisphere Alignment
Take the second half and place it over the first, being careful to perfectly match the two small interlocking holes located on the back of the model. - 4. Snap Closure
Press firmly until you hear a click: this confirms that the pins have secured in the correct seats and that the closure is stable. - 5. Tightness Check
Try to move the two halves slightly: if they are well tightened, the assembly is correct. - 6. Tip for greater resistance
For those who desire an even more durable attachment, it is recommended to apply a small drop of cyanoacrylate glue or similar directly at the two attachment points. In this way, the hemispheres will become a single solid body, and it will be practically impossible for them to open accidentally during use. - 7. Final Use
Once assembled, the key cover not only protects the key head but also transforms into a decorative and practical keychain, easy to spot thanks to its iconic shape.
Thanks to the combination of careful design, functional mechanical interlocking, and reduced weight, this model represents a simple yet ingenious solution for personalizing your keys with style.
If you liked the file, I ask you to support me with a boost!! Thanks :)
License
You shall not share, sub-license, sell, rent, host, transfer, or distribute in any way the digital or 3D printed versions of this object, nor any other derivative work of this object in its digital or physical format (including - but not limited to - remixes of this object, and hosting on other digital platforms). The objects may not be used without permission in any way whatsoever in which you charge money, or collect fees.
Comment & Rating (3)