
Minecraft Chess Set (magnetic)
Print Profile(13)


Bill of Materials


















Description
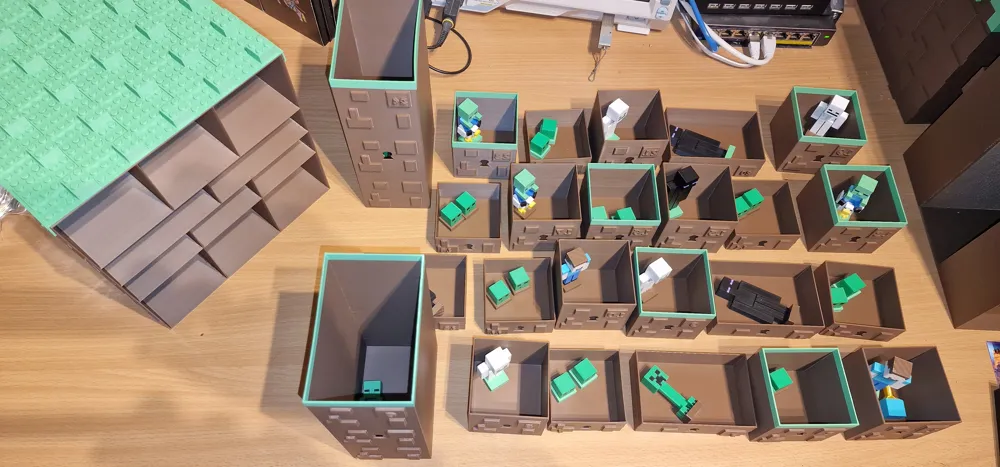
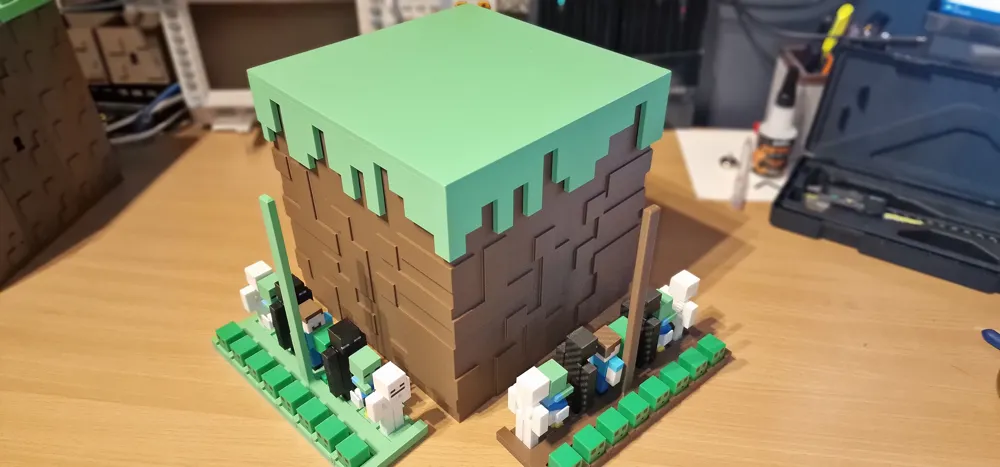
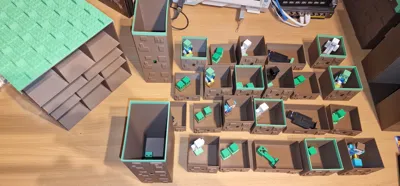
Old News: Now there is also a matching storage box to store the board pieces and figures neatly sorted, securely, and firmly fixed Feel free to check it out
Also as a Christmas idea: I'm giving the chess set as a Christmas gift In a suitable Minecraft advent calendar (which I just managed to finish designing in time as I am still a CAD beginner) I will put one of the figures (or always 2 Slimes together) in each door to build up suspense and guessing about what it will be If you want to do the same (and still have time to print) feel free to take a look at the model
------------------------------------------------------------------------------------------------------------------------------------------------------------------------------------------------------------
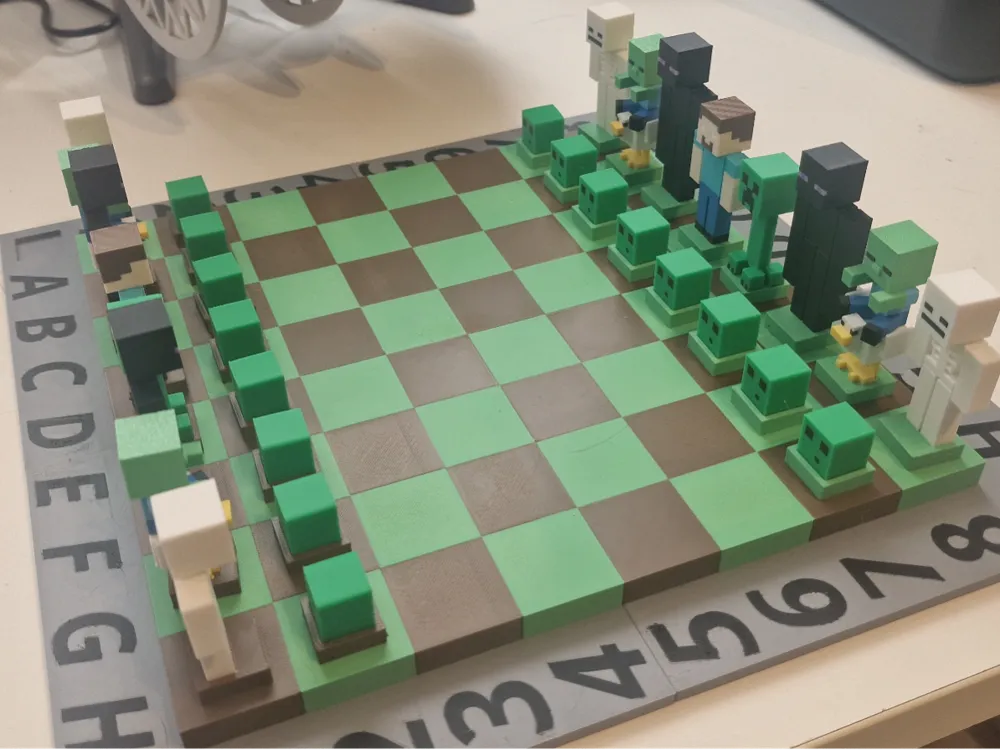
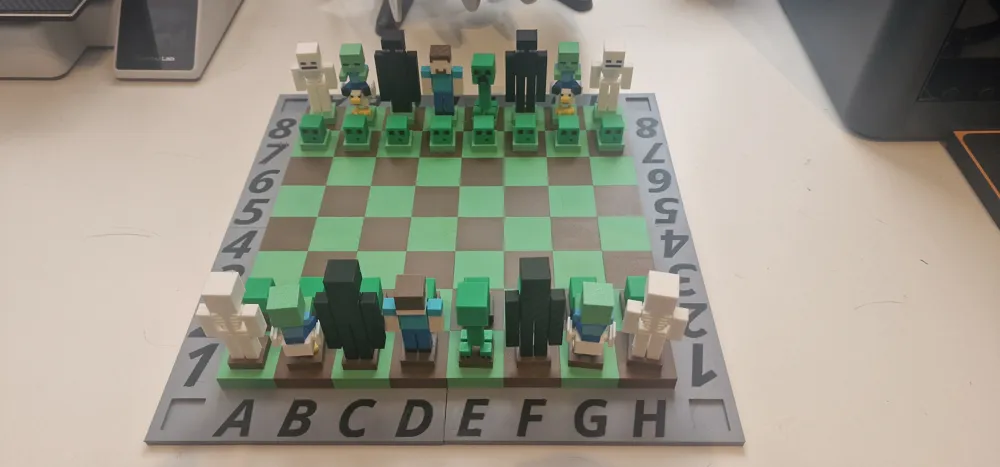
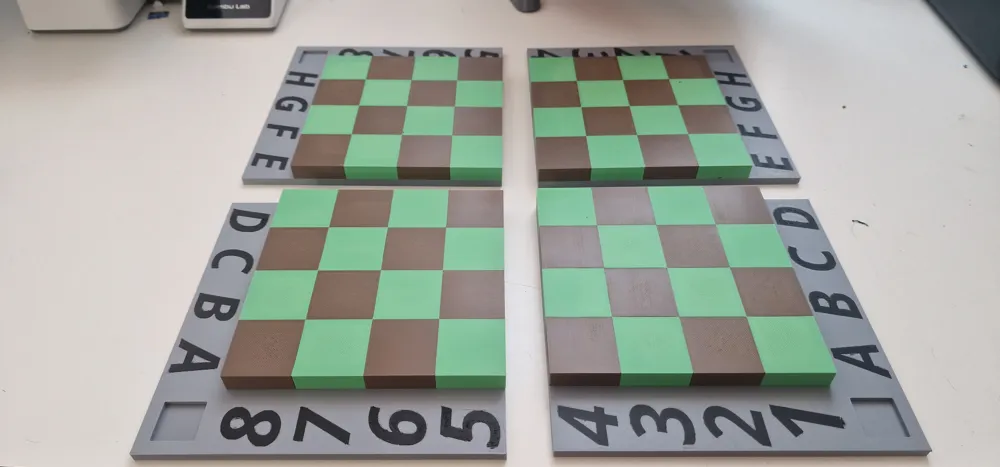
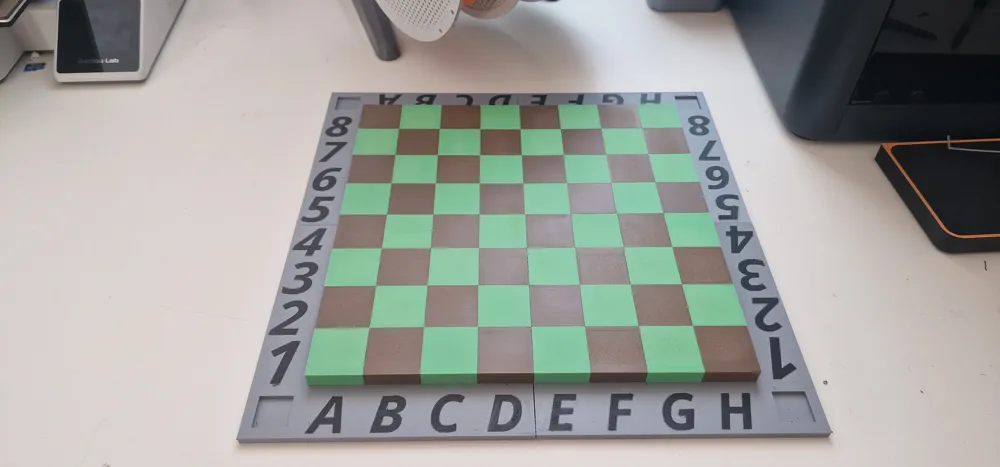
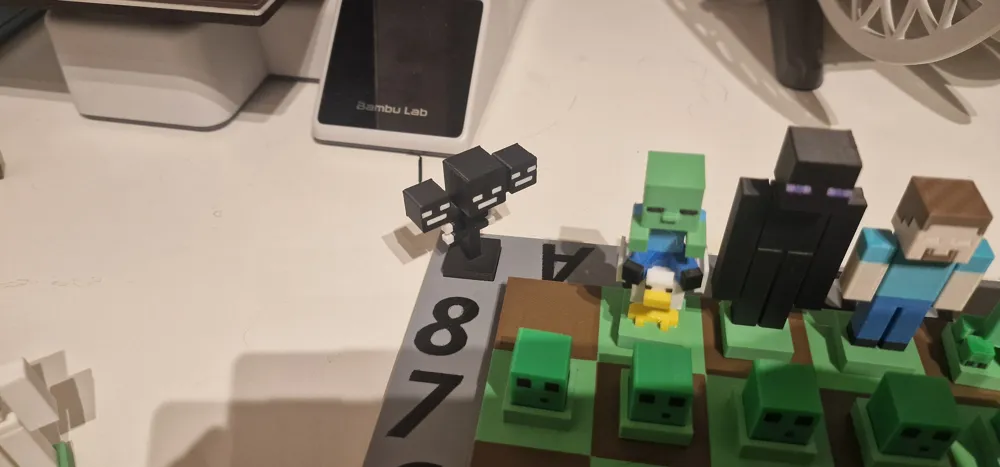
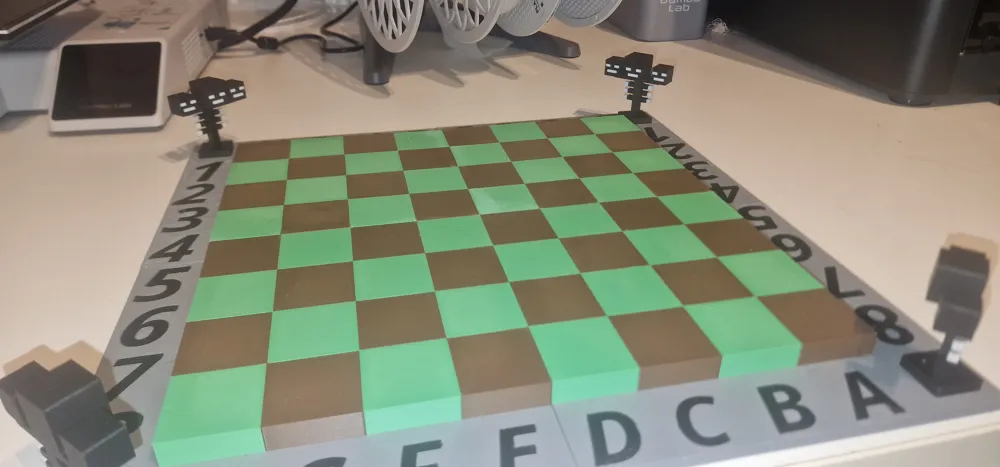
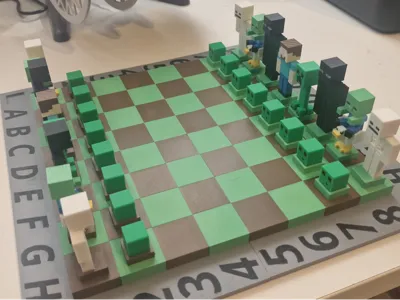
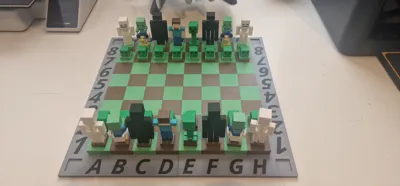
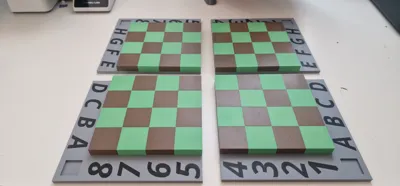
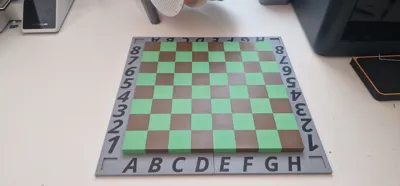
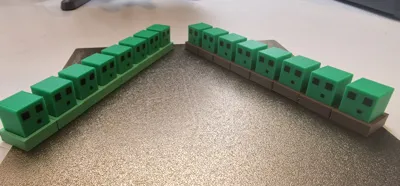
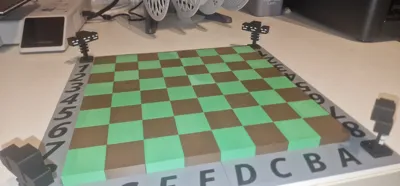
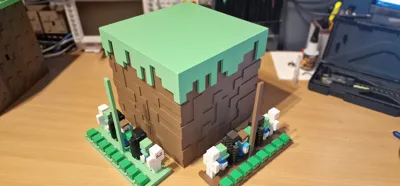
As a gift for a great boy and big Minecraft fan, I decided to quickly design a chess set How hard can that be - it's all blocks and thus ideal for my beginner knowledge in CAD and 3D printing Well, I seriously underestimated that Since I wanted the figures to be quite large, the required board was too big for my printer - so I decided to split it, and since I'm fond of magnets, the 4 board pieces are also held together magnetically
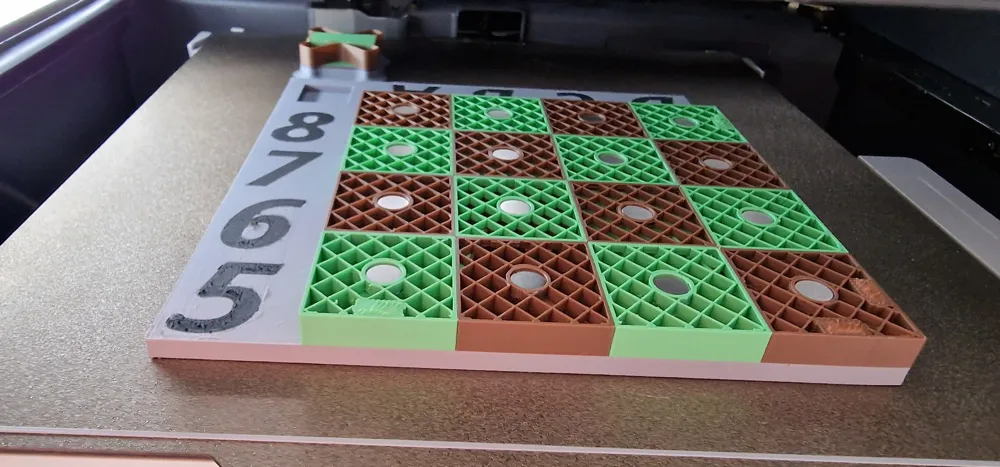
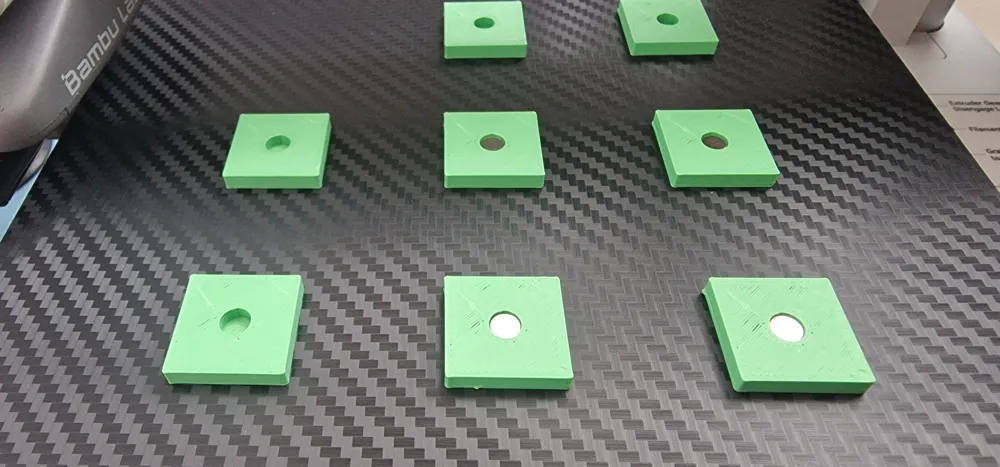
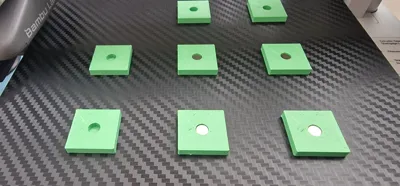
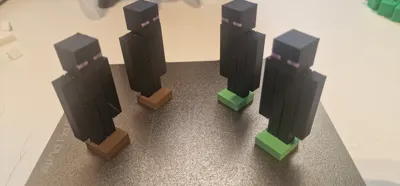
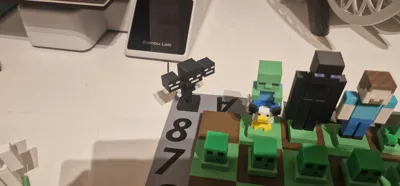
Since I also planned magnetic support for the figures (so they don't tip over easily - 3D printed parts are quite light) this also simplifies inserting the magnets (as only 16 pieces per part need to be inserted, making it easier to reach the spots on the print bed) The magnetic hold of the figures feels great to me - not too strong to cause issues when moving them, but strong enough to keep the figures securely in place Just be careful to insert all magnets in the same orientation and likewise in the figure bases Also, caution is advised when inserting the magnets for the board connection When inserting, it's best to always double-check the required orientation using the already printed board pieces
For the figures, I intentionally used 100% infill This gives them a nice weight and feel
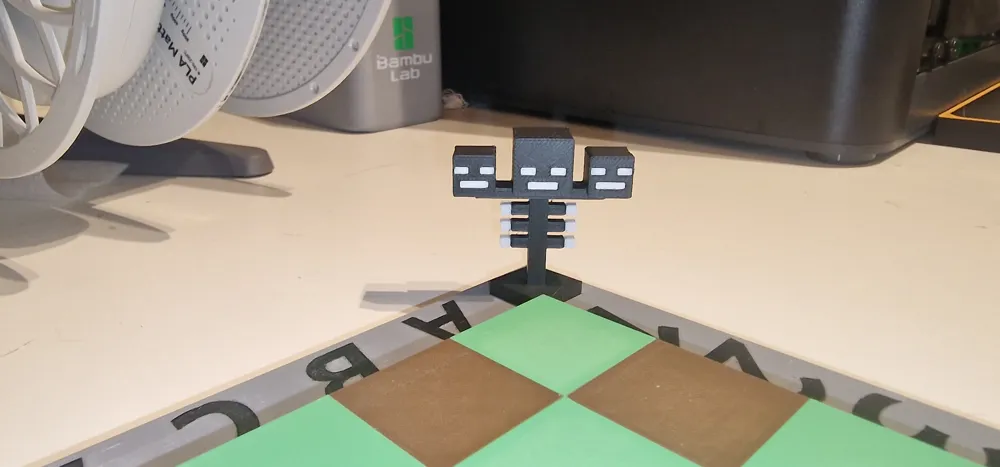
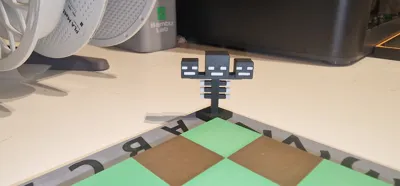
The board has an inlet at the 4 corners for small embellishments - I will soon upload a few simple ones here (various ore blocks, Wither, and similar) - Feel free to create more objects for this - the same applies to other figures As a starting point, you can always refer to my freely available OnShape Design
Printing Information:
For the board, I deactivated ironing If you want to improve the finish, this is a good option However, I have noticed that different filaments react differently well to the parameters used Please conduct a test beforehand with one of the ironing test prints available on MakerWorld to find the best results for a smooth finish for your printer and filaments and adjust the print profile accordingly I have also included a small, flat test plate of the board as a profile, with which you can test the parameters again for this board design before printing the board itself
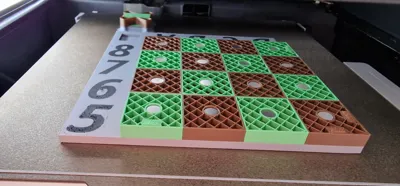
Corresponding pauses are built in for inserting the magnets For the board pieces, these are two directly consecutive pauses In the first, please insert the square magnets at the edge (for the board:board connection) and in the second pause, only the field magnets (ATTENTION - When printing the variant without the edge, the order is reversed! Thanks for the tip @petecuk) Otherwise, I had the effect that the side magnets were pushed up by repulsion depending on their orientation (if that happens, you can also simply use temporary magnets outside the sidewall to ensure the magnets stay down - but if you do it as described there will be no problems)
Assembly Information: Most parts can be pushed together well with some force (sometimes a bit difficult, but it worked well for me with caution and force) and therefore do not require glue Only for the chicken's head did I use a tiny drop of super glue
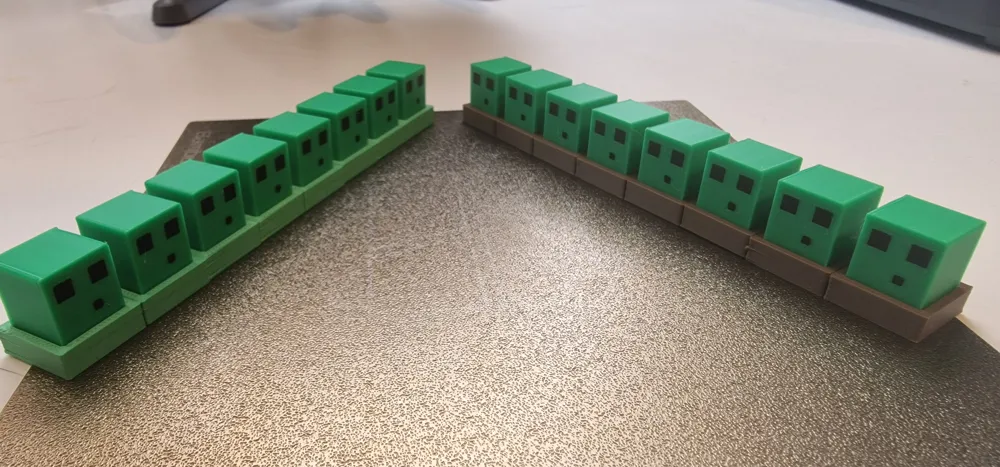
In some variants, the Slime does not sit firmly in its base - a tiny drop of glue also helps here
Required Magnets:
Board connection: 16 square pieces 8x8x4mm (https://www.amazon.de/dp/B0DTHTC9JX?ref=ppx_yo2ov_dt_b_fed_asin_title&th=1)
Board fields: 64 round pieces 8x2mm (https://www.amazon.de/dp/B0CPSY5RCF?ref=ppx_yo2ov_dt_b_fed_asin_title&th=1)
Figure bases: 32 round pieces 5x2mm (https://www.amazon.de/dp/B0CPT2S1XR?ref=ppx_yo2ov_dt_b_fed_asin_title&th=1)
Suggestions for improvement:
are welcome and will be implemented quickly if possible
Slicer Magic:
A question for the pros among you - in that part of the board, 4x4 identical cylindrical cavities are designed for it The slicer also nicely generates the “lids”/bridges for the 12 outer ones as specified by 45° lines But for the 4 inner ones, it comes up with the idea of drawing circles in the air Since they start at the edge, this holds reasonably well, and in case it doesn't, I left some air above the magnets, as direct contact was really difficult to print... So it works now But please still pay close attention during printing at that point and remove any non-adhering material if necessary And if you have an idea how I can get the slicer to stop this behavior … I would be very grateful to you
Your Prints:
I am very excited to see your prints and how you like your set and (if you give it as a gift) how it is received Please share your hopefully mostly positive experiences here, and also if you encounter problems and/or have tips - I will gladly collect them and add them to the description so that others can benefit from your experiences
NerdFact:
I was correctly informed that H1 must be a white square Since we are working with different colors here and I don't see an inevitable Green=White assignment, I am keeping the color scheme, but you are of course welcome to consider that in your color assignment
Boost Me (for free)
Boosts, ratings, and comments always make me happy
Colors Used:
Here are the filaments I used However, you can certainly replace some with your own similar-looking ones without problems Especially for the two required purple shades for the Enderman's eyes, one has to consider whether to buy 2kg filament that might not otherwise be used But the recipient of my gift is very detail-oriented and pays attention to such things :-)
Board:
Base: PLA Matte "Nardo Gray" (11104)
Text: PLA Matte "Coal Black" (11101)
Green Fields: PLA Matte "Grass Green" (11500)
Brown Fields: PLA Basic "Cocoa Brown" (10802)
Figure Base:
Green: PLA Matte "Grass Green" (11500)
Brown: PLA Basic "Cocoa Brown" (10802)
Slime:
Body: PLA Matte "Grass Green" (11500)
Face: PLA Matte "Coal Black" (11101)
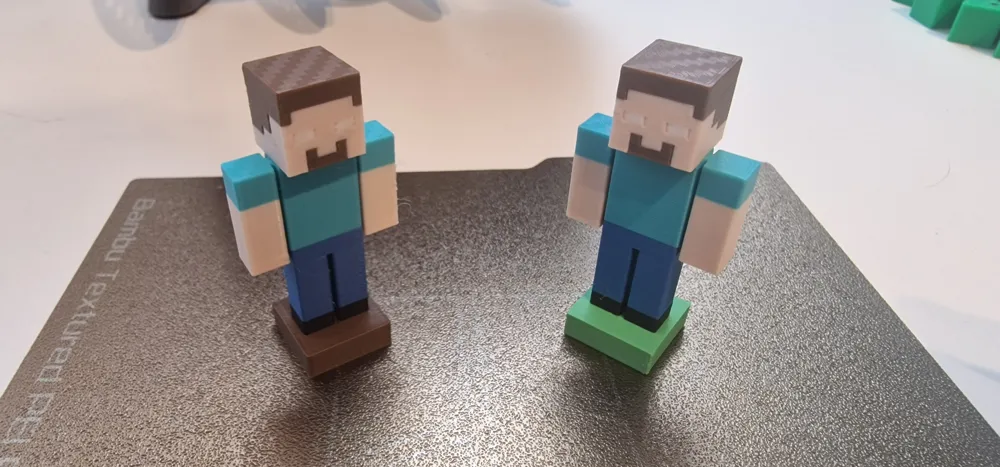
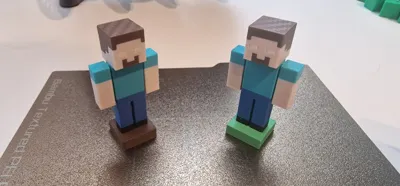
Herobrine:
Beard/Hair: PLA Basic "Cocoa Brown" (10802)
Face: PLA Basic "Beige" (10201)
Eyes: PLA Matte "Ivory White" (11100)
Arms: PLA Basic "Beige" (10201)
Shirt: PLA Basic "Turquoise" (10605)
Pants: PLA Matte "Navy Blue" (11600)
Shoes: PLA Matte "Coal Black" (11101)
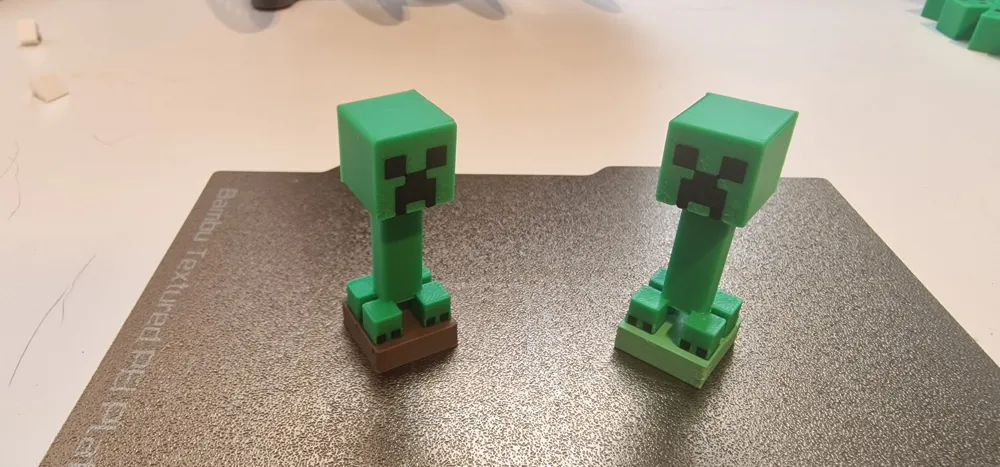
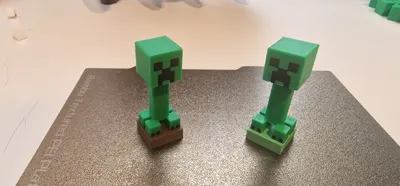
Creeper:
Body/Head: PLA Basic "Bambu Green" (10501)
Face: PLA Matte "Coal Black" (11101)
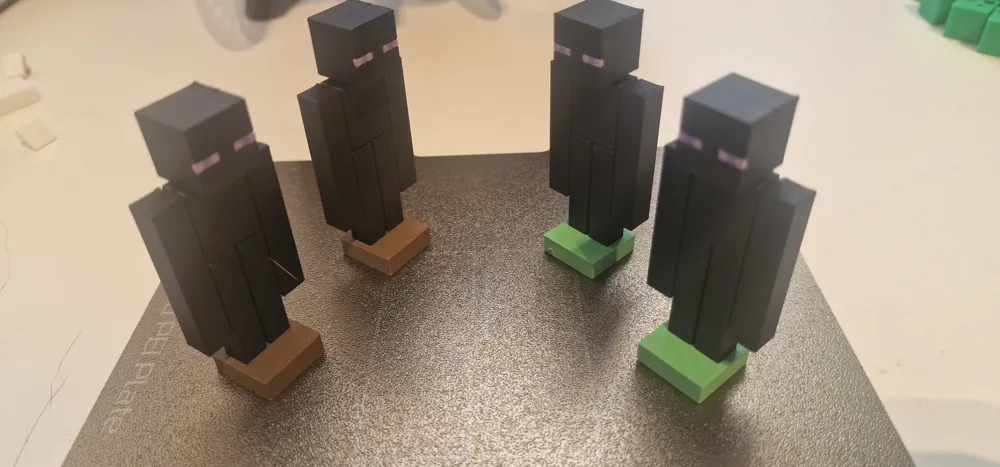
Enderman:
Body: PLA Matte "Coal Black" (11101)
Eyes: PLA Matte "Lilac Violet" (11700)
Pupils: PLA Basic "Purple" (10700)
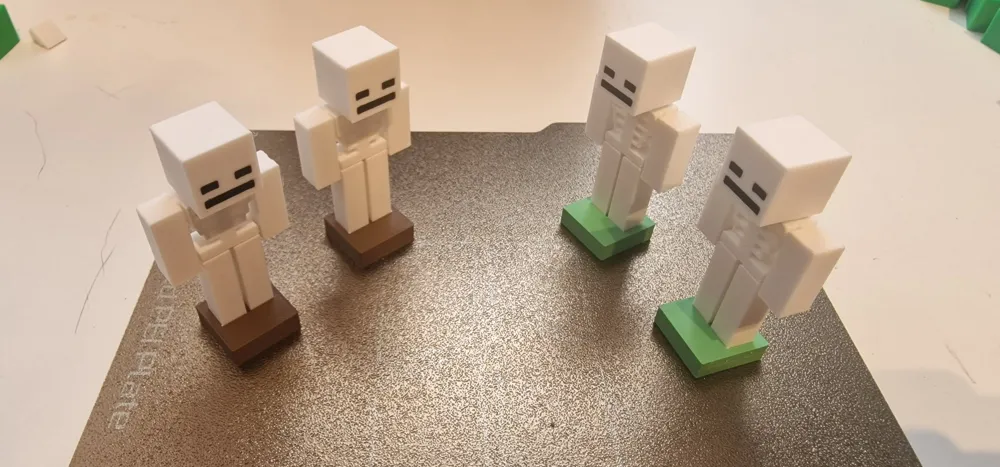
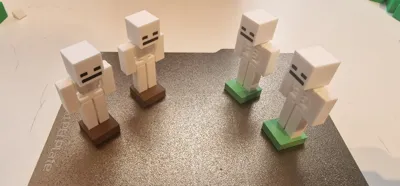
Skeleton:
Bones: PLA Matte "Ivory White" (11100) nice alternative Bone White (11103)
Face: PLA Matte "Coal Black" (11101)
Chicken:
Body Parts: PLA Matte "Ivory White" (11100)
Beak/Legs: PLA Matte Lemon Yellow (11400)
Wattle: PLA Basic Maroon Red (10205)
Eyes: PLA Matte "Coal Black" (11101)
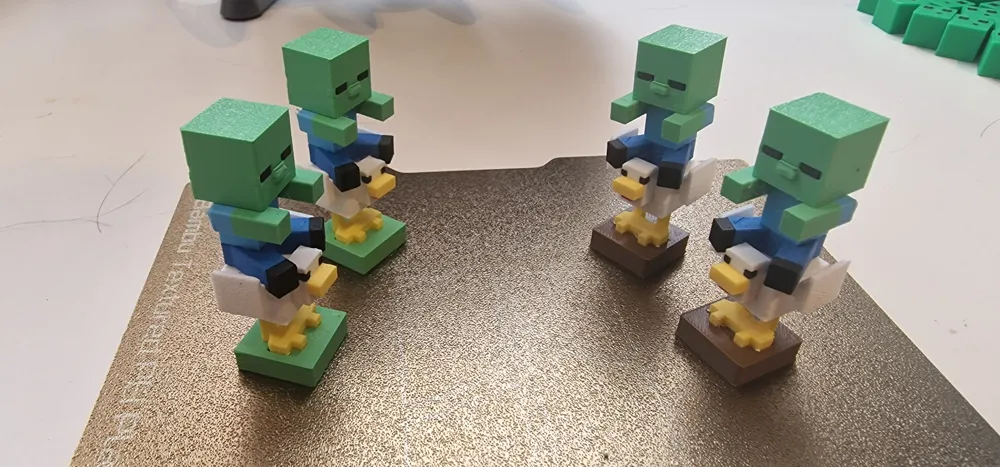
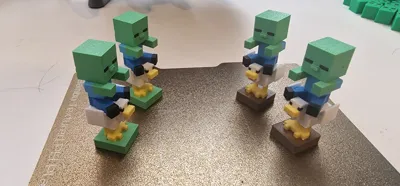
Zombie Rider:
Head/Arms: PLA Matte "Grass Green" (11500)
Eyes/Feet: PLA Matte "Coal Black" (11101)
Pants: PLA Matte "Navy Blue" (11600)
Shirt: PLA Matte Sky Blue (11603)
License

You shall not share, sub-license, sell, rent, host, transfer, or distribute in any way the digital or 3D printed versions of this object, nor any other derivative work of this object in its digital or physical format (including - but not limited to - remixes of this object, and hosting on other digital platforms). The objects may not be used without permission in any way whatsoever in which you charge money, or collect fees.


Comment & Rating (364)