Cruelty Free FPV Thumbsticks


Print Profile(1)

Description
Boost Me (for free)
Support me modelling more FPV Gear!
Are you a dutty thumber? Feel vilified by FPV Radio makers only giving you stabby sticks?
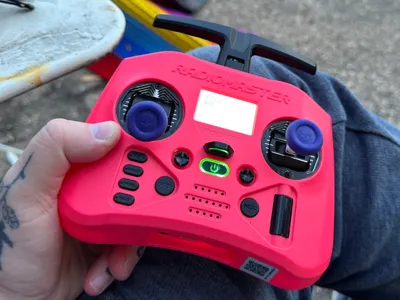
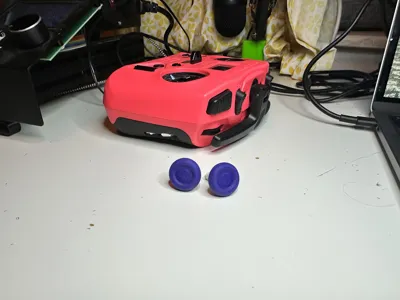
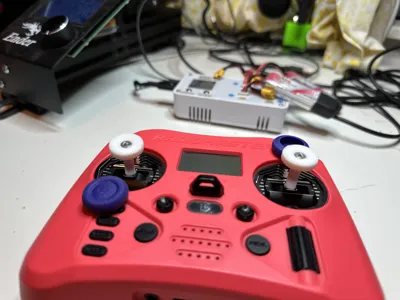
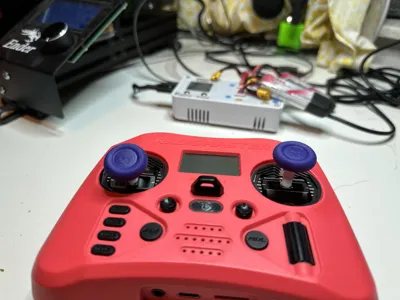
Me too! Introducing: Cruelty Free Thumbsticks
I've been using these for about a year now. I tried every other kind of thumbstick. I tried forcing myself to hybrid or pinch. Turns out, I just needed to accept myself, and model something less sadistic than the stabby morningstars on the market.
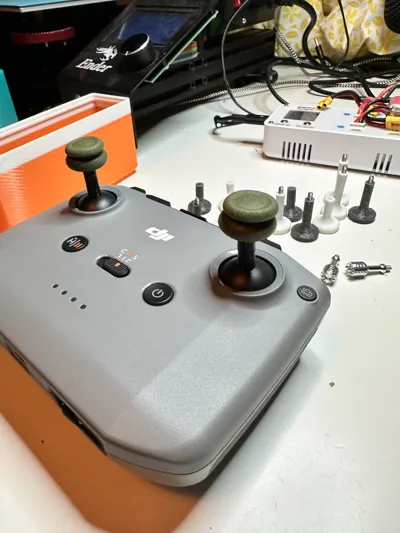
I had a couple Skull & Co grips laying around from a Steam Deck and worked out how to bring these to life.
Other Parts
Two M2/M3/M4 bolts, Socket Cap/Socket Button Cap (See Sizing Guide Below).
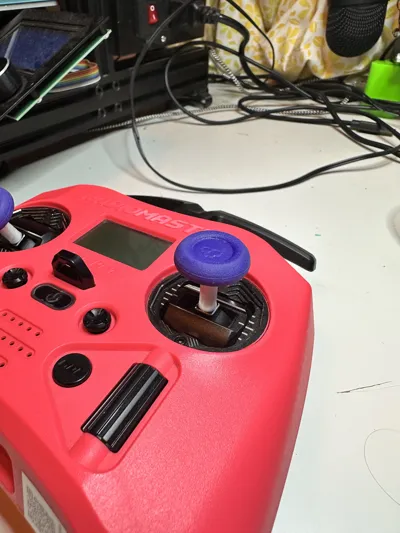
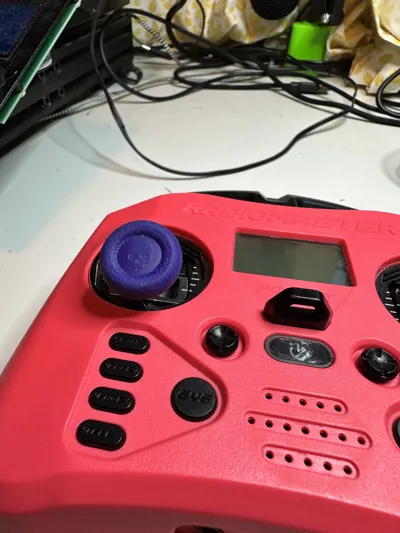
(Optional but recommended) Skull & Co Thumb Grips, for Steam Deck, Rog Ally or Xbox. Or, a similar thumb grip for those kind of thumb sticks.
Sizing
Sizing depends on controller and how big you want them to be. They're likely compatible with more radios than are listed; you're best to measure the bolt size your radio takes.
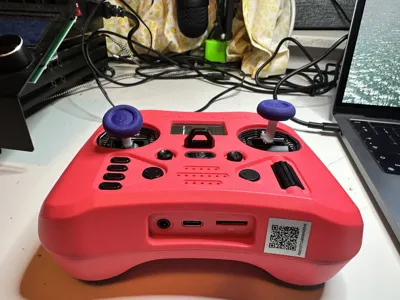
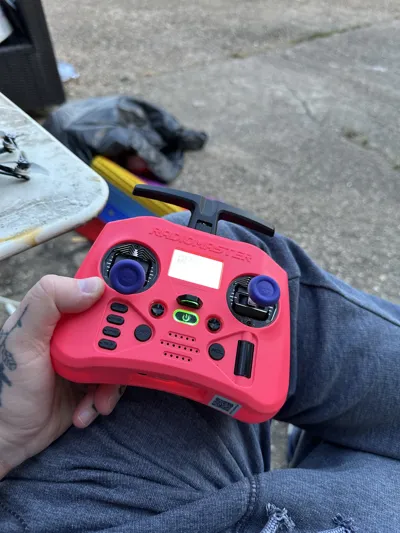
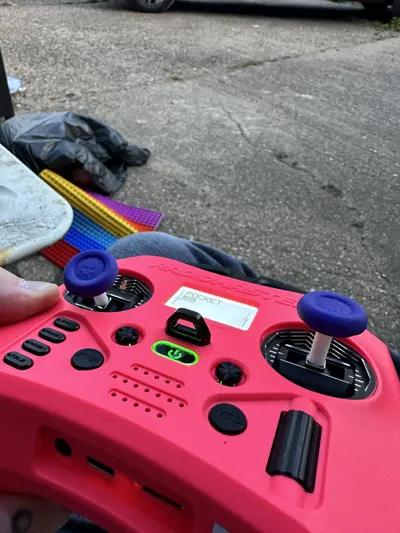
Radio Master Pocket takes M3 bolts, Socket Cap. There are 20mm and 25mm lengths available. I use M2x20mm on my pocket as my daily driver.
DJI FPV Controller 3 takes M2 bolts Socket Capped, again available in 20mm and 25mm lengths.
DJI N3 Controller takes M4 bolts Socket Button Cap, I've only made these available in 20mm length but the source is available if you want to try yourself.
Printing and assembly notes
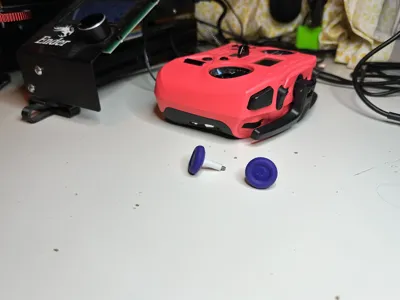
They print fine on their head without supports as in the print profile attached. If you're using thumb grips on top this is how I suggest you print them: The thumb grips hide any print imperfections and leave the underside and staff really smooth.
If you want to be super careful with the top you can flip them and print them standing the other way, this requires supports but leads to a scary smooth top.
Be careful when assembling, especially the smaller/thinner staffed models. When you insert the bolt, do so slowly, and every now and then do a half turn backwards to tap threads in the model without splitting it.
If you do split them; it's not the biggest deal, the important thing is the radio pushes up against the sticks when you screw them in; toprovide more friction/stop them from unscrewing.
Want a different size?
The source is available here: OnShape - Cruelty Free Thumbsticks by JamesCodesThings
tldr; Switch to the tab for the diameter you want, change the screw length variable, right click the thumbstick model and export.
The screw length variable is a few millimeters larger than the length of the screw, so adjust accordingly. For example the m3x20mm has a 23mm screw length. If you want to fit 18mm screws change it to 21mm. You could also adjust the model in the same way as the 25mm tabs; by extruding the base longer or shorter to fit your screw length.
Happy Thumbing.
License
You may create derivative works based on this object, provided that all such derivative works are published exclusively on the MakerWorld platform and include proper attribution to the original creator. You may not share, upload, host, distribute, or publish this object—or any derivative work of this object—on any other digital platform, marketplace, or distribution channel. Commercial use of this object and any derivative works is strictly prohibited. This includes, but is not limited to, selling, renting, sublicensing, or using the object in any context in which you receive monetary compensation or other financial benefits.
Comment & Rating (7)