
Wall hook in screw design
Print Profile(1)

Bill of Materials



Description
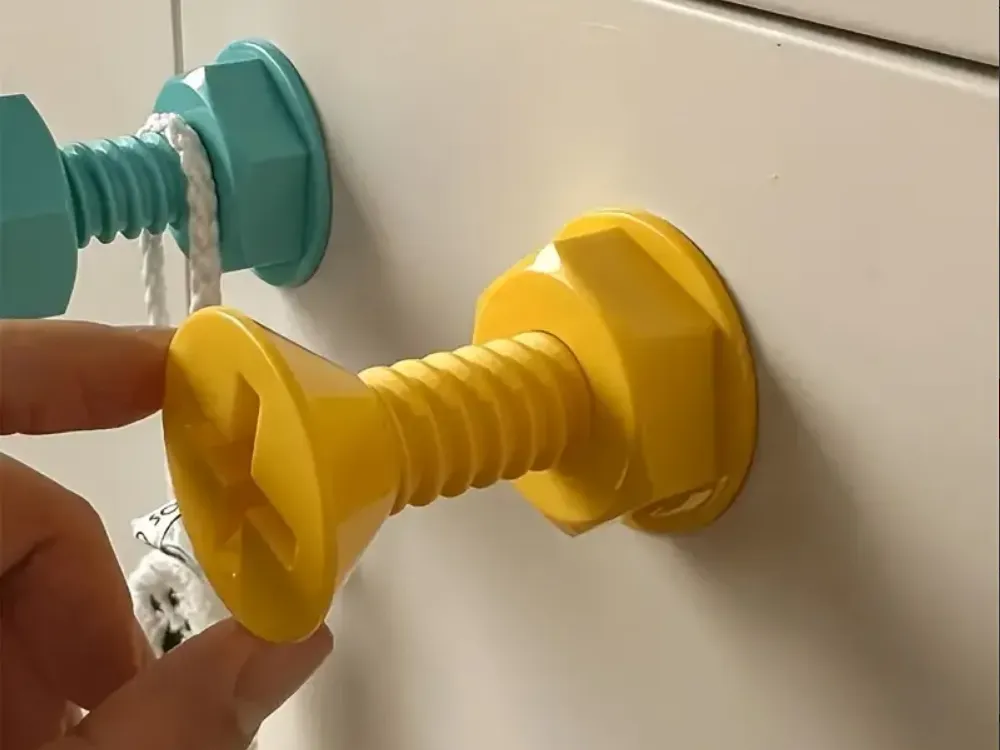
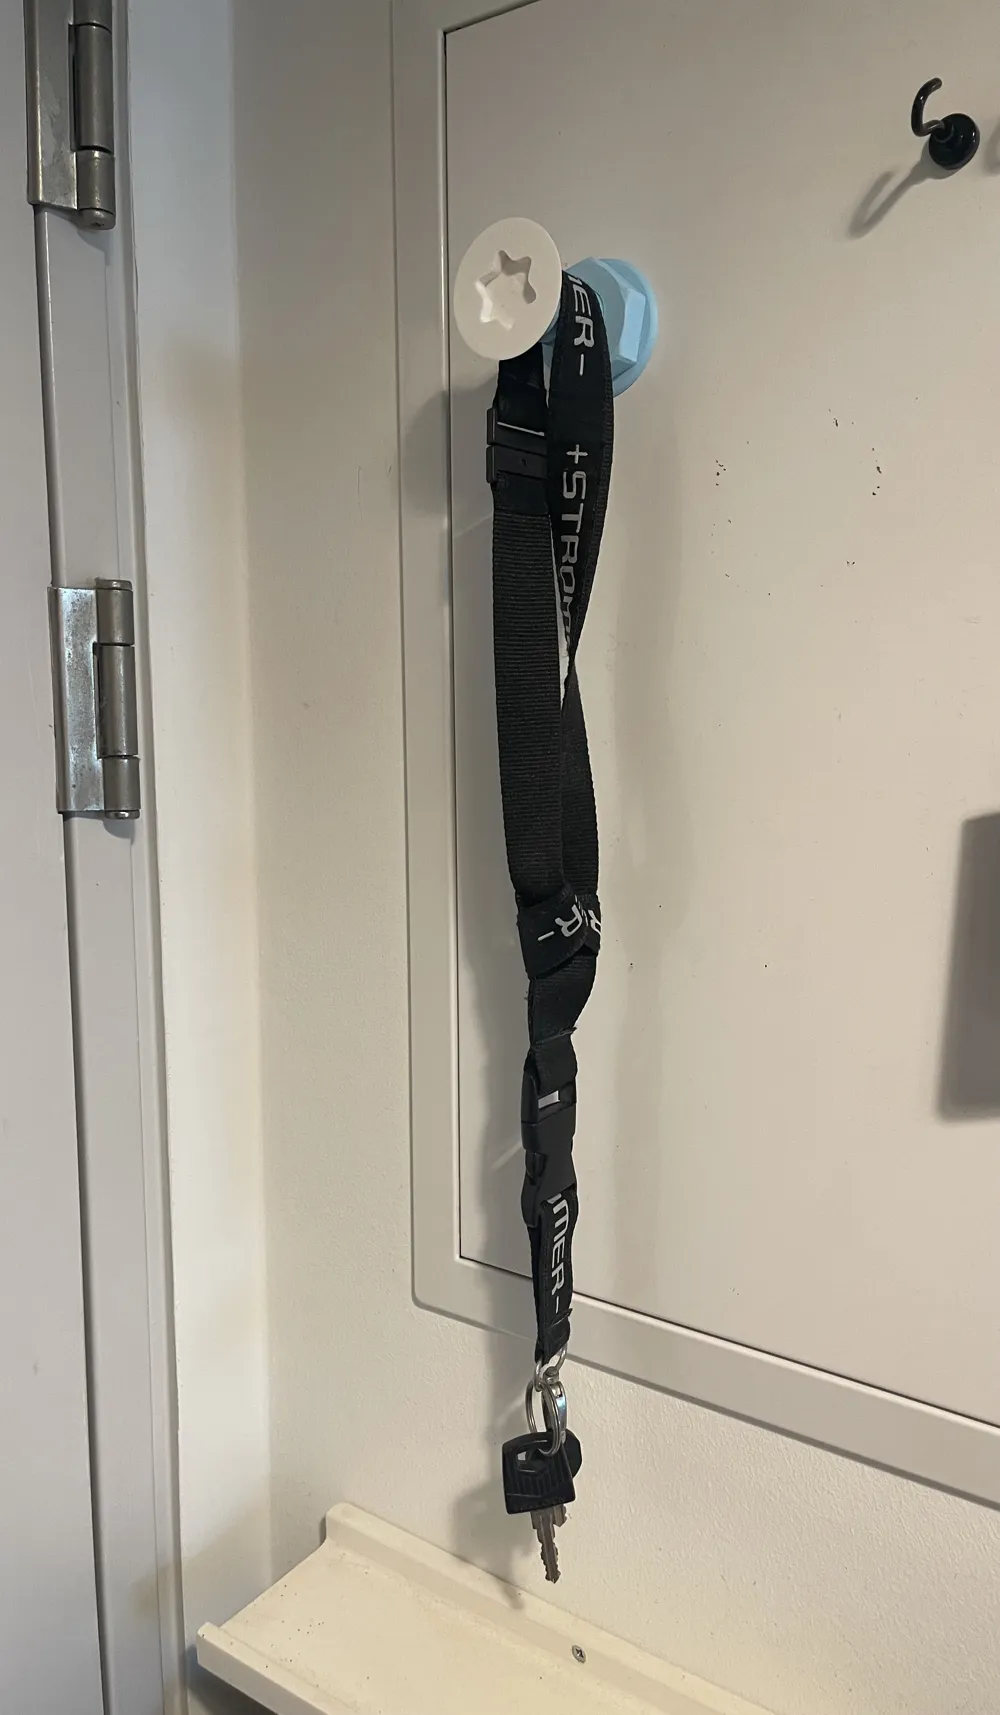
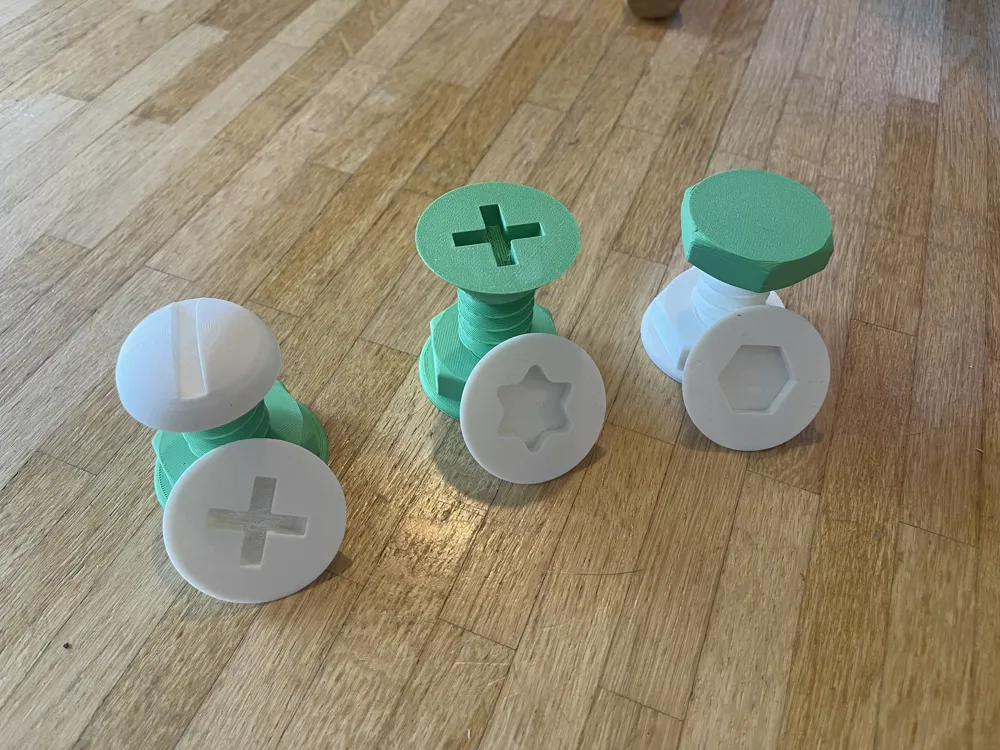
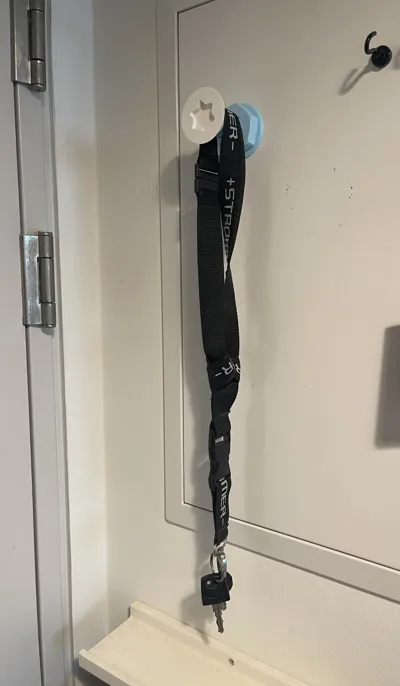
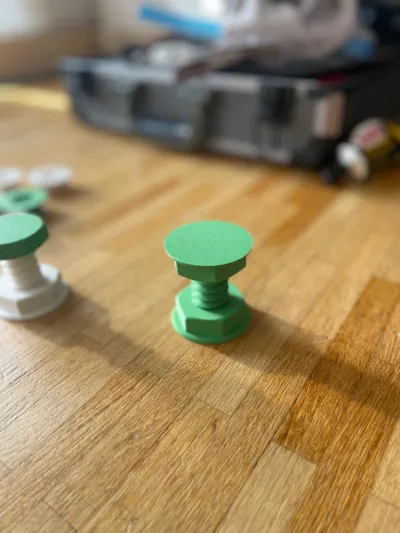
I offer you wall hooks designed like screws
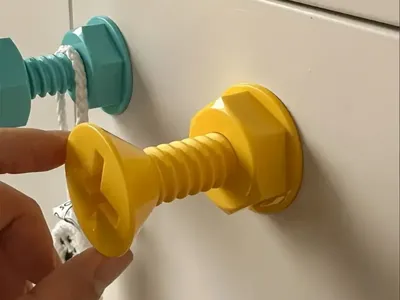
Use them for clothes, bike helmets, children's items, jewelry, scarves, workshop, etc
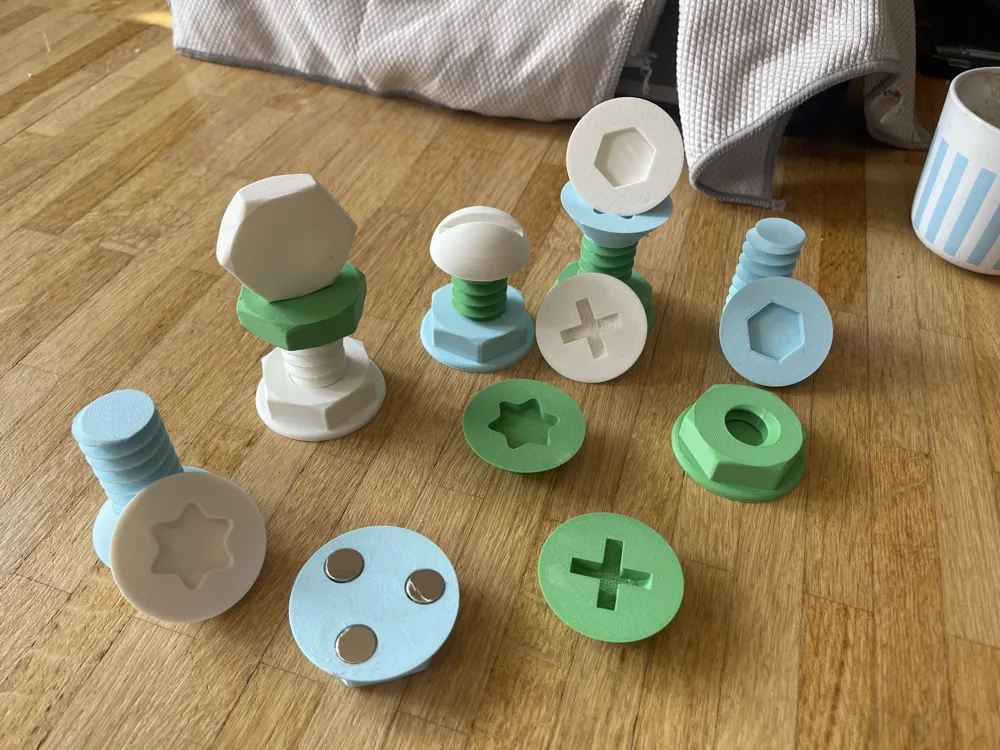
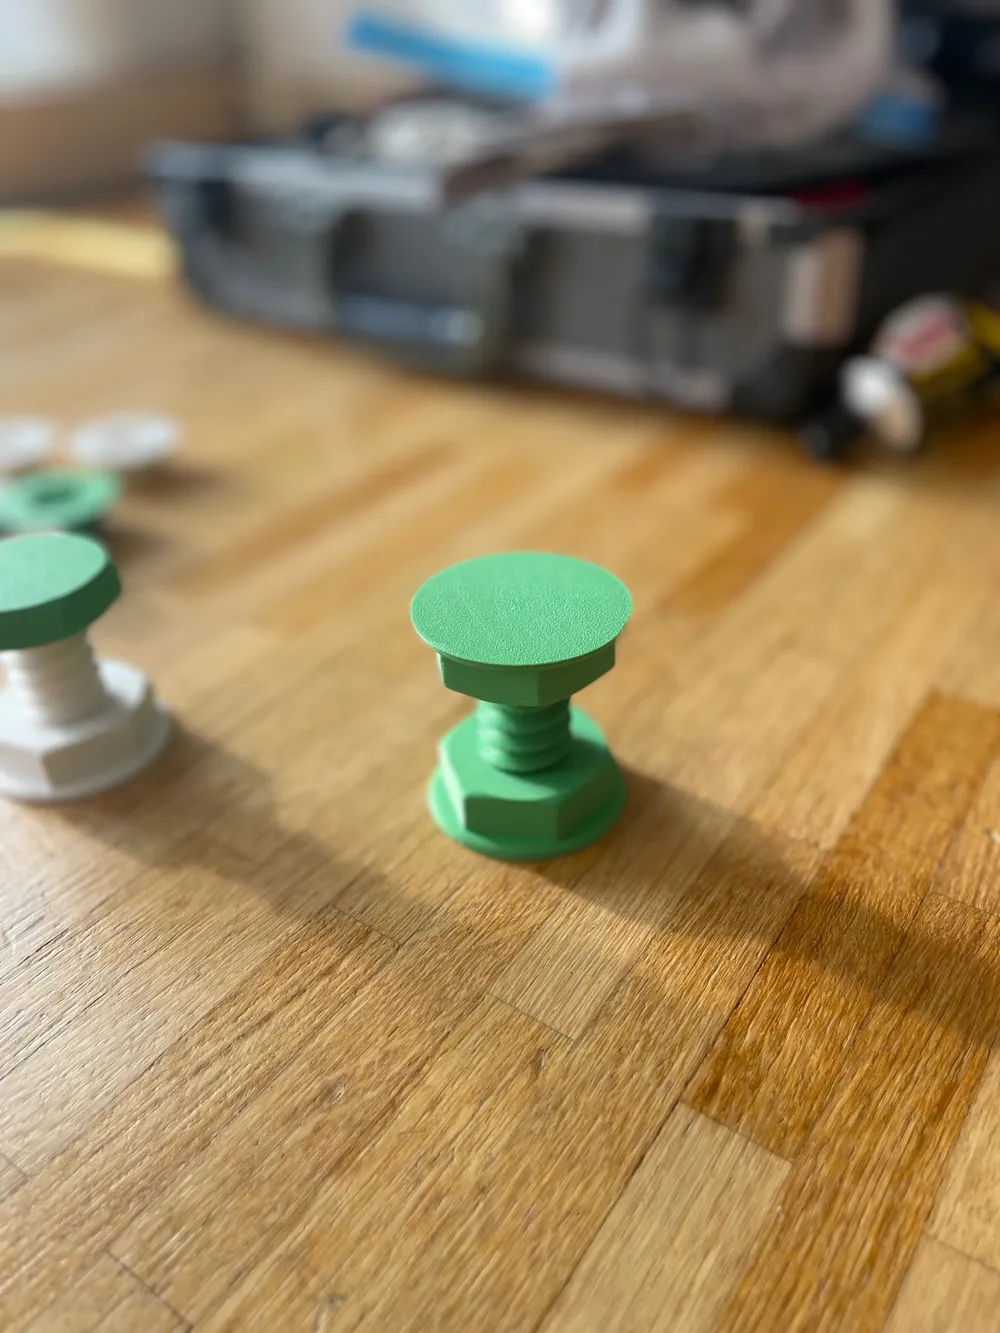
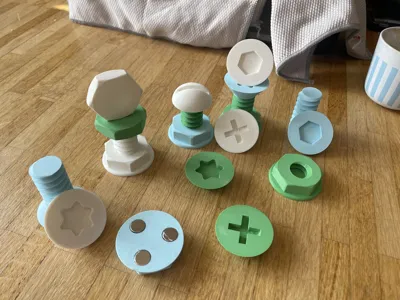
Or use two bases and one thread to elevate something, see photo
Print it really large for a stool
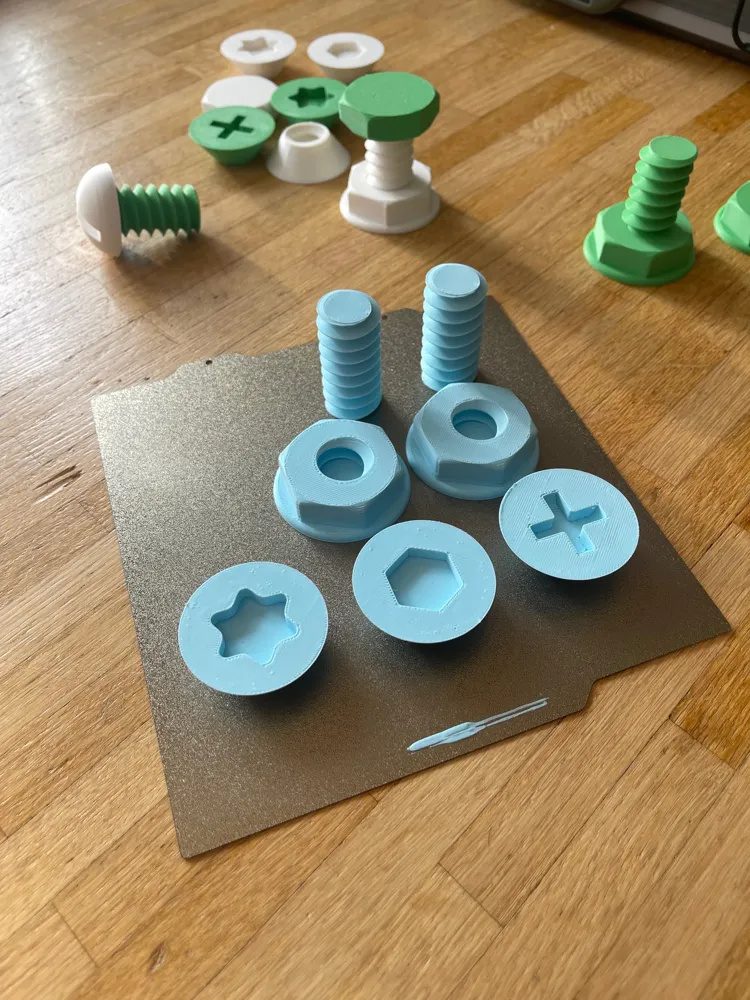
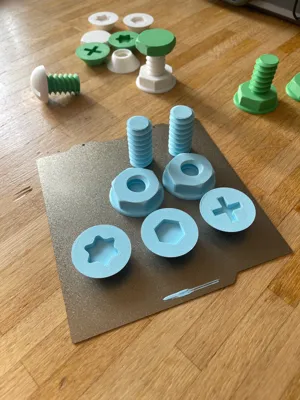
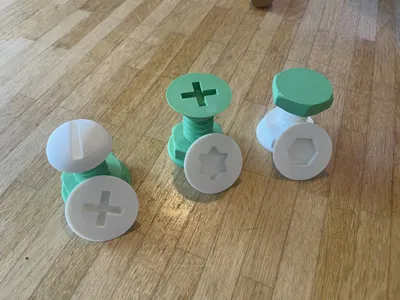
There is a base, a thread, and so far seven different screw heads, see photo
There is also a thread dummy. With this, you can cut the thread in the slicer to your desired length. Depending on the height, it might require additional supports. I have set manual supports on two levels
The model is scalable. The template is approximately 6 cm high. If you enlarge it, you will likely need supports for all screw heads. I have not tried this yet, especially for the three countersunk heads
Simply attach with double-sided tape to a clean smooth surface
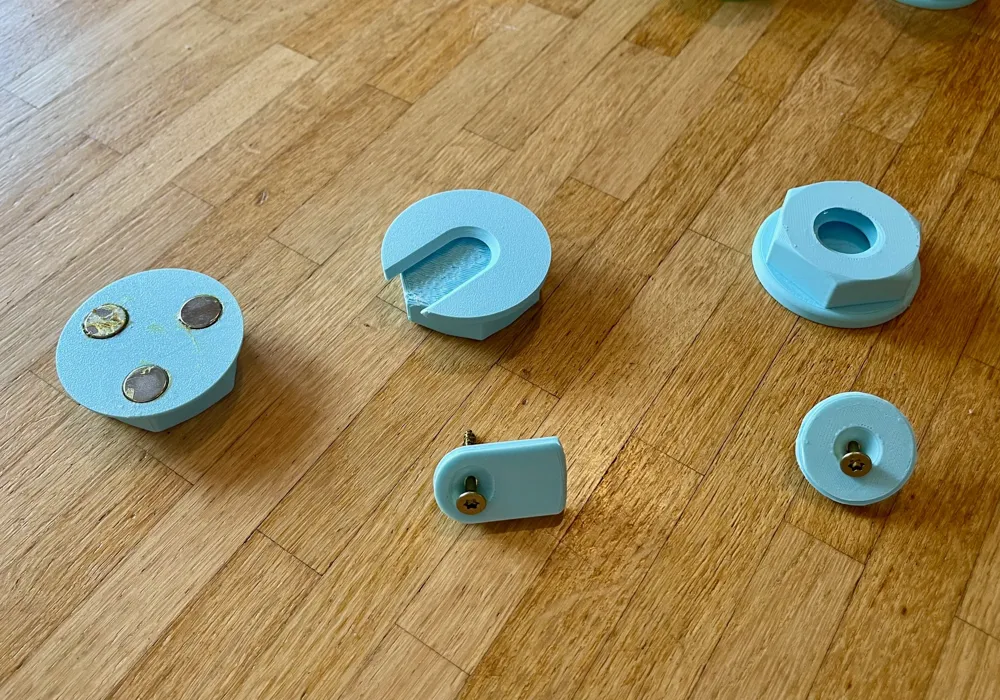
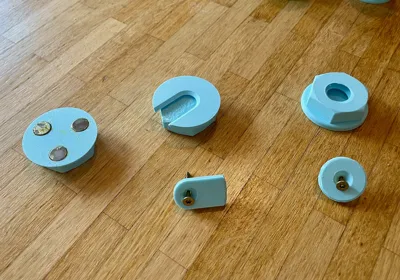
Alternatively, instead of adhesive, you can use magnets. Plate 4 includes four bases: one for a single magnet, one for two magnets, one for three magnets, and one for seven. Choose one that suits your needs. For this, use 12 x 2 mm round magnets. When using magnets, strong adhesive is necessary to ensure the magnets bond more securely to the model than to the wall
The wall mount comes in two versions. Both require a real countersunk screw. With both, an adapter is screwed to the wall. V1 is for pushing on, and V2 is for screwing on. Screw the adapters carefully. Although both have 100% infill, they can still break if excessive force is applied
Experiment with colors and send me photos
For the thread, you might need to trim the beginning slightly on both sides to ensure the parts interlock better. Alternatively, use well-dried filament for clean connections
Boost Me (for free)
Simply Thank You
Also check out my other models: Fanki The Printer
Boost Me (for free)
I would appreciate it...
License

You shall not share, sub-license, sell, rent, host, transfer, or distribute in any way the digital or 3D printed versions of this object, nor any other derivative work of this object in its digital or physical format (including - but not limited to - remixes of this object, and hosting on other digital platforms). The objects may not be used without permission in any way whatsoever in which you charge money, or collect fees.


Comment & Rating (33)