
Zeus LED Lamp – MH001 Base
Print Profile(4)


Bill of Materials

Description
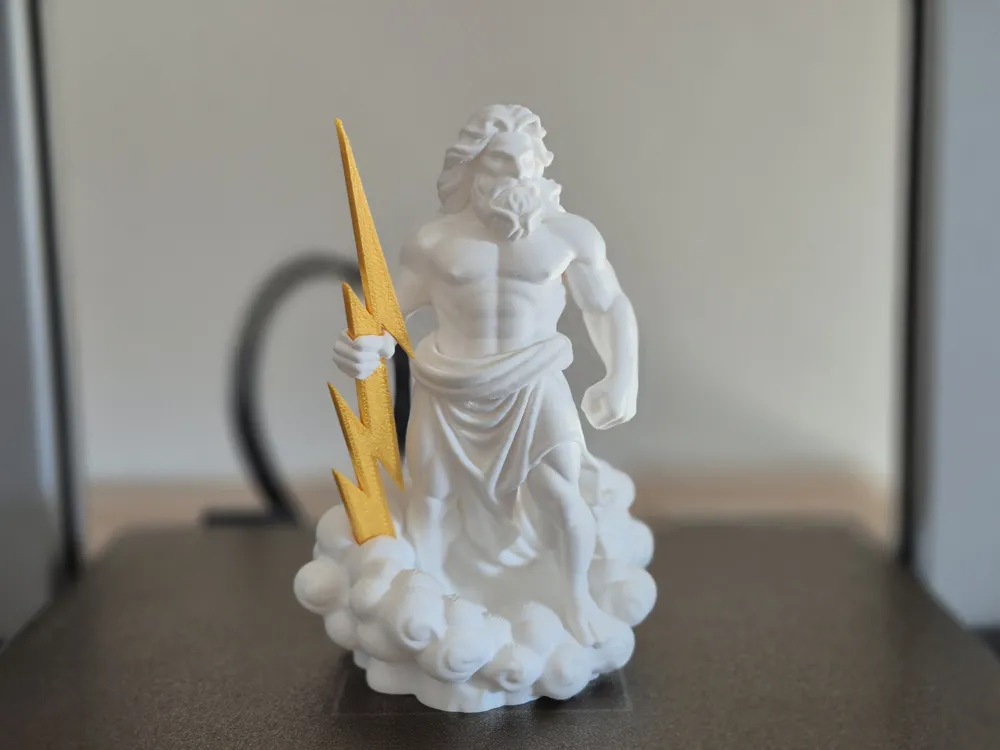

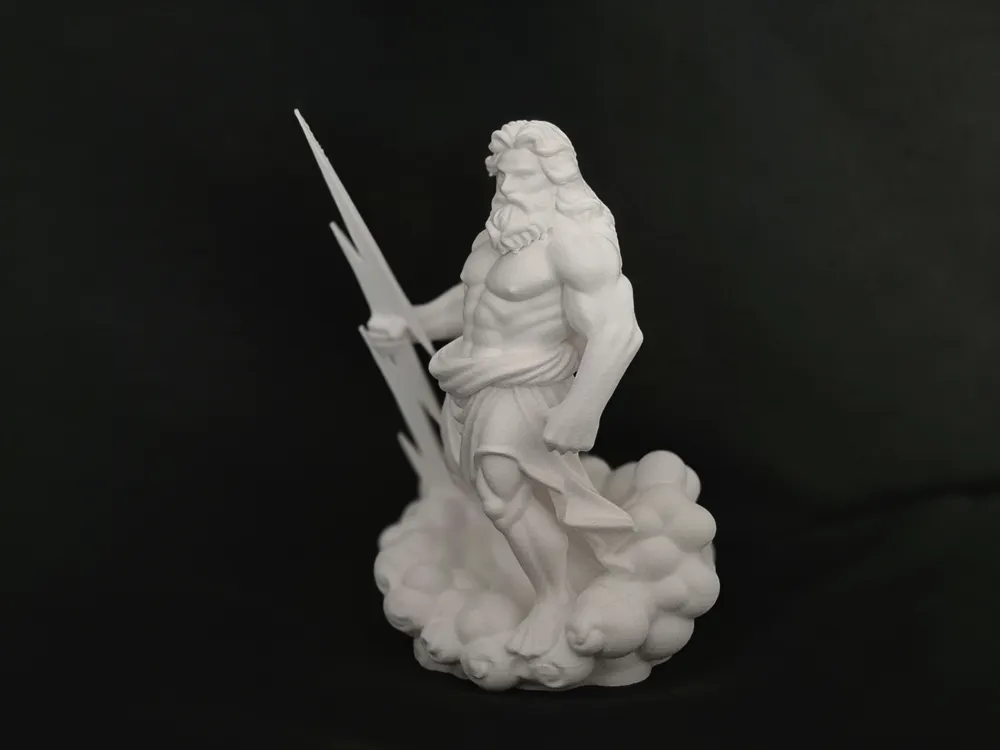
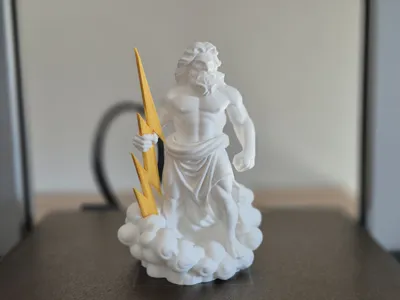
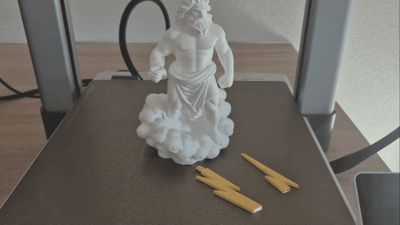
The model has been revised – the lightning bolt is now designed as a plug-in system Version 2
This allows it to be printed separately in a different color and then simply plugged in
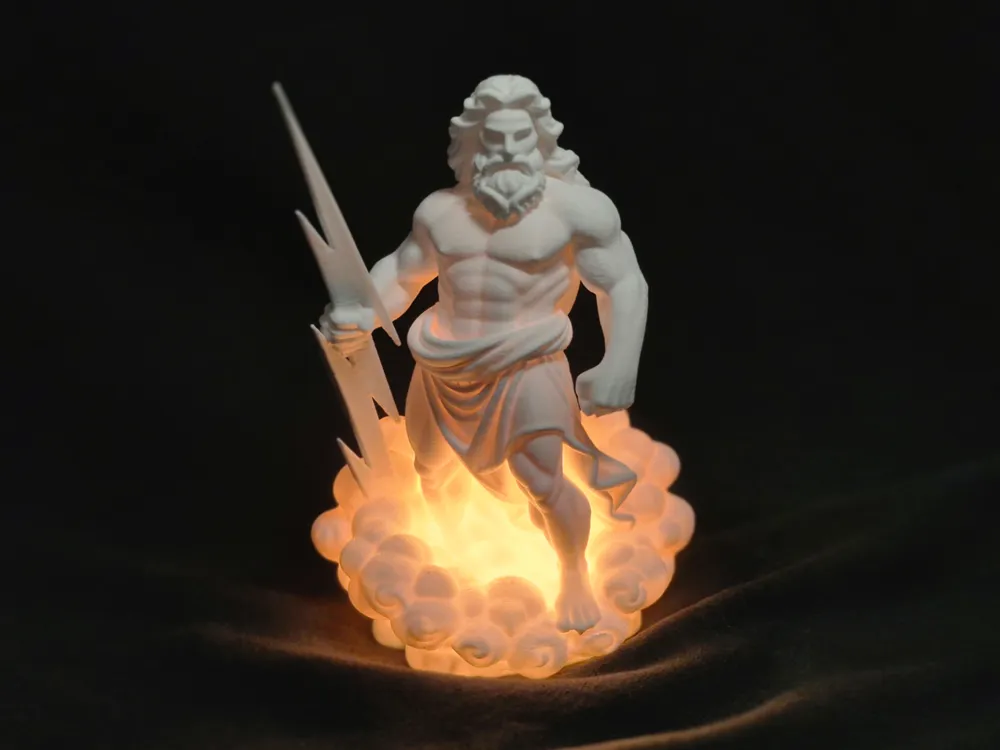
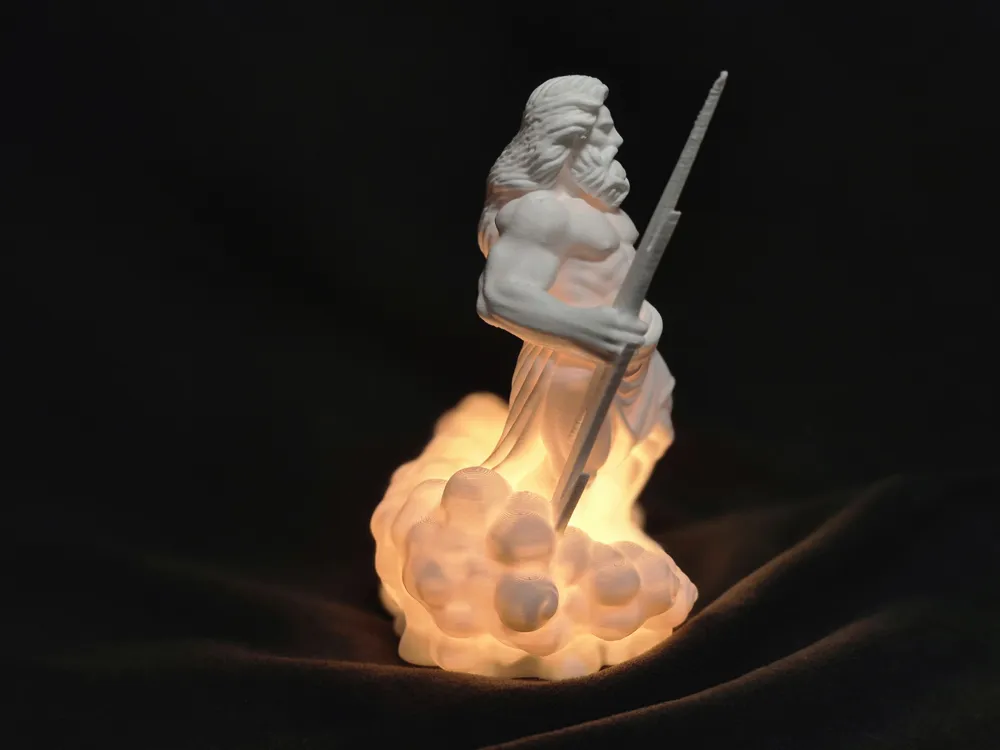
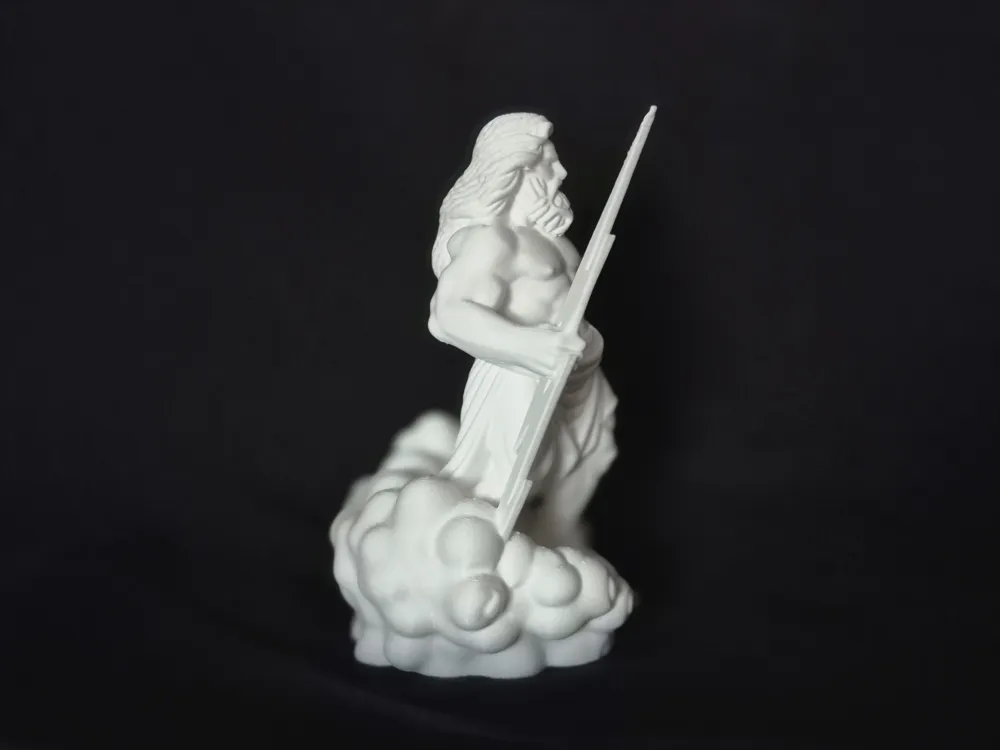
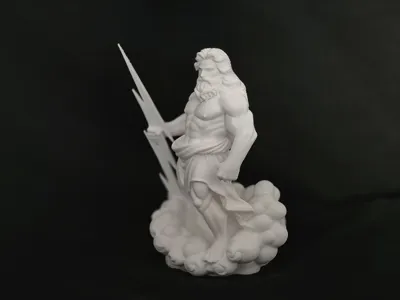
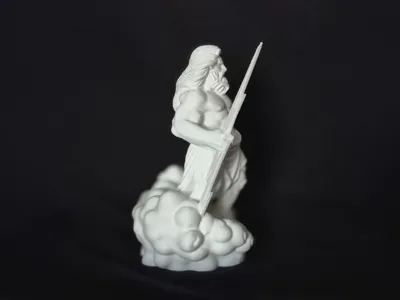
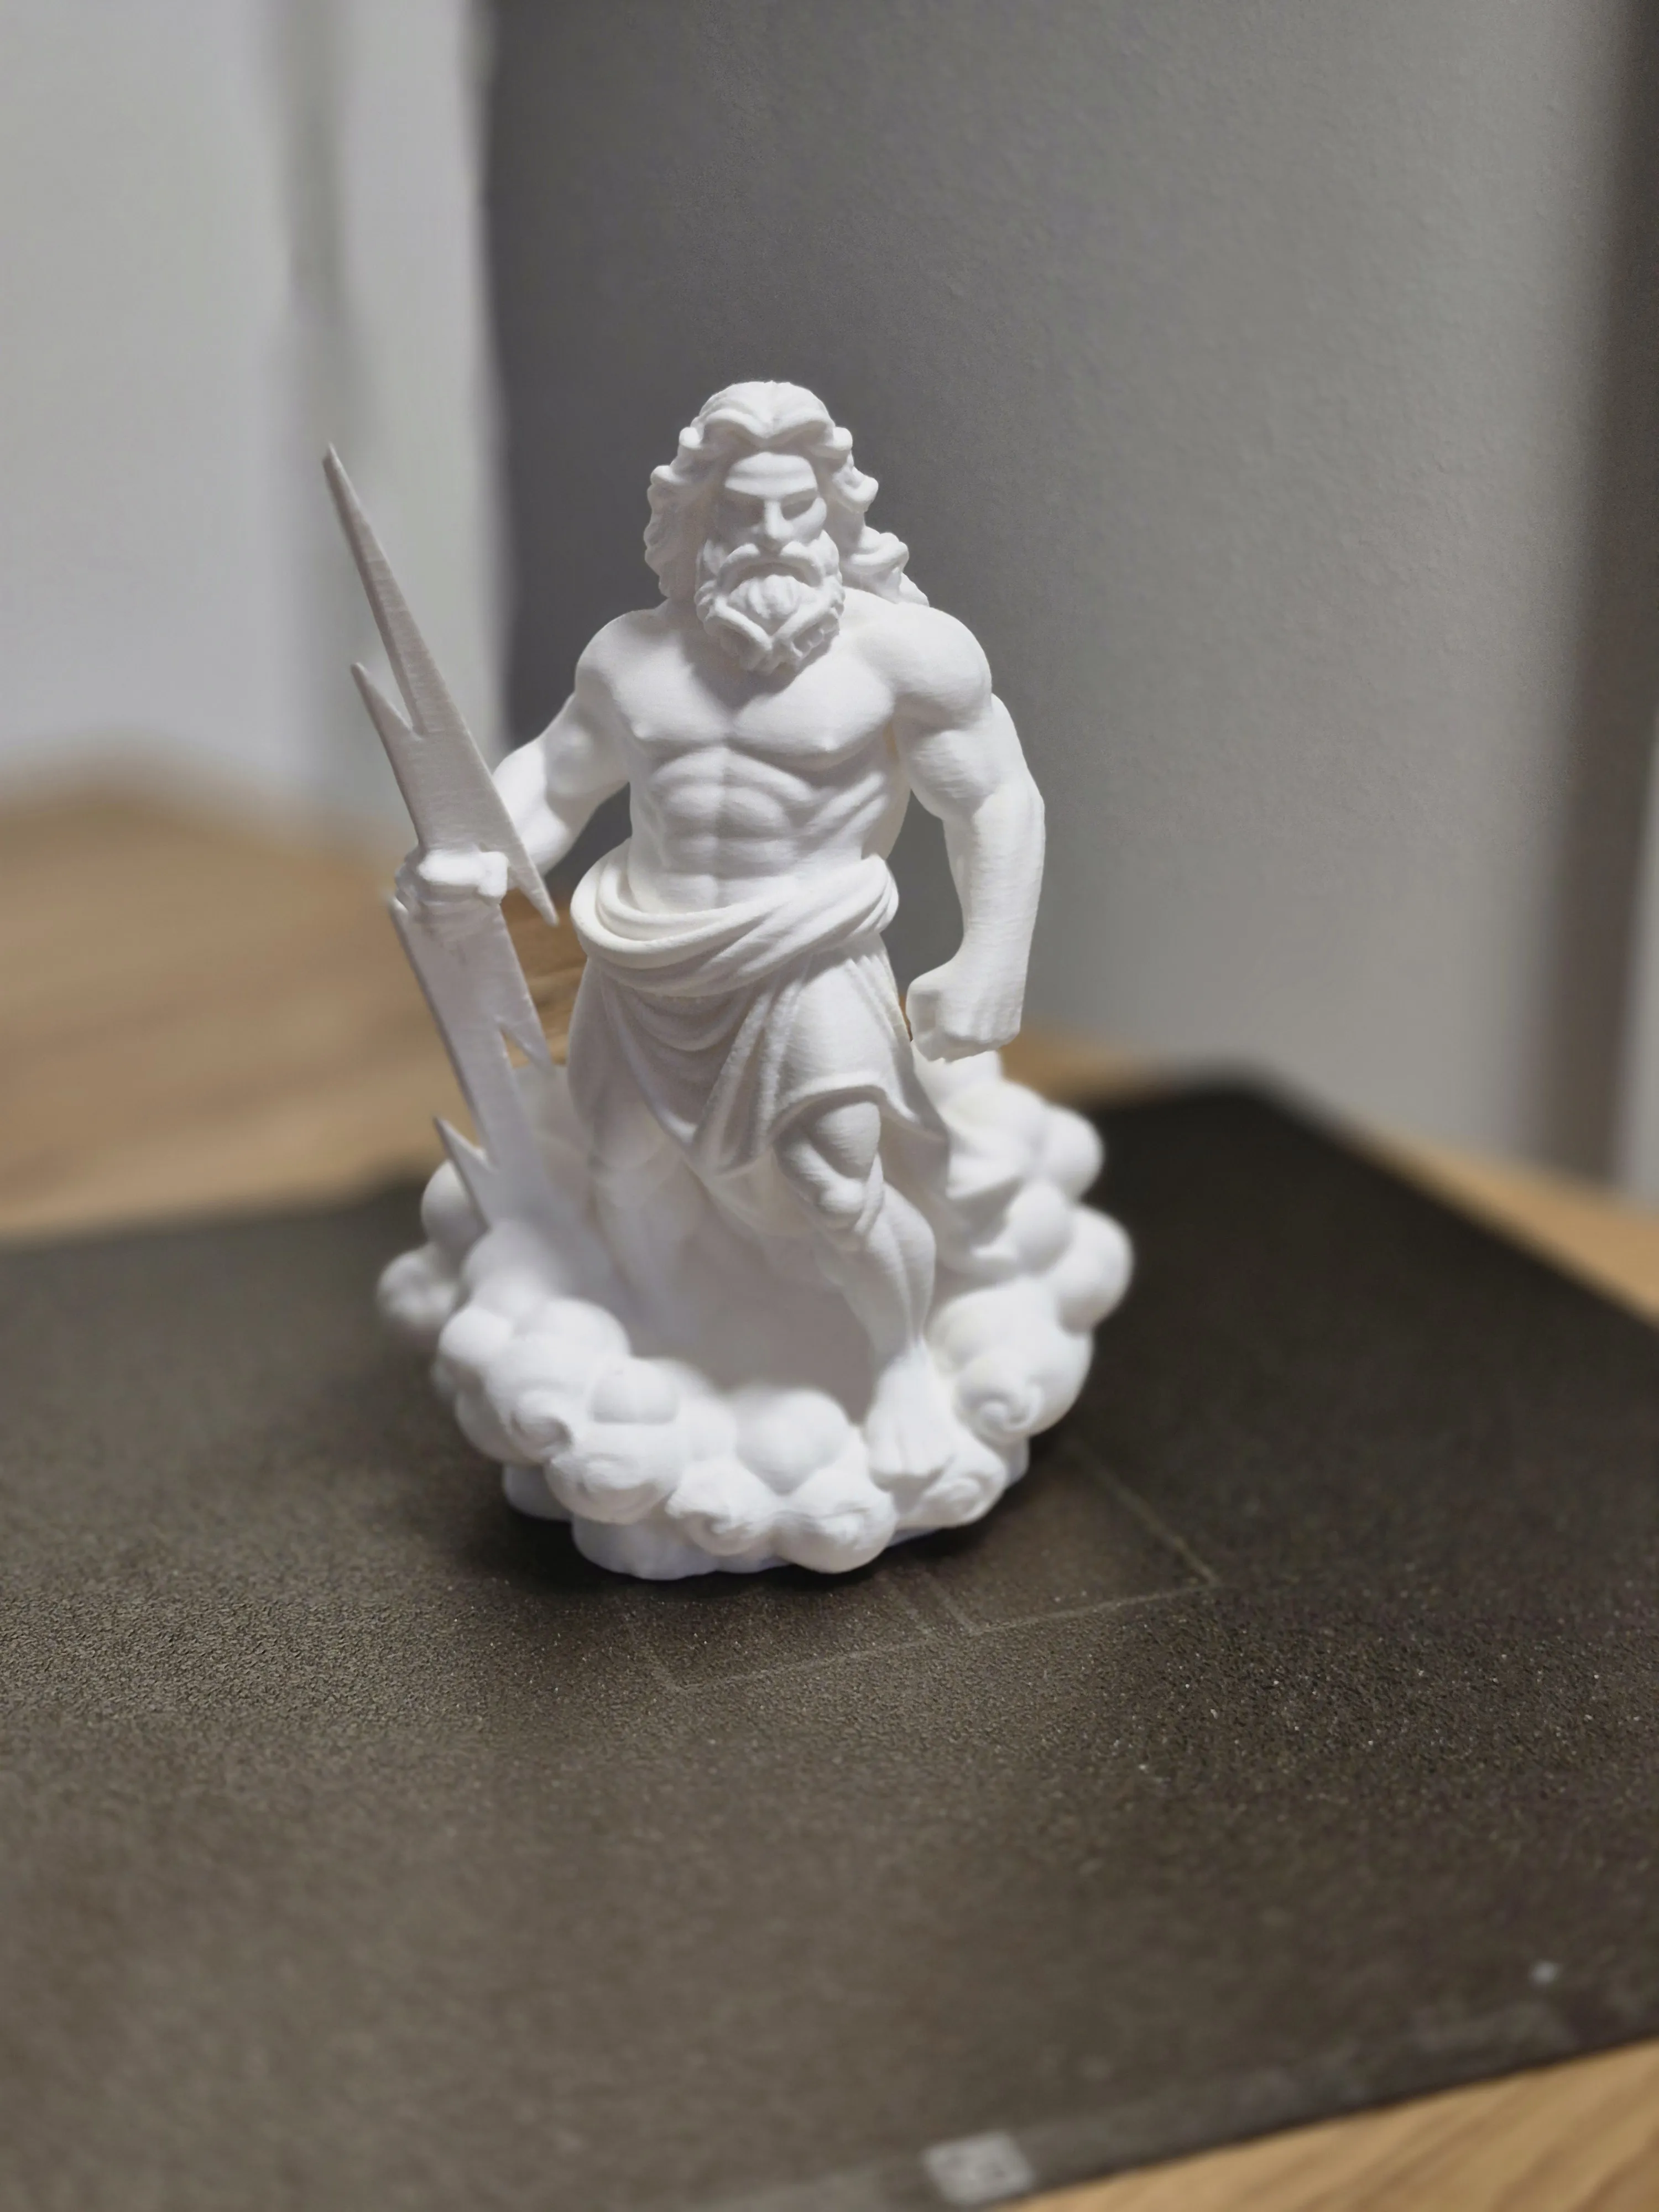
This model shows Zeus, the father of the gods in Greek mythology, majestically standing on a cloud with his iconic lightning bolt in hand. The figure is designed to be mounted on the LED Lamp Kit 001 (Model MH001)
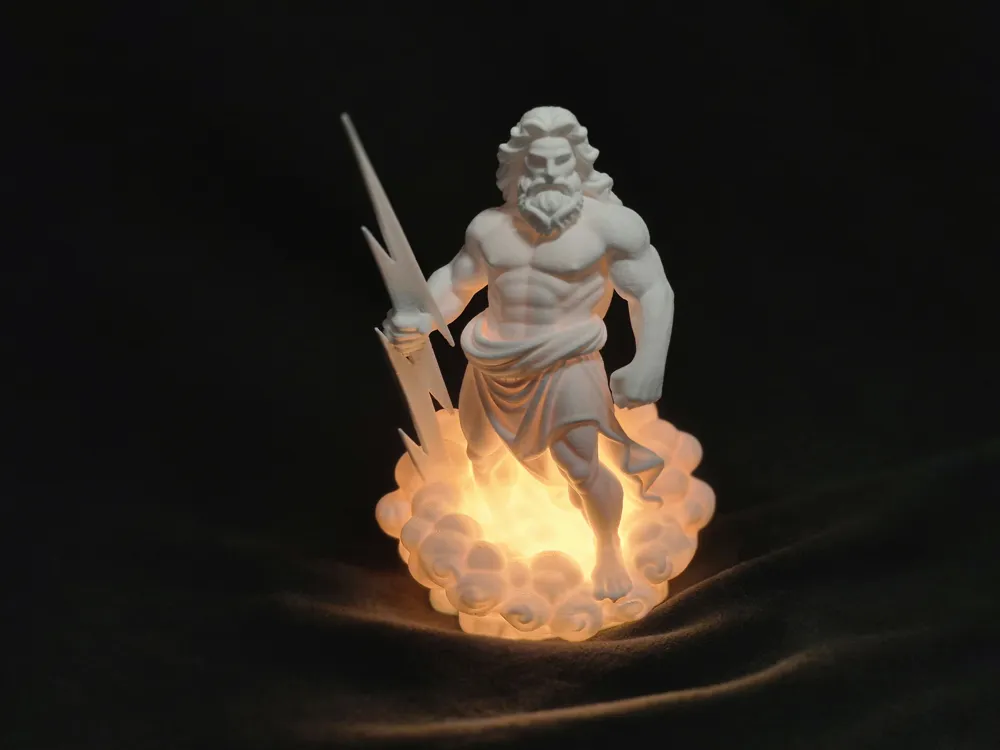
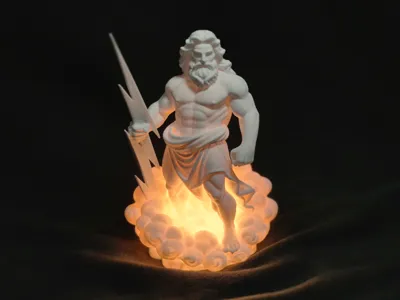
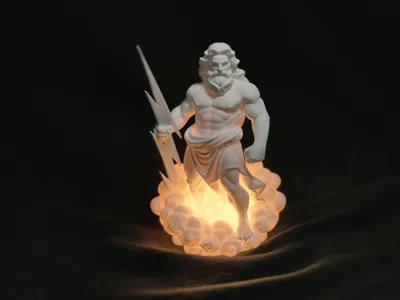
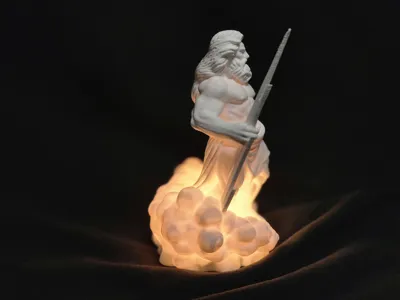
With illumination from below, the cloud appears to be lit from within, making Zeus look even more imposing. A real eye-catcher for any shelf or desk
Details:
Base: LED Lamp Kit 001 (MH001)
Figure: Zeus with lightning bolt, standing on clouds
Effect: Warm glow through the cloud structure
Recommended color: White or light materials so the light shines through beautifully
- Support: required tree support 25°
- 0.2mm layer
- 10% infill
- 2 walls
Instructions for removing tree support!!!!!
Step 1:
Carefully place the print bed with the model on a stable, flat table surface
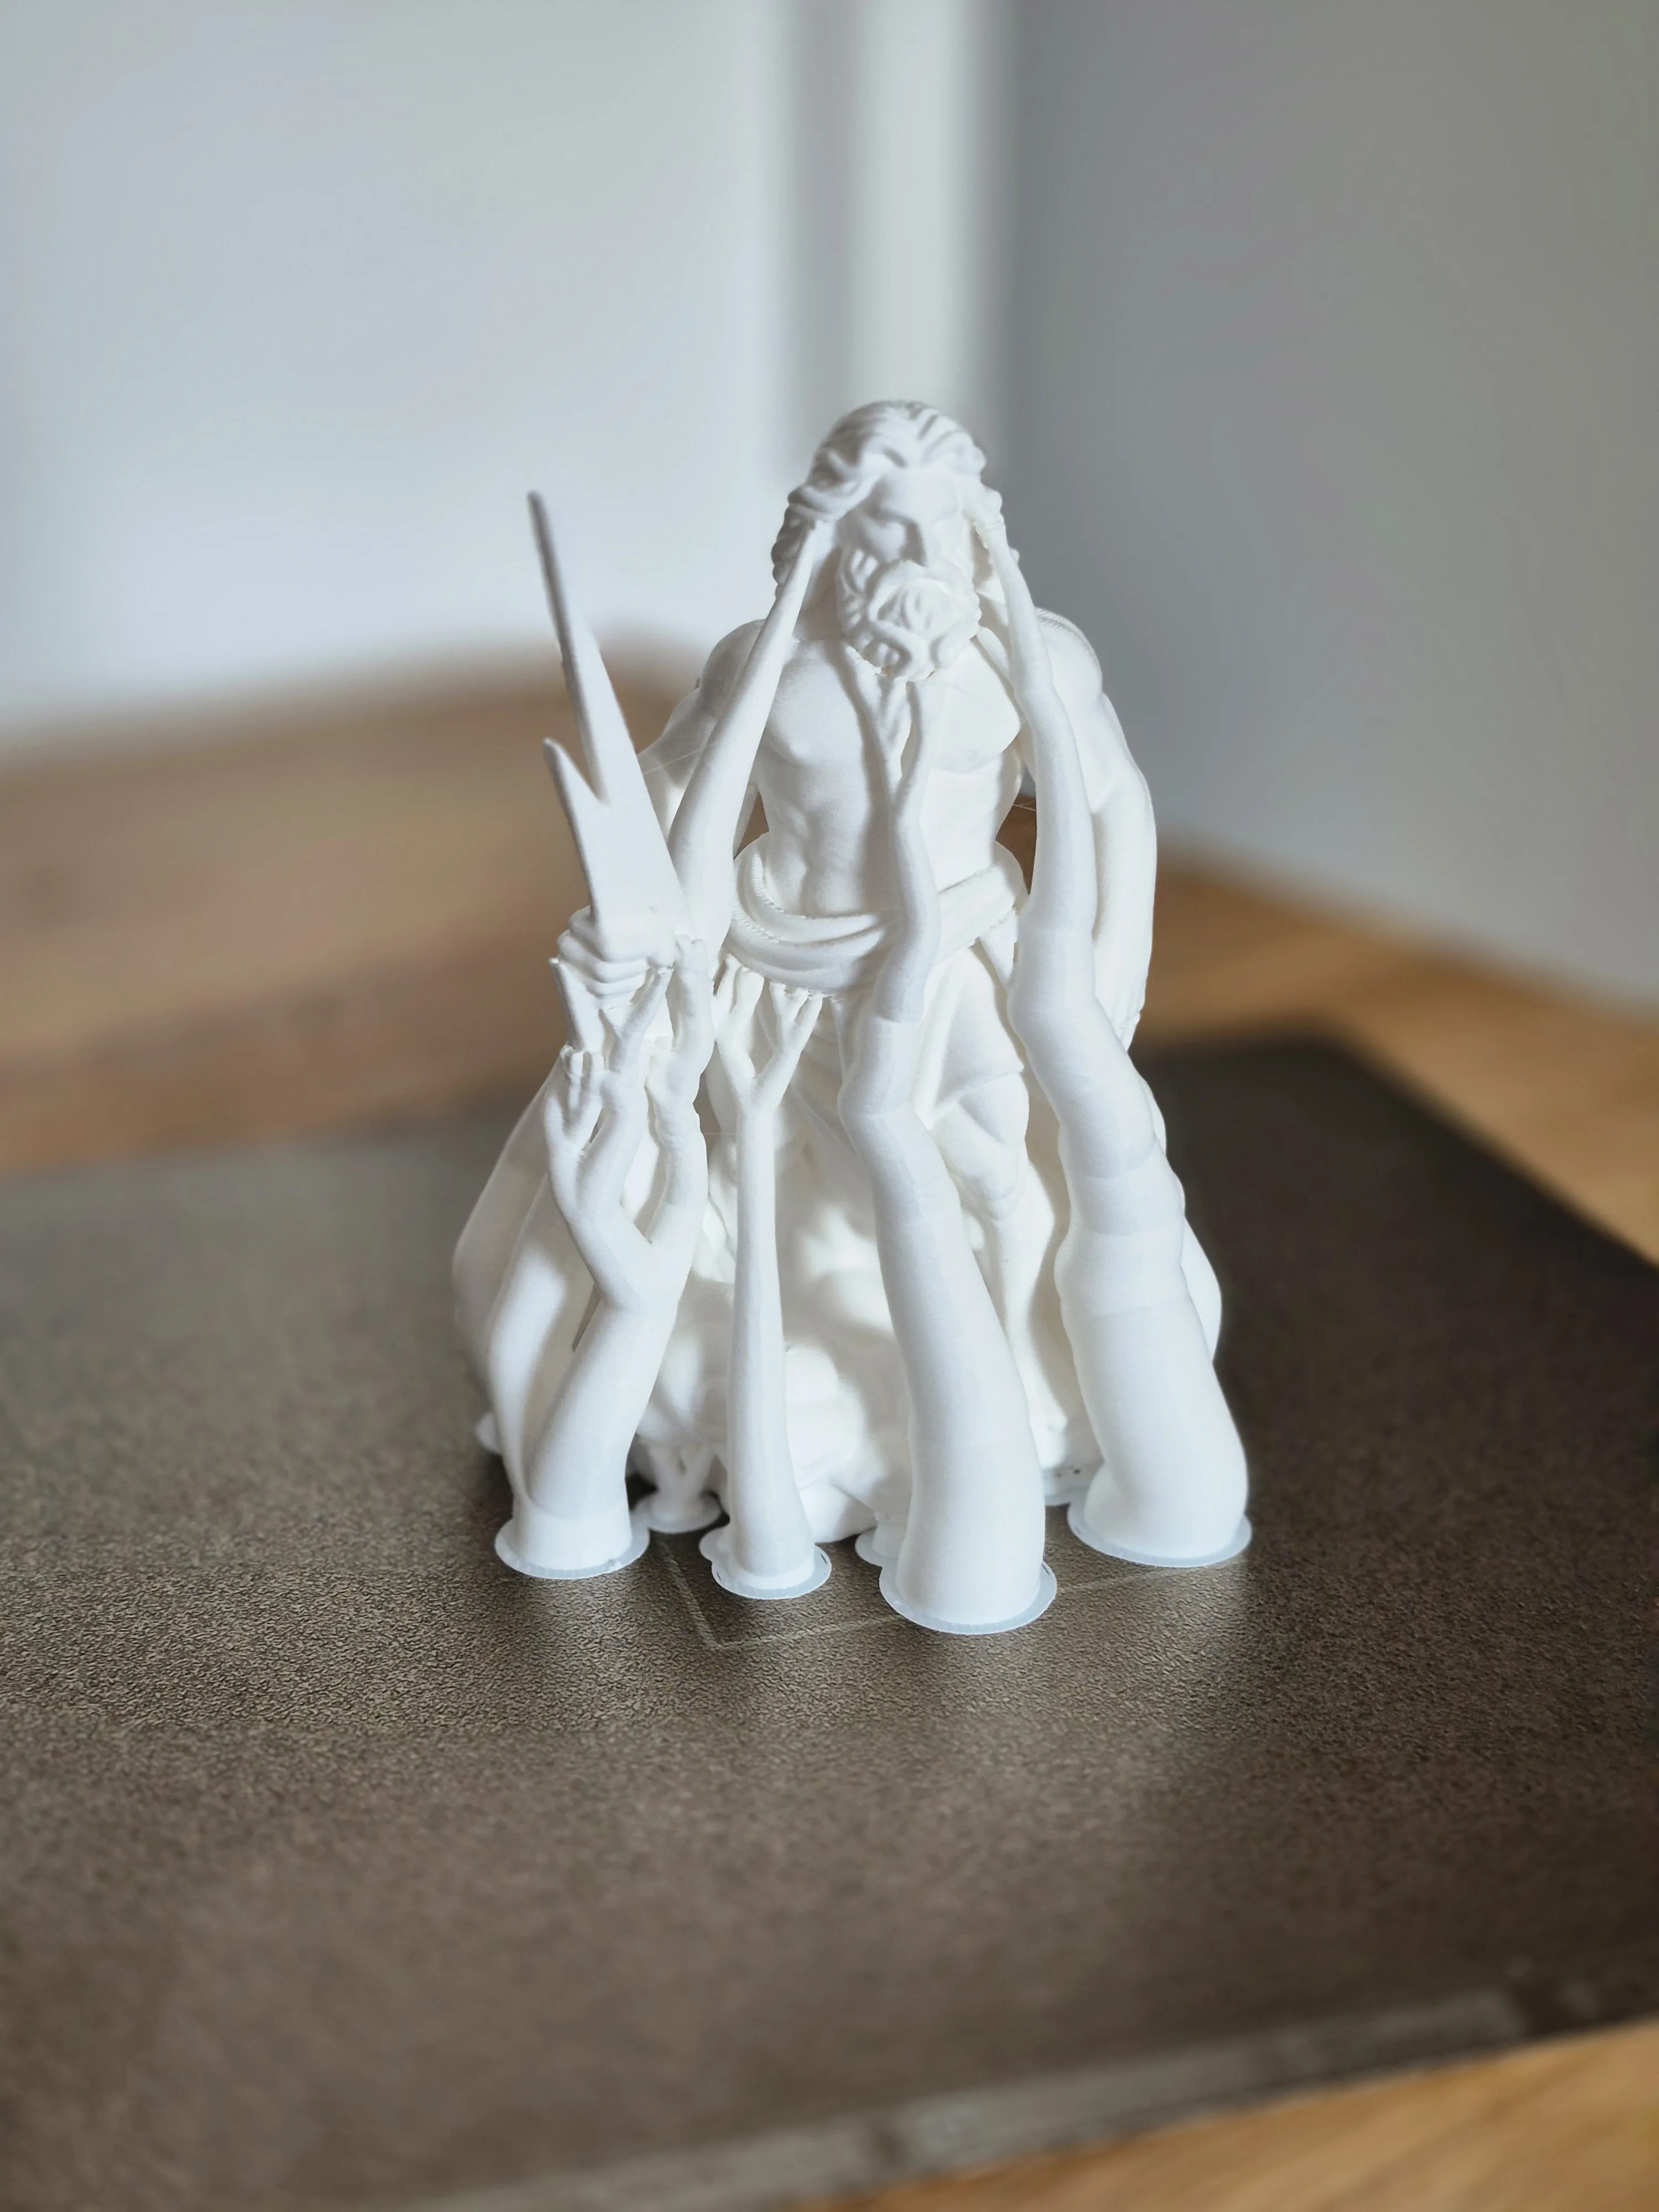
Step 2:
Use electronics side cutters to carefully cut off the tree structure (support structure) around the model's head. Then remove the remaining support connections in the upper area and work your way down according to the arrangement of the pictures
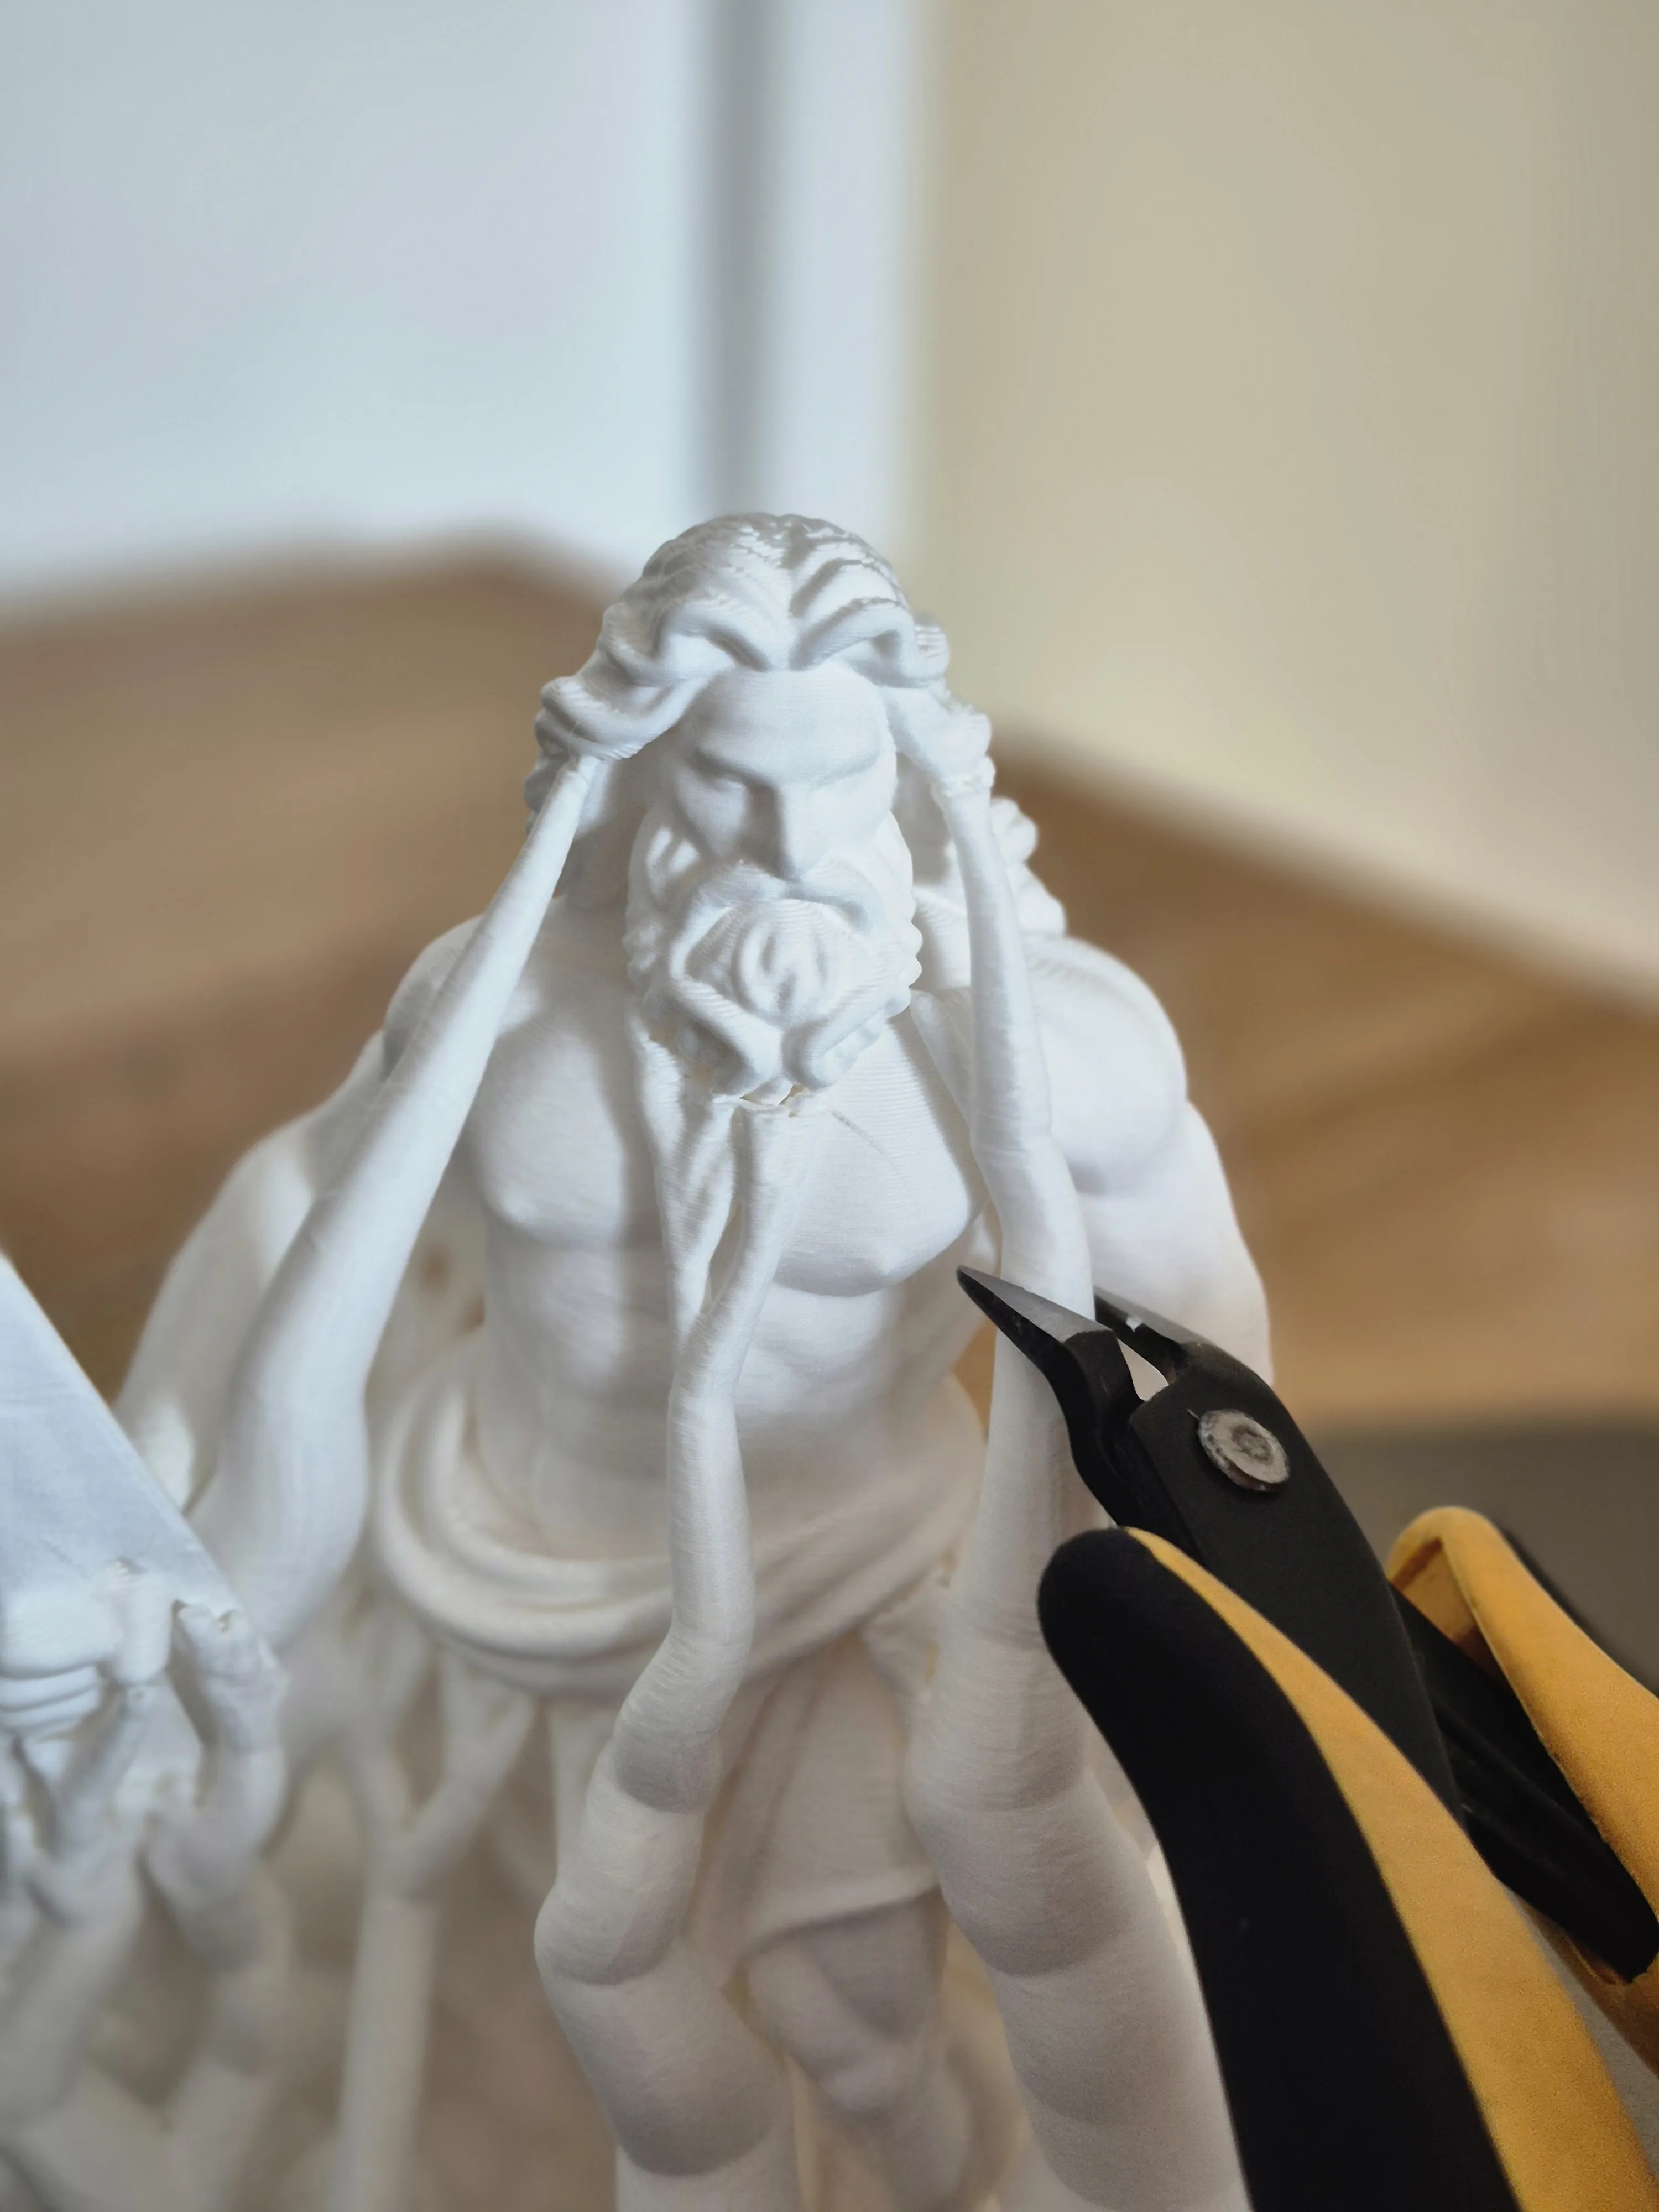
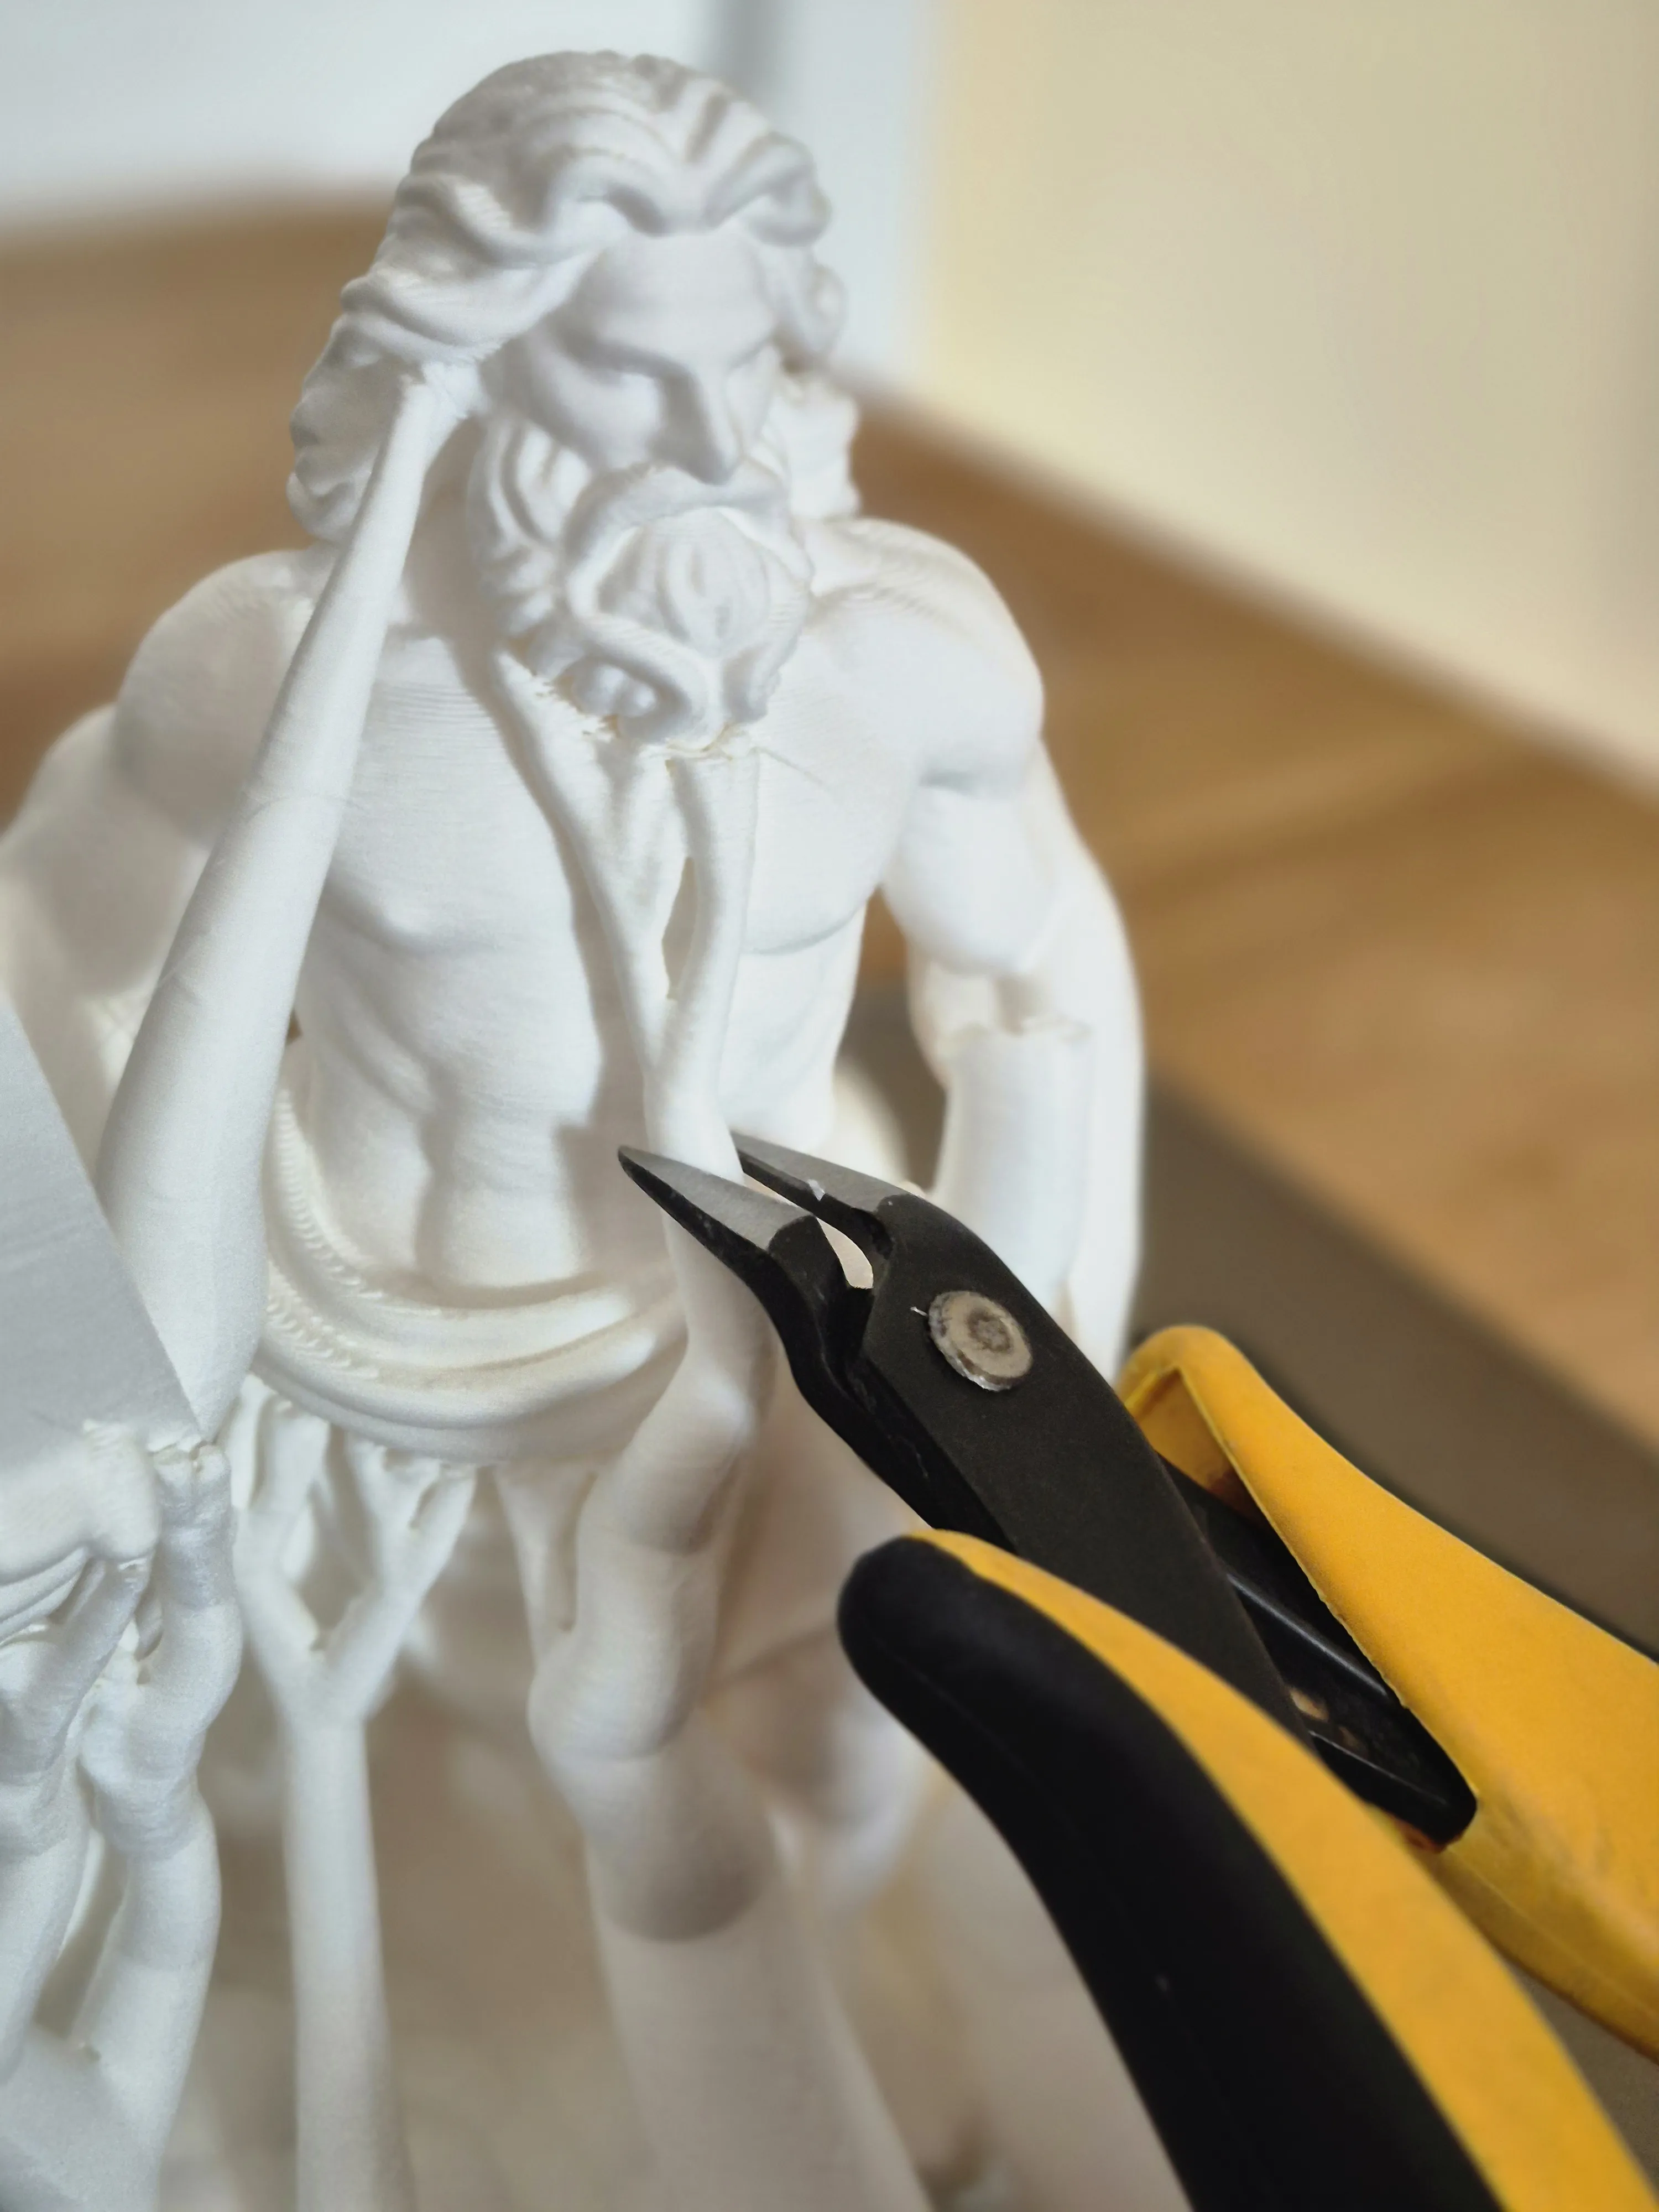
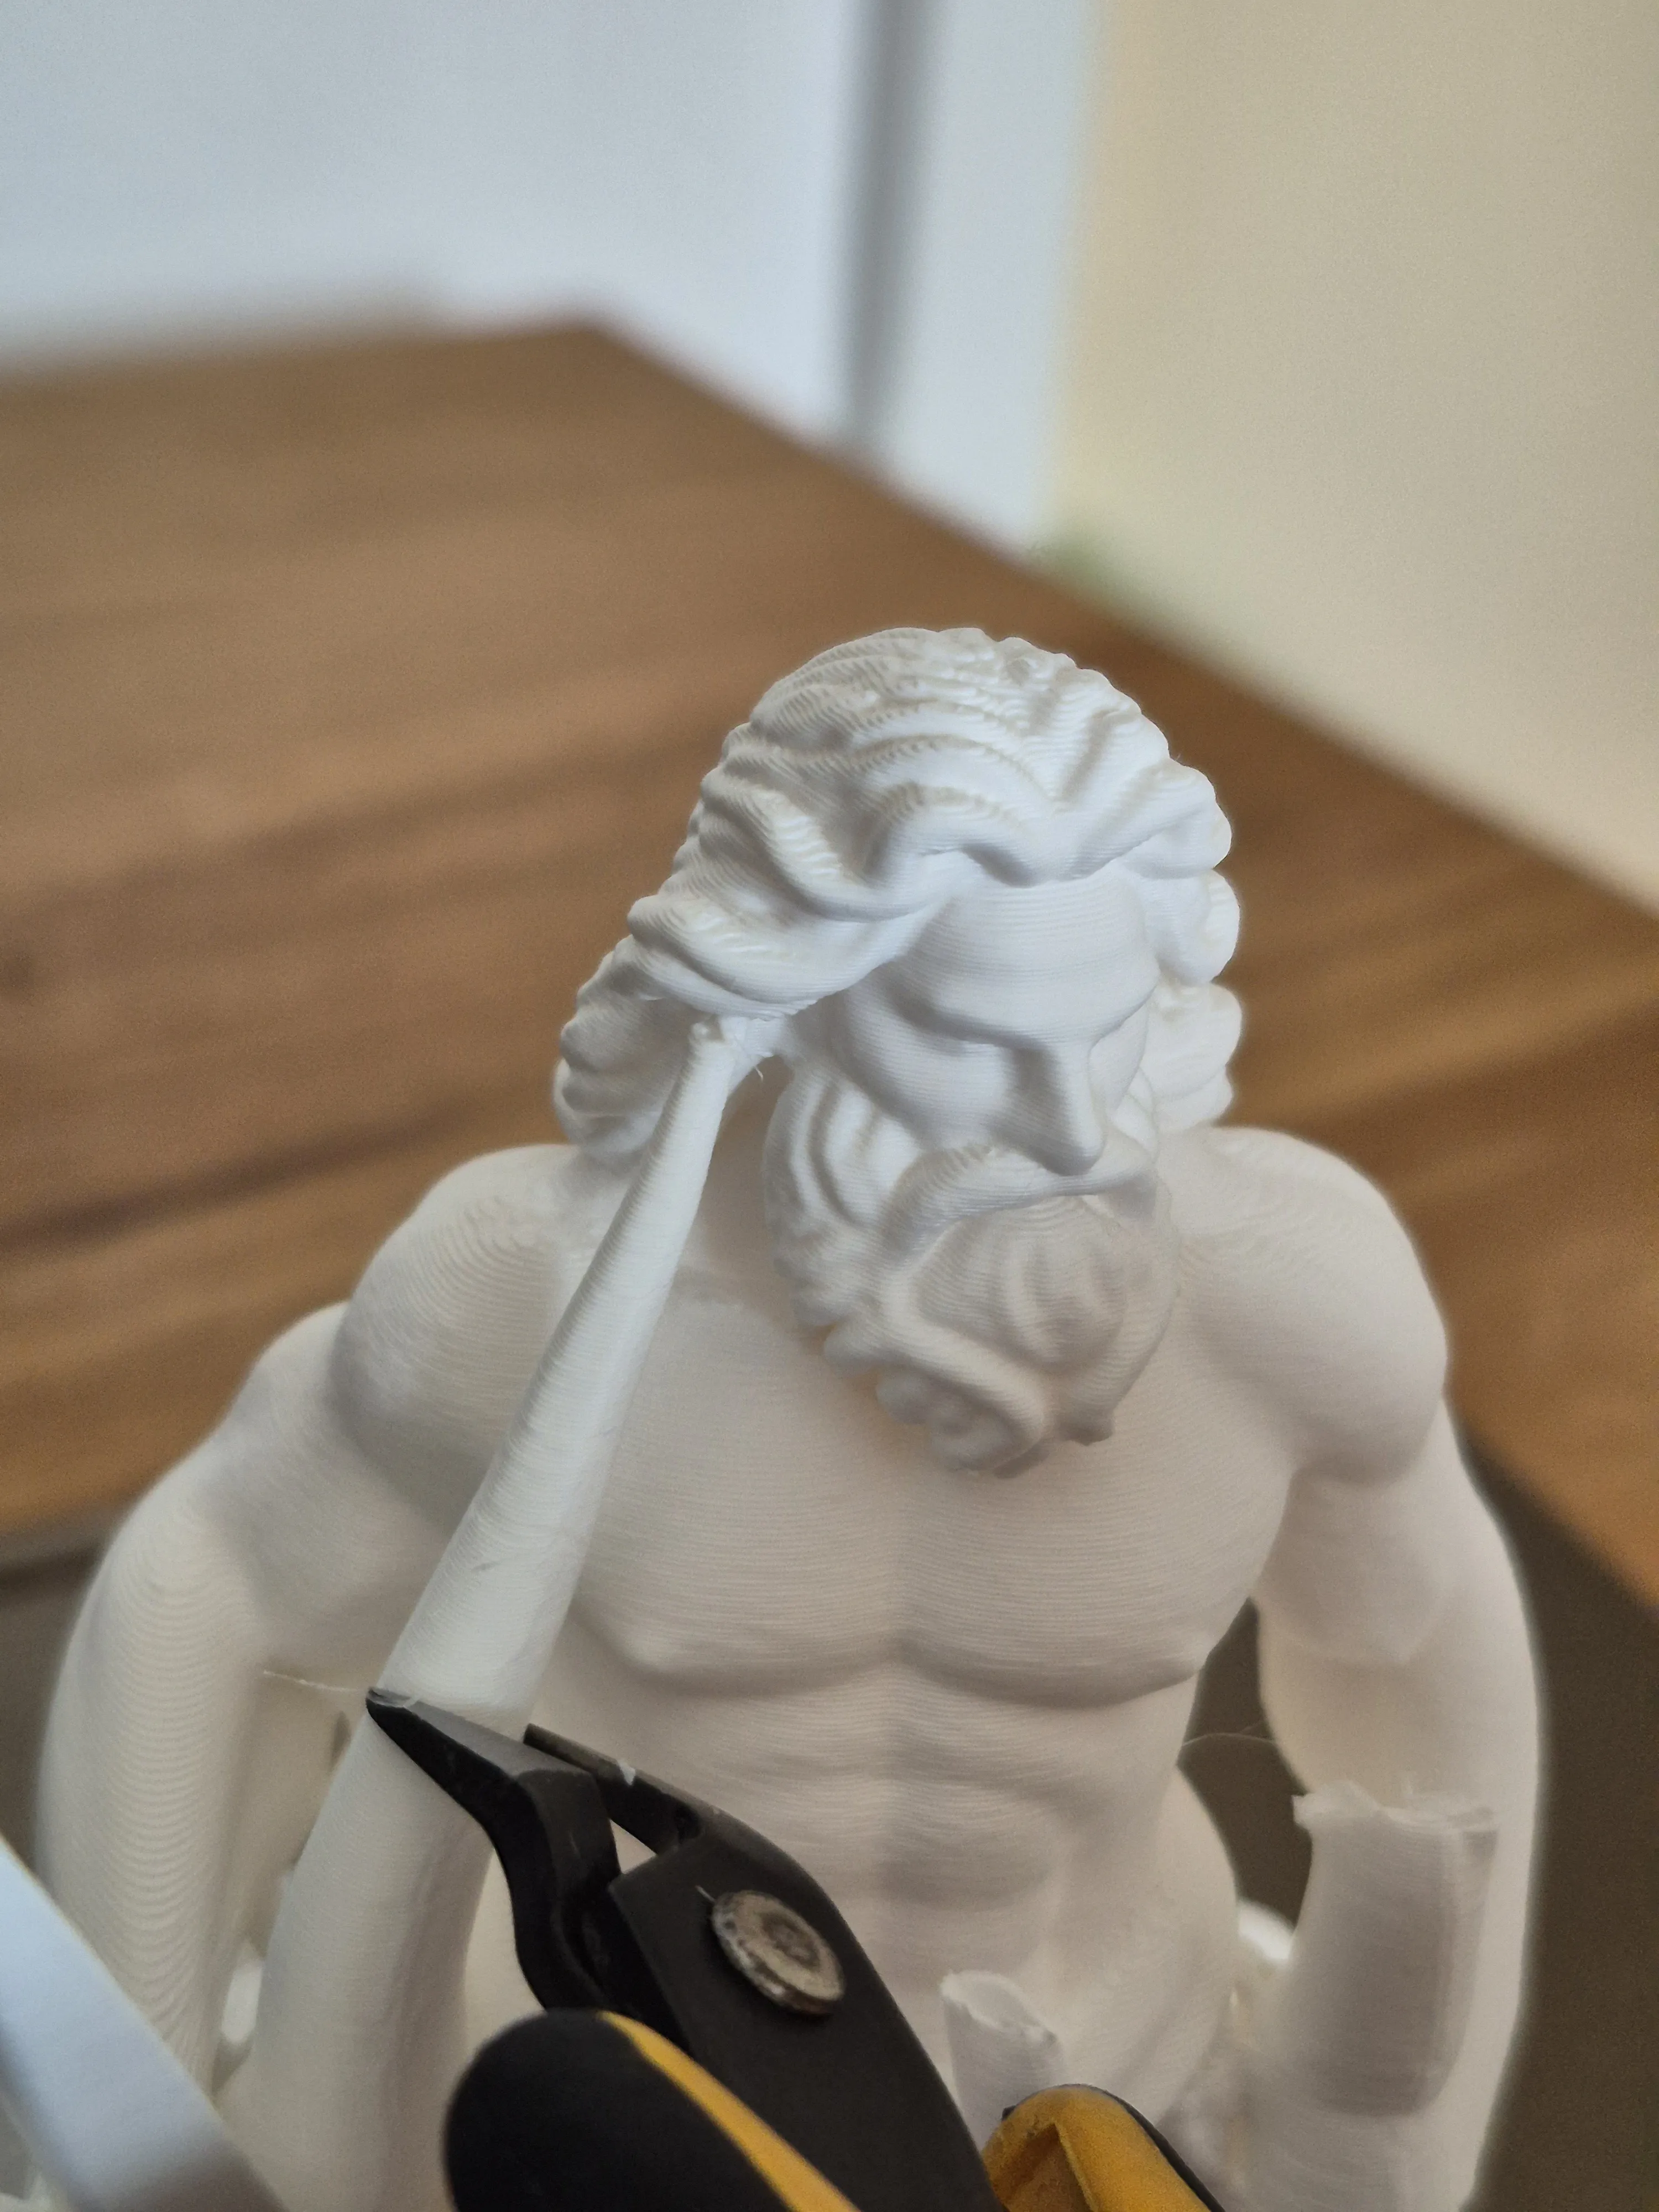
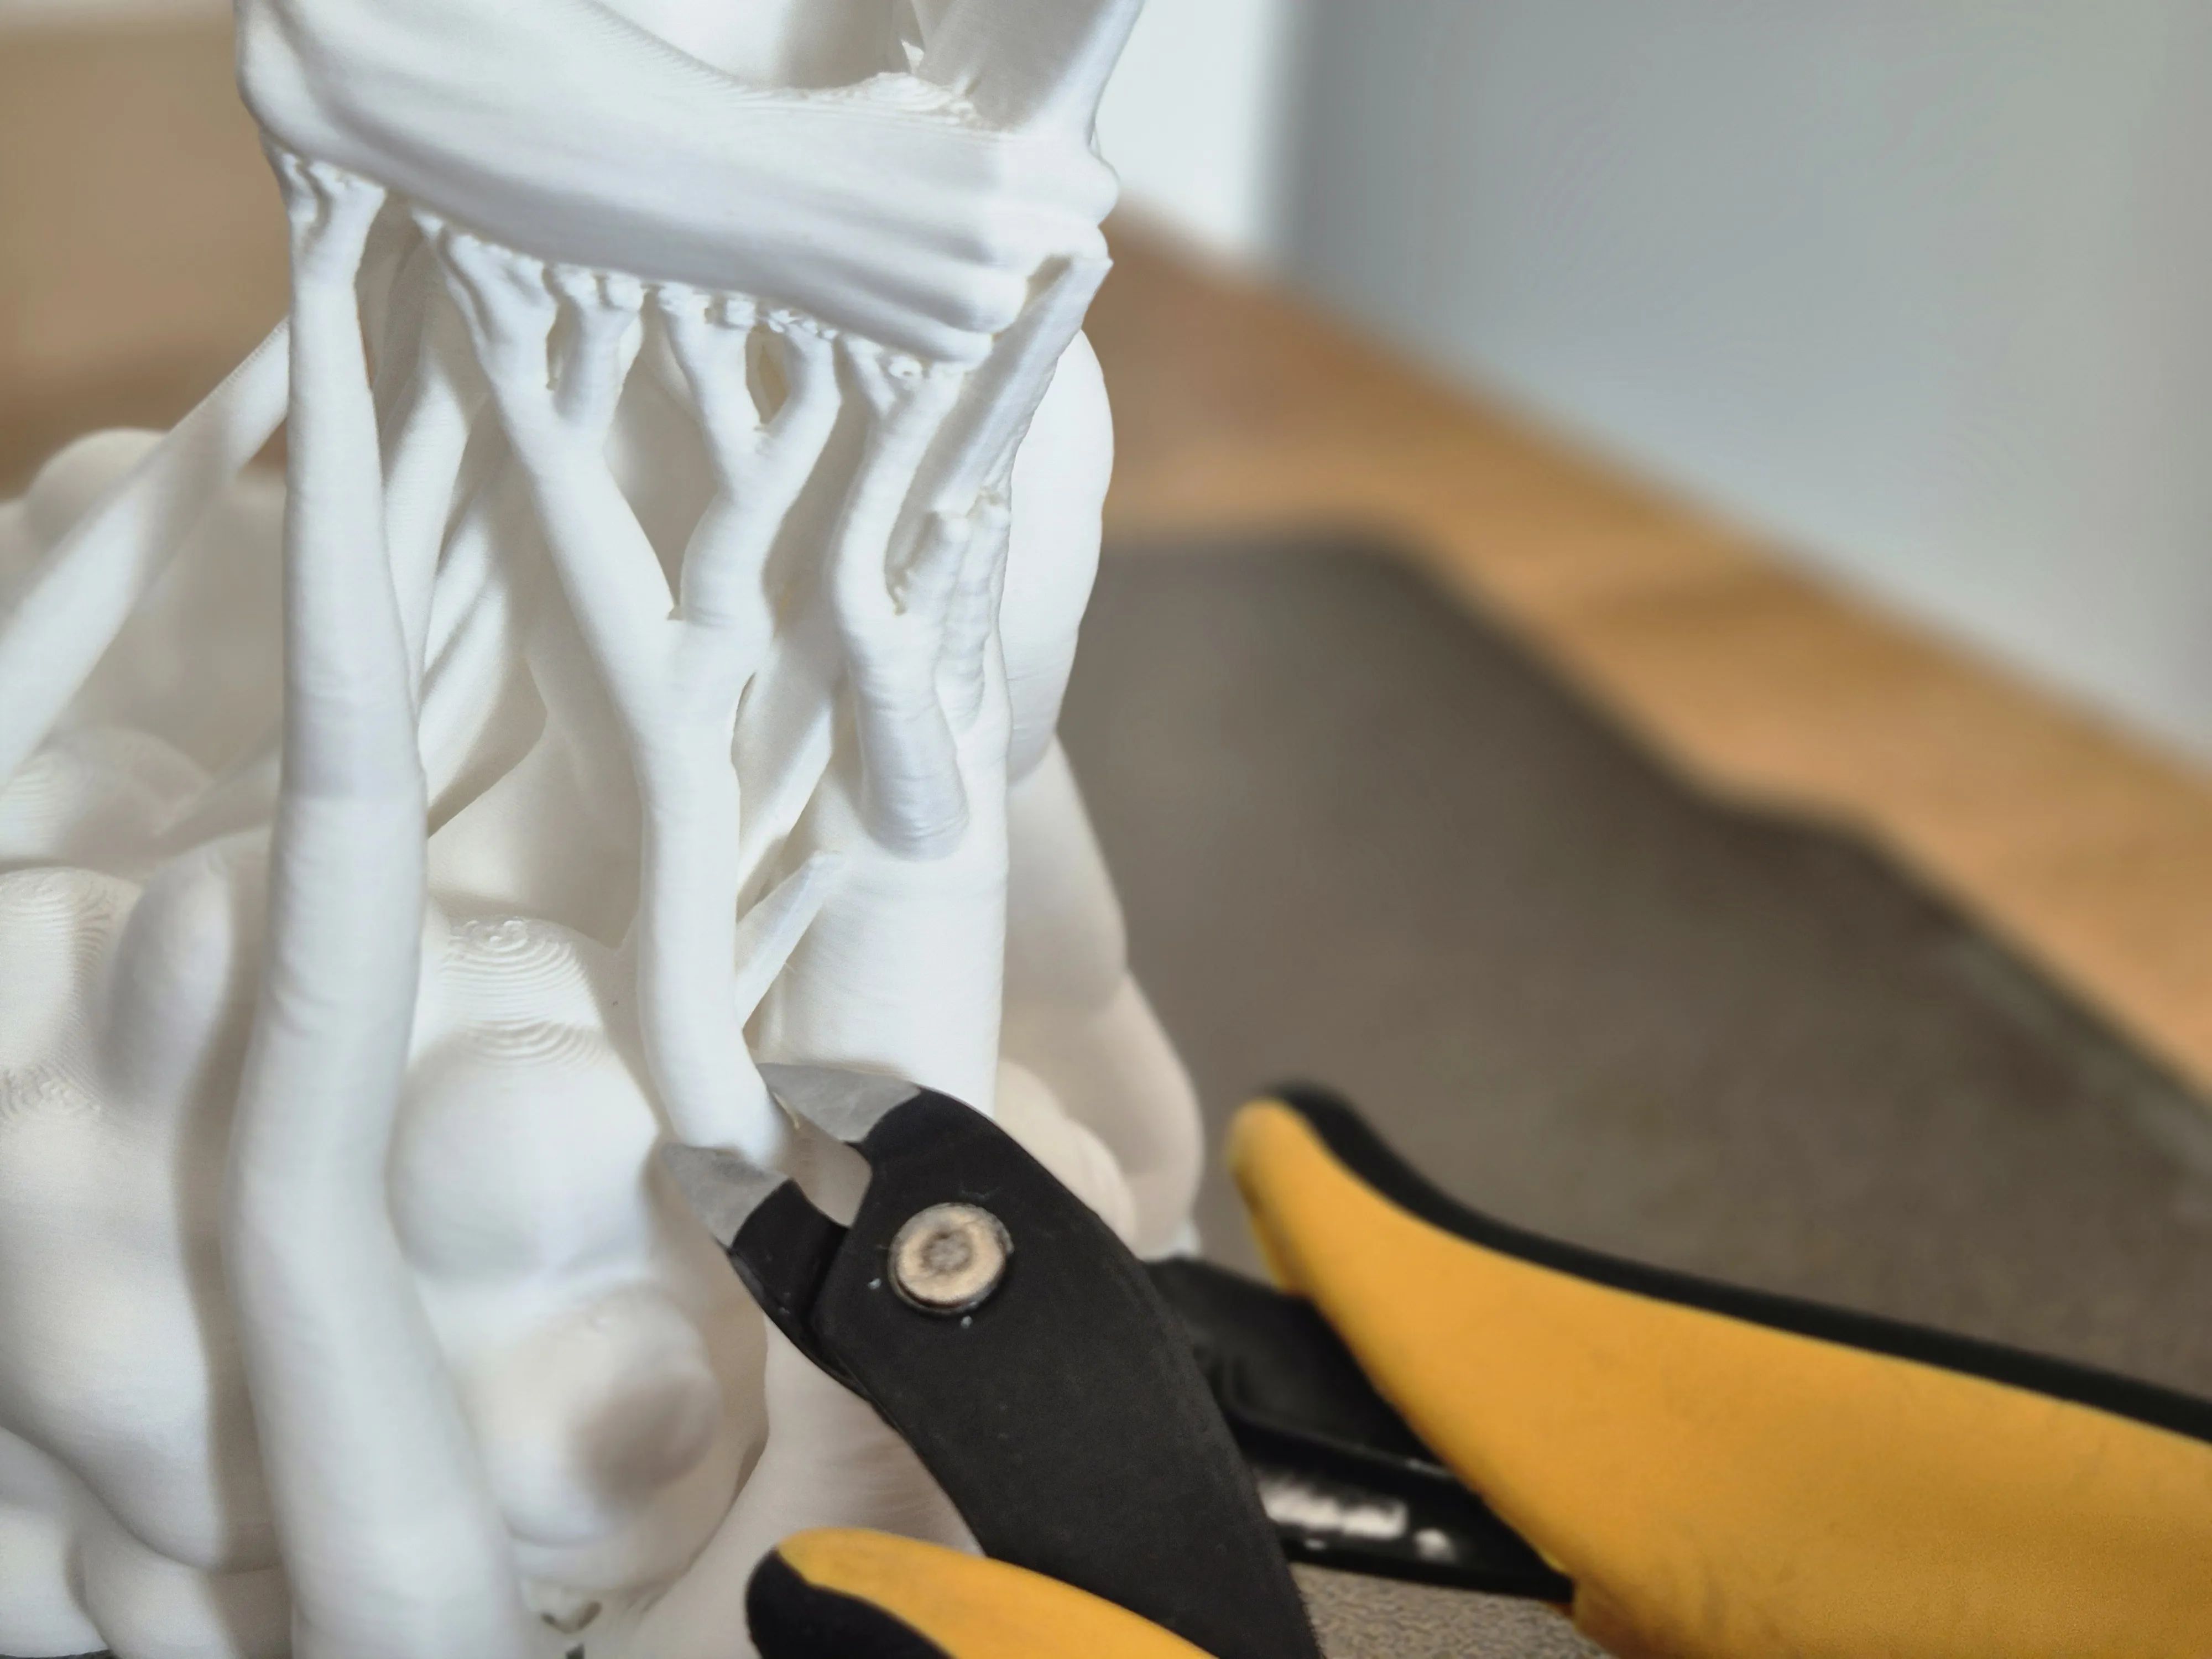
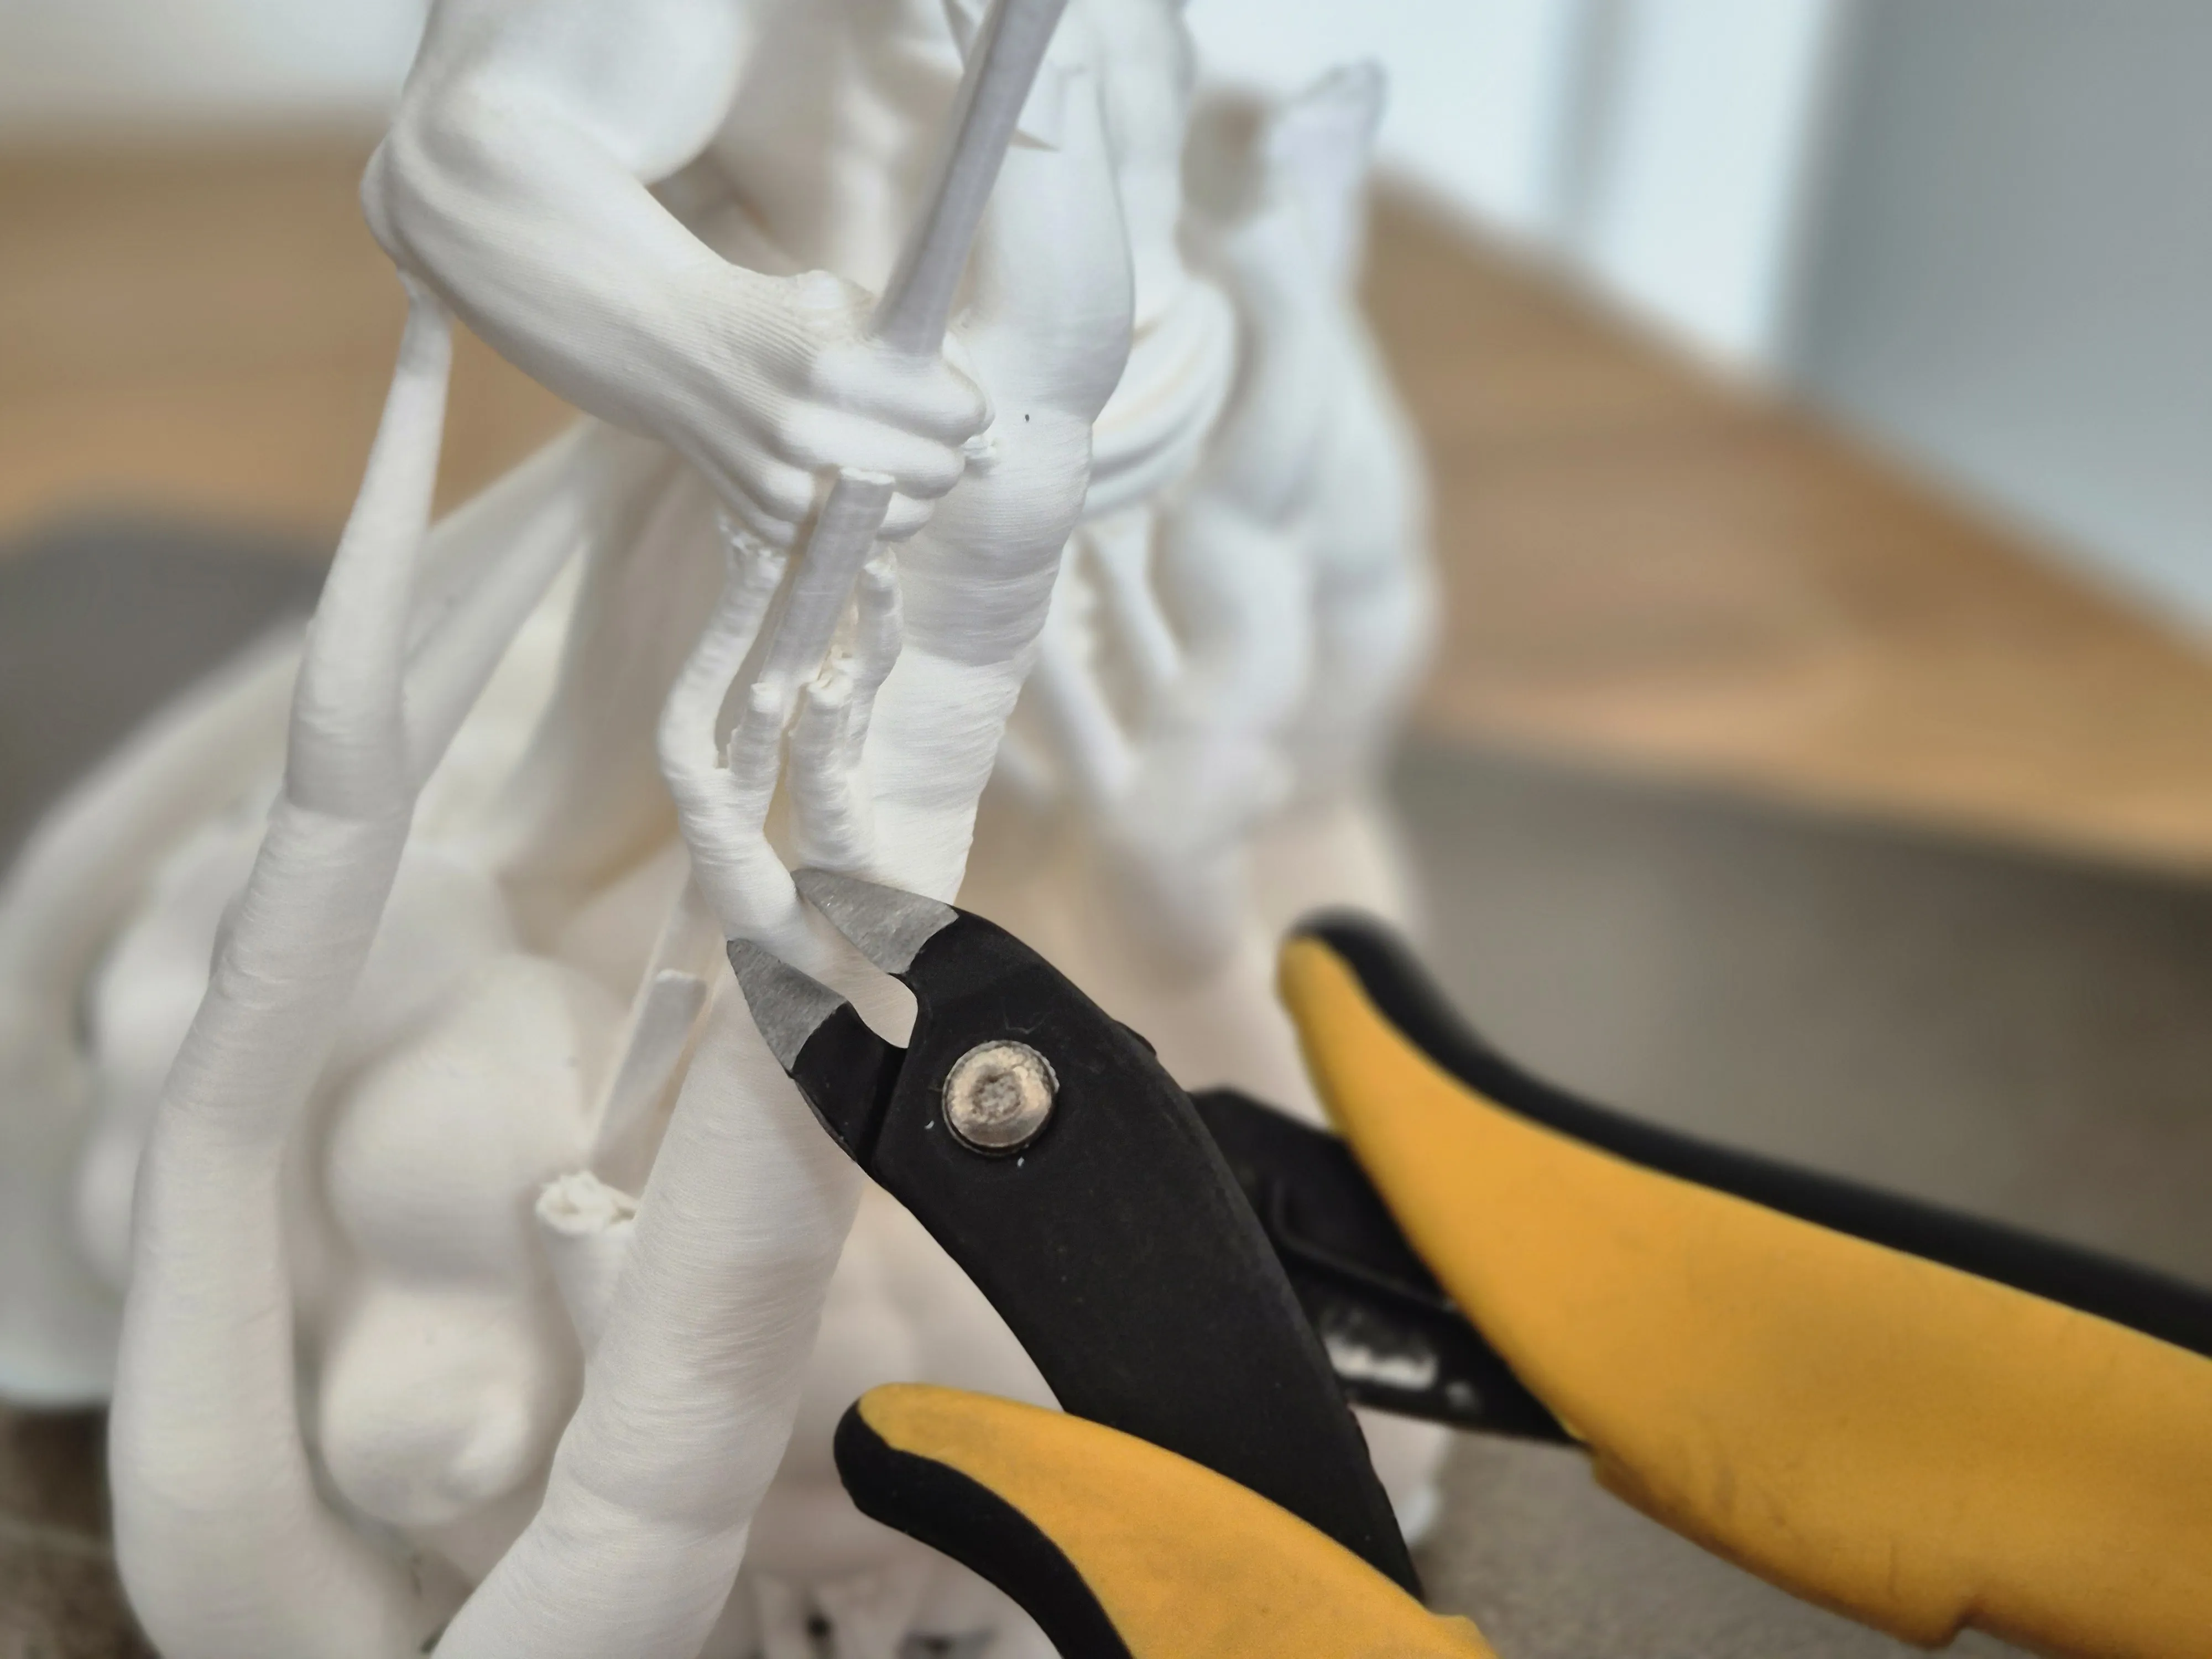
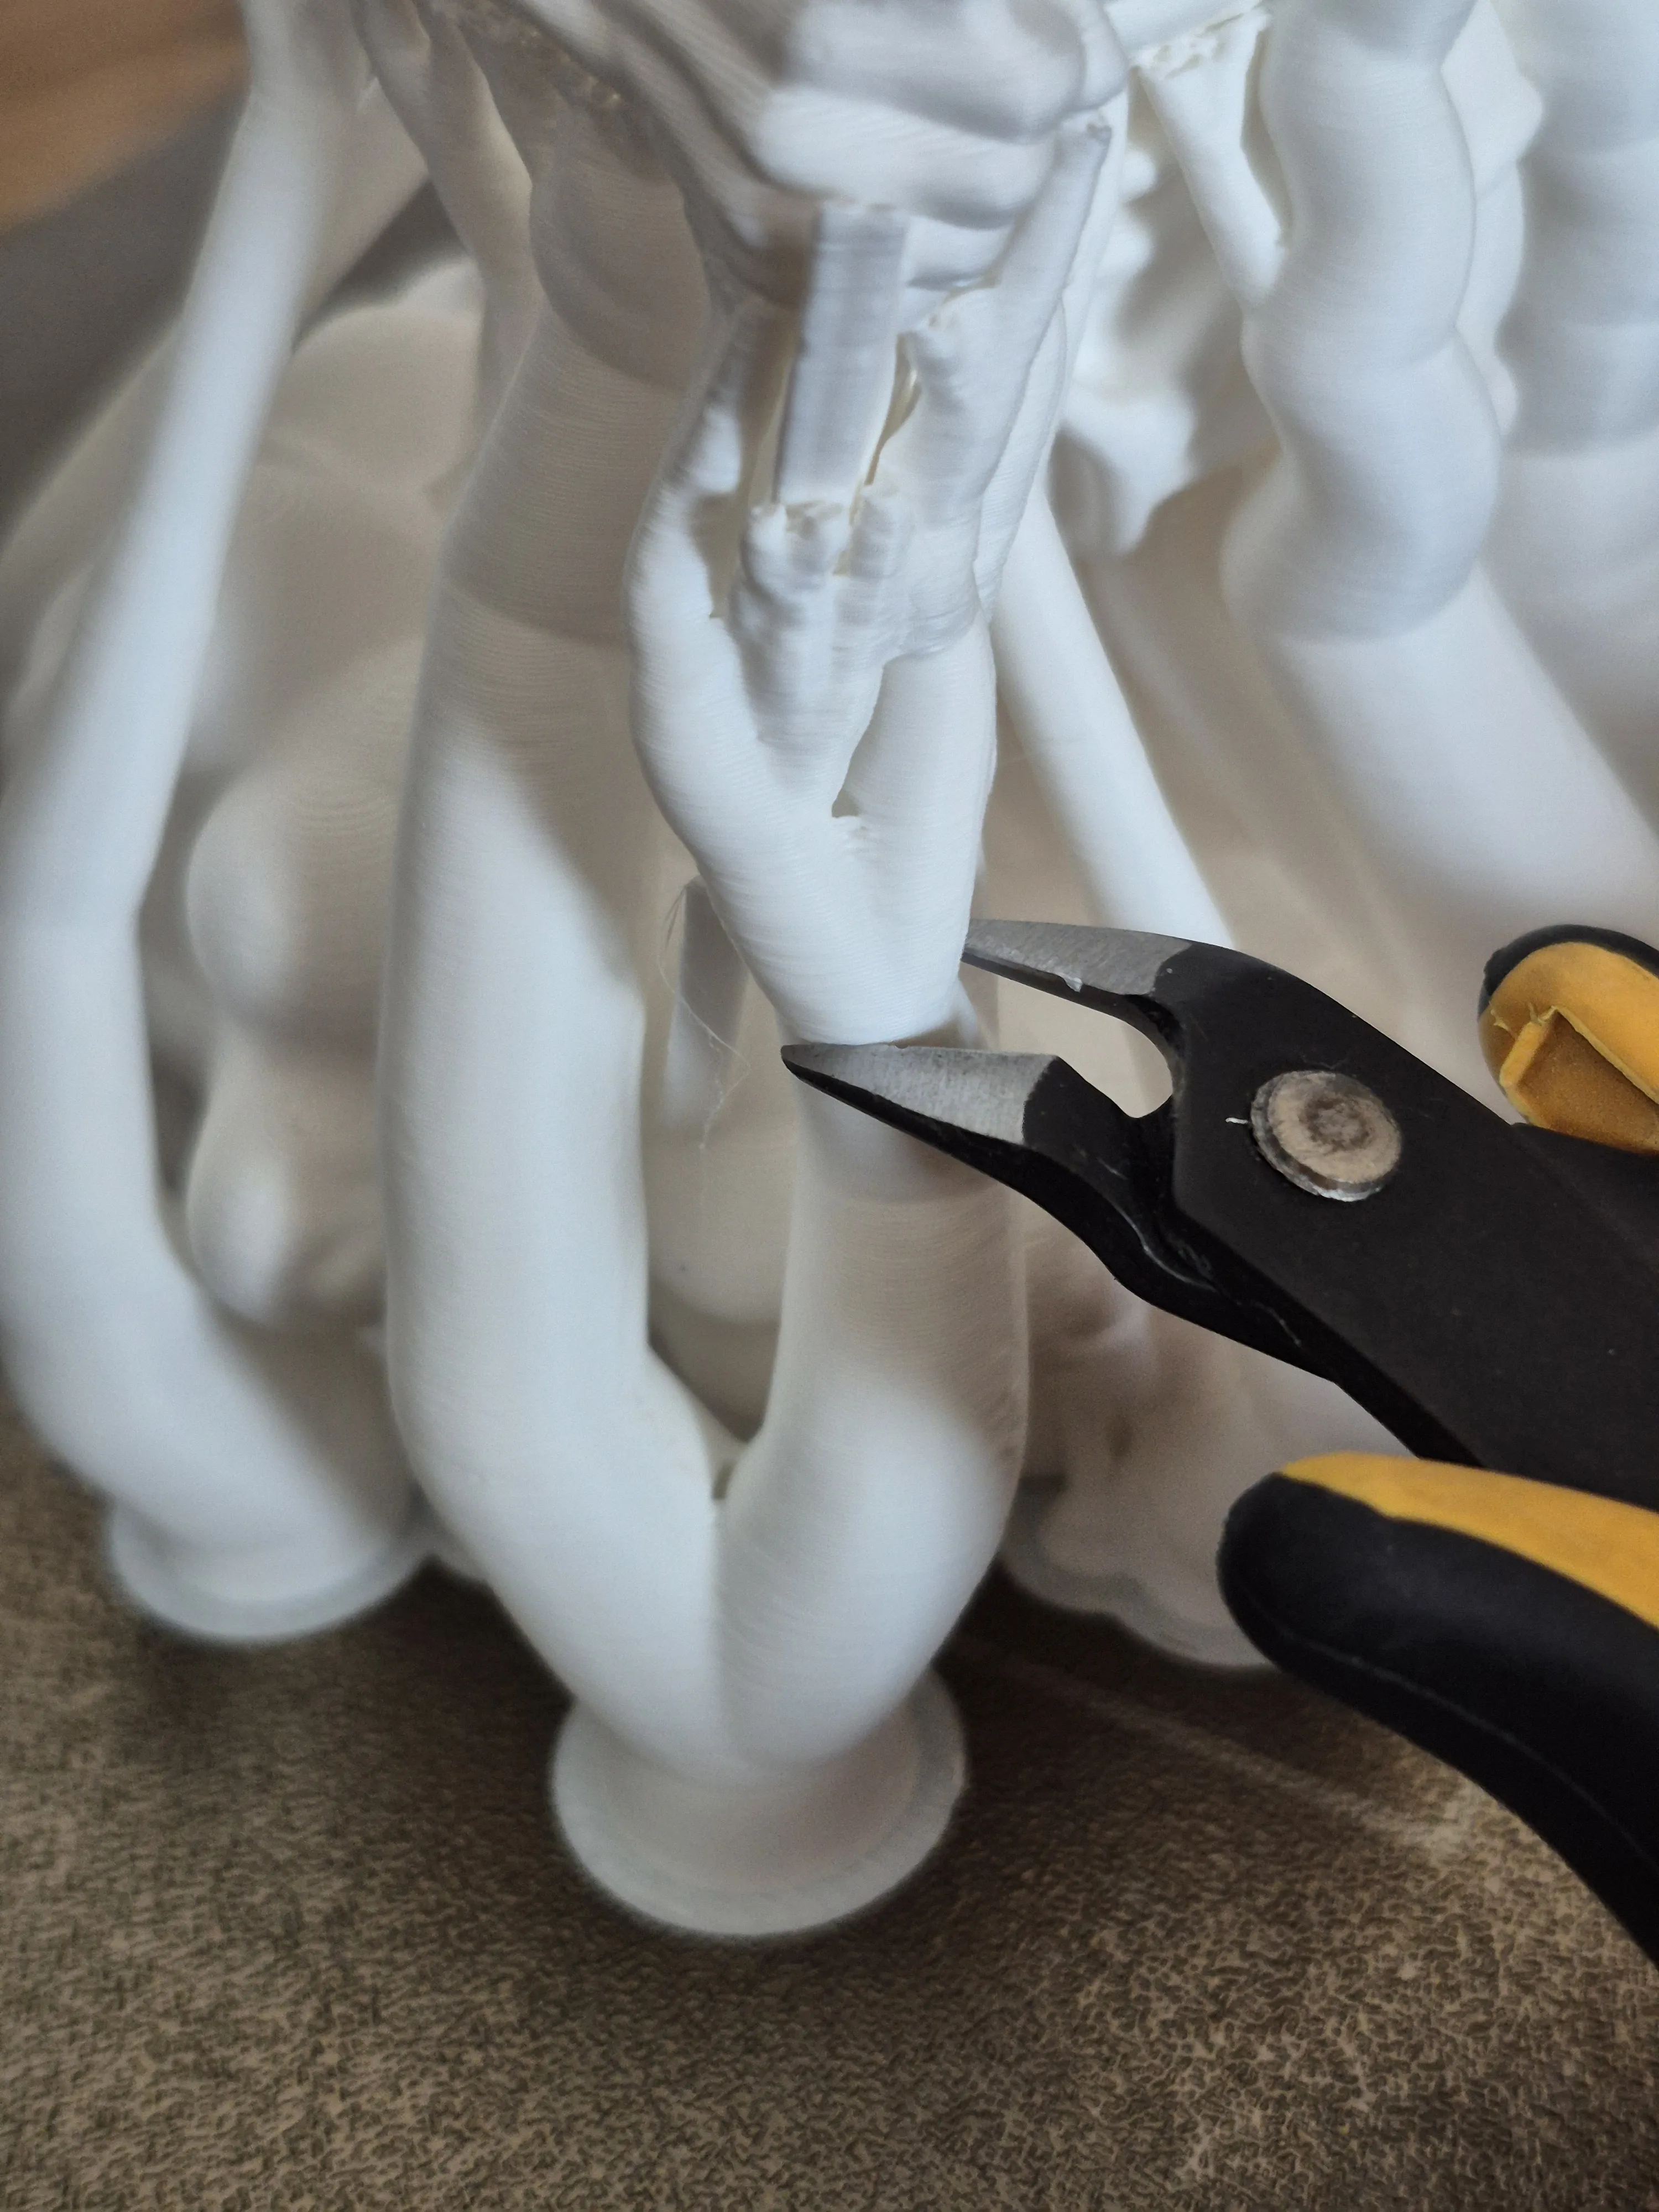
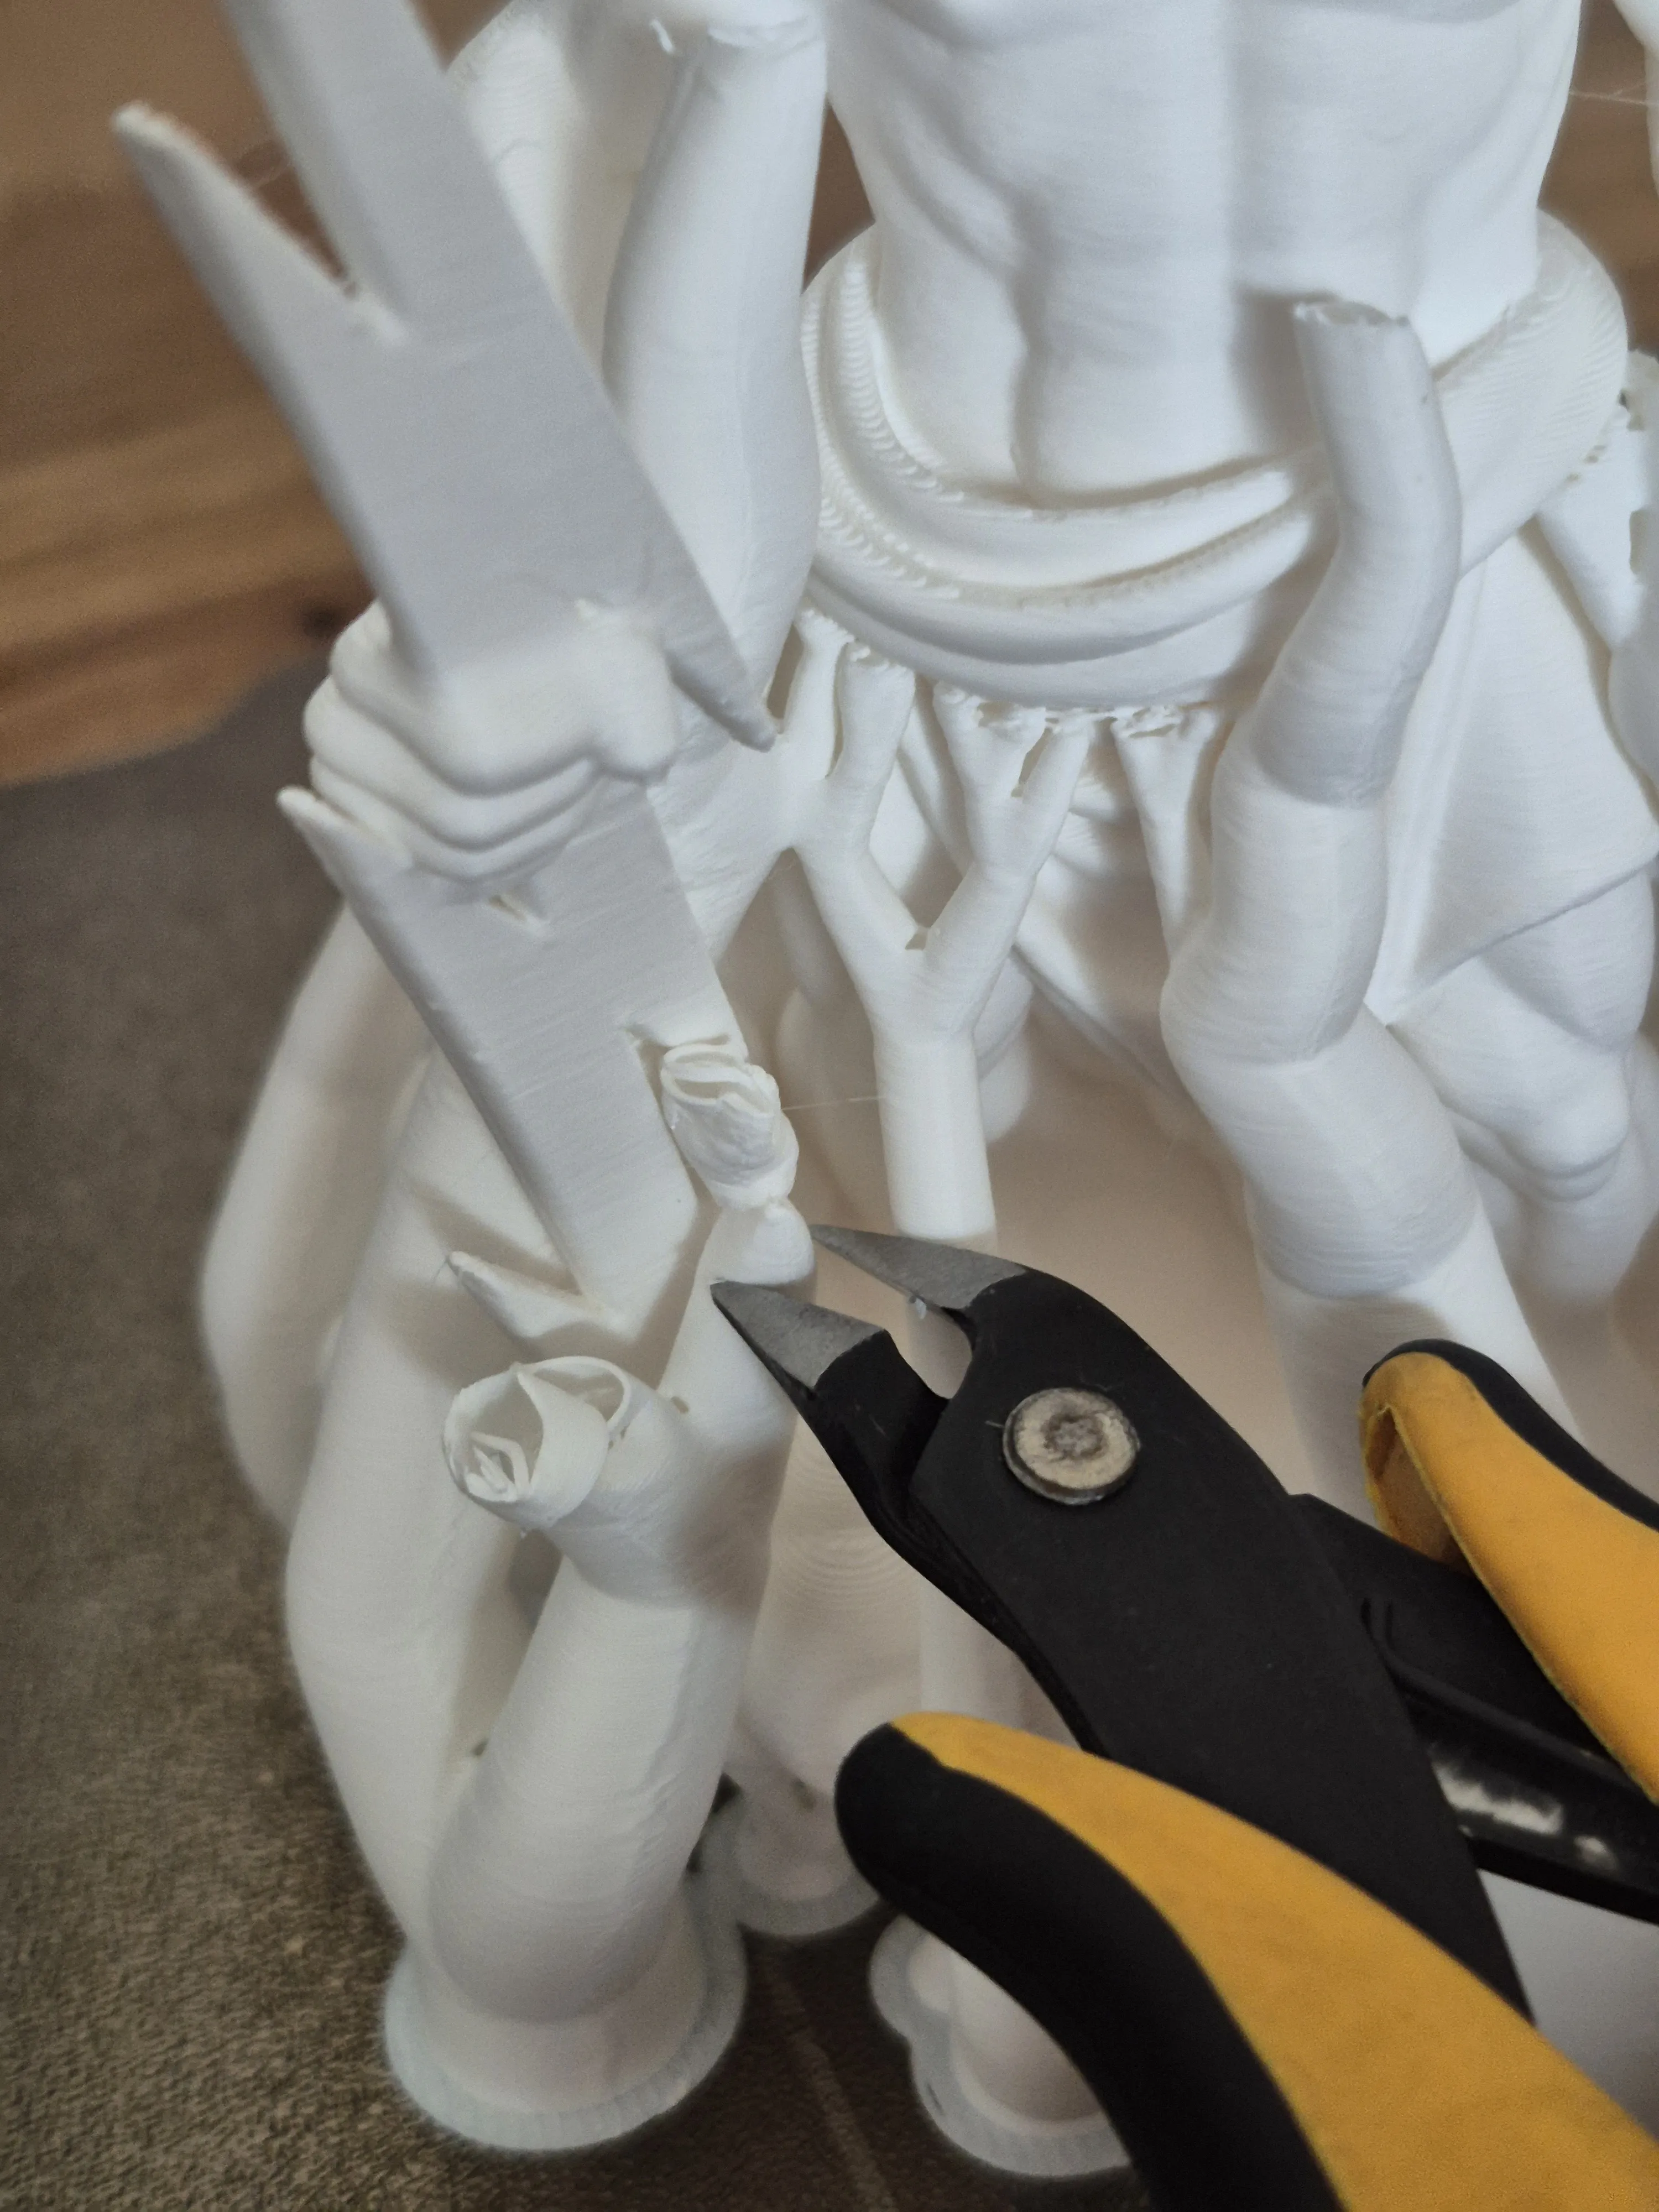
Step 3: Carefully cut a hole into the designated
LED cutout with electronics side cutters and then remove the round support
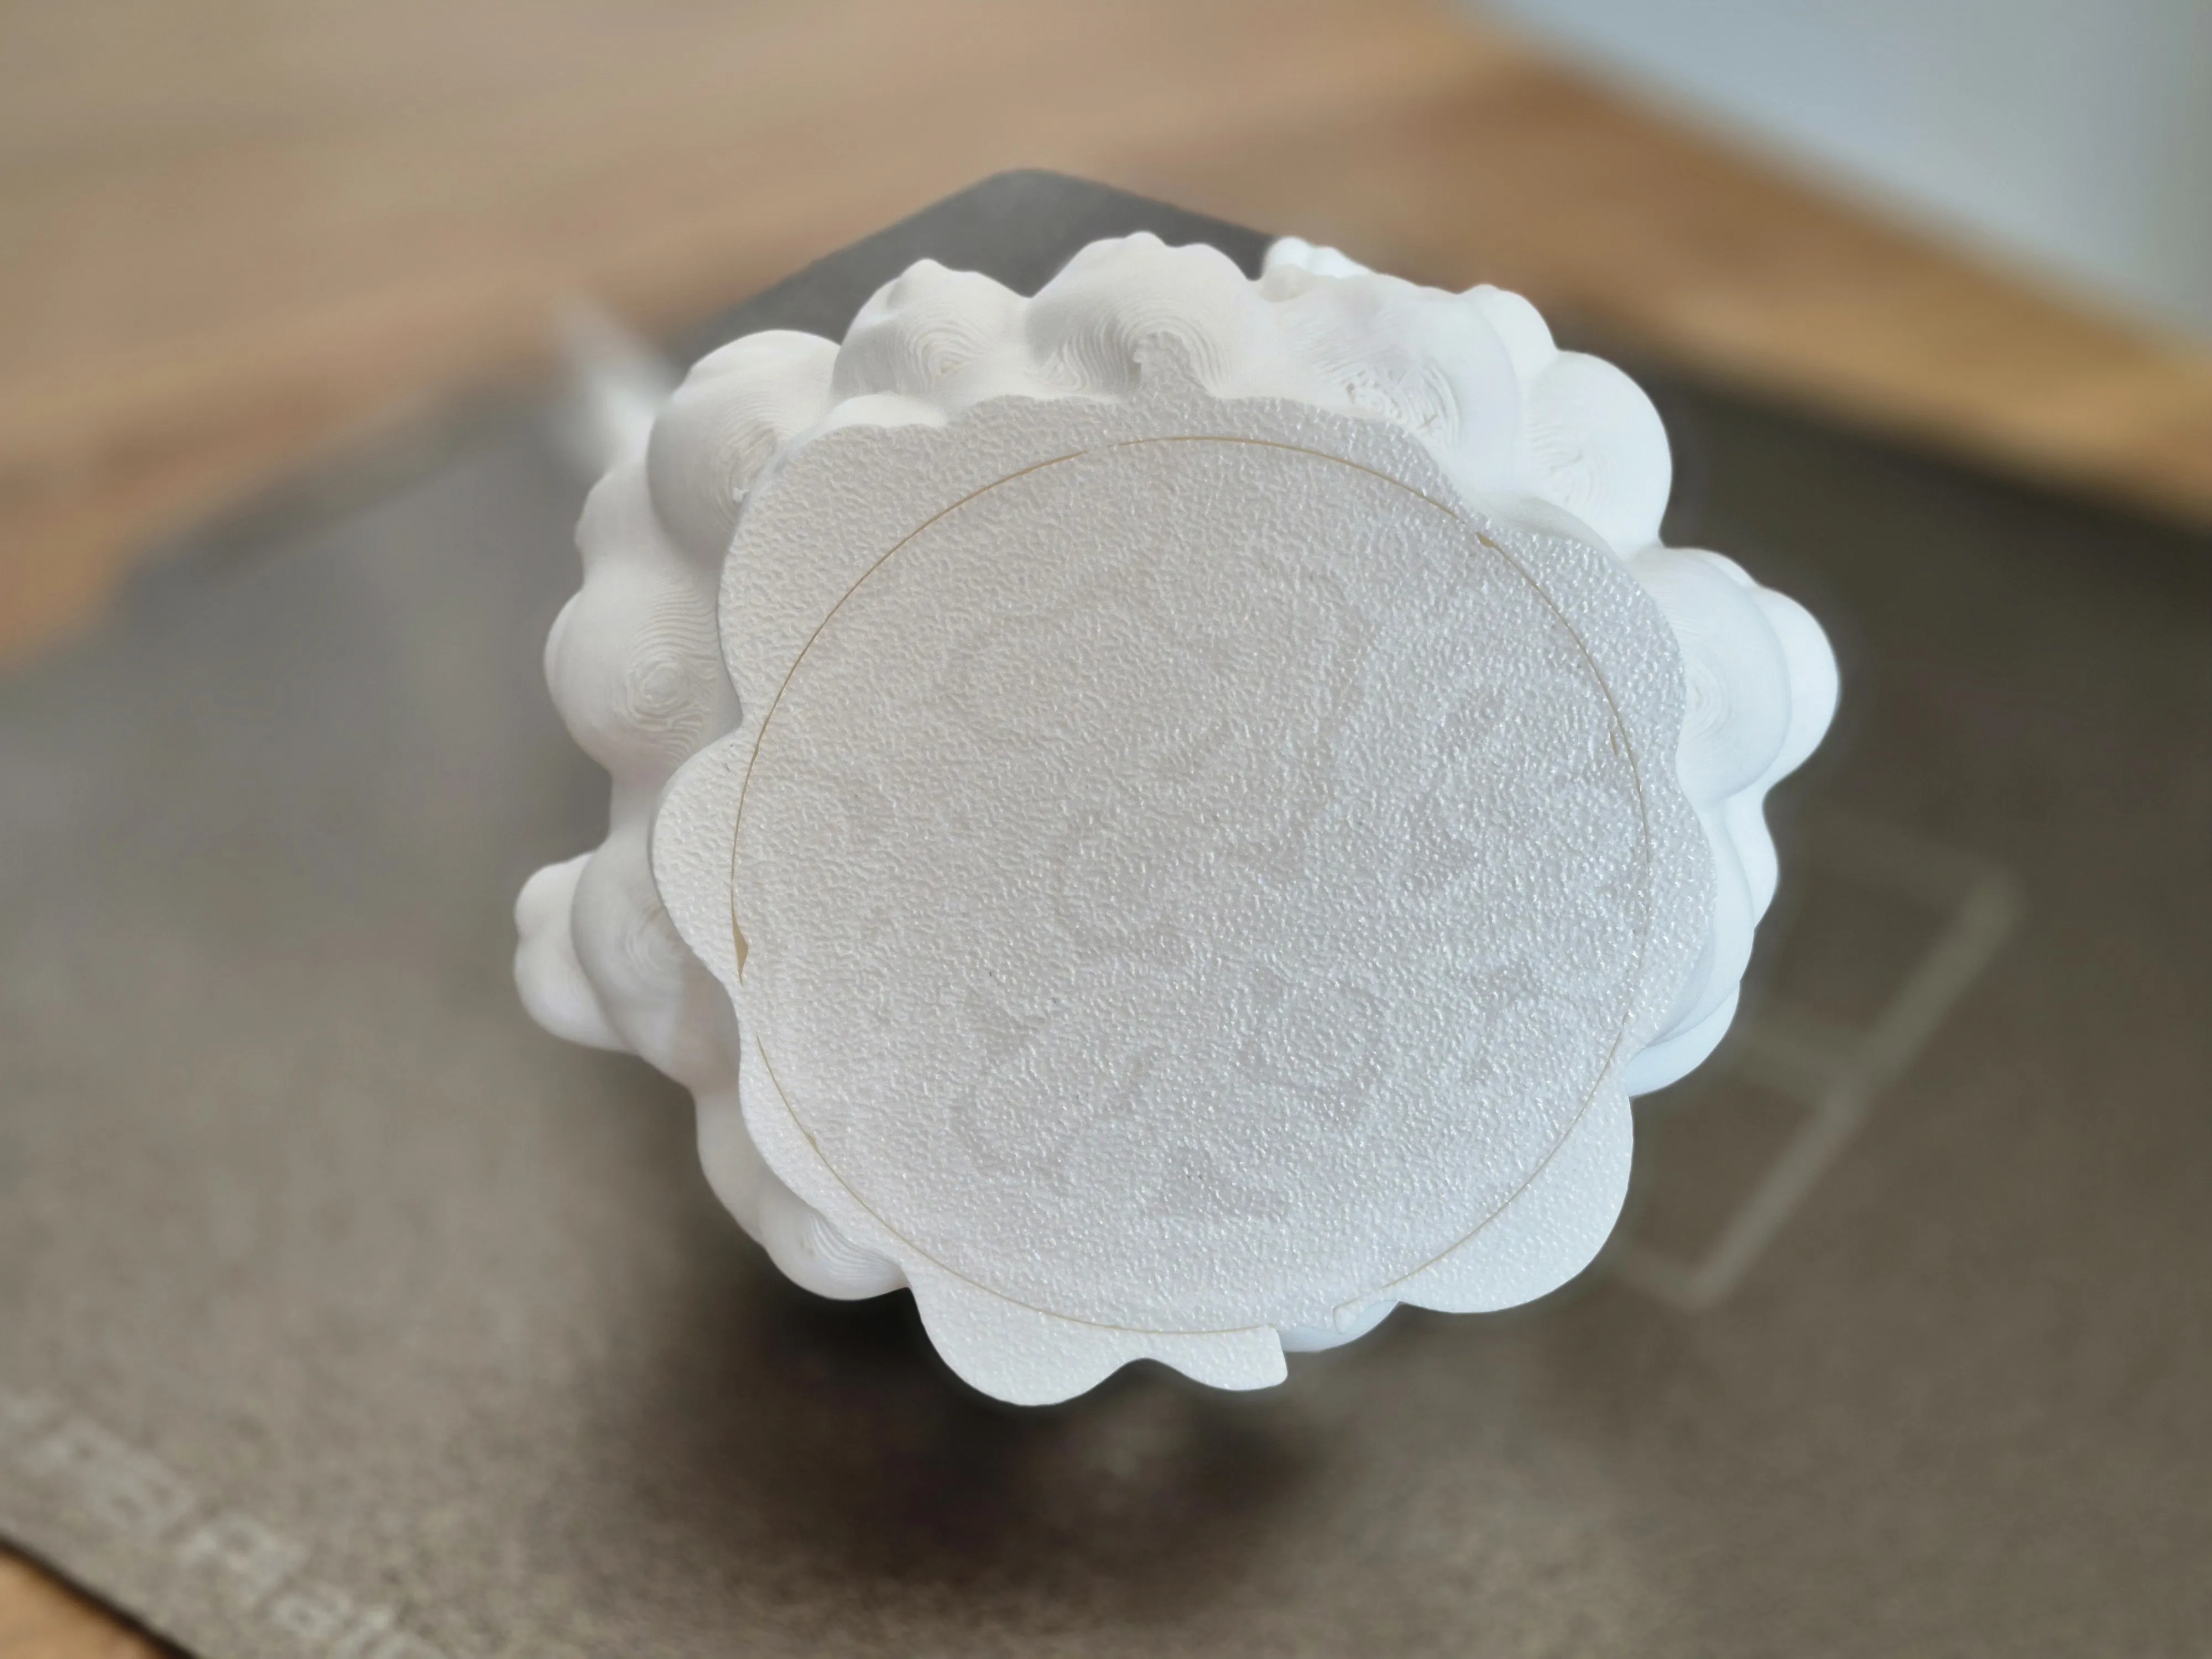
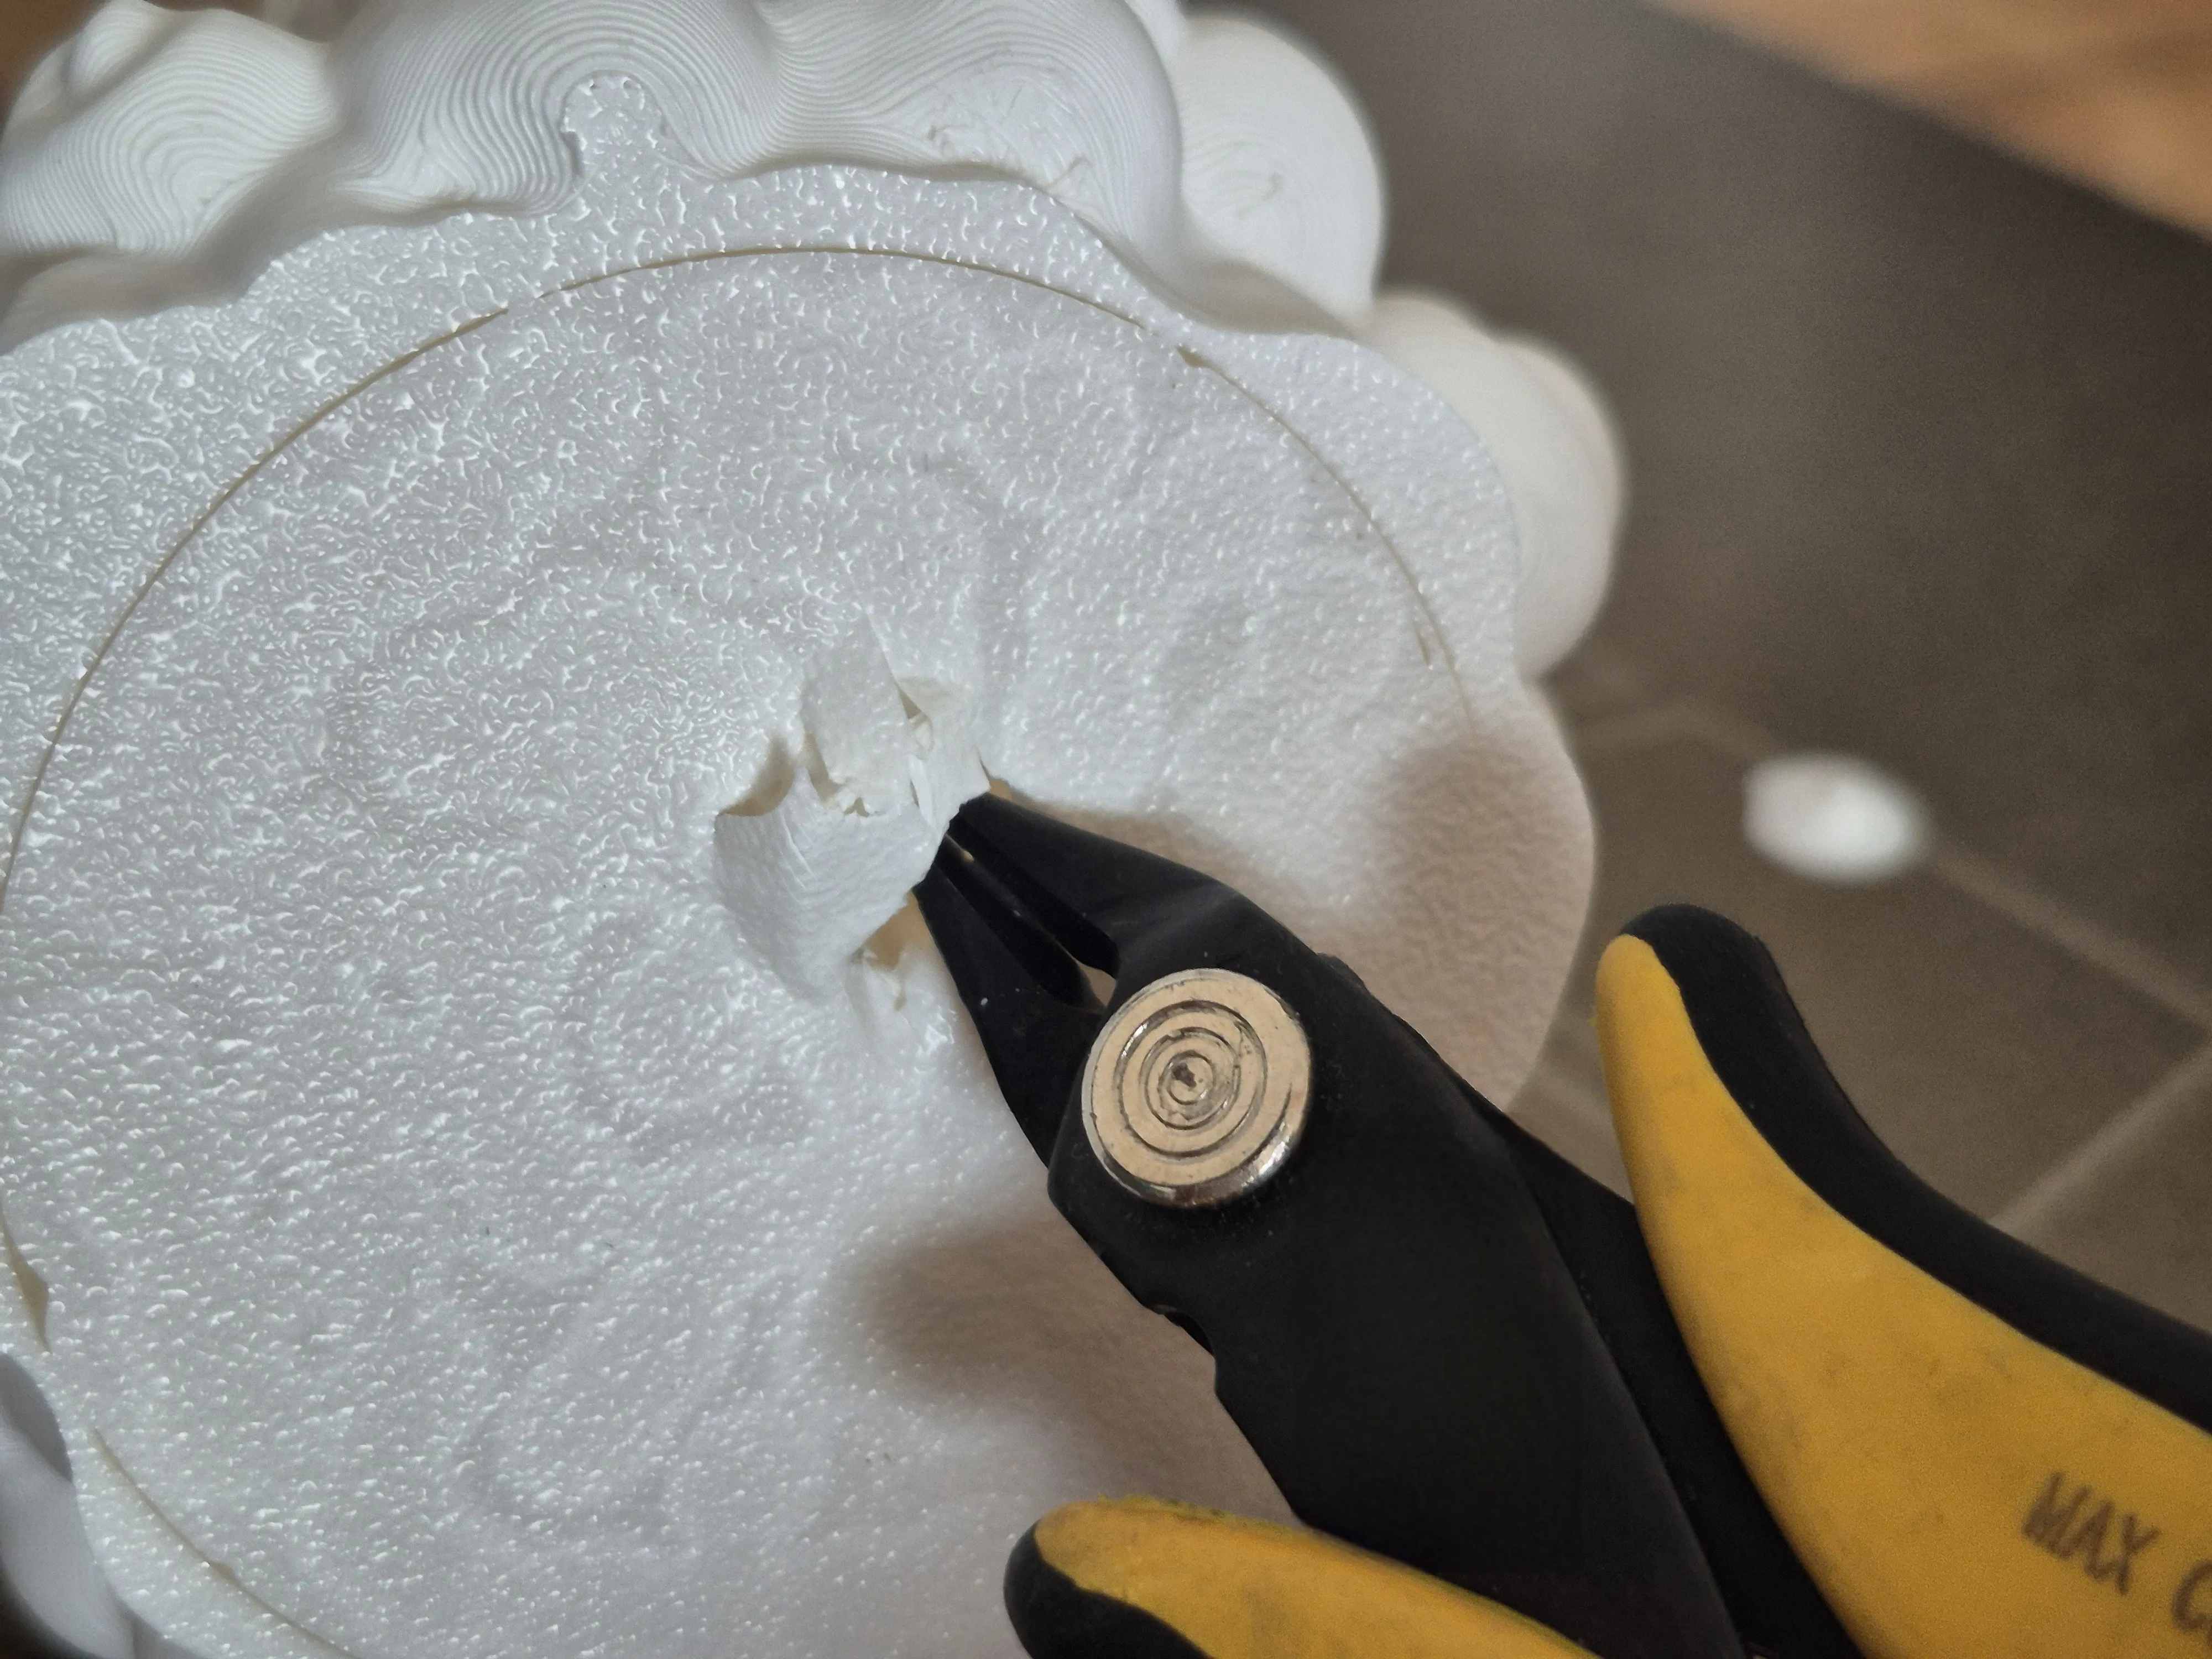
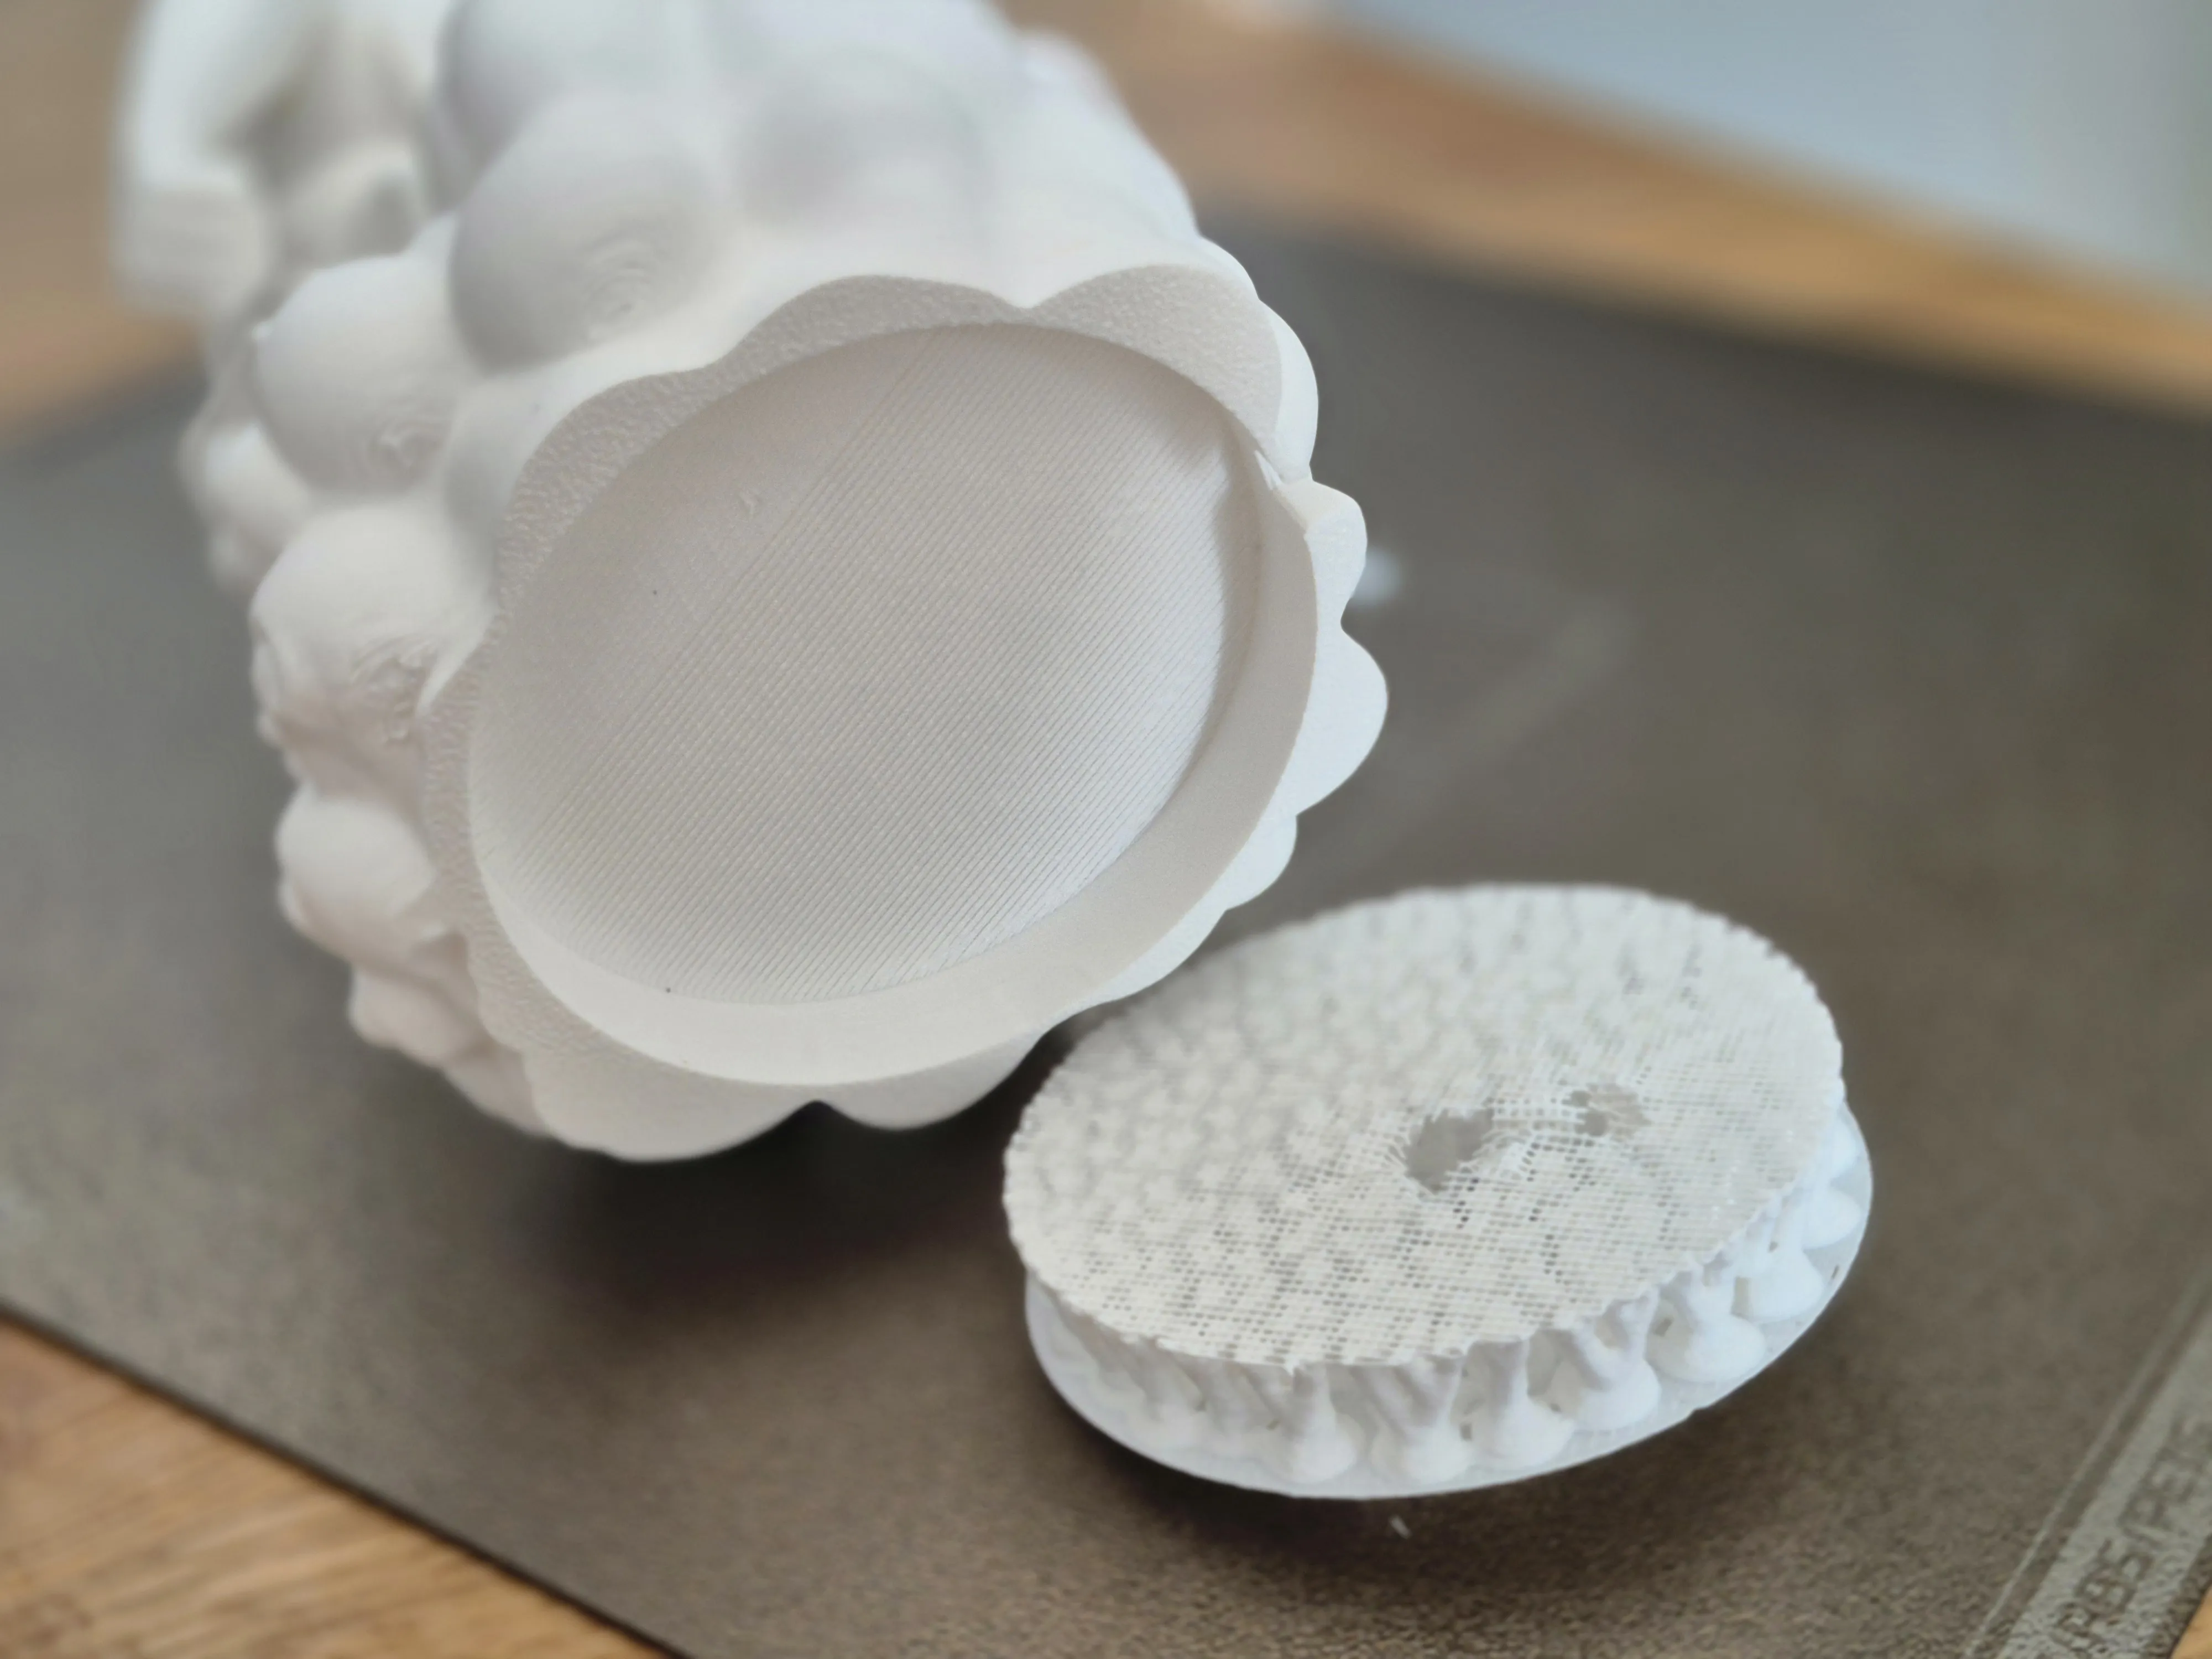
Here is the result if you work carefully, nothing will break off. I removed the support structure with patience and the result looks great
License

You shall not share, sub-license, sell, rent, host, transfer, or distribute in any way the digital or 3D printed versions of this object, nor any other derivative work of this object in its digital or physical format (including - but not limited to - remixes of this object, and hosting on other digital platforms). The objects may not be used without permission in any way whatsoever in which you charge money, or collect fees.


Comment & Rating (56)