
LUMA FLUX Lamp - extreme modern organic WLED
Print Profile(2)


Description
Boost Me (for free)
Thank you for your support! 🥰
Warning! This model has a high level of difficulty. It requires soldering skills, special materials, and a lot of patience.
There is also a simpler, smaller version of this model for the LED Lamp Kit 001: Luma Flux
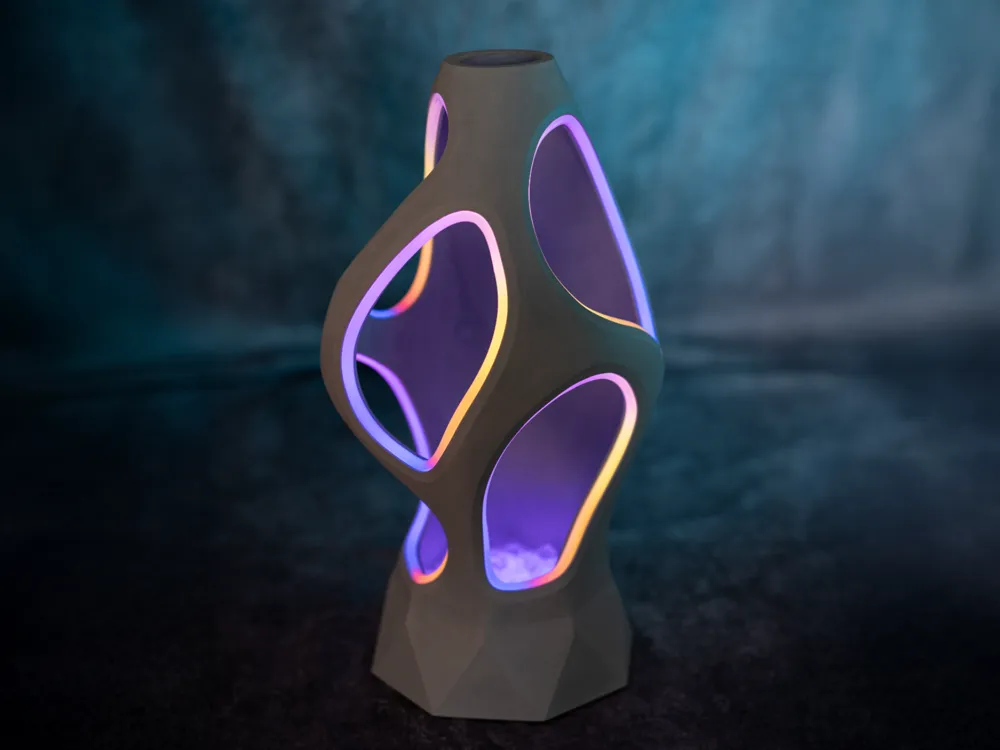
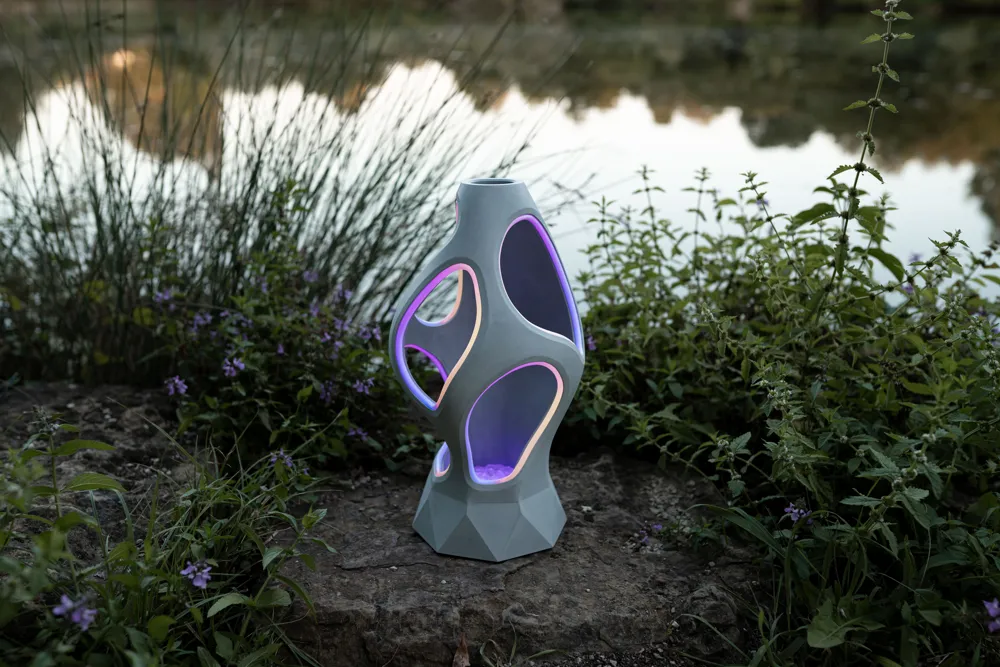
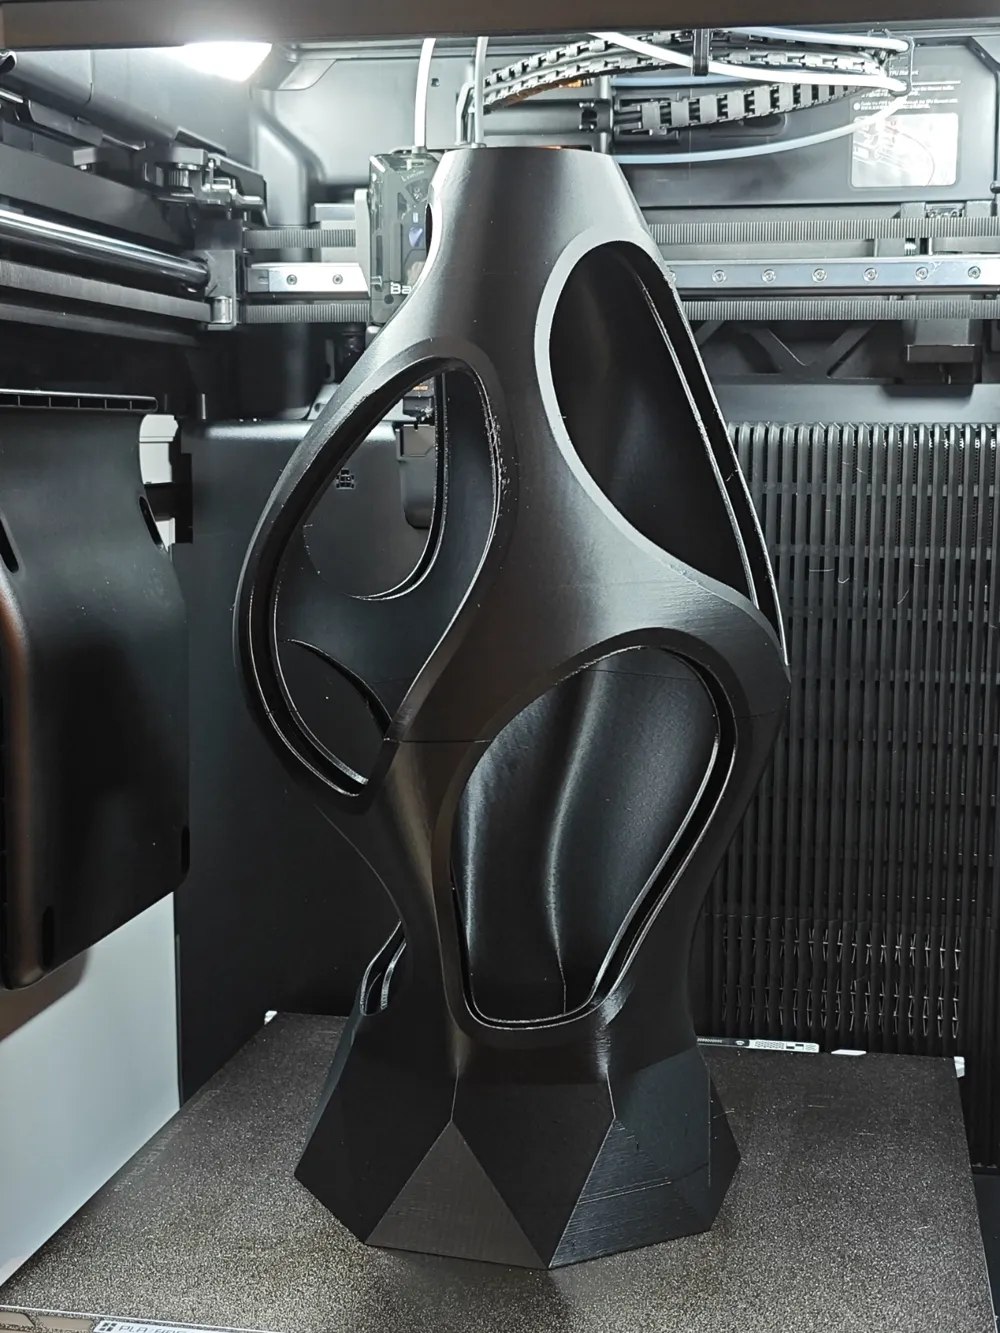
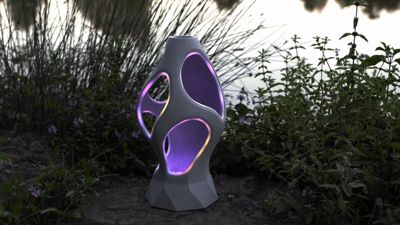
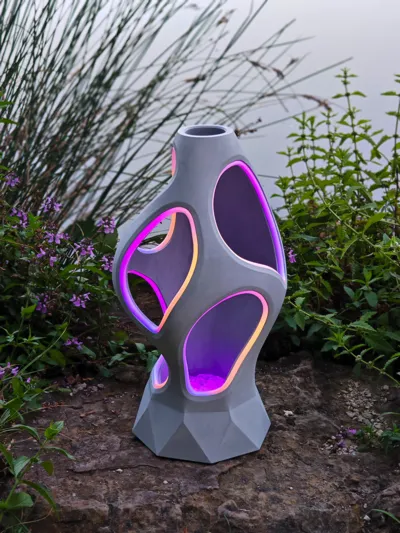
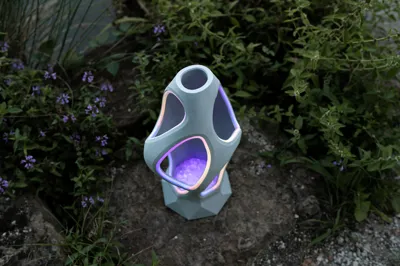
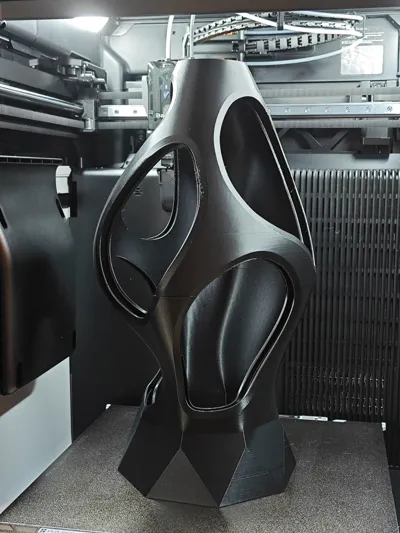
The lamp is printed in two parts because the total height measures almost 42 cm. The LEDs are controlled using an ESP32 controller. It is an advantage if you already have some experience with WLED or similar LED controller software (many questions have already been answered in the comments)
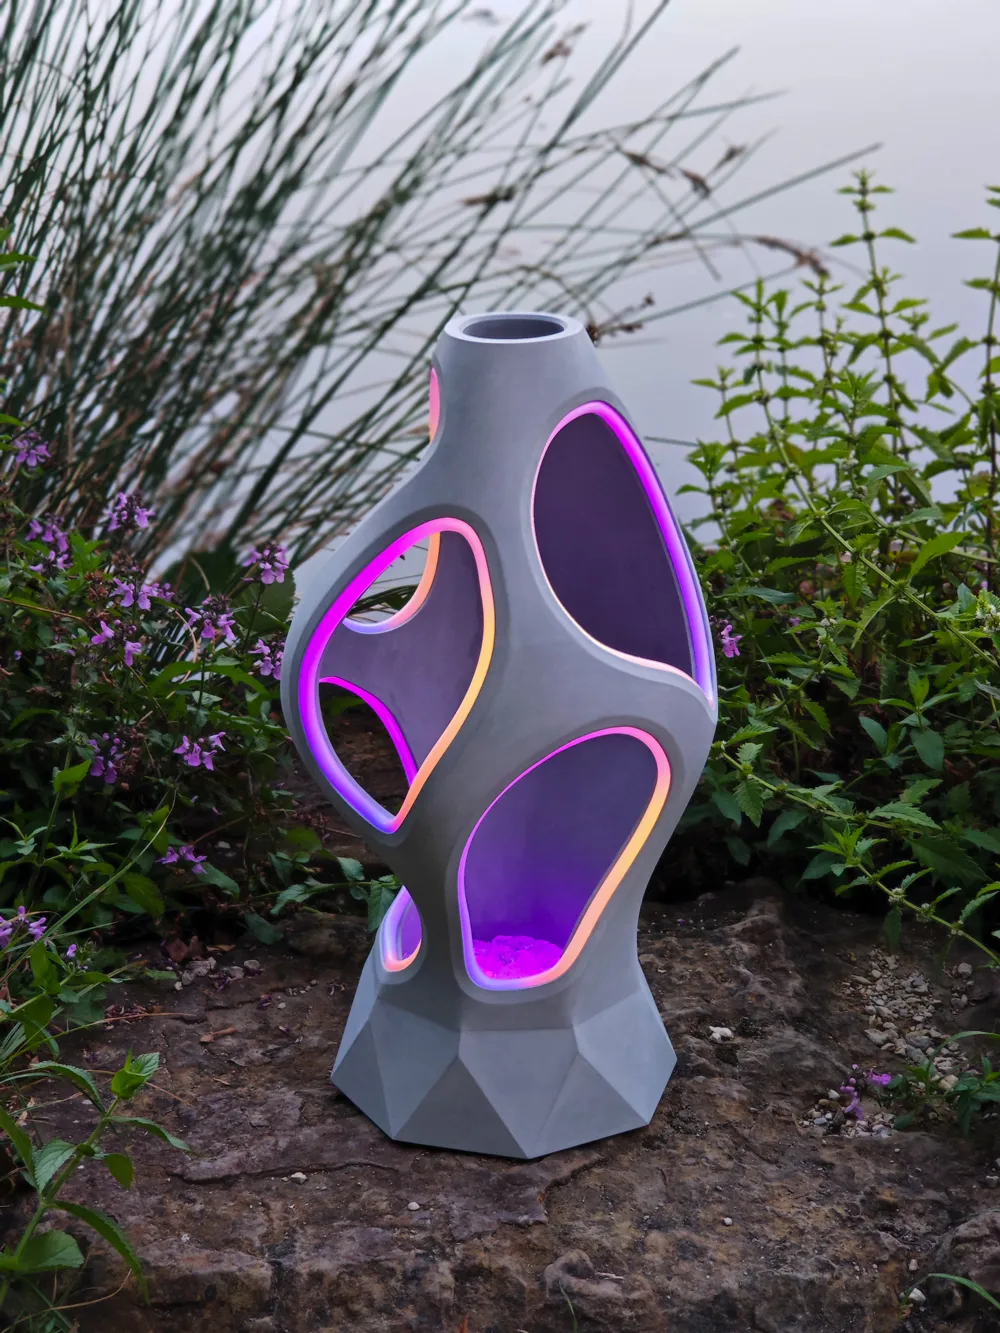
The groove in the 5 organic recesses requires a special, very narrow 5 mm LED strip
WLED Wiring Guide: https://kno.wled.ge/basics/wiring-guides/
Parts List:
1x 3m addressable LED strip, 200 LEDs/meter / USA link
1x 3m white silicone tube, ID 6mm x OD 8mm
1x ESP32 Controller / https://amzn.to/40FU5W8
1x Power supply 5 Volts at 6 Amps
1x DC power jack 5.5 mm x 2.1 mm
Cables, clamps, soldering iron, possibly a hot glue gun

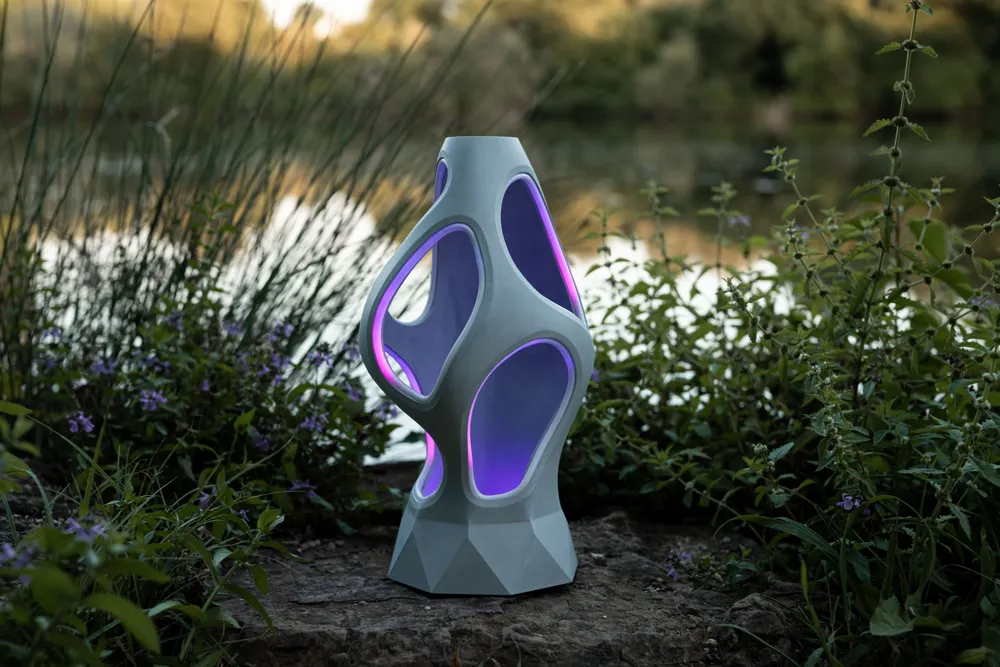
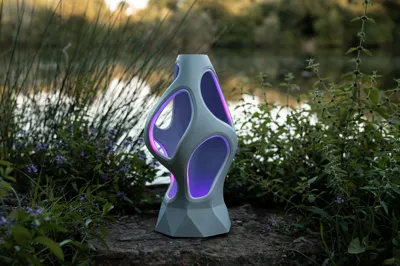
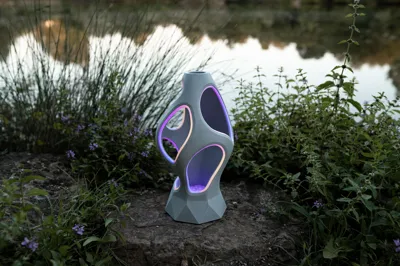
I printed my model in black, glued it together, filled it, sanded it, and primed it gray. Then, I applied some white acrylic paint with a sponge to achieve a concrete look
The ESP32 controller with WLED software can be installed at the bottom in the stand base. I connected each LED strip as its own output to a separate GPIO (an ESP8266 might have too little processing power for the approximately 500 LEDs)
The LED strips are carefully pressed into the recess. The wiring is done through the designated tubes, one 3-pin line for each strip. The settings are made in the WLED software
Finally, the white silicone tubes are pressed into the recesses as diffusers and cut as precisely as possible to butt joints (in some places, the bending radius is so small that the silicone tube starts to kink. In this case, I inserted a small piece of transparent straw into the silicone tube to provide more shape stability)
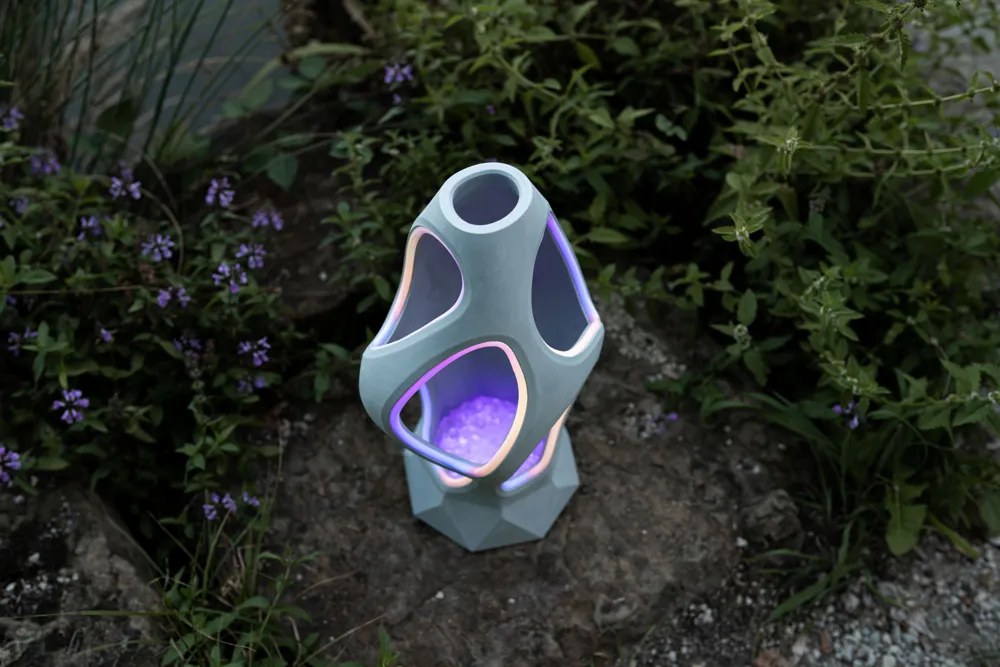
[ Optionally, it is possible to place additional LEDs inside on the base and cover them with glass stones. This gives the lamp a captivating appearance. A small hole can be drilled from below for the cables. ]
Initially, I did not intend to publish this large version on MakerWorld. However, the great interest from the community changed my mind 😍
I hope my instructions are understandable. However, I am happy to help in the comments with questions or problems 🤓





Membership
🚀 Get access to commercial licenses by having an active subscription. This includes all my actual makerworld models and future designs. You’re welcome to sell physical prints of my designs.
License

You shall not share, sub-license, sell, rent, host, transfer, or distribute in any way the digital or 3D printed versions of this object, nor any other derivative work of this object in its digital or physical format (including - but not limited to - remixes of this object, and hosting on other digital platforms). The objects may not be used without permission in any way whatsoever in which you charge money, or collect fees.


Comment & Rating (195)