
LiteGate FPV – Square Whoop & Tiny Drone Gate
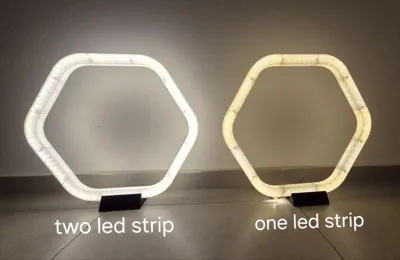
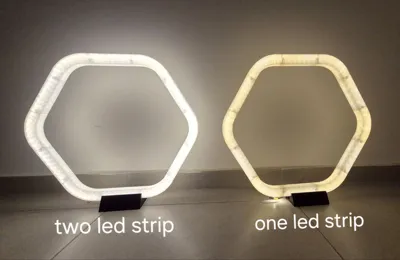
Print Profile(3)


Bill of Materials

- 18650 Battery Holder 2s x 1: https://s.click.aliexpress.com/e/_o2EDIsp
- 18650 Battery x 2: https://s.click.aliexpress.com/e/_omFduSl
- 7.4v to 5v DC-DC Buck Converter Step Down x 1: https://s.click.aliexpress.com/e/_ooIq1lX
- led strip ~ 1.5 m x 1: https://s.click.aliexpress.com/e/_okzmUAz
- xt30 connectors with pigtail x 1:
Description
LiteGate FPV – Square Whoop & Tiny Drone Gate
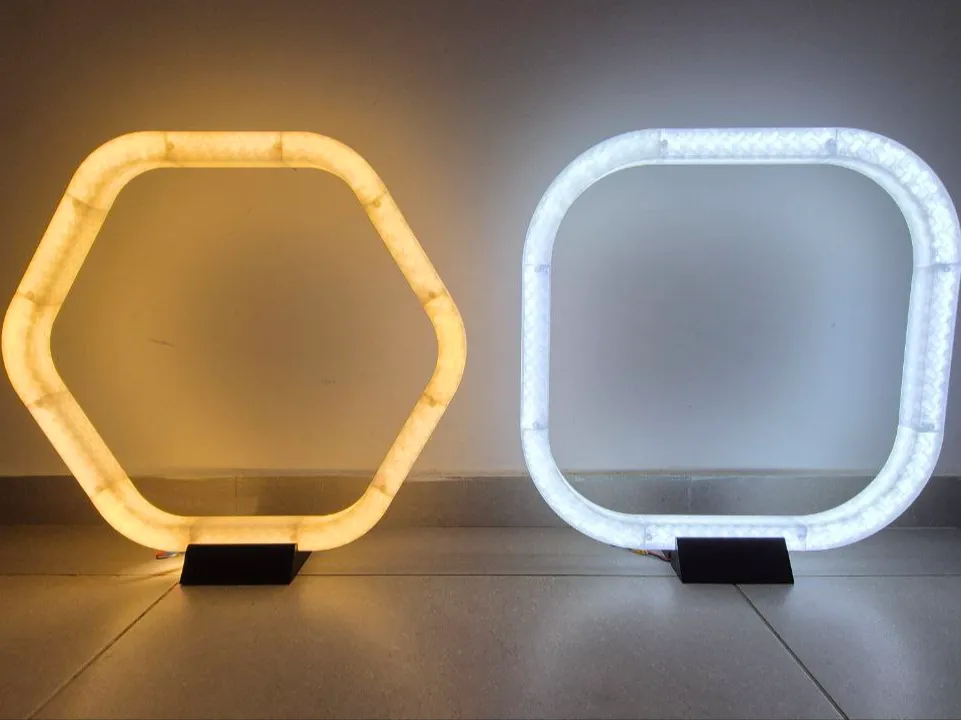
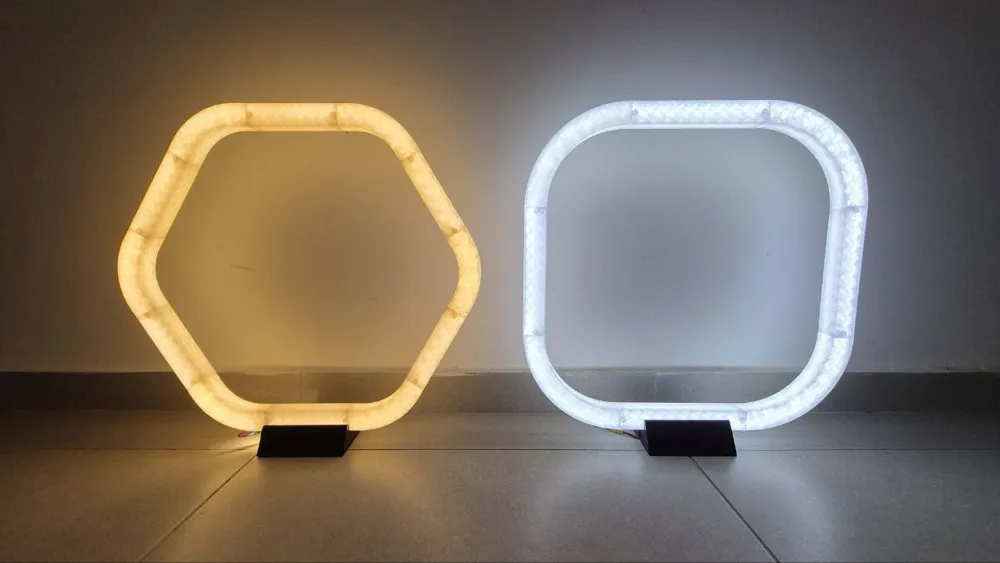
Affordable, portable, and glowing! The LiteGate FPV Square gate is designed to bring pro-level fun to your whoop and tiny drone racing sessions—without breaking the budget. Print it, power it with two 18650 batteries, and you’re ready to light up your track anywhere, anytime.
Key Features:
🔩 Square Design – Classic square shape for precise lines and sharp corners in your track.
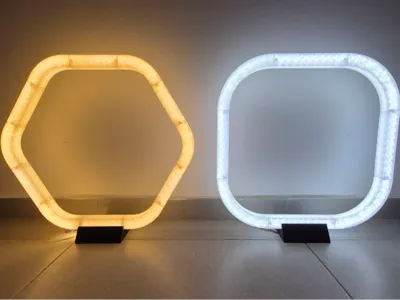
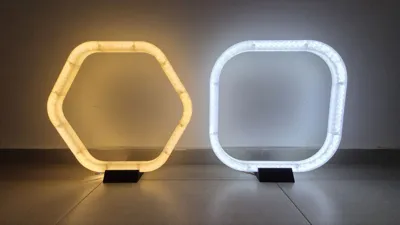
💡 LED Ready – Built-in option to install LED strips for a glowing race gate that looks amazing in low light.
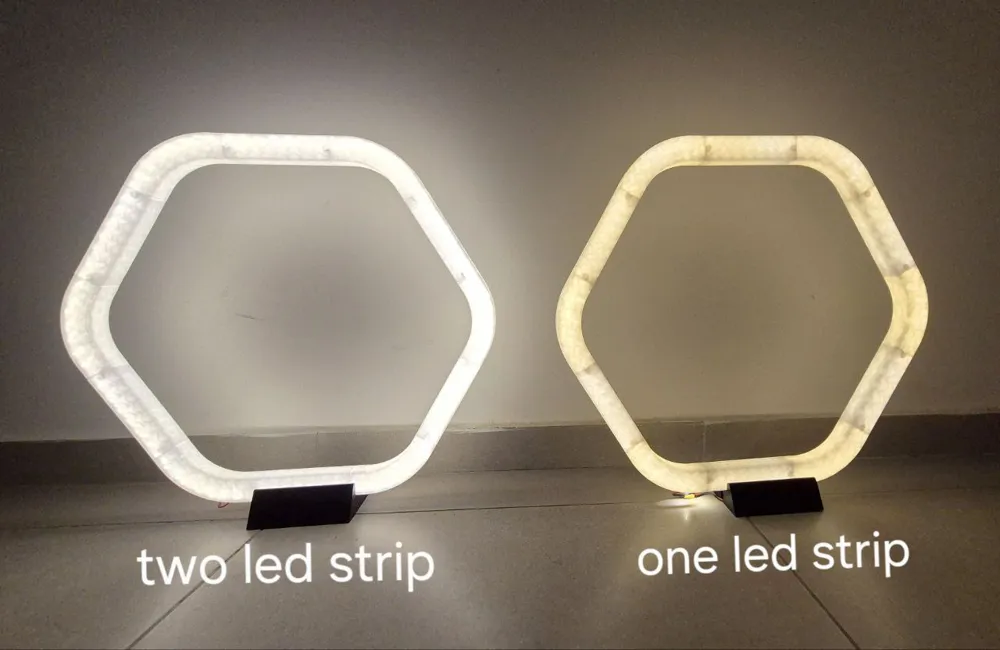
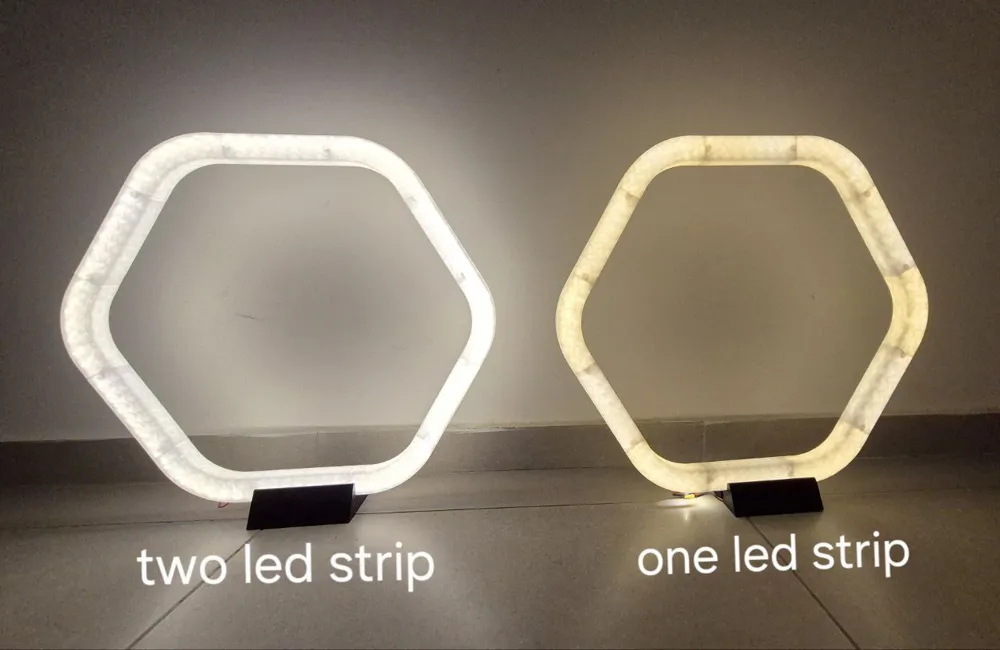
🔦 Lighting Options – Each design supports either a single LED strip (for minimal glow) or a double strip setup (for maximum brightness).
🔋 Portable Power – Runs on two 18650 batteries, so the gates are fully mobile with no messy external wiring.
💰 Budget Friendly – Designed for cost efficiency—manufacture each gate for under $10.
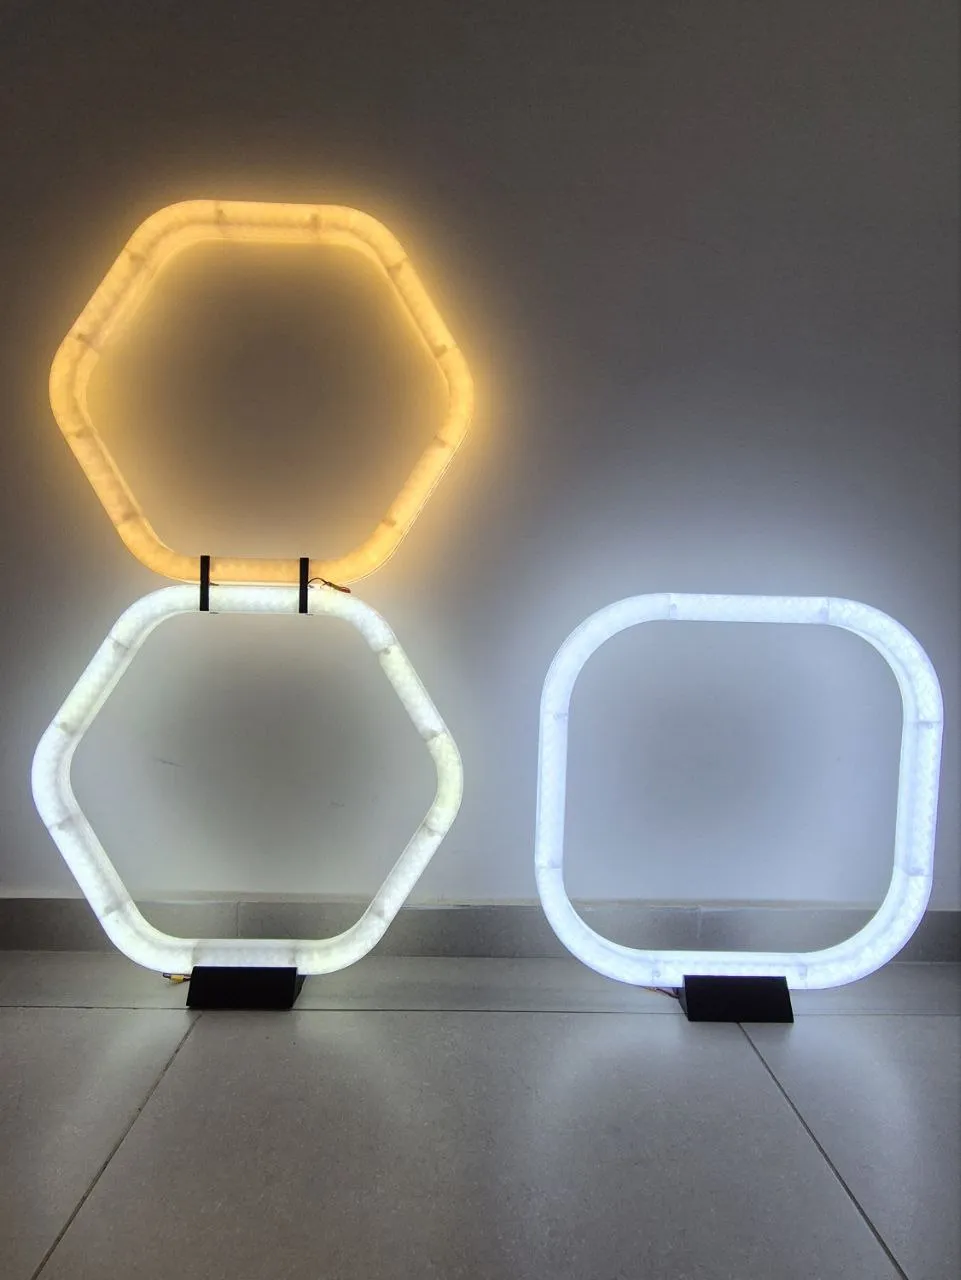
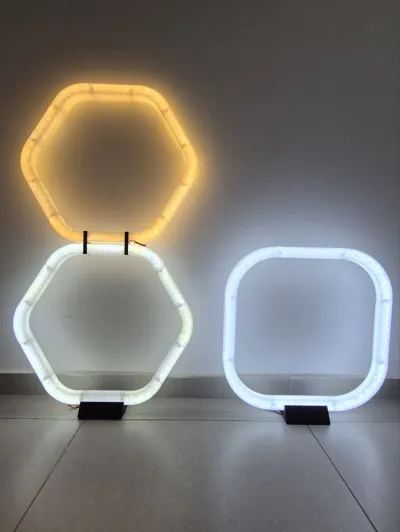
🛠 Modular System – Includes a connector adapter so you can link gates together in any direction, giving you endless possibilities for creative track layouts.
🚁 Perfect for Whoops & Tiny Drones – Optimized for micro drones, whether you’re freestyle flying or racing.
🖨 Easy to Print & Expand – Simple to scale and reproduce, making it easy to expand your setup into a complete indoor race arena.
Turn any room, garage, or backyard into your personal FPV playground. Start with one gate, then expand your collection to build a full modular track with glowing checkpoints!
Boost Me (for free)
Assembly Instruction & Tips:
Before Printing:
Each print profile includes 2 parts with a slot for inserting the LED strip and space to connect an XT30 pigtail – one for the power source and another for chaining connections to other gates. In Bambu Studio it will look like this:
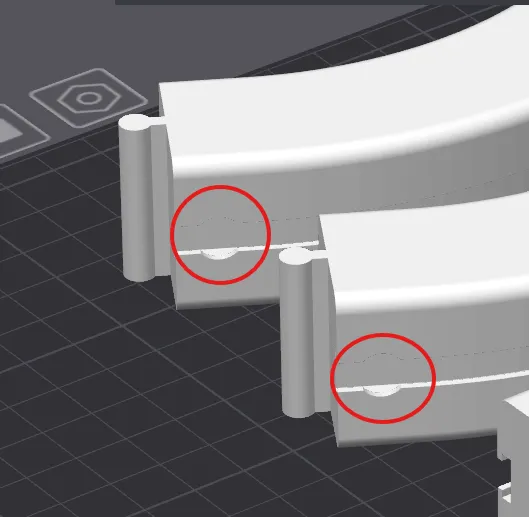
- I used white and transparent PETG, but PLA should also work with 2–3 perimeters so that the LEDs can shine through.
- The electronics are designed for 2S batteries and a 5V LED strip, but you can adapt it your own way. The bay in the base has enough room for adjustments.
After printing:
Connect all the parts into a hexagon shape by attaching the circular dovetail joints between them, as shown in the picture:
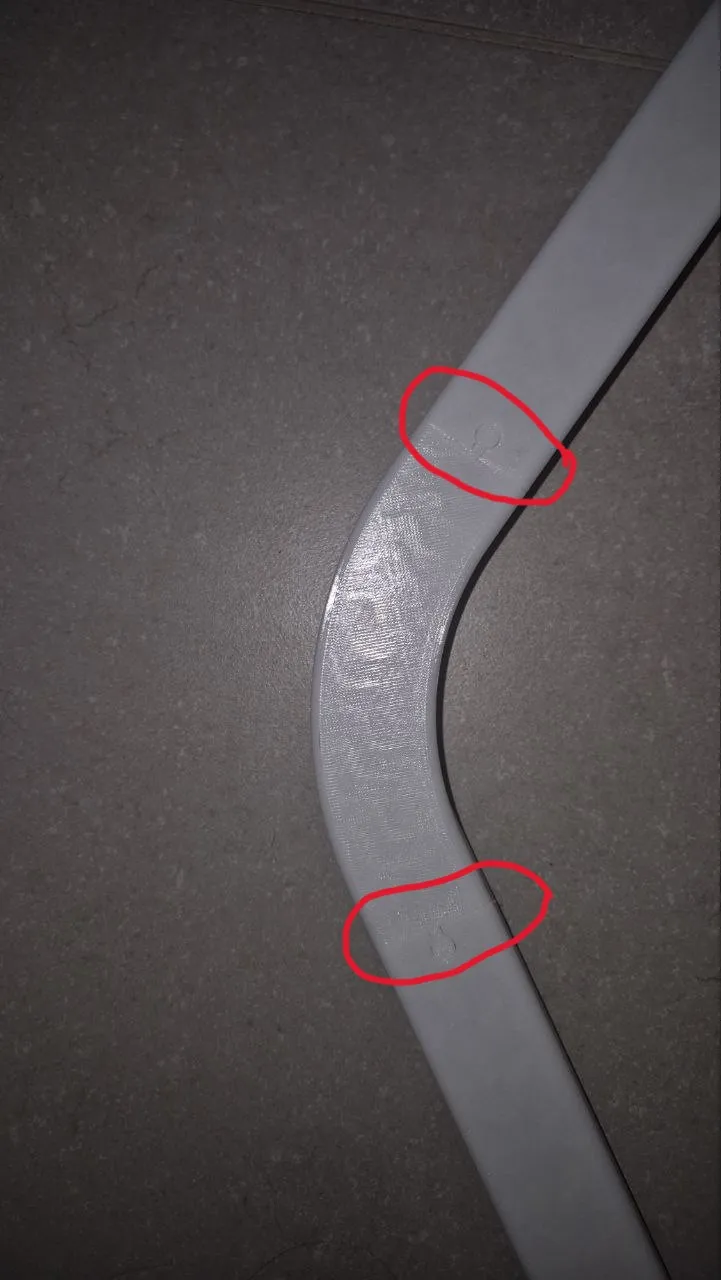
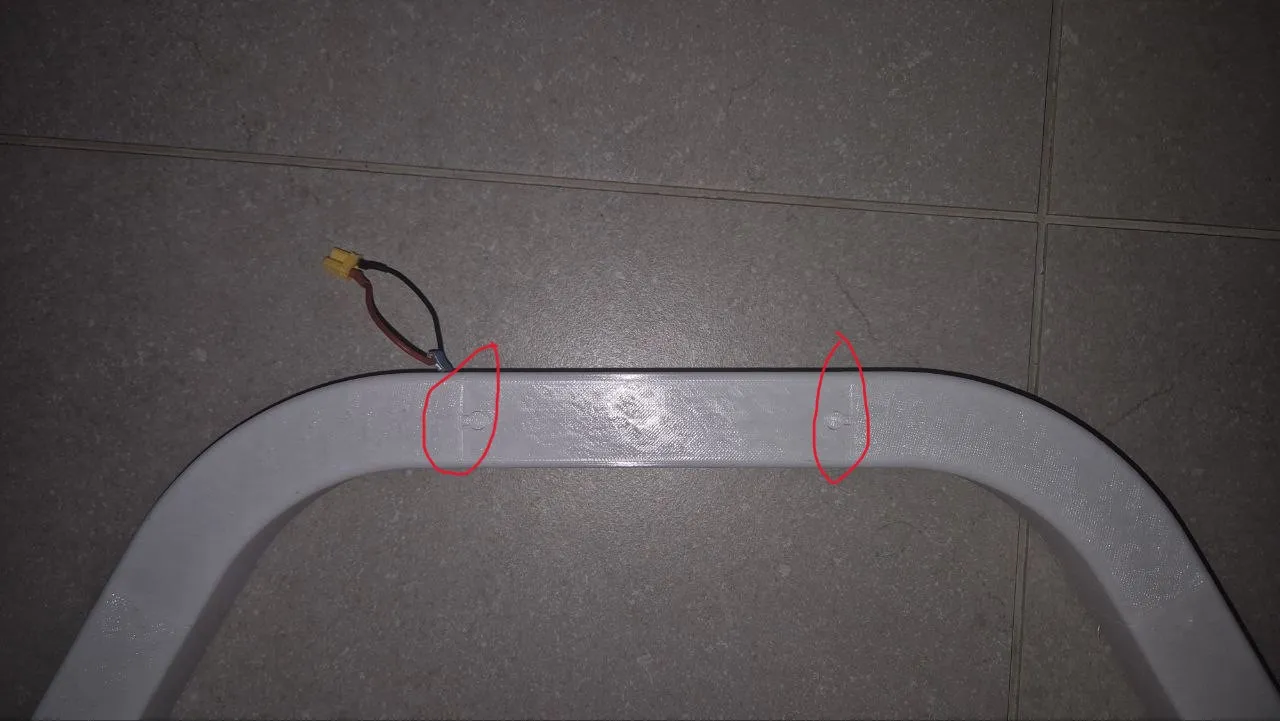
Make sure the parts with the XT30 pigtail slots are positioned on opposite sides.
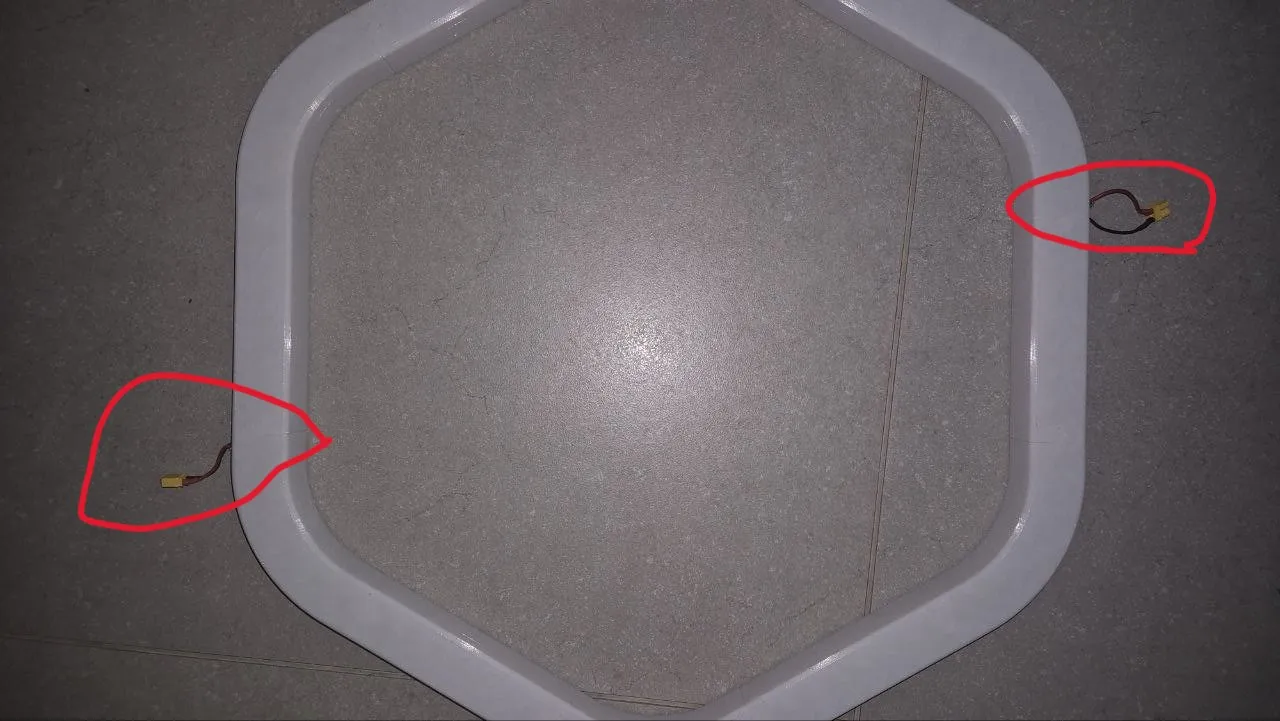
Prepare the LED strip with an XT30 pigtail:
- One connector at the edge of the strip.
- One connector in the middle if you intend to use it for chain connection.
- Use male type for the power source and female type for the chain junction.
- Insert the LED strip into the slot that runs around the gate and place the XT30 pigtails in the reliefs along the slot.
Prepare the electronics for the power source as shown in the diagram below:

Attach the electronics to the base using double-sided tape or any adhesive you are familiar with:
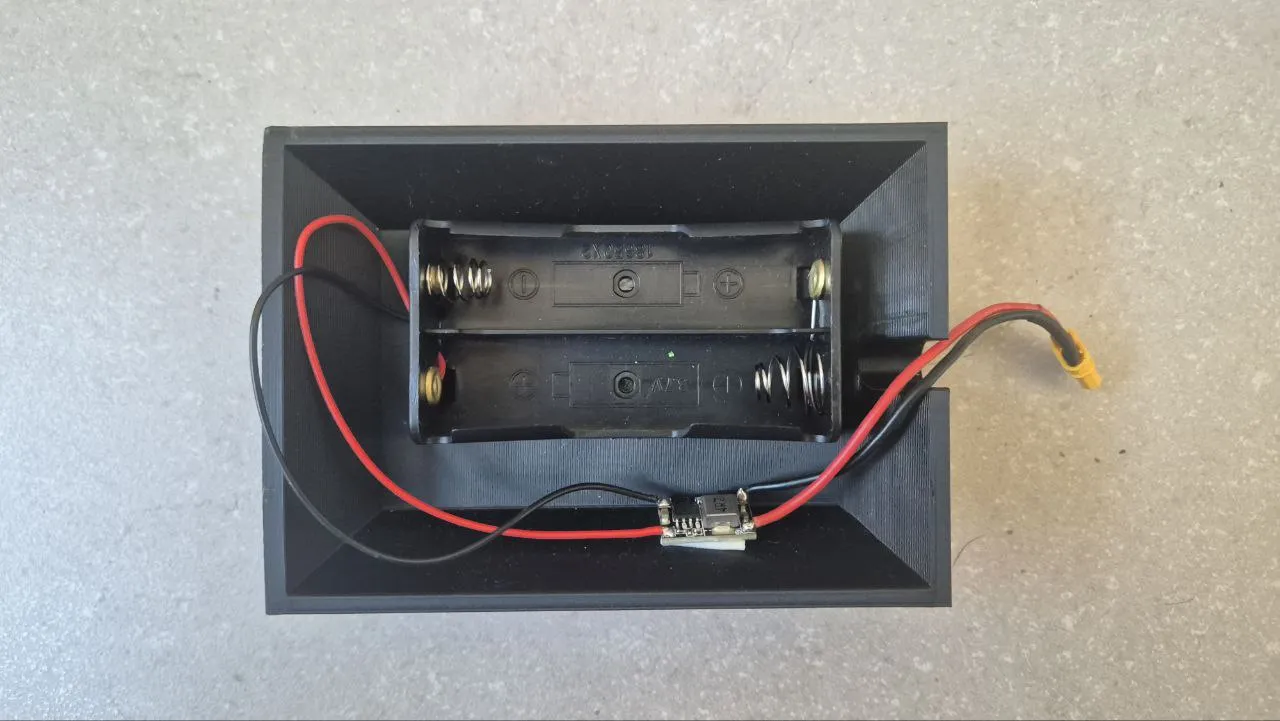
- Connect two 18650 batteries and the LED strip via the XT30 plug and test it. Also check that the chaining ability works correctly.
More to see:
Hexagon LiteGate FPV - link
My FPV content - VizsFPV
License

You shall not share, sub-license, sell, rent, host, transfer, or distribute in any way the digital or 3D printed versions of this object, nor any other derivative work of this object in its digital or physical format (including - but not limited to - remixes of this object, and hosting on other digital platforms). The objects may not be used without permission in any way whatsoever in which you charge money, or collect fees.


Comment & Rating (5)