
High-Power BB Launcher (Rubber Band Powered)
Print Profile(2)


Bill of Materials




Description
Download my newest model here! ;) https://makerworld.com/en/models/2964414
High-Power BB Launcher (Rubber Band Powered)
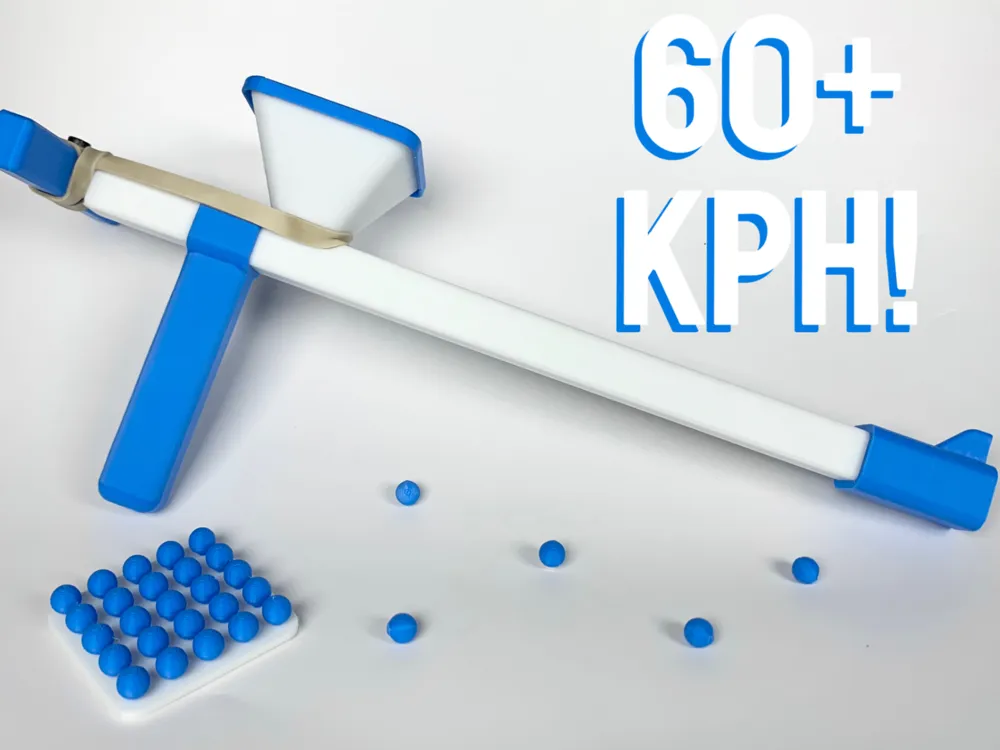
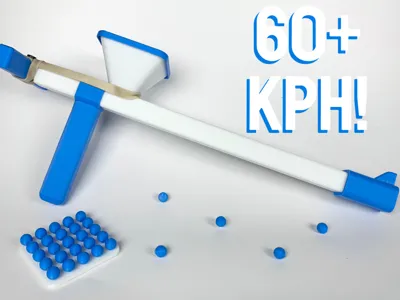
This is a 3D printed rubber band powered BB launcher that fires standard 6mm BBs with surprising speed and punch! No springs, no air tanks — just a rubber band, a clever mechanism, and a whole lot of fun! 😎
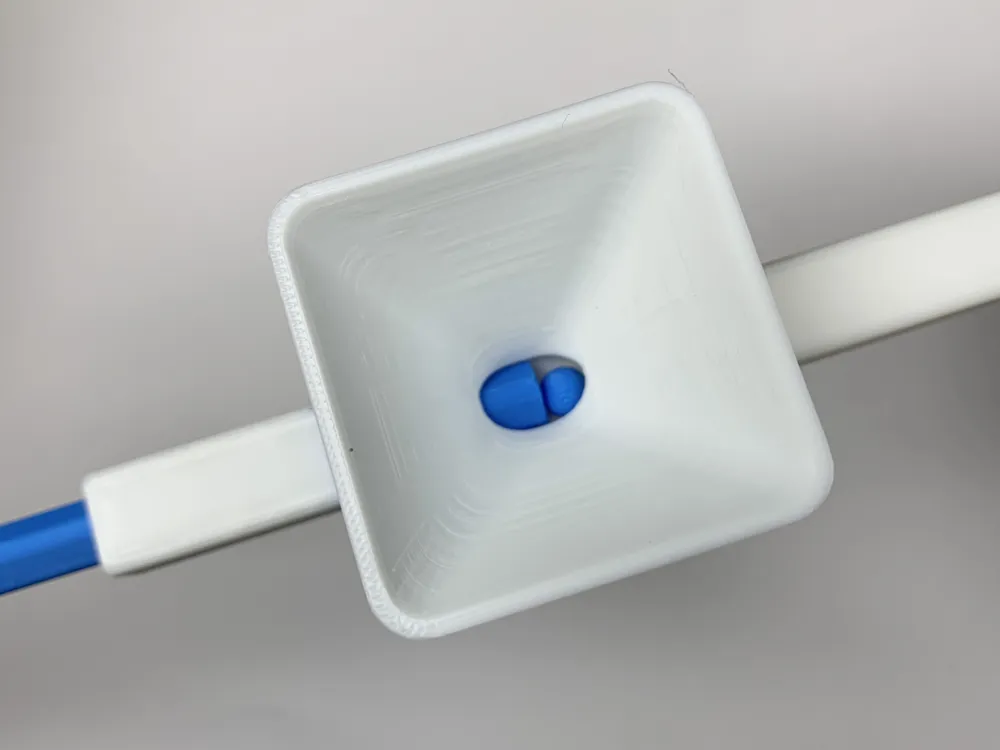
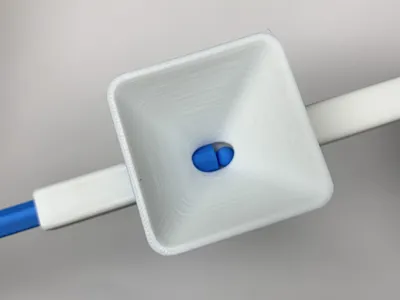
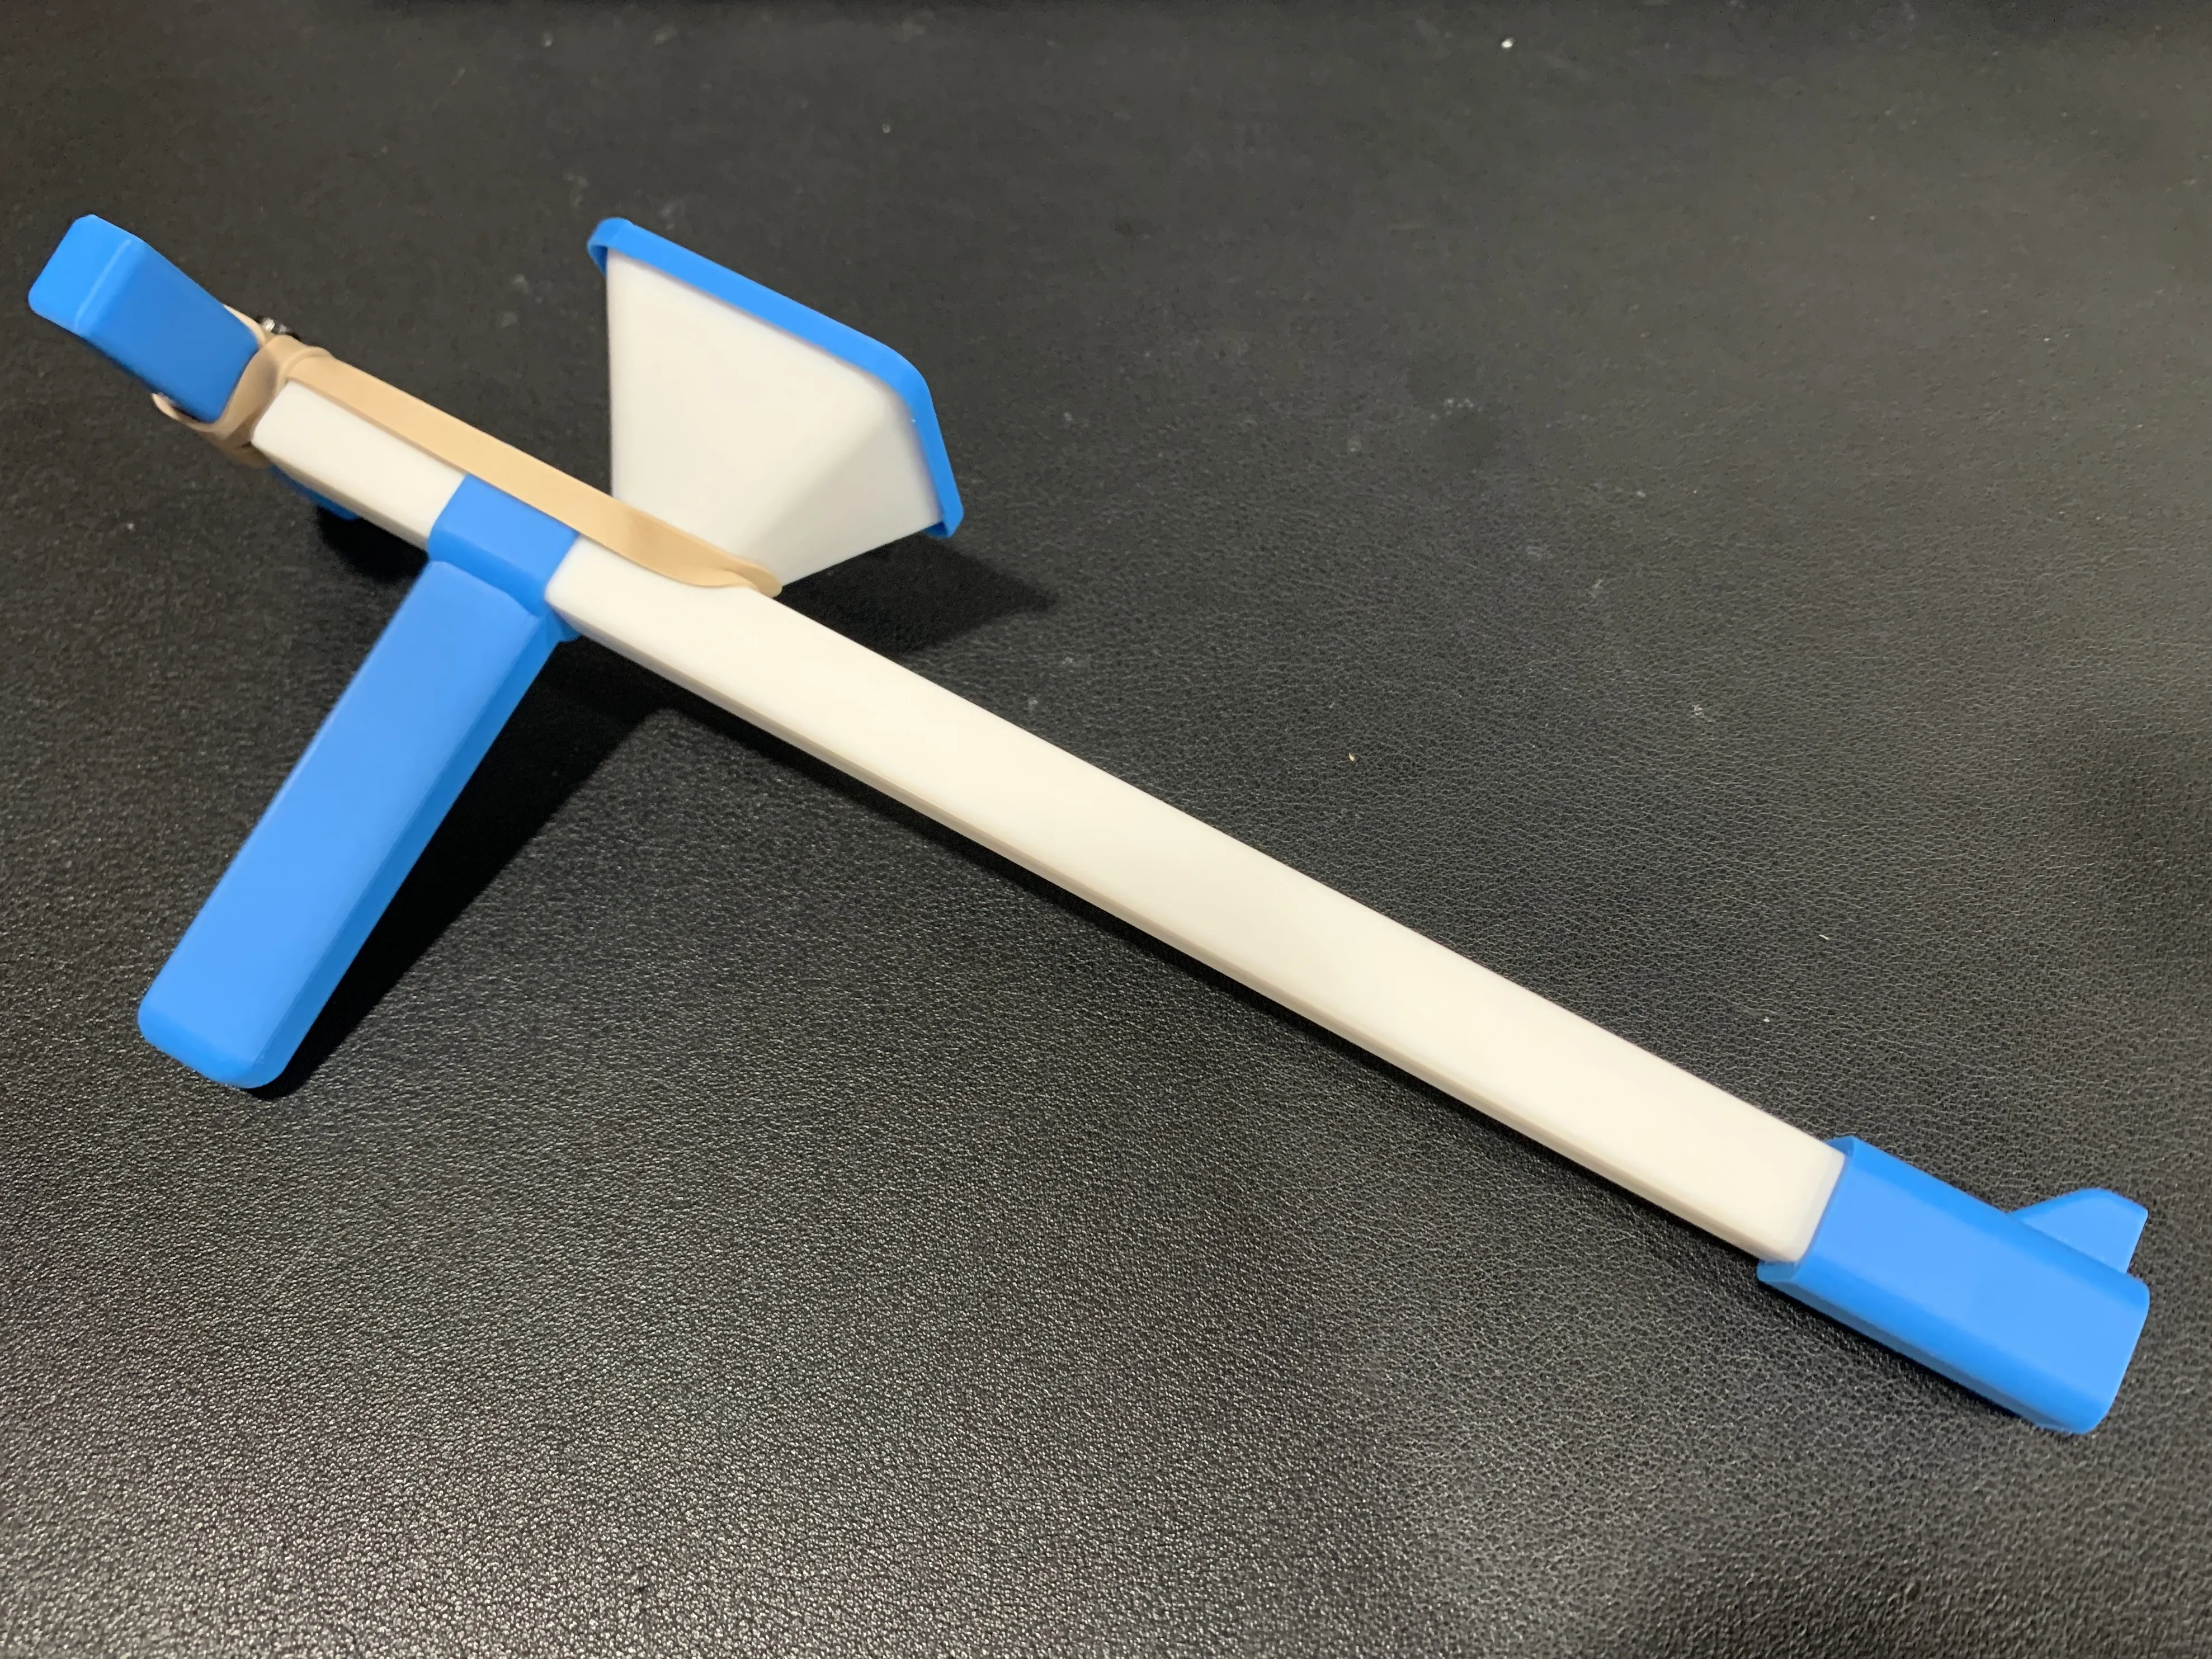
How it works: Pull back the slider all the way until it stops. When this happens, the hole in the bottom of the hopper is just big enough for a BB to drop into the barrel. Then release — and watch it fire out with high velocity! The built-in front sight helps with aiming, and the ergonomic handle makes it comfortable to hold and fire.
In testing, BBs reached up to 60 KPH with ranges of around 15 meters, and you can boost power even further by adding extra rubber bands! Perfect for backyard target practice or experimenting with creative 3D printed launcher mechanics. 🚀
Assembly tips: The parts are snug and require a firm push to assemble, but you won’t need to take them apart again! Once assembled, it’s solid, reliable, and ready to fire. ✅
⚠️ Safety note: Always wear eye protection! Even though it’s 3D printed, this launcher packs enough force to cause injury. Never aim at people or animals.
Assembly Guide Below⬇️
Boost Me (for free)
Models like this take me a lot of personal time and so much filament to create. Since 1 Boost = 70g of Bambu Lab filament, your support goes directly into making more prototypes! 🚀 If you enjoyed this model, boosting is a great way to support me!
Assembly Guide
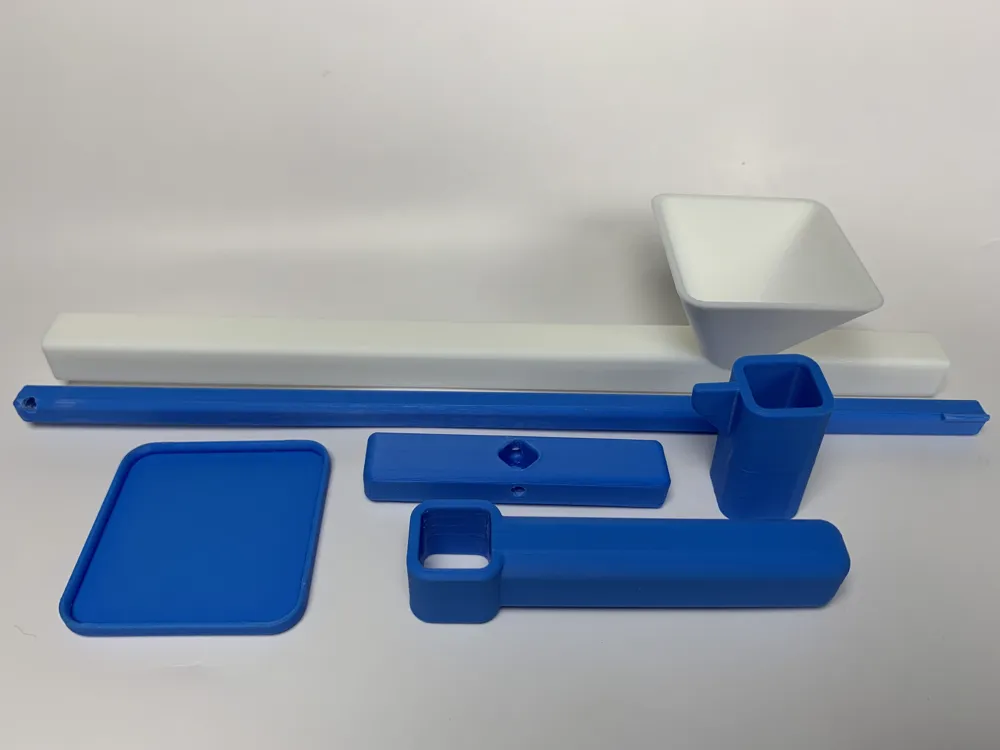
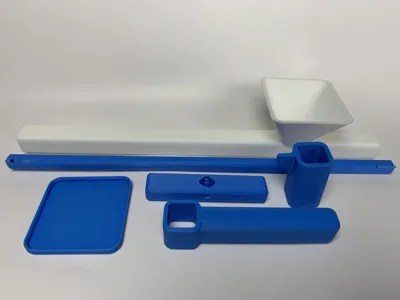
Step 1: Push the handle onto the main launcher body. This is a VERY tight press fit so don't be afraid to use some force!
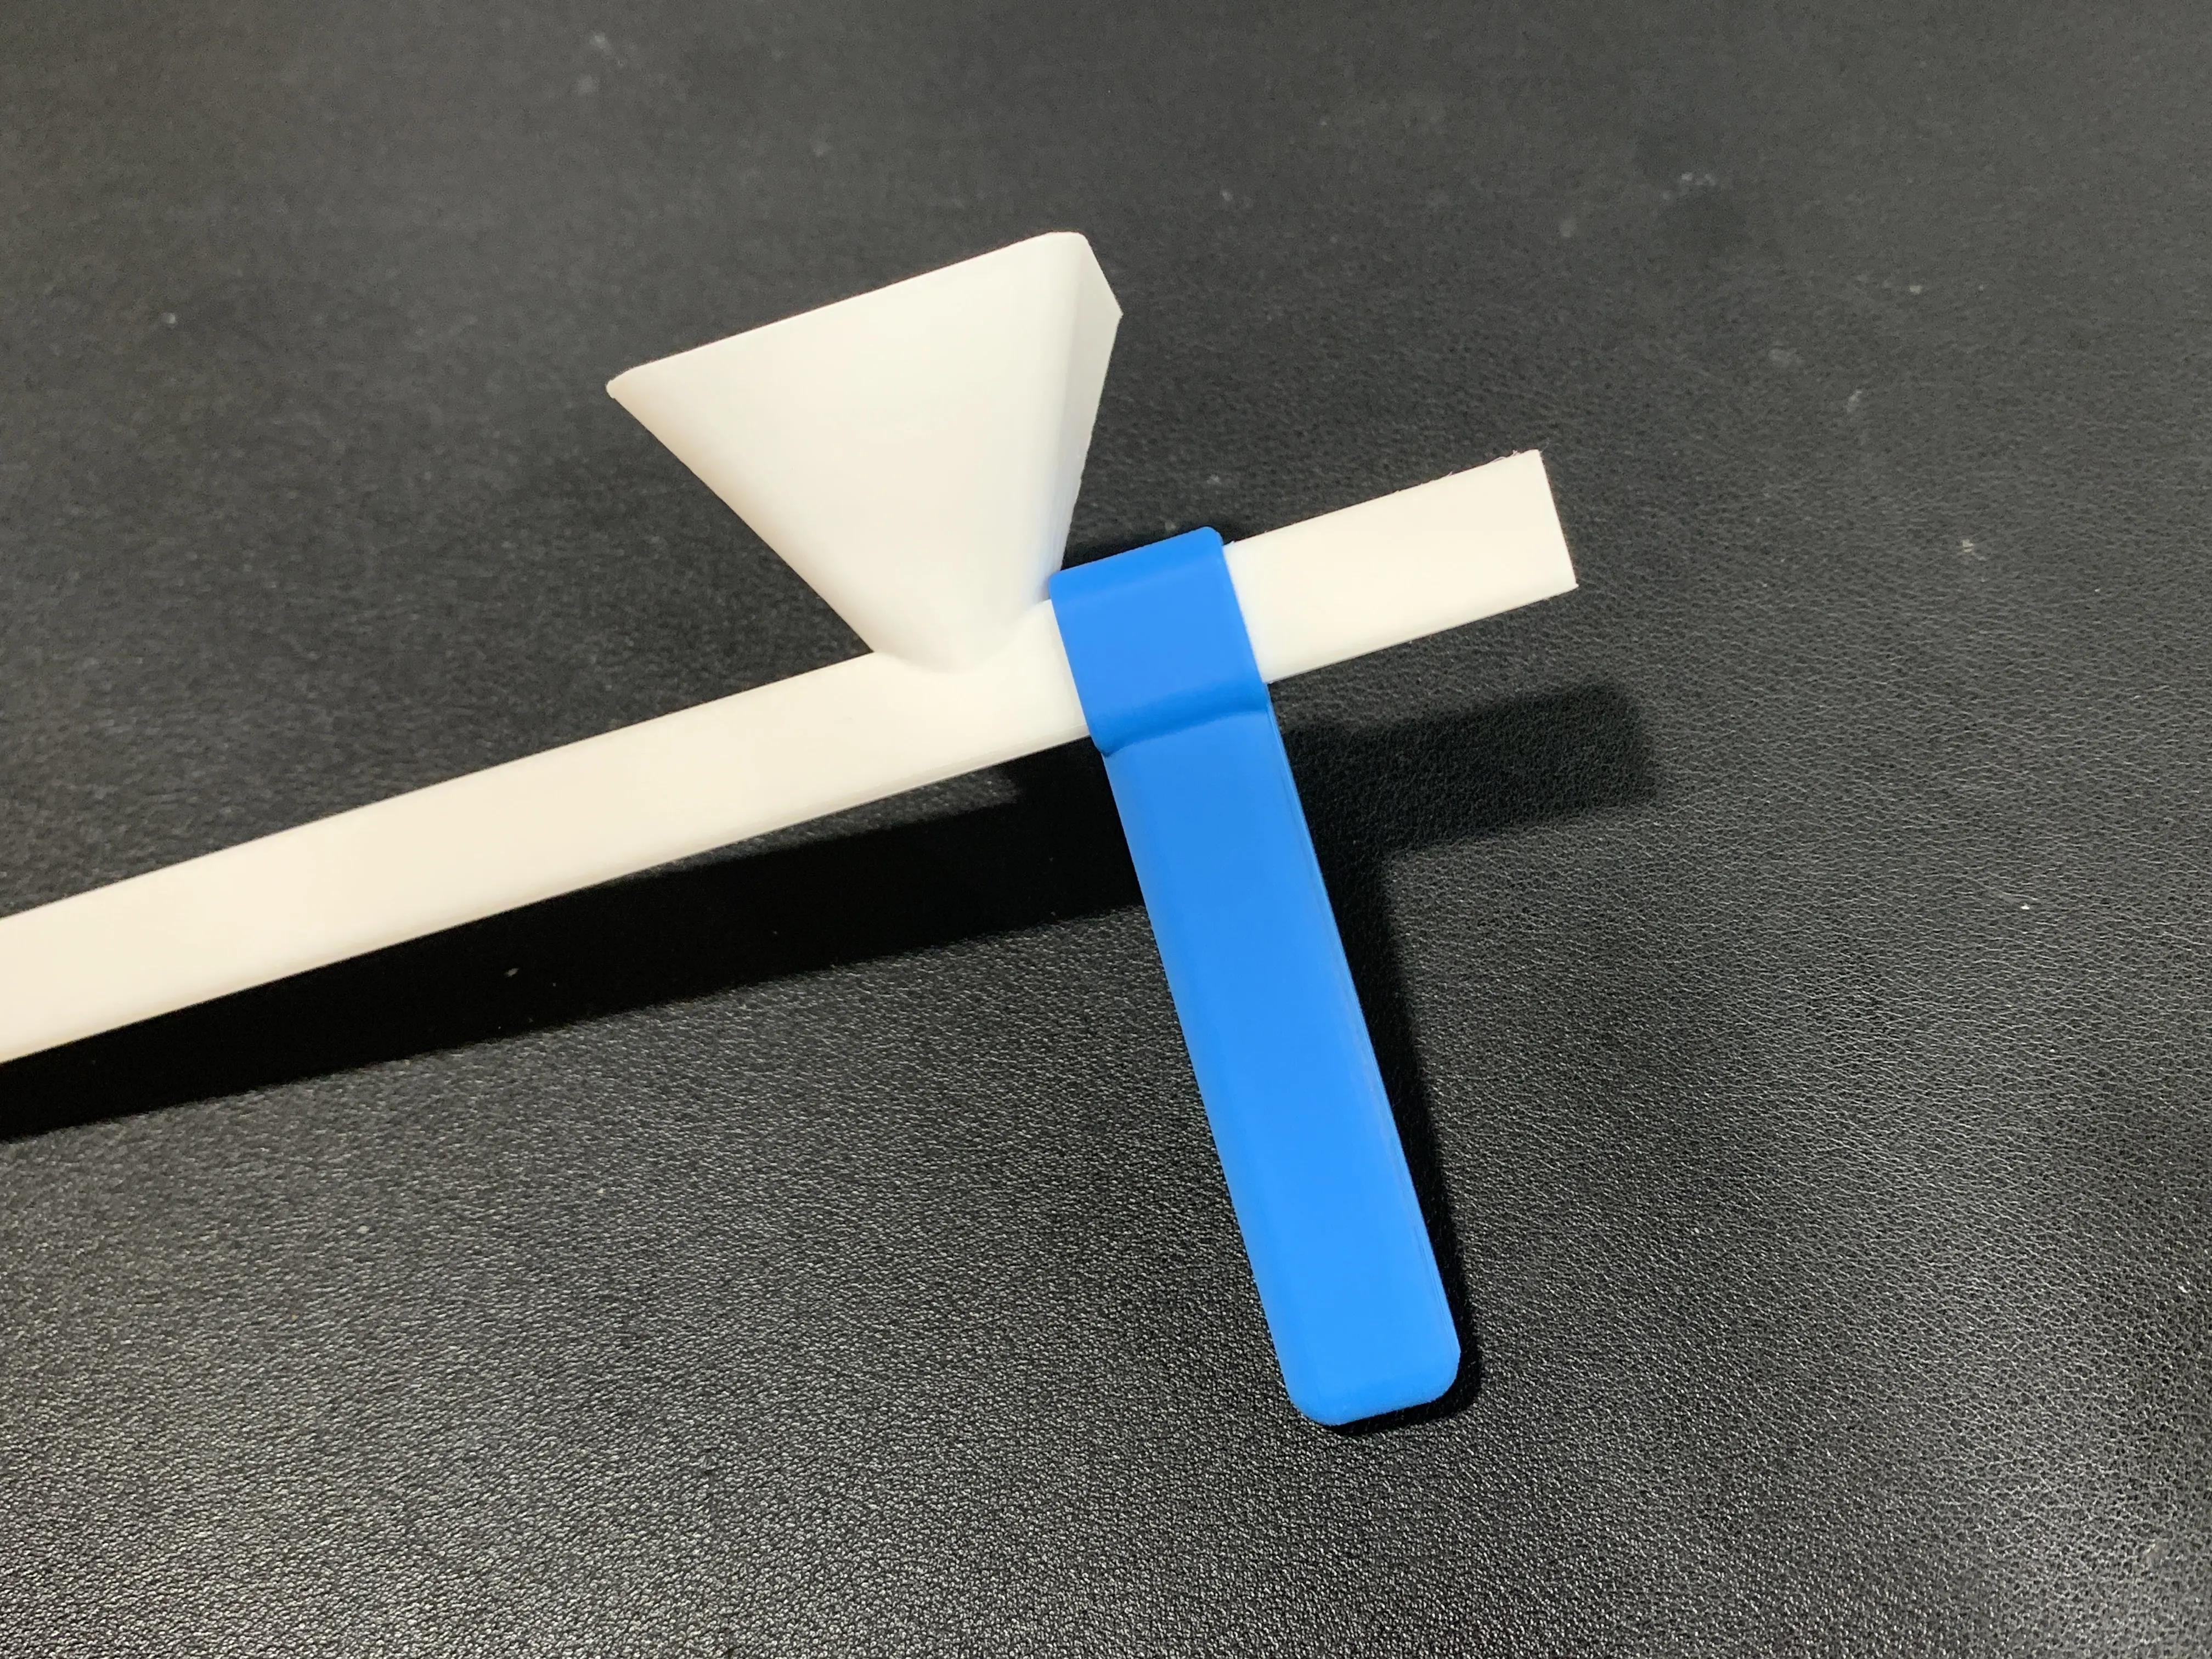
Step 2: Slide the plunger into the blaster, with the small tab at the front facing down. Make sure it goes through the launcher smooth, but stops before coming out the back.
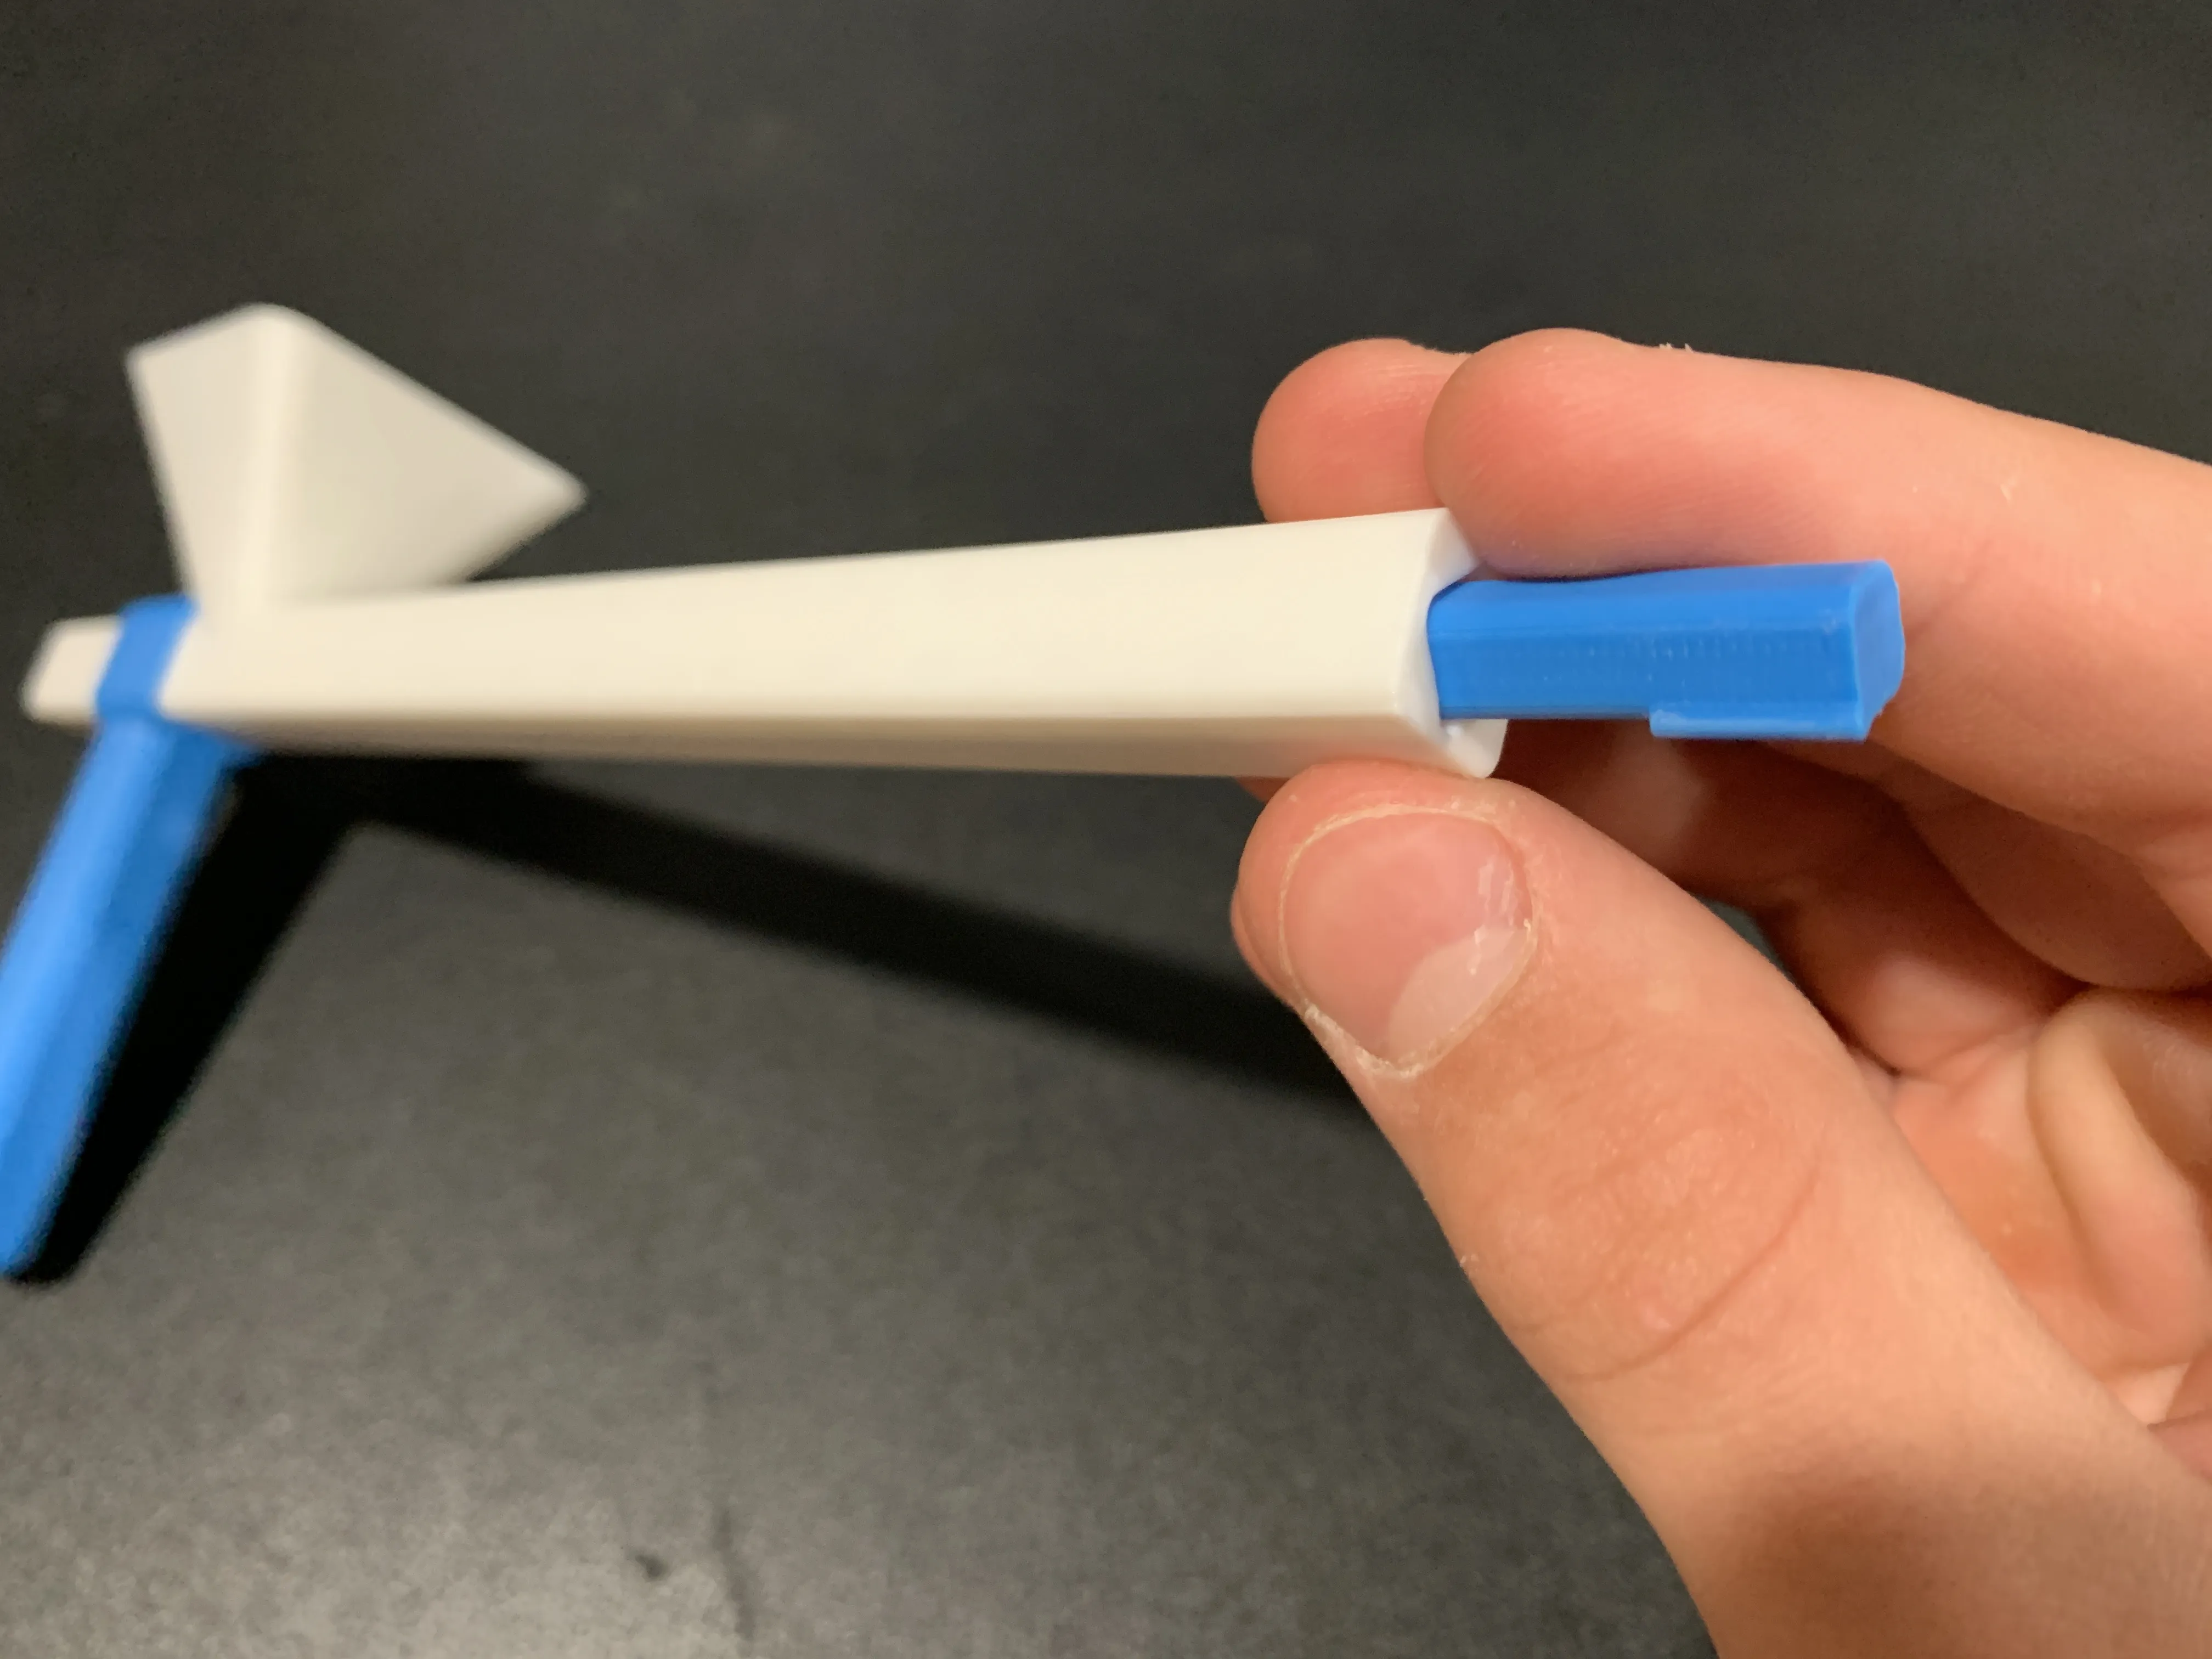
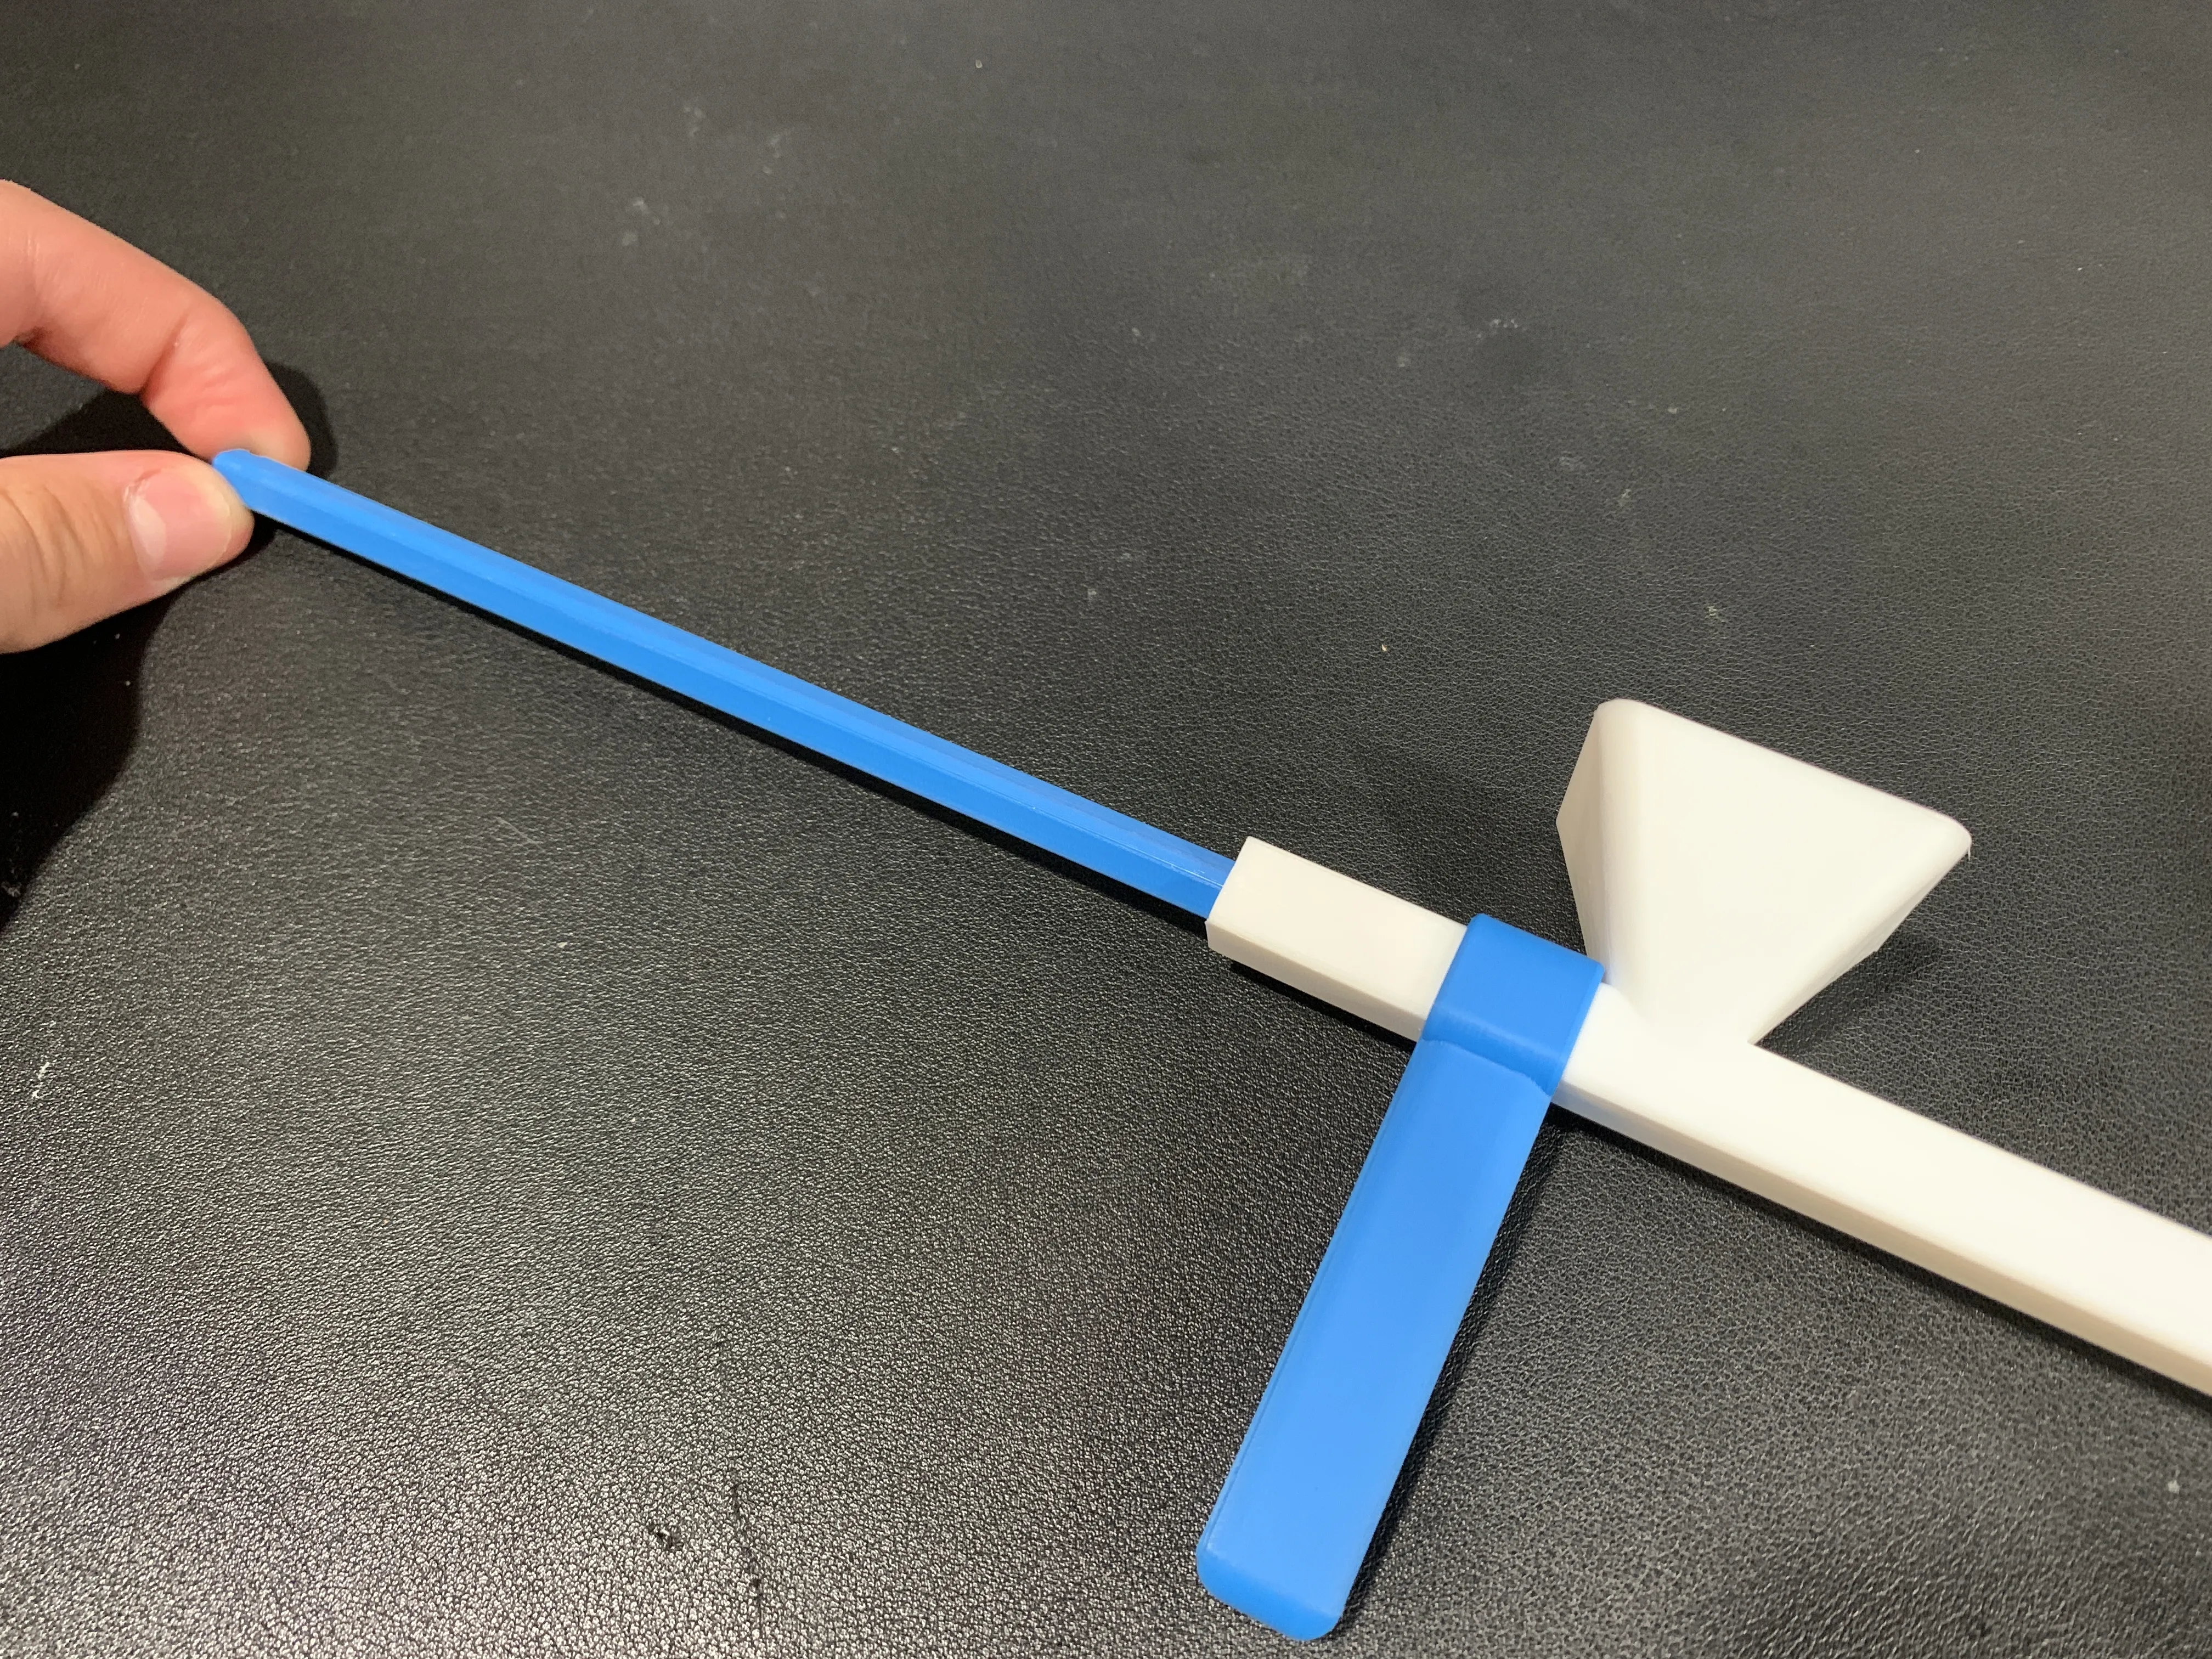
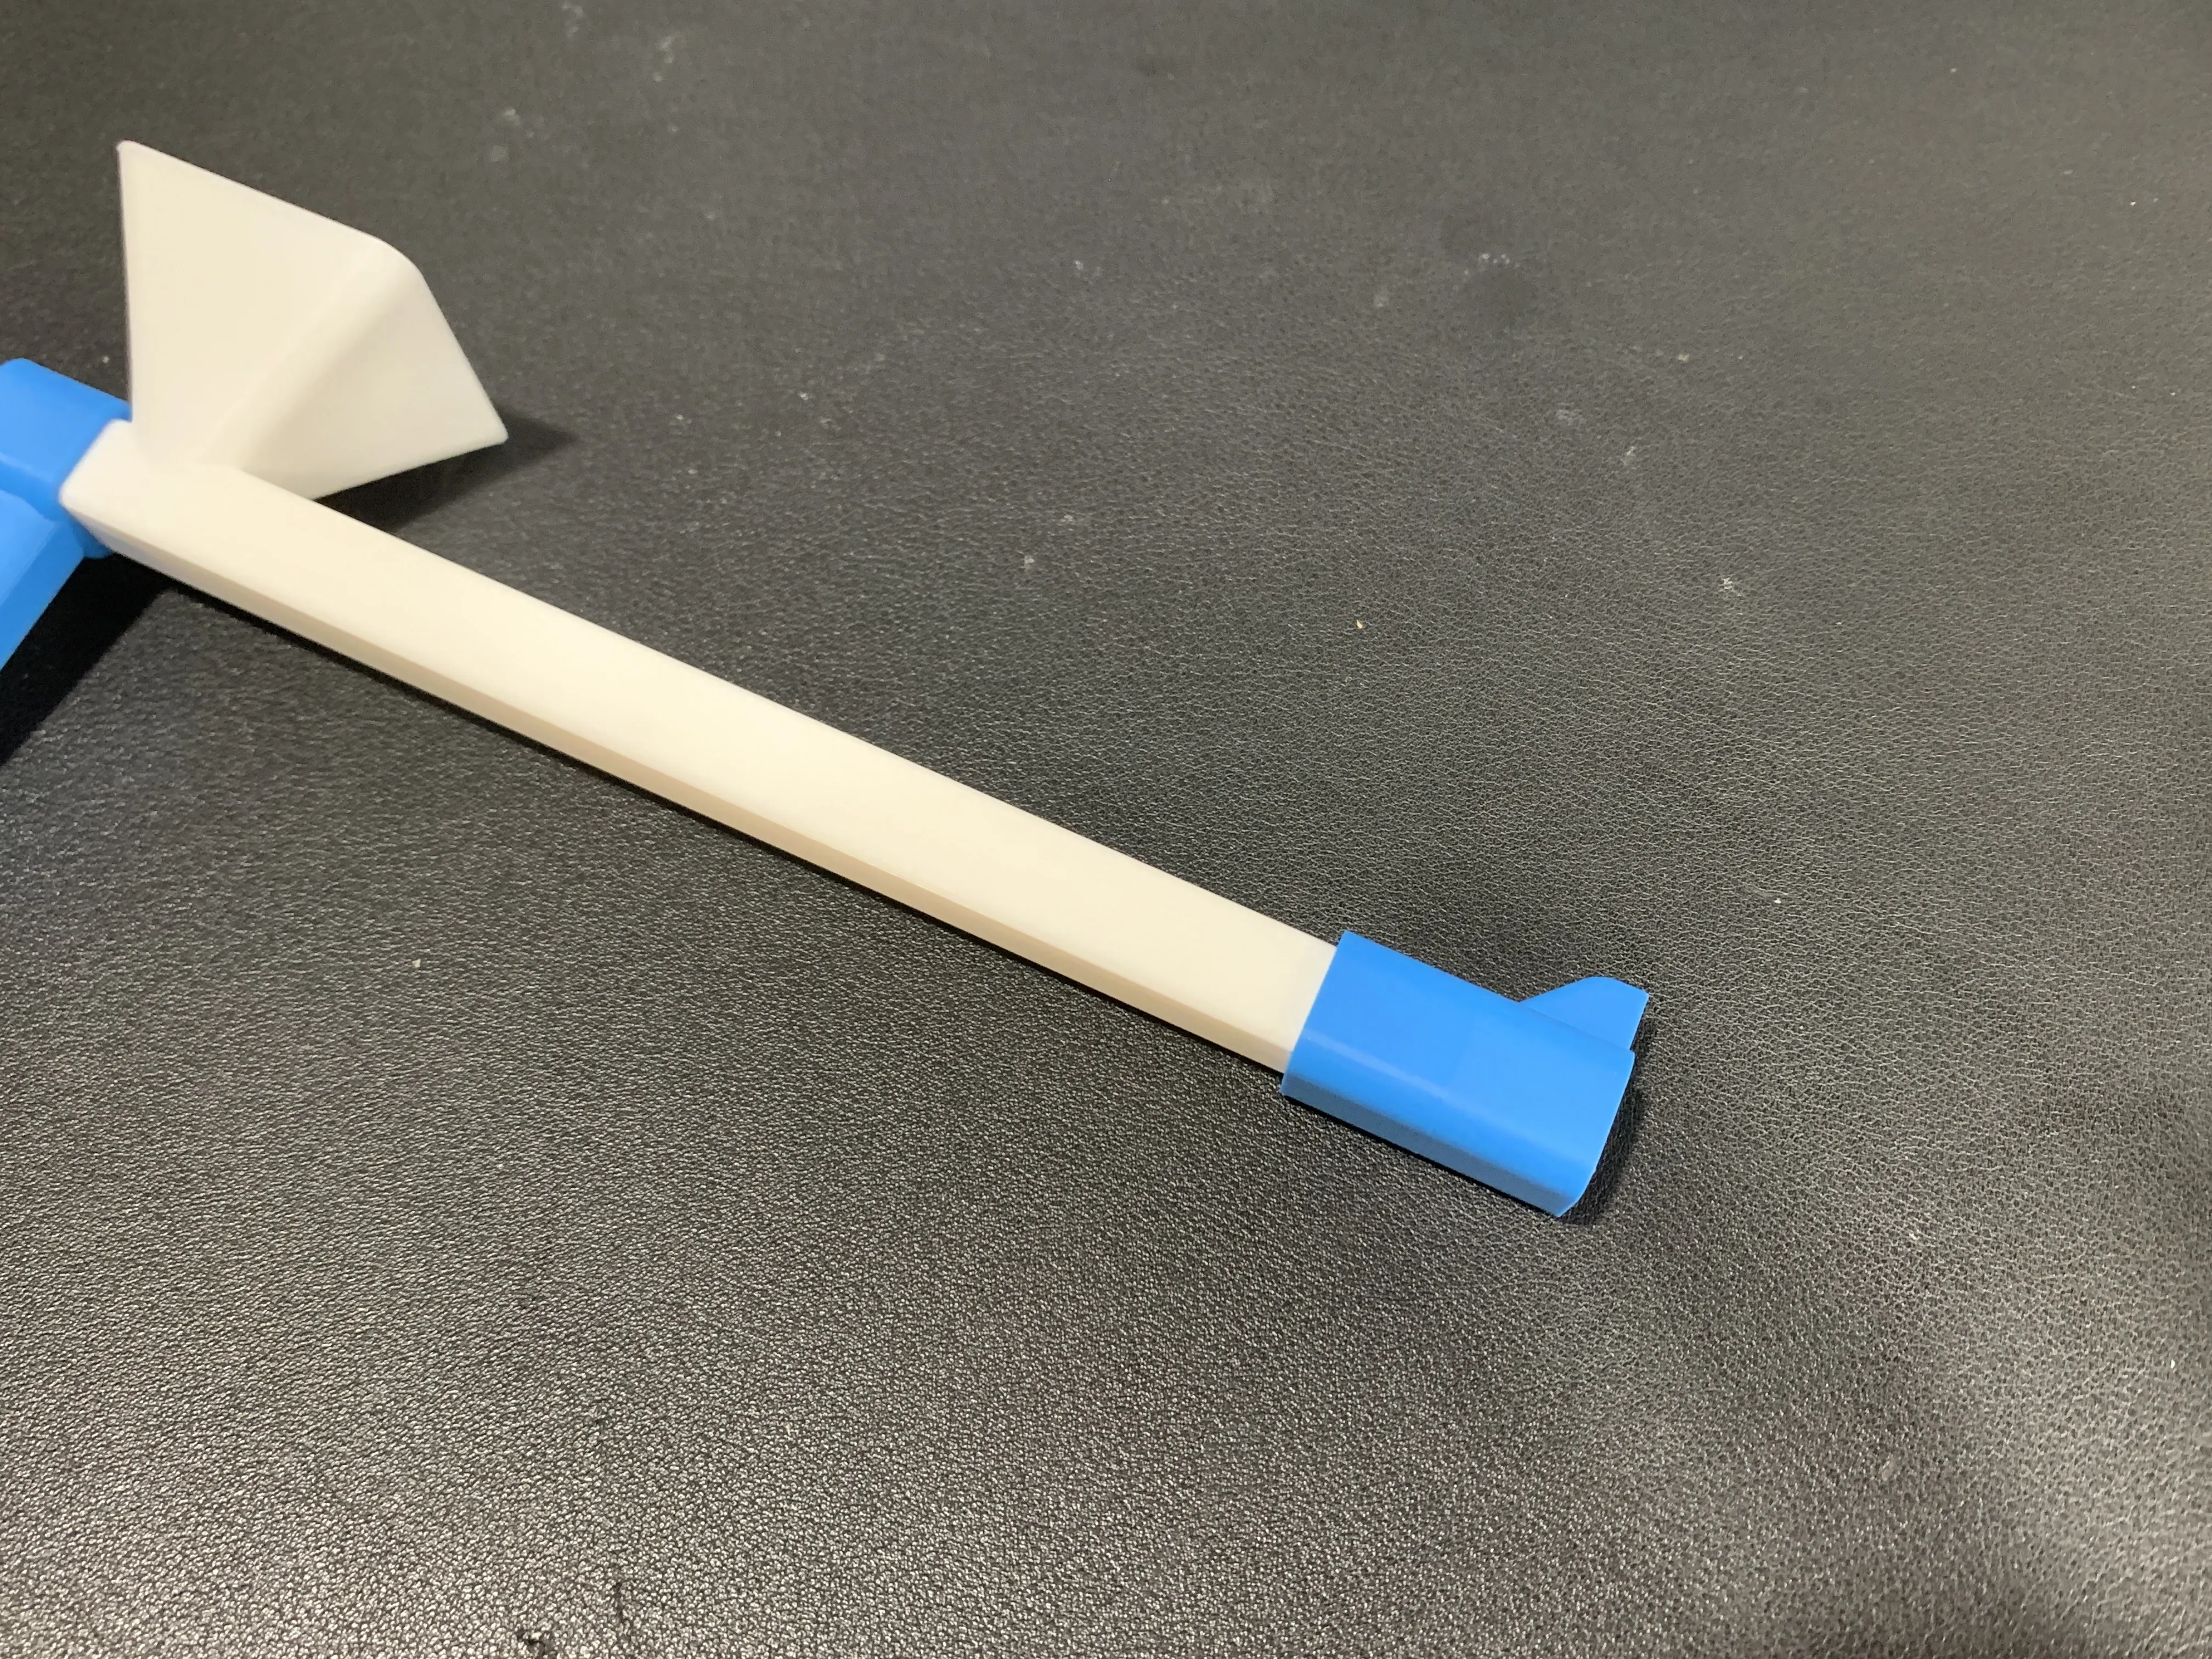
Step 3: Press the sight guide into the front of the blaster, making sure it goes as far in as it can.
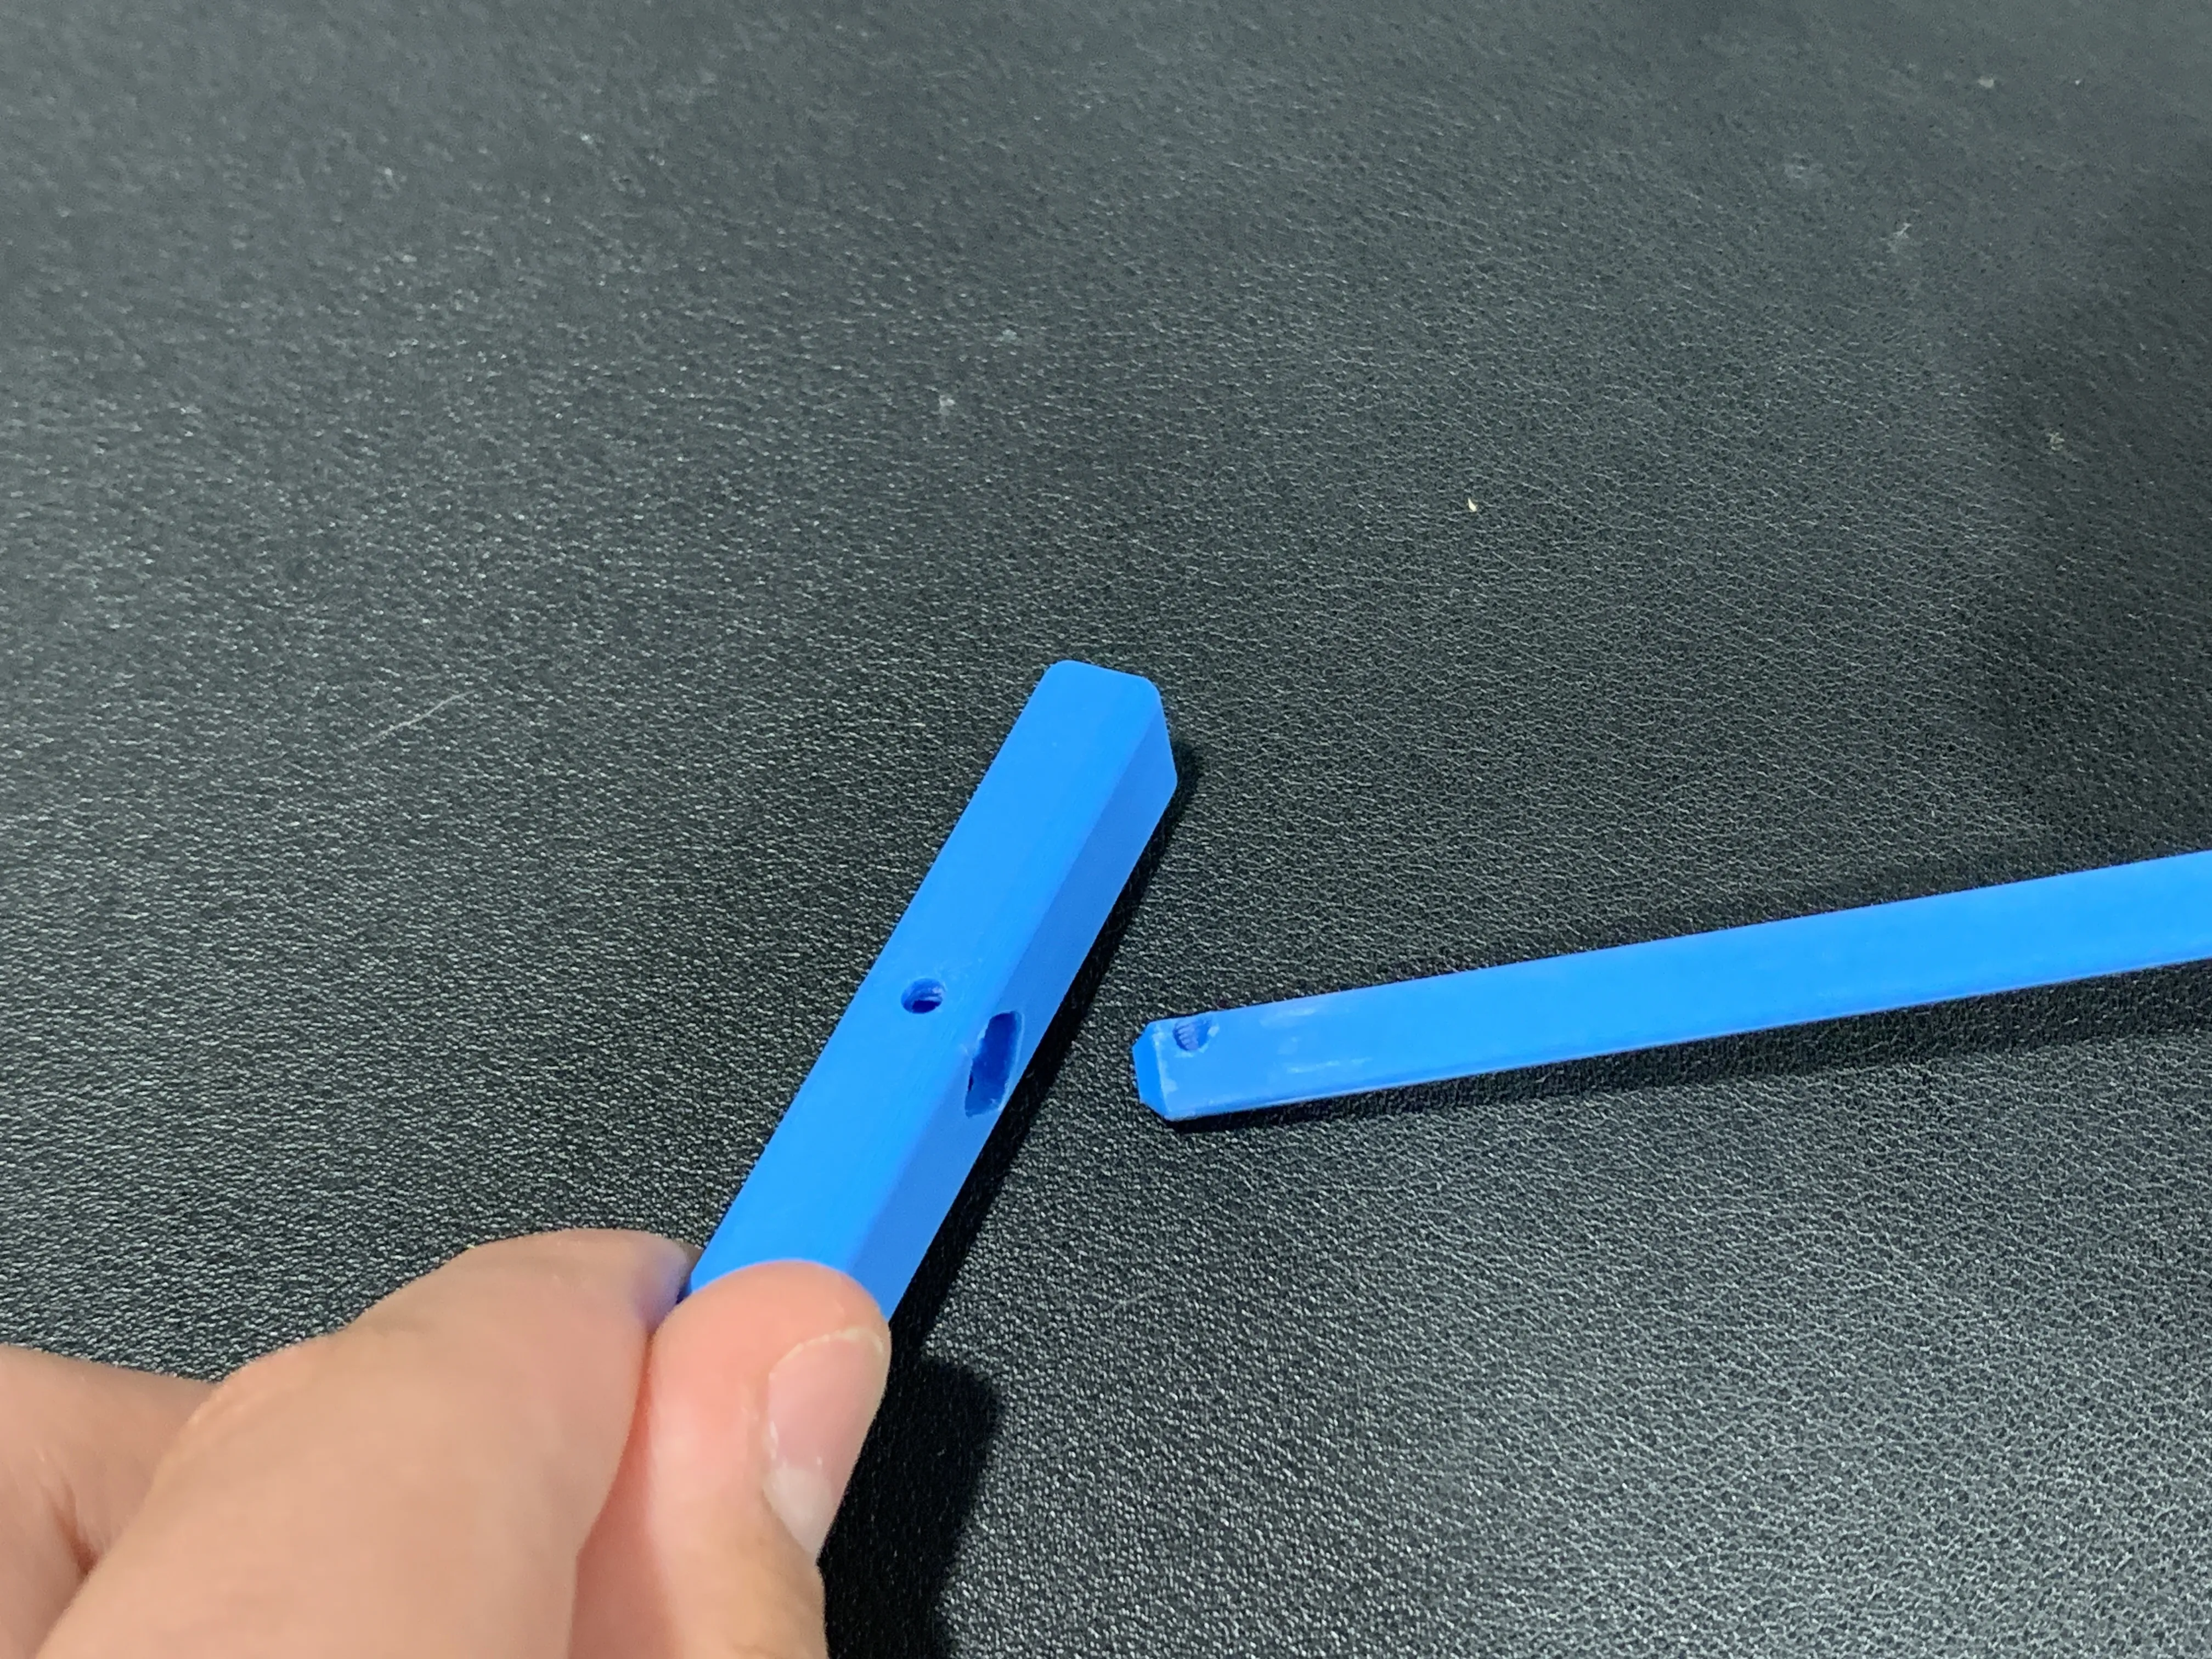
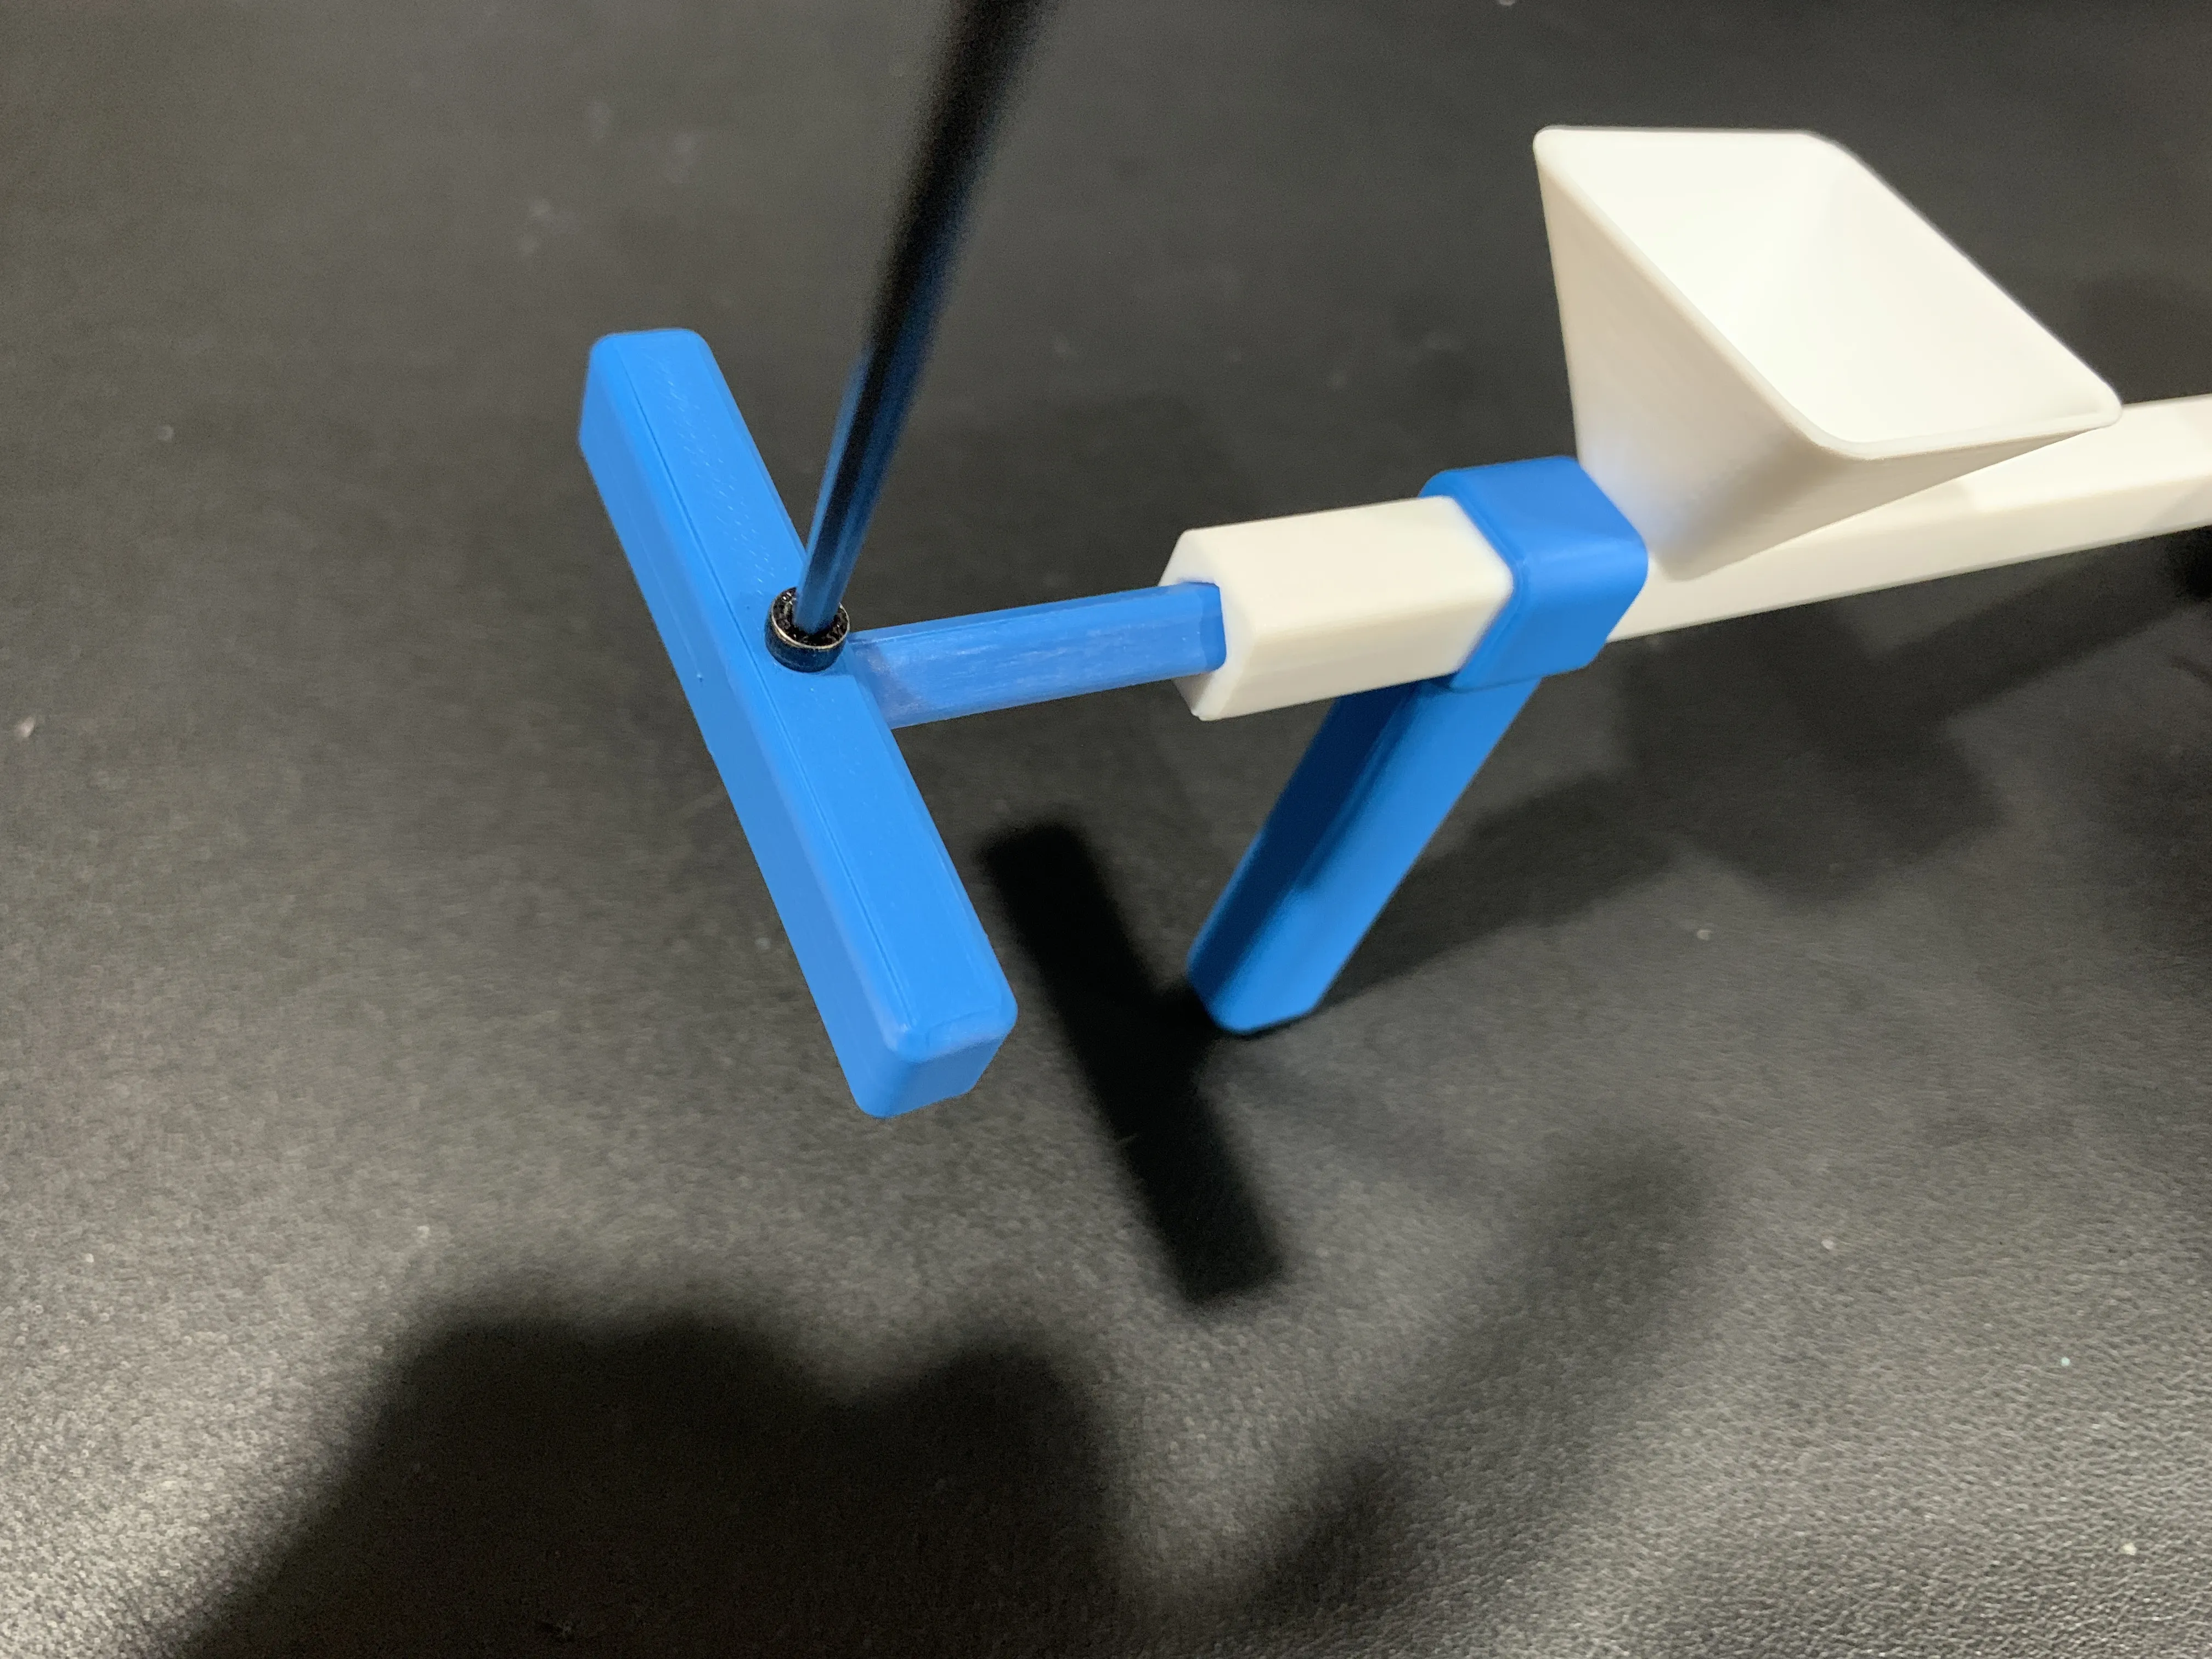
Step 4: Grab the plunger handle and push the plunger into it, making sure that the holes line up. Then, screw an M3 12mm screw all the way through them.
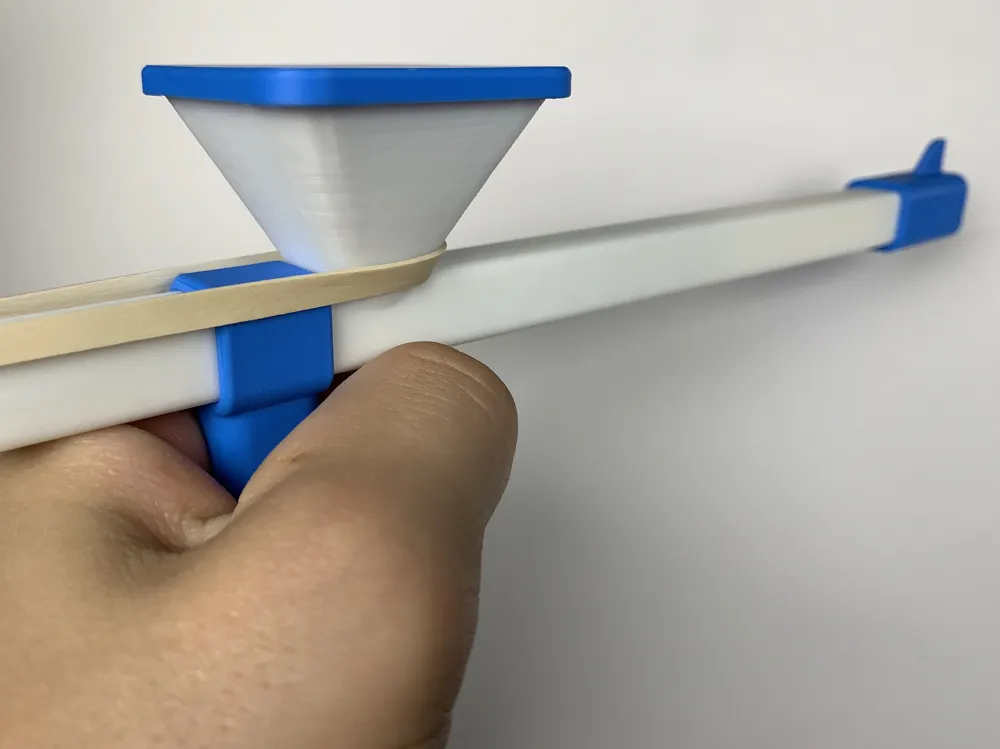
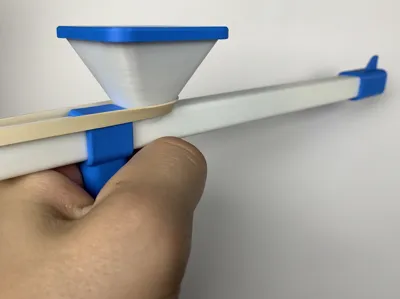
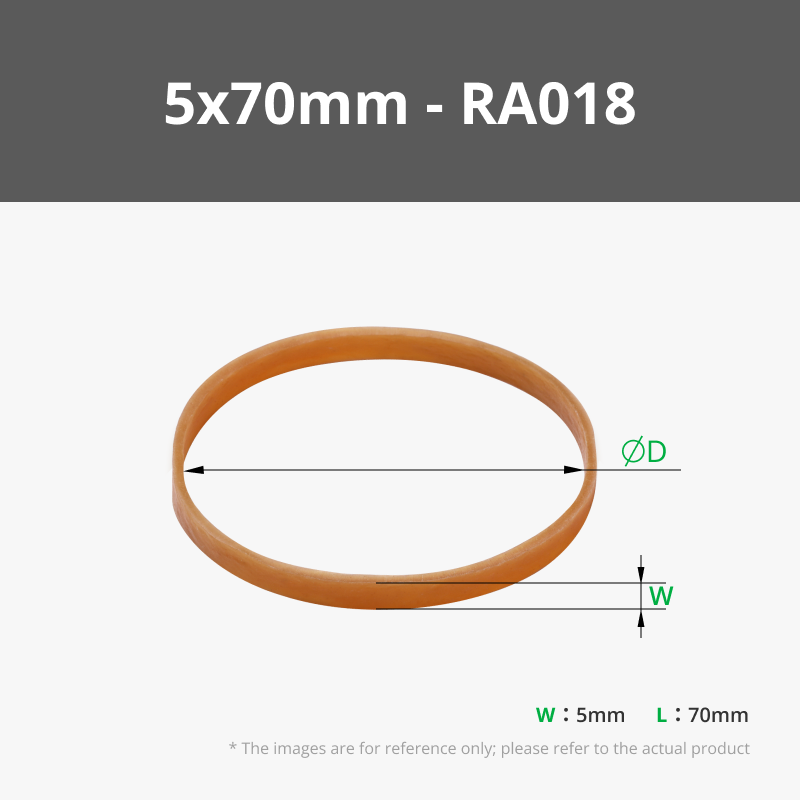
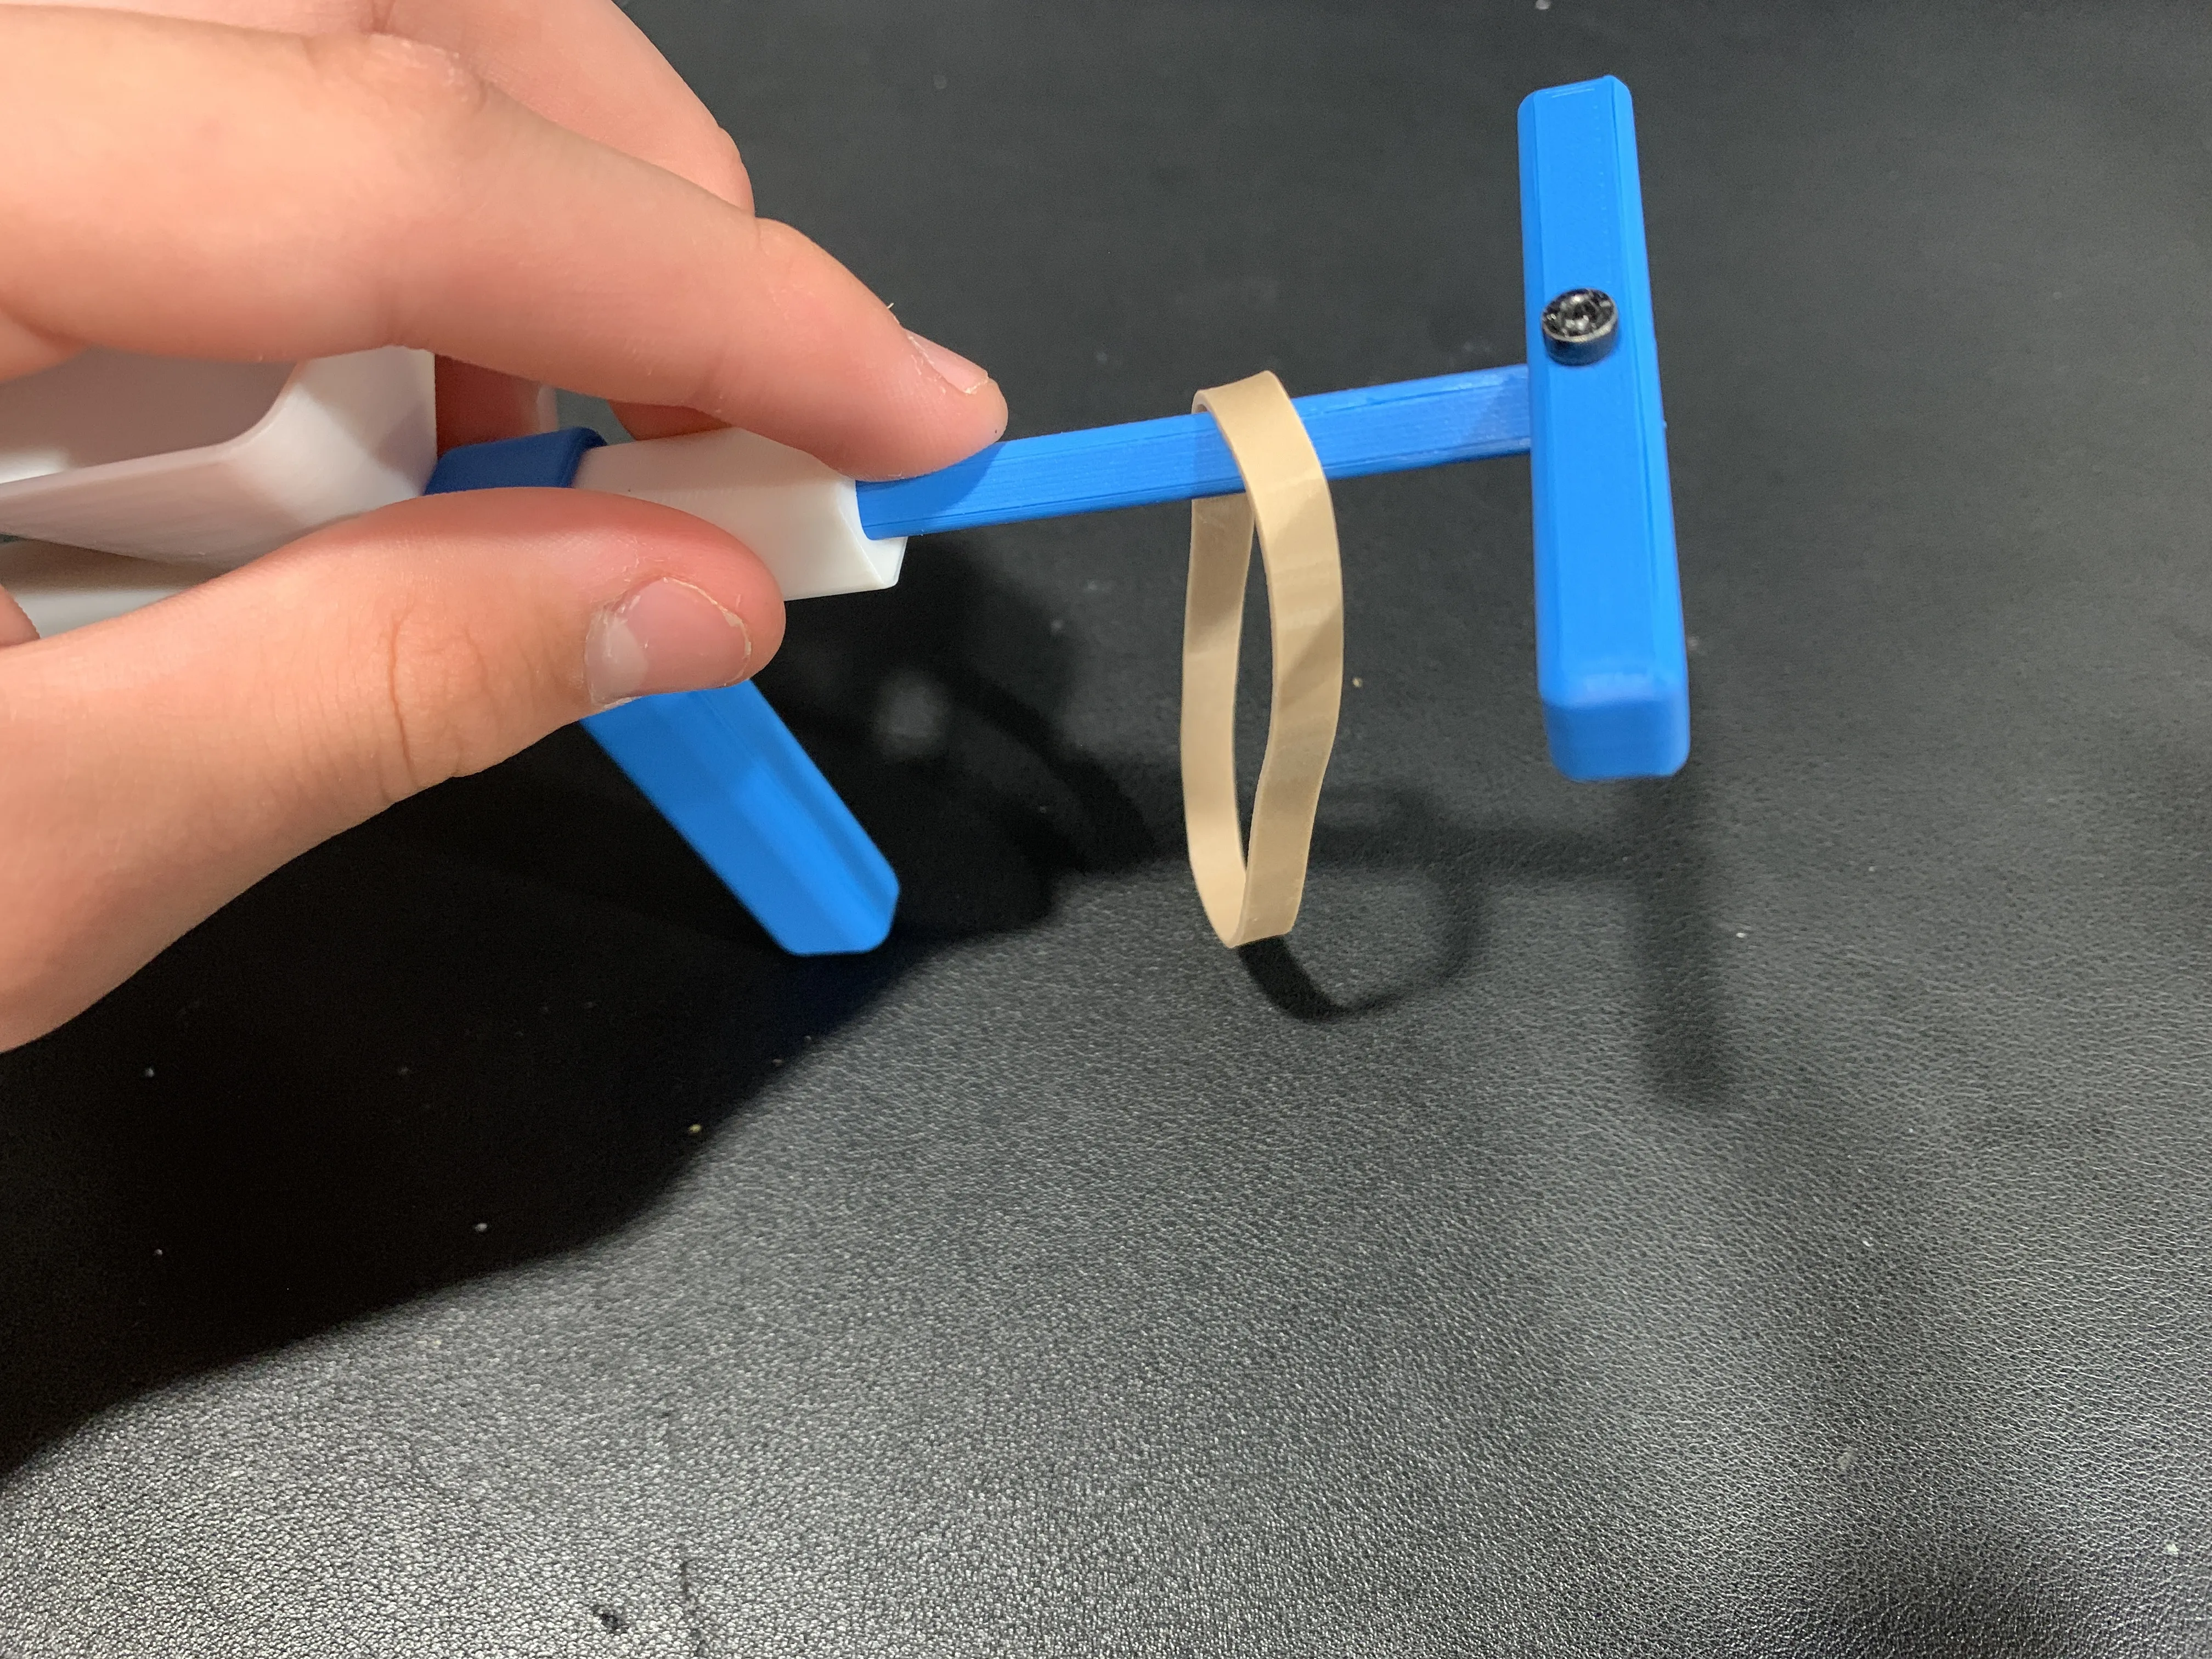
Step 5: Loop the rubber band onto the launcher as shown in the pictures.
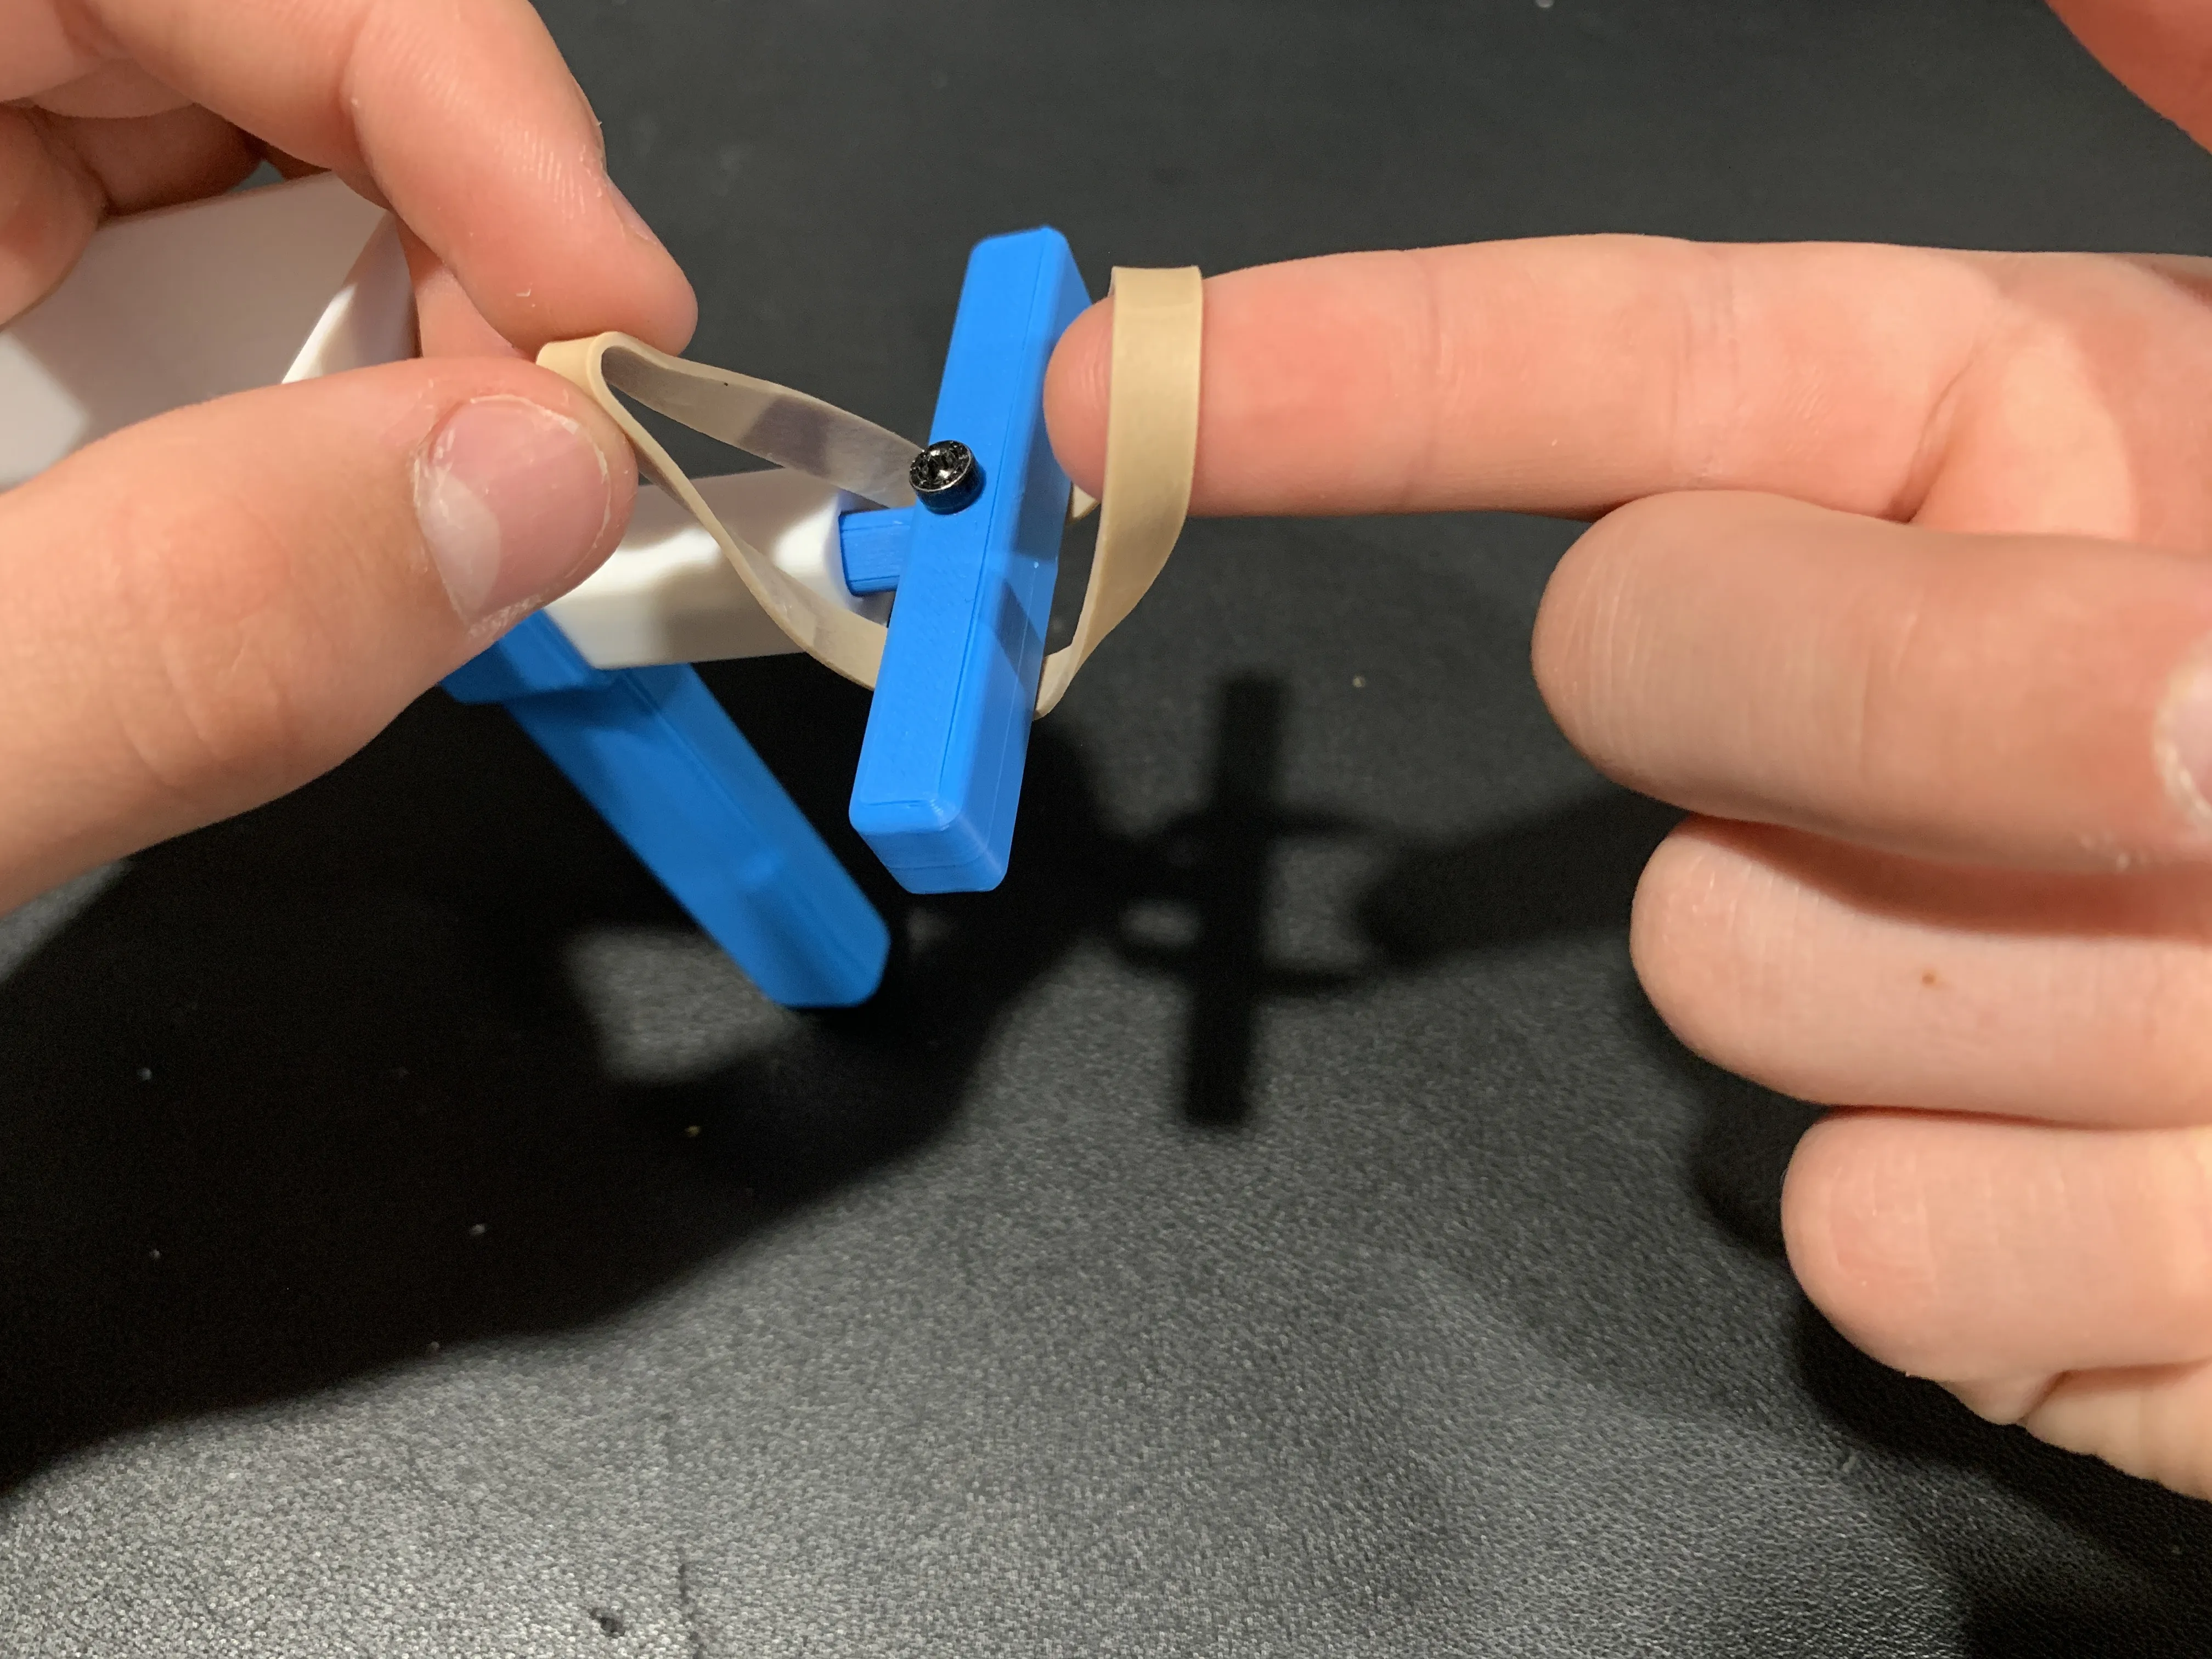
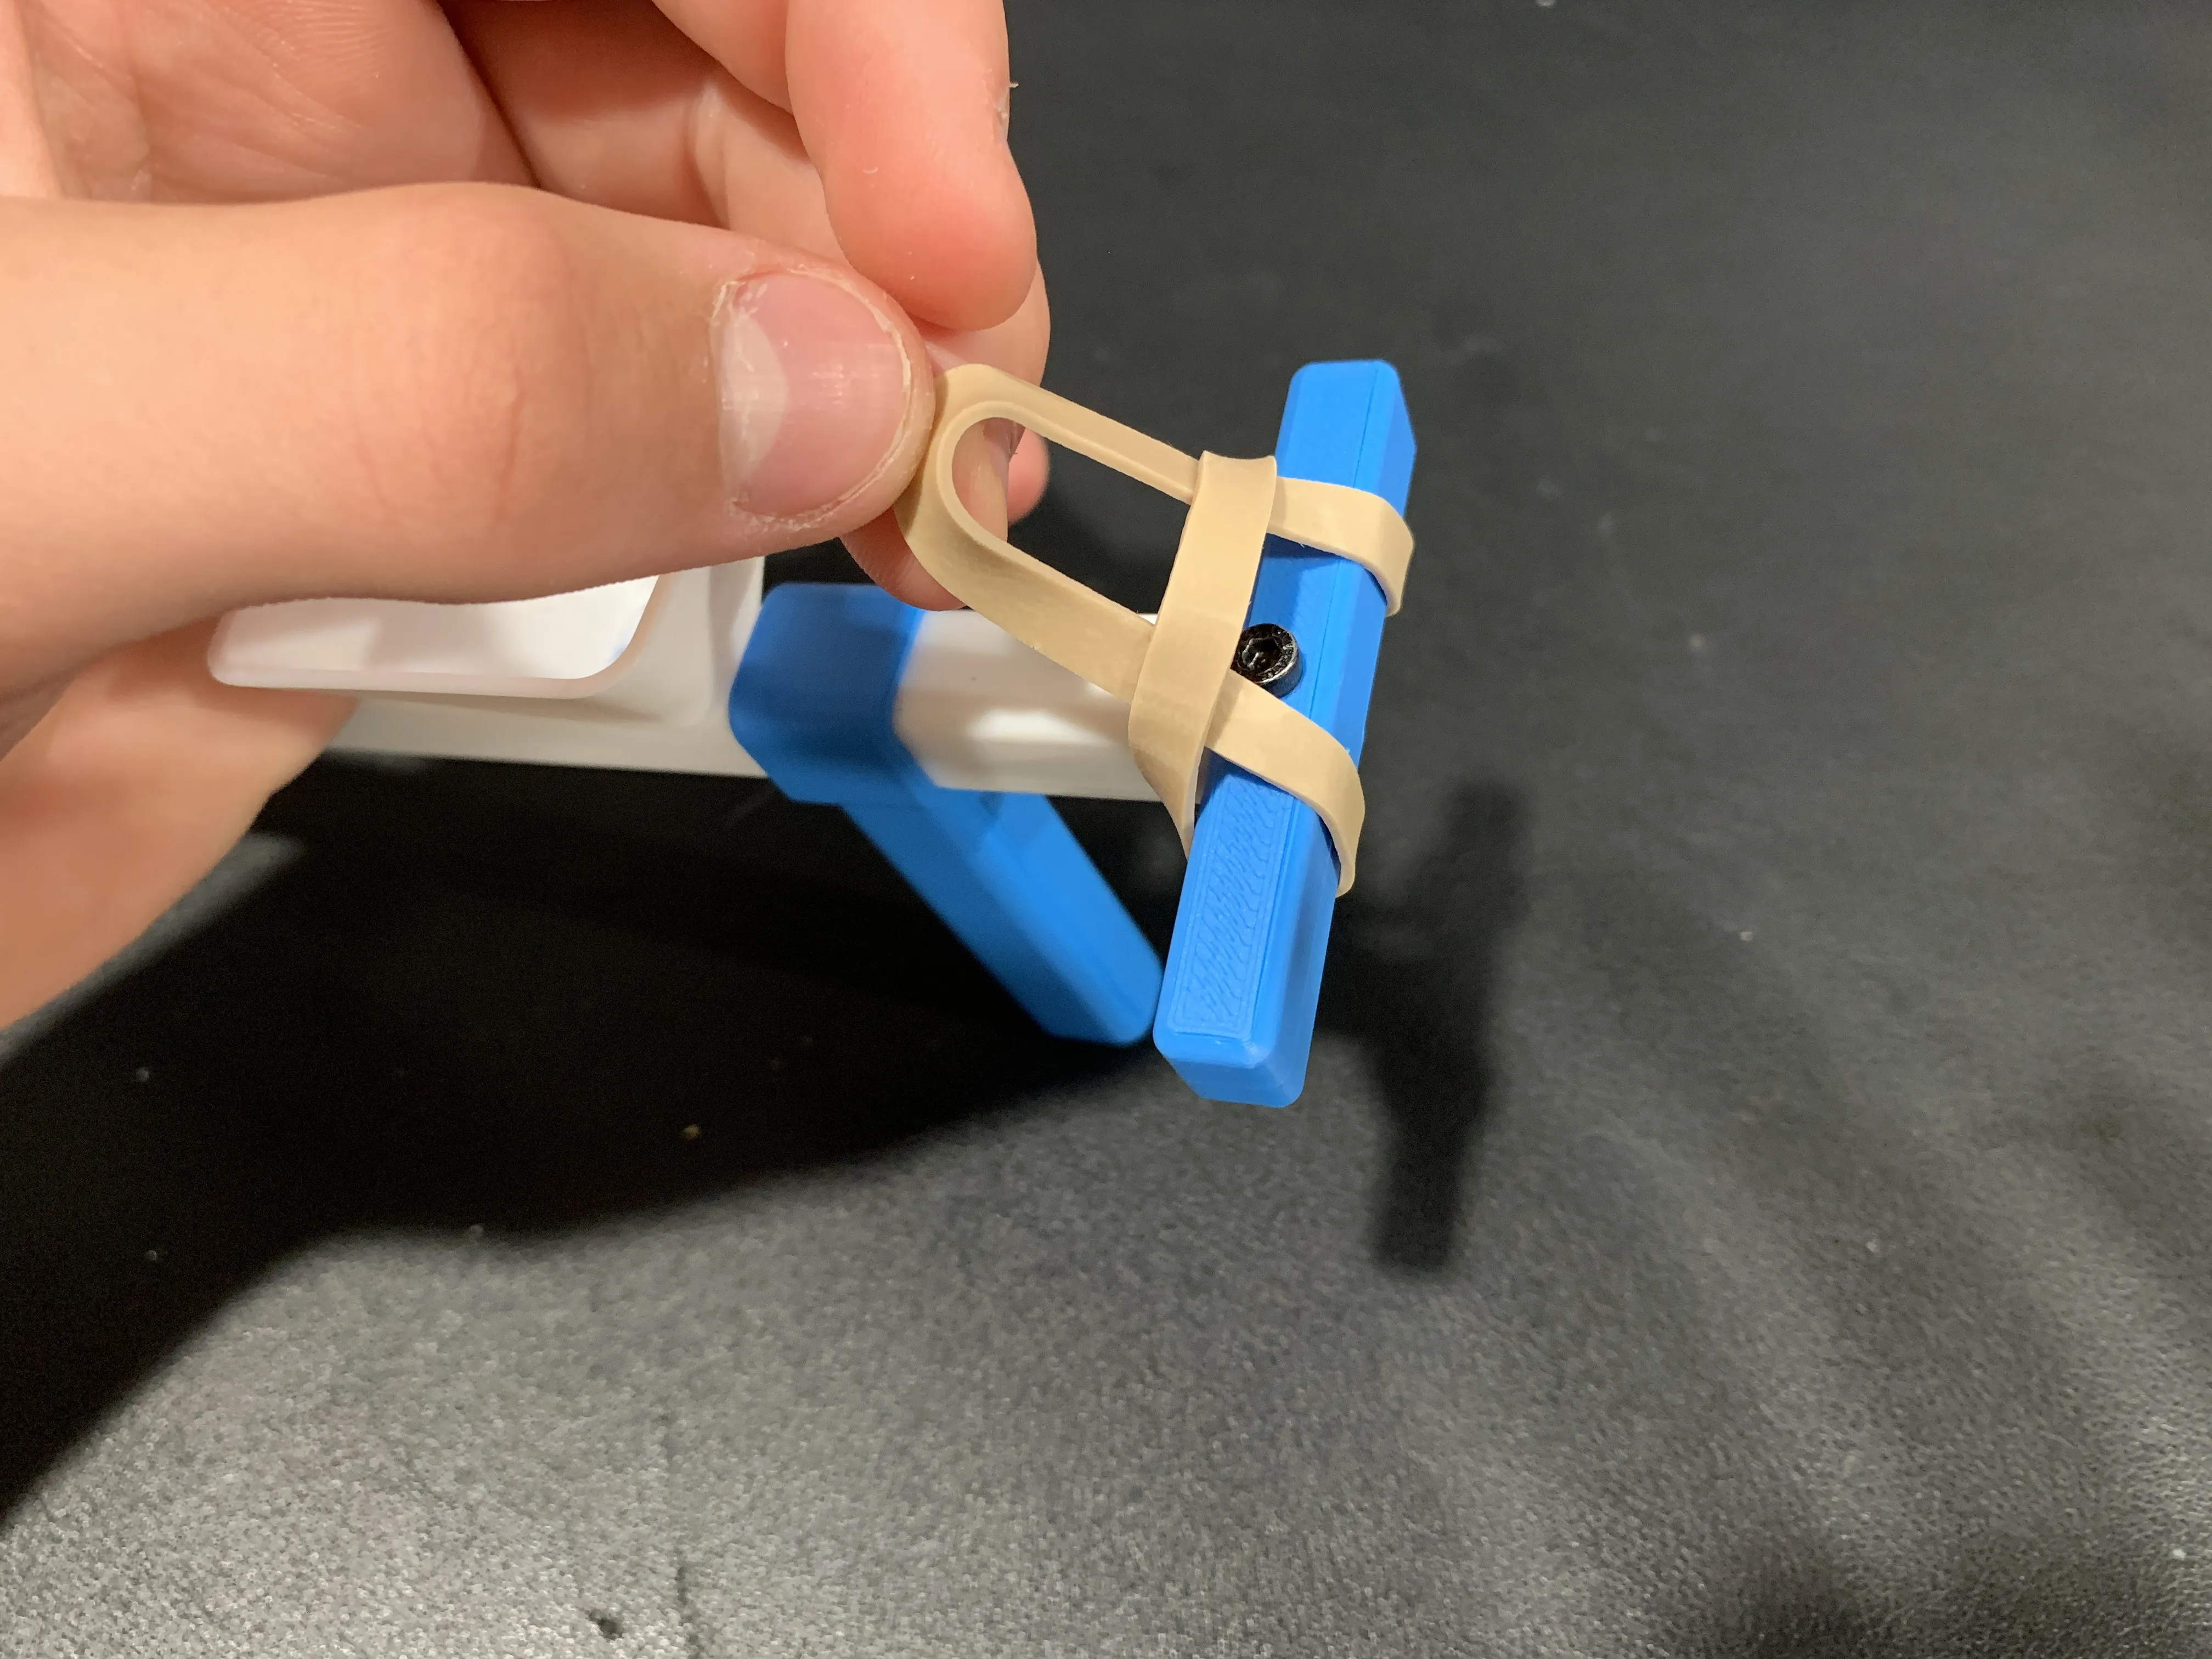
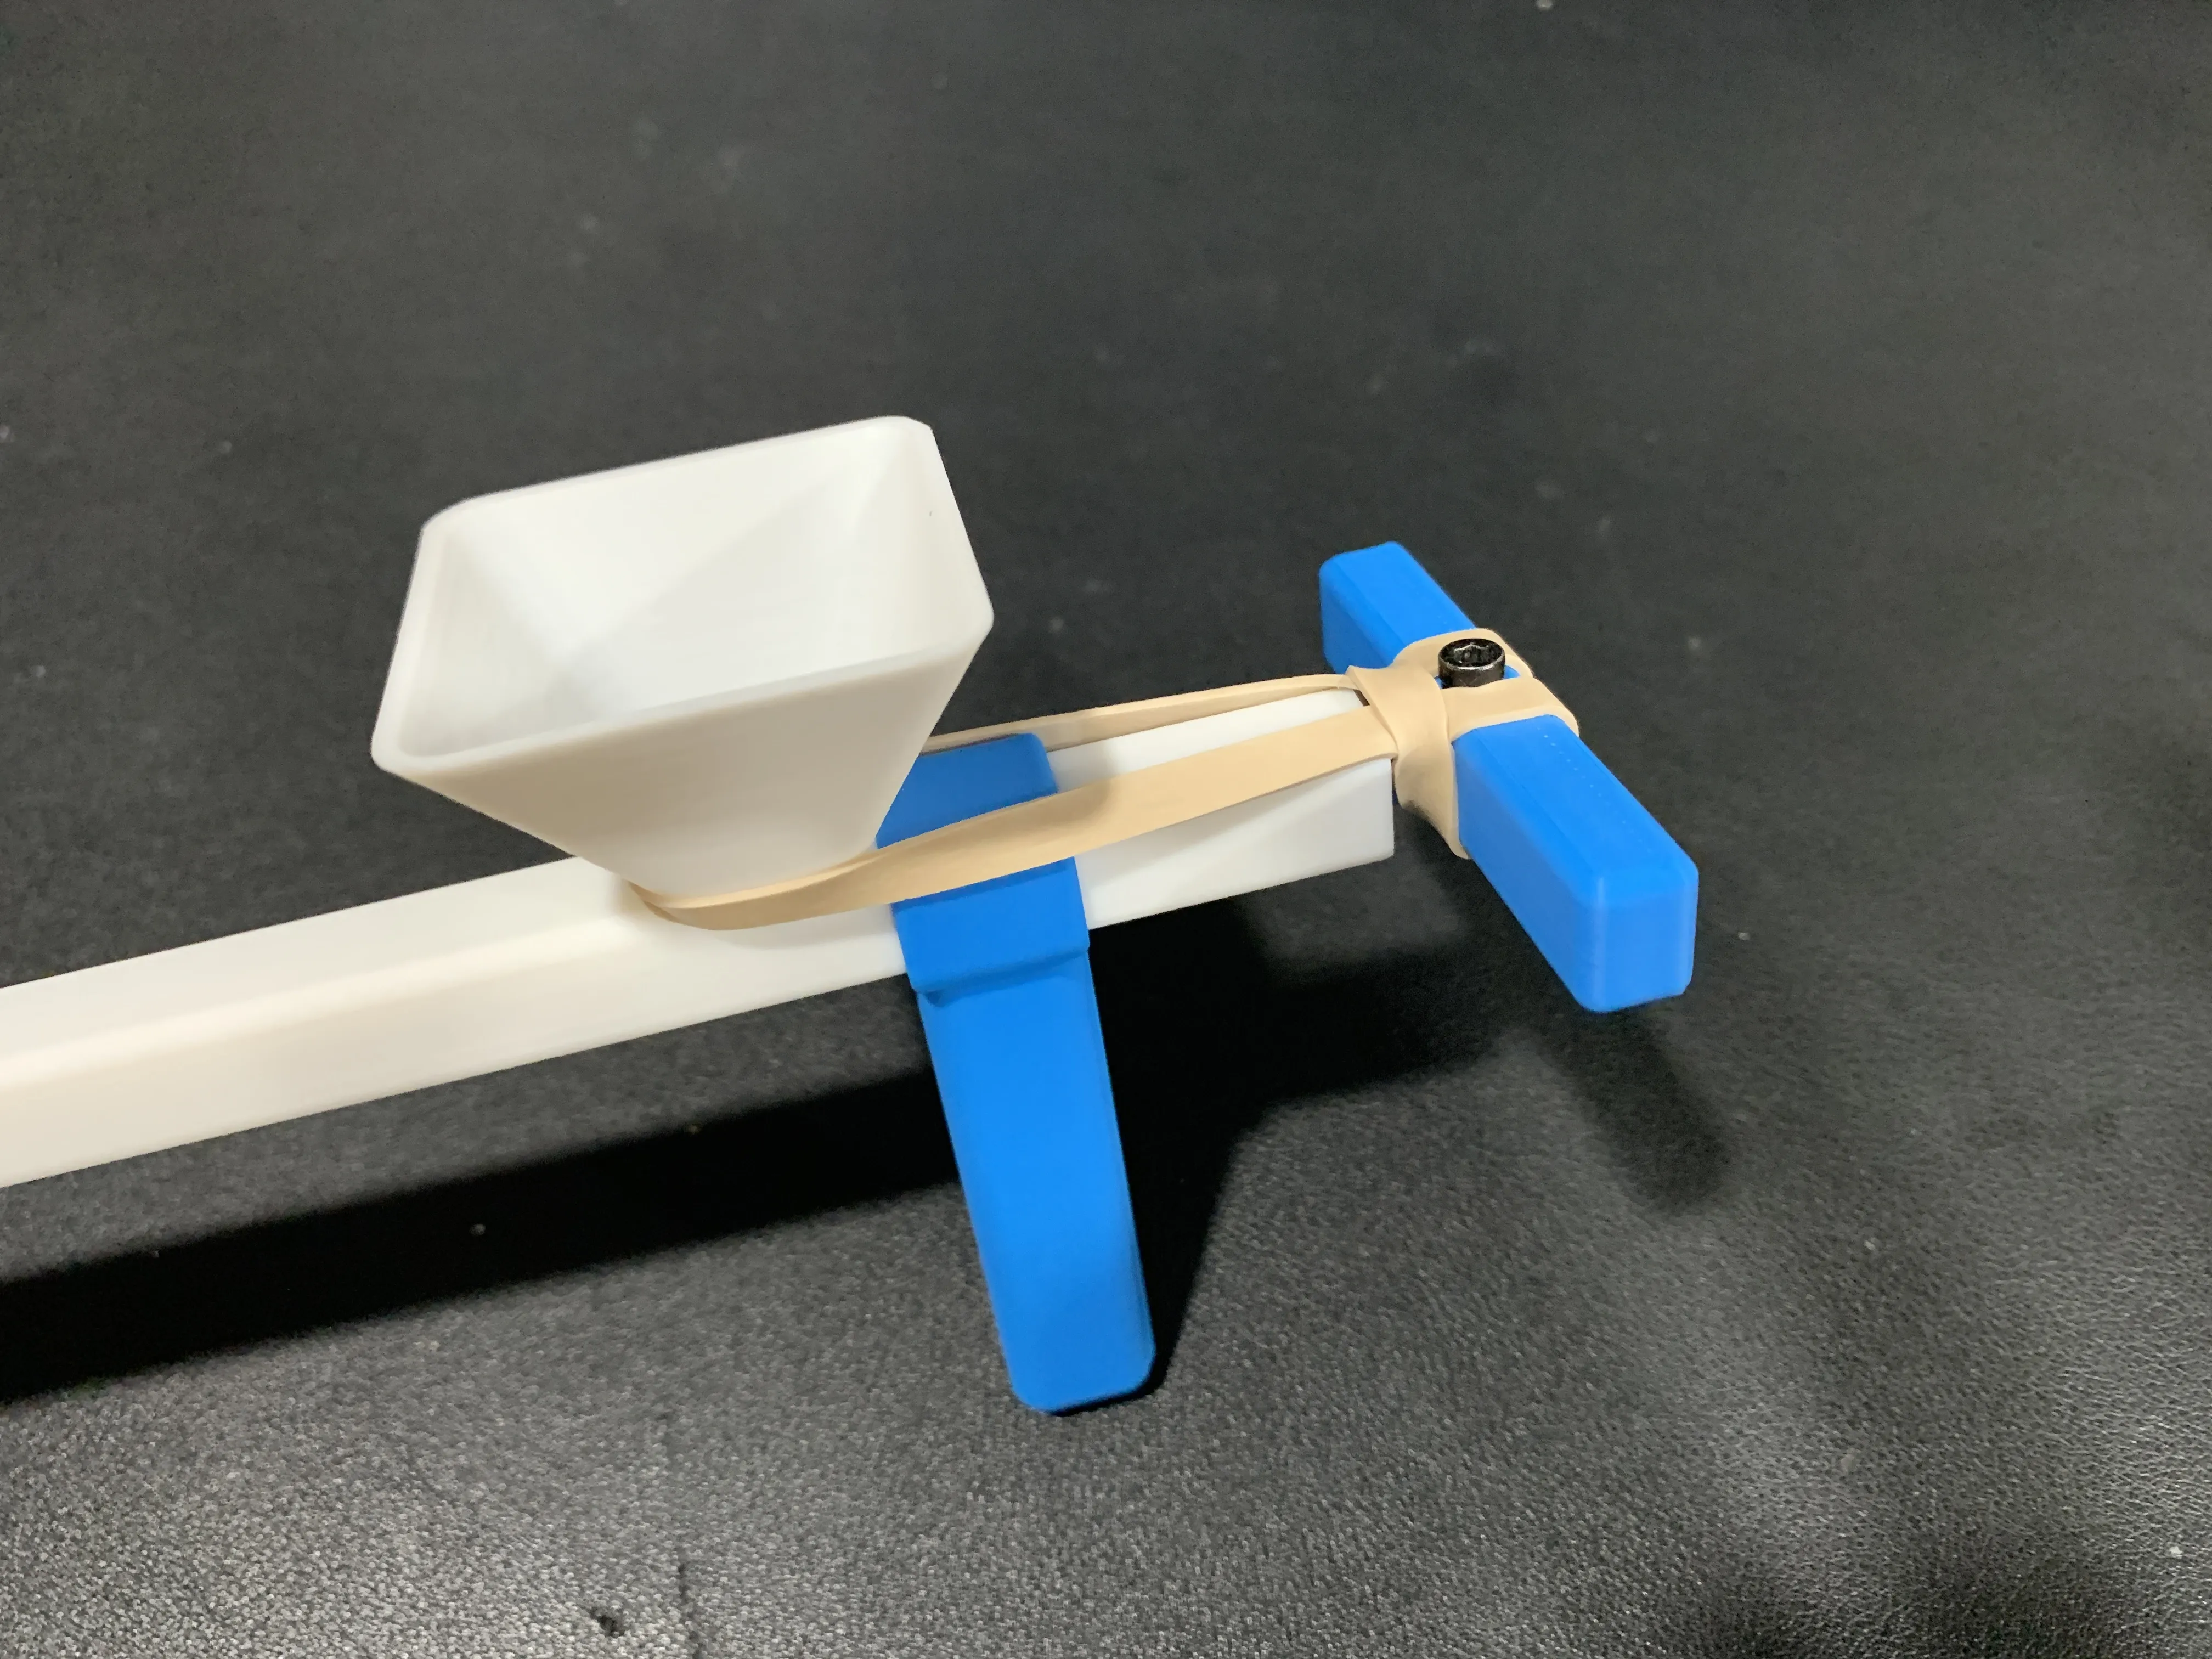
Step 6: Fill the hopper up with the BBs, put the cap on, and enjoy your new launcher!
Membership
If you would like to sell this model or just support me, you should subscribe to my membership! 😁
Membership
If you’d like to support me, consider joining my Support Tier Membership! For just $3 a month, you’ll be making a huge impact on my work. Your contributions help me keep creating, improving, and innovating! 😁
No AI is used in this model. All of my models are made by me in Fusion 360.
License

You shall not share, sub-license, sell, rent, host, transfer, or distribute in any way the digital or 3D printed versions of this object, nor any other derivative work of this object in its digital or physical format (including - but not limited to - remixes of this object, and hosting on other digital platforms). The objects may not be used without permission in any way whatsoever in which you charge money, or collect fees.


Comment & Rating (107)