


Print Profile(1)

Bill of Materials


Description
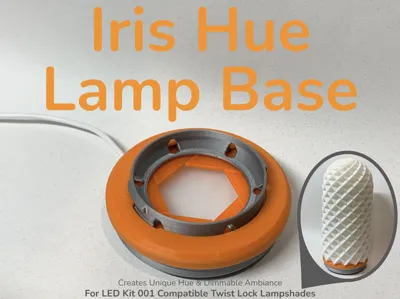
The Iris Hue Lamp base is built to work with LED Lamp Kit 001 compliant lamp shades to create an ambient dimming or colour cross fading effect thanks to the rotation of the iris mechanism.

Key Features
Iris Mechanism: Swappable blades which close over the light source to either dim with opaque filaments including but not limited to (PLA Basic Black) or create a hue effect with translucent filaments such as (PLA Translucent Orange).
Twist Lock Compatibility: Enables any lampshade designed with the generic Bambu lampshade twist lock to satisfyingly lock into place and make use of the mechanically dimming lamp base.
No Hardware Required: Excluding the LED Lamp Kit 001 all components fit together with no need for extra parts or screws thanks to carefully tested tolerances and a threaded retaining cap to hold the whole mechanism snugly together.
Compatible Lamp Shades
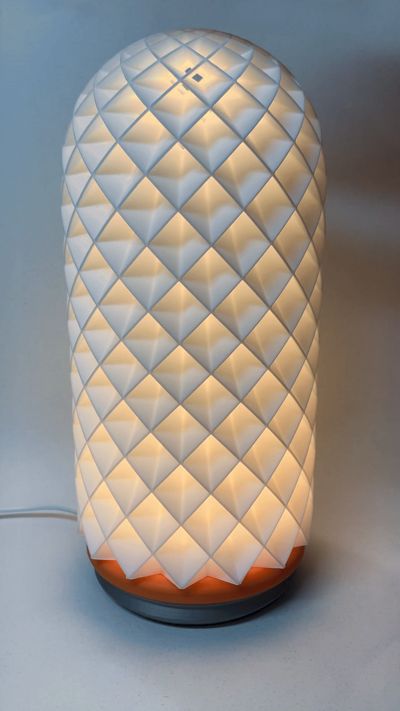
Any Lampshade with the LED Kit 001 Twist Lock Base
The shade from the pictures can be found here: https://makerworld.com/en/models/13717-led-lamp-001?from=search#profileId-13429


Printing Recommendations
Part Filament Suggestions
Bambu PLA Basic: Jade White (10100) For lampshade, to create neutral and clean diffusion of both coloured or natural light.
Bambu PLA Basic: Any Colour For the base (Note: If not using black ensure the filament is opaque to prevent light leak).
Bambu PLA Basic: Black (10101) For aperture blades, to create a dimming light effect and prevent light leak (Note: If not using black ensure the filament is opaque/ no light passes through).
Bambu PLA Translucent: Orange (13301) For aperture blades, to create a saturating colour fade and is highly recommended for vibrant hues of the lamps light.
Part Processing
Allow Parts To Cool: To minimise rapid cooling and mitigate part shrinkage for optimal fitment
Assembly Guide

Steps Are Outlined In The GIF
Pre Assembly: Cut three feet out from the from the NC005 foam roll and apply them to the bottom of the lamp base.
Steps: (Thread the wire of the lamp through the base, press the lamp into place and press its cable with the help of an aperture blade, from there insert the iris lower interface, then press the an iris pin into each of the 6 aperture blades (Note: Pay attention to the orientation shown in the image to the right), insert the blades in with the top printed surface facing upwards, with all the blades in position the upper iris interface can be placed on and twisted until all pins drop into place, finally the retaining cap can be screwed onto the top of the assembly).

(Note: You will definitely require some type of grippy tape or feet to apply to the bottom of the lamp base). The NC005 Foam Tape Roll would be highly recommended to prevent the lamp base from twisting or sliding on surfaces when the iris is operated (linked below).
Boost Me (for free)
Thanks For The Support!
Documentation (1)

License
You shall not share, sub-license, sell, rent, host, transfer, or distribute in any way the digital or 3D printed versions of this object, nor any other derivative work of this object in its digital or physical format (including - but not limited to - remixes of this object, and hosting on other digital platforms). The objects may not be used without permission in any way whatsoever in which you charge money, or collect fees.
Comment & Rating (9)