
Compact Rugged Keys Organizer M4 and M3 - V2
Print Profile(5)




Bill of Materials





Description
UPDATE 06/2026
Added a dedicated profile for the A1 Mini, separating each colour and the M3/M4 versions across different plates.
UPDATE 04/2026
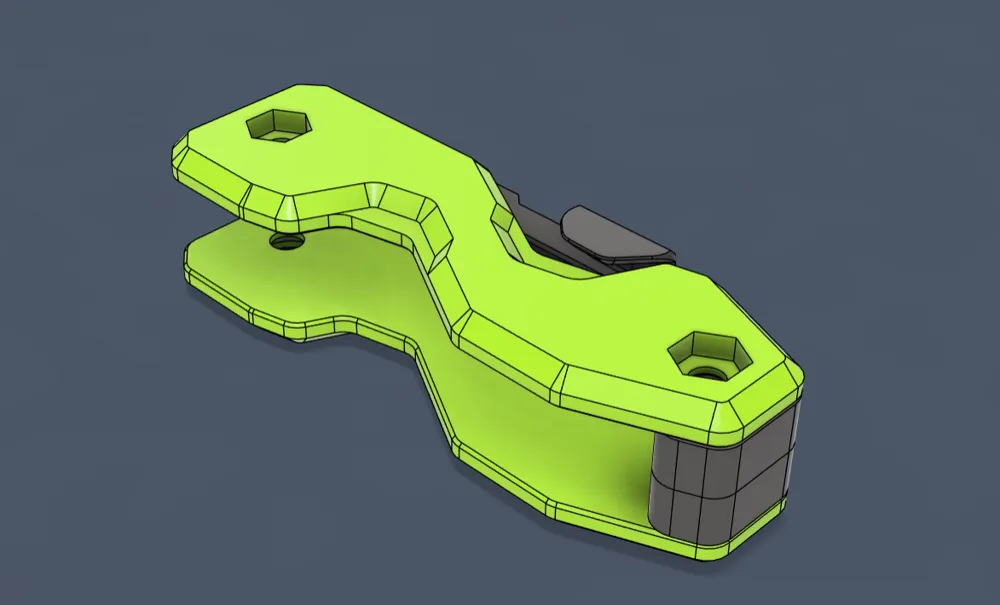
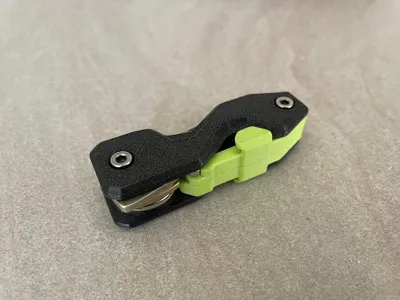
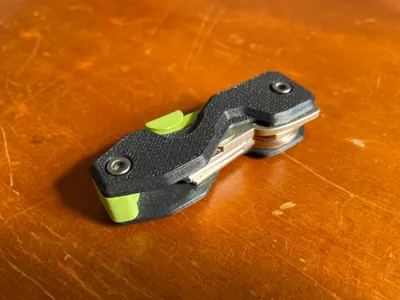
Finally, several improvements have been added to the design, without changing the aesthetic. First, I am focusing only on the compact version; the double version will no longer be revisited here. The improvements are:
- stronger parts: the print profile now focuses on solid components, giving better repeatability and strength
- the tolerances have been revised: some parts were scratching each other, and others did not fit well enough, so now they have been fixed
- the spring action was not optimized: now it is, with better geometry and flexing
- the locking pin could snap easily: now it is larger, stronger, and has more touching points
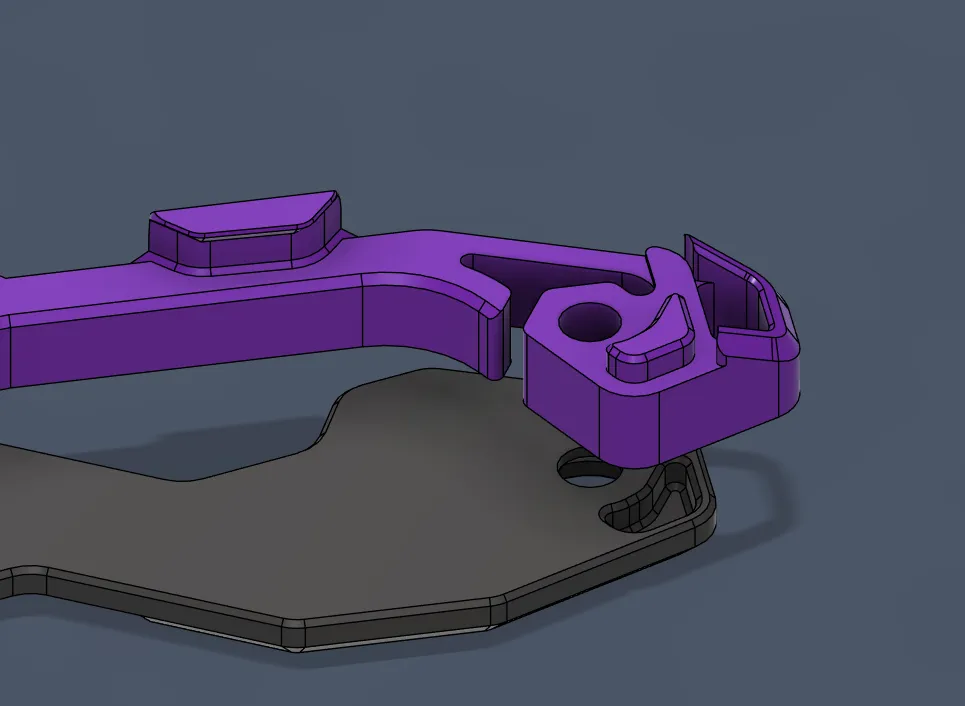
- now it is printable without any support: the overlapping part of the lever has been removed, hoping nobody will miss it, even if I liked it a lot
Make sure to download the new version V2! The other versions will stay for the record.
UPDATE 02/2026
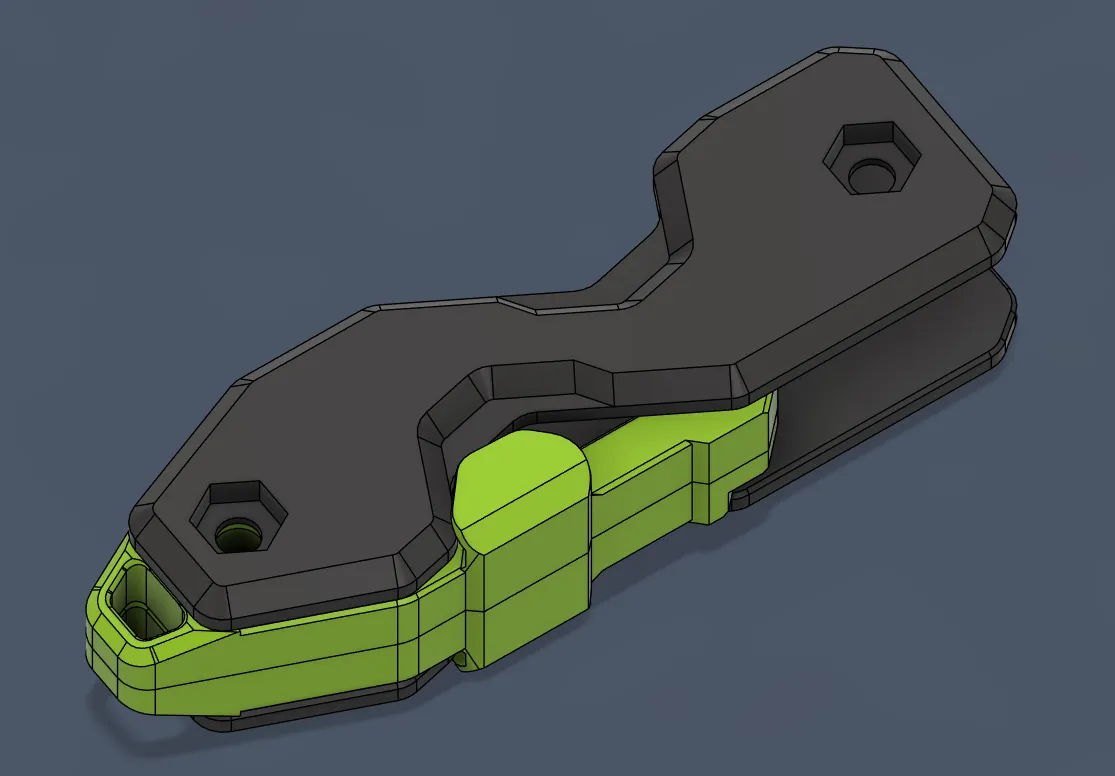
As requested, added the Compact M3 version compatible with M3 hardware. 3mf and stl files have been added and updated. 3 print profiles available.
UPDATE 01/2026
As requested, added a keyring hole for better usability and customizability. Updated files. Previous model files are still available under the STL menu.
Boost Me (for free)
Do you wish any mod of this design? Just ask me. Thanks!
DESCRIPTION
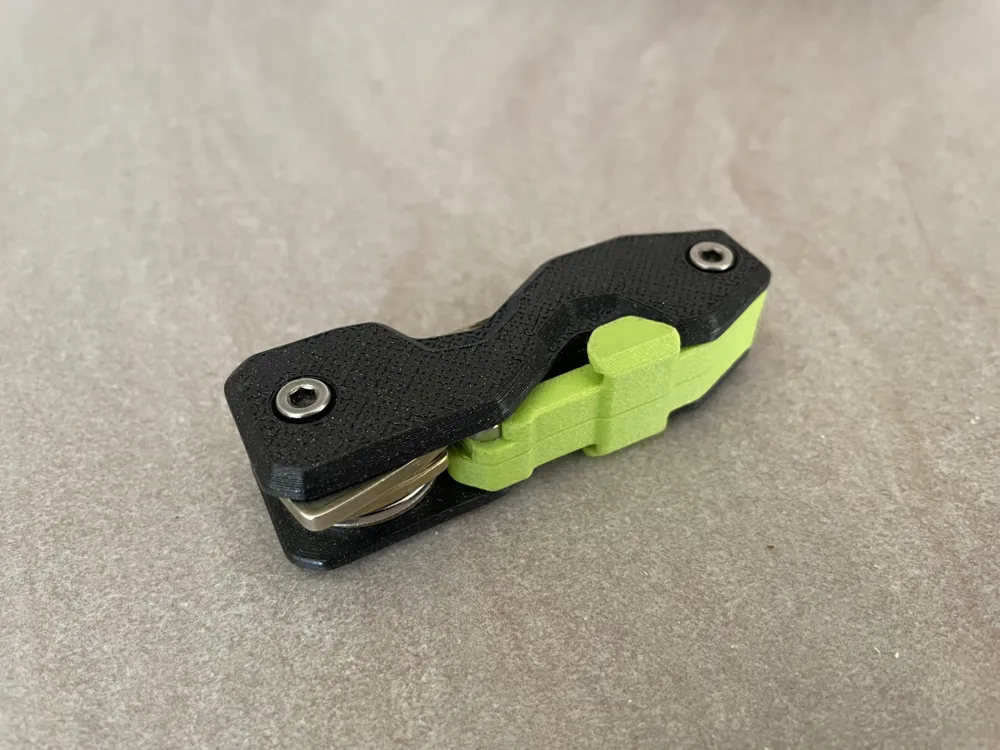
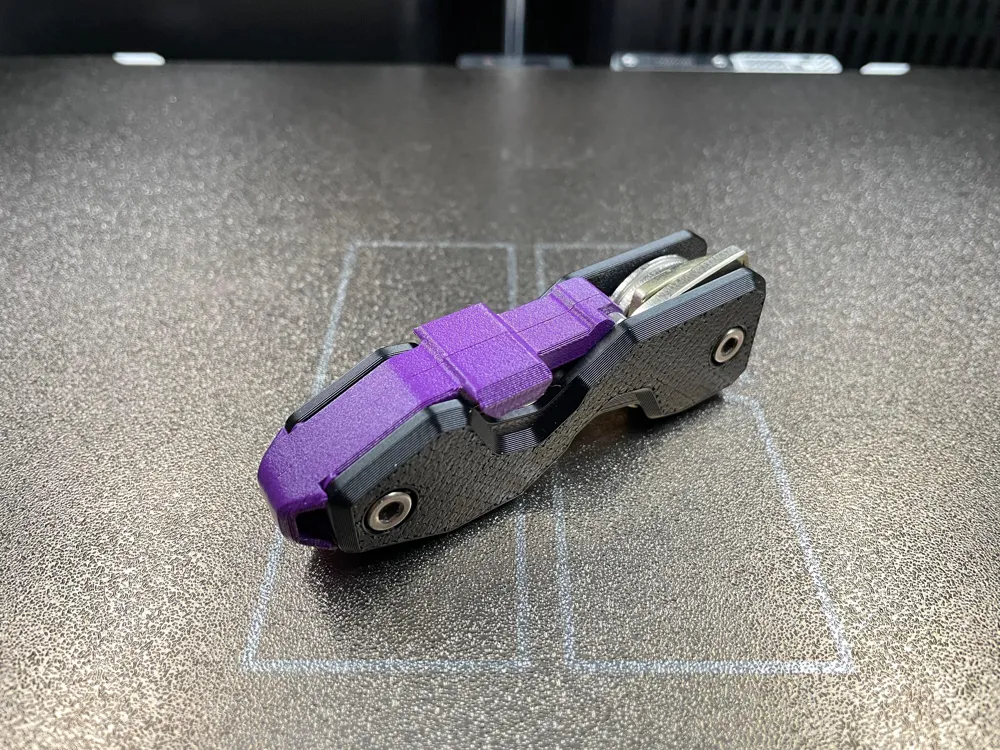
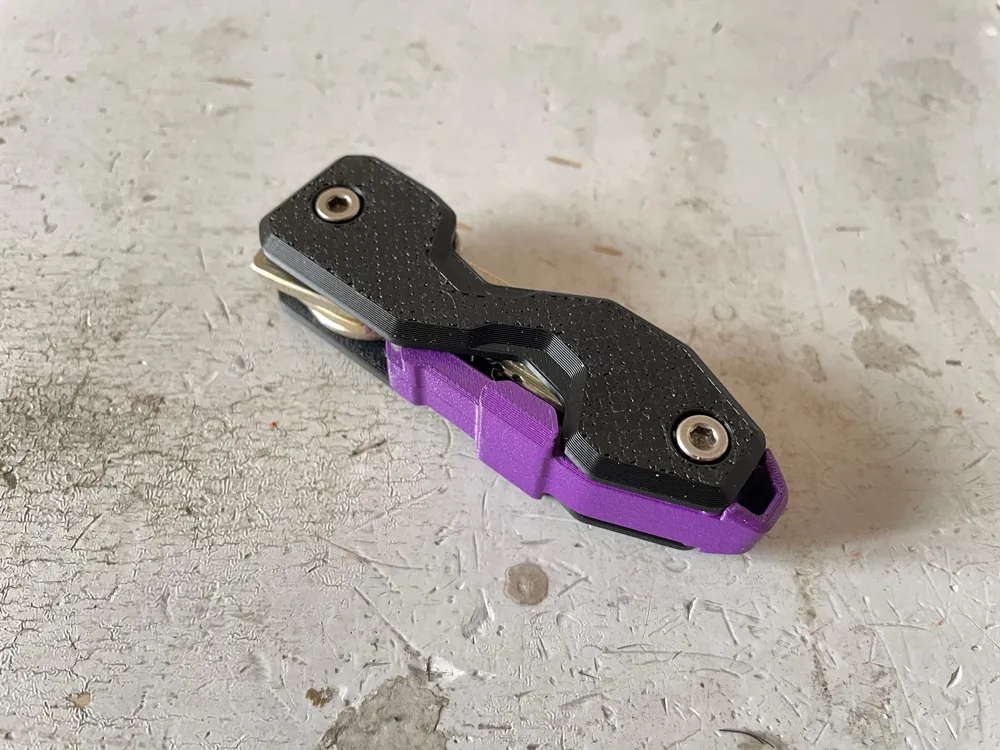
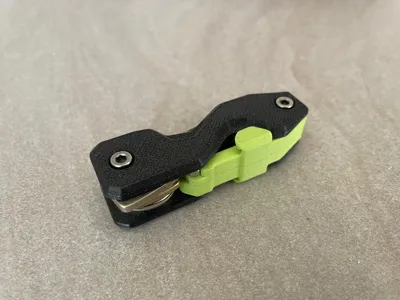
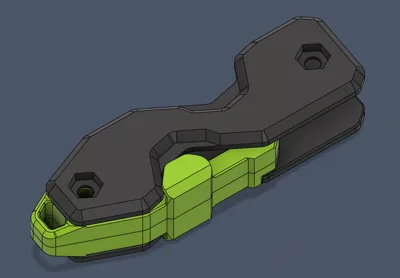
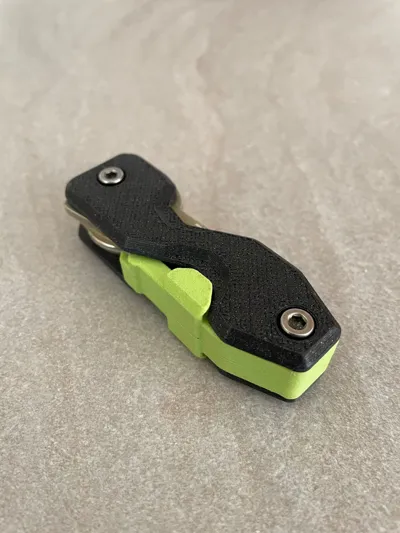
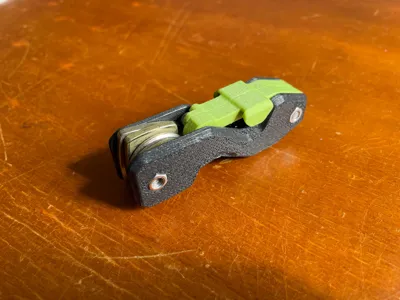
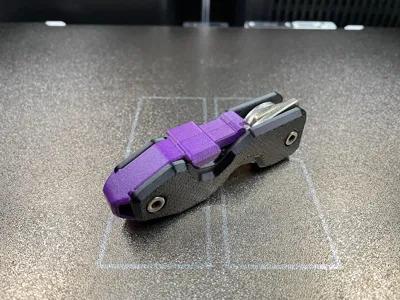
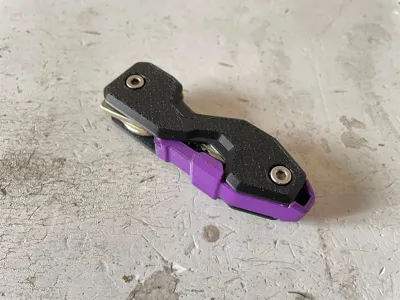
This is a simple Key Organiser designed for my specific use case, so I am sorry if it will not fit exactly your needs.
There are three versions:
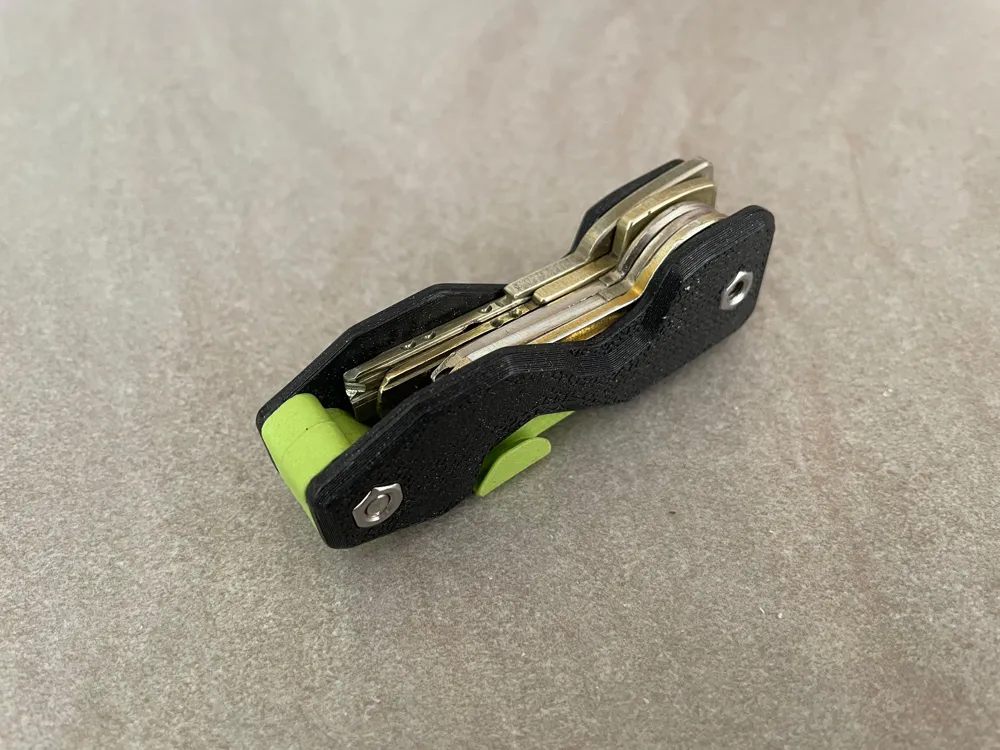
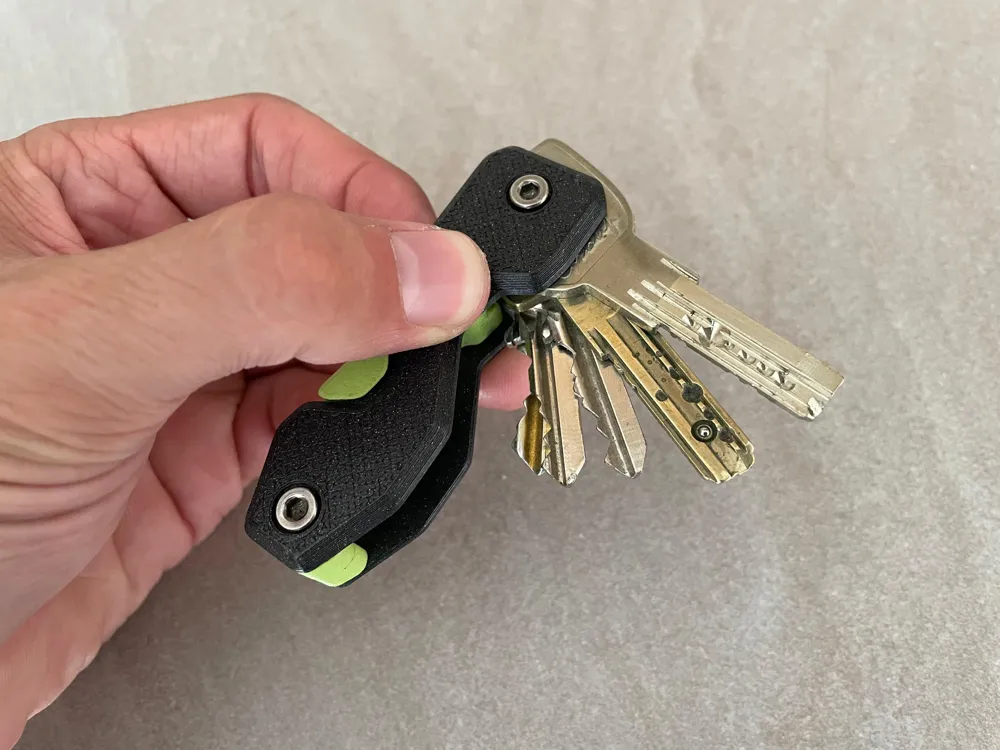
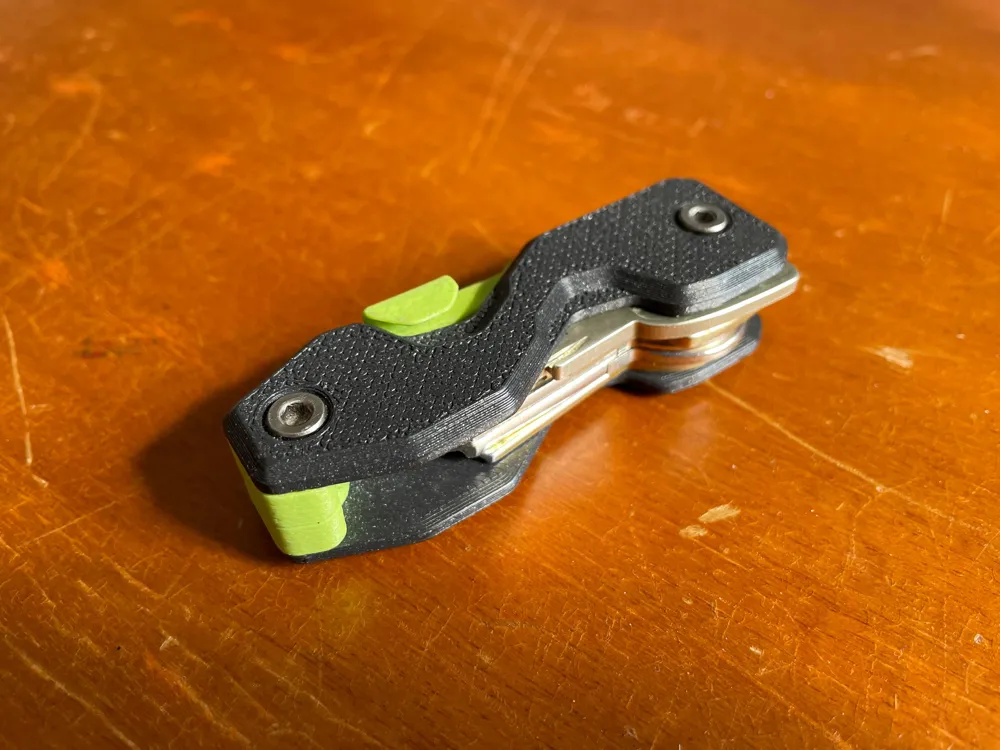
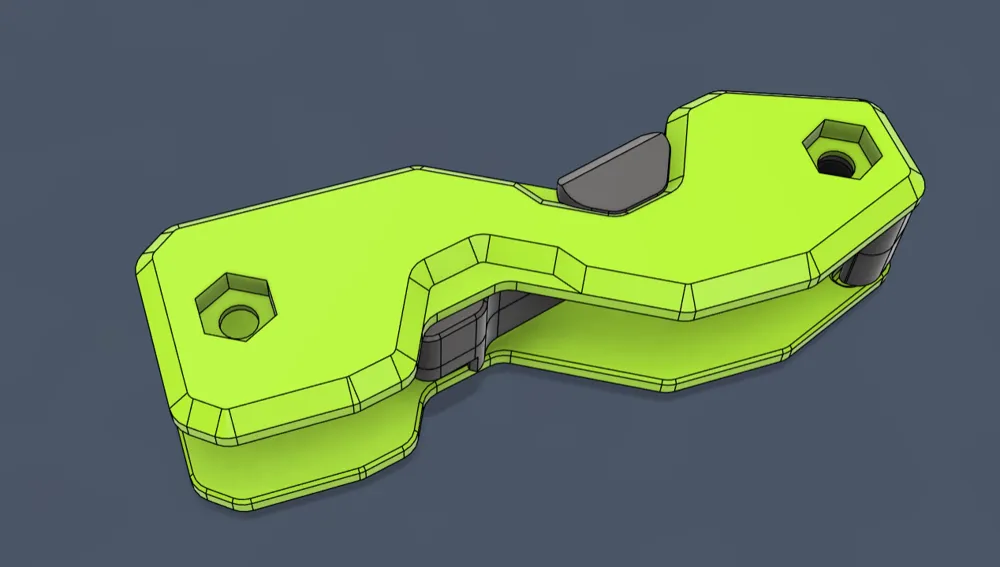
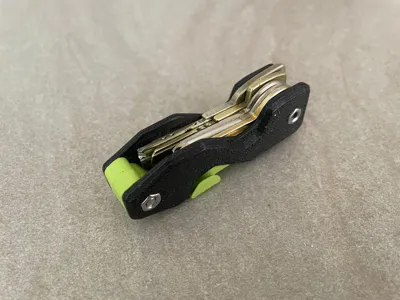
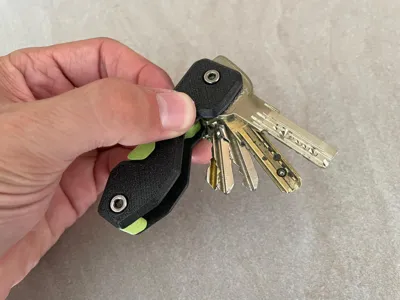
- Single - Compact M4 : for 4 or 5 keys, has a 12mm max space because it uses a release mechanism
- Single - Compact M3 : the same model but compatible with M3 screw and nut
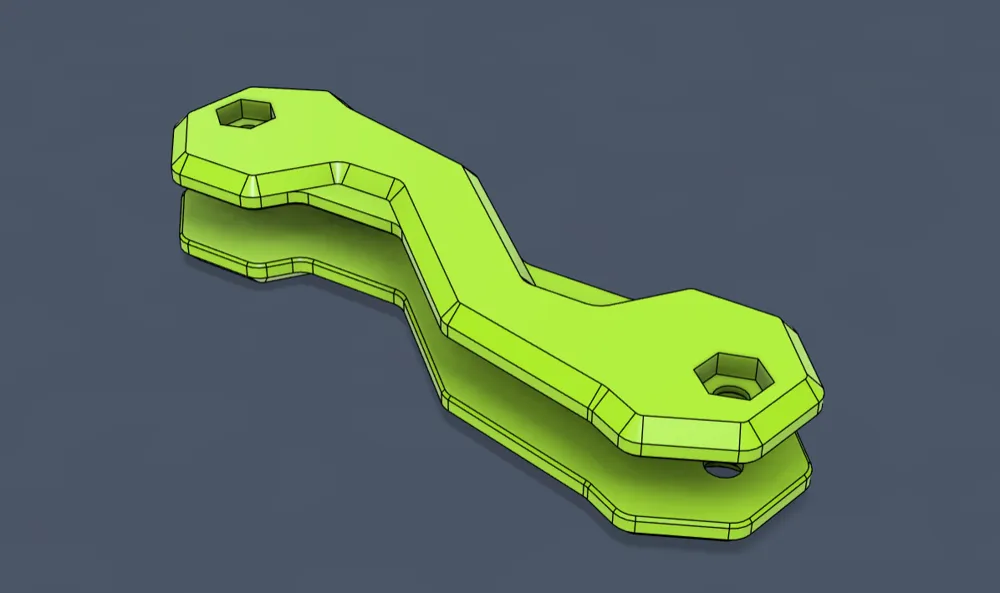
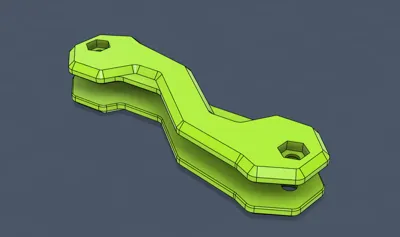
- Double : for as many keys as you want, just use the right screw length for you
HARDWARE
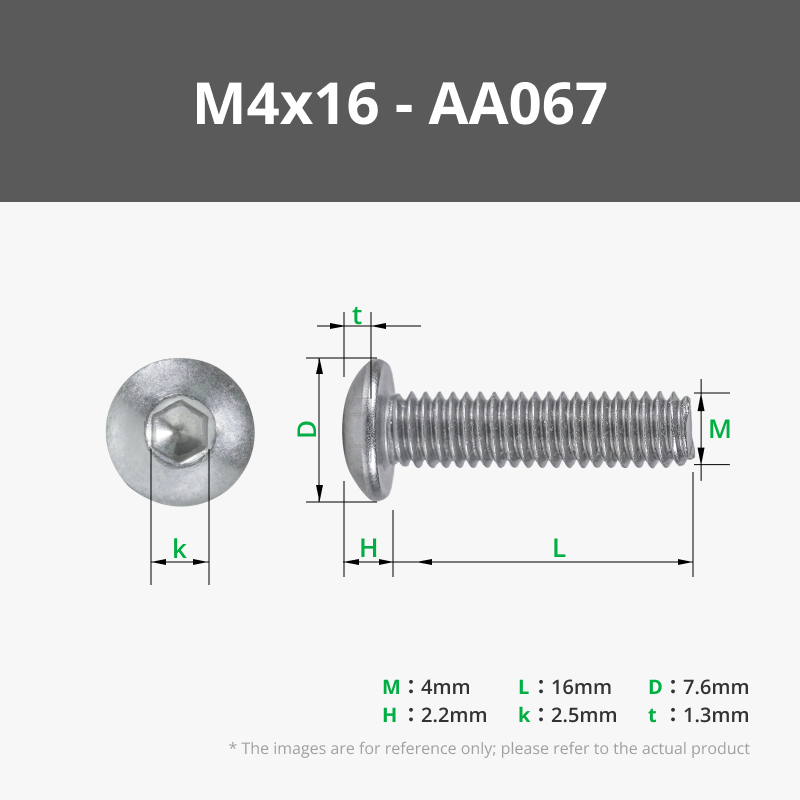
- 2x M4 Flat Head Cap Machine Screws (20mm long for the compact version) or M4x16 BHCS Machine Screw
- 2x M4 Carbon Steel Hex Nut
- 1x M3x10 SHCS Machine Screw
PRINTING AND ASSEMBLY
Double:
Print the bases in any color or material you want. Strong materials are preferred for durability.
You can place spacers between the keys for improved spinnability or adjust their Z-height to replace a missing key. Use as many as you need.
Place the nuts in the Base Pt2 and the M4 screws in the Base Pt1. Insert the keys through the screws using the spacers where needed. Place the Base Pt2 on the top and tighten the screws. Adjust the final tension, allowing the keys to spin.
Single:
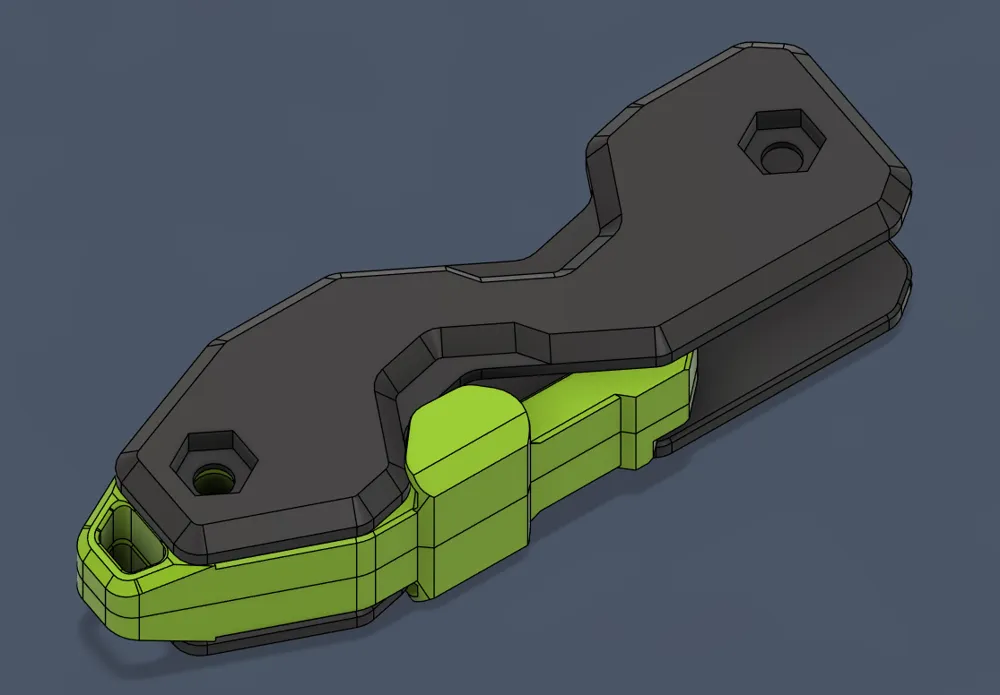
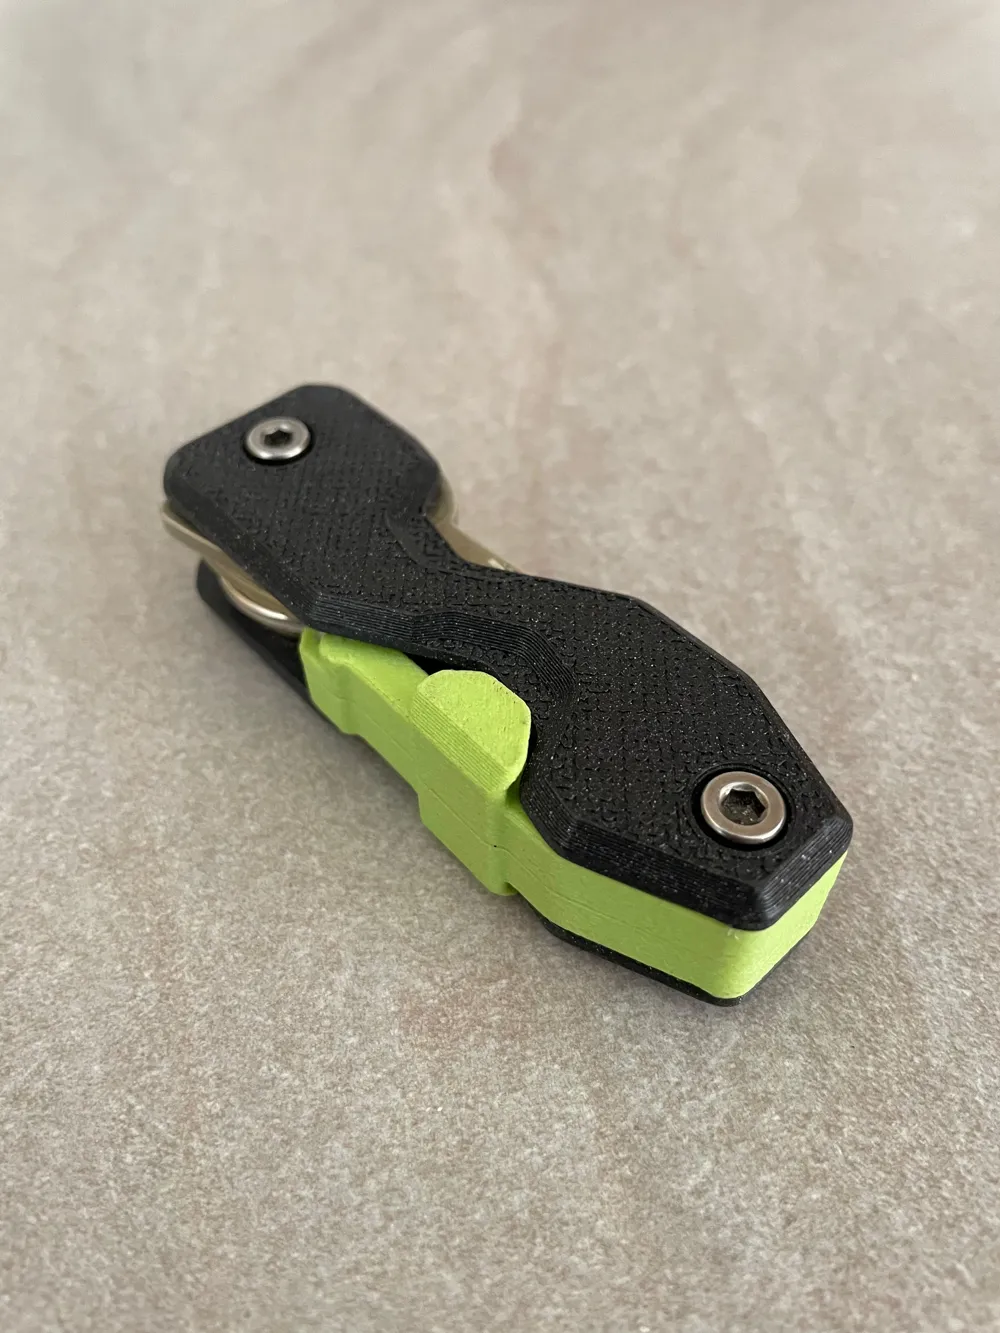
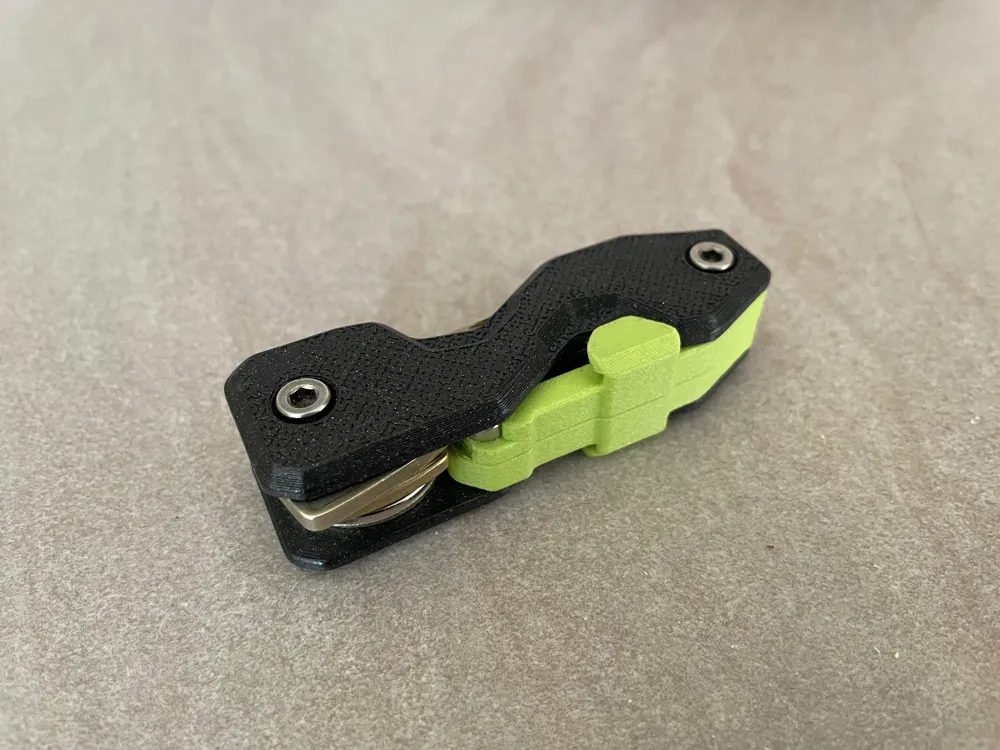
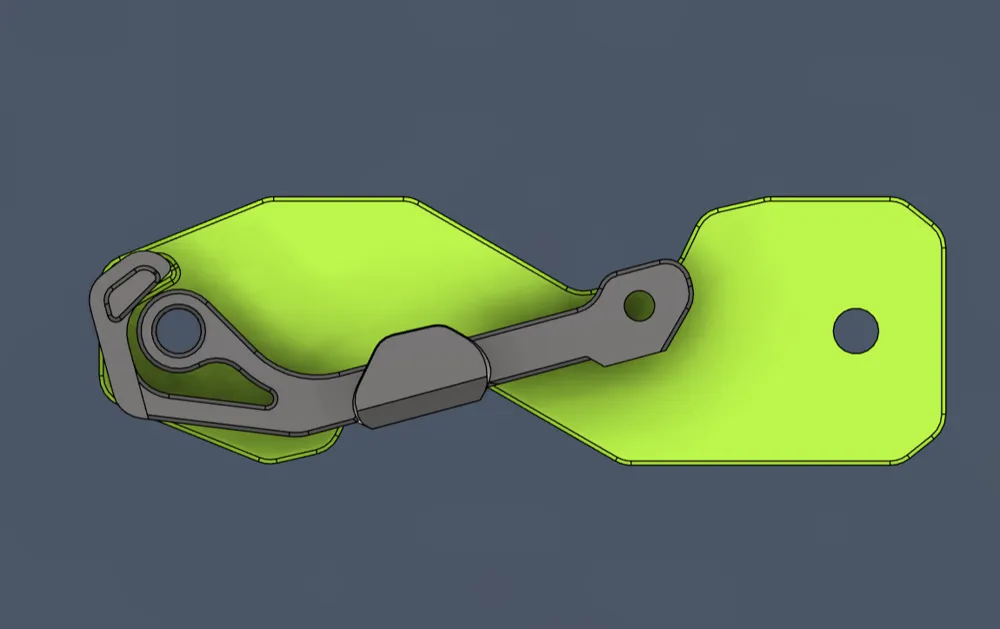
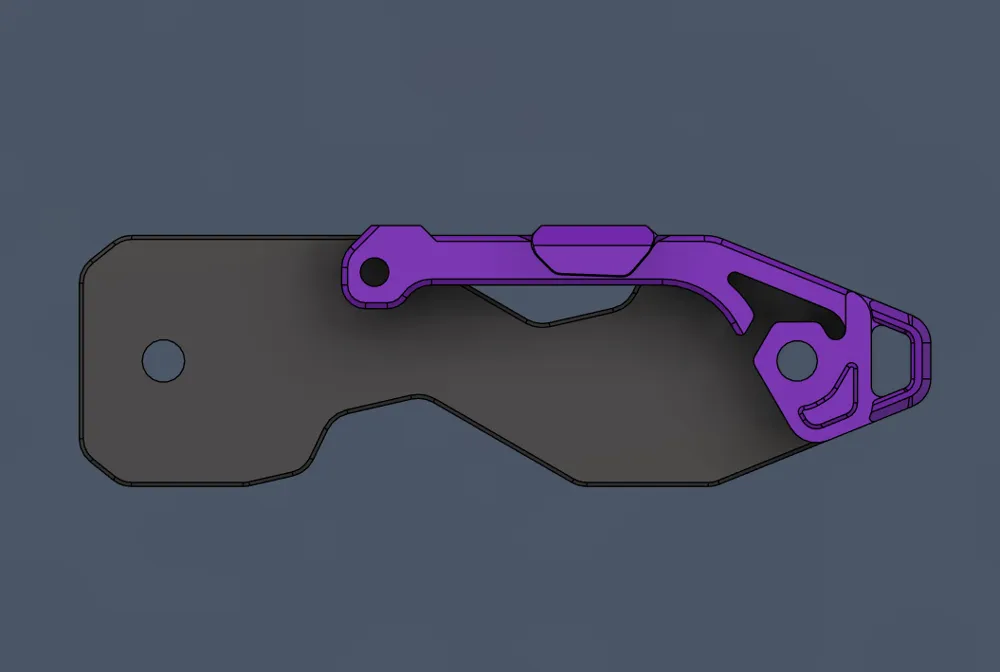
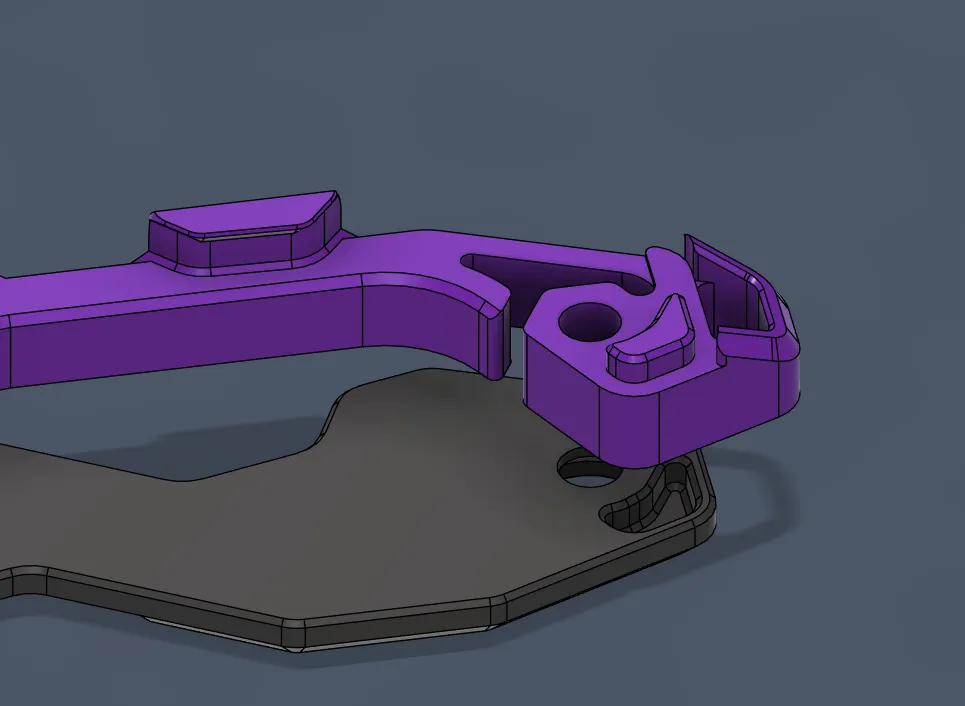
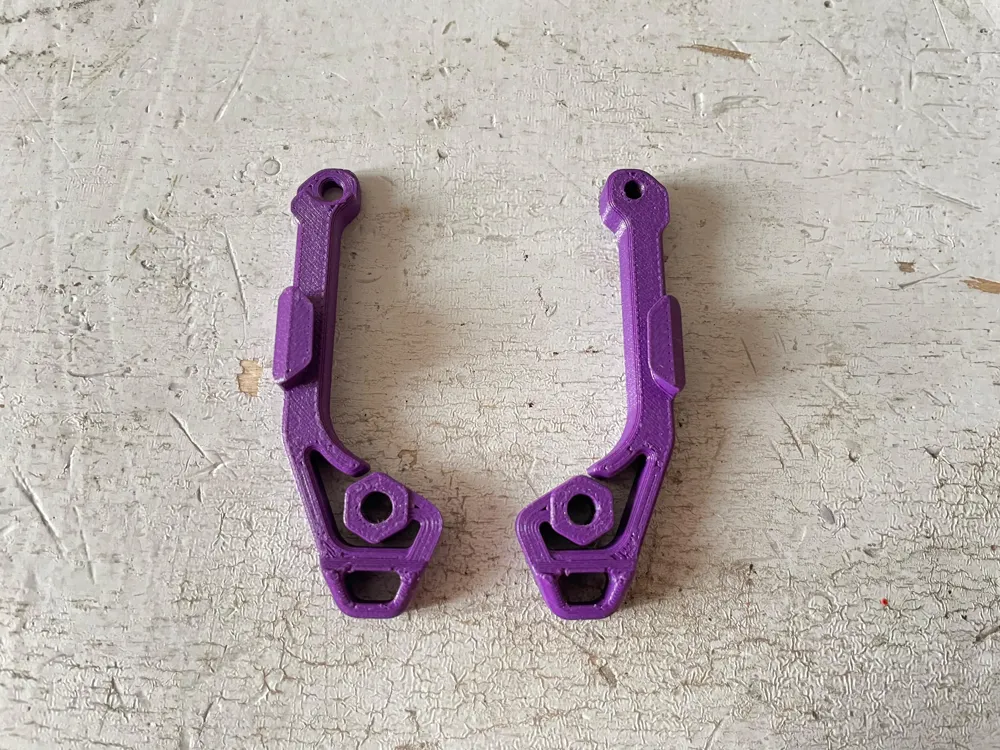
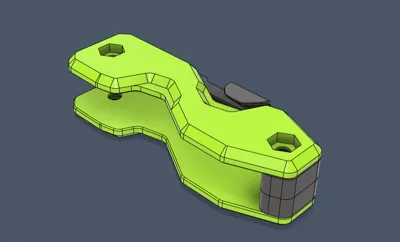
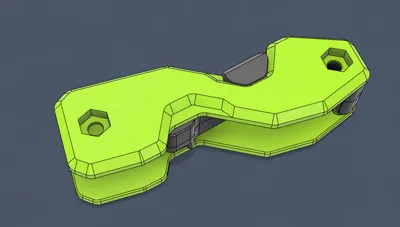
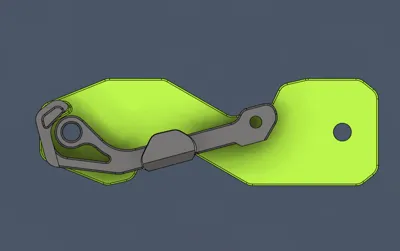
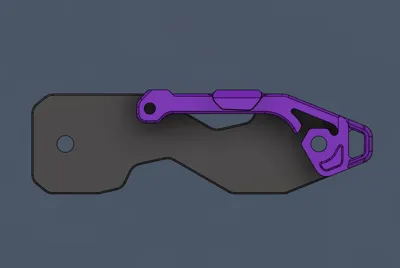
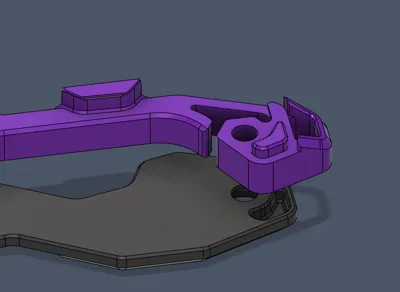
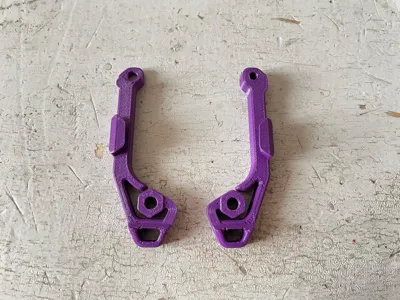
Avoid AMS printing. In the 3mf file, I colored the parts for aesthetic reasons, but you can rearrange them into more plates. Print the bases in any color or material you want. Strong materials are preferred for durability. The lever could break under use, so I suggest printing it in a PA filament. The levers have integrated supports that need to be removed gently after printing.
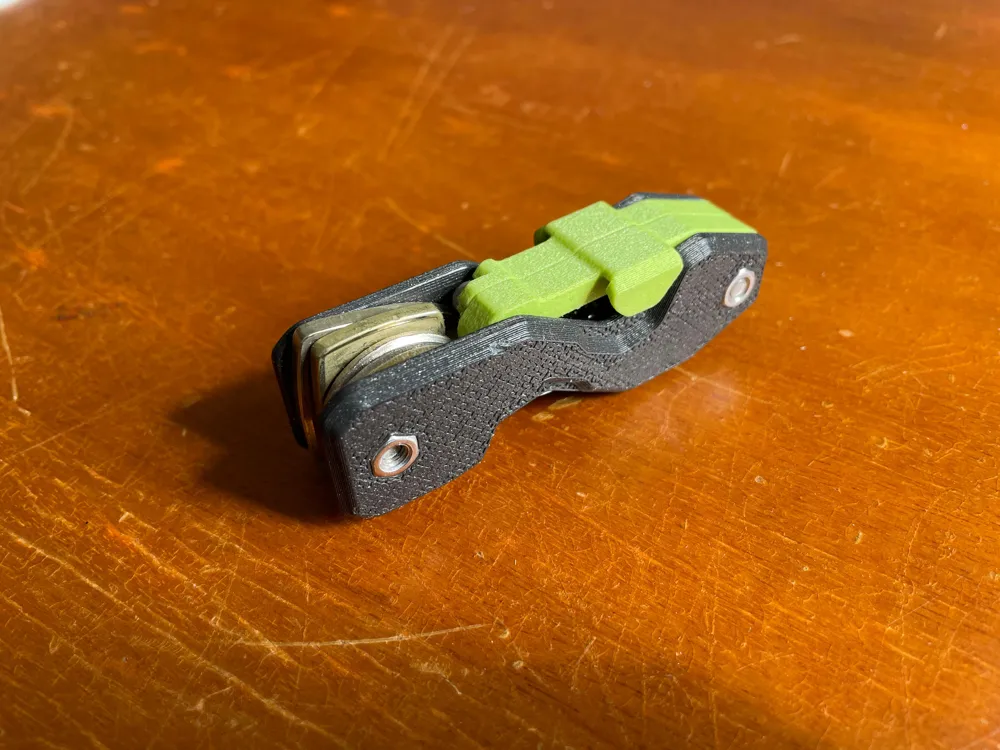
Lever assembly: the two lever parts have to be fixed together using two short pieces of filament (4mm) in the two holes and an M3x10 screw in the bottom hole. It is designed to protrude 2mm to fit into a groove on the base. Place the nuts in the Base Pt2 and the M4 screws in the Base Pt1. Place the Lever Assembly on the pointy side of the base: the pin should fit in place. Insert the keys through the screw on the flat side of the base, using the spacers where needed. Place the Base Pt2 on the top and tighten the screws.
USE
For the double version, just push from the other side of the key you need. For the single version, you need to push on the lever. I know it does not work great because of the friction: while you push the lever, there is the pressure of the hands on the base, increasing the sliding friction, but I still like it, and at the moment, I don't know how to optimise it.
License

You may create derivative works based on this object, provided that all such derivative works are published exclusively on the MakerWorld platform and include proper attribution to the original creator. You may not share, upload, host, distribute, or publish this object—or any derivative work of this object—on any other digital platform, marketplace, or distribution channel. Commercial use of this object and any derivative works is strictly prohibited. This includes, but is not limited to, selling, renting, sublicensing, or using the object in any context in which you receive monetary compensation or other financial benefits.


Comment & Rating (56)