
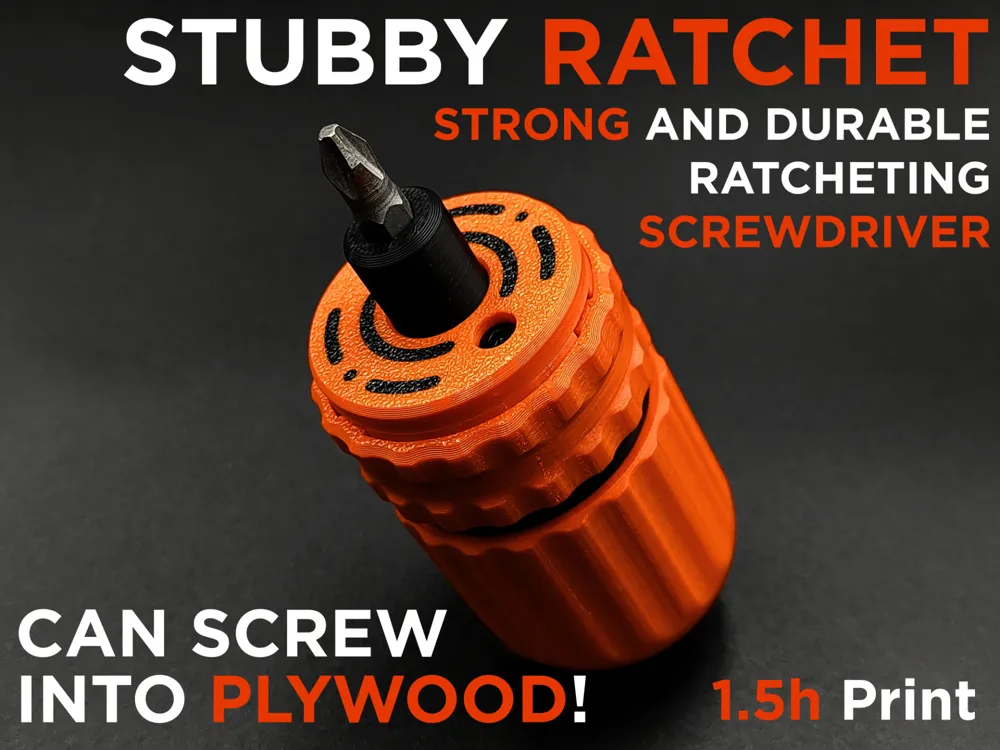
Strong Reversible Ratcheting Stubby Screwdriver
Print Profile(5)


Bill of Materials


Description
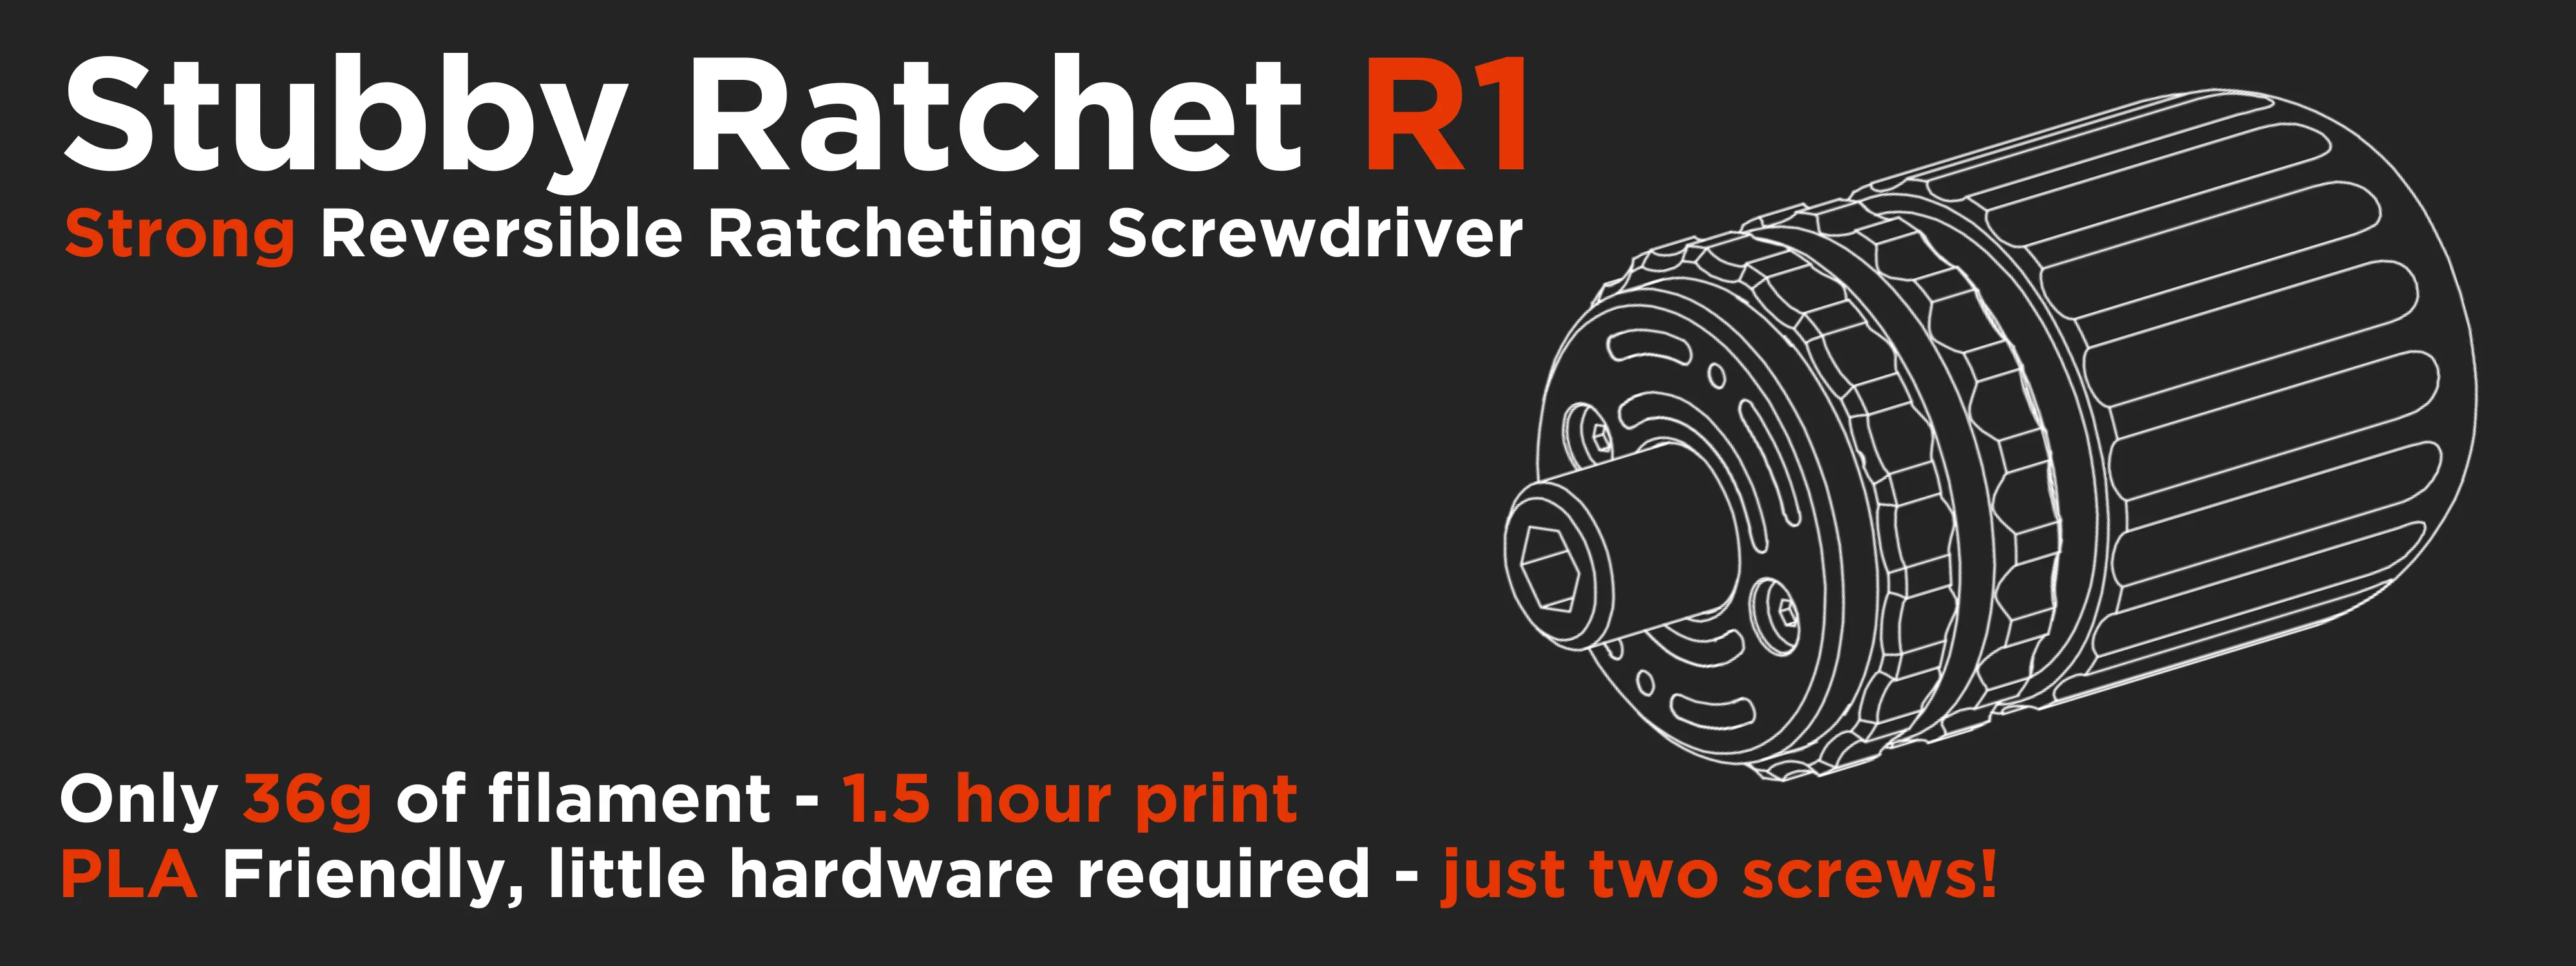
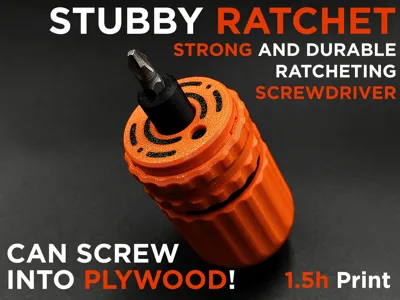
Print takes 1.5 hours NOT 10 hours - makerworld shows the sum of all 6 plates and you only need to print one plate!
This screwdriver can drive wood screws into a particle board, plywood or even soft wood, while being printed in regular PLA (with pre-drilling), here's a video showcasing just that (tested with a wood screw with a thread diameter of 4.5mm):
The two screws that are required are the same ones from when you unboxed your printer, you can use them!
Just remember, this model doesn’t bend the laws of physics. As I said, use only for lighter applications (if you want to drive a screw into wood, please make sure to pre-drill) - if you need more torque, go with my Pocket Ratchet R2 instead - it's much stronger.
Overview of the project:
Pocket Ratchet users probably know the drill by now :p.
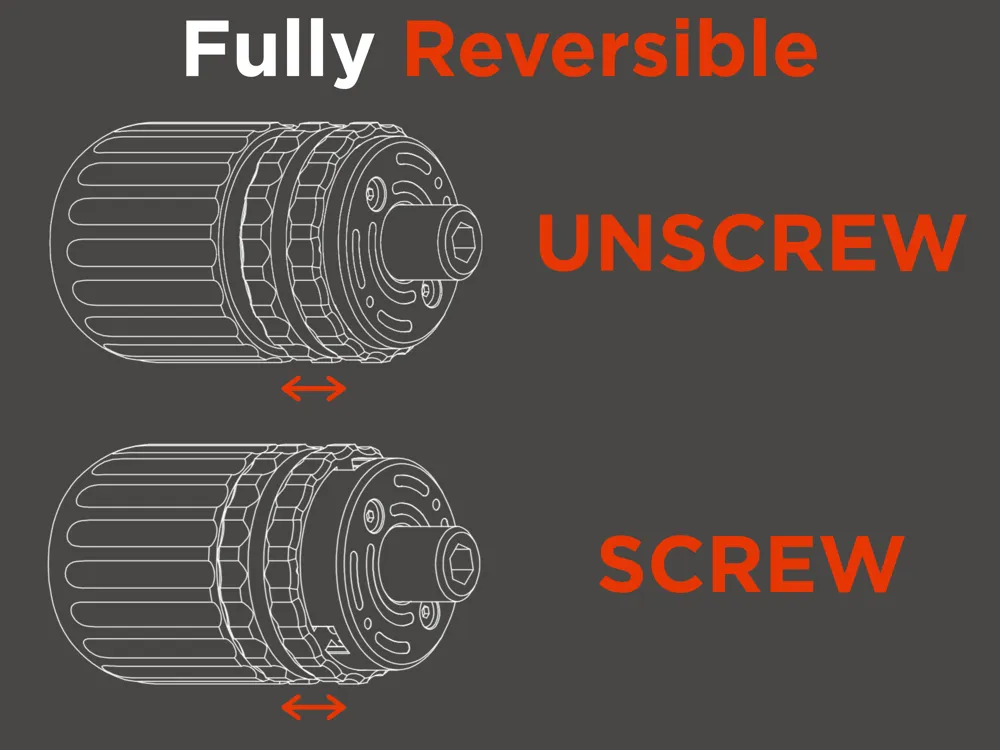
I wanted to print a reversible ratcheting screwdriver but all the designs out there were not strong enough.
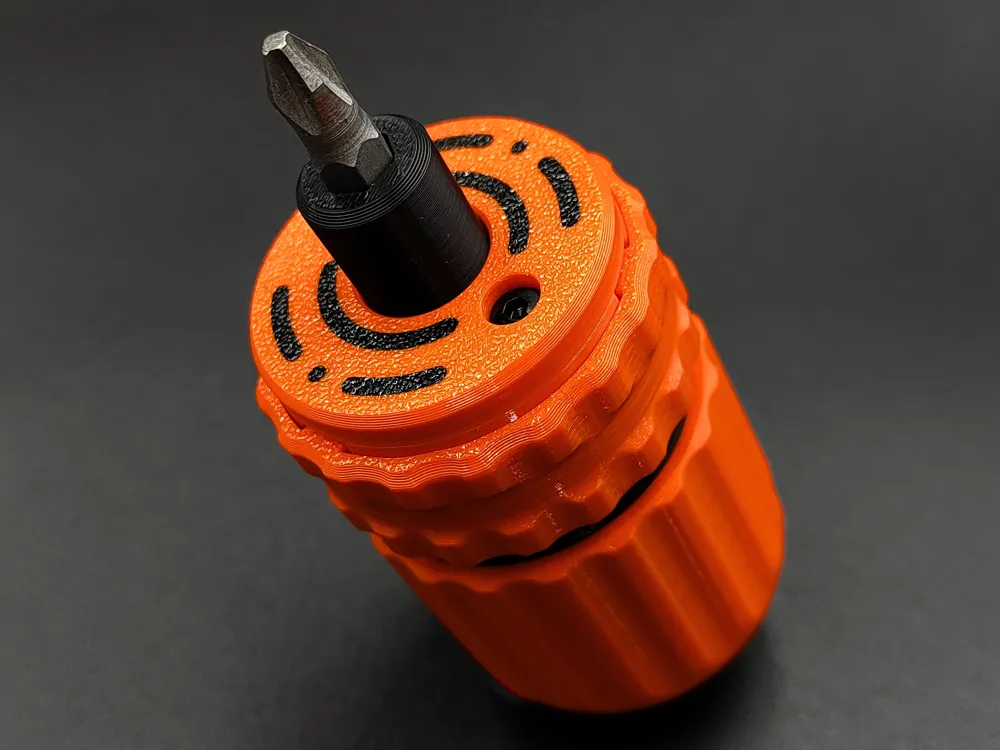
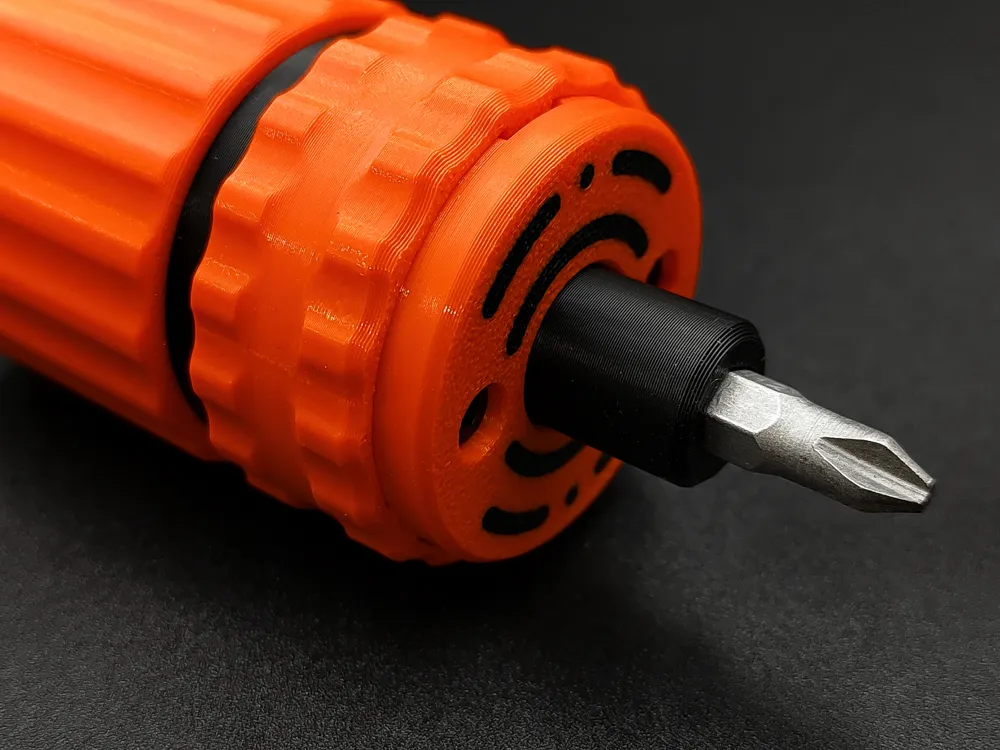
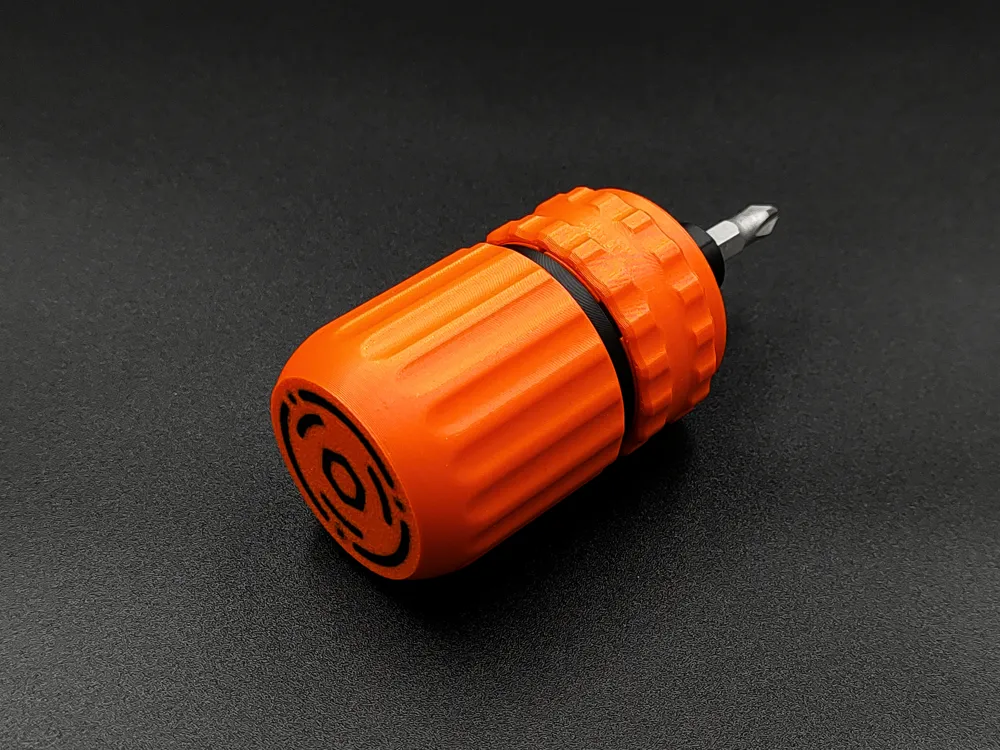
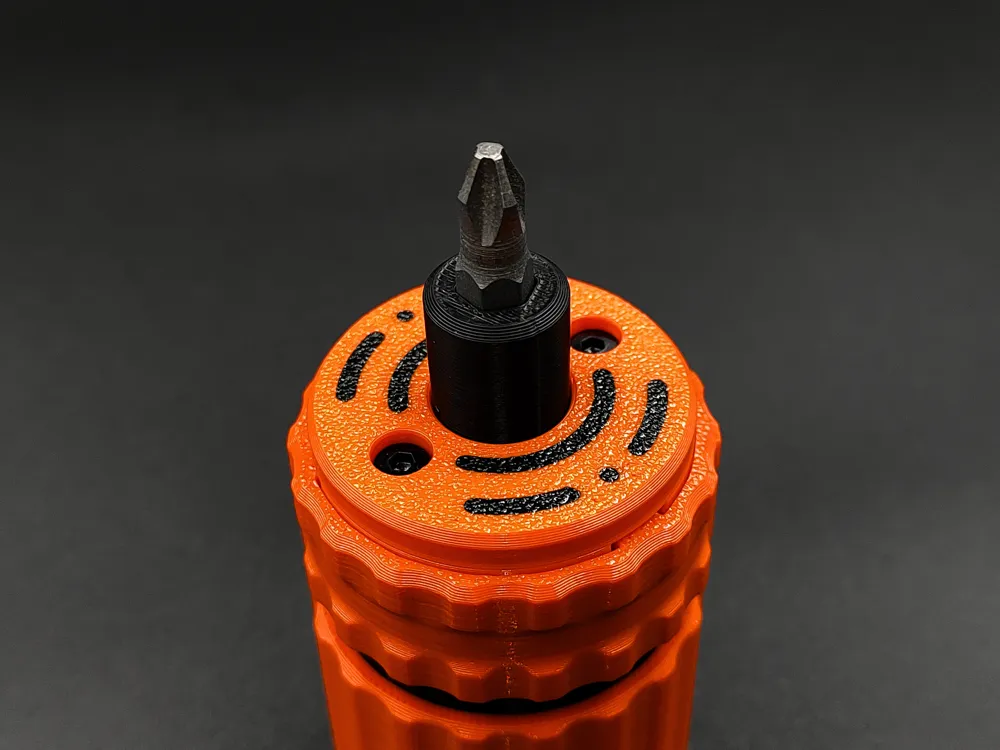
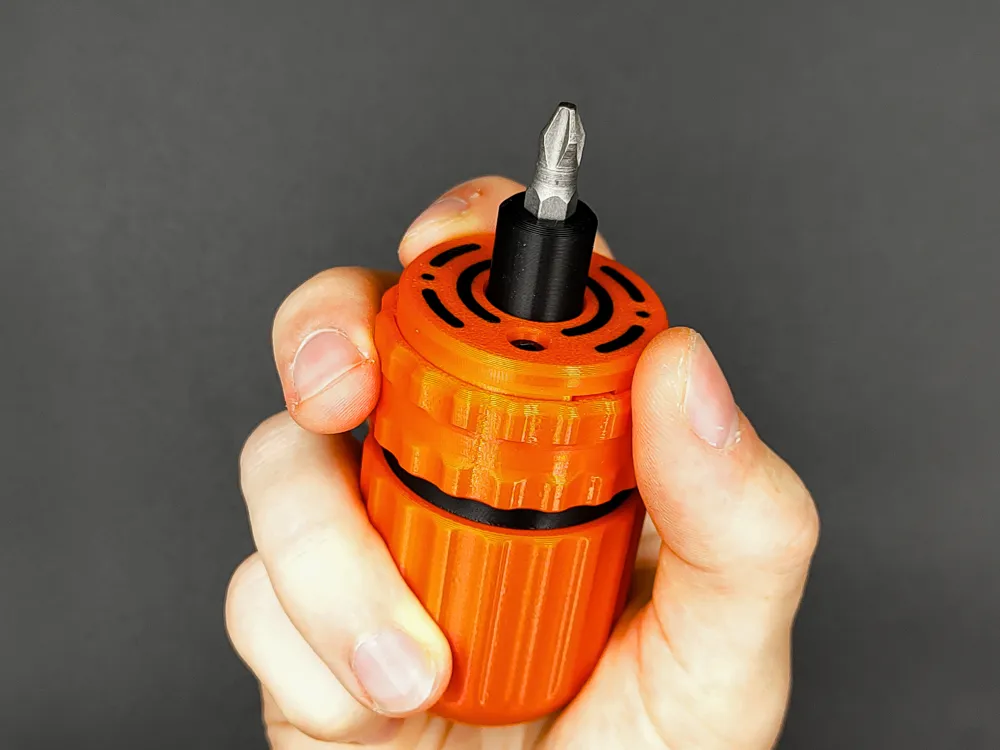
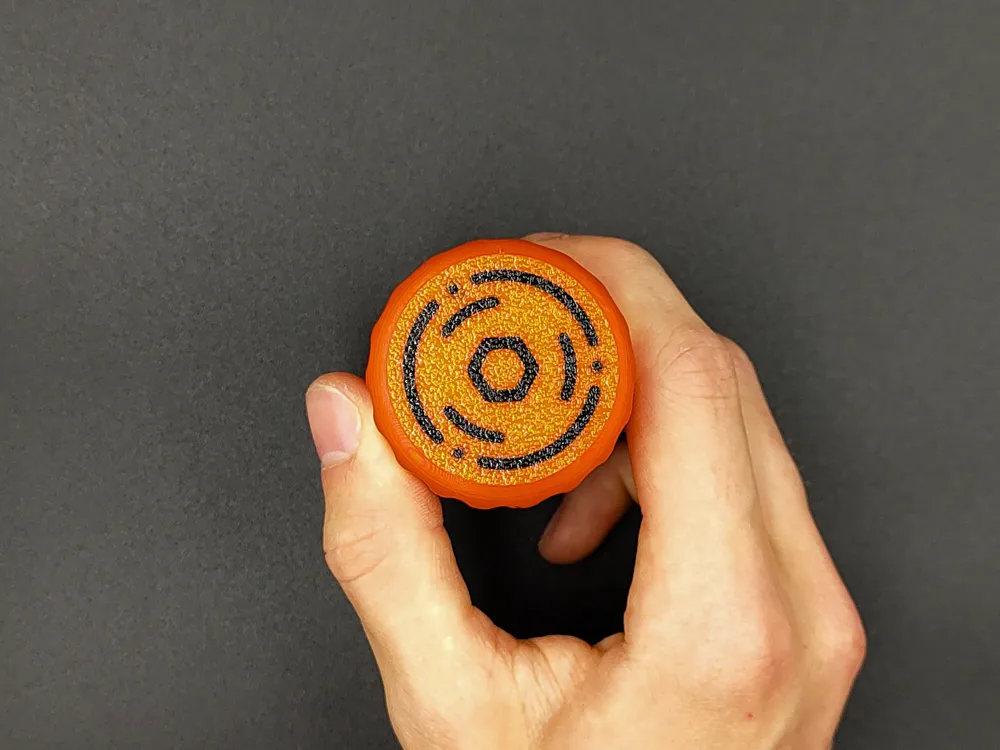
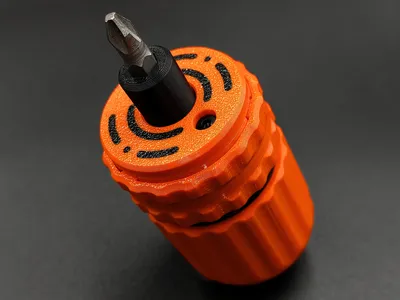
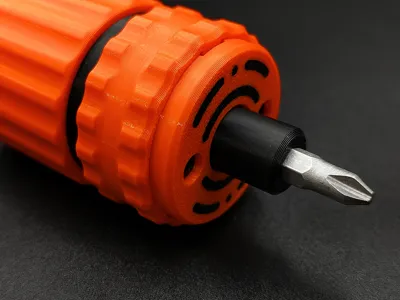
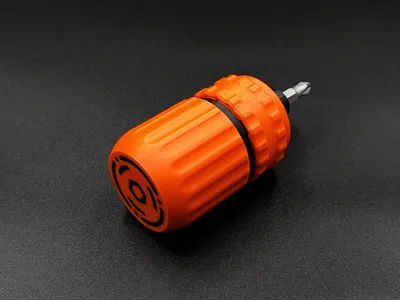
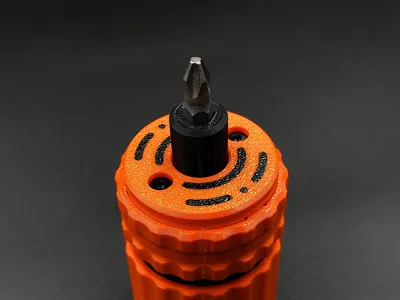
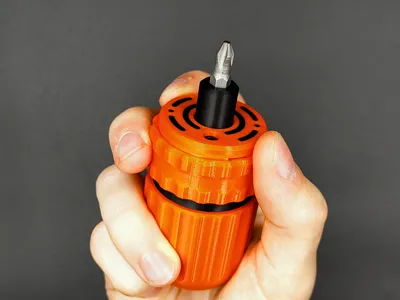
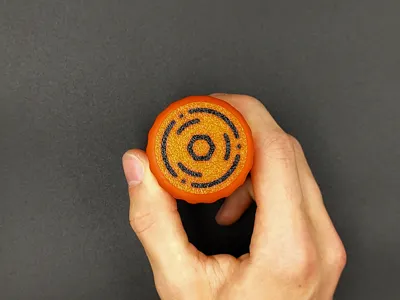
So I went and designed the Stubby Ratchet R1 - fully 3D printable ratcheting screwdriver that is strong and easy to assemble, you can actually use it like a tool, without it breaking after a single use.
So whenever you are in a pinch and need a screwdriver that just gets the job done, or just want to play around with it and check what's possible with 3D printers, Stubby Ratchet R1 is the way to go!
When printed in Bambu Lab PLA Basic, max torque is ~1.2Nm.
This model really pushes the limits of what you can do with 3D printed PLA, in fact it took me over 100 prototypes to get it to work well - so enjoy :)
Printing Guide:
Start by selecting a print profile for your printer. Then choose the plate with the bit and magnet size you’re interested in, and decide whether or not to print with AMS. Two bit sizes are supported - ¼" (6.35mm) and 4mm precision bit.
- Turn on flow calibration! ("X1/P1" profile has more tolerance in the sprocket due to the P1S not having flow calibration)
- Do not use PLA Matte or other esthetic filaments!
- PLA and PET-G filament works great
- Clean your plate before printing!
- Small supports are present on the “Claw Unit” and “Assembly Casing” parts.
- Supertack or Textured PEI Plate recommended.
- 0.4mm nozzle recommended - do NOT use 0.6mm or 0.8mm nozzle.
If you don't have an AMS, you can select a non-AMS plate - you will still have the aesthetic features visible
If you can print it in more advanced materials, here's what I would recommend:
- "Screwdriver shell" - PA, ABS, ASA, PET-G
- “Claw Unit” - PLA, PET-G (Use PET-G if you want the ratchet to engage more smoothly, but its maximum torque is lower than PLA - best for light-duty use.)
- “Assembly Casing” - ABS, ASA, PET-G
- “Sprocket” - PC (or other wear resistant material)
Assembly guide:
The screws required for assembly are (self-tapping recommended) M3x8 - the maximum supported length is 15mm.
Here's a bit of a story about how designing this screwdriver went and how it works:
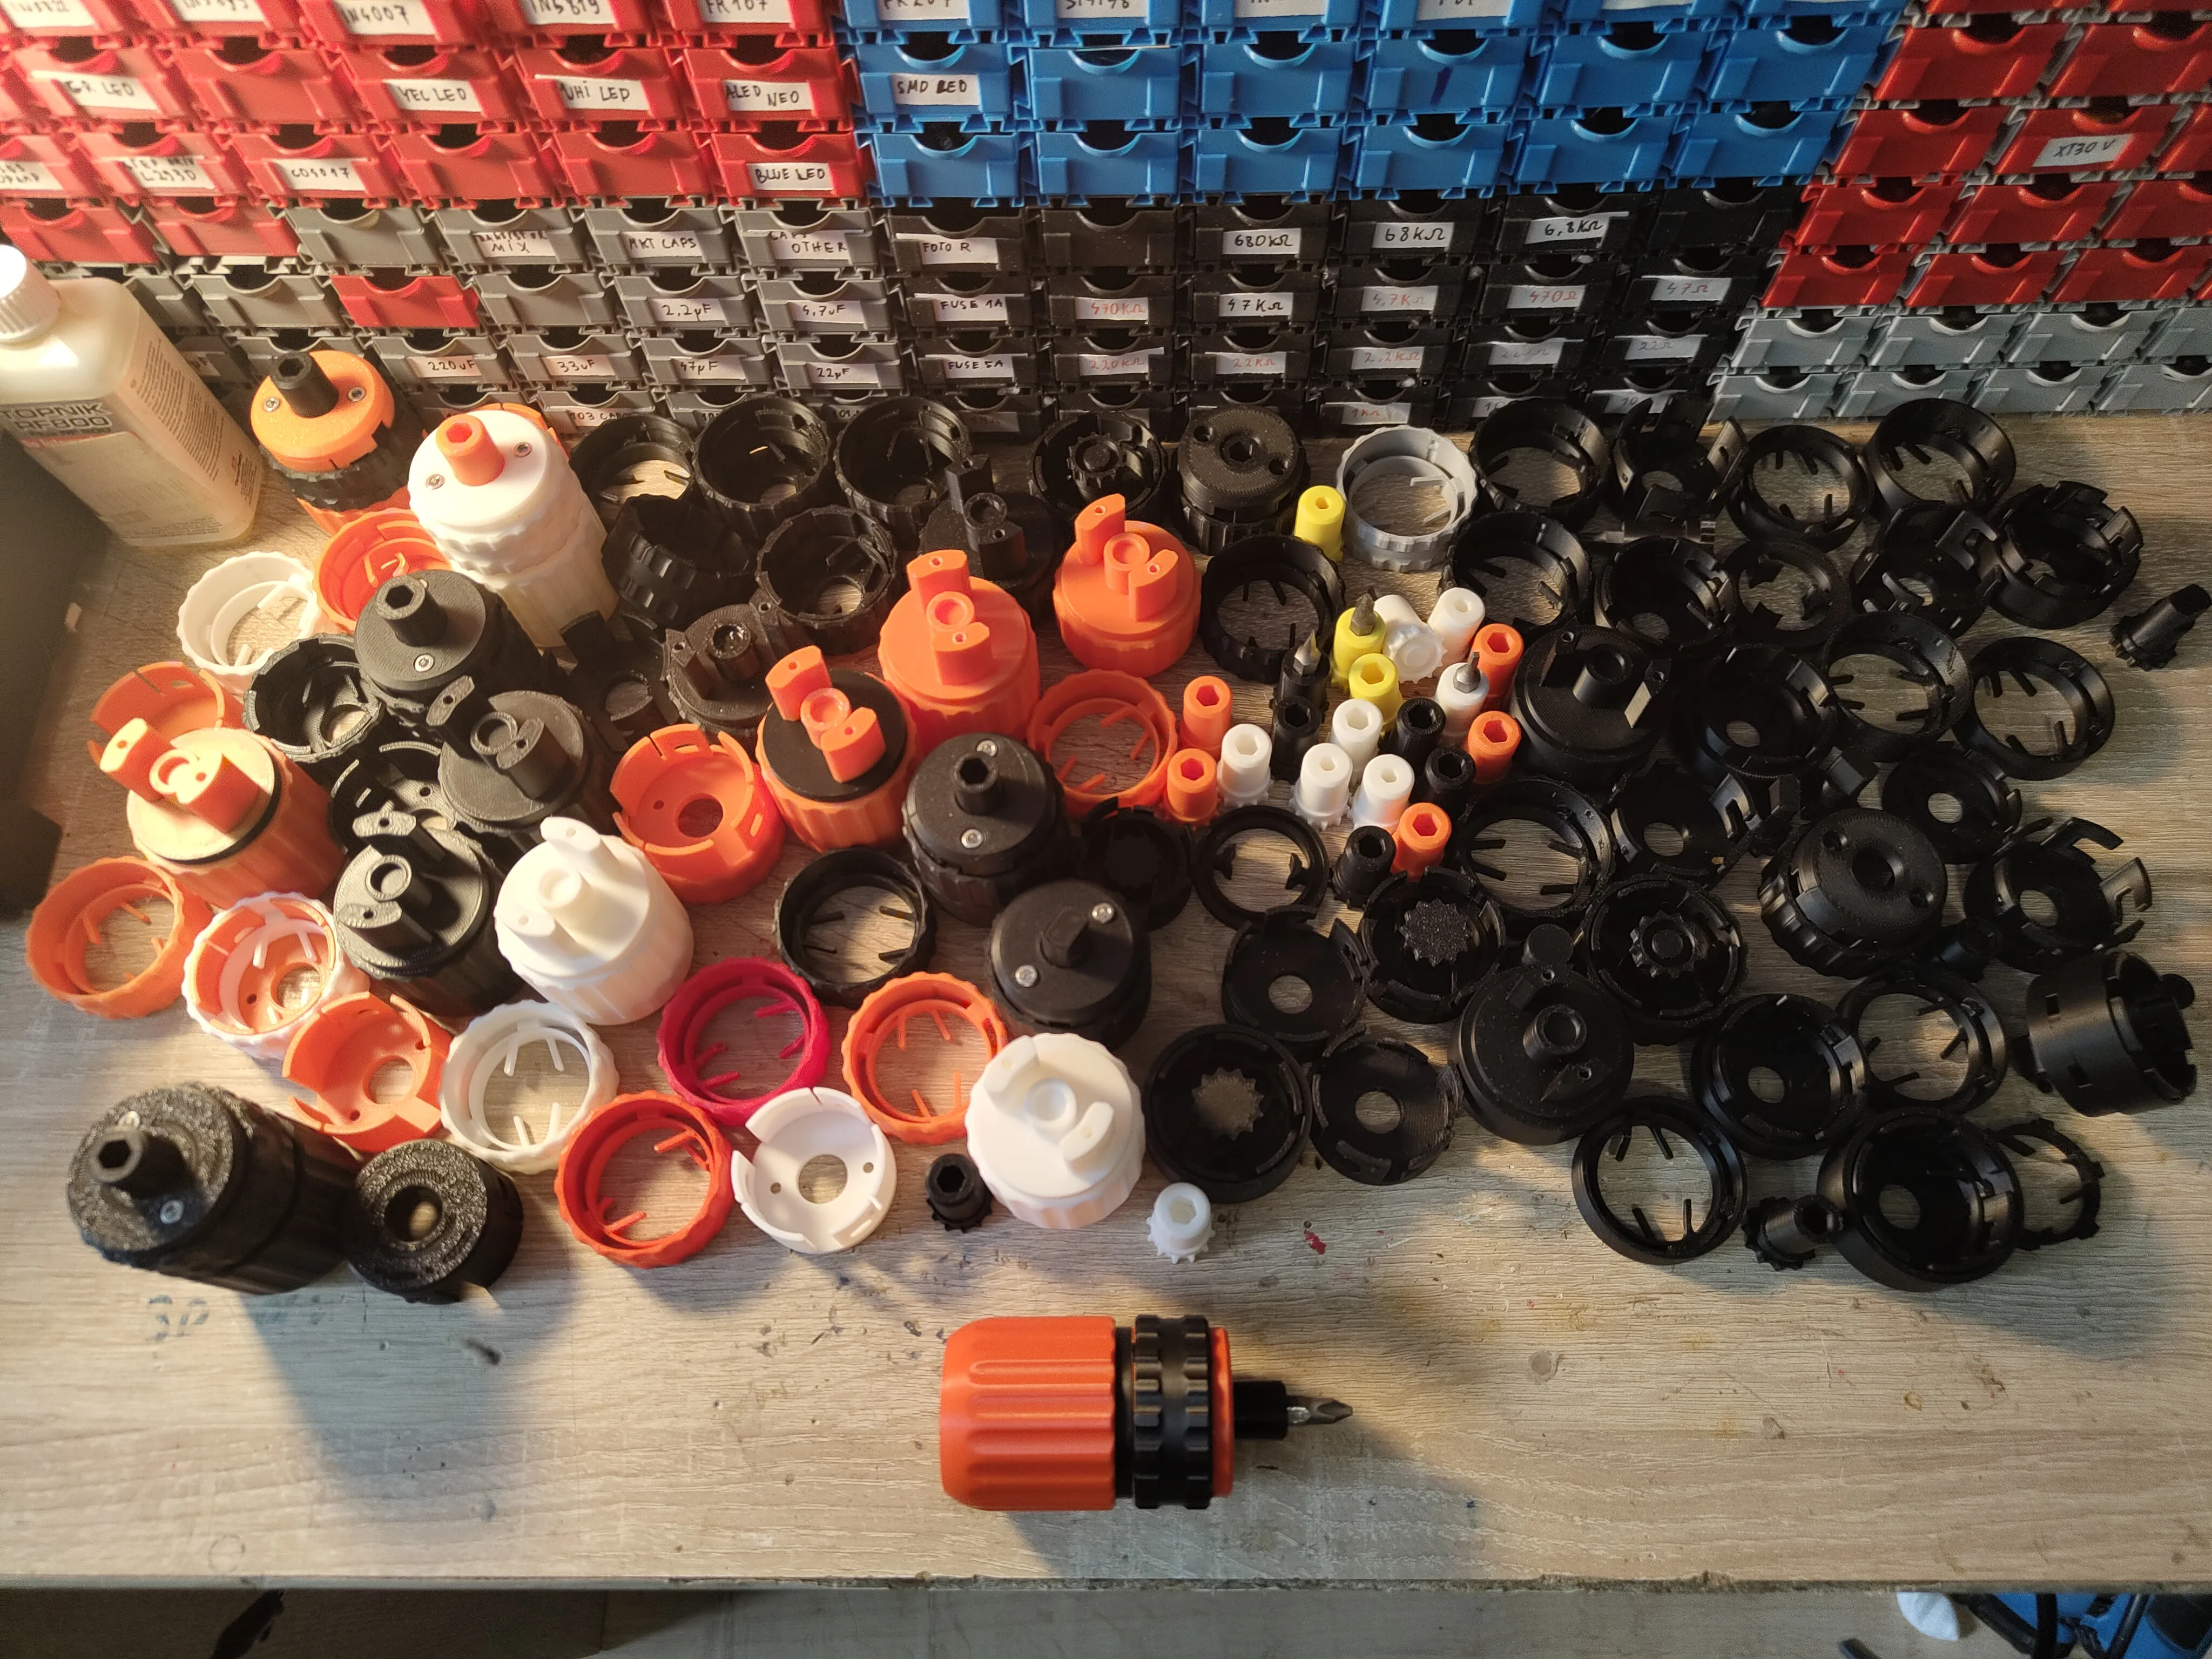
This was by far the most challenging model I’ve designed yet. I actually gave up twice before finally finishing it.
I started working on the Stubby Ratchet in May 2025. The goal was simple: make a strong, genuinely useful tool - just like my Pocket Ratchet R1 and R2. At first, I tried using a similar mechanism, but quickly realized plastic just couldn’t handle it. Everything was too small and weak to be reliable.
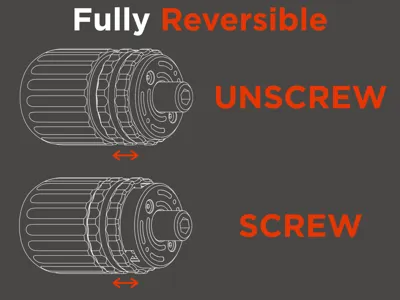
So I shelved it. Months later, I came back with fresh ideas. The main problem was leverage—the claws (pawls) didn’t have enough distance to flex properly when switching the direction of the ratchet. Making the ratchet wider wasn’t an option; it had to stay a screwdriver, not a disk. My solution: don’t bend the claws at all. Instead, use a movable selector ring that swaps between two pairs of claws, one for each direction.
That worked (after many prototypes), but another issue popped up: the claws still required too much force to engage. I tried everything -different shapes, sizes, cutouts, clearances. I printed more than 40 prototypes of the mechanism, and nothing felt right. I gave up again.
Then it hit me: if I can't do anything about the claw, maybe I can do something with the sprocket. So I designed a strange new tooth profile… and somehow, it worked on the very first try.
So that's the very simplified story of how I designed the thing, maybe one day I will make a video about it :)
If there’s one takeaway from this project, it’s this: don’t give up. The solution will come, sooner or later.
For me it took over 100 prototypes, but I think it was worth it!
Make sure to review the model and enjoy!
Special thanks to JLCCNC for supporting my project work!
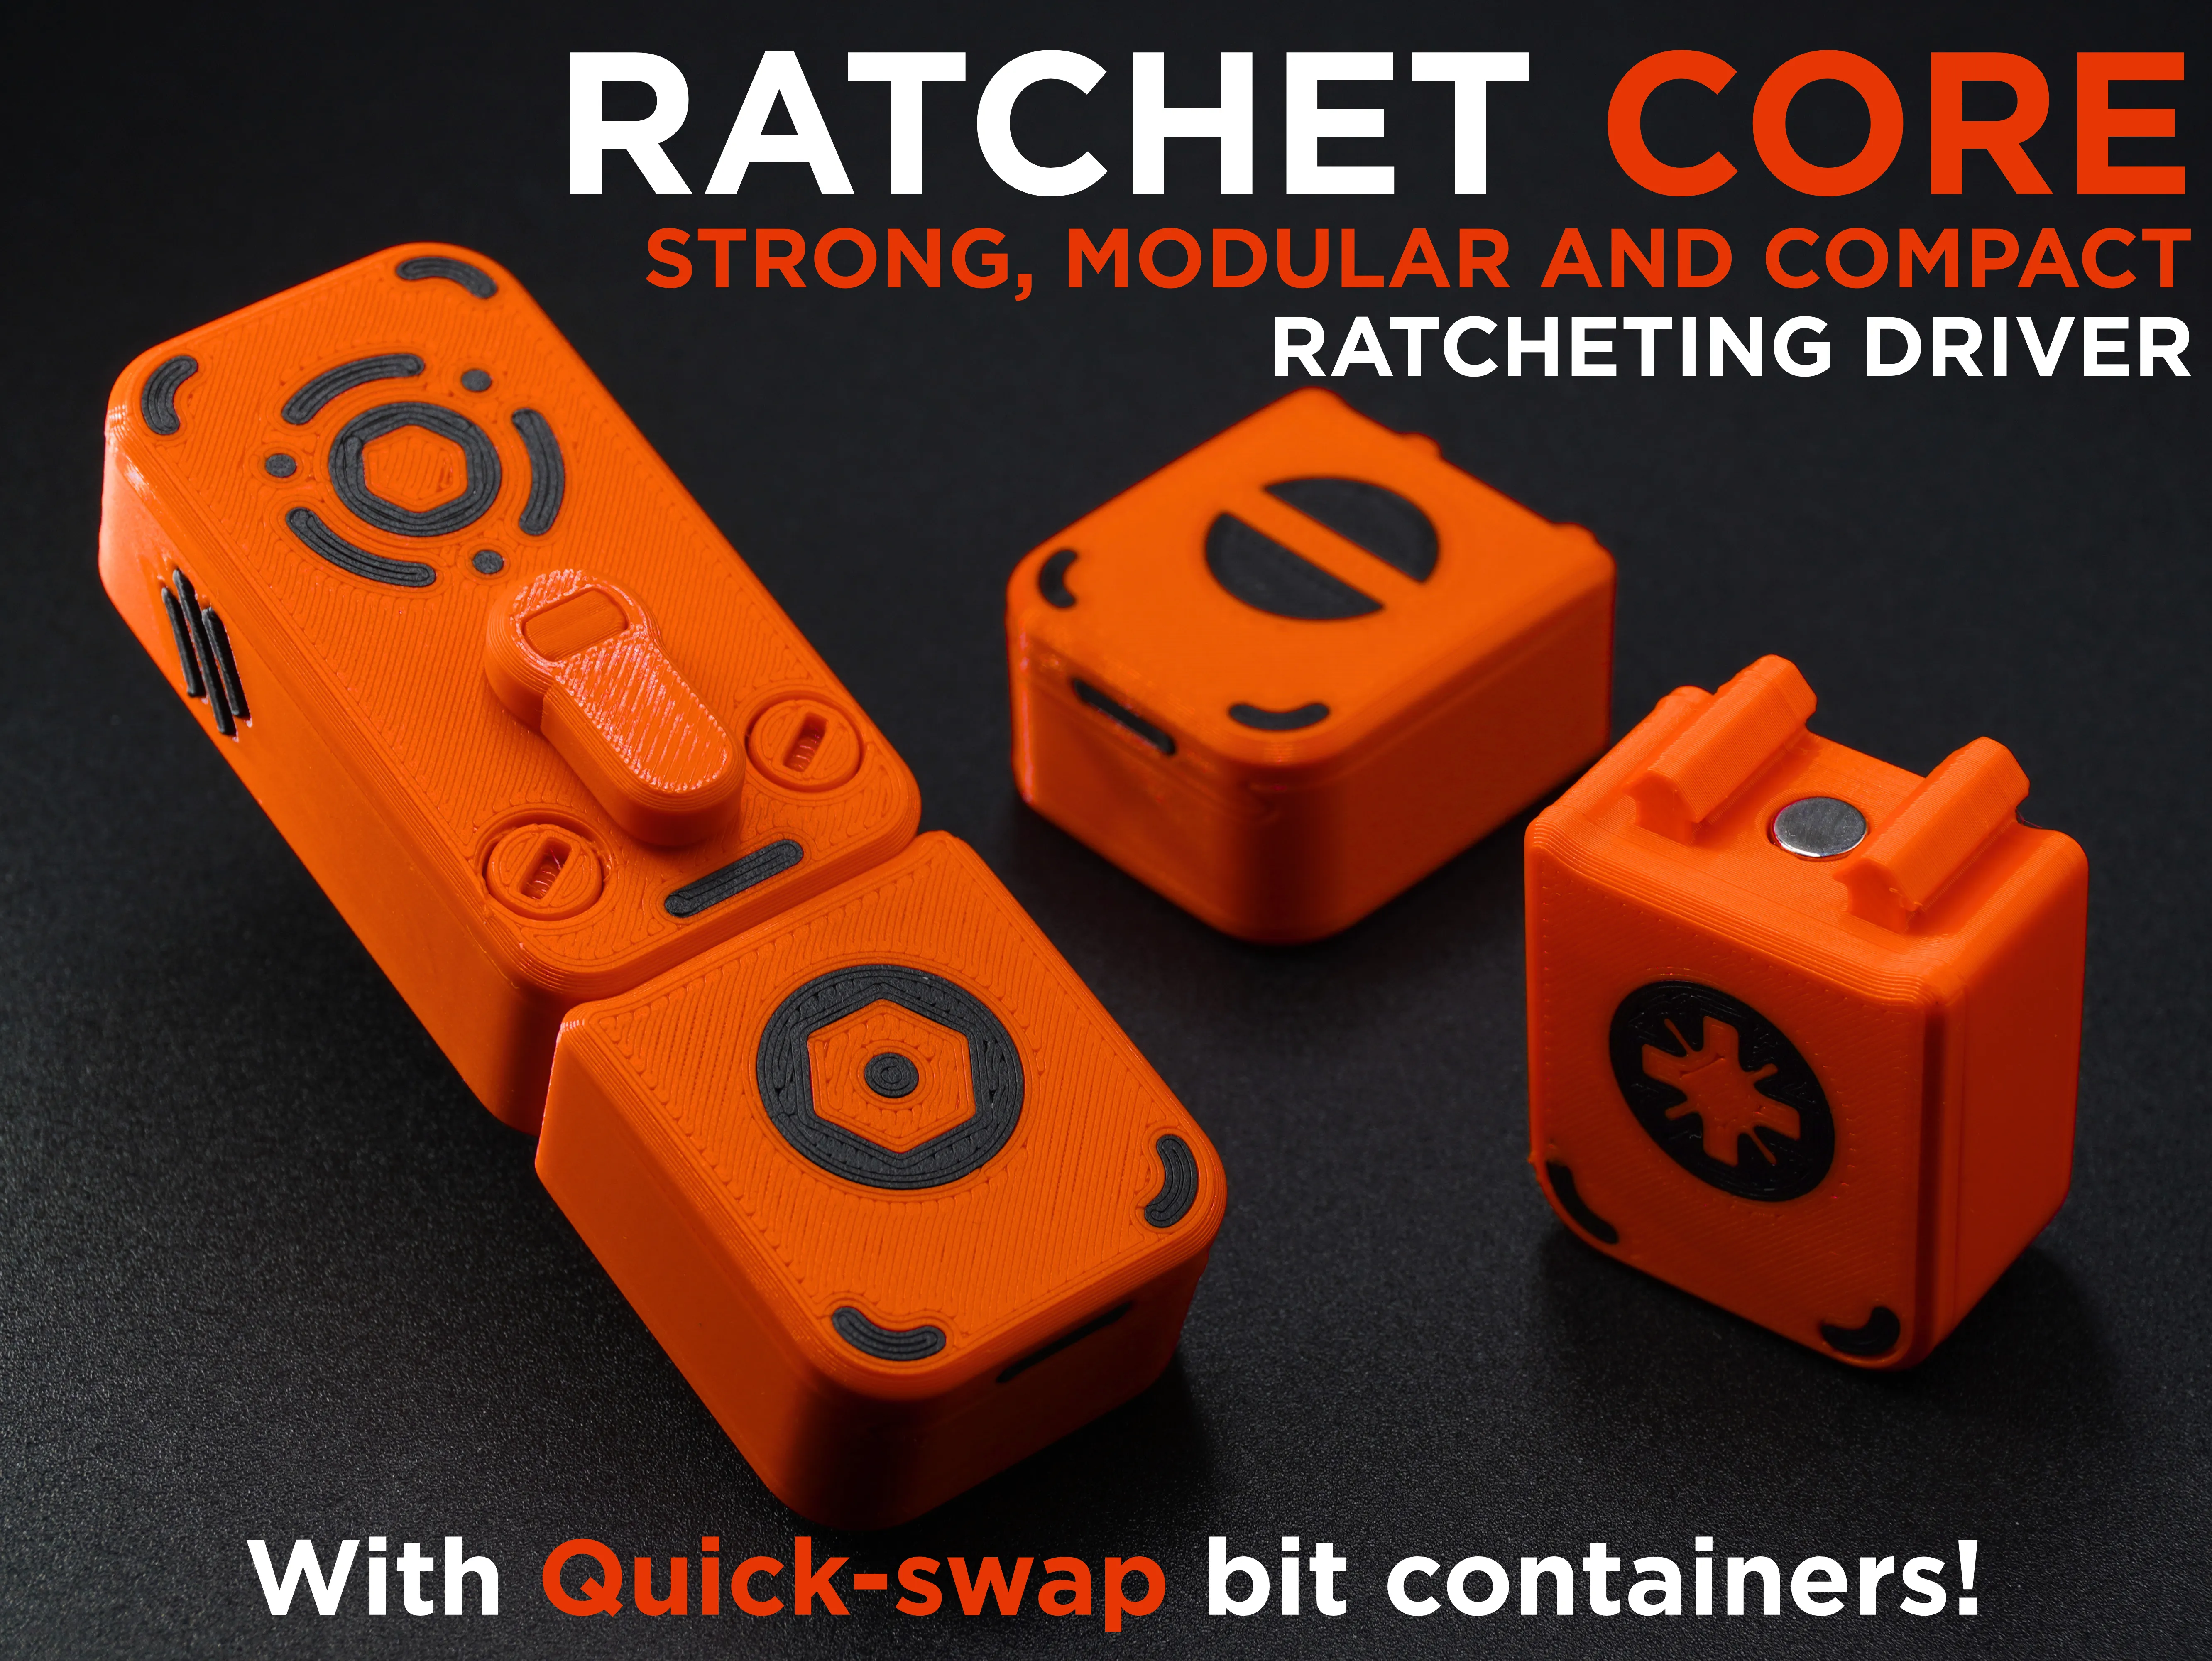 | 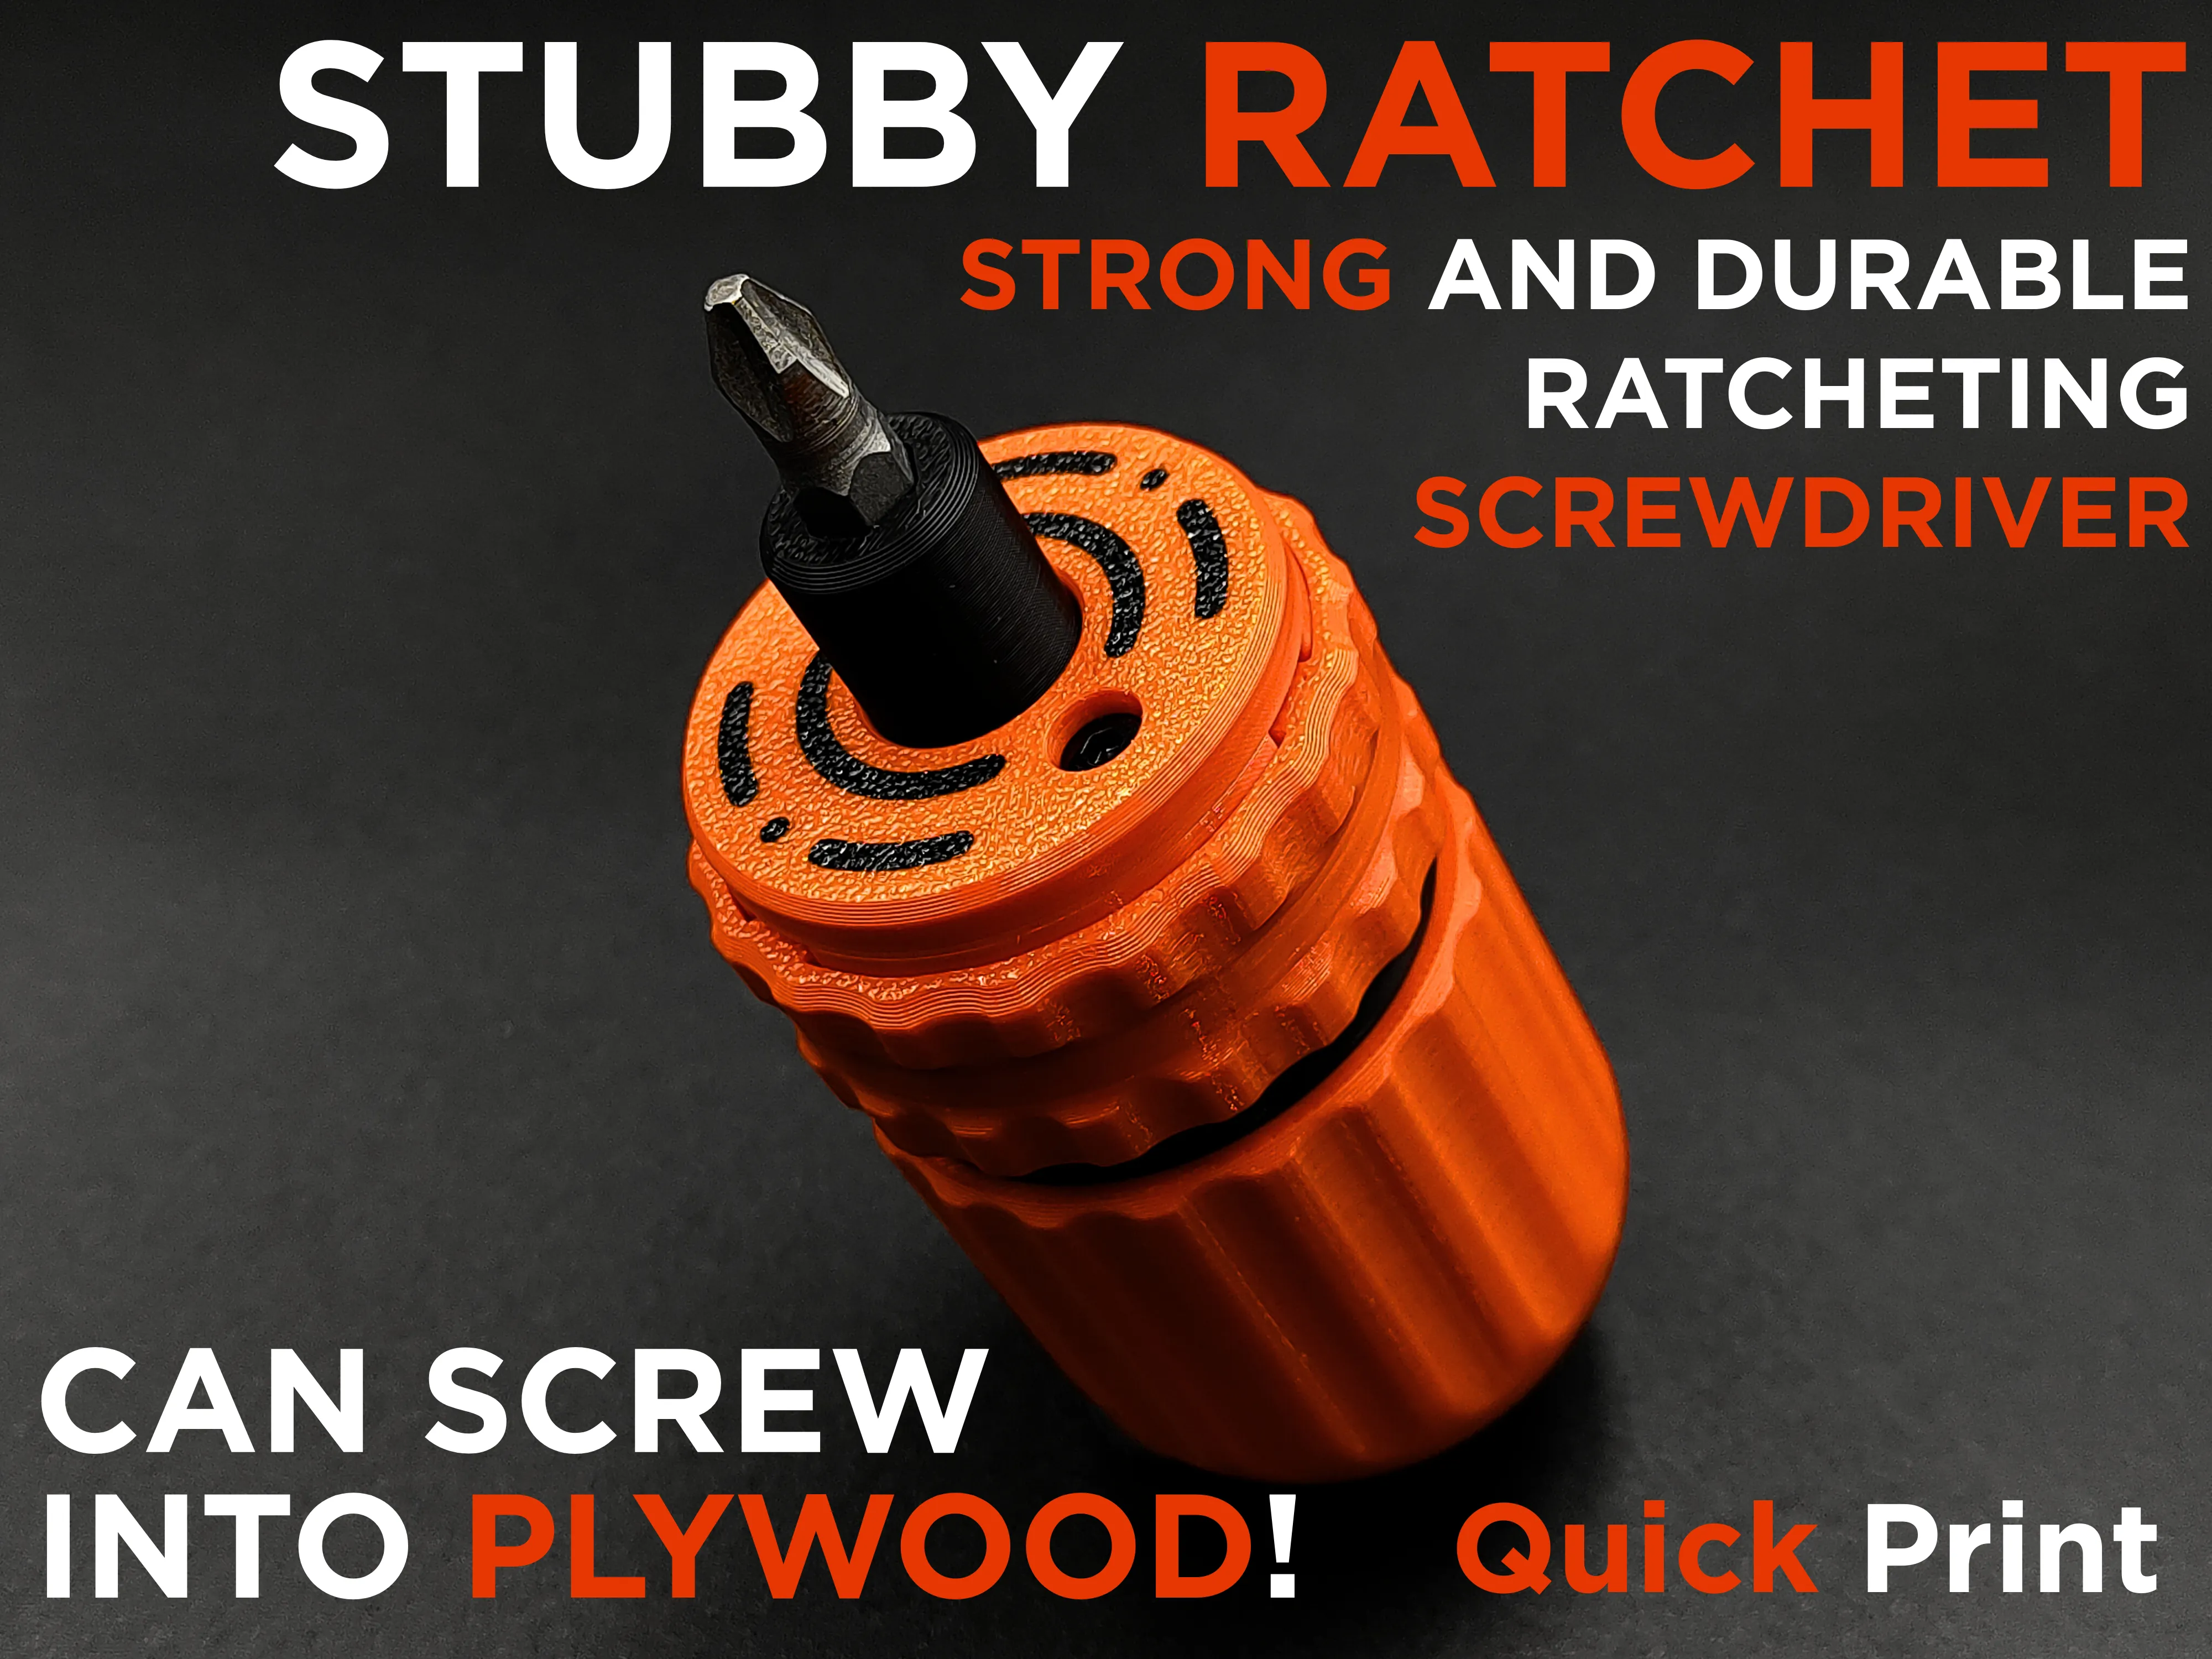 | 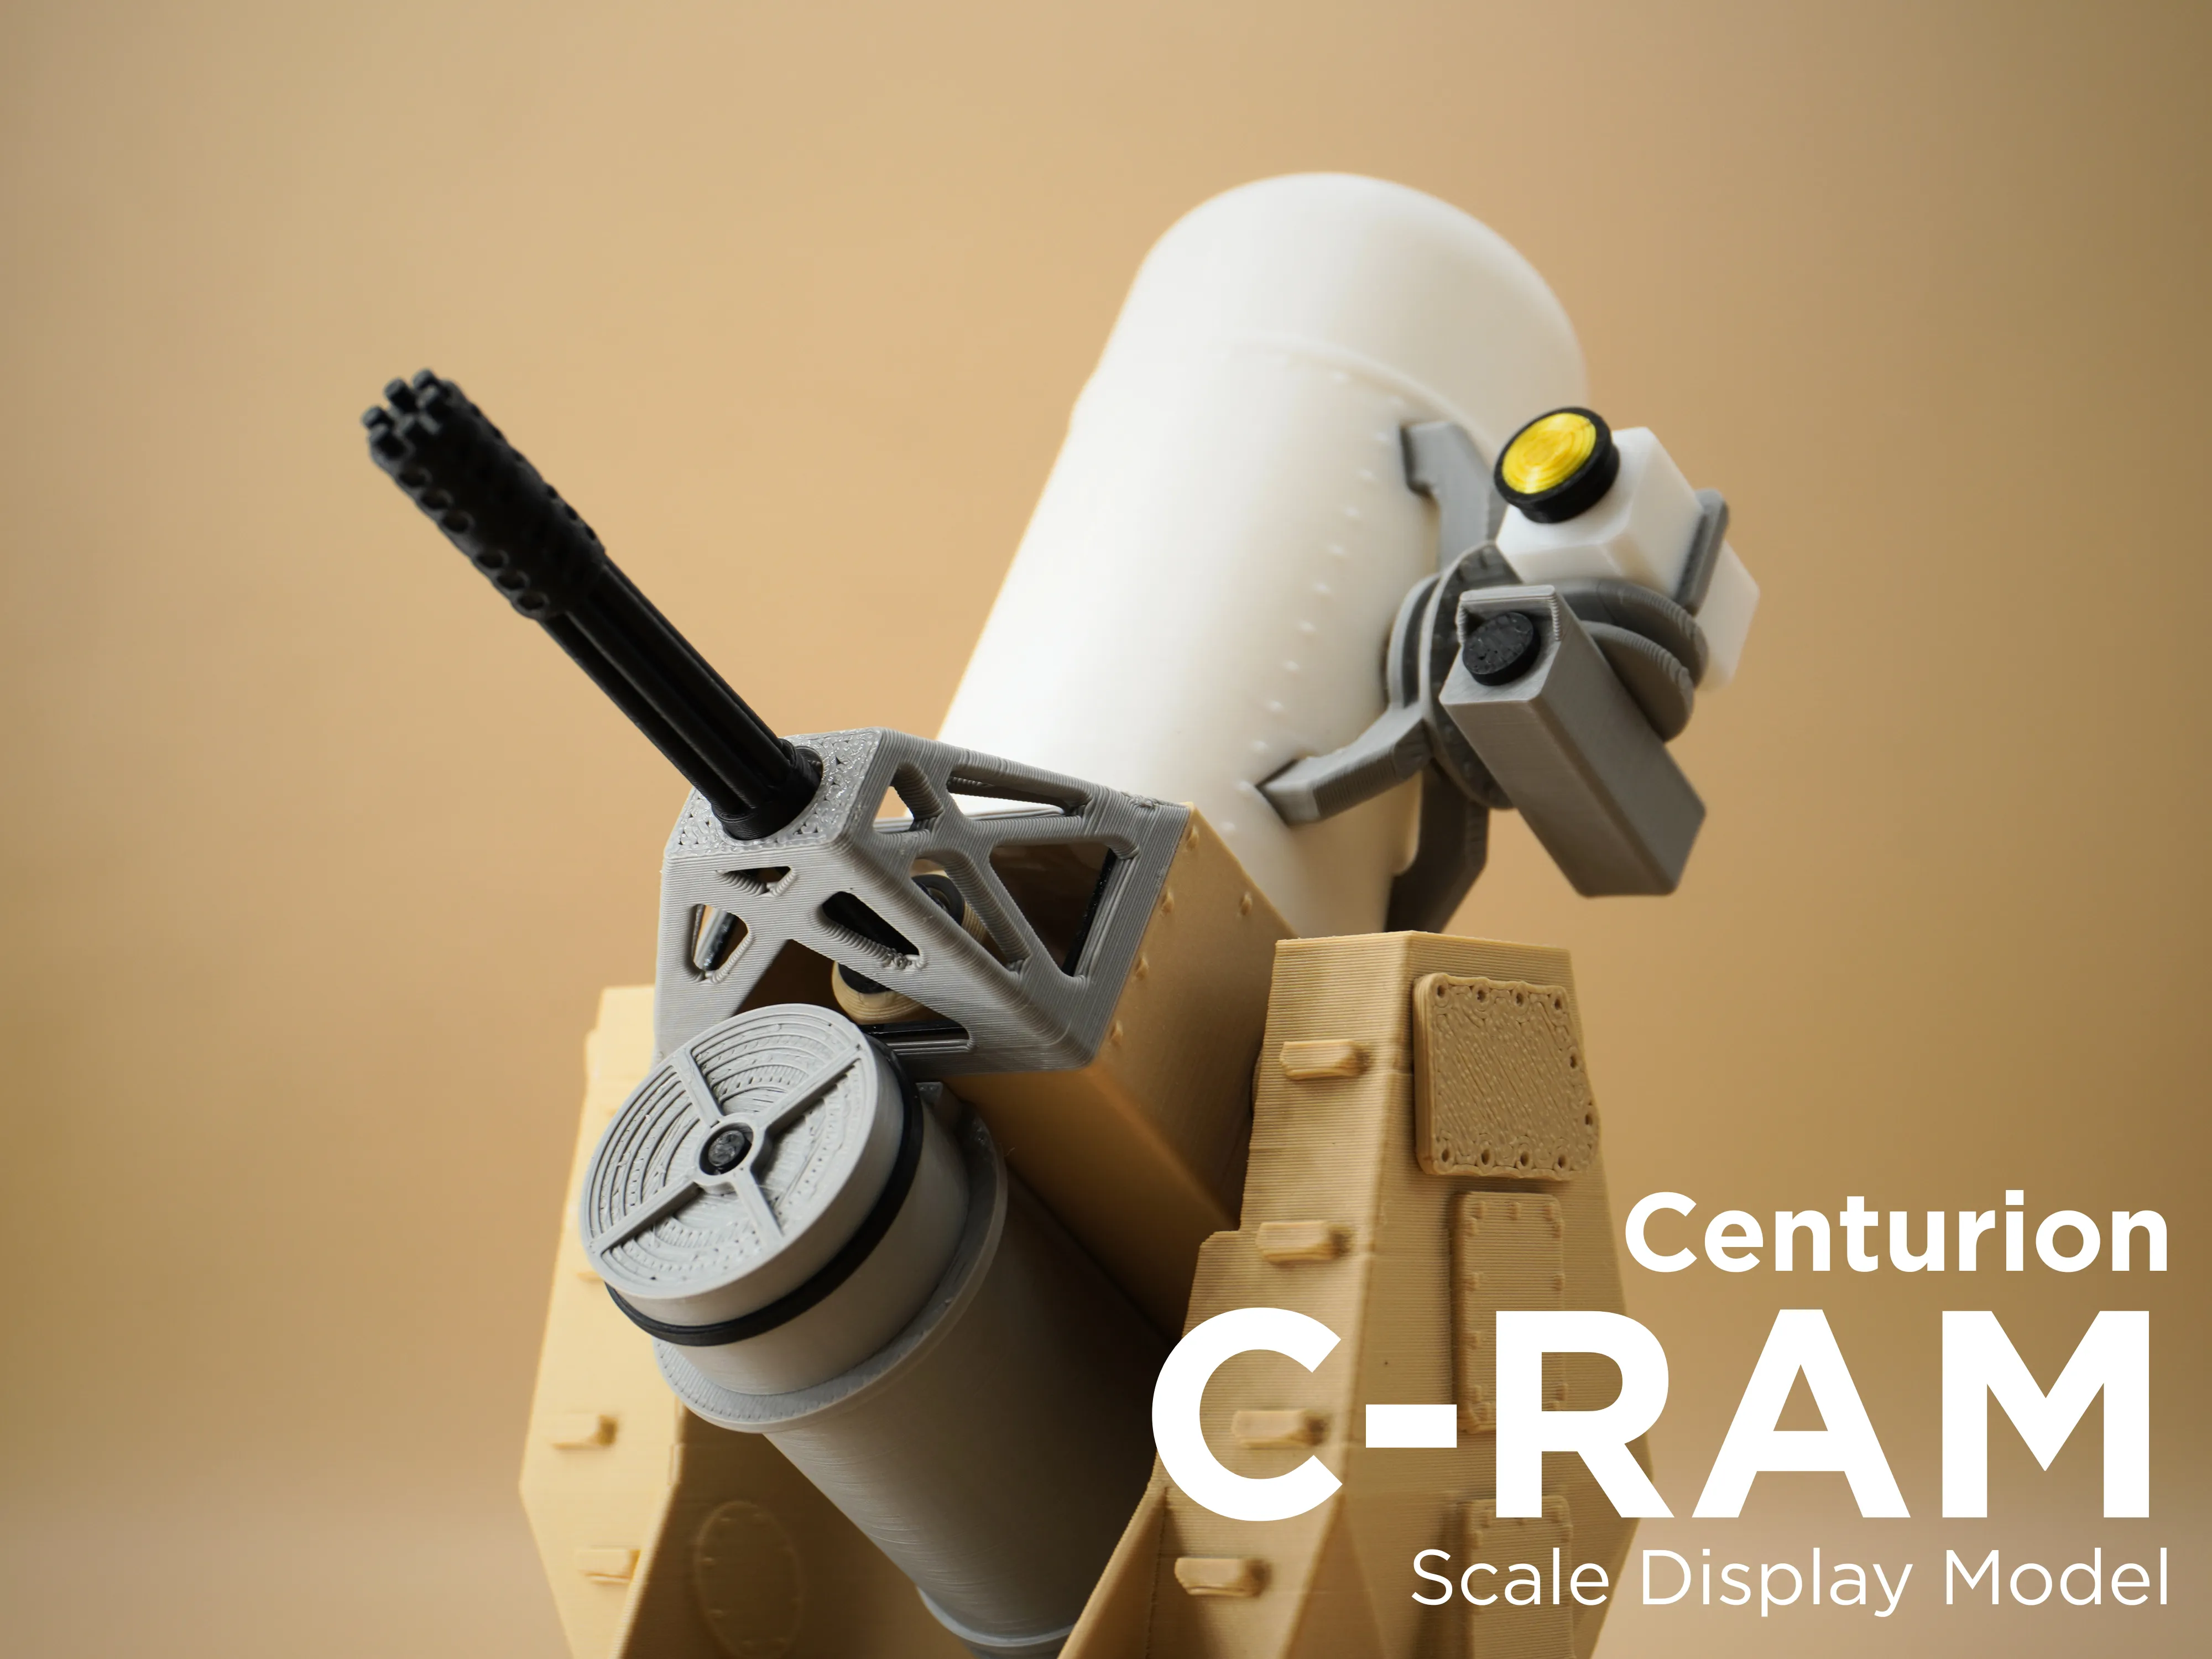 |
Ratchet Core - Modular Reversible Ratchet Driver | Stubby Ratchet R1 - Ratcheting Screwdriver | Centurion C-RAM Scale Display Model |
License

You shall not share, sub-license, sell, rent, host, transfer, or distribute in any way the digital or 3D printed versions of this object, nor any other derivative work of this object in its digital or physical format (including - but not limited to - remixes of this object, and hosting on other digital platforms). The objects may not be used without permission in any way whatsoever in which you charge money, or collect fees.


Comment & Rating (368)