
Roman Bathhouse (Small) Lamp/Display
Print Profile(1)

Bill of Materials





- Glue x 1:
Description
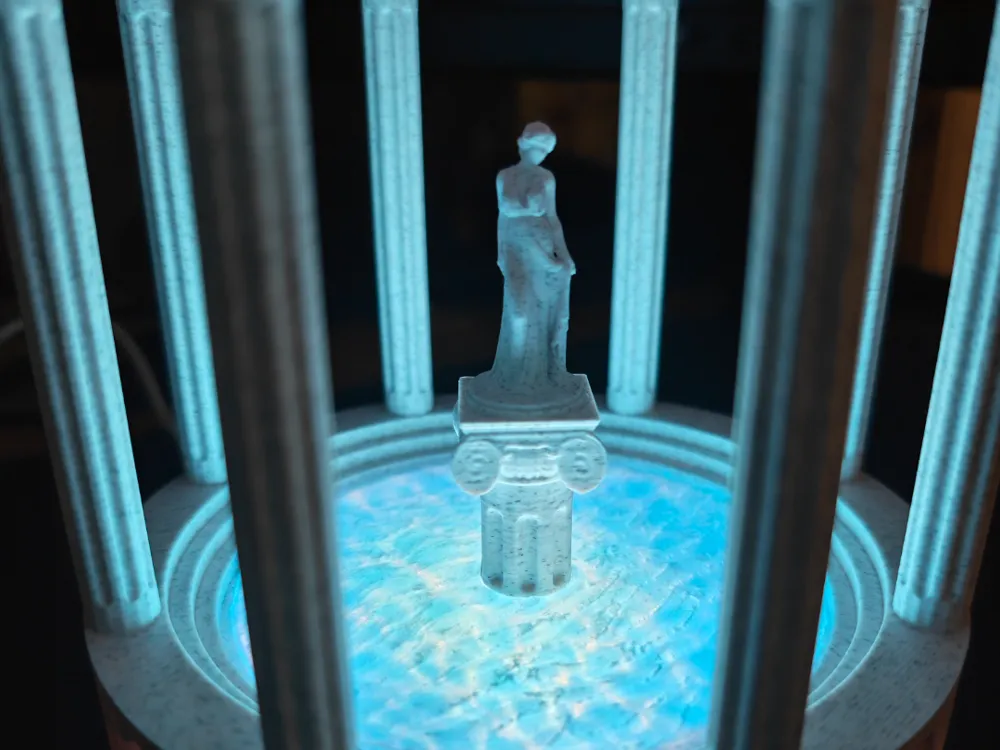
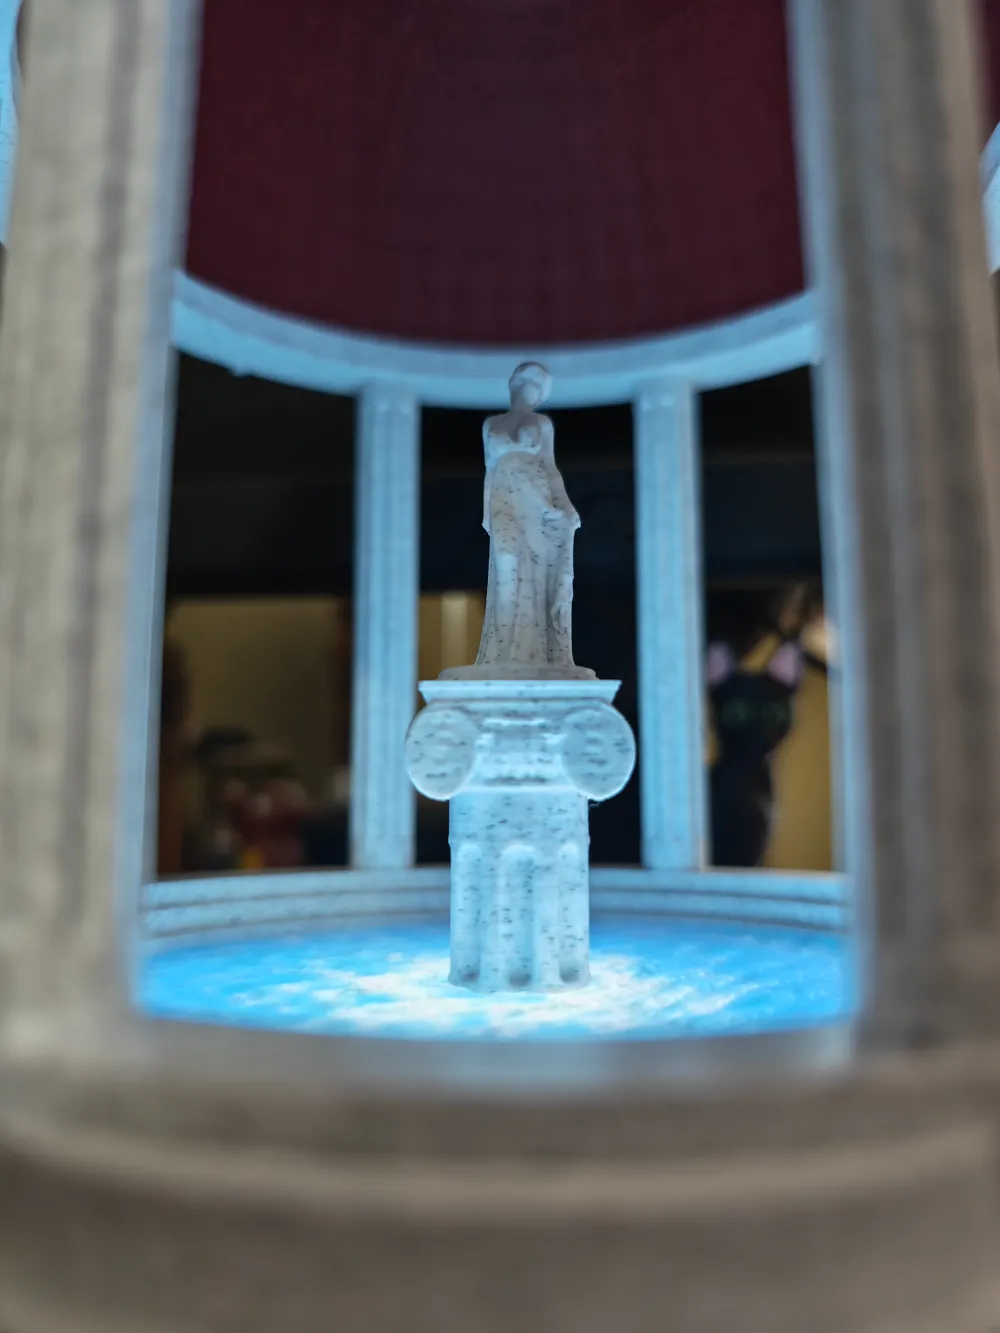
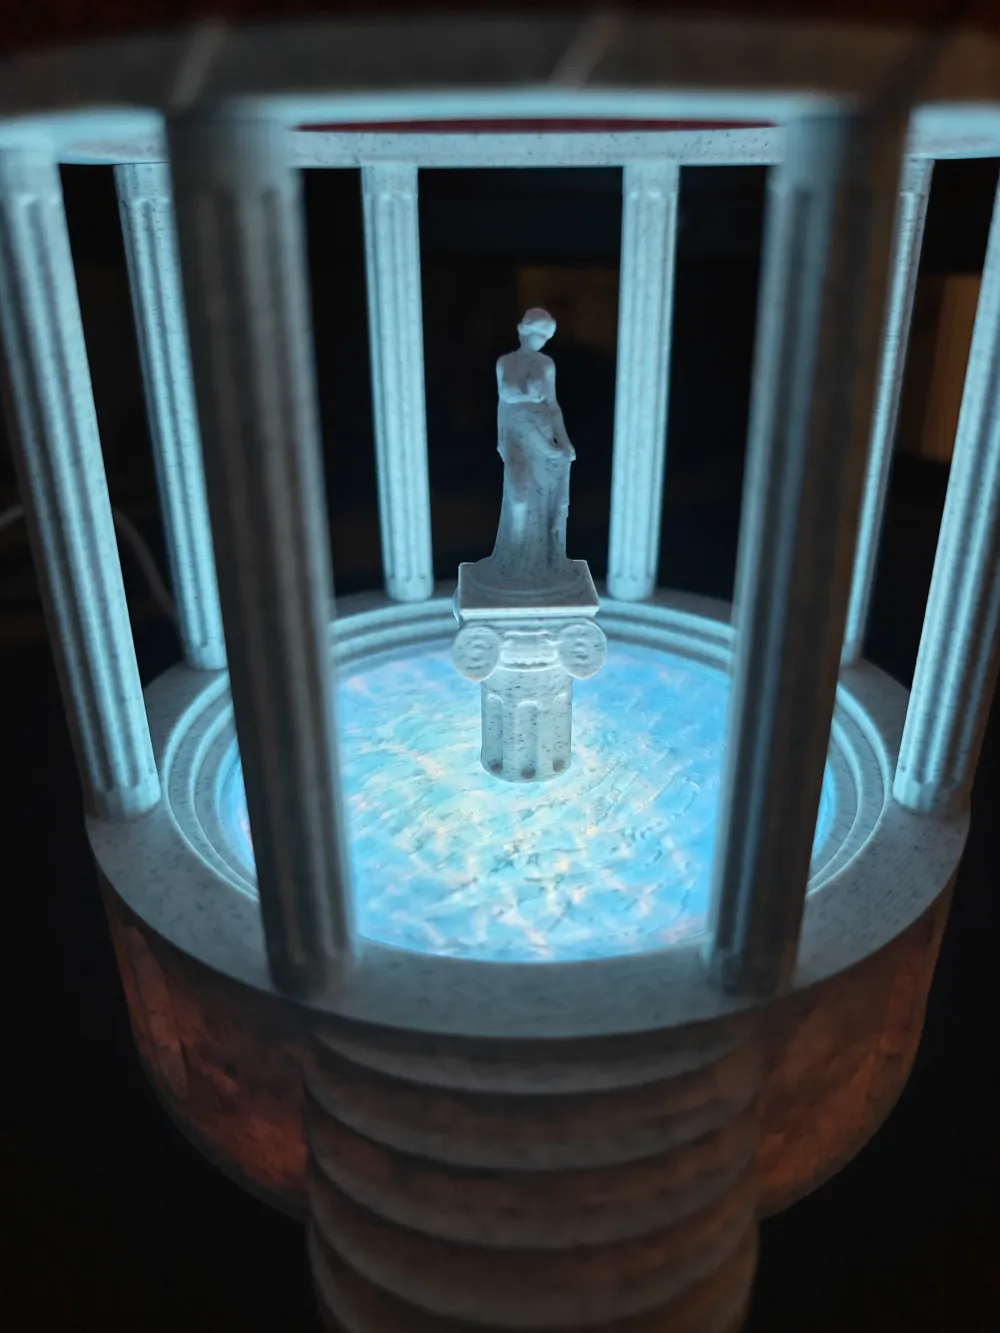
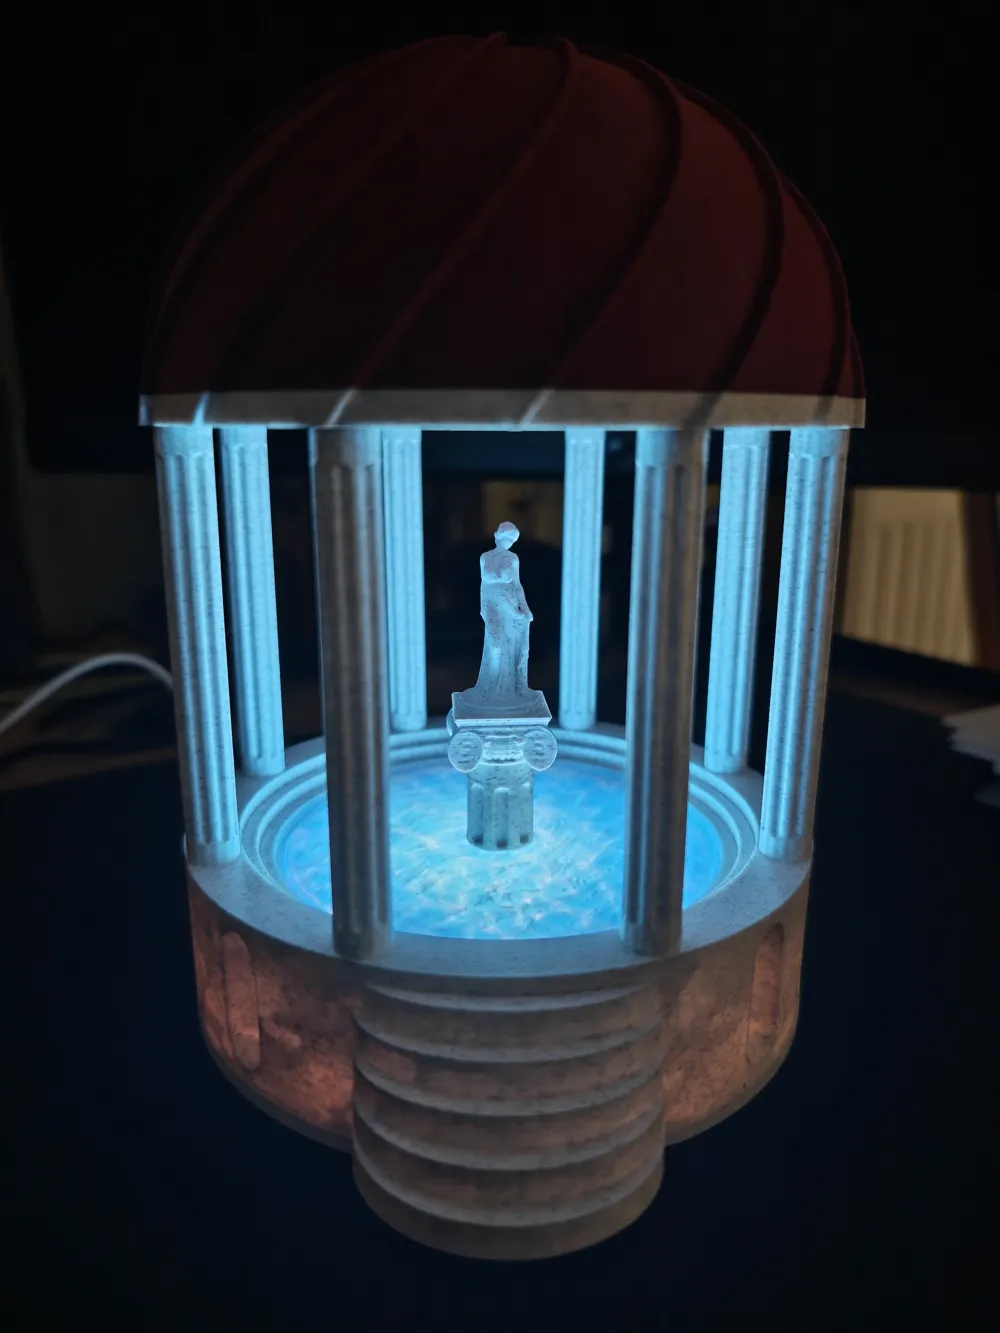
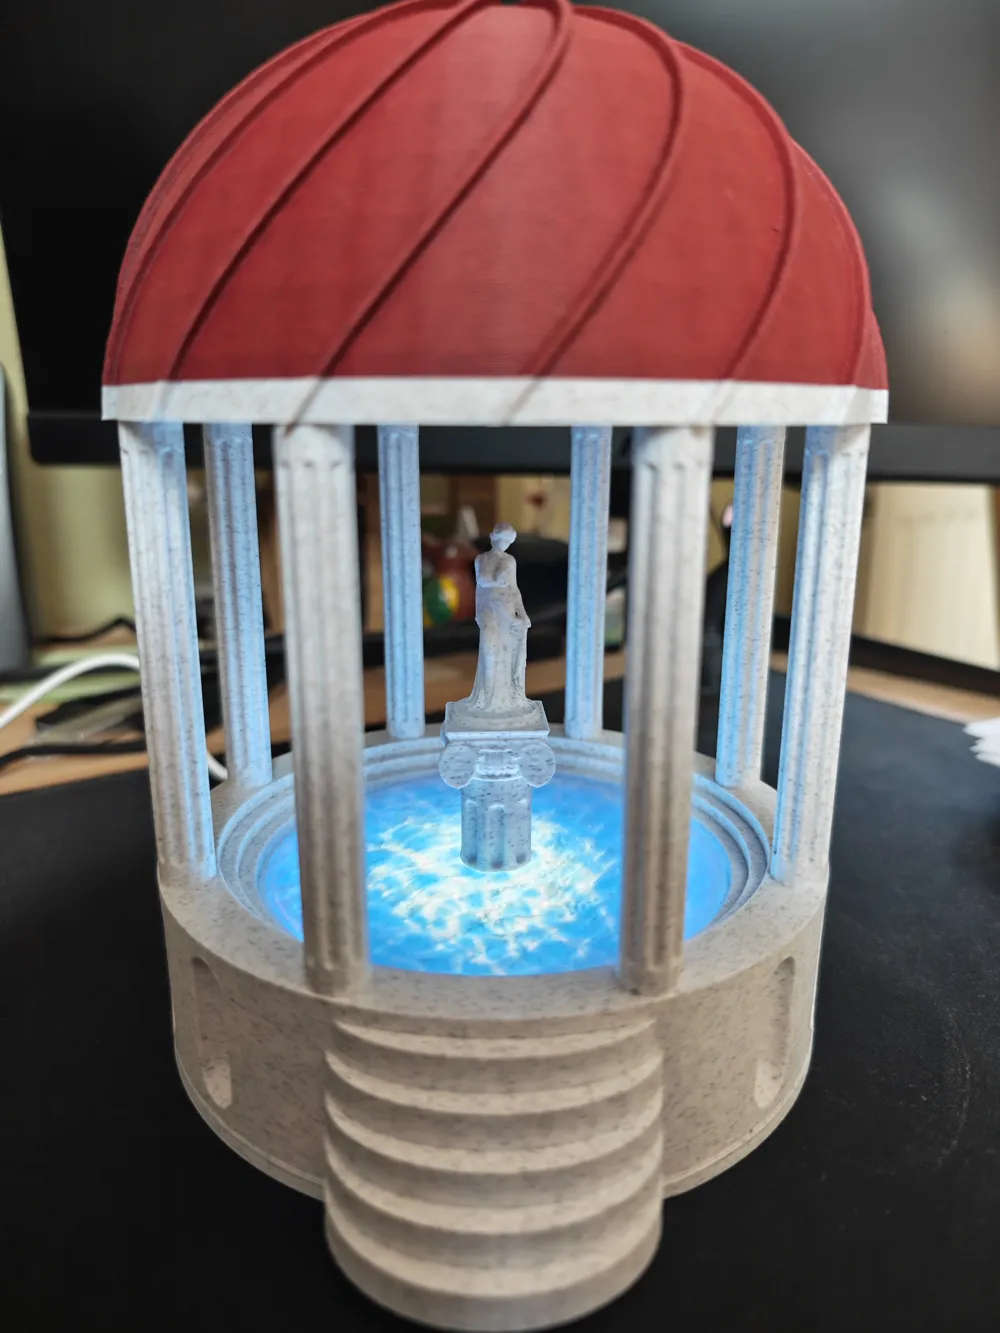
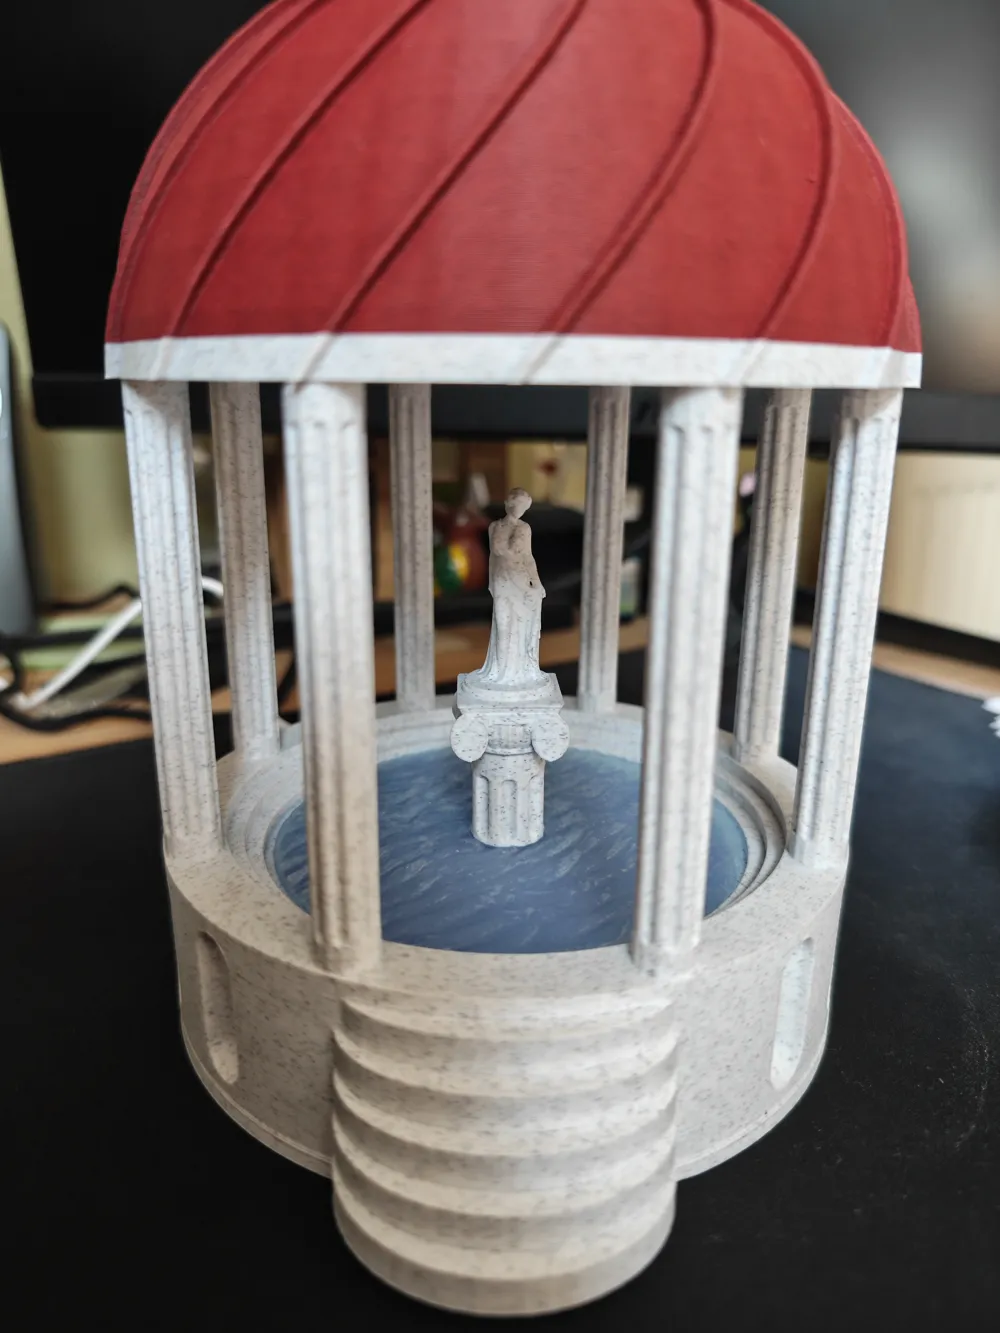
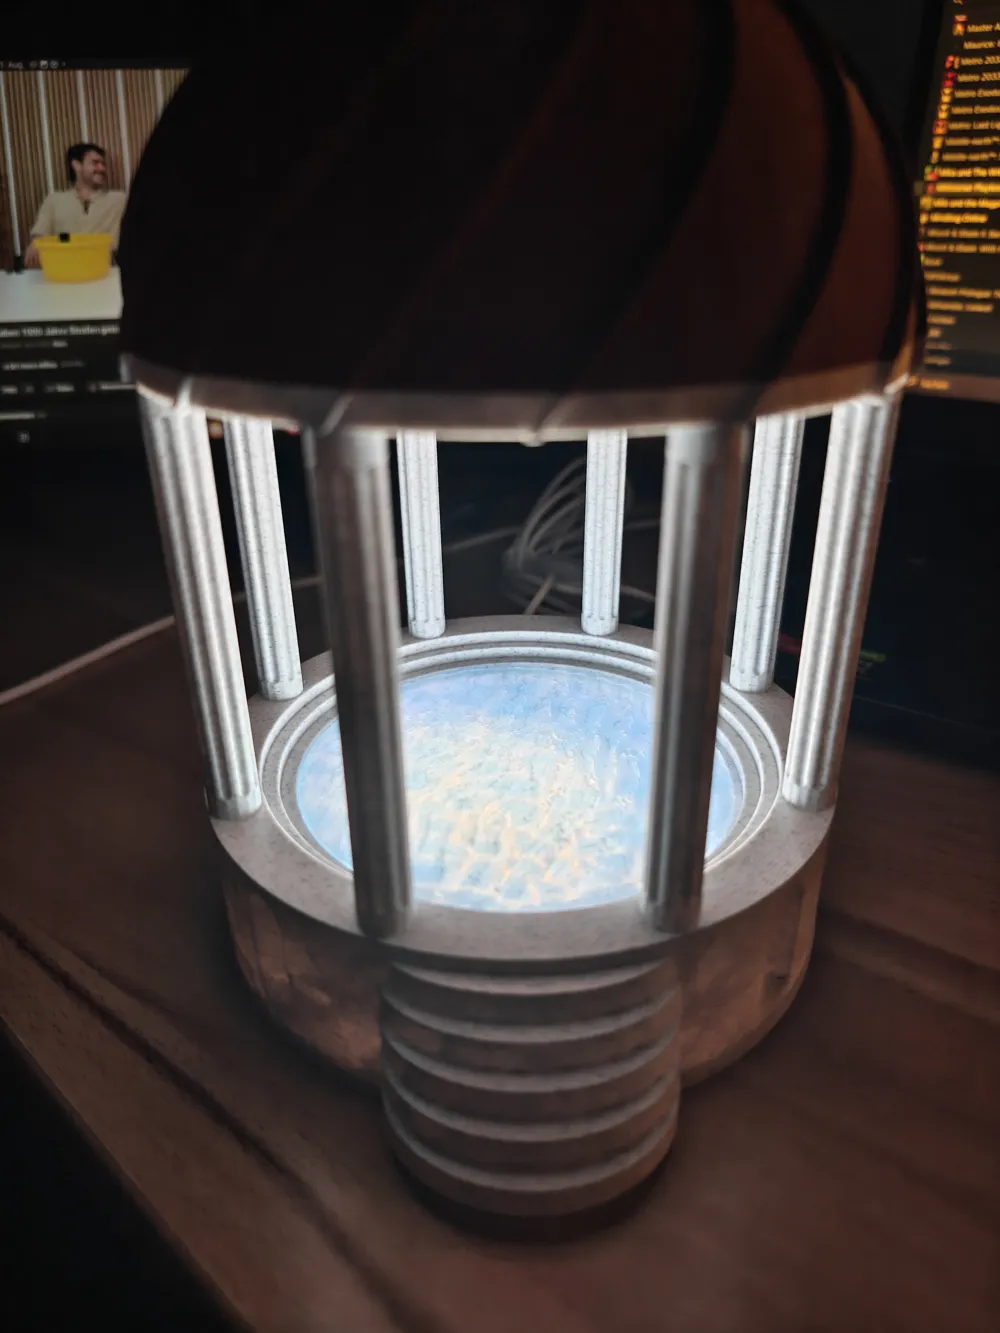
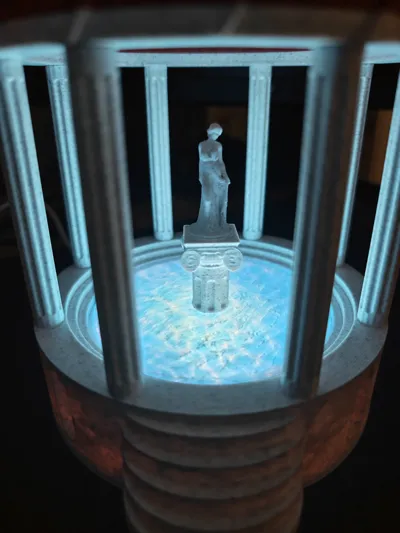
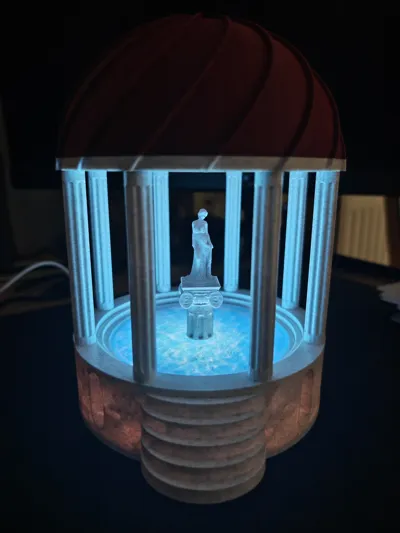
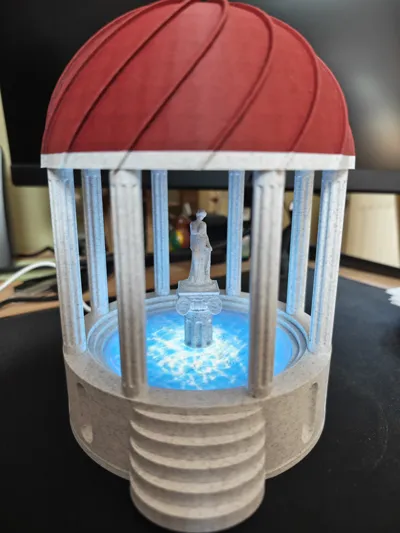
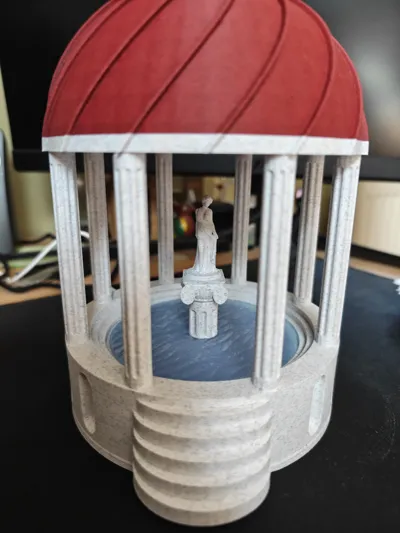
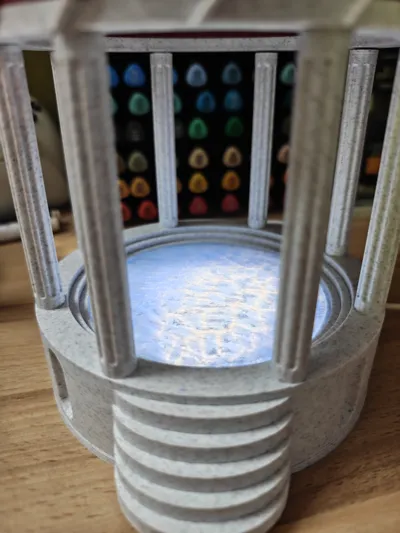
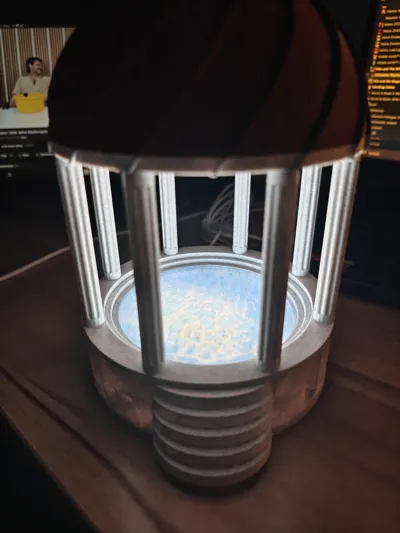
A small interpretation of a roman bath house utilizing the Bambu Lab LED Lamp Kit. Not inspired by any real building and completely made up on the spot using TinkerCAD. Filaments used were Bambu Lab PLA White Marble, Bambu Lab Translucent PLA Ice Blue, Bambu Lab PLA CF Burgundy Red and 3DJake ecoPLA Dark Blue.
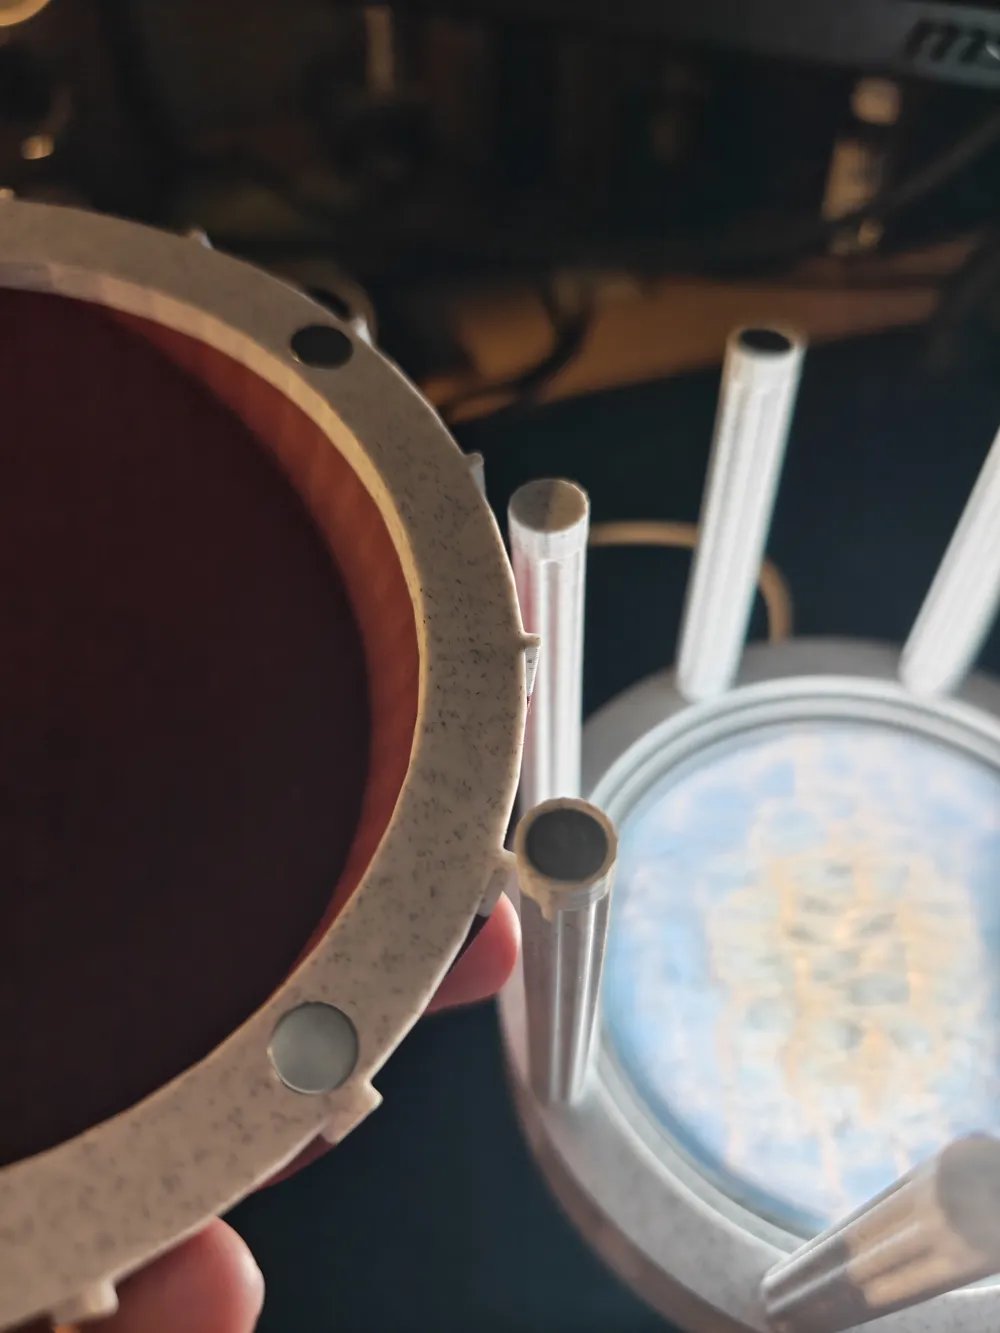
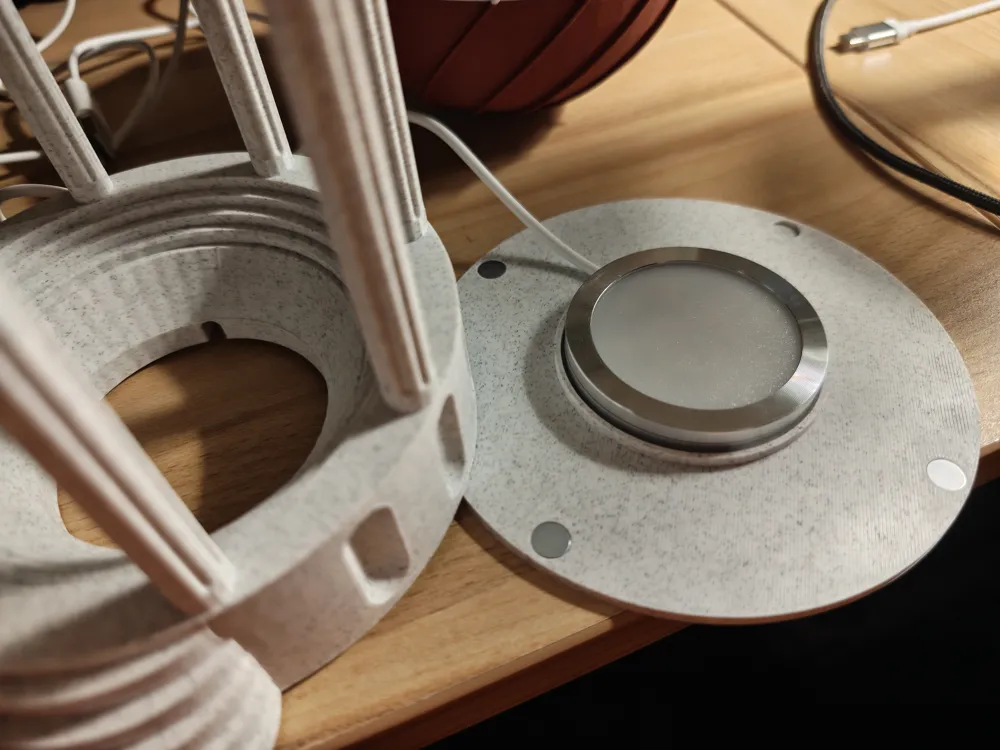
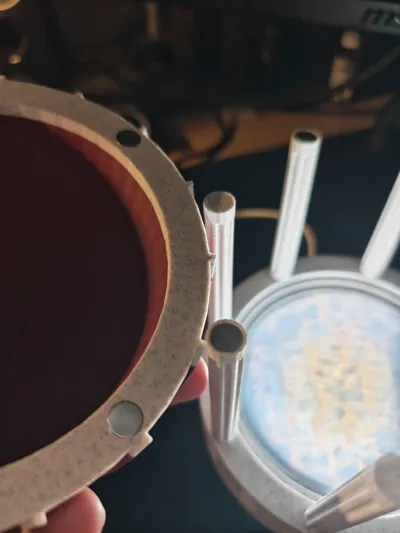
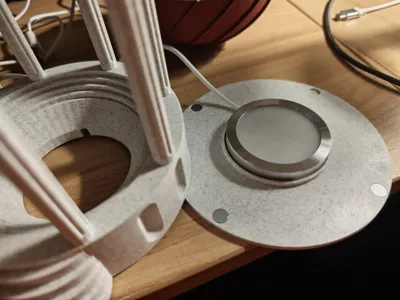
The Bathhouse is made out of three parts (Roof, Pool, Bottomplate) which are held together by magnets. I used cheap 8x1 mm magnets from Aliexpress (https://de.aliexpress.com/item/1005008599251739.html?spm=a2g0o.order_list.order_list_main.21.327c5c5fKtC4Cd&gatewayAdapt=glo2deu) for prototyping, but you can also use the 8x2 mm magnets from Bambu Lab (make sure to print the right model). THERE ARE 16 MAGNETS USED.
The magnets fit into the sockets nicely about 80 % of the time. Depending on the tolerances of your printer, it can be necessary to use a tiny dab of glue to keep the magnets in or use some force (e.g. pressing the magnet in by pushing against your tabletop) to get the magnet in the sockets. If necessary you can also enlargen the sockets a tiny bit with a knife (please be very careful!), sandpaper or by printing the model 0.5 % larger.
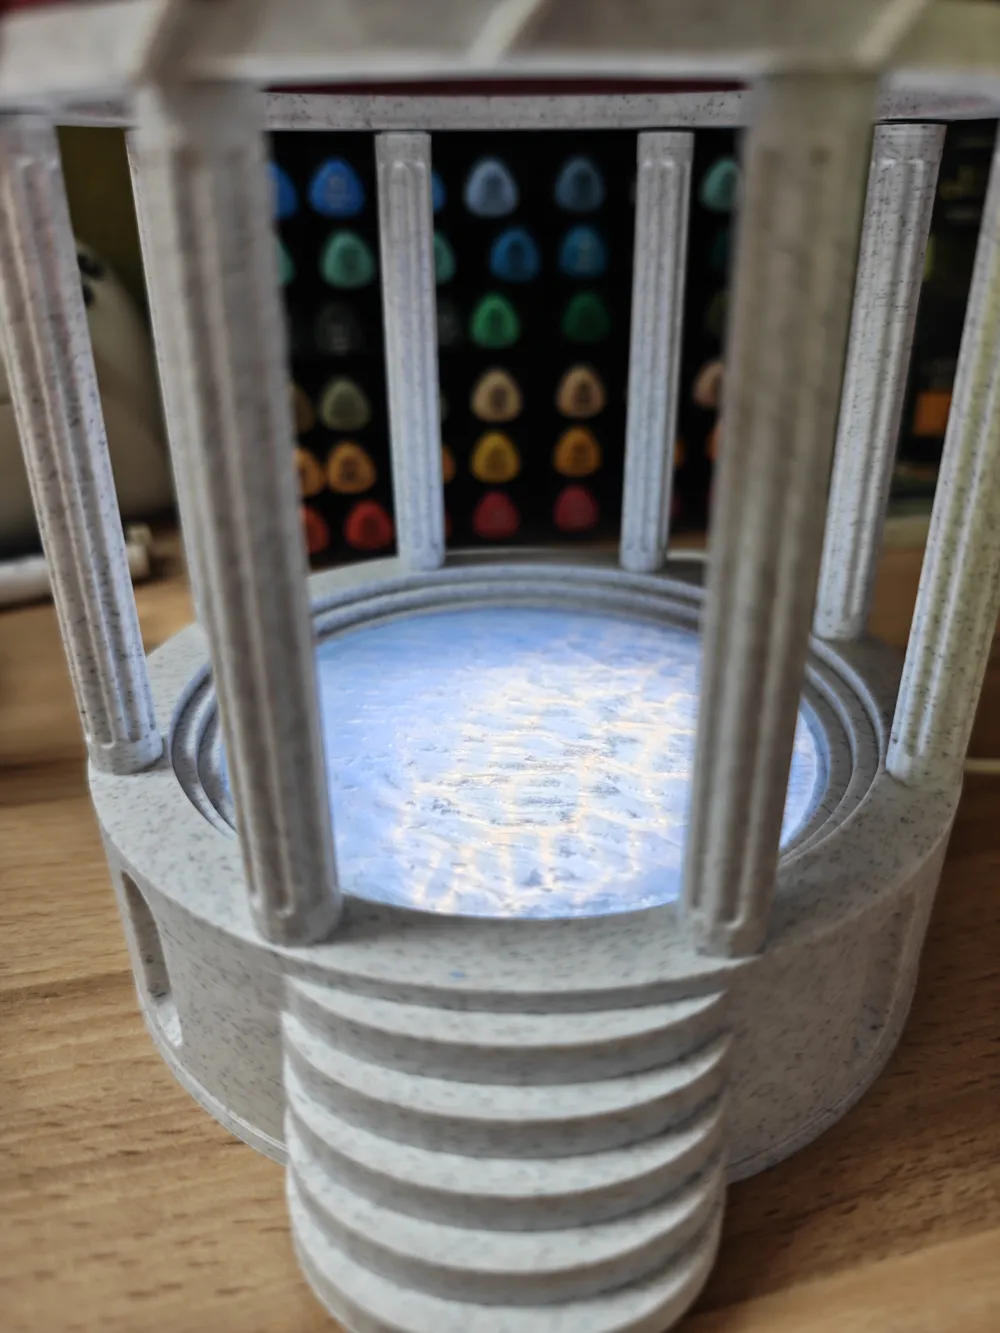
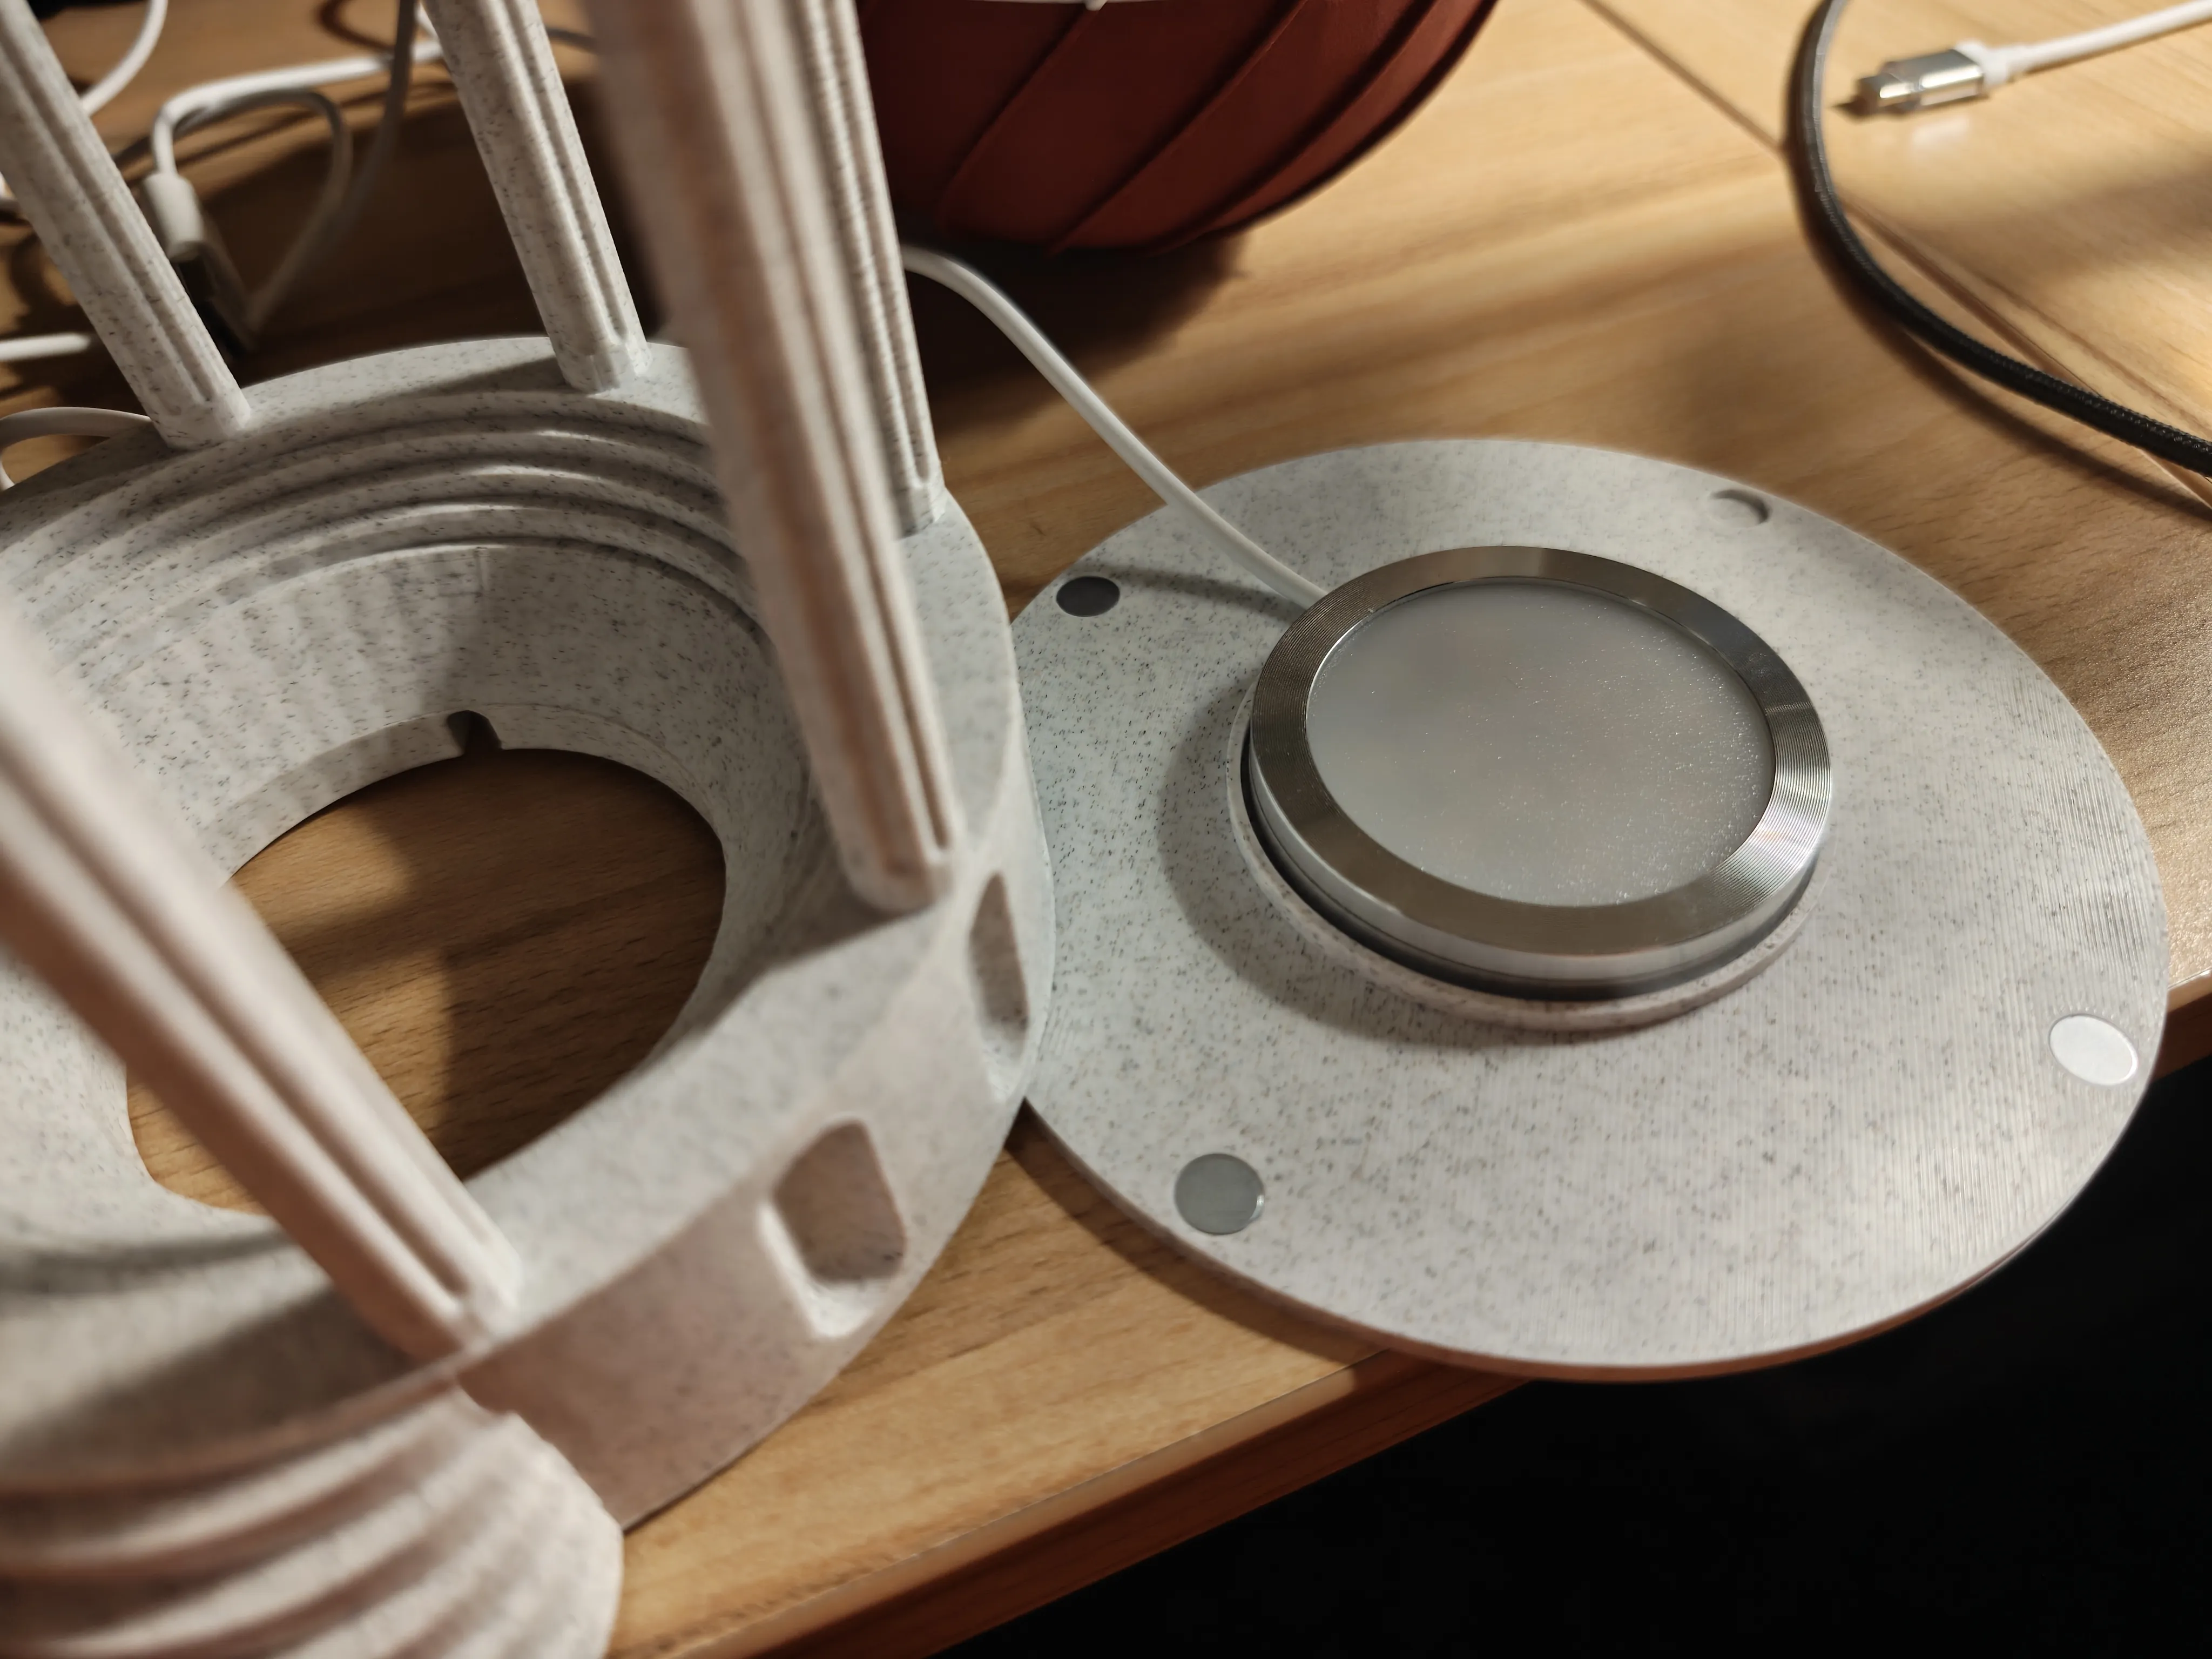
Besides that the assembly is very straightforward. The LED Lamp is fitted onto the backplate and the pool is mounted on top.
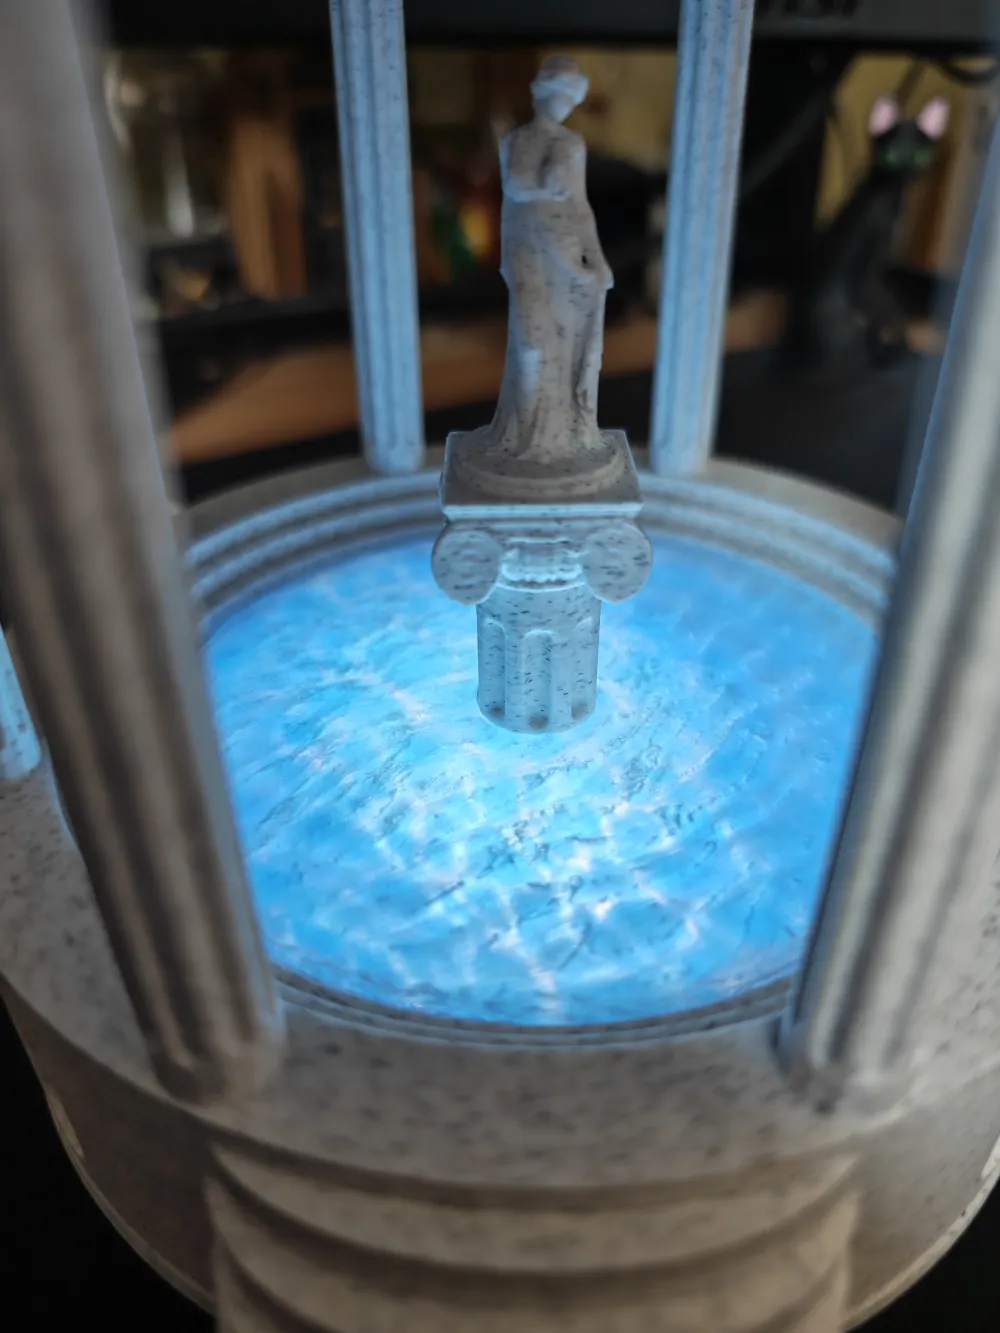
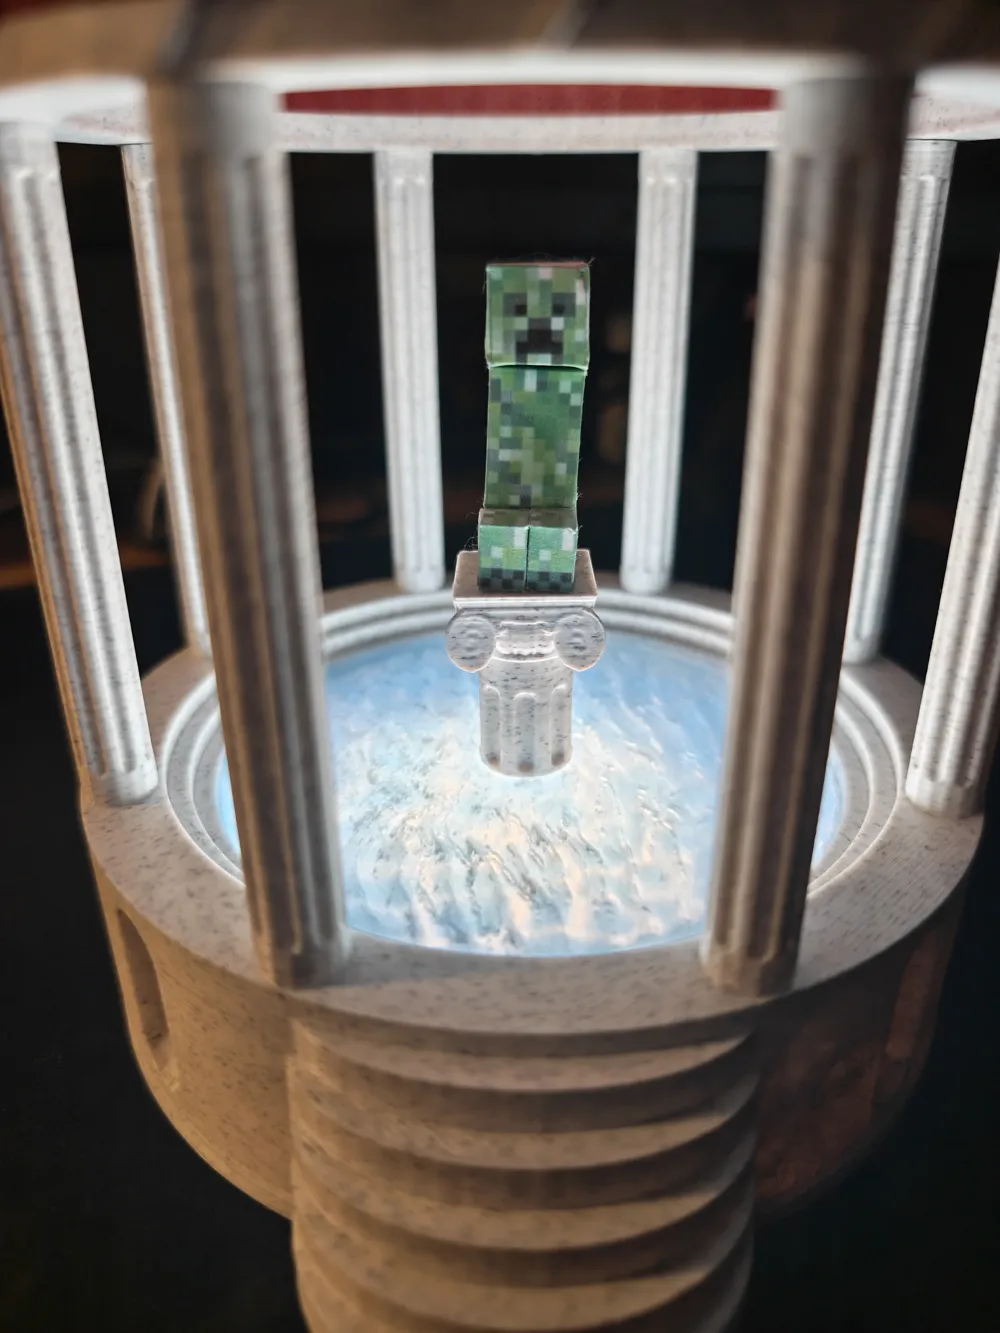
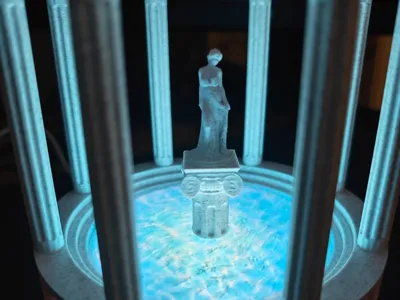
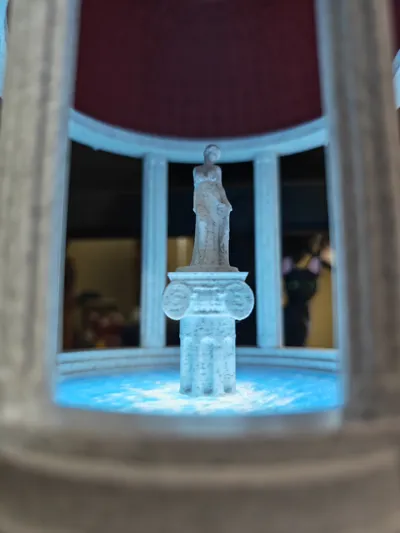
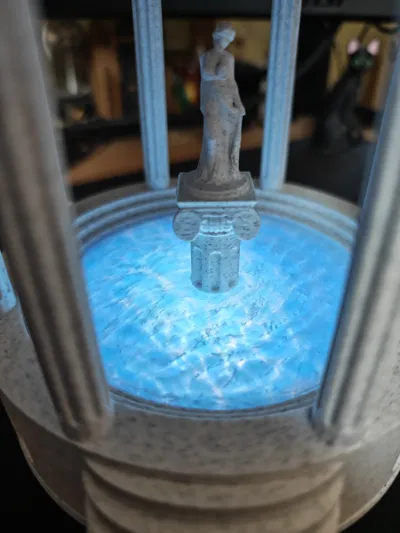
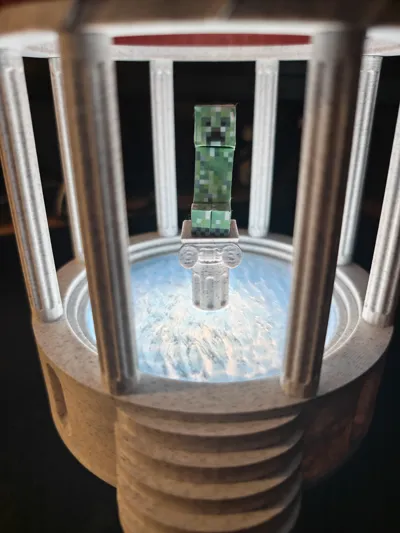
For the water surface you can choose the empty surface or a surface allowing to add the pedestal. Here you can place a small figurine (like a tabletop RPG figure for example) or print a small statue ( I choose the Venus of Milo by mounb (https://makerworld.com/de/models/877421-venus-de-milo?from=search#profileId-830703) originally, but had to change to another figure (https://makerworld.com/de/models/1120950-goddess-in-simple-gown-statue?from=search#profileId-1119330) to not get flagged NSFW. The figure was printed with a layer height of 0.08 mm). I also recommend gluing the pedestal to the water surface with the socket to achieve maximum stability. I recommend printing the water surface on it's side like a lithograph.
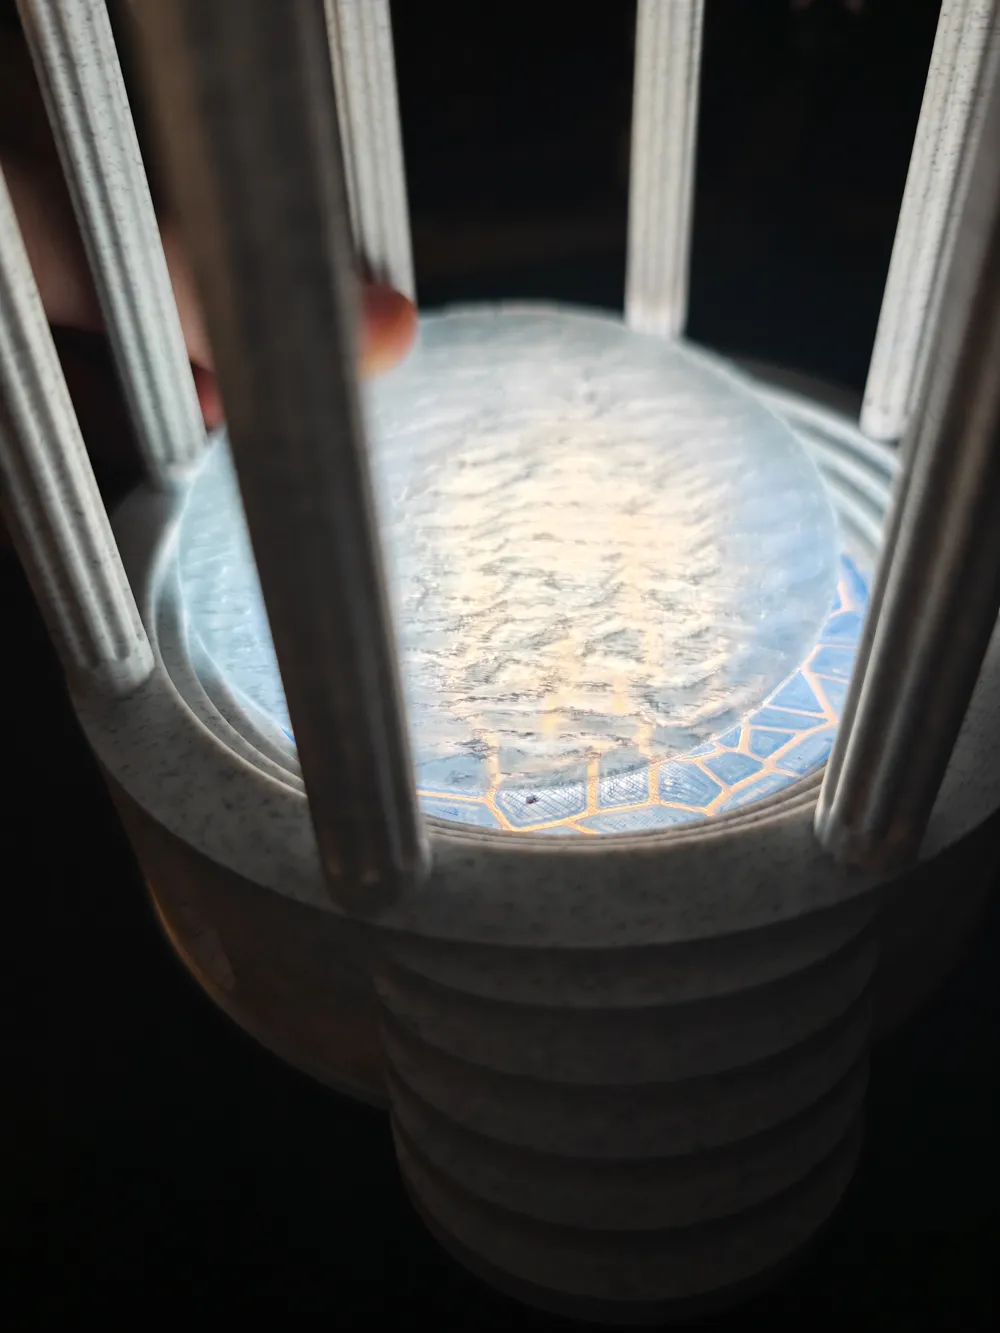
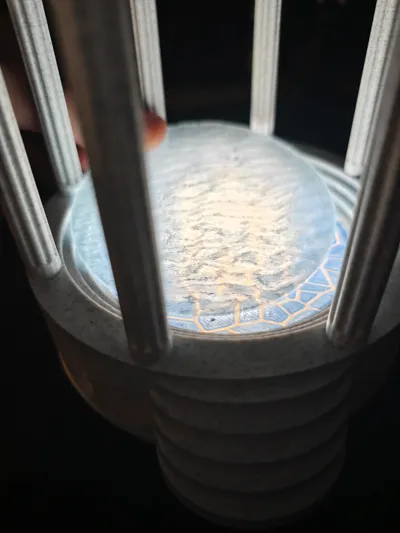
Under the water surface you have the option to add a water reflection texture plate, which works best with transparent Ice Blue PLA and the very top surface in Blue Basic PLA.
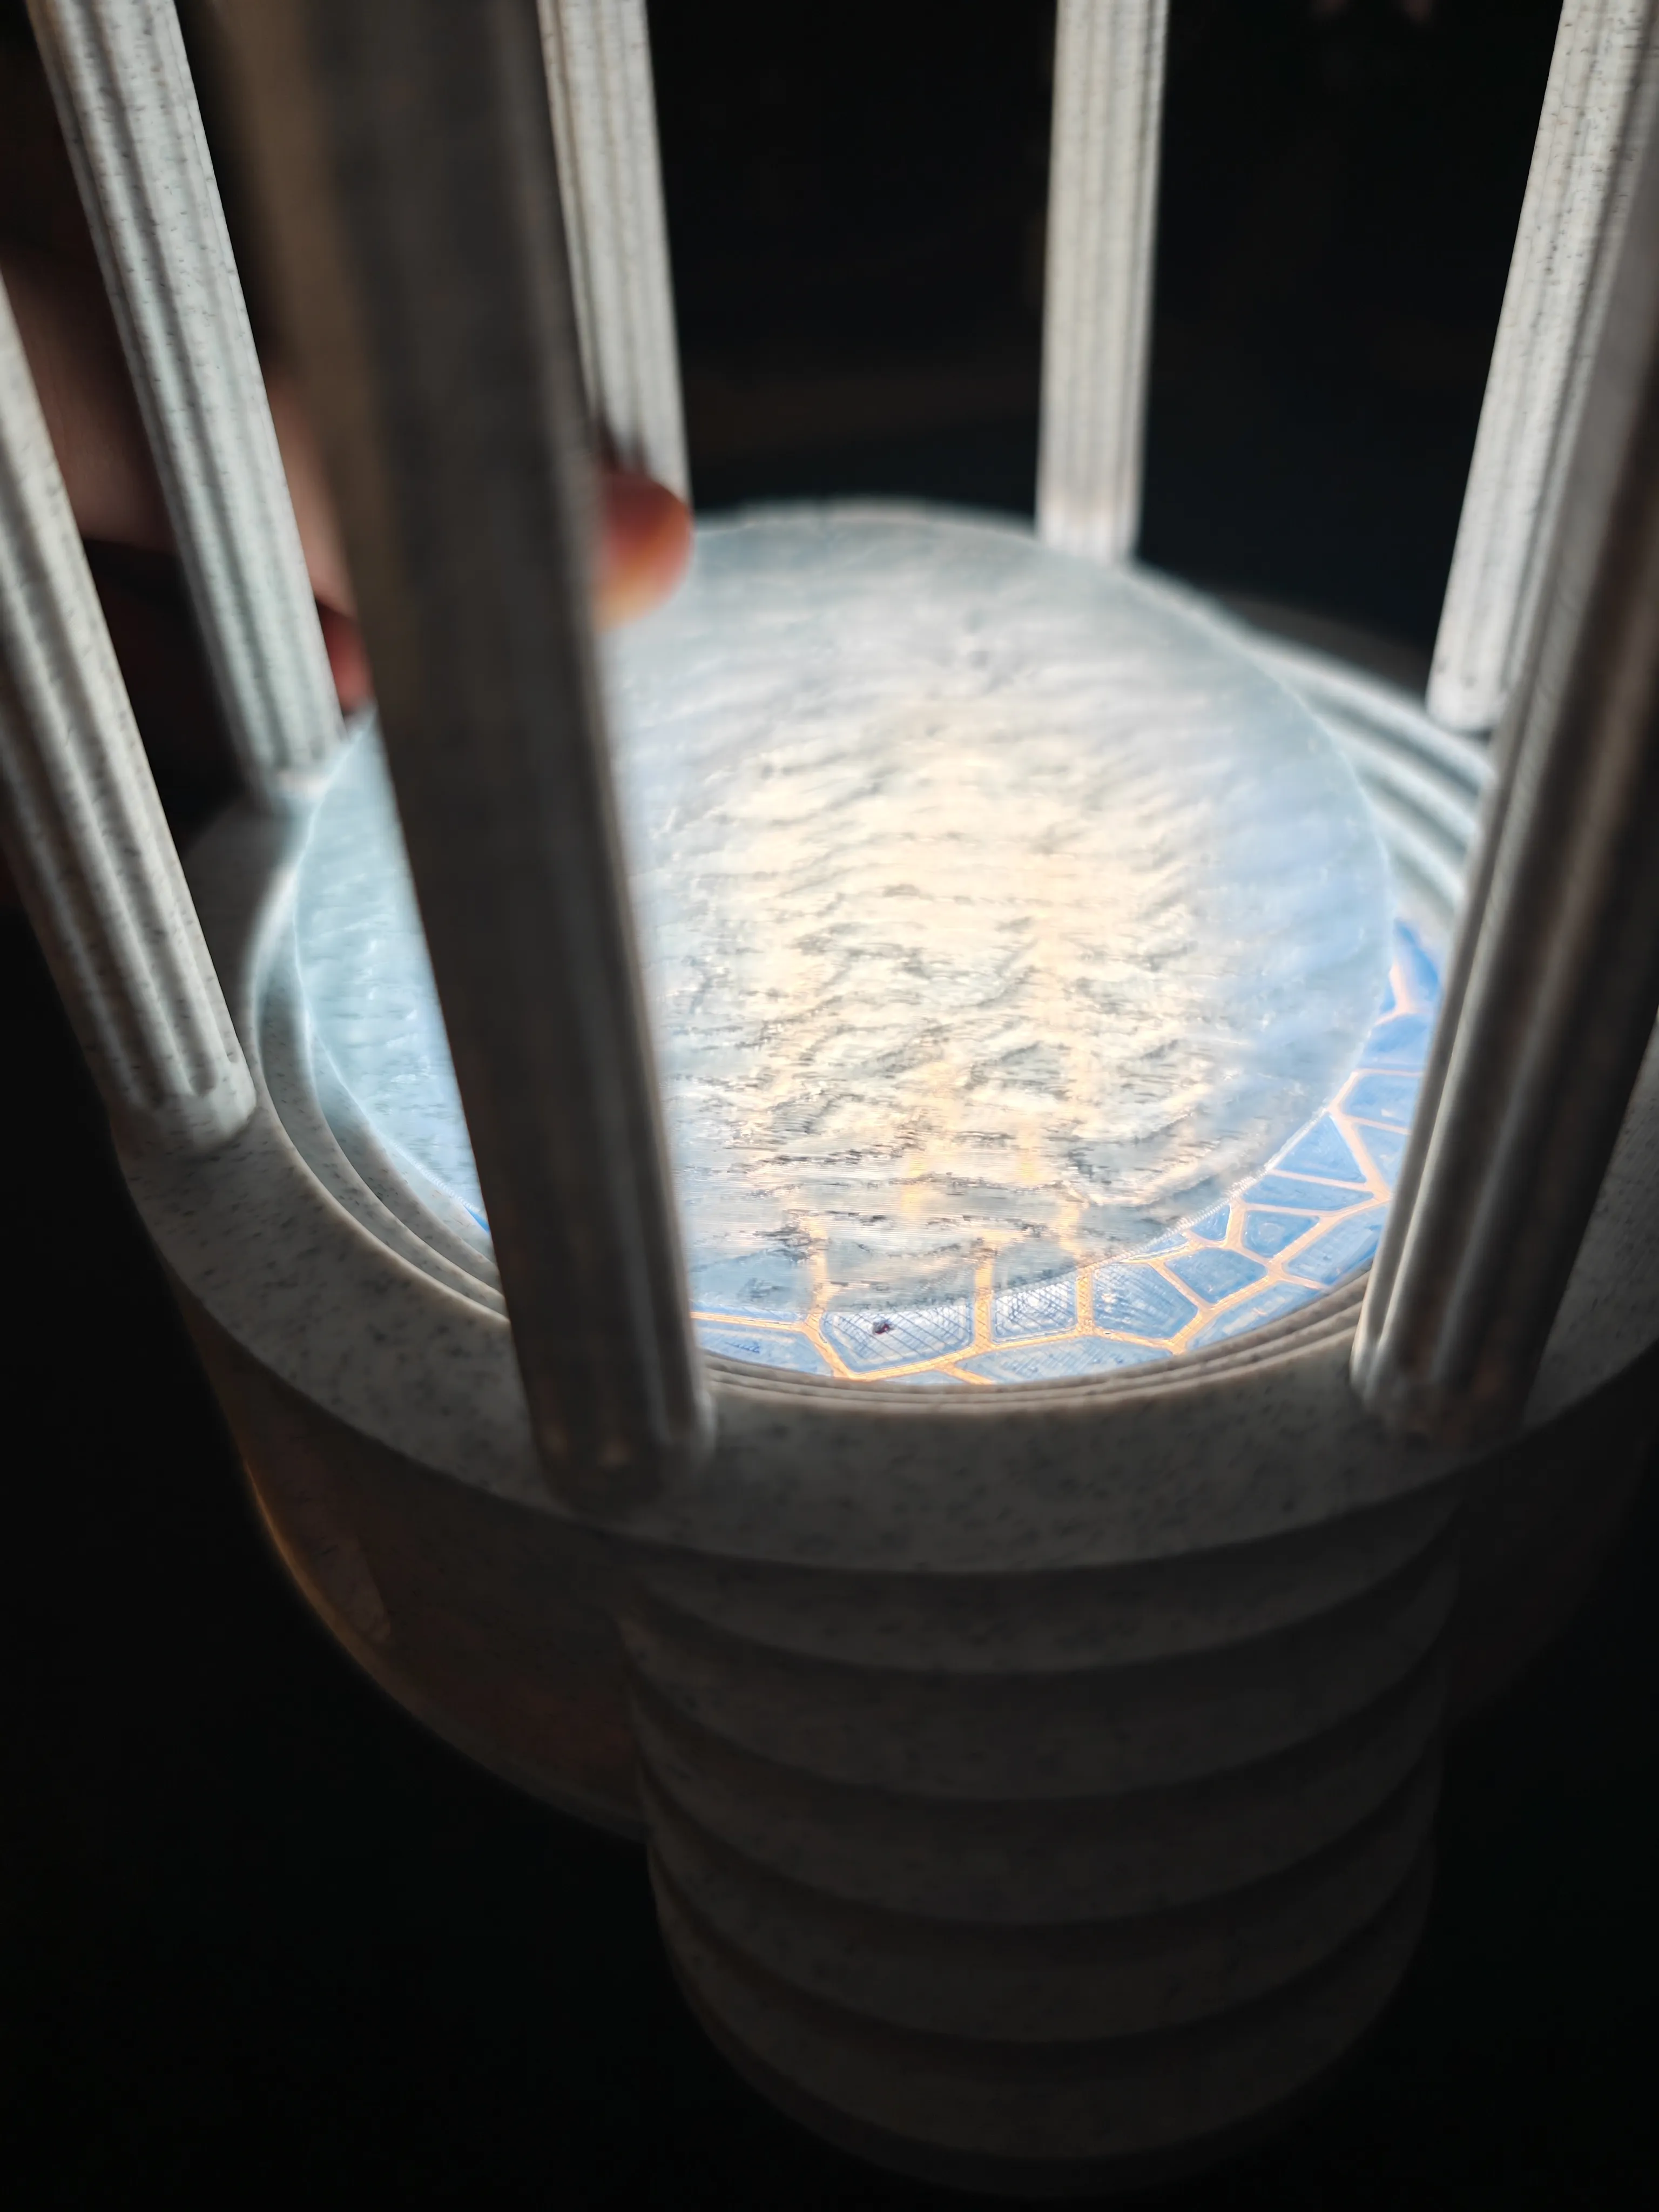
You can also stack 2 of the texture plates and place them offset from each other to achieve a deeper blue and an even more realistic water texture.
Finally add the Roof (I printed the first 5 mm in Marble and the rest in PLA CF Burgundy) and you're done.
License

You shall not share, sub-license, sell, rent, host, transfer, or distribute in any way the digital or 3D printed versions of this object, nor any other derivative work of this object in its digital or physical format (including - but not limited to - remixes of this object, and hosting on other digital platforms). The objects may not be used without permission in any way whatsoever in which you charge money, or collect fees.


Comment & Rating (4)