
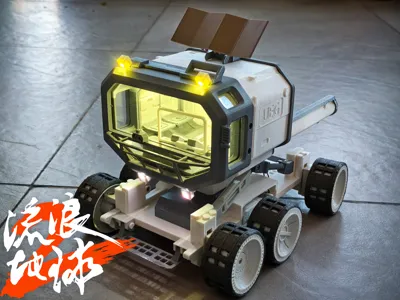
The Wandering Earth 2 Moon Rover
Print Profile(1)

Description
October 24, 2025 Update
Modified the instruction manual, separating the basic and advanced versions to prevent possible confusion during installation
Increased the inner diameter of the TPU tires, making them easier to fit into the wheels
August 25, 2025 Update
Removed the previously somewhat unstable drive wheel suspension. Those who downloaded the original 3mf only need to replace the motor gearbox cover. The advantage is a better vehicle handling experience, the disadvantage is that full vehicle suspension can no longer be achieved (shrug)
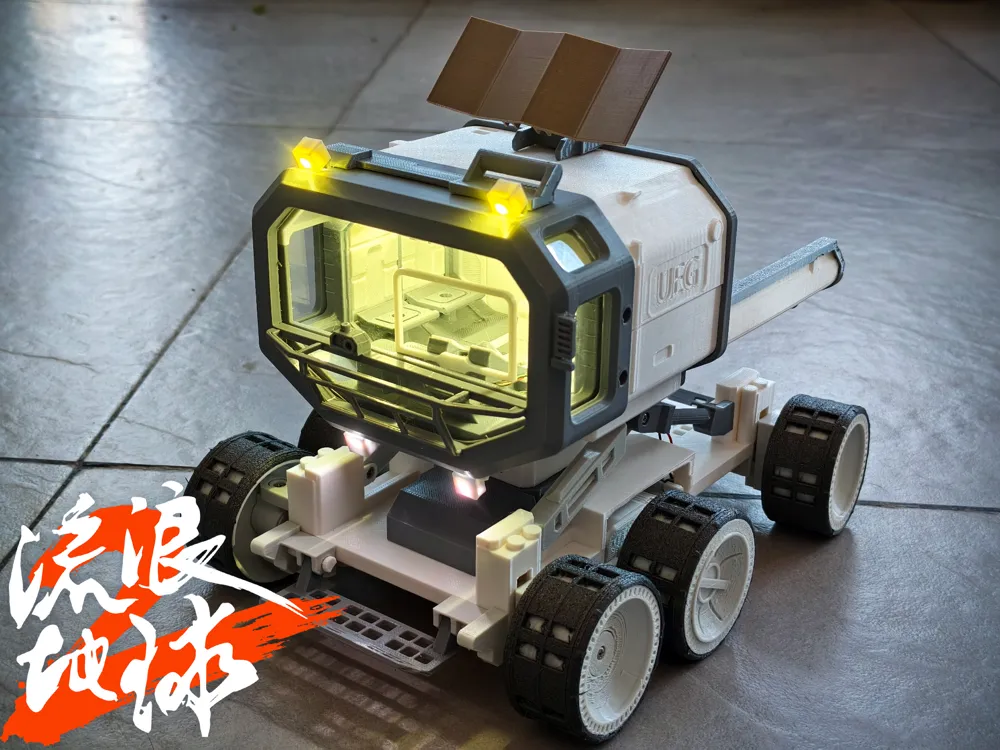
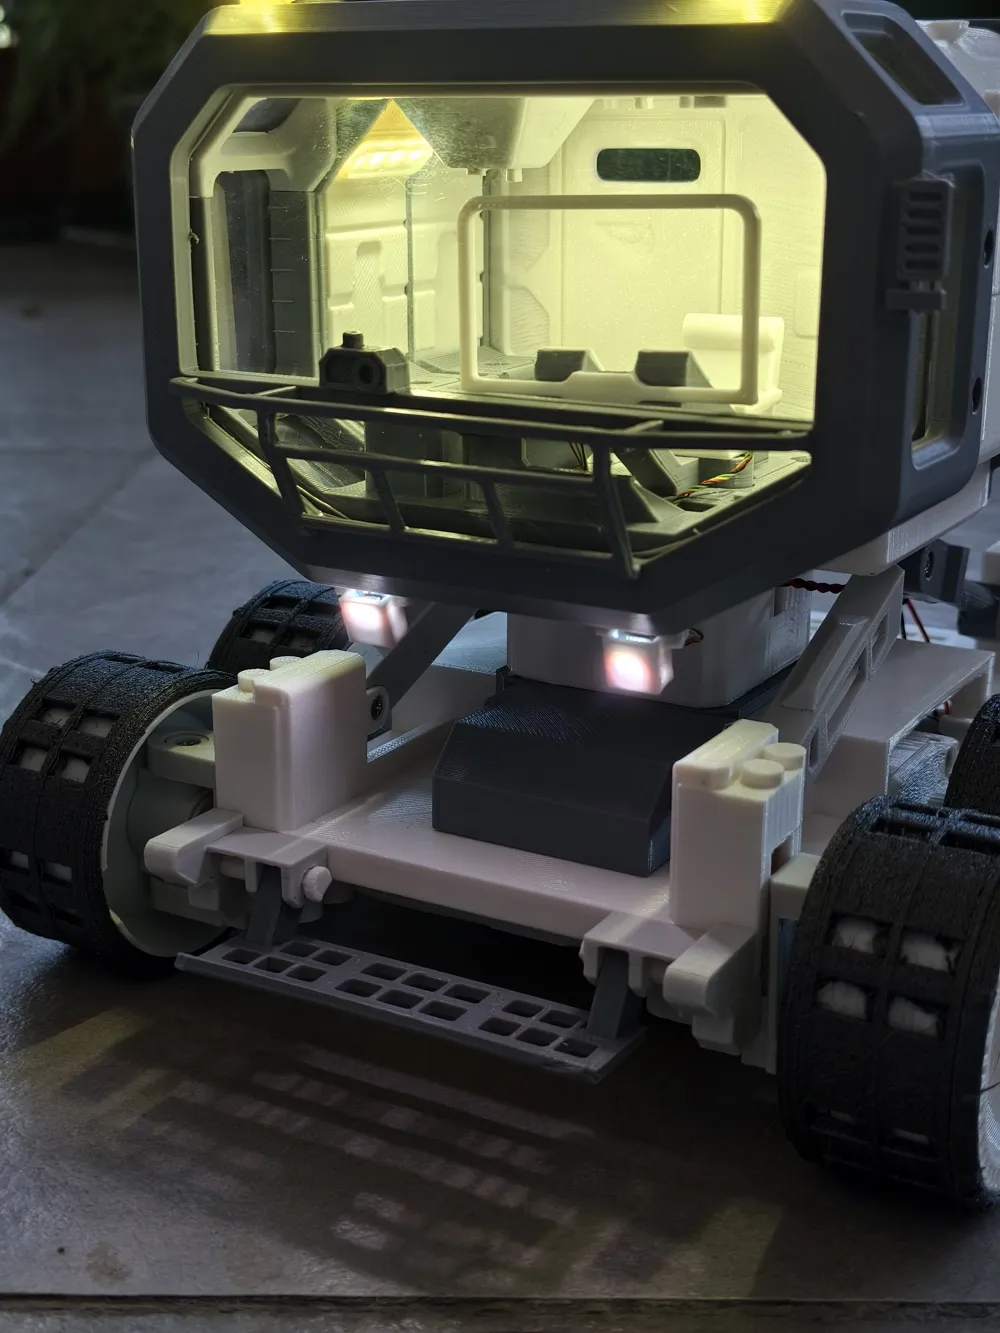
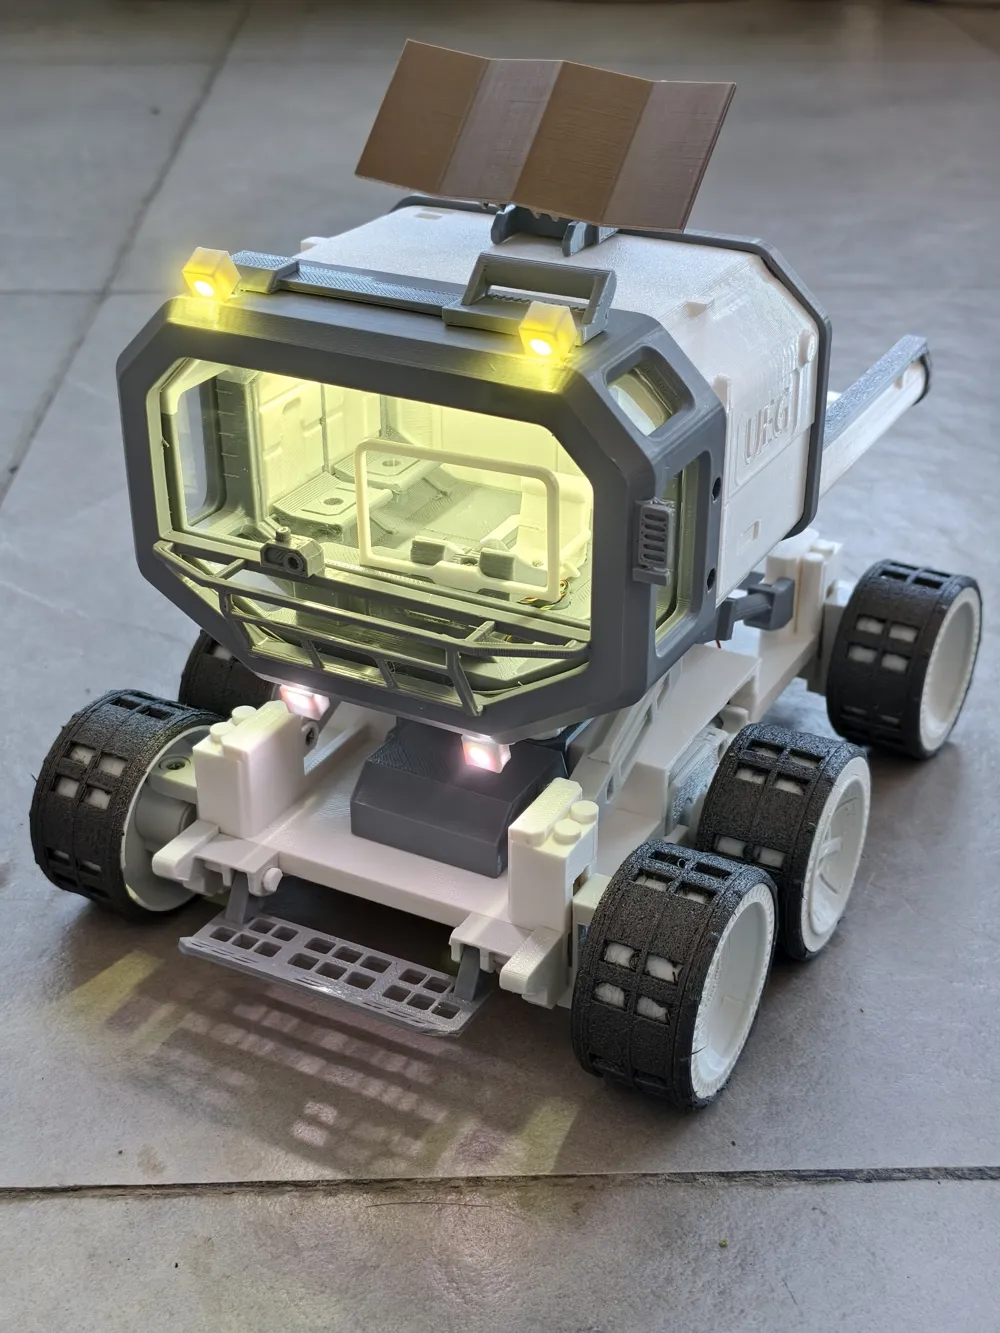
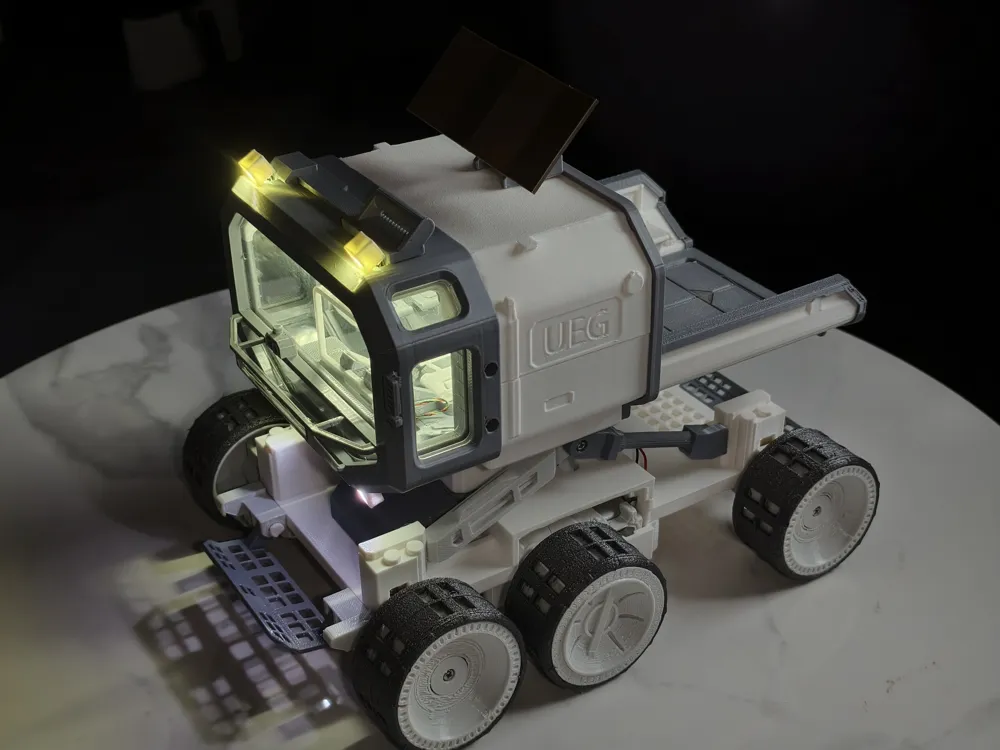
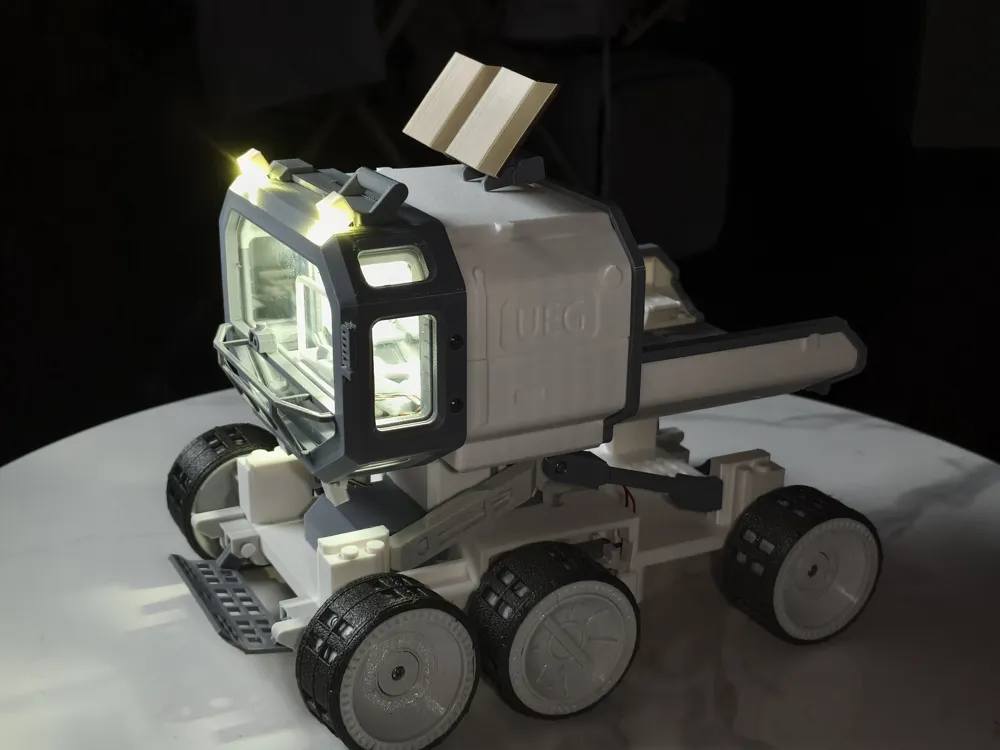
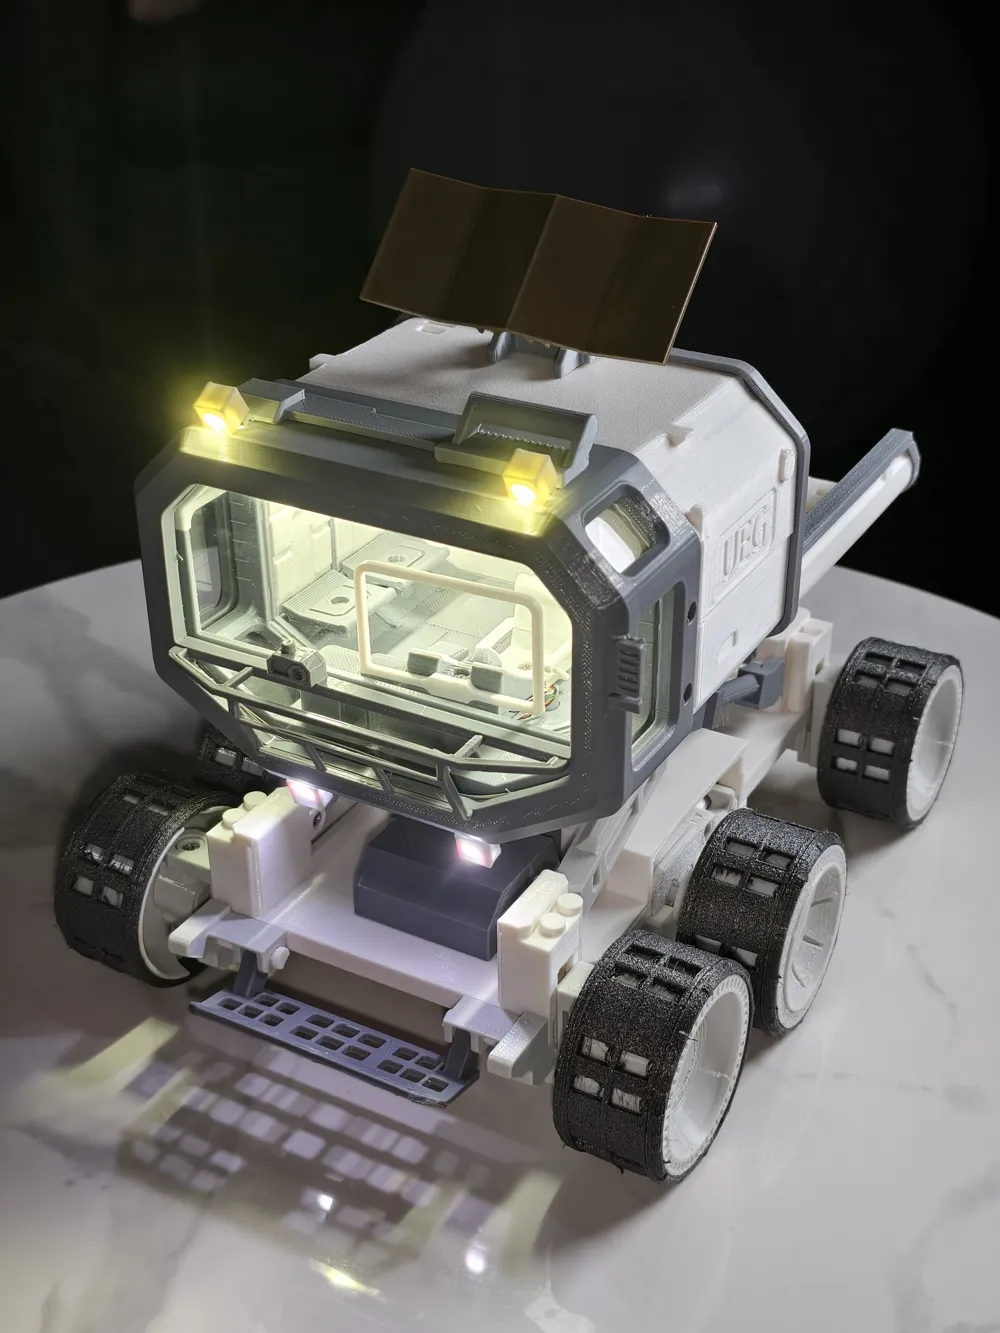
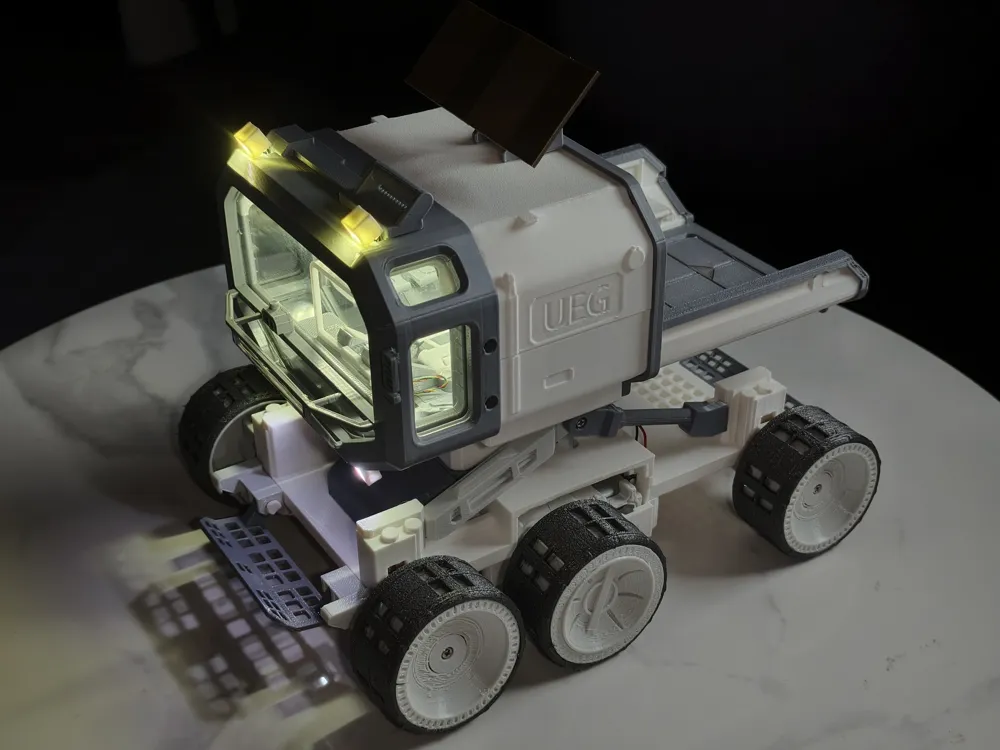
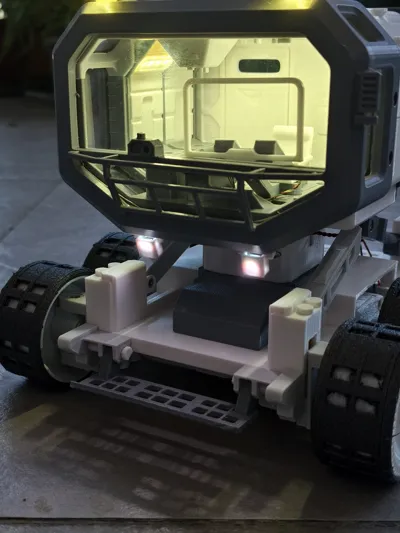
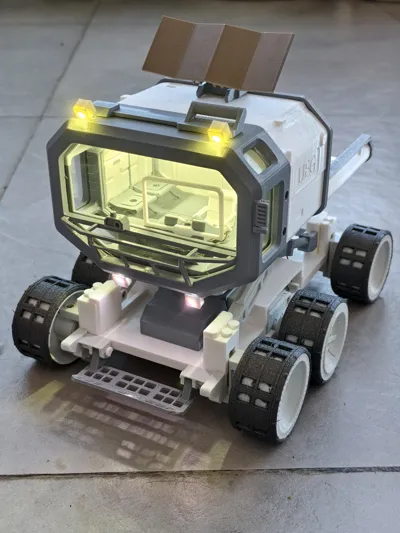
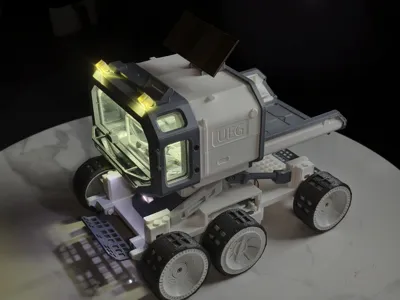
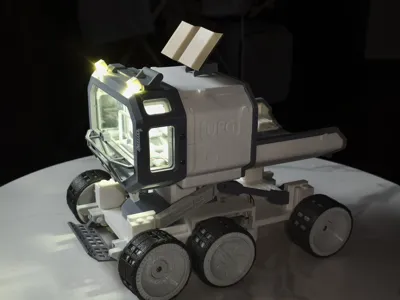
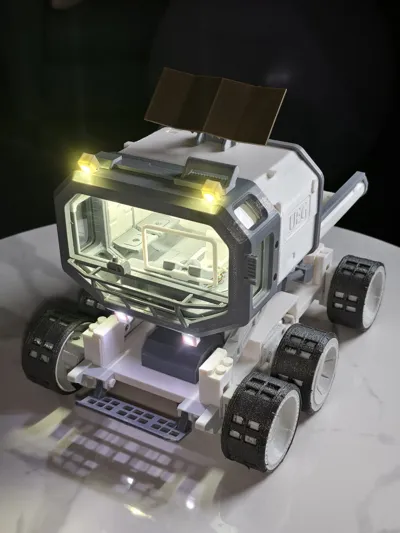
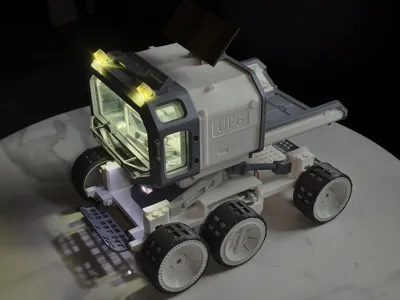
This is the most complex model I have made to date. If all goes well, I probably won't make anything this complex again. The model has many parts, and probably not many people will download it, so I just went all out, driven by passion, to make it look as cool as possible. For the internal lighting effect, I added five light sources to the cockpit. If the CyberBrick wires weren't too short, the entire vehicle would have 12 light sources
Although the final product still has some discrepancies from what I expected, my energy is limited, and this is the best I could do
As Feng Ji from "Black Myth" said: "Completion is more important than perfection", please forgive any imperfections
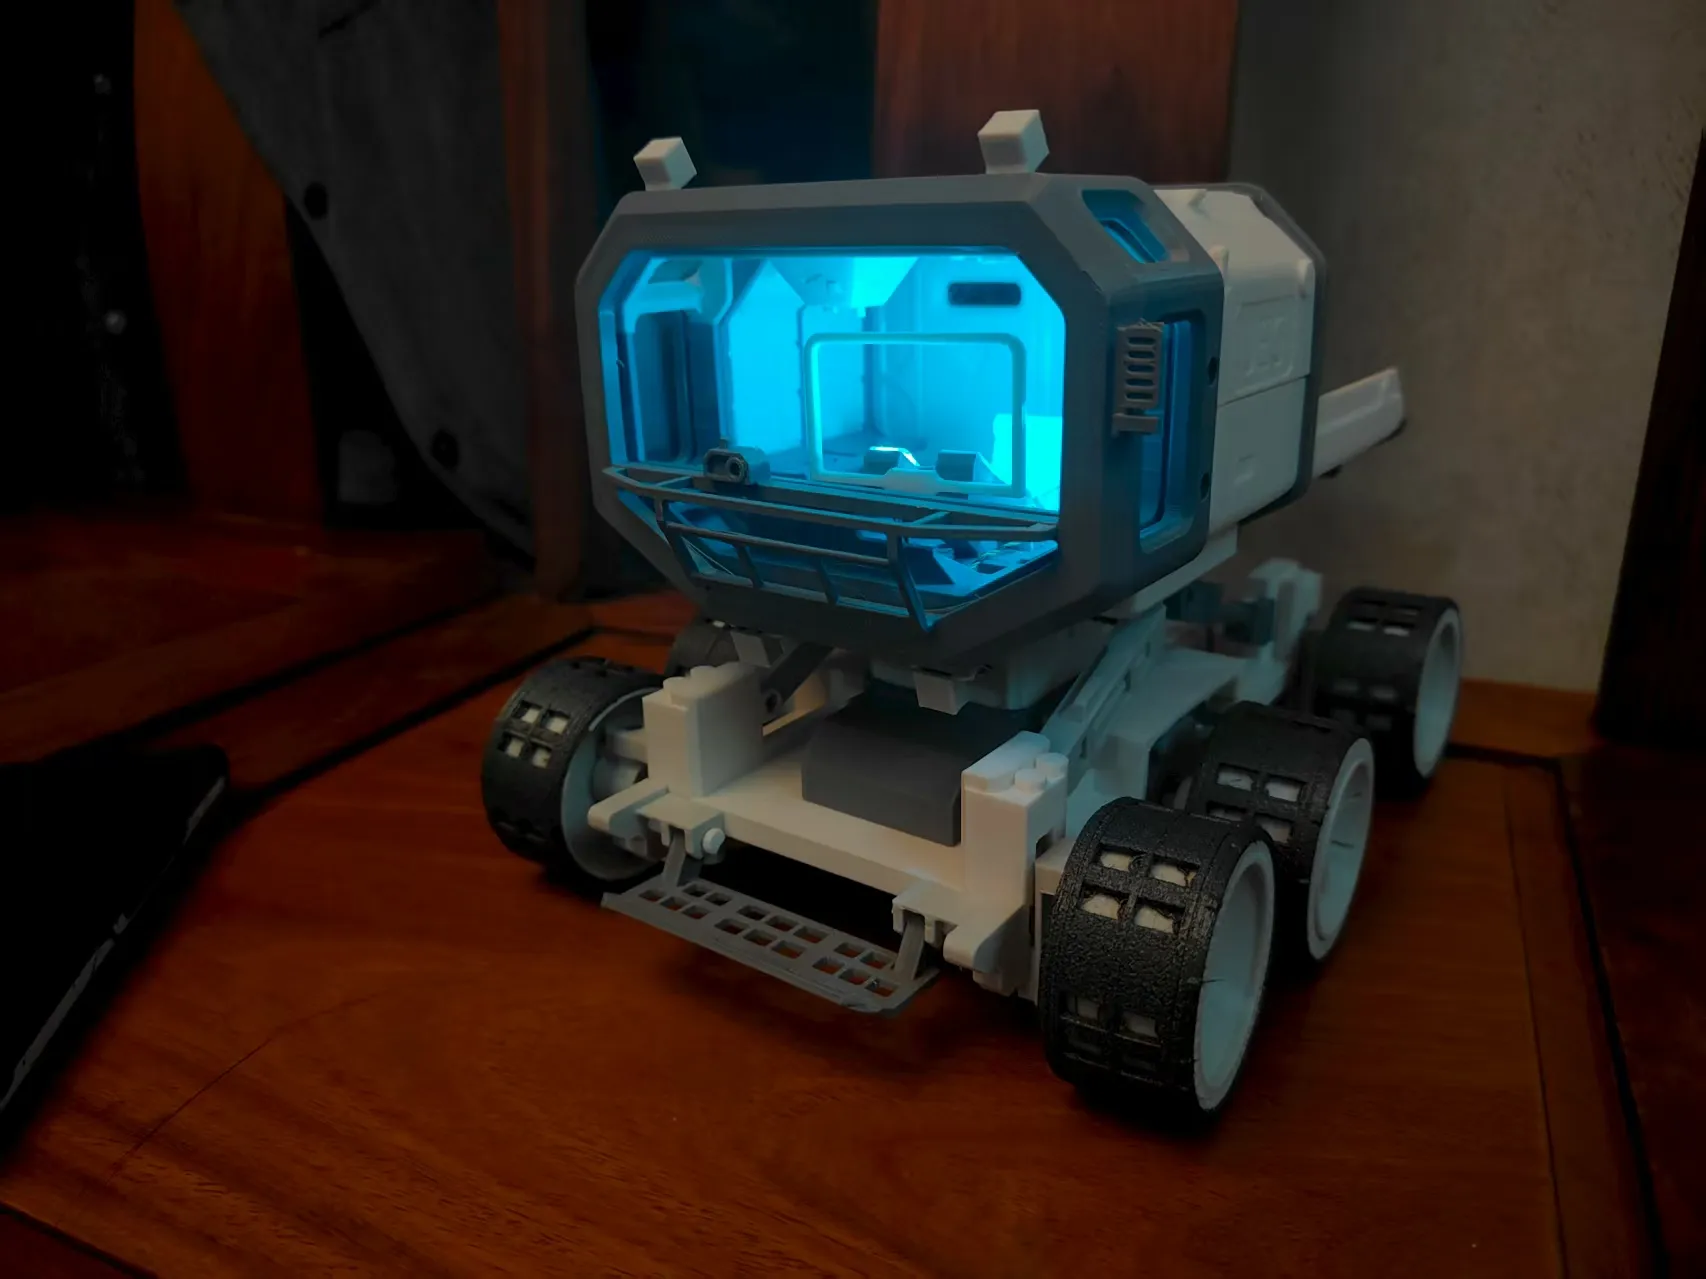
Regarding controls, it is compatible with the official CyberBrick controller. The left joystick controls movement, and the left shoulder button switches the lights
Vehicle Details
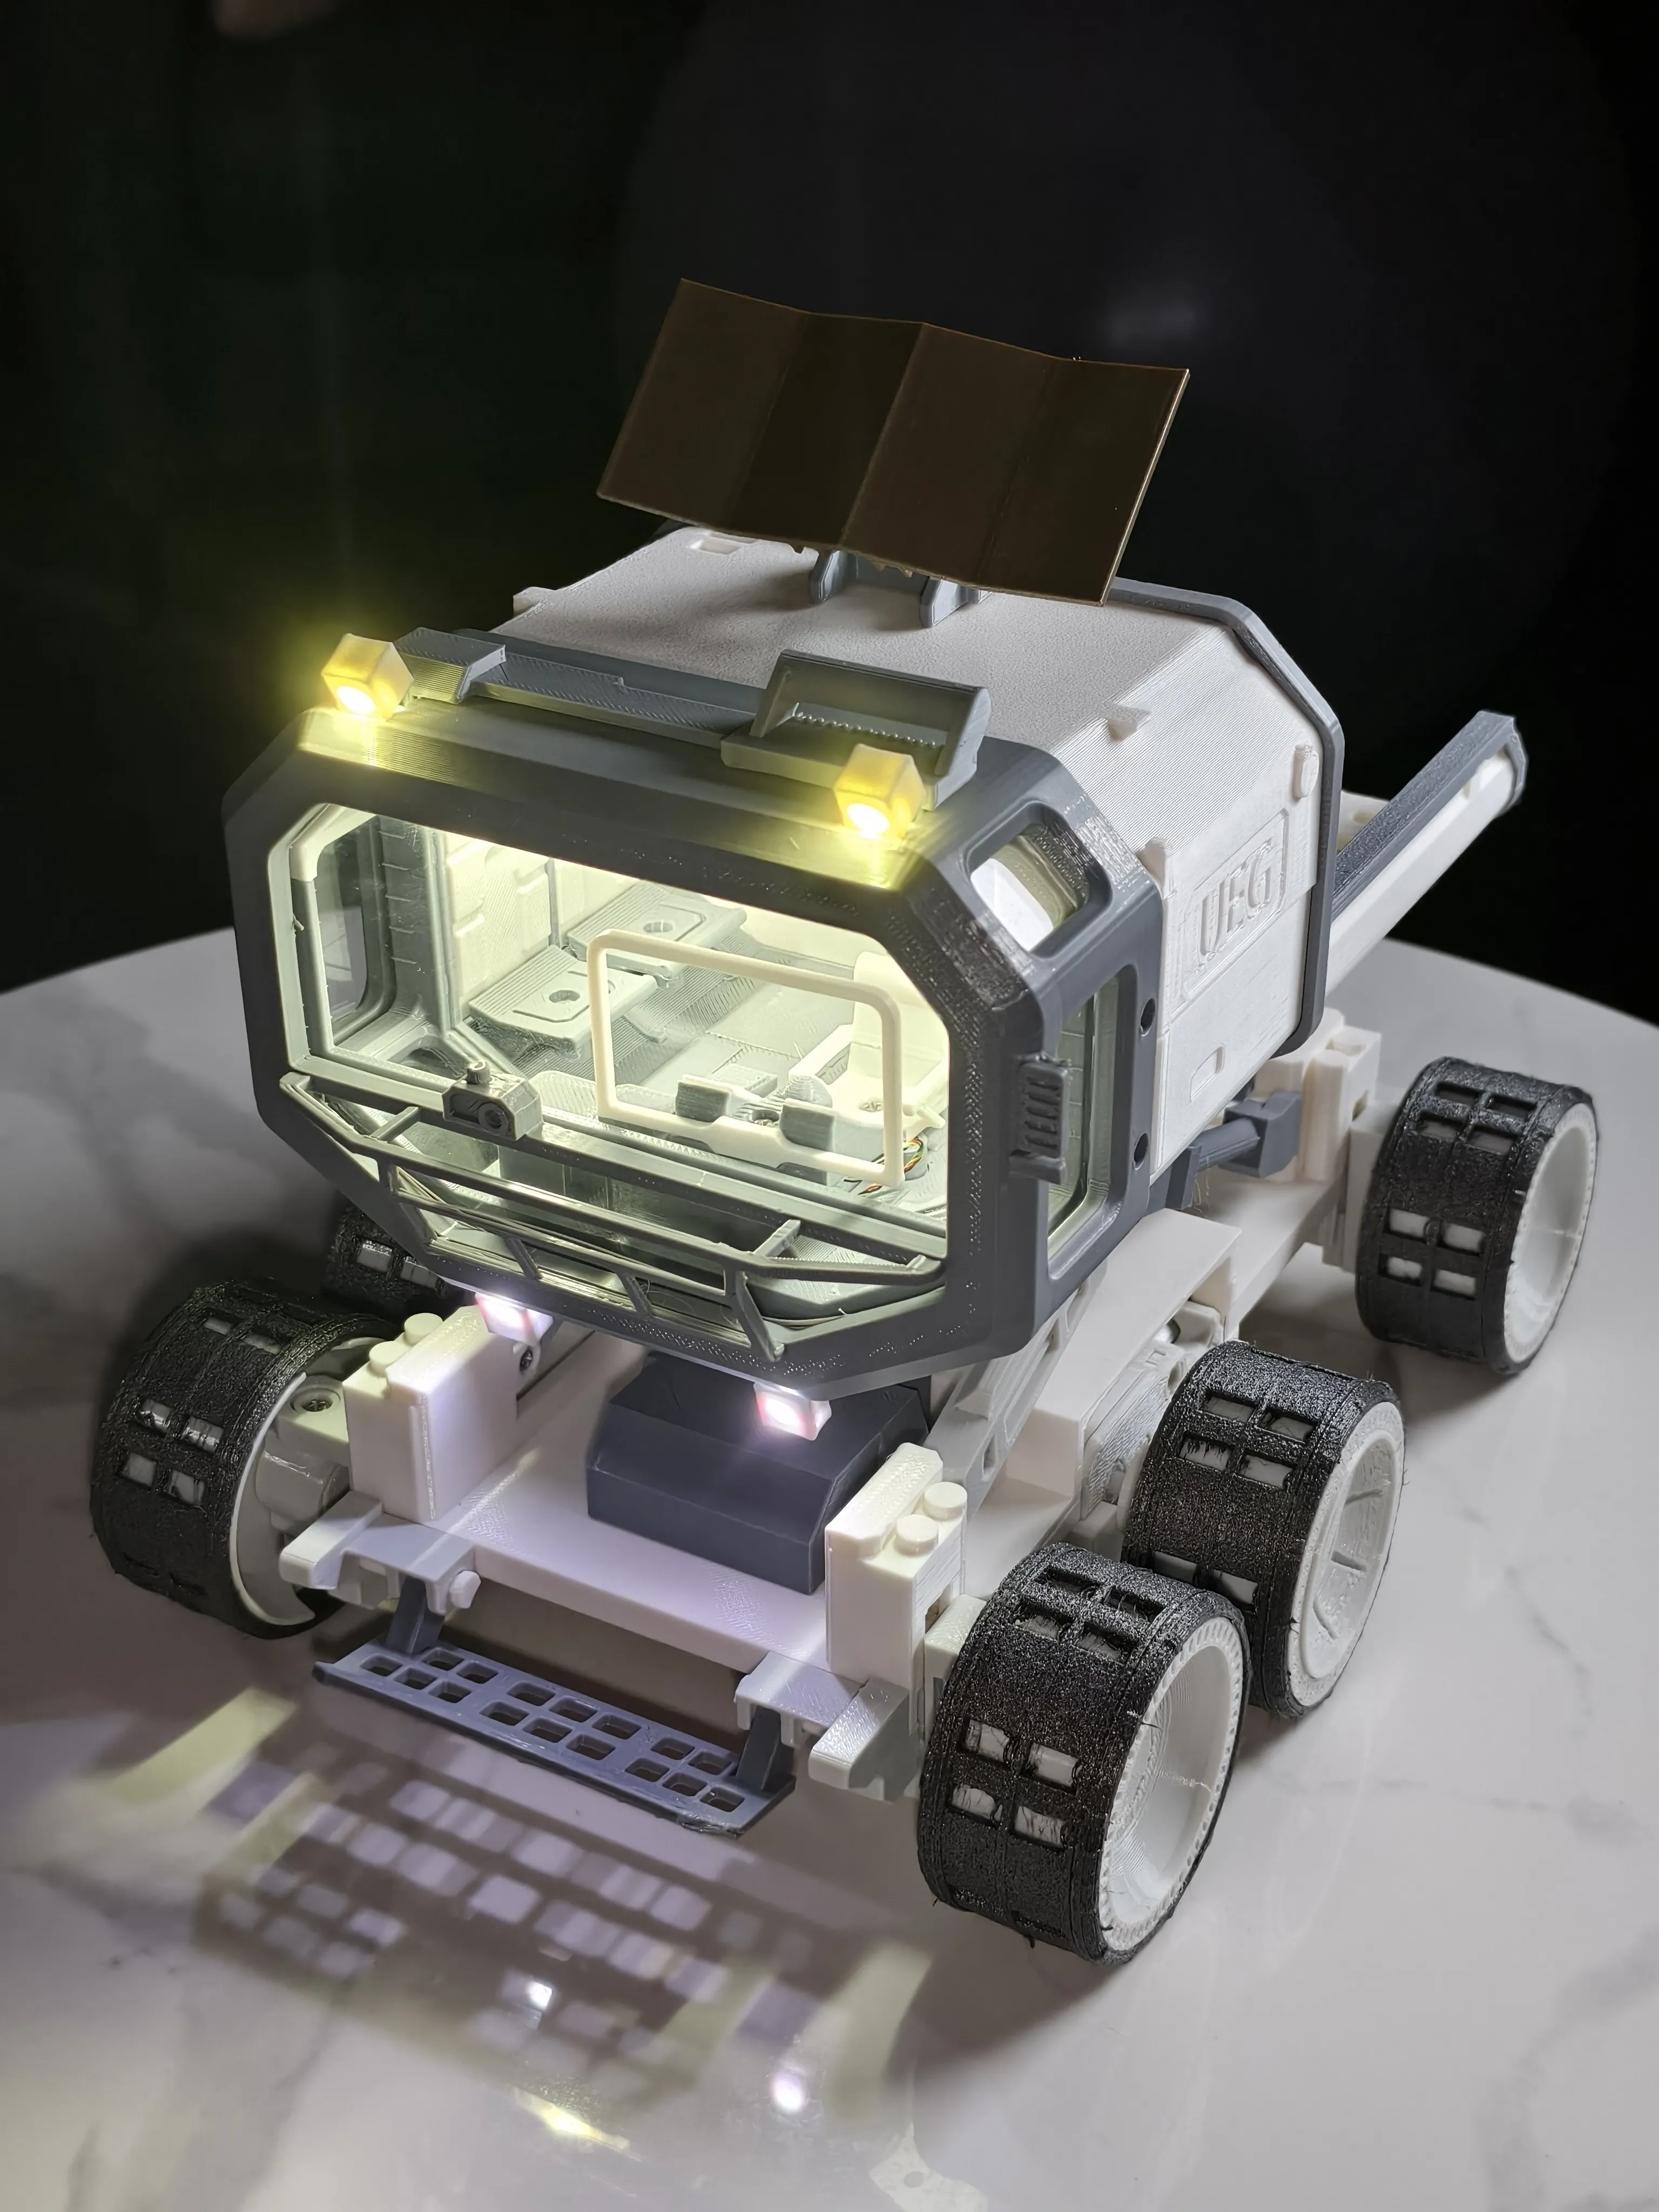
Cockpit Advanced Version Internal View
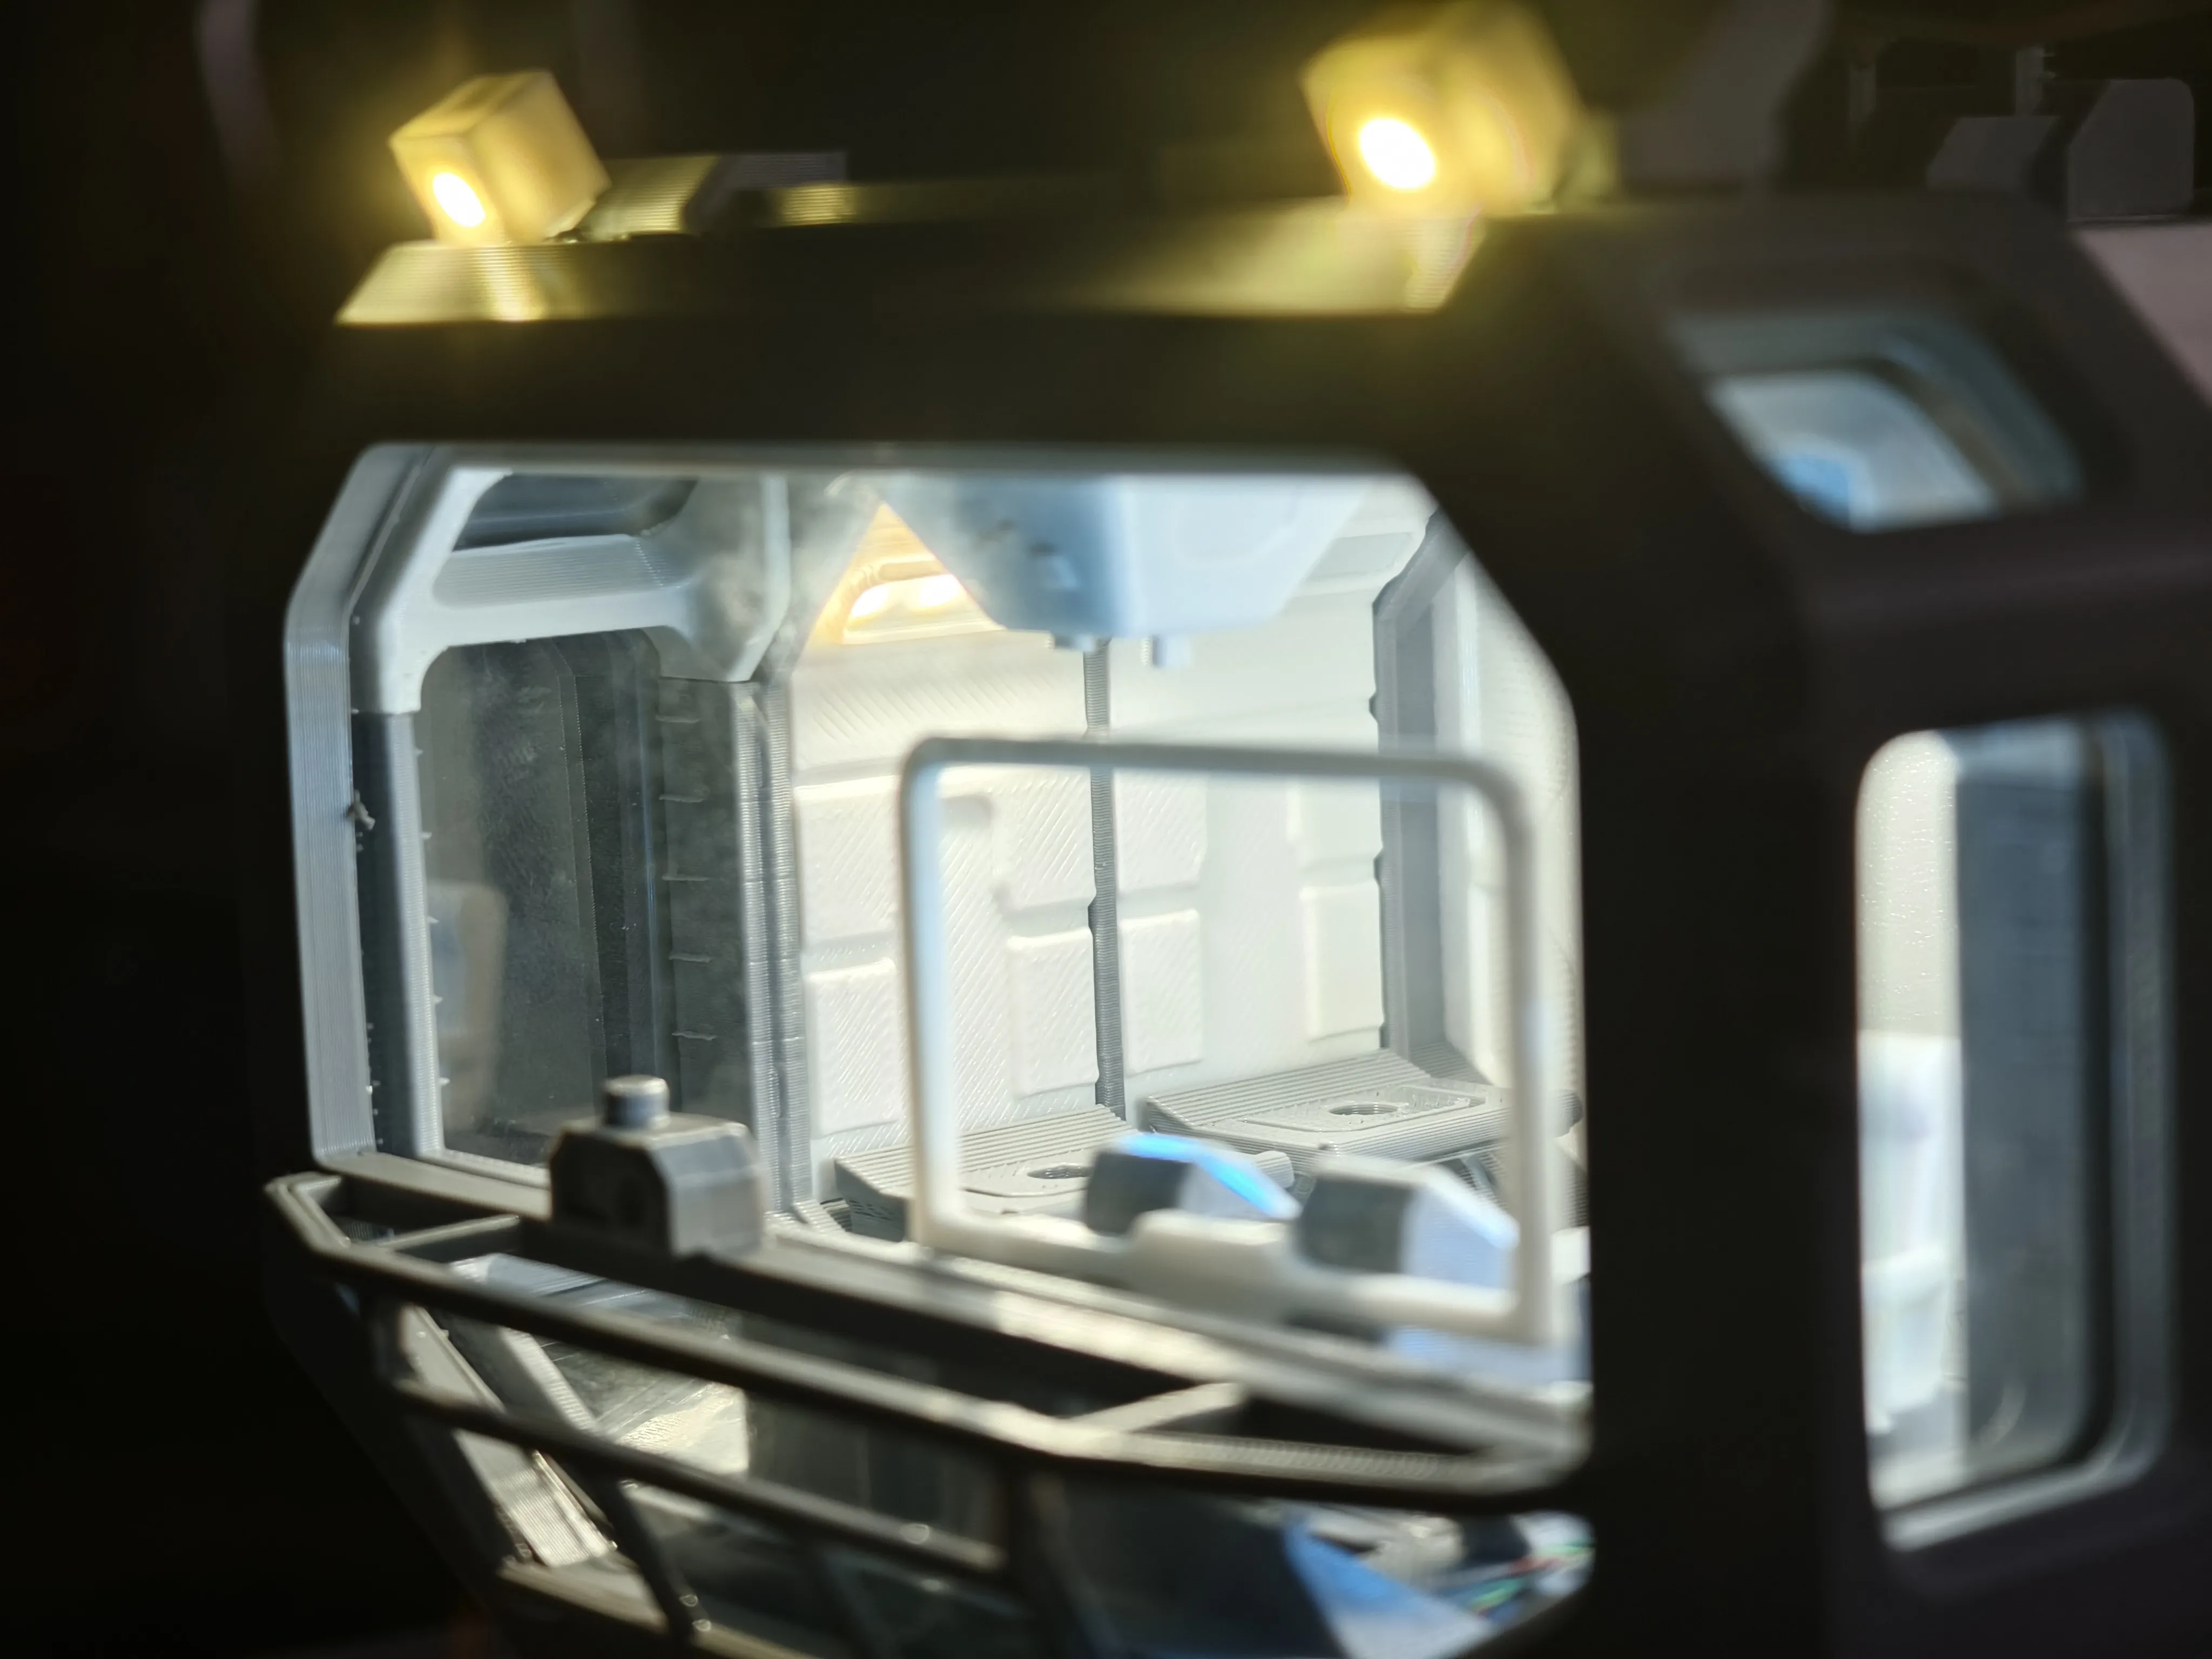
Basic Version Internal View
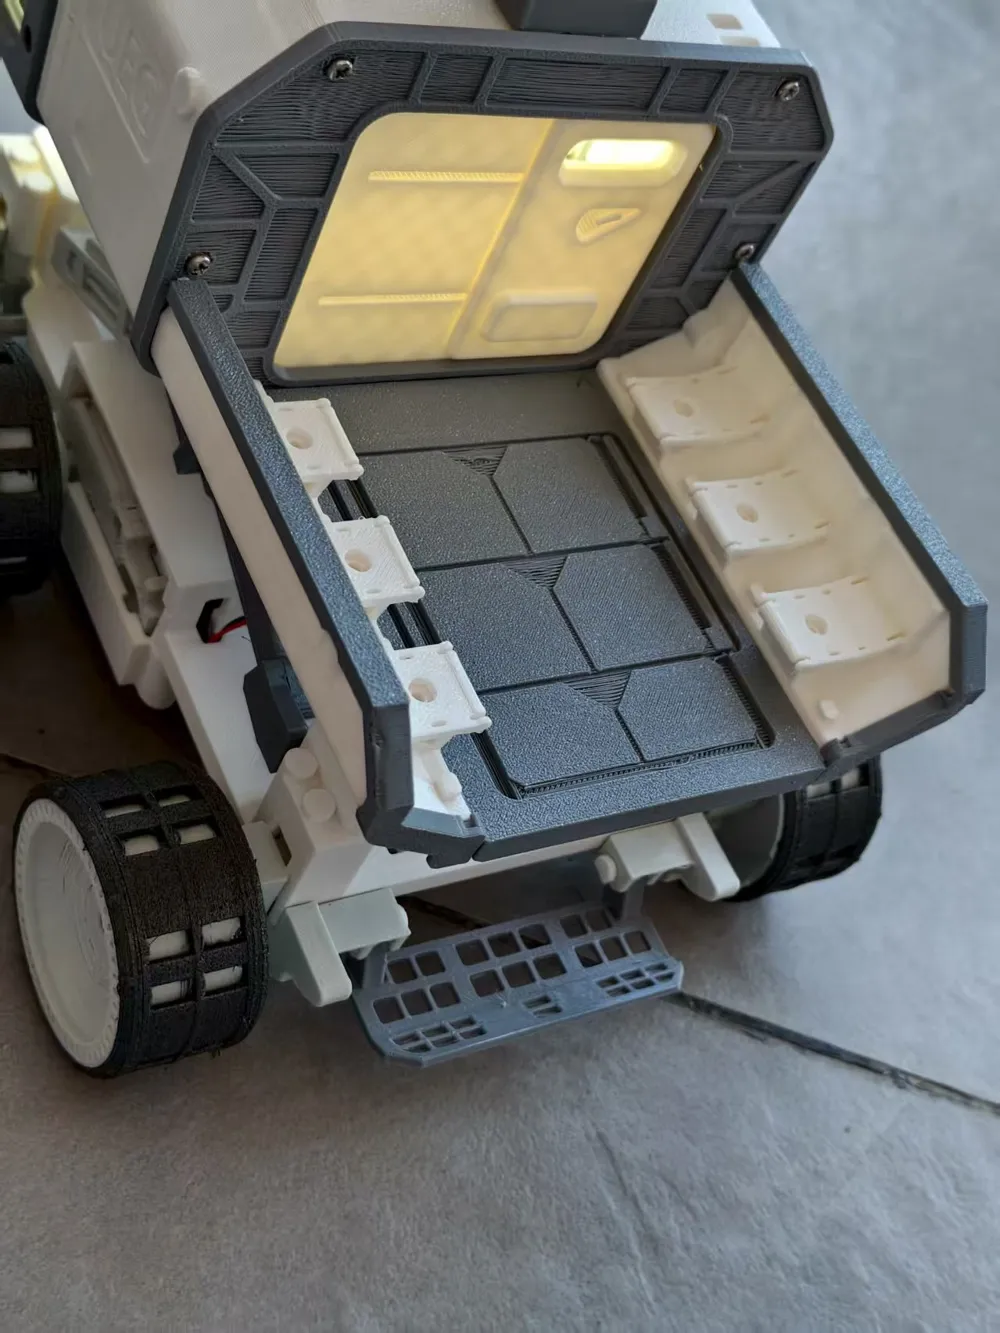
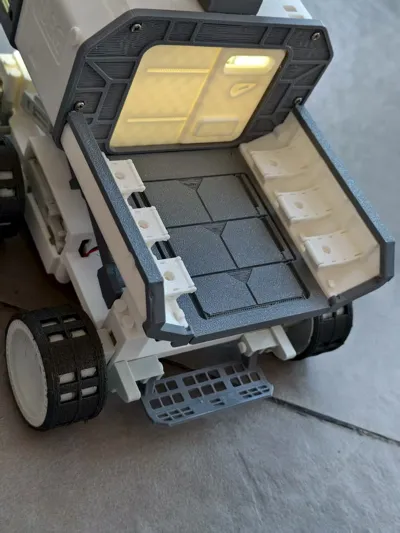
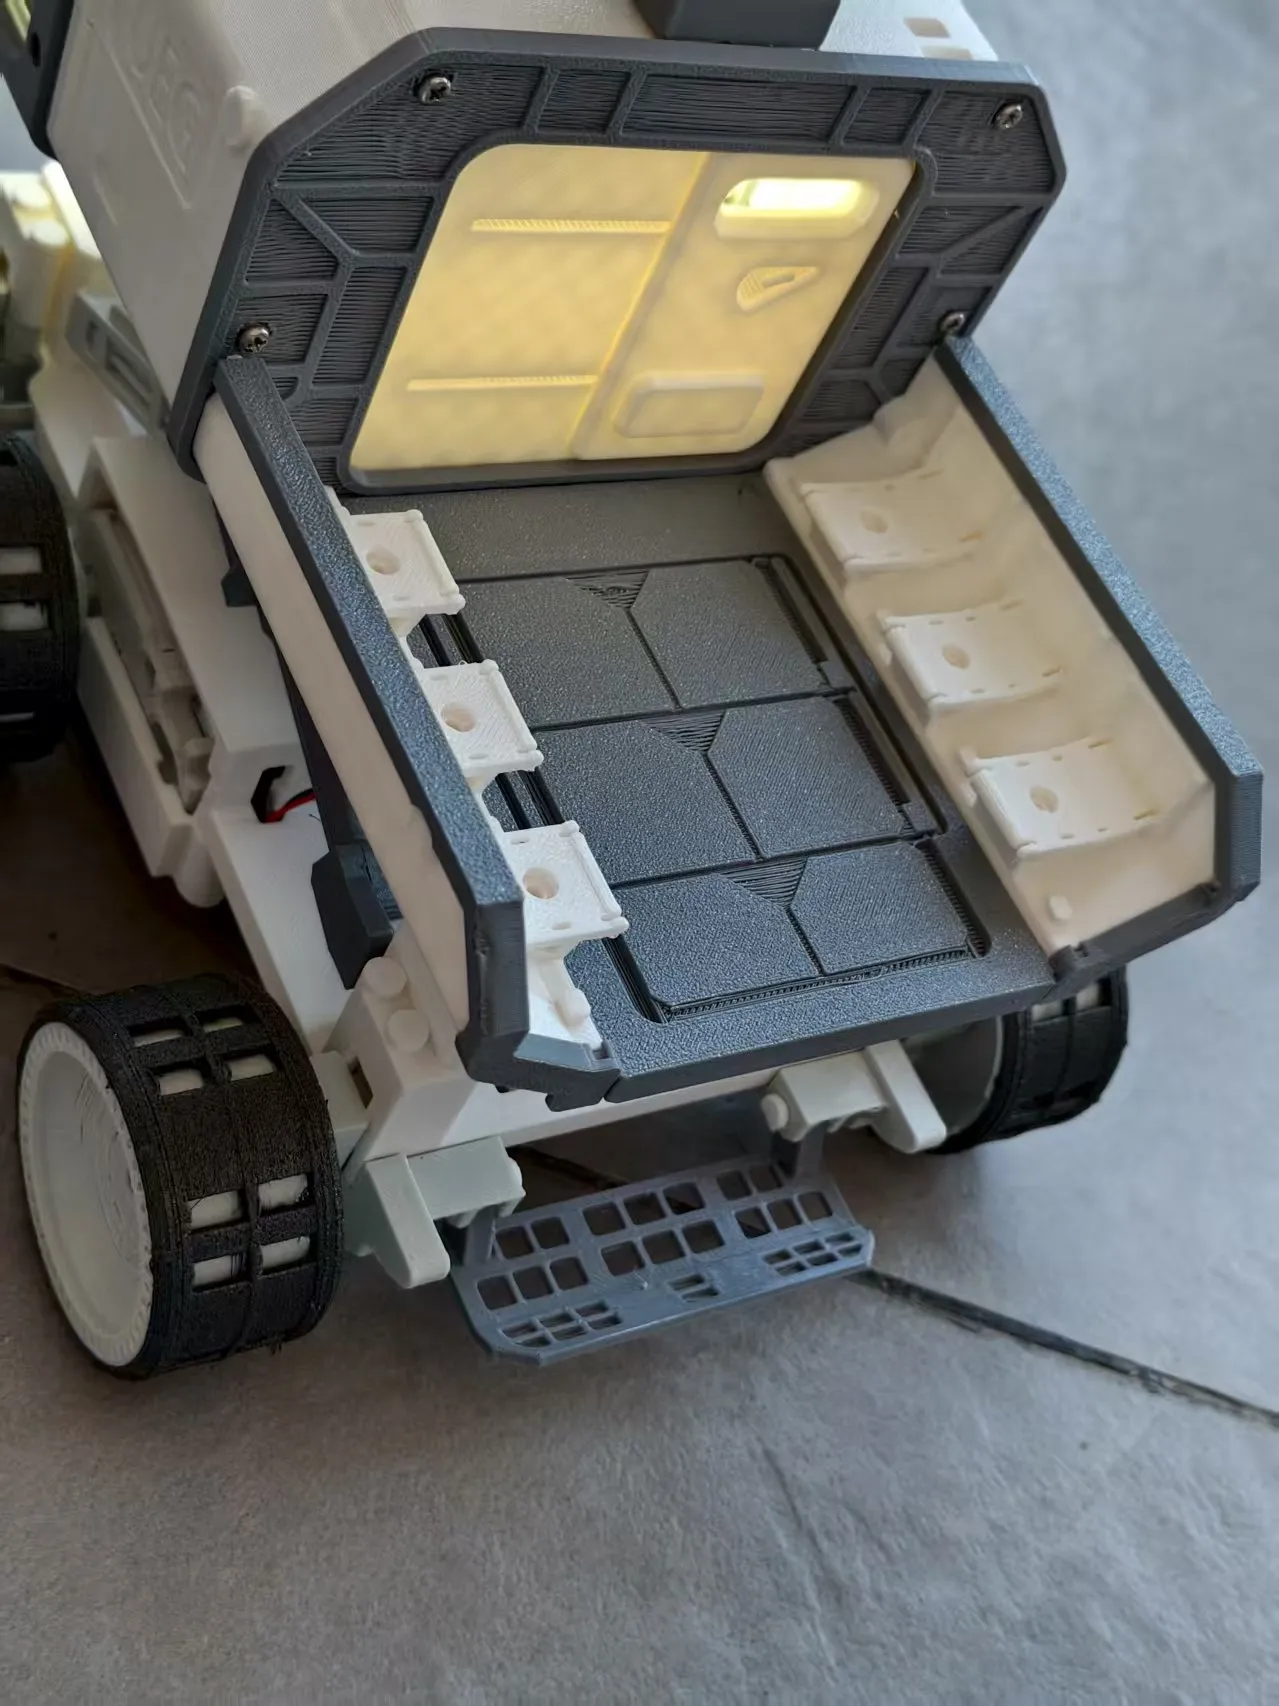
Cargo Bed Details
All seats have reserved screw holes for magnetic figurine models to sit in. A figurine model will be provided in the print profile. If you want a more refined one, you can design it yourself or wait for my future updates
Lighting and Control Preview

I designed independent suspension for the entire vehicle. This is my first time designing such a structure, which resulted in some flaws in the drive wheel suspension, please understand
To minimize the barrier to installation and printing, the lunar rover has many optional components. If you want to print it, see if your skills can support it
Required Hardware:
- M2.5*3*3.5 heat-set inserts, 3mm is the height of the heat-set insert, 3.5 is the outer diameter
Optional Content:
- M2.5*6 Phillips head screws
- This size is the same as the screws that come with the CyberBrick, but I find the official hex sockets problematic. They easily strip, causing the screw to get stuck halfway, unable to be tightened or removed, so I recommend replacing them with Phillips head screws that can withstand more force. If you don't want to buy them, the official ones can also be used
- 200mm*200mm*2mm acrylic sheet, requires an acrylic cutter or laser cutting machine
- DC-DC buck converter module, it connects to the white light boards on both sides inside the vehicle and the 2 headlights on the roof, requiring soldering circuit boards and wires. The following components for this optional project need to be purchased from Maker's Supply:
- Standard Component Distribution Board Four Channel IA005 x1
- Peripheral Connection Cable SH1.0-2Pin-20CM (5PCS) IC007 x1
- LED Light Board -5V-Rectangular Light Board (2PCS) KB001 x1
- LED Light Board -5V-Single LED Light Board (2PCS) KB002 x1
- Power Connection Cable PH2.0-2Pin 10CM IC008 x1
If you don't want optional parts, the official CyberBrick kit is sufficient
For specific installation, refer to the installation instructions
Documentation (3)

License

You shall not share, sub-license, sell, rent, host, transfer, or distribute in any way the digital or 3D printed versions of this object, nor any other derivative work of this object in its digital or physical format (including - but not limited to - remixes of this object, and hosting on other digital platforms). The objects may not be used without permission in any way whatsoever in which you charge money, or collect fees.


Comment & Rating (21)