
Gamesir X5 lite extender
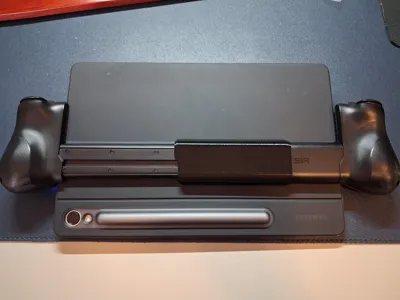
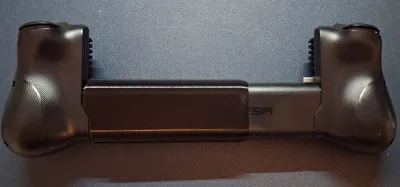
Print Profile(1)

Description
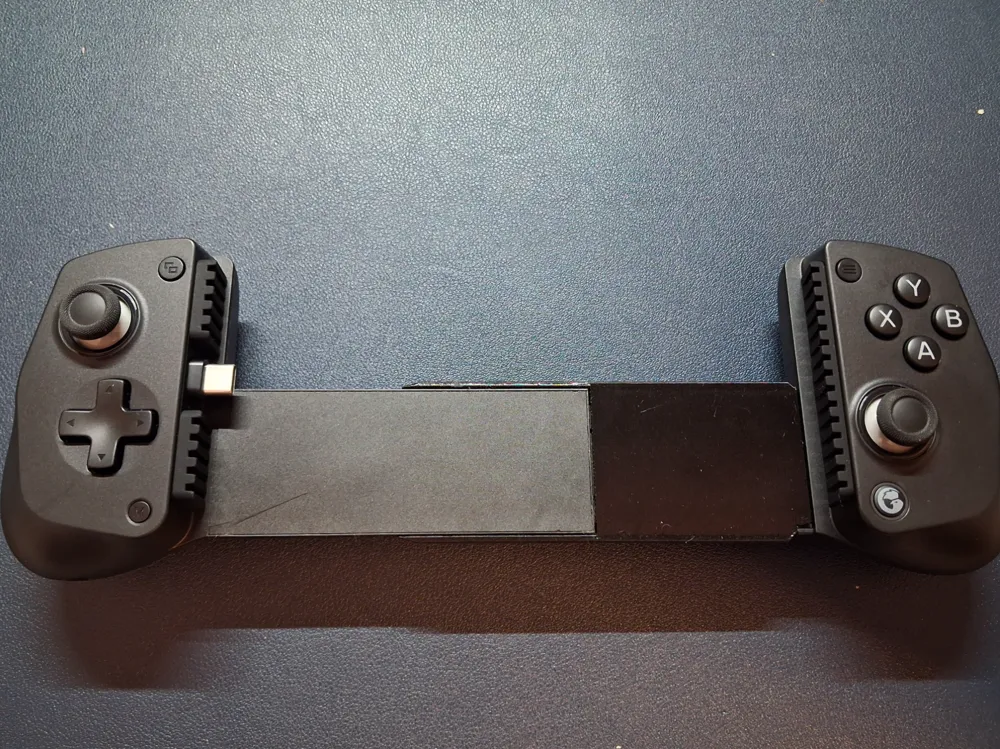
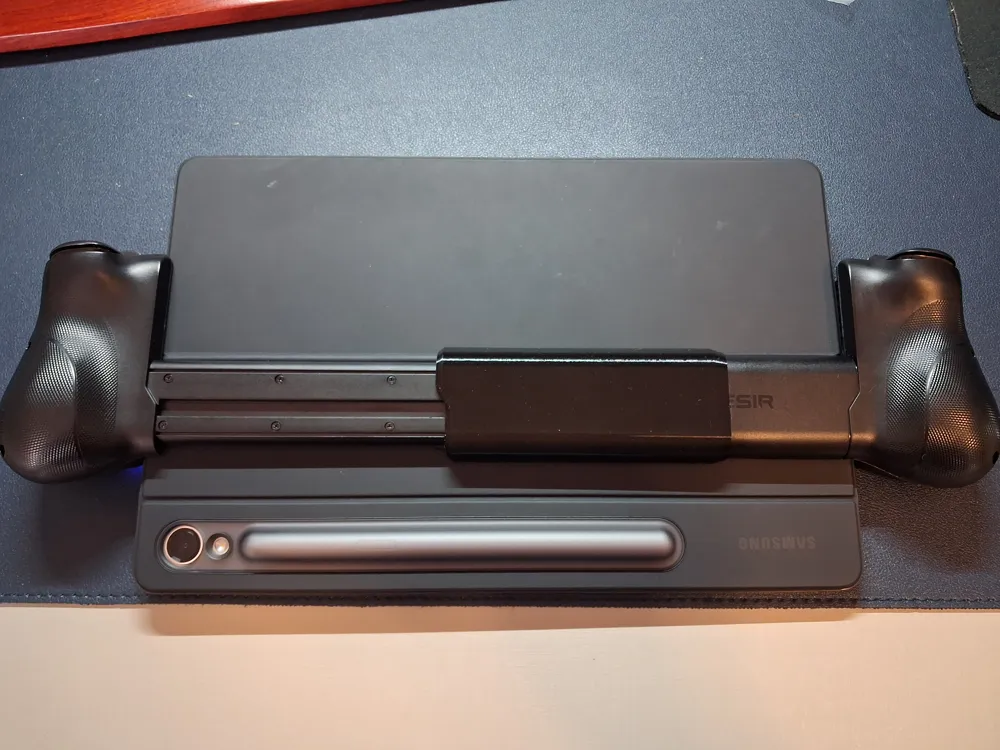
This is an extender for the Gamesir X5 lite USB-C telescopic controller. Originally it fits devices up to 205 mm in length. This extender boosts that to about 260 mm, which is the limit to the ribbon cable that connect the two halves. You could further modify the controller with a longer cable to fit larger tablets, also modifying this extender to add some more length. The original ribbon cable is 30 cm, 16 conductors, 0.5 mm pitch.
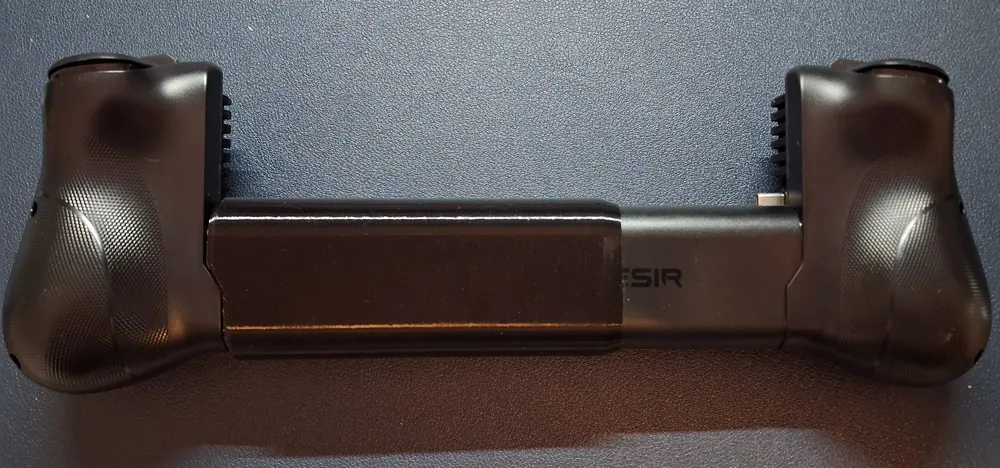
After the modification, the minimum extension is about 155 mm.
The process listed below is destructive. If anyone would like to build upon this, they'd be more than welcome to do it.
---
DISCLAIMER: Proceed at your own risk. I am not responsible for any damage to your controller or for voiding its warranty as a result of this modification.
---
Instructions:
1. Disassemble the left side of the controller.
1.1. Peel the textured sticker from the left slider part to reveal the screws.
1.2. Remove the screws.
1.3. Pry open the left half of the controller completely.
1.4. Lift the black tab to remove the white ribbon cable.
1.5. Remove the screws that secure the springs.
1.6. As a safety precaution, tie a loop to the spring ends using a sewing line or other string.
2. Assemble the extender.
2.1. Using a cutting plier (the same kind that comes with 3D printers works perfectly), cut the limiter square from the right slider. Sand off any burrs. Be careful not to damage the ribbon cable. (You can also disassemble the right side if needed.)
2.2. Slide the extender completely into place over the right slider.
2.3. Slide the left part of the controller to connect it with the right side and the extender.
2.4. Superglue the extender to the left slider, making sure everything is flush. Ensure the glue is fully cured.
2.5. Secure the springs to the left half of the controller.
2.6. Slide the ribbon cable completely into the connector and close the black tab.
2.7. Close the left part of the controller by pushing the top and bottom halves together and then secure the screws.
2.8. Glue the adhesive sticker on top to finish.
CAUTION:
Do not extend the controller past your tablet's length with too much force, as this may rip the ribbon cable from its connector. Do not use this with tablets over 260mm, as the ribbon cable is too short.
Tip: There's some glue residue holding the ribbon cable to the inside of the left slider mechanism. Remove this glue or place a piece of paper between the glue and the ribbon cable to avoid the “stickyness” of the mechanism at the ~250 mm point that causes the ribbon cable to come off.
For modifications, if needed, please DM me for the onshape project link.



Comment & Rating (4)