
Print Profile(1)


Description
🛠️ Update:
The PSU holder design has been improved! It’s now reinforced to prevent bending or stressing nearby parts, ensuring a sturdier and more reliable structure.
Introduction:
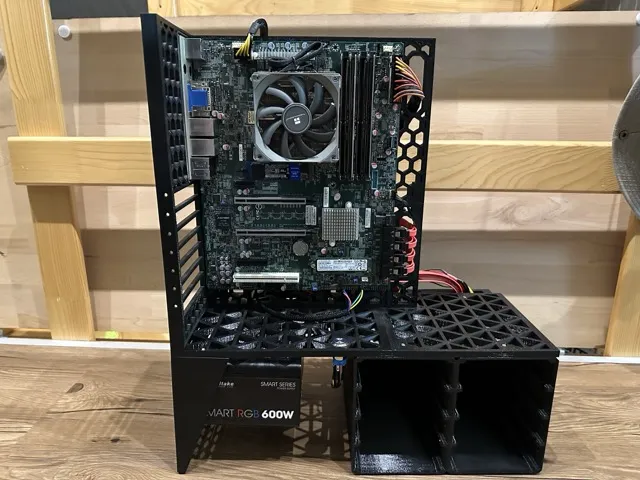
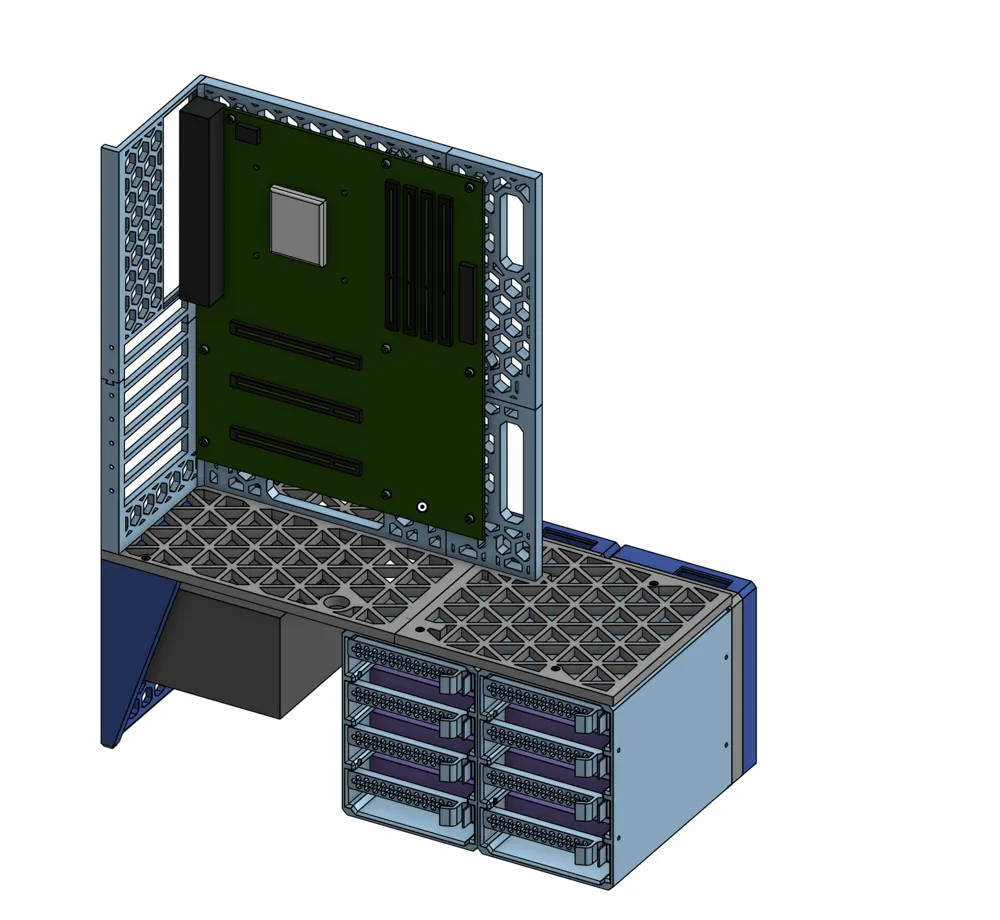
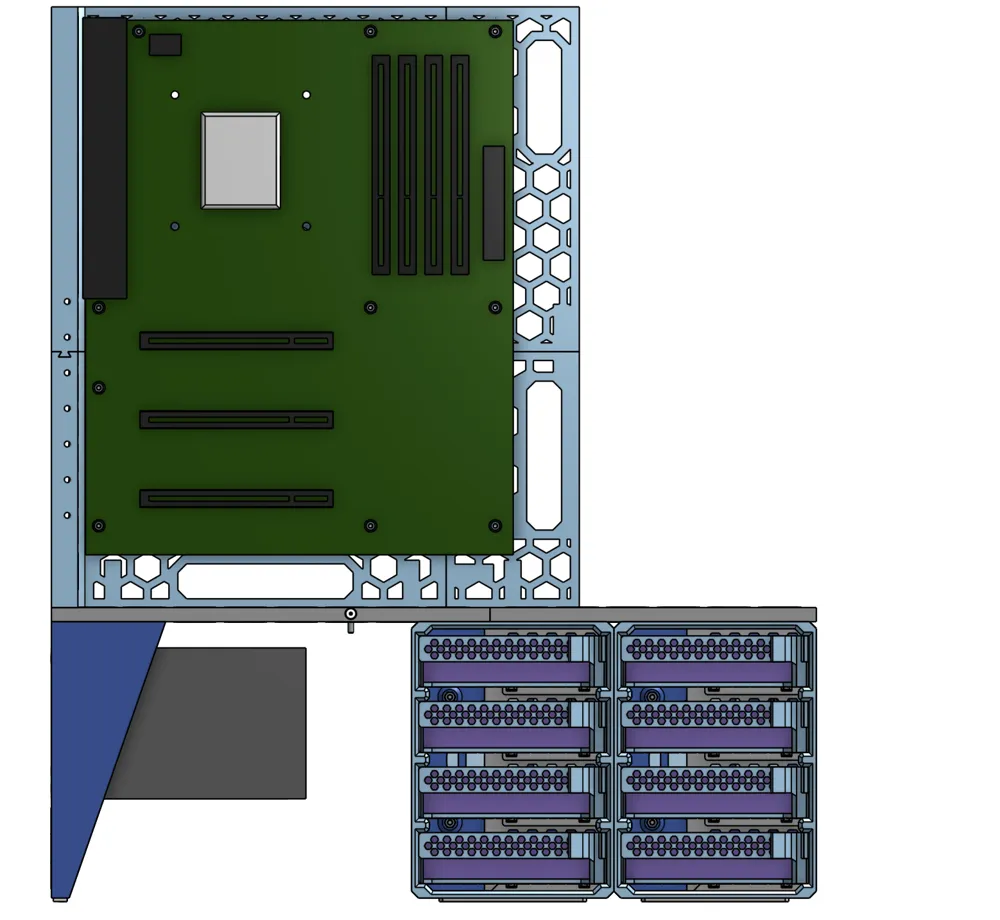
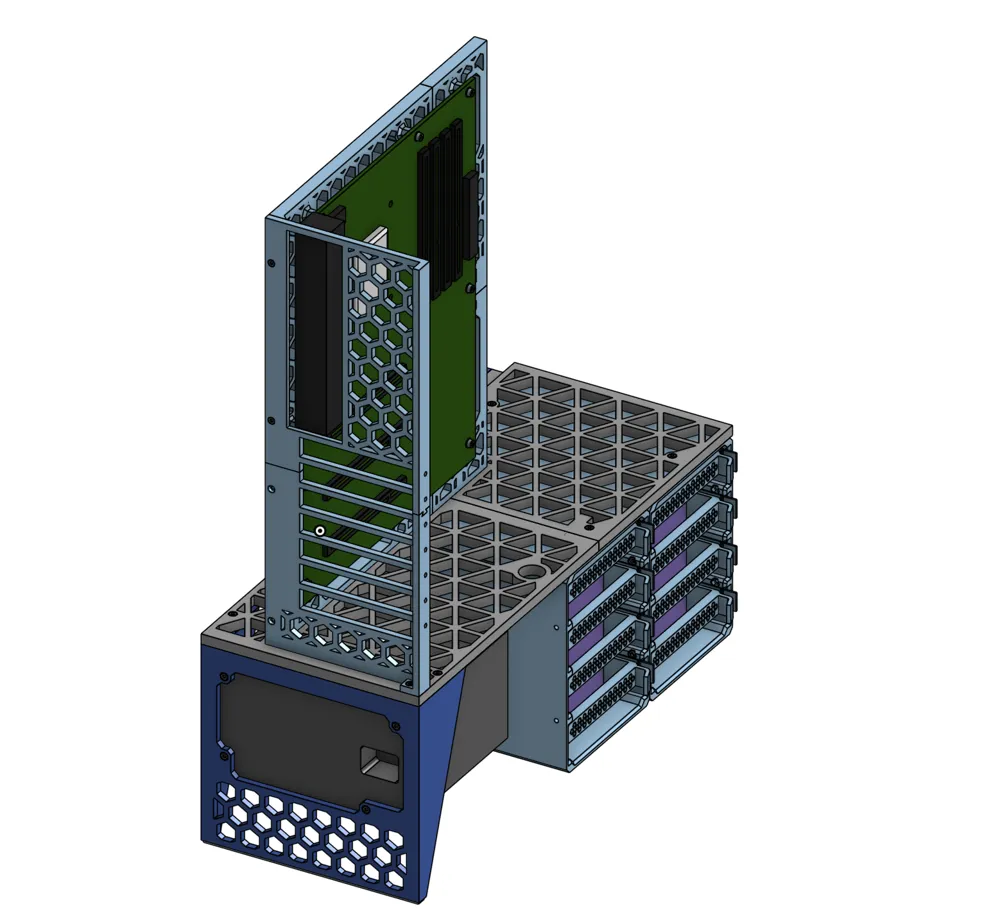
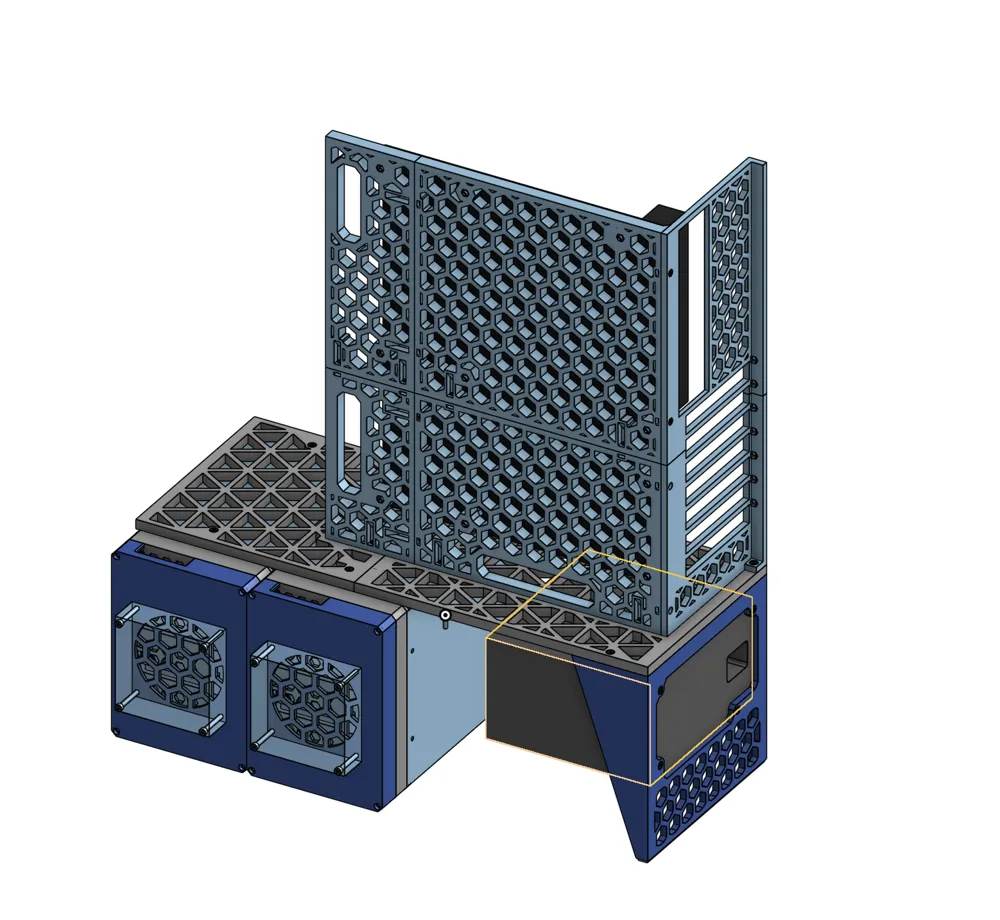
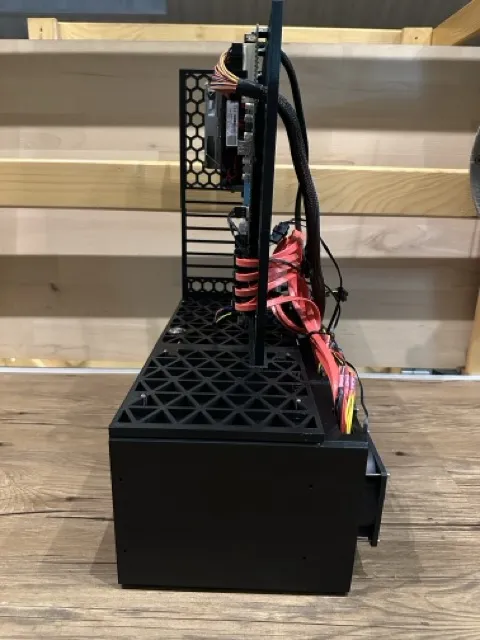
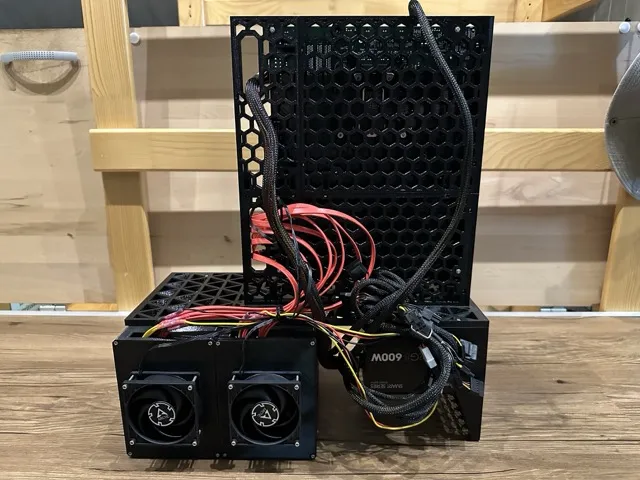
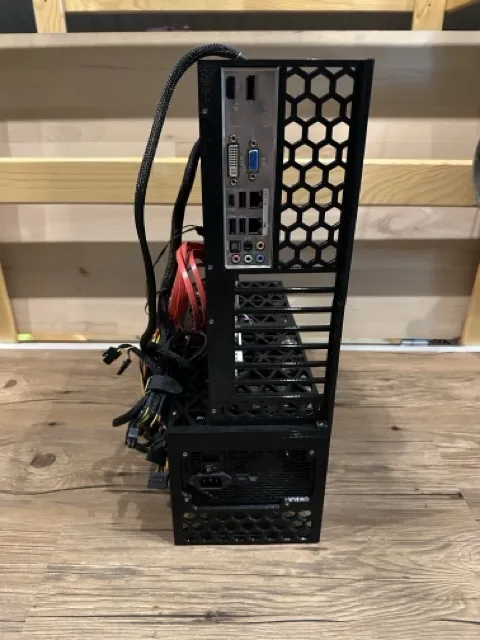
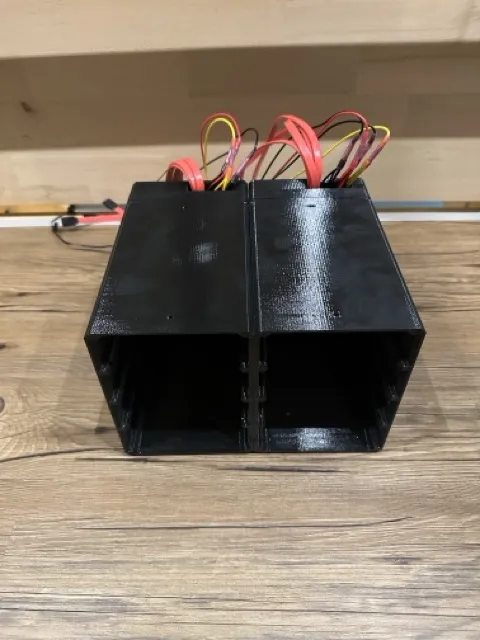
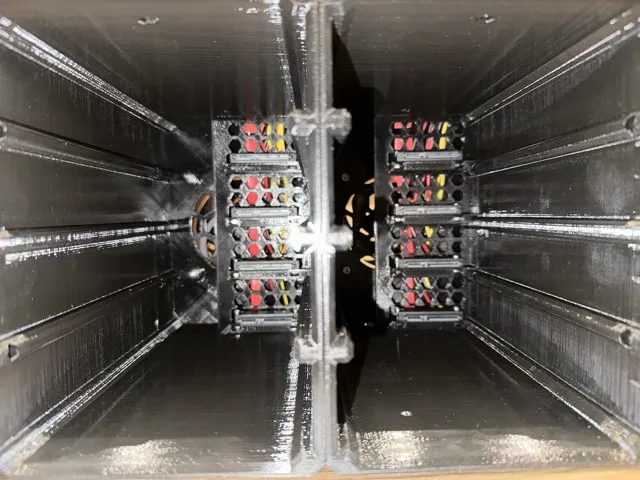
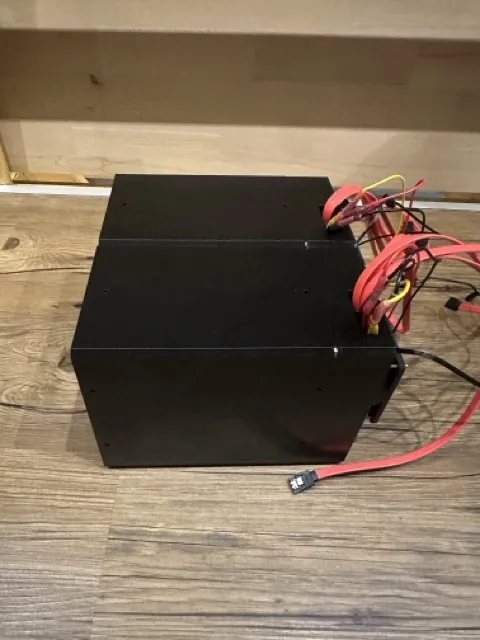
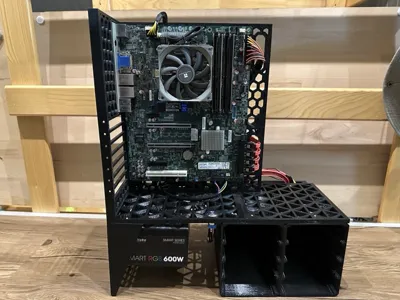
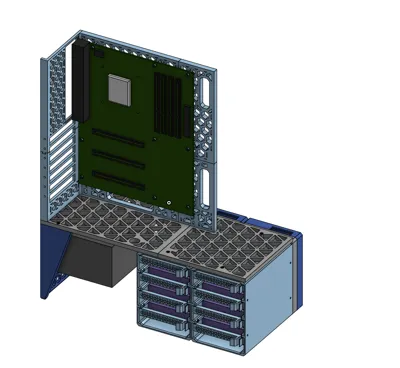
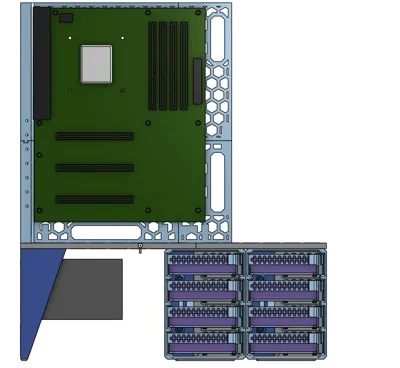
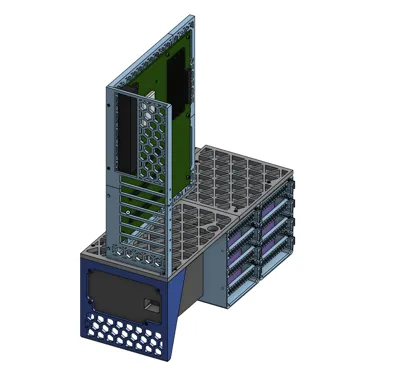
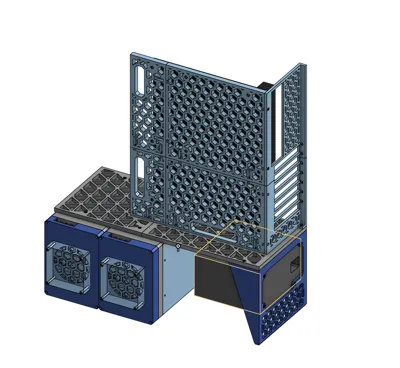
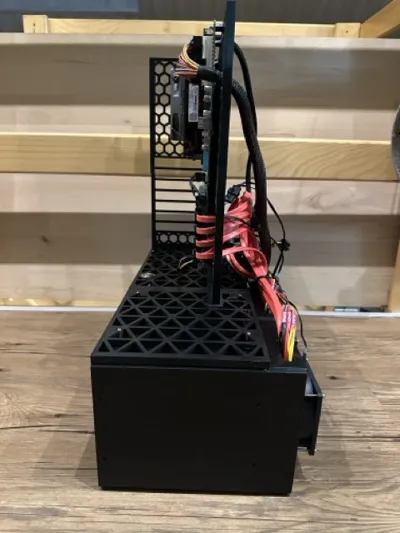
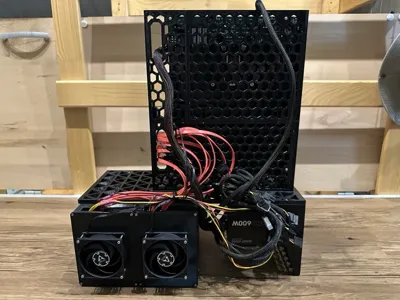
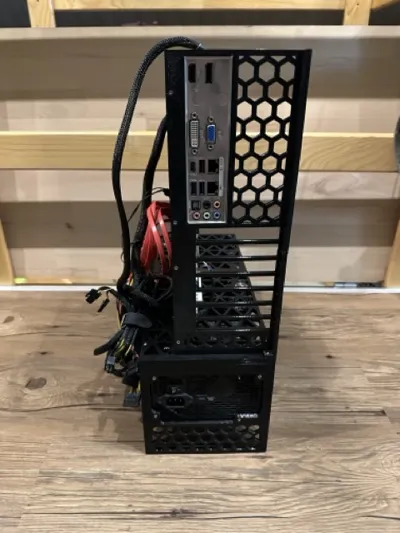
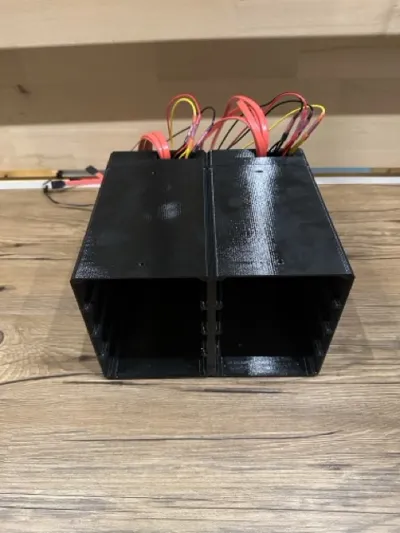
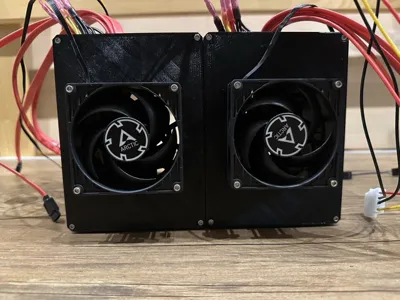
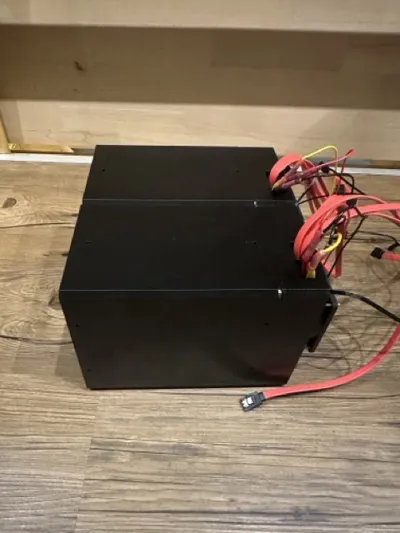
This 3D-printed, open-frame server case was designed specifically for home lab hobbyists who want flexibility and customization. The case supports everything from full-size ATX to compact ITX motherboards, features eight hot-swap drive slots (compatible with both 2.5" and 3.5" disks), and is entirely printable at home. The mesh structure makes cable management simple using zip ties while ensuring great airflow.
What You’ll Need:
- ⏳ Patience → Assembly can be a bit fiddly at times—with some screws in hard-to-reach places—but that’s part of the hands-on fun!
- 🧵 Filament → Budget for about 2.5kg. PETG is the way to go for strength and reliability; PLA may get brittle down the line.
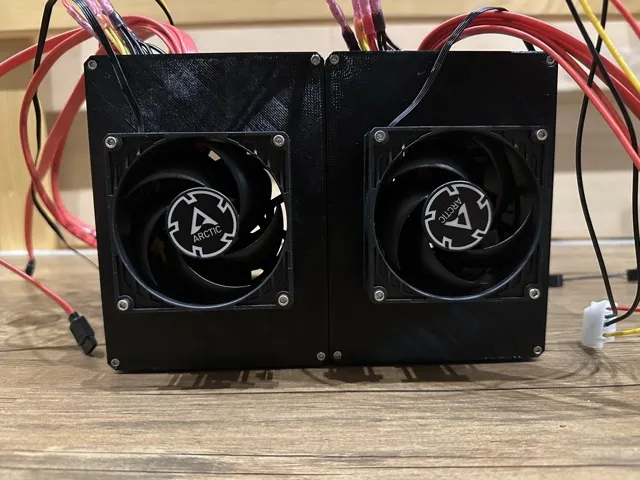
- 🌬 Fans → Two 80mm fans for solid airflow for the disks, like here.
- 🎛 Power Button → 16mm power button, like here.
- ⚡ SATA Connectors → Eight, which are 0.5m long, to support all drive slots, like here.
- 🛠 Screws → A full set of M3 screws you can get in a set or get them each
- 69x M3 Nut
- 10x M3 Washers
- 4x M3 x 5 (or shorter for monting the PSU)
- 14x M3 x 6
- 4x M3 x 8
- 21x M3 x 10
- 5x M3 x 16
- 11x M3 x 25
- 8x M3 x 30
- 8x M3 x 40
- (and screws for 2.5" or 3.5" disks. 4 for each)
- 🧱 Build Process → The easiest path: print everything before assembling. If you’re eager to start, print and build in the order the model folders suggest—brick by brick.
- 🎨 Craftsmanship → Basic soldering and tidy cable work needed for reliable connections.
Print Settings:
- 🔬 Layer Height: Use 0.2 mm at most, or a lower value that evenly divides into your printer’s step increments.
- 🏗 Supports: Enable supports only for the hot-swap caddies.
- 🛠 Nozzle: Use a standard 0.4 mm nozzle
Assembly Tips & Guidance
Overall, assembly should take about 2 hours—assuming you have all the parts ready and everything goes smoothly. The steps don’t need to be completed in a strict order, but here are some important tips to help everything go together nicely:
🛠 Mainboard Assembly
- Only screw the screws in loosely first.
- Once all screws are in place, gradually tighten them in small increments and keep an eye out for any bending.
💾 Disk Assembly
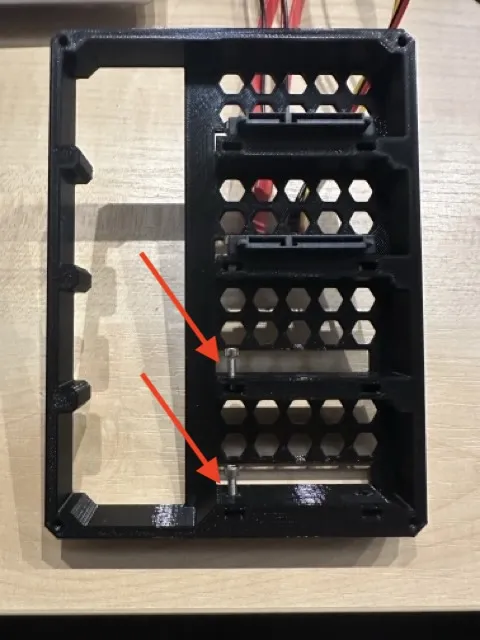
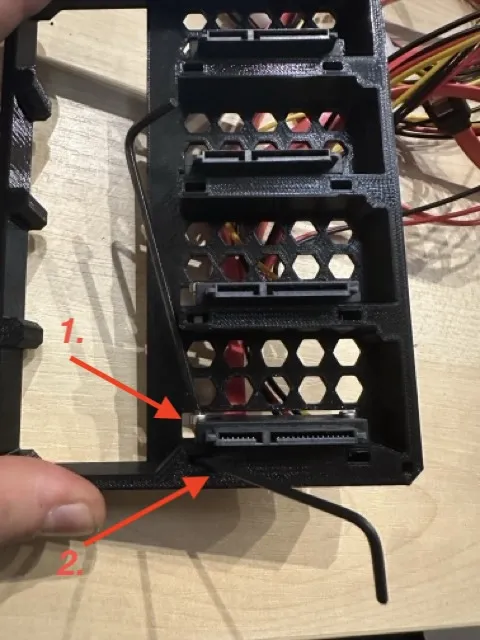
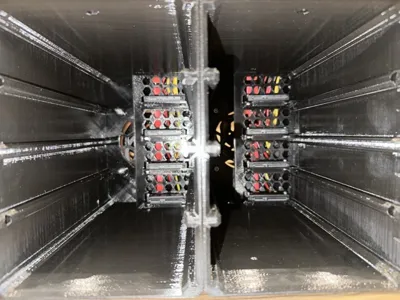
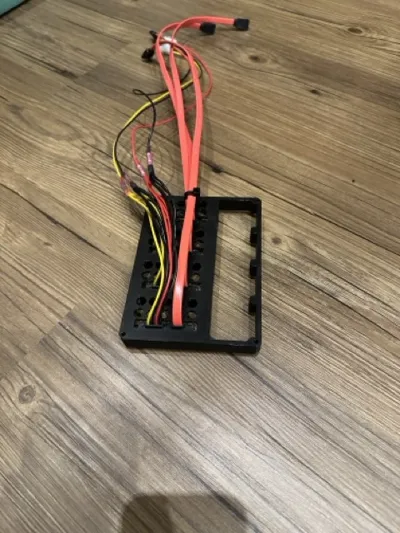
- Start with the SATA backplate: first, loosely screw in the left side.
- Next, slide the adapter into position.
- Once aligned, tighten all screws, but don’t over-tighten—leave a bit of movement for final alignment.
- 🔩 Tip if a nut is loose → Use a second Allen key (hex key) to hold the nut in place—from the back or side—while tightening the bolt, as shown in the picture below.
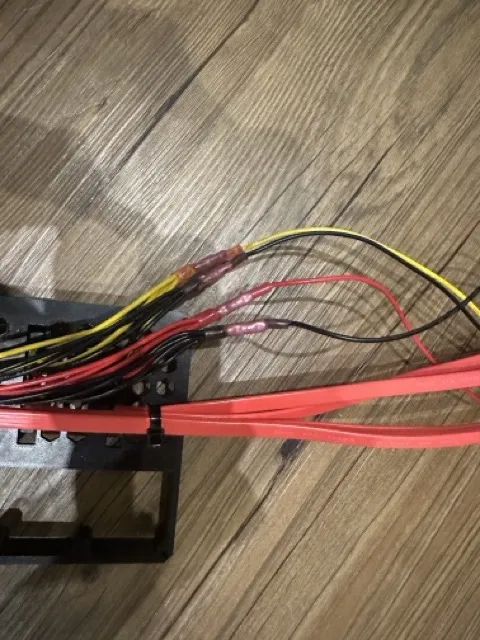
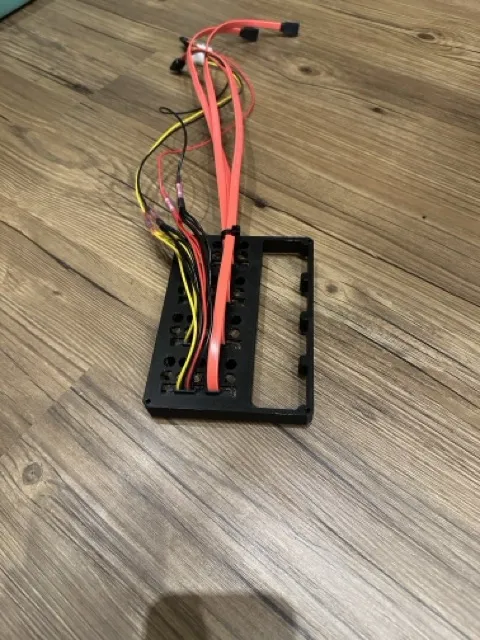
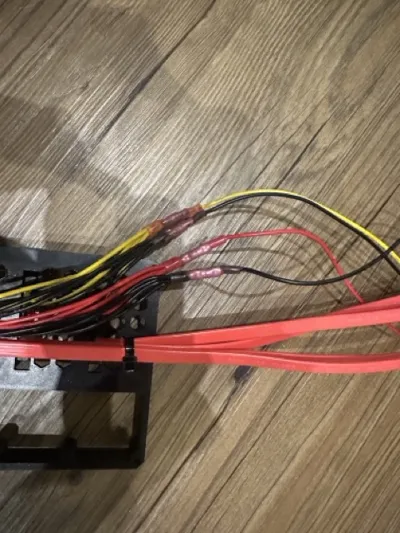
- After all adapters are in place, connect the power cables (solder or crimp).
- ⚠ Important: Do NOT mix up the ground connections—they must remain separate!
⚡ Power Supply Installation
- Avoid using long screws when installing the power supply.
- ⚠Danger: Long screws can create a short circuit or even cause more serious hazards.
⚠ Disclamer:
I am not responsible for any damage to your hardware or personal injury that may occur during assembly or use. Proceed at your own risk.
Inspiration:
CAD:
License



Comment & Rating (10)