
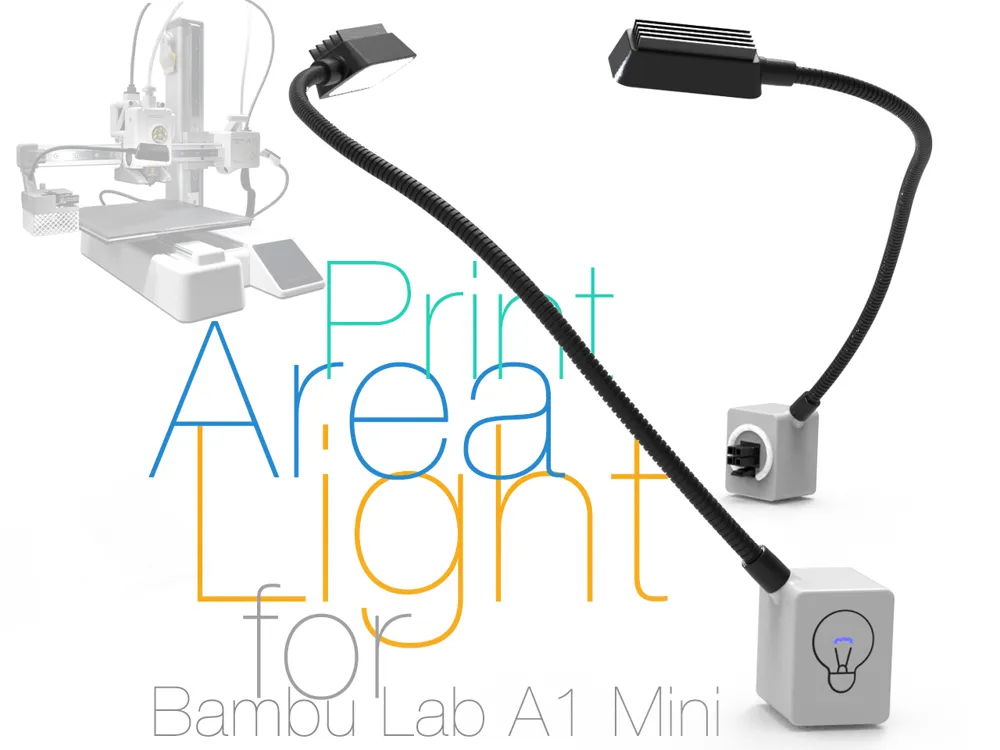
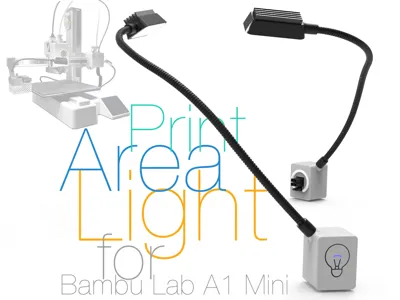
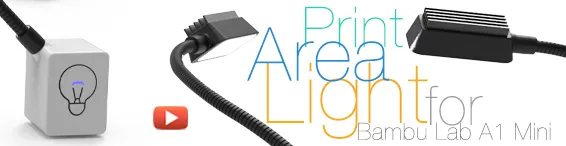
Print Area Light for Bambu Lab A1 Mini
Print Profile(1)




Description
Print Area Light for Bambu Lab A1 Mini
Introduction
Over the years, I’ve tested a variety of 3D printers, but the Bambu Lab A1 Mini impressed me the most. Even though it’s marketed as a budget model, in terms of print quality and speed it comes very close to the X1C — and in some areas it’s even better. It runs noticeably quieter and handles basic filaments with ease. I had no issues printing nylon and TPU through a 0.2 mm nozzle. Of course, the manufacturer limited the camera and controller capabilities, but overall the A1 Mini is an excellent machine for small and precise jobs. Compared to other printers in the same category, the A1 Mini stands out for its stability, consistent print results, and the fact that it requires far fewer “DIY” tweaks to run well.
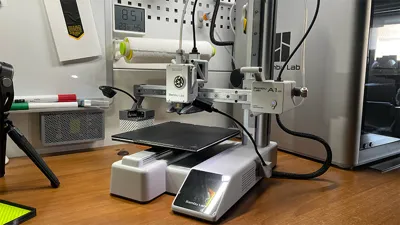
The main downside is lighting in the print area. The stock camera only has two weak LEDs that barely illuminate anything. Worse yet, the light sometimes shines directly into your eyes, making it hard to monitor prints. To fix this, I built my own lighting system using flexible gooseneck lamps. They can be adjusted easily to light the model from any angle — whether it’s the first layers or the finishing details. This type of lighting makes it much easier to spot defects early, saving both time and filament.
Concept
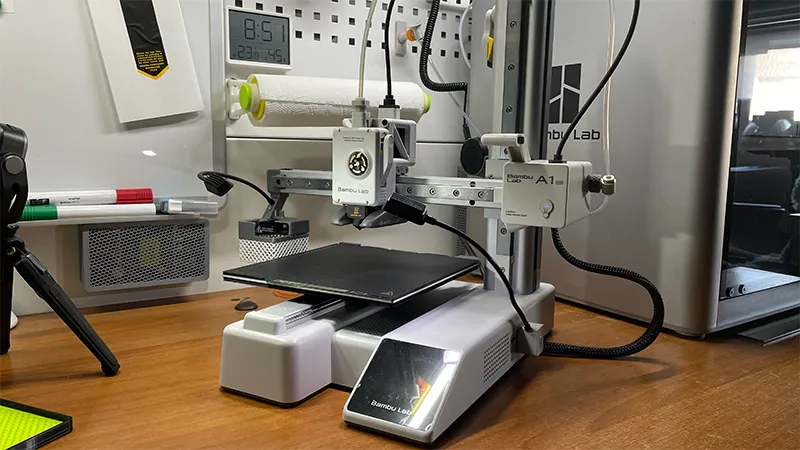
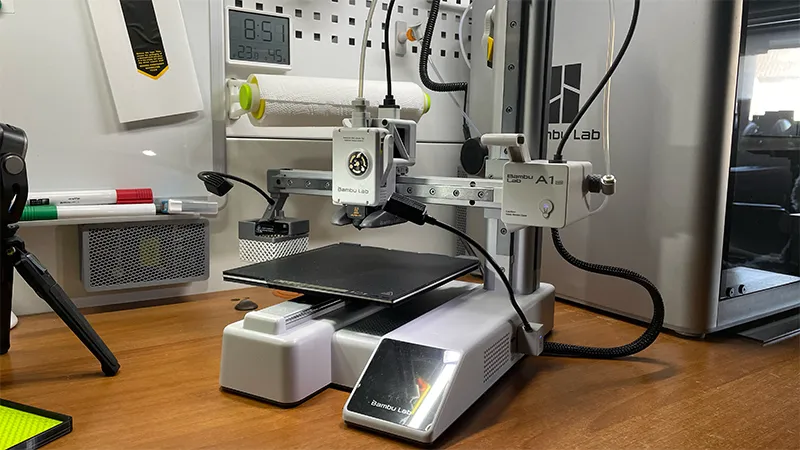
- Two separate lamps on flexible goosenecks.
- The left lamp mounts to the waste bin holder.
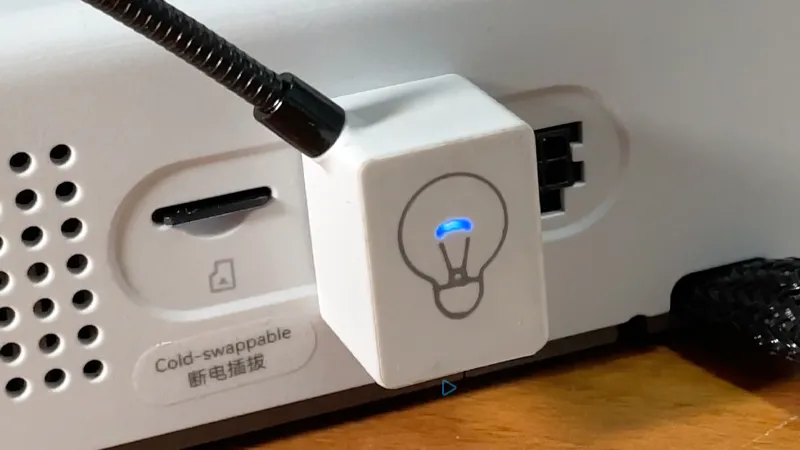
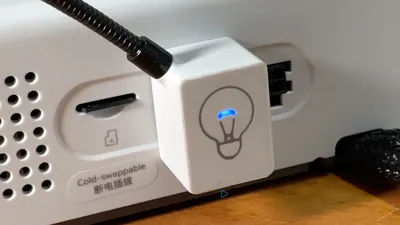
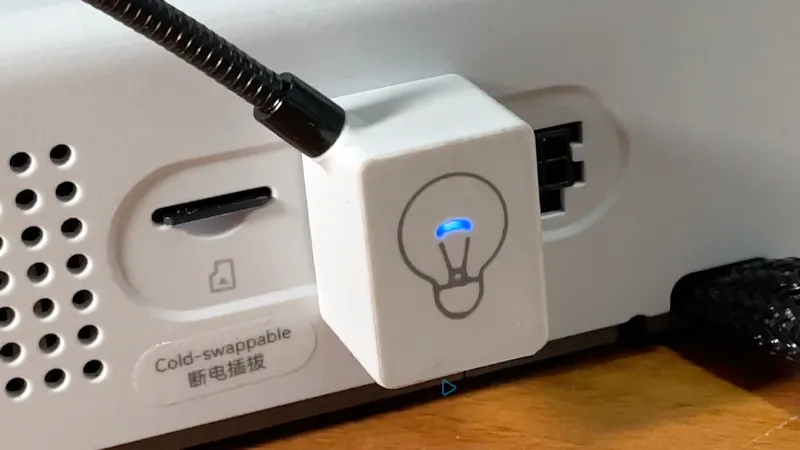
- The right lamp is a detachable module connected to the Molex Mini port on the printer’s side.
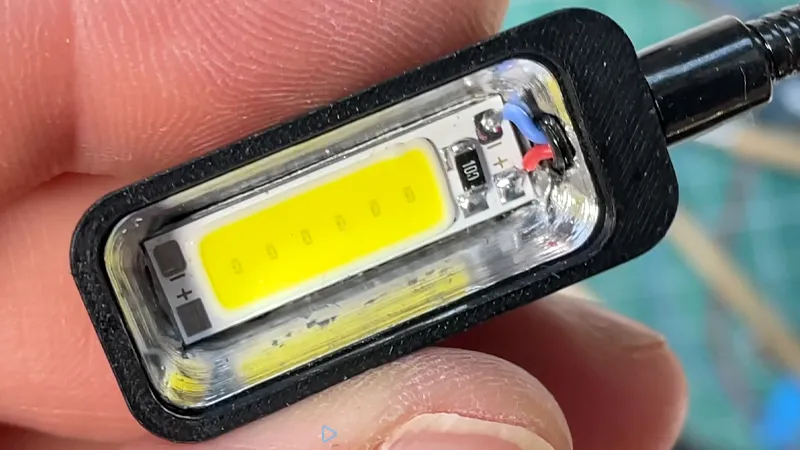
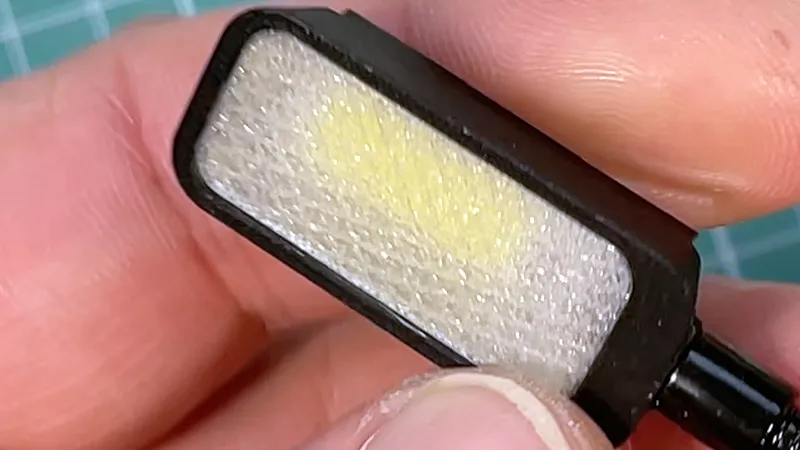
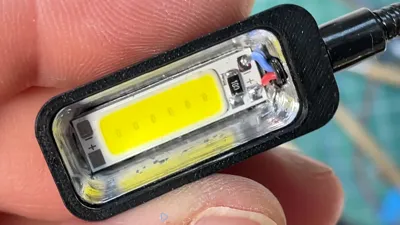
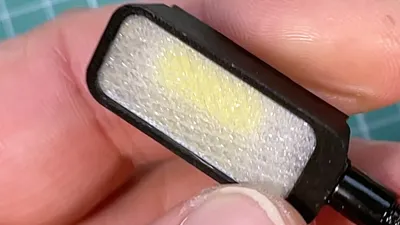
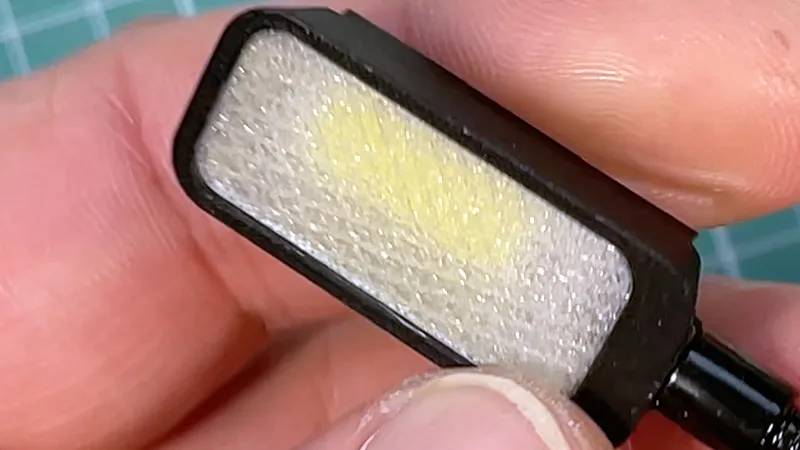
- Both versions use polycarbonate diffusers and small heatsinks.
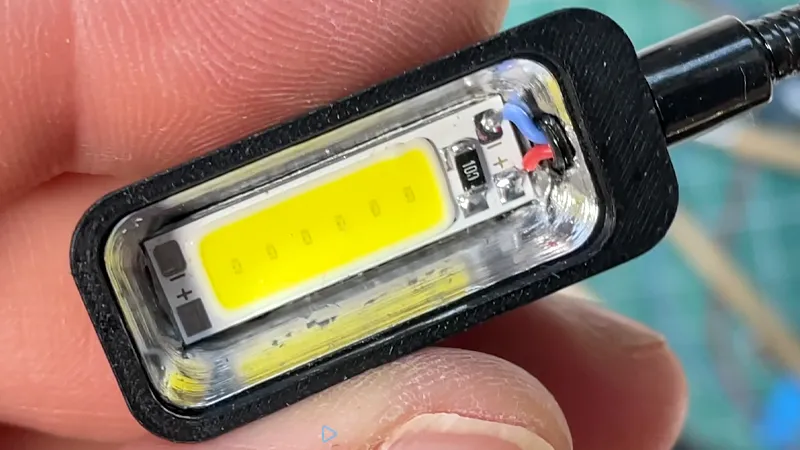
- Powered at 5 V, but the COB LEDs are rated for 3.7–4 V, so the onboard resistor must be swapped.
Ready-made LED strip solutions mounted to the X-axis beam aren’t effective — the cooling fan shroud completely blocks the light, leaving the print in shadow. I also tried integrated LEDs inside the cooling ducts (like on the Creality K1), but the angle is fixed and too limited. Goosenecks are far more practical: you can aim them exactly where you need light. For video or photography, this setup produces cleaner and more informative shots. And if you add a soft backlight, you essentially get a mini studio, with even, controlled illumination.
Electronics and Power
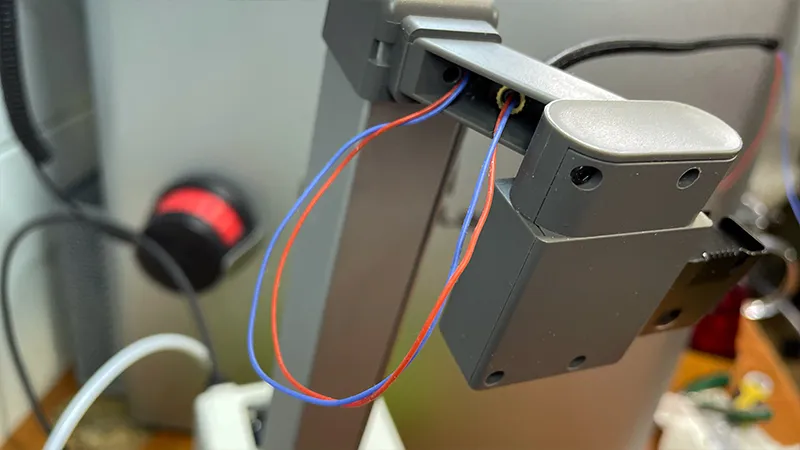
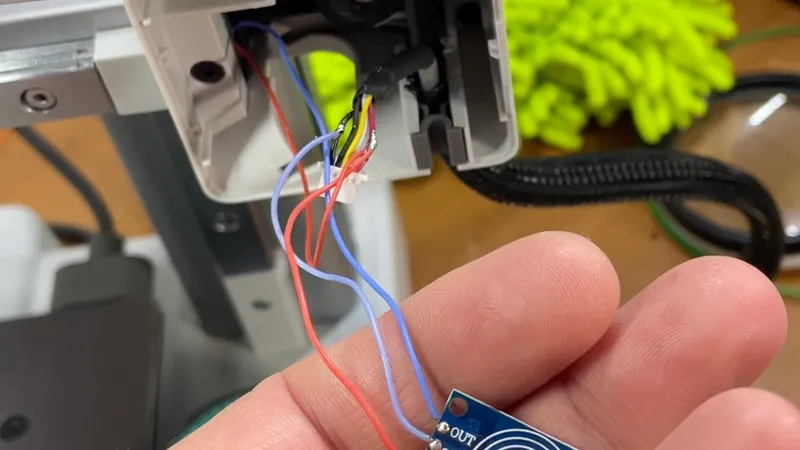
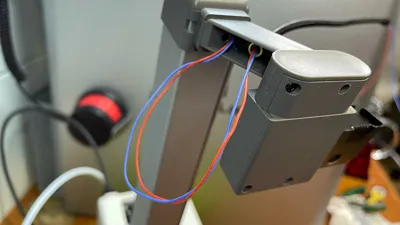
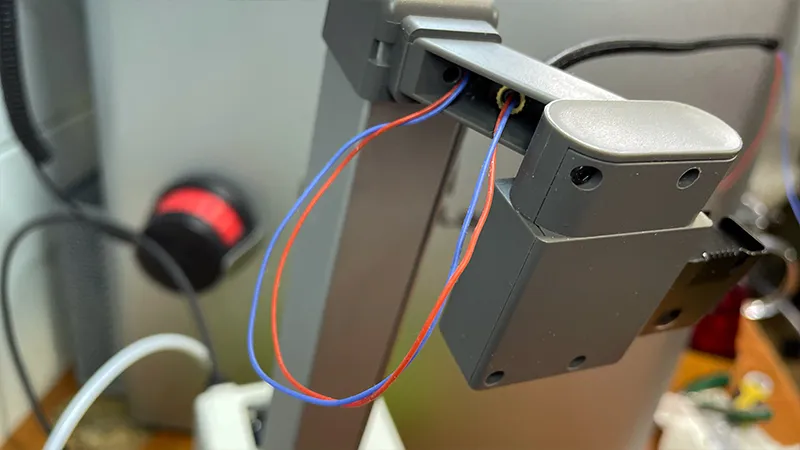
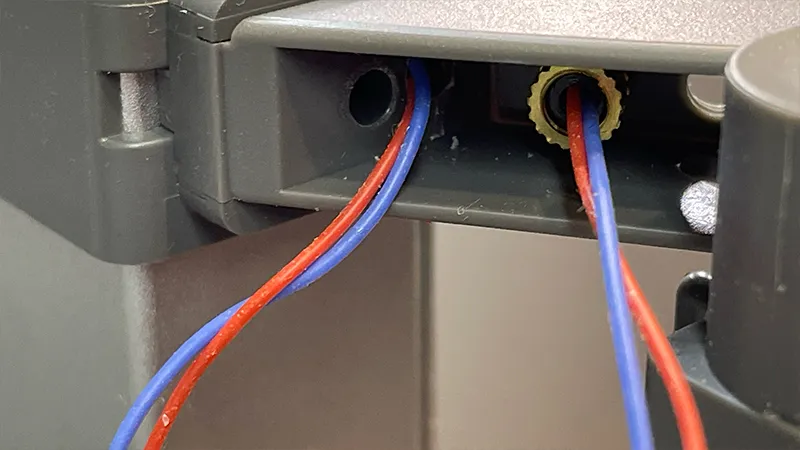
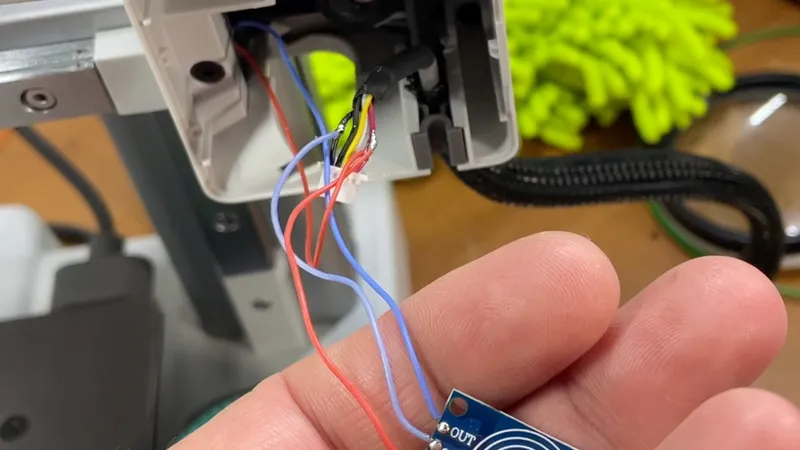
- Left lamp : powered by 5 V from the camera cable. The outer wires are red (+5 V) and black (GND). Both outer black wires are the same ground.
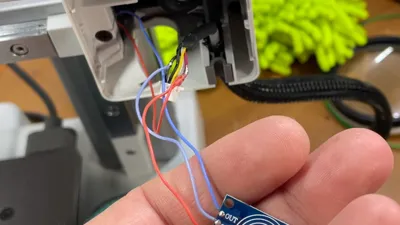
- Right lamp : connects to the side Molex port, which provides about 24 V. A step-down DC-DC converter outputs a stable 5 V for the LEDs.
- COB LEDs : designed for 3.7–4 V. To prevent overheating when running at 5 V, replace the stock 5.1 Ω resistor with a 10 Ω resistor.
- Heatsinks : small 8.8x8.8x5 mm squares (commonly used for stepper drivers). They fit tightly into the housing and are secured with glue or thermal tape.
Important : Always disconnect the printer before working with power. Measure the output of the DC-DC converter with a multimeter before connecting the LEDs. A mistake can damage both the lamp and the printer’s connector.
Printed Parts and Materials
- Use a 0.2 mm nozzle — the parts are small and require high precision.
- Diffusers are made from polycarbonate (0.3 mm solid infill plus a 0.3 mm triangular lattice). This produces smooth, even light.
- The left lamp’s housing should be printed from ABS or ASA. PLA is unsuitable because it deforms from heat.
- The right lamp’s housing can be printed from PLA since it doesn’t heat up.
- Diffuser texture: triangular pattern — it gives the most even light spread.
- Reflector: use chrome paint or metallic tape to boost brightness.
Recommended print settings: 0.08–0.12 mm layer height, 3 perimeters, 100% infill for strength. Print diffusers thin and without supports; housings with minimal supports where needed. If polycarbonate isn’t available, PETG can be used, but it transmits less light.
Assembly
1. Left lamp
• Mounts to the waste bin holder.
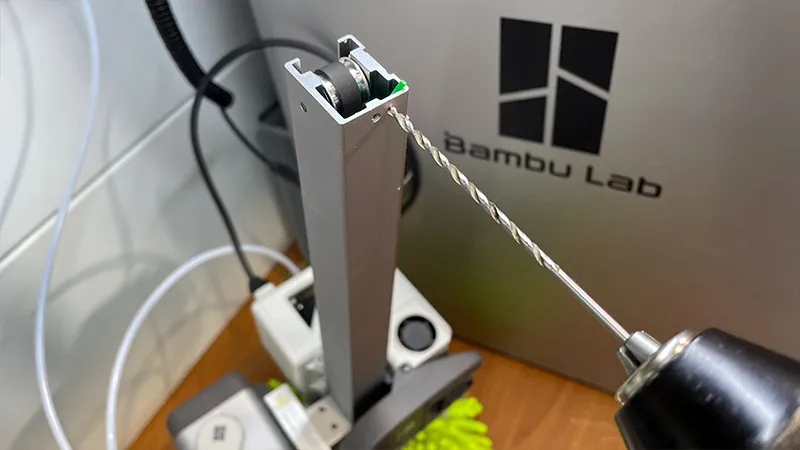
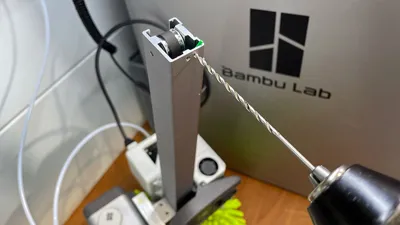
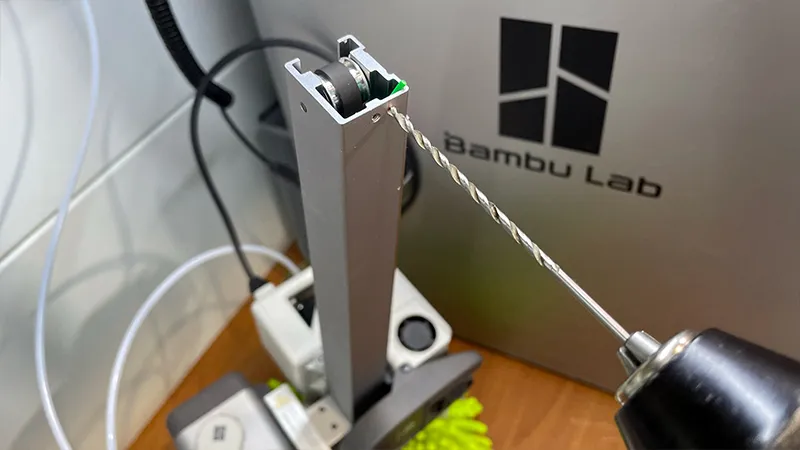
• Wire is routed inside the X-axis profile and secured with tape to avoid touching the belts or blocking movement.
2. Right lamp
• Built as a detachable Molex Mini module.
• Contains a DC-DC converter (24 V → 5 V) set to exactly 5.0 V.
• Uses the same gooseneck with diffuser and heatsink.
3. COB LEDs
• Swap the onboard resistor from 5.1 Ω to 10 Ω.
• Heatsinks are glued and fitted tightly for proper thermal management.
Indicators
As a decorative touch, I added small “bulb-style” indicators. Their spiral acts as a light guide built directly into the part. They don’t affect functionality but give the setup a more finished look and even add a bit of charm while printing.
Usage
- Aim the lights at the first printed lines to check adhesion and quality right away.
- For photos and videos, adjust the lamps freely for the best view.
- The stock camera LEDs become practically useless once this system is installed.
- Especially with TPU and flexible filaments, good lighting makes it easier to see each layer and catch issues before they get worse.
Limitations and Precautions
- If you lack experience with electronics, don’t attempt this. It requires soldering and careful setup.
- Don’t use PLA in heated zones.
- After assembly, let the lights run for 10–15 minutes and check the housings. They should feel warm, not hot.
- For transport, it’s safer to detach the right module to avoid damaging the Molex port.
What’s Next
This is only the first upgrade I’ve made to the A1 Mini. I plan to share more soon — improved waste bins, cooling mods, and adapters for non-standard spools. All of these focus on convenience and usability. Lighting came first because it’s critical for monitoring prints in real time.
Conclusion
I hope this lighting setup proves as useful for you as it has for me. It’s ideal for monitoring prints and filming your work. With the addition of a soft backlight, it becomes a complete, controllable lighting system right on your printer. Not only does it improve everyday printing comfort, but it also helps document your process for sharing and presentation. For makers who run channels or showcase their projects, this type of lighting is a valuable upgrade.
See the video for details:
If you liked this thing - let me know by putting like!
Parts links below:
- Cob led
- CN3903 DC-DC Step Down 5V
- Touch switch module 10A DC 5-12V
- Gooseneck D4mm
- Thermal Conductive Tape
- Flat Head Screw Black M2
- Head Flat Screw M2
- Insert Knurled Nut M2
- Molex Micro-Fit 3.0 Connector
- Silicone O-Ring CS2mm
- Silicone Wire 30 AWG
- PET Double Sided Adhesive Tape
- UV Glue
- Aluminum Heatsink Radiator
Links to used tools:
- NOGA deburring tool and Blades
- Polishing Cordless Drill
- Machine Screw Tap Set
- UV Glue Repair Lamp
- Chrome Mirror Marker
- Heat Insert Nut Iron Tip
- Heat Insert Nut Iron Tip T12
My new machine:


My favorites:
Thank you for every tip or donation,
it means great recognition for me and helps a lot to keep going!

BTC: bc1qplpzq36ghw84hty4nn2zzu4ps4sdh4th0v93j8
ETH: 0xc766ebbeAa76aaf629788c8F99C33A8d80d48977
My some other things:

License

You shall not share, sub-license, sell, rent, host, transfer, or distribute in any way the digital or 3D printed versions of this object, nor any other derivative work of this object in its digital or physical format (including - but not limited to - remixes of this object, and hosting on other digital platforms). The objects may not be used without permission in any way whatsoever in which you charge money, or collect fees.


Comment & Rating (3)