


Print Profile(2)

Description
Boost Me (for free)
One click, great joy.
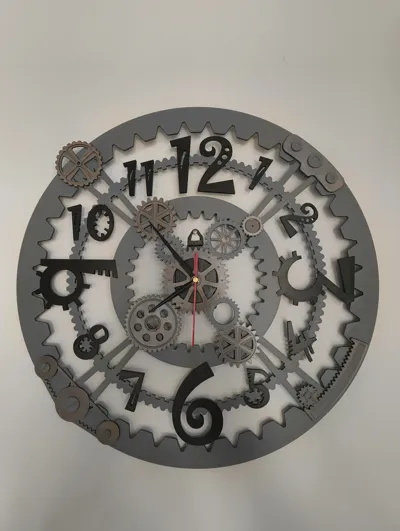
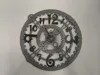
A huge wall clock 🤩
For a very long time, I searched for a suitable clock. Unfortunately, I never found one.
But 3D printing makes it possible. Design, test, print.
The result went through several development loops and consumed a bit of filament until I finally
got it to where I liked it. But the result is beautiful and actually easy to print for you.
The goal was to print without supports, utilizing the maximum build volume of the X1C. Therefore, for the segments, after calibration, you must immediately remove the calibration lines (purge lines). This works well because it only then starts the prime tower.
Originally, it was intended to glue the elements together with superglue.
During assembly, I realized that this is not necessary.
It clicks together wonderfully and has enormous stability. Of course, you can also glue it if you wish.
Filaments used:
- Main body: Sunlu PLA Grey matte
- Numbers: Sunlu PLA black
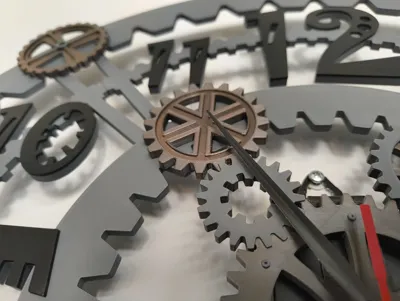
- Decorative elements and holder: Eryone Ultra Shiny Silk PLA Dark Gold 😍
- “Screw heads”: Sunlu PLA grey
You are, of course, free to choose your own colors 😄
My used clock movement (not an affiliate link):
I liked it because it works silently.
You can, of course, use any other suitable one.
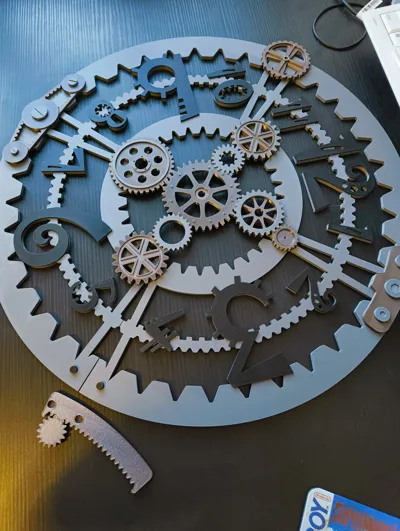
Assembly:
- Lay the 4 segments in front of you
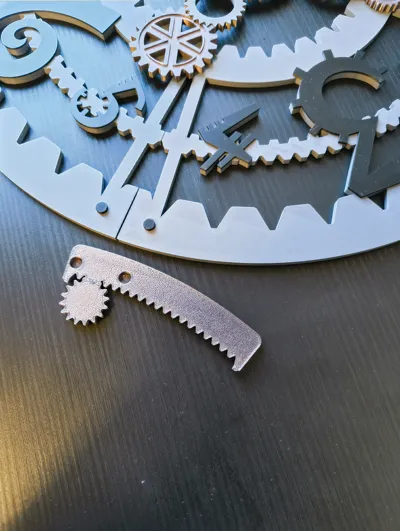
- mount the 4 outer decorative elements
- mount the movement holder onto the segments
- insert the movement from behind and attach/tighten the nut
- align all hands to 12 o'clock, order: hour hand, minute hand, second hand
- remove the securing pin (depending on the movement) and insert the battery
I would be very happy about your support.
Preferably with pictures, comments, reviews, and boosts.
As always… if you have any questions, problems, or suggestions, just let me know.
Update 01/30/2026
Upon request, I have created a version optimized for printing on a textured plate.
Almost all parts are separated and provided with pins for assembly.
All parts are already cleanly positioned in the print profile.
Assembly should be self-explanatory.
If there are any ambiguities, please look at the pictures, read the description, or simply ask me 😄
If the tolerances are too tight for you, please report it immediately.
I can easily adjust them.


License
You shall not share, sub-license, sell, rent, host, transfer, or distribute in any way the digital or 3D printed versions of this object, nor any other derivative work of this object in its digital or physical format (including - but not limited to - remixes of this object, and hosting on other digital platforms). The objects may not be used without permission in any way whatsoever in which you charge money, or collect fees.
Comment & Rating (26)