
Print Profile(4)


Description
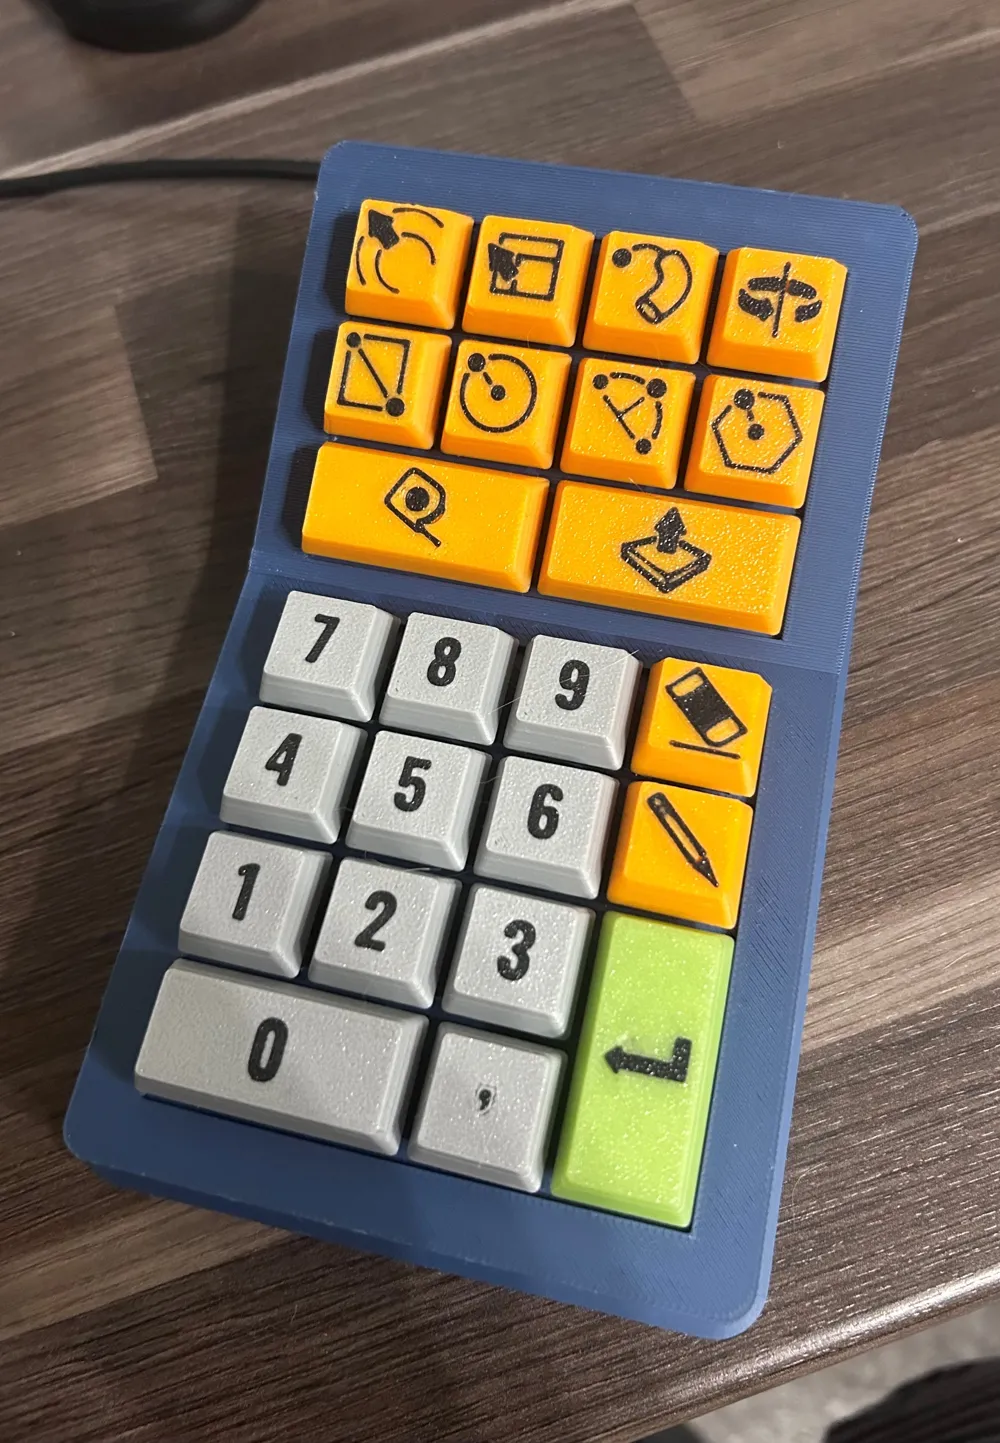
For the MarcoPad, I use the “Novaspirit PiPicoMacroKeys” project from GitHub
https://github.com/novaspirit/PiPicoMacroKeys
You can find out how to implement or adapt the project very well in the video linked below:
I think with this video, I do not need to explain anything further, as Alexander Metzger covers everything here
In addition to the printed parts, you will also need the following:
- RaspberryPi Pico → https://www.amazon.de/dp/B09KVB8LVR?psc=1&ref=ppx_yo2ov_dt_b_product_details
- Keyboard switches (without housing around the stem) → https://www.amazon.de/dp/B0BHWNVY4W?ref=ppx_yo2ov_dt_b_product_details&th=1
- Cables
- USB to Micro-USB cable (USB-C also possible depending on the Pico's connector)
- M3 heat-set inserts → https://www.amazon.de/dp/B0CDH36ZMX?psc=1&ref=ppx_yo2ov_dt_b_product_details
- M3x10 pan head screws
Note: Double keys use two switches, but only one is connected. The number of pin inputs is already very well utilized this way
License

You shall not share, sub-license, sell, rent, host, transfer, or distribute in any way the digital or 3D printed versions of this object, nor any other derivative work of this object in its digital or physical format (including - but not limited to - remixes of this object, and hosting on other digital platforms). The objects may not be used without permission in any way whatsoever in which you charge money, or collect fees.


Comment & Rating (0)