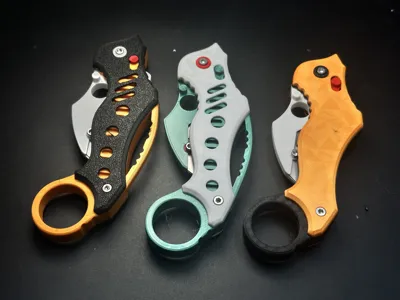
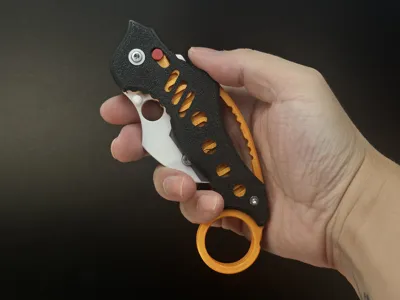
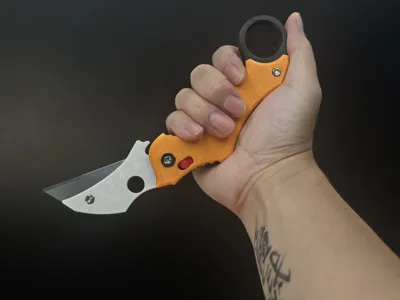
AxisLock Karambit Thrust Bearing Compatibility


Print Profile(2)


Bill of Materials


Description
This Karambit features optional Miniature Plane Thrust Ball Bearings(F8-14M) for smoother pivots—though you can skip them if preferred. The project tests how these bearings impact 3D-printed knife performance. Its 3D-printed Axis Lockis road-tested through my trials—a solid, reliable mechanism.

Hardware Required:
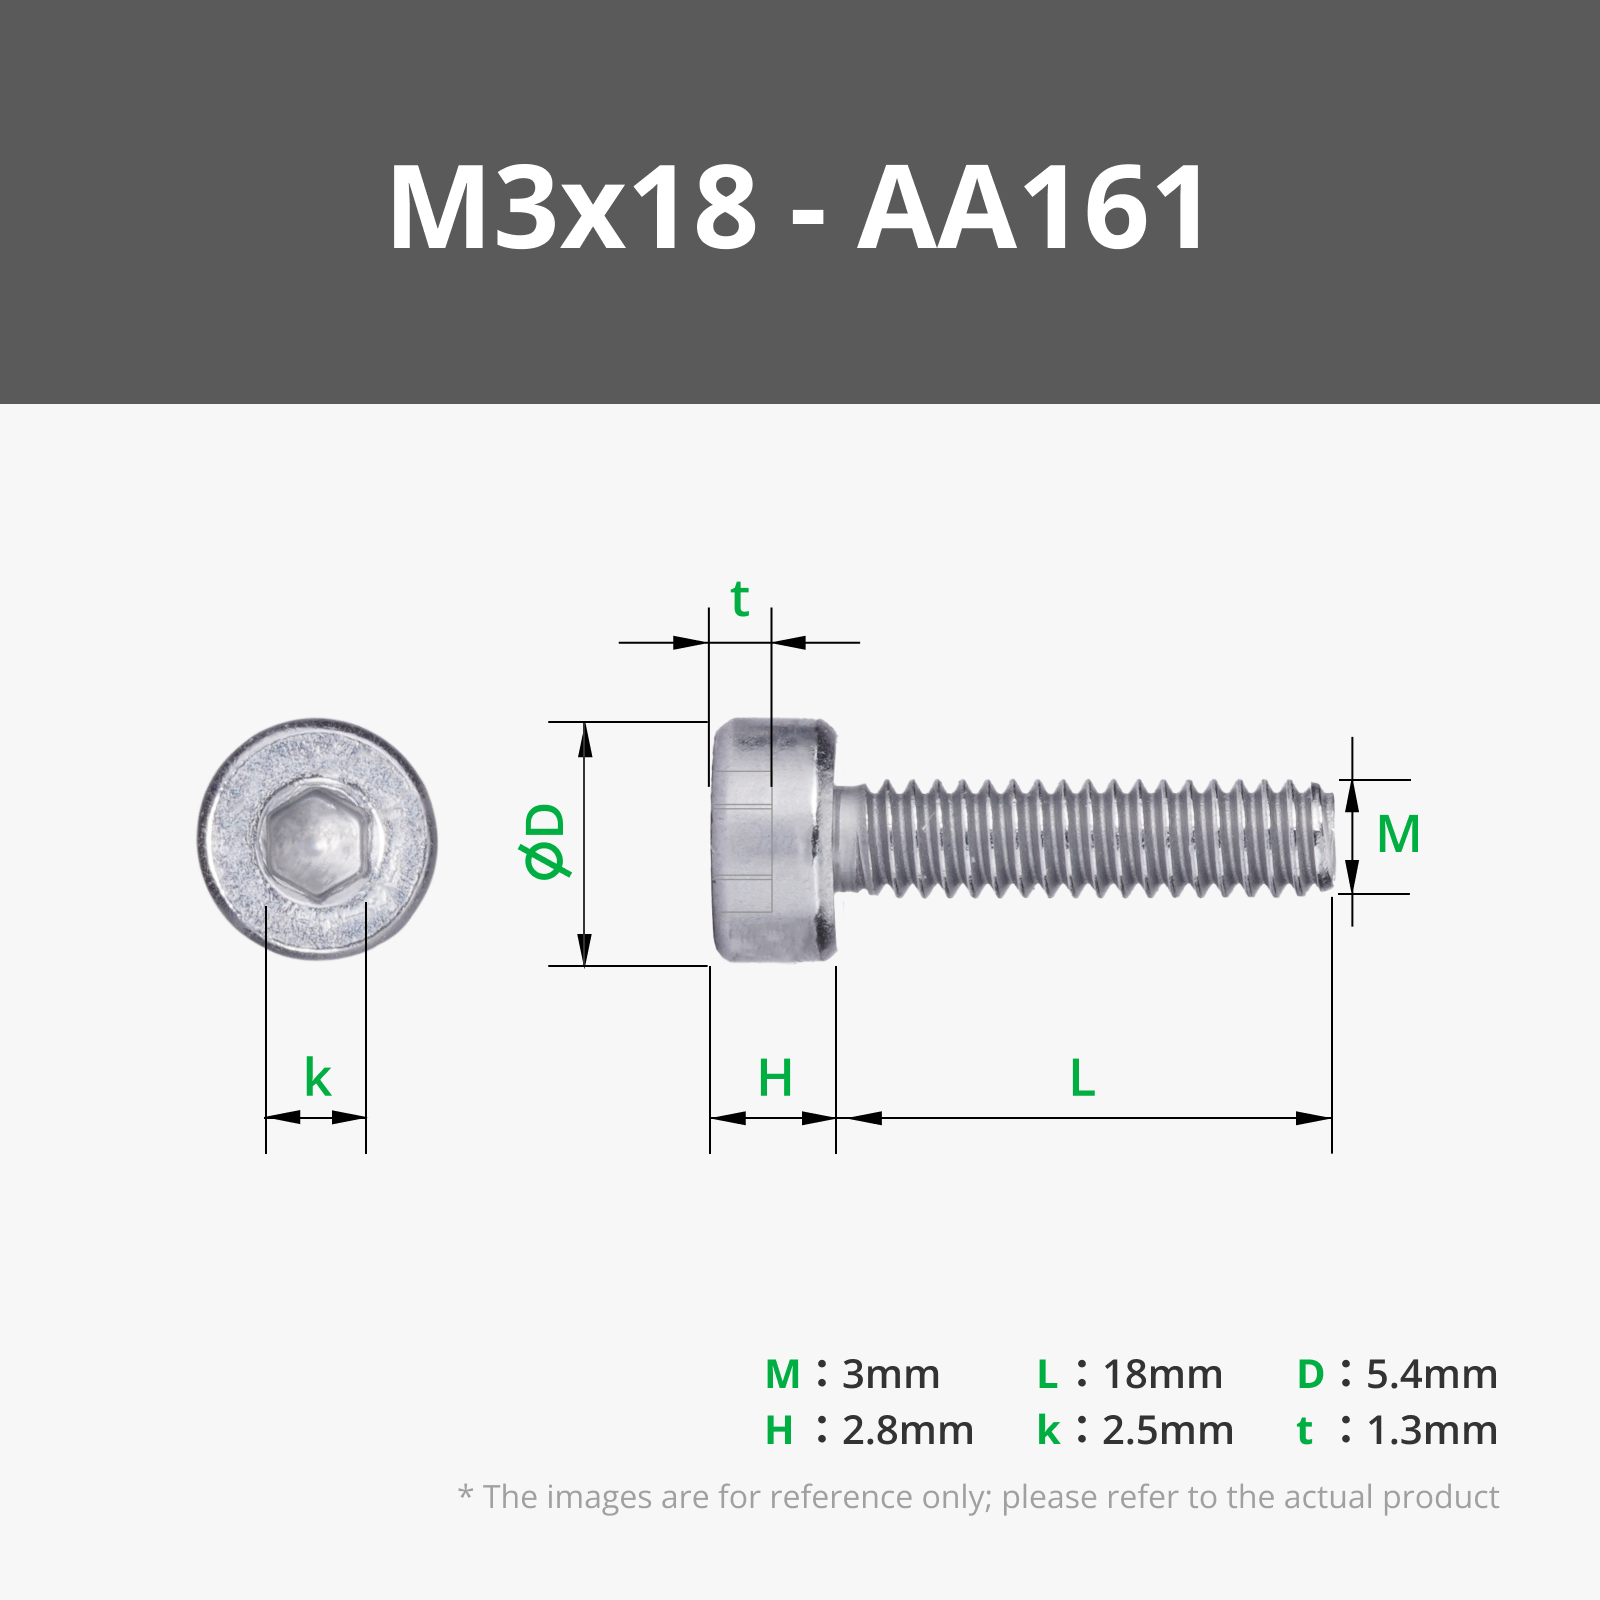
- •Must-have: 3× screws (M3-6mm,M3-18mm & M3-16mm) + matching nuts
- •Optional upgrades:
- •2× Miniature Plane Thrust Ball Bearings (model F8-14M-EB001)
- •1× dowel pin (Ø2mm × 16-18mm length):enhance the strength of the lock shaft to compensate for insufficient Z-axis strength


Printing:
- •Super simple! Supports onlyin screw countersinks—peel them off easily with a screwdriver.
Assembly:
- •Needs a screwdriver + listed hardware
- Pro tip: Add bearings for silkier blade action!
- The test used Stanley brand blades

Assembly Tutorial:
Clip 3D-printed spring onto green Axis Lock button
→ Ensure spring legs fully seat in button grooves.

Place Thrust Ball Bearing into pivot recess of green handle assembly
→ Alternative: Use purple 3D-printed part if bearings unavailable.

Insert blade holder into pivot
→ Place another Thrust Ball Bearing into its recess.

Align and close second handle half
→ Slide Axis Lock pin through oval slots on both handles.
→ Clip second spring onto button on opposite side.

Secure handle covers
▸ Seat springs into cover grooves.
▸ Pivot fixation: Insert 3D-printed dowel + M3-18mm screw/nut
⚠️ Hex recess for nut | Round recess for screw head (do not reverse!)
▸ Handle rear fixation: Tighten with M3-16mm screw/nut.


Install blade
▸ Use M3-6mm screw with red 3D-printed spacer.
▸ For M3-5mm screws: Skip spacer.

Done

The strength of 3D-printed knives cannot be guaranteed and they are suitable only for light-duty tasks, such as cutting paper or opening Amazon packages. Unless otherwise specified, all of my knife designs are intended for light-duty use only.
My similar projects, click on the picture

Membership
License
You shall not share, sub-license, sell, rent, host, transfer, or distribute in any way the digital or 3D printed versions of this object, nor any other derivative work of this object in its digital or physical format (including - but not limited to - remixes of this object, and hosting on other digital platforms). The objects may not be used without permission in any way whatsoever in which you charge money, or collect fees.
Comment & Rating (53)