
Print Profile(4)


Description

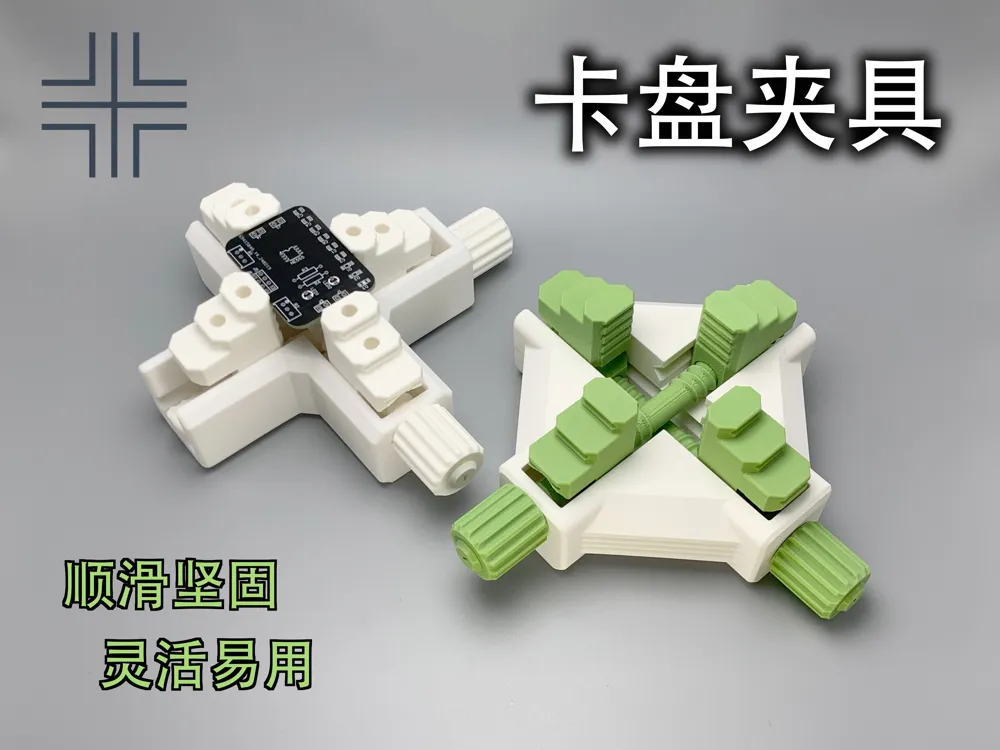
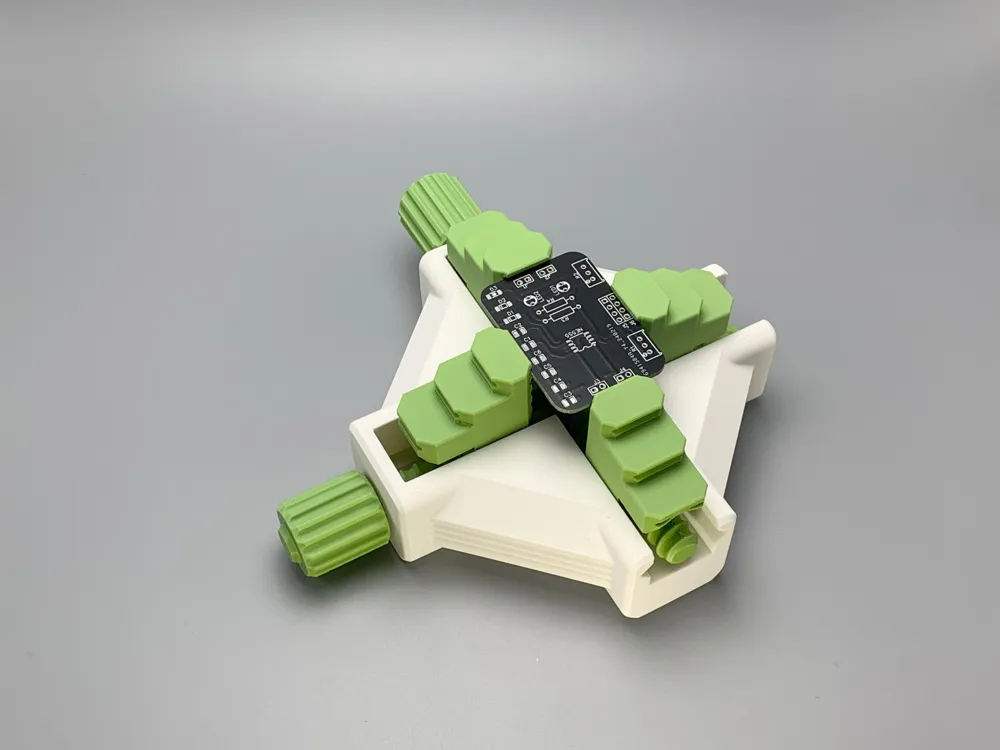
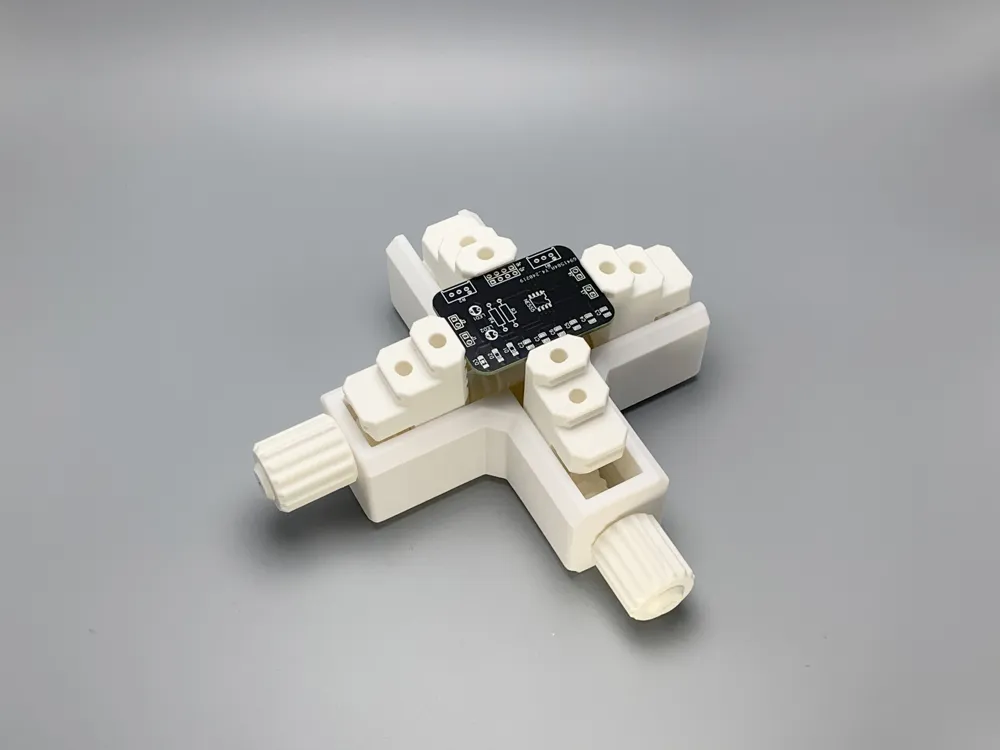
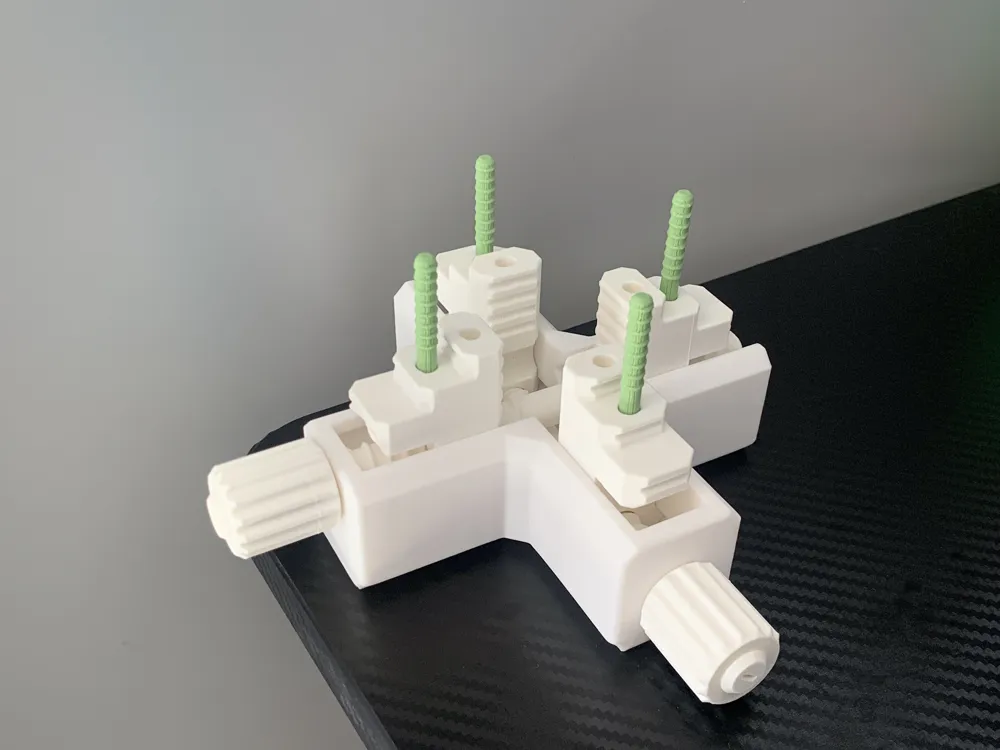
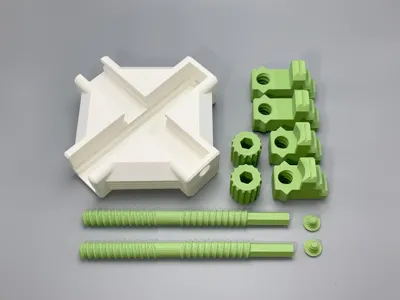
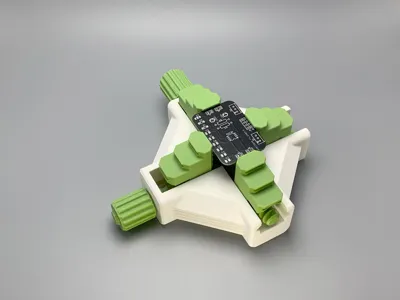
This model is a flexible and practical four-jaw chuck and also a very good vise, with dimensions of 110*110*58mm
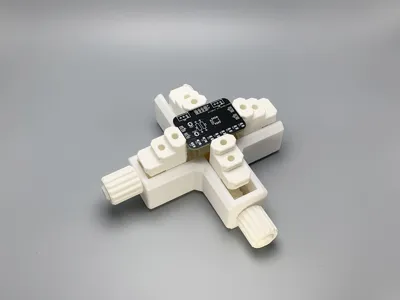
The internal clamping range is 75mm*75mm, and the outer contour support range is 140mm*140mm, offering very high efficiency
It features simple printing, sturdiness, versatile use cases, and requires no hardware
Features:
- Simple and fast printing, no supports needed, durable in the printing direction
- High-efficiency screw drive, quick opening and closing, sturdy and durable, more efficient than nested plate drive types
- Internal clamping range of 75mm*75mm, outer contour support range of 140mm*140mm, high space utilization
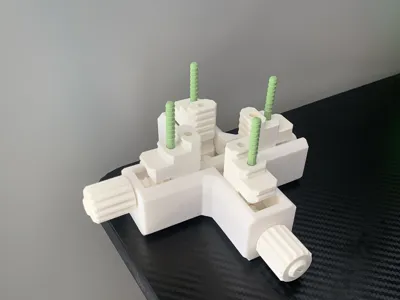
- With an extra-large clamping range, components do not interfere with each other, each set can be fully closed, also a very practical vise
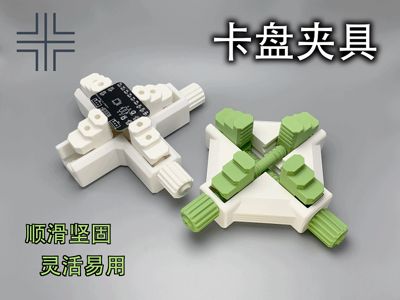
- The print profile is divided into two shapes, allowing you to choose according to your preference
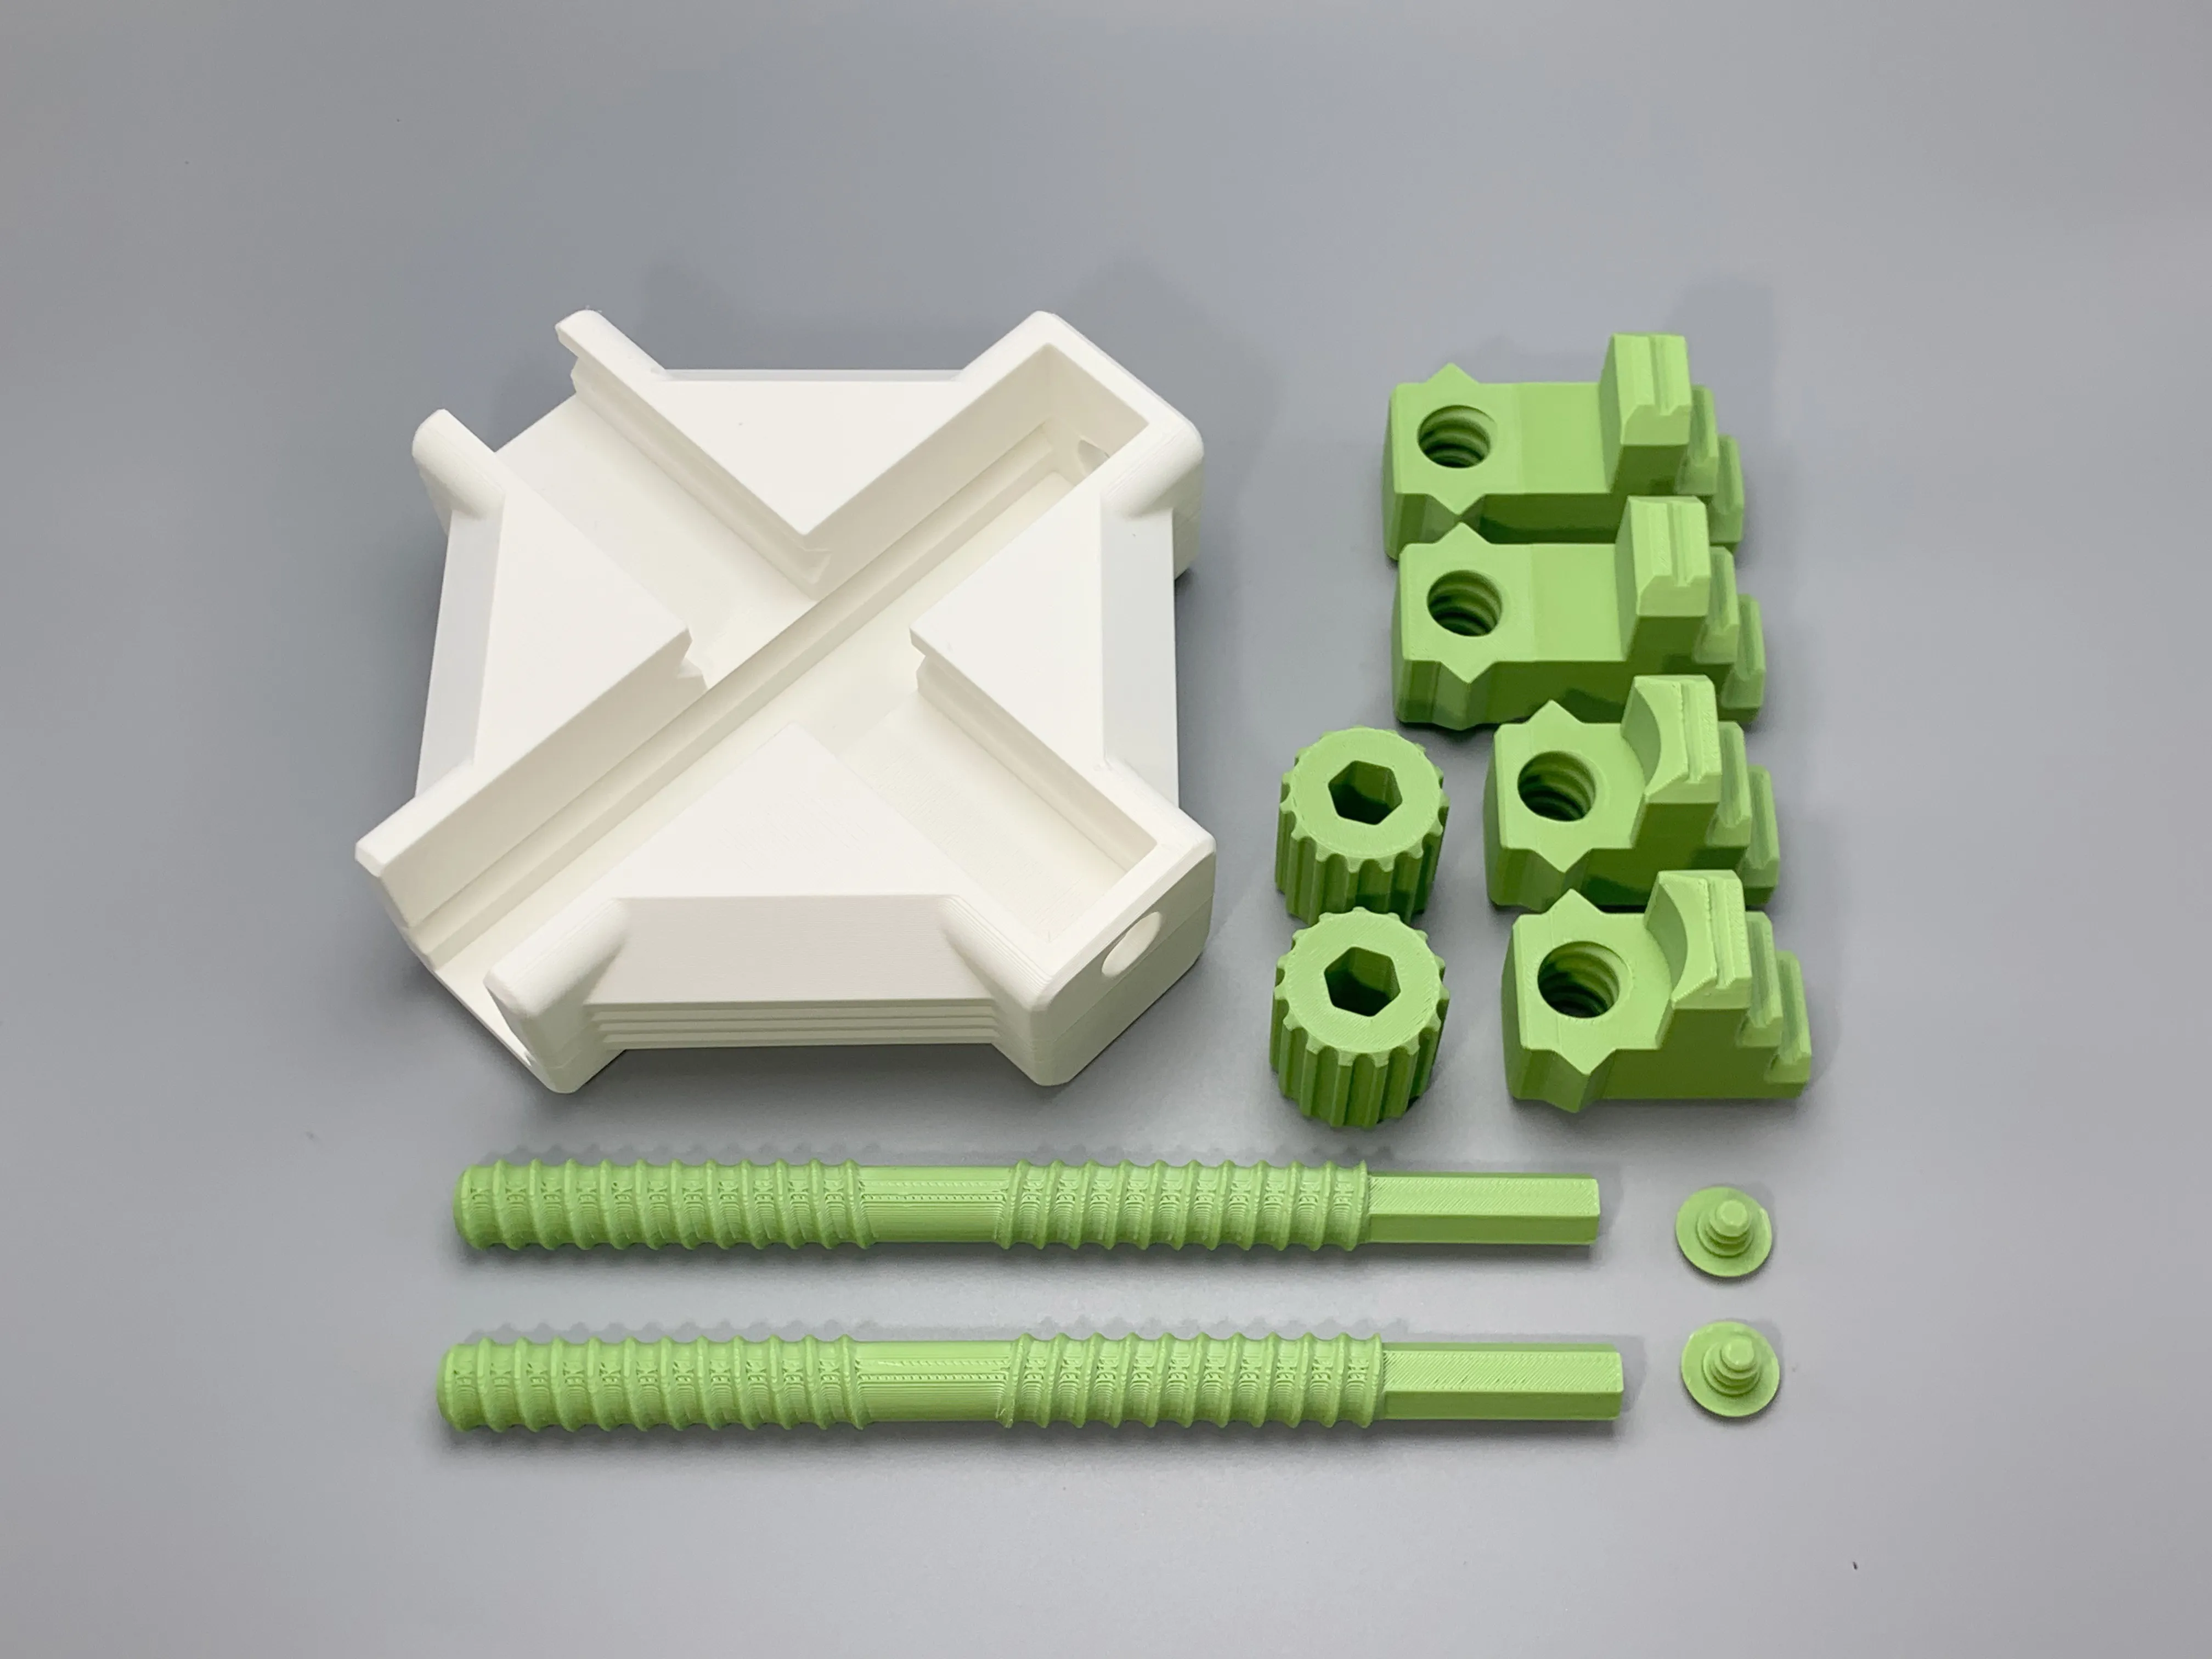
Assembly Notes:
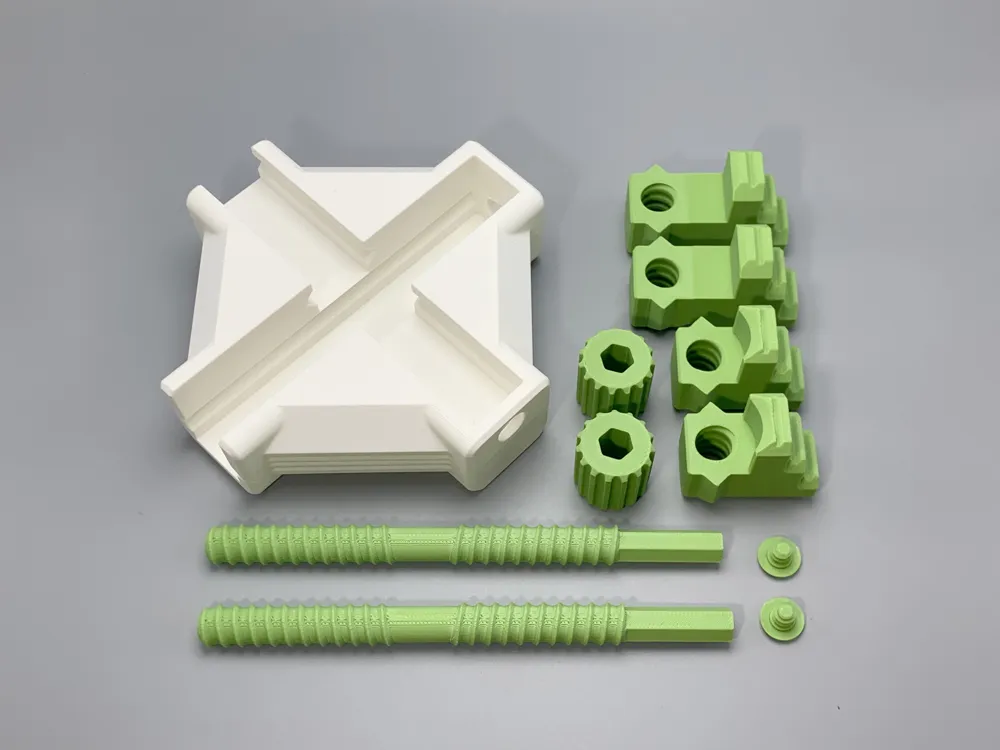

- When assembling the two main bolts, pay attention to distinguishing left and right on the sliders; if it does not screw in, try screwing it in from the other side of the bolt
- The two sliders need to be strictly symmetrical; suggested method: at the end of the central thread, ensure both sliders are equidistant from the center of the thread

- First insert the taller slider into the first slot, then secure the knob and the knob fixing screw
- The operation method for the other set of sliders is the same

License

You shall not share, sub-license, sell, rent, host, transfer, or distribute in any way the digital or 3D printed versions of this object, nor any other derivative work of this object in its digital or physical format (including - but not limited to - remixes of this object, and hosting on other digital platforms). The objects may not be used without permission in any way whatsoever in which you charge money, or collect fees.


Comment & Rating (145)