Customizable drawer handles w/ alignment plate


Print Profile(2)


Bill of Materials

- 14mm Wood Rod x 1:
- 3.5mm x 16mm Screws x 2: To mount the rod to the supports
- 3.5 x 40mm Screws x 2: To mount to the drawer. Consider a total length of: your_drawer_depth + 10mm which in my case resulted in 40mm.
Description
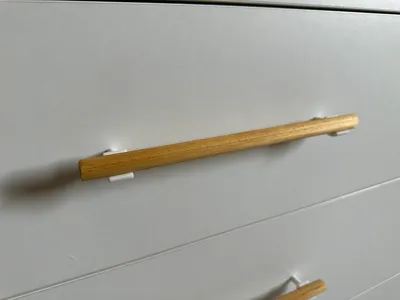
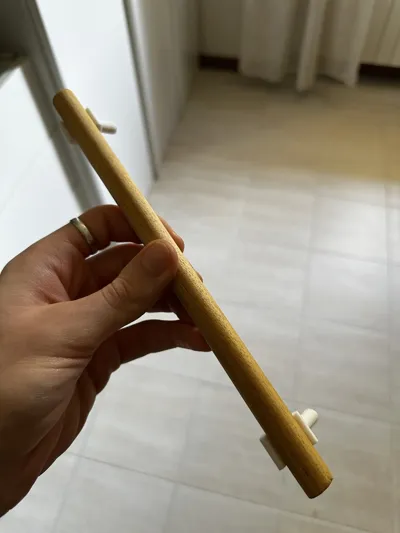
Drawer handles with Alignment Plate
I designed these handles inspired by scandinavian design for a chest of drawers in my bedroom. I also designed an alignment plate to assemble then mount the handles to the drawer (see instructions below).
You can adapt the alignment plate to your drawer using the included fusion file: the parameters are among the favorites. You can also modify the wood rod diameter, the screw holes diameters and other stuff.
Boost Me (for free)
If you enjoyed this project, why don't you boost it so that others can discover it?
Assembly Instructions
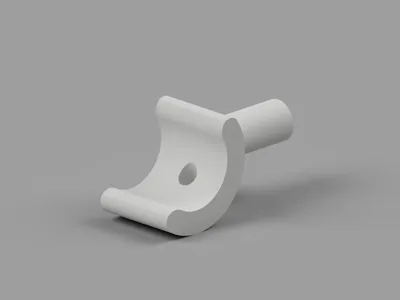
- Print the alignment plate and 2 supports per each handle;
Insert the supports in the 2 holes of the alignment plate;

Lay the rod in the supports leaving the same amount of wood on each part;

While holding together tight the rod and the alignment plate drill a the 16mm screw in the supports to fix the rod in position;

Repeat step 4 for the other side: the handle is assembled!

Mounting instructions
With a pencil draw a line in the center of the furniture door you want to mount the handle to;

- Take the alignment plate and align the center the line of step 1 to the “alignment line”. I suggest using some double sided tape underneath the plate so it does not slide out of position

- Drill two holes according to the alignment plate;
Remove the alignment plate

Take the 40mm screws and screw them partially in the holes from the opposite side of the handle (just let 2-3mm poke out), then take the assembled handle and align it to the screws. Finally screw them in completely.

Comment & Rating (3)