
Toy Handcuffs with Key (print-in-place)

Print Profile(8)




Description
Updated 5/4/2025 -Significant improvements:
I've finally gotten around to making some improvements that were long overdue:
- The key is now much stronger, so hopefully no more broken keys while you are trapped in the cuffs!
- Beefier links - they're still plastic so it's not like you can't break them, but they're unlikely to break accidentally.
- The links are much more stable while printing. You should be able to print them without a brim. I'd still recommend using a smooth plate rather than the textured one, and glue stick is still a good idea.
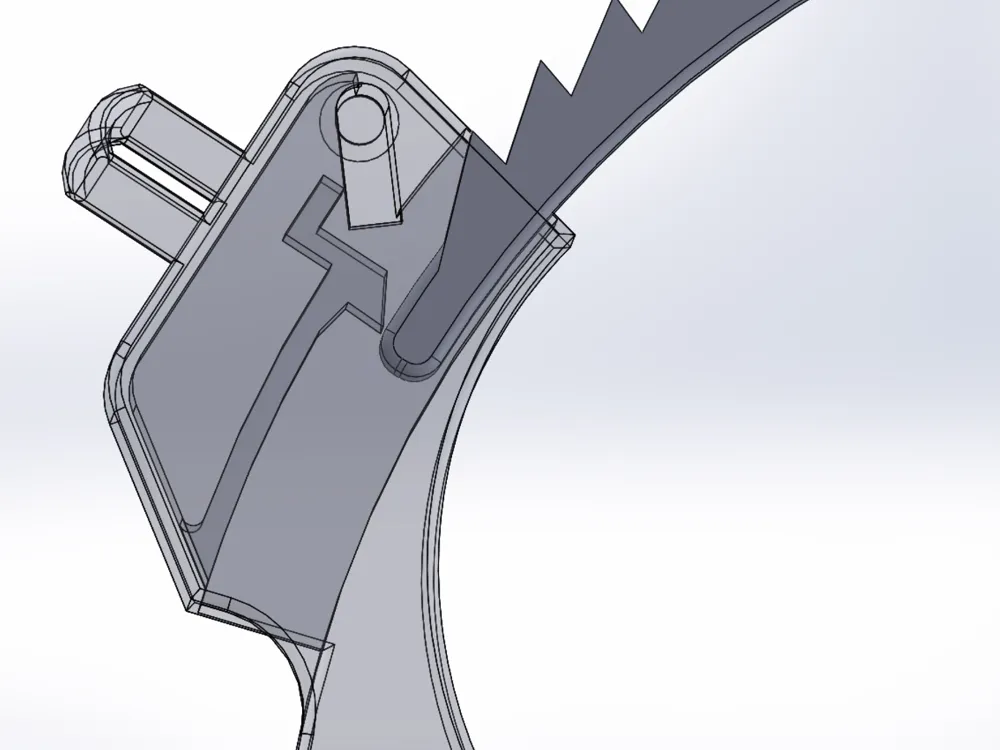
IMPORTANT: After printing, first close the handcuffs to break free the internal latch. Trying to break the latch free using the key may break the key.
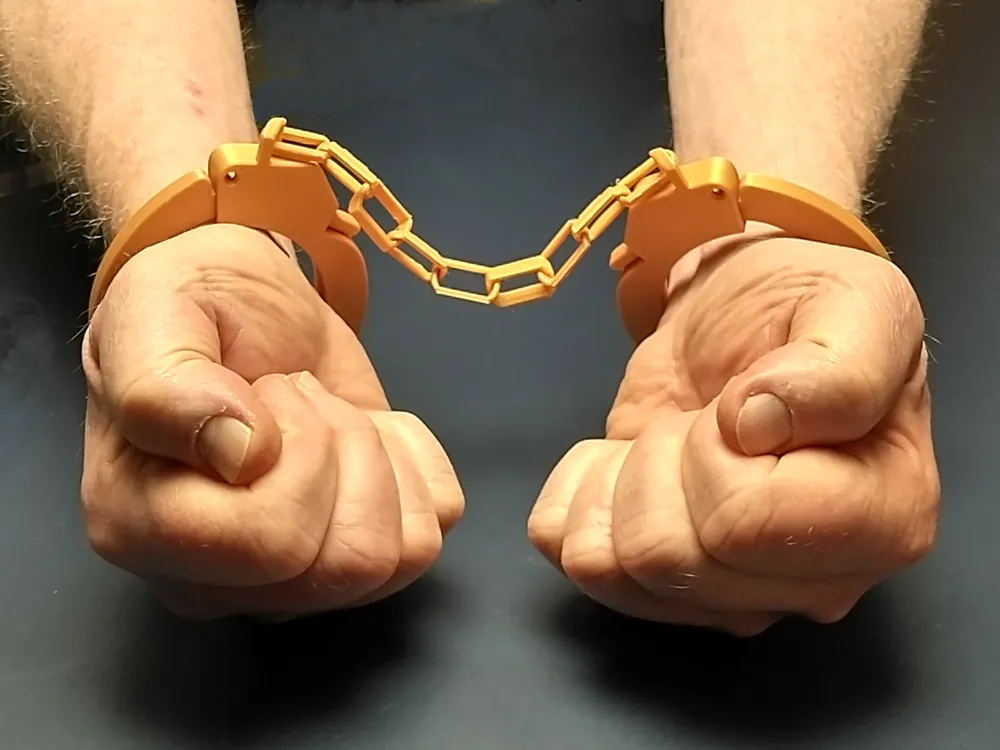
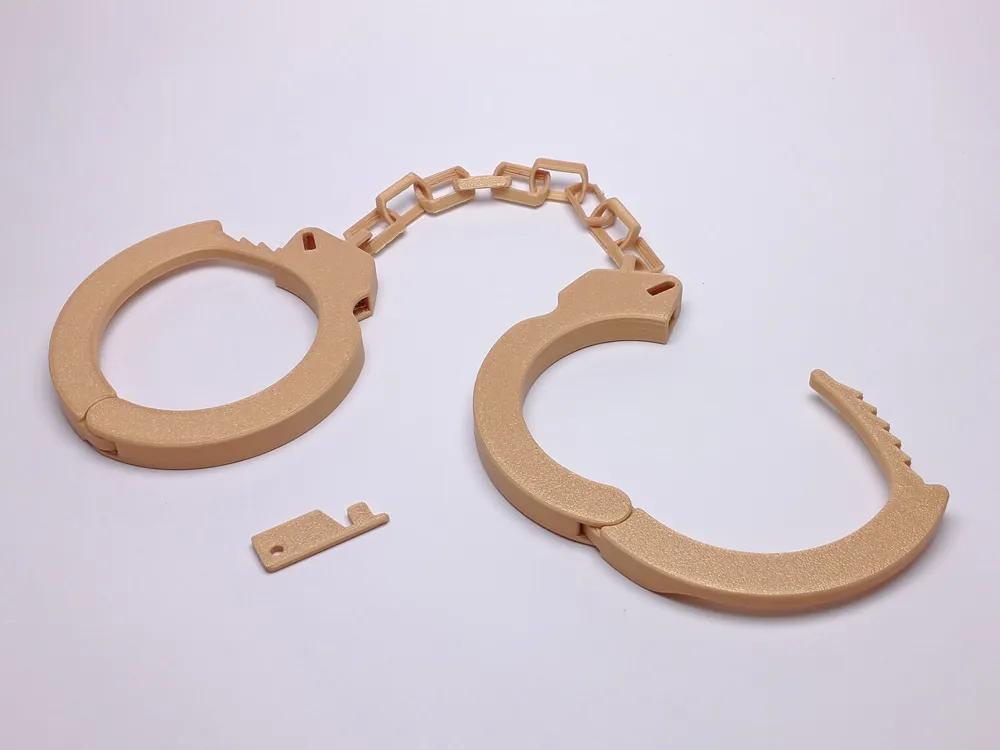
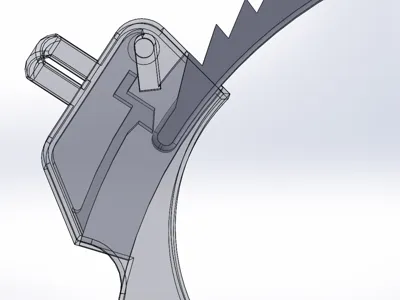
These print-in-place locking handcuffs also print without supports. I put in a comfortable number chain links to make them suitable for casual wear. That is, you could wear them at a party and still, say, eat and drink. And most importantly, you can comfortably reach to put in the key to unlock yourself. And if you do lose your key, don't panic. The 3rd photo shows the internal latching mechanism. You can easily poke the end of a paperclip or small Allen wrench into the keyhole at an angle and push the latch open.
I strongly suggest printing these in PLA with 0.2mm layers (to make the p-i-p gaps work out properly. The most recent print profile with updated geometry shouldn't require brims for printing. I'd still recommend using a smooth plate rather than the textured one, and glue stick is still a good idea. (I've also left up the older print profiles, including one with brims.)
After printing, you'll notice that across the round hole on one side, there is a single layer of wispy filament covering the hole. Use a small round tool or needle file to clear this gunk away. You can also use the pointy end of the key to clear this out.
Lastly, when using the key, it only takes a small amount of torque to open the lock. Do not force the key or you will snap it off in the lock and then you will be in real trouble!
License



Comment & Rating (1449)