
Katana - Stella Nuit - Starry Nite
Print Profile(1)

Description
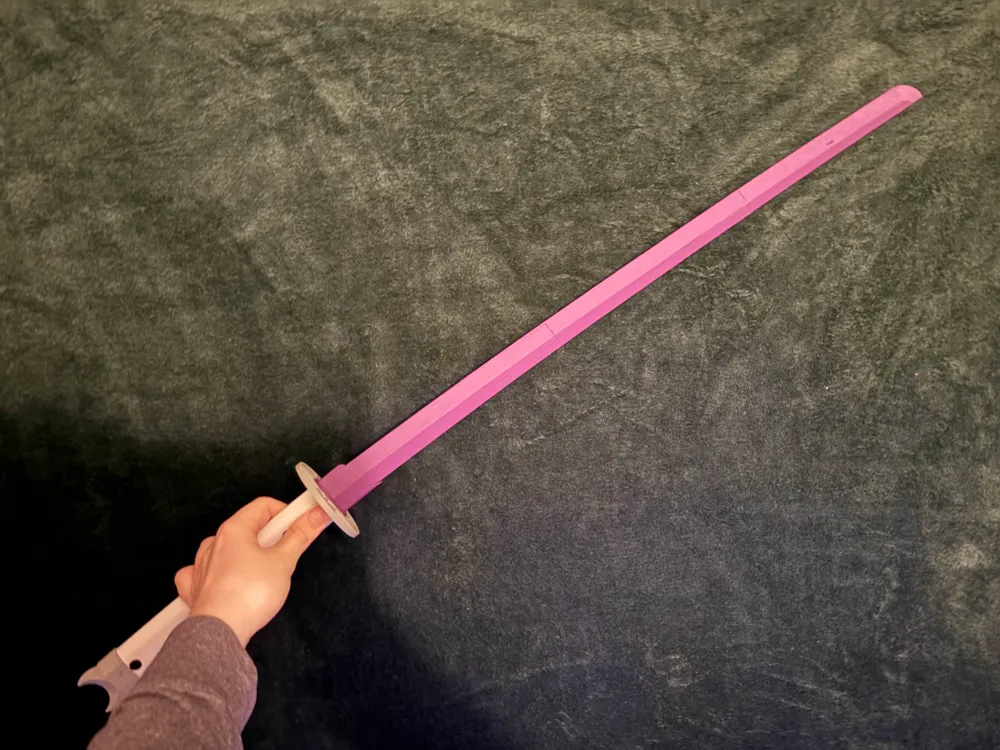
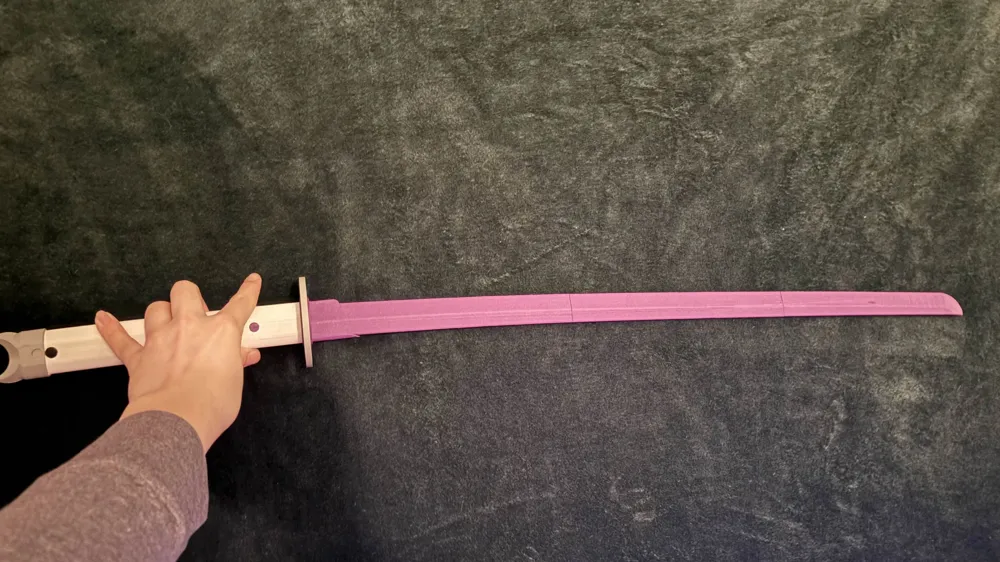
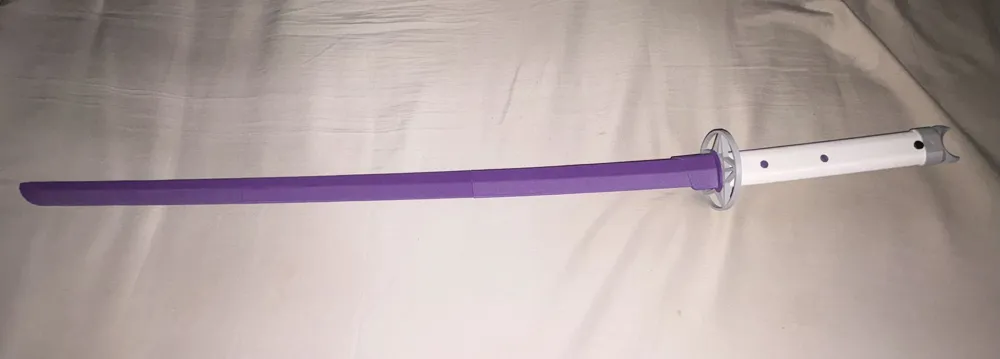
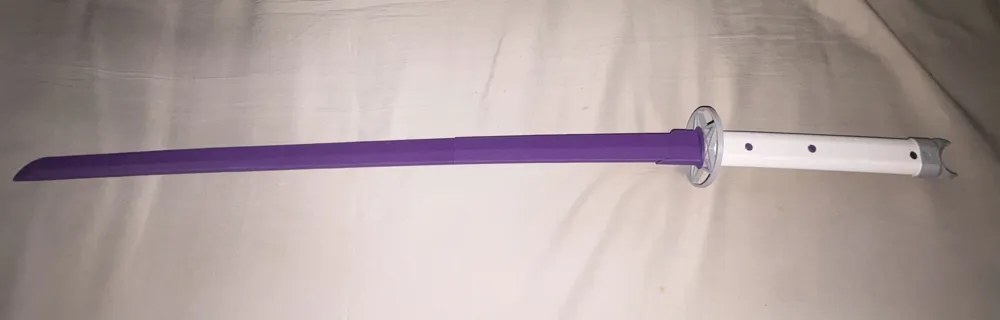
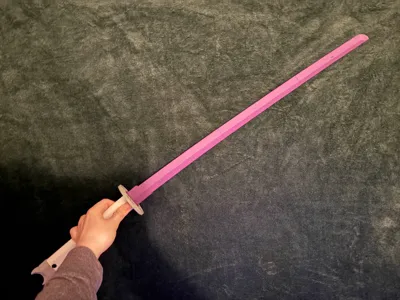
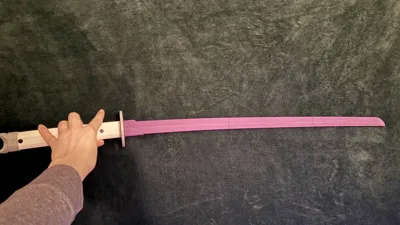
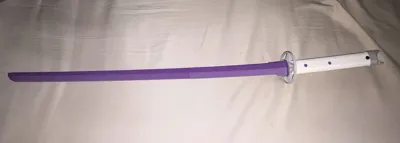
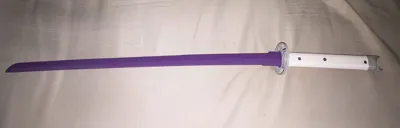
This is my most up to date model being a katana of my own design referred to as the Stella Nuit / Starry Nite with the appropriate guard and pommel, i may make standard ones soon.
This is NOT a fully 3d printable design well technically it is but i am not providing models for the dowels as i do not recommend it.
you need 4 of the printed pins which are only for the handle portion
the blade is held together using 4 5mm x 200mm Steel Round Rods linked here - https://amzn.to/4moivwd (this is 10)
Mine is made with multiple materials being pla (white) and carbon fiber petg (purple) cf petg was used for extra rigidity and color personally.
I'd say full pla would be fine petg most likely better but i cant say as i have not tested it specifically.
The blade assembly in particular is quite a tight fit i was able to get it together through enough effort might suggest trying to use a lubricant.
Speaking of the blade because of those rods it is quite sturdy as a contrast to my other sword model and it can withstand actually swinging and hitting of things
Another thing you can do to make it even sturdier is glue the rods inside it whether that be gluing the rods themselves then putting them in or just gluing the 3d printed blade together with the rods inside, I have not tested this as part of my design was having it not need glue and in return actually be able to technically be taken fully apart. (though again the rod and blade fitment is really tight)
To assemble it's nearly the same as a real katana which was my goal, there is a video and also written instruction for assembly.
(This is my first ever video so sorry for any bad audio quality or video quality)
First you are going to need the tang of the blade which is the part with the pin holes in it then you are going to slide the blade collar onto the tang, then one of the spacers also slide down the tang then the guard then another spacer for both spacers you want the flat side against the guard, lastly slide the handle onto the tang or more likely slide the tang into the handle.
(These may not be perfect fits for me they were but printers are different so don't be afraid to smooth the tang or any other pieces.)
Next is simple just putting in the pins you'll need 4 in total, 2 for the tang and handle and 2 for the handle and pommel which should be hand pressable but of course you can also tap them in with something technically tighter is better but again don't be afraid to sand if needed.
Next is the pommel and the handle you'll need the pommel, 2 pins and the connector piece, the connector can be a bit tight but you just put the connector into the bottom of the handle put a pin connecting them then the pommel onto the connector then the last pin.
Now the blade, there are 3 blade pieces excluding the tang, i recommend doing it from bottom to top so put a rod in the tang then slide the first blade piece on (the blade piece should fit perfectly into the blade collar if not probably the wrong piece) it could be a really tight fit, then put a rod in the top of the blade then the middle blade piece onto that rod, another rod in the top of that blade piece and then lastly the blade tip onto that rod, and you're done! Should take 4 rods in total which are again meant to be 5mm x 200mm
I am quite proud of this model and will try to reply to any comments I get, but I cannot promise to change anything with the model which is part of the reason why remixes are allowed i have provided the raw files i used fusion 360 to model this so have at it.
License



Comment & Rating (0)