Optimized Tolerance Test / Gap Slicing


Print Profile(3)


Bill of Materials


Description
test
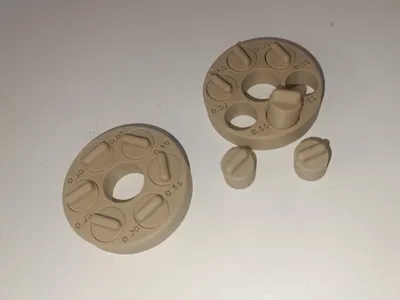
Tolerance Test - Optimized
Note: This is the new, optimized version of the test – developed to save filament and time. The model only requires about 9 g of material, prints faster, and is still stable enough for a reliable measurement. |
Boost Me (for free)
If you like my work and found this test beneficial, I would greatly appreciate a boost – it helps me a lot.
Variants
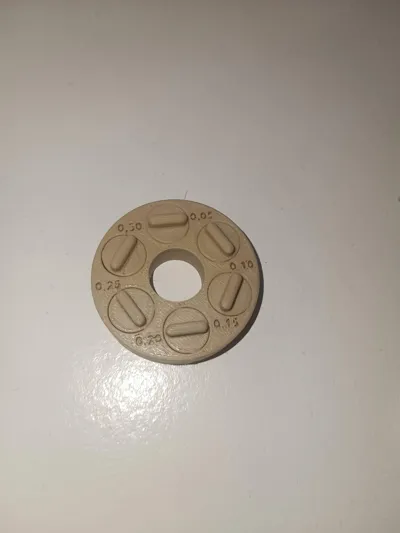
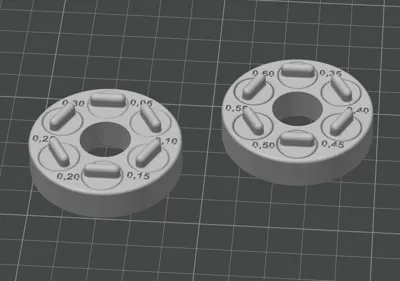
- Variant 1: 0.05 mm – 0.30 mm Gap
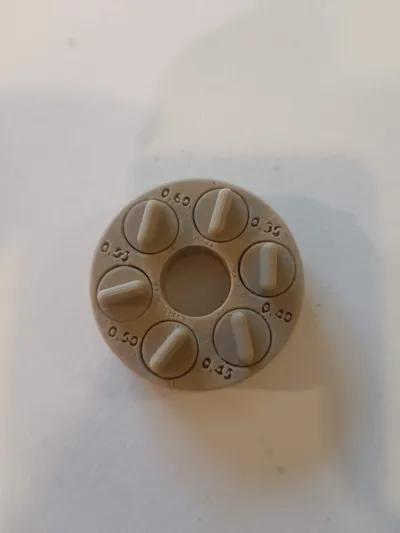
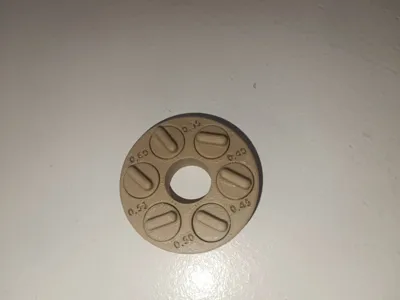
- Variant 2: 0.35 mm – 0.60 mm Gap
How to adjust your print:
 |
|
Additional Optimization Options
with a 0.4 mm nozzle, the 0.05 mm gap could be successfully printed with:
• 0.15 mm layer thickness
• precision at 0.003 / 0.001
• Arachne perimeter engine enabled
• outer wall speed reduced to 50 mm/s- Additionally, check your elephant foot compensation to prevent small gaps from being sealed at the bottom.
Details
- Gap sizes:
• 0.05 / 0.10 / 0.15 / 0.20 / 0.25 / 0.30 mm
• 0.35 / 0.40 / 0.45 / 0.50 / 0.55 / 0.60 mm - Goal: Test of mechanical precision for various filament types, print profiles, and nozzle diameters
- Recommended for: PLA, PETG, TPU (as well as other materials)
Application
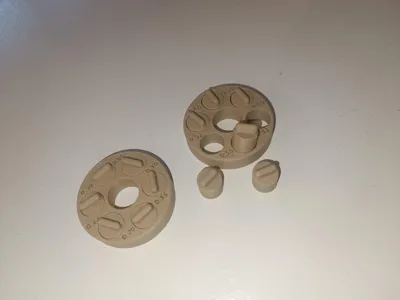
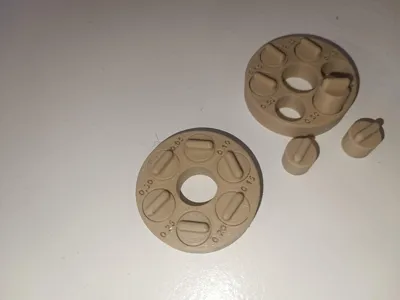
- Print the model without supports.
- After printing, carefully move or free the bridges. (Rotate, push, possibly also from below)
- The smallest dimension that can still move freely (or is not stuck) indicates the mechanical tolerance of your setup.
💡 Why is this important?
Depending on the filament (PLA, PETG, TPU, ABS, etc.), color, or nozzle diameter, printing properties can vary greatly.
This test helps you determine the correct tolerance for:
- Fits
- Snap-fits
- Part clearance
– and saves material and time.
 | Also use my Compensation for Circular Openings to achieve even better results:
https://makerworld.com/en/models/1711661-compensation-for-circular-openings#profileId-1816308 |
License
You shall not share, sub-license, sell, rent, host, transfer, or distribute in any way the digital or 3D printed versions of this object, nor any other derivative work of this object in its digital or physical format (including - but not limited to - remixes of this object, and hosting on other digital platforms). The objects may not be used without permission in any way whatsoever in which you charge money, or collect fees.
Comment & Rating (8)