
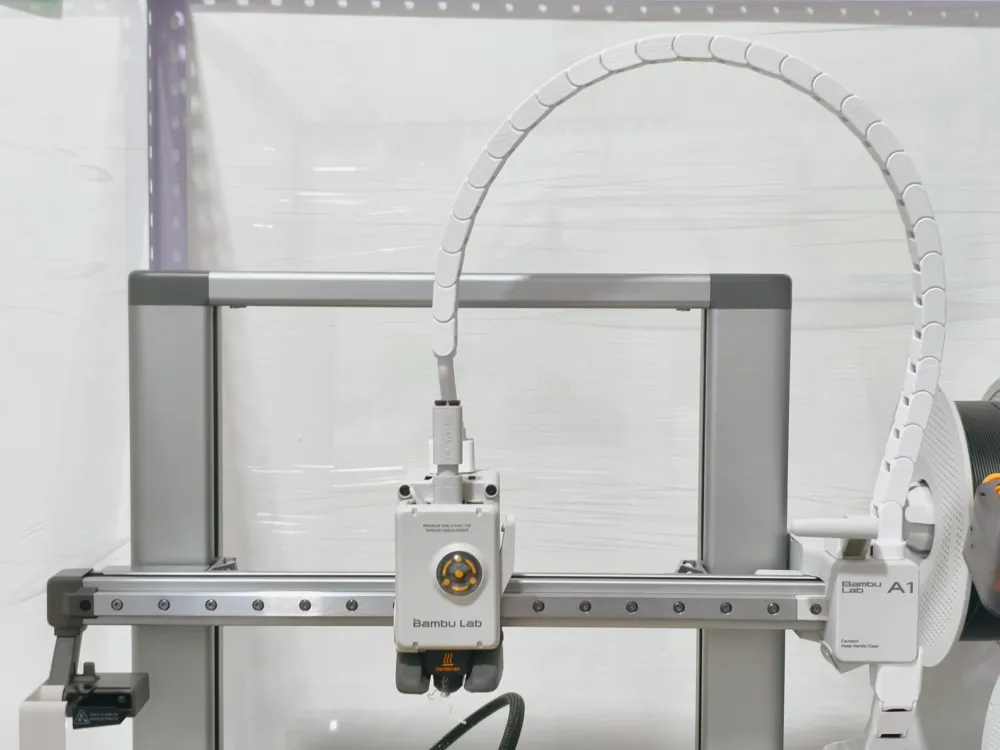
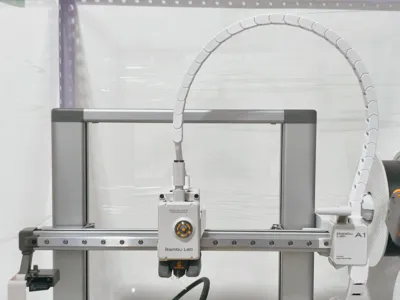
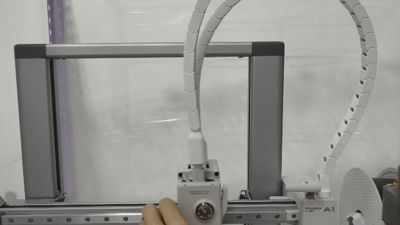
A1 X-axis print head drag chain no disassembly needed does not occupy the 5-way compatible with AMS
Print Profile(4)


![Specifico per A1 Mini [0.2mm layer, 4 walls, 30% infill]](https://makerworld.bblmw.com/makerworld/model/USa7944a25bfe1fe/812416347/instance/f2b75f69b20115a5.jpg?x-oss-process=image%2Fresize%2Cw_100%2Fformat%2Cwebp)

Description

A1 X-axis cable protection drag chain, does not occupy the 5-way connector, suitable for Bambu Lab A1 and Bambu Lab A1 with AMS
Very easy to install (except for the PTFE tube/can be replaced with high-toughness filament)
Important Notes:
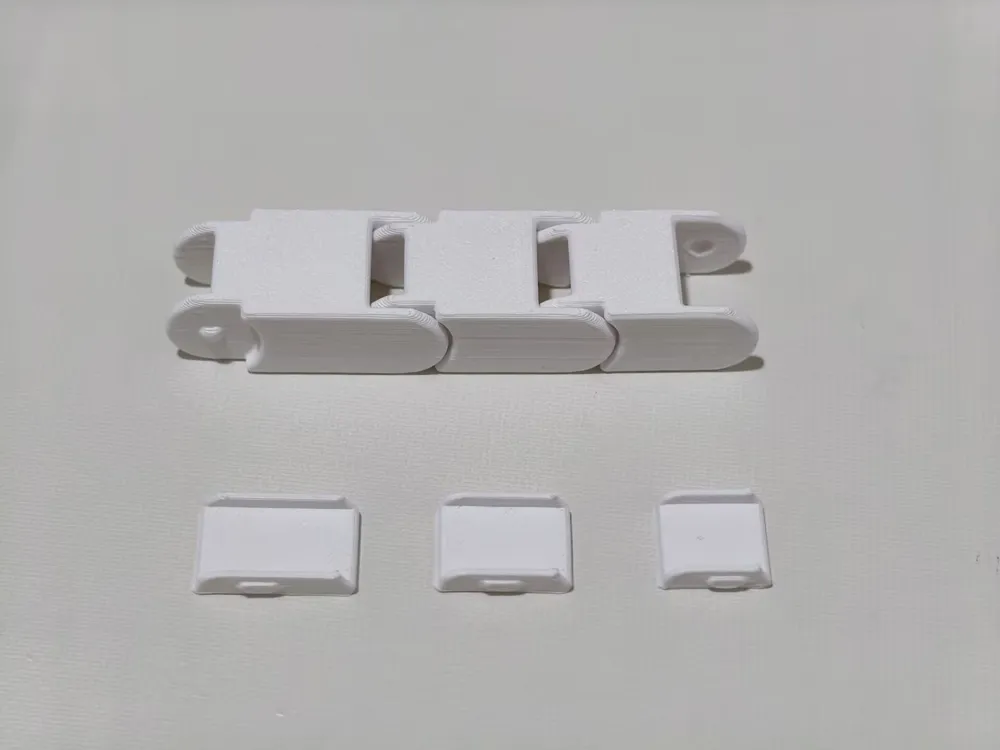
Be sure to remove the supports!!! When disassembling, be sure to remove the cover plate first;
Try to insert a PTFE tube into the chain for support to reduce cable bending;
Please use PETG material for printing as much as possible, PLA has not been tested and its longevity is not as good as PETG;
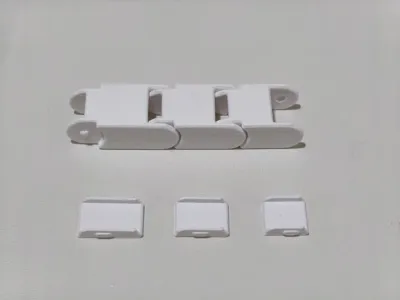
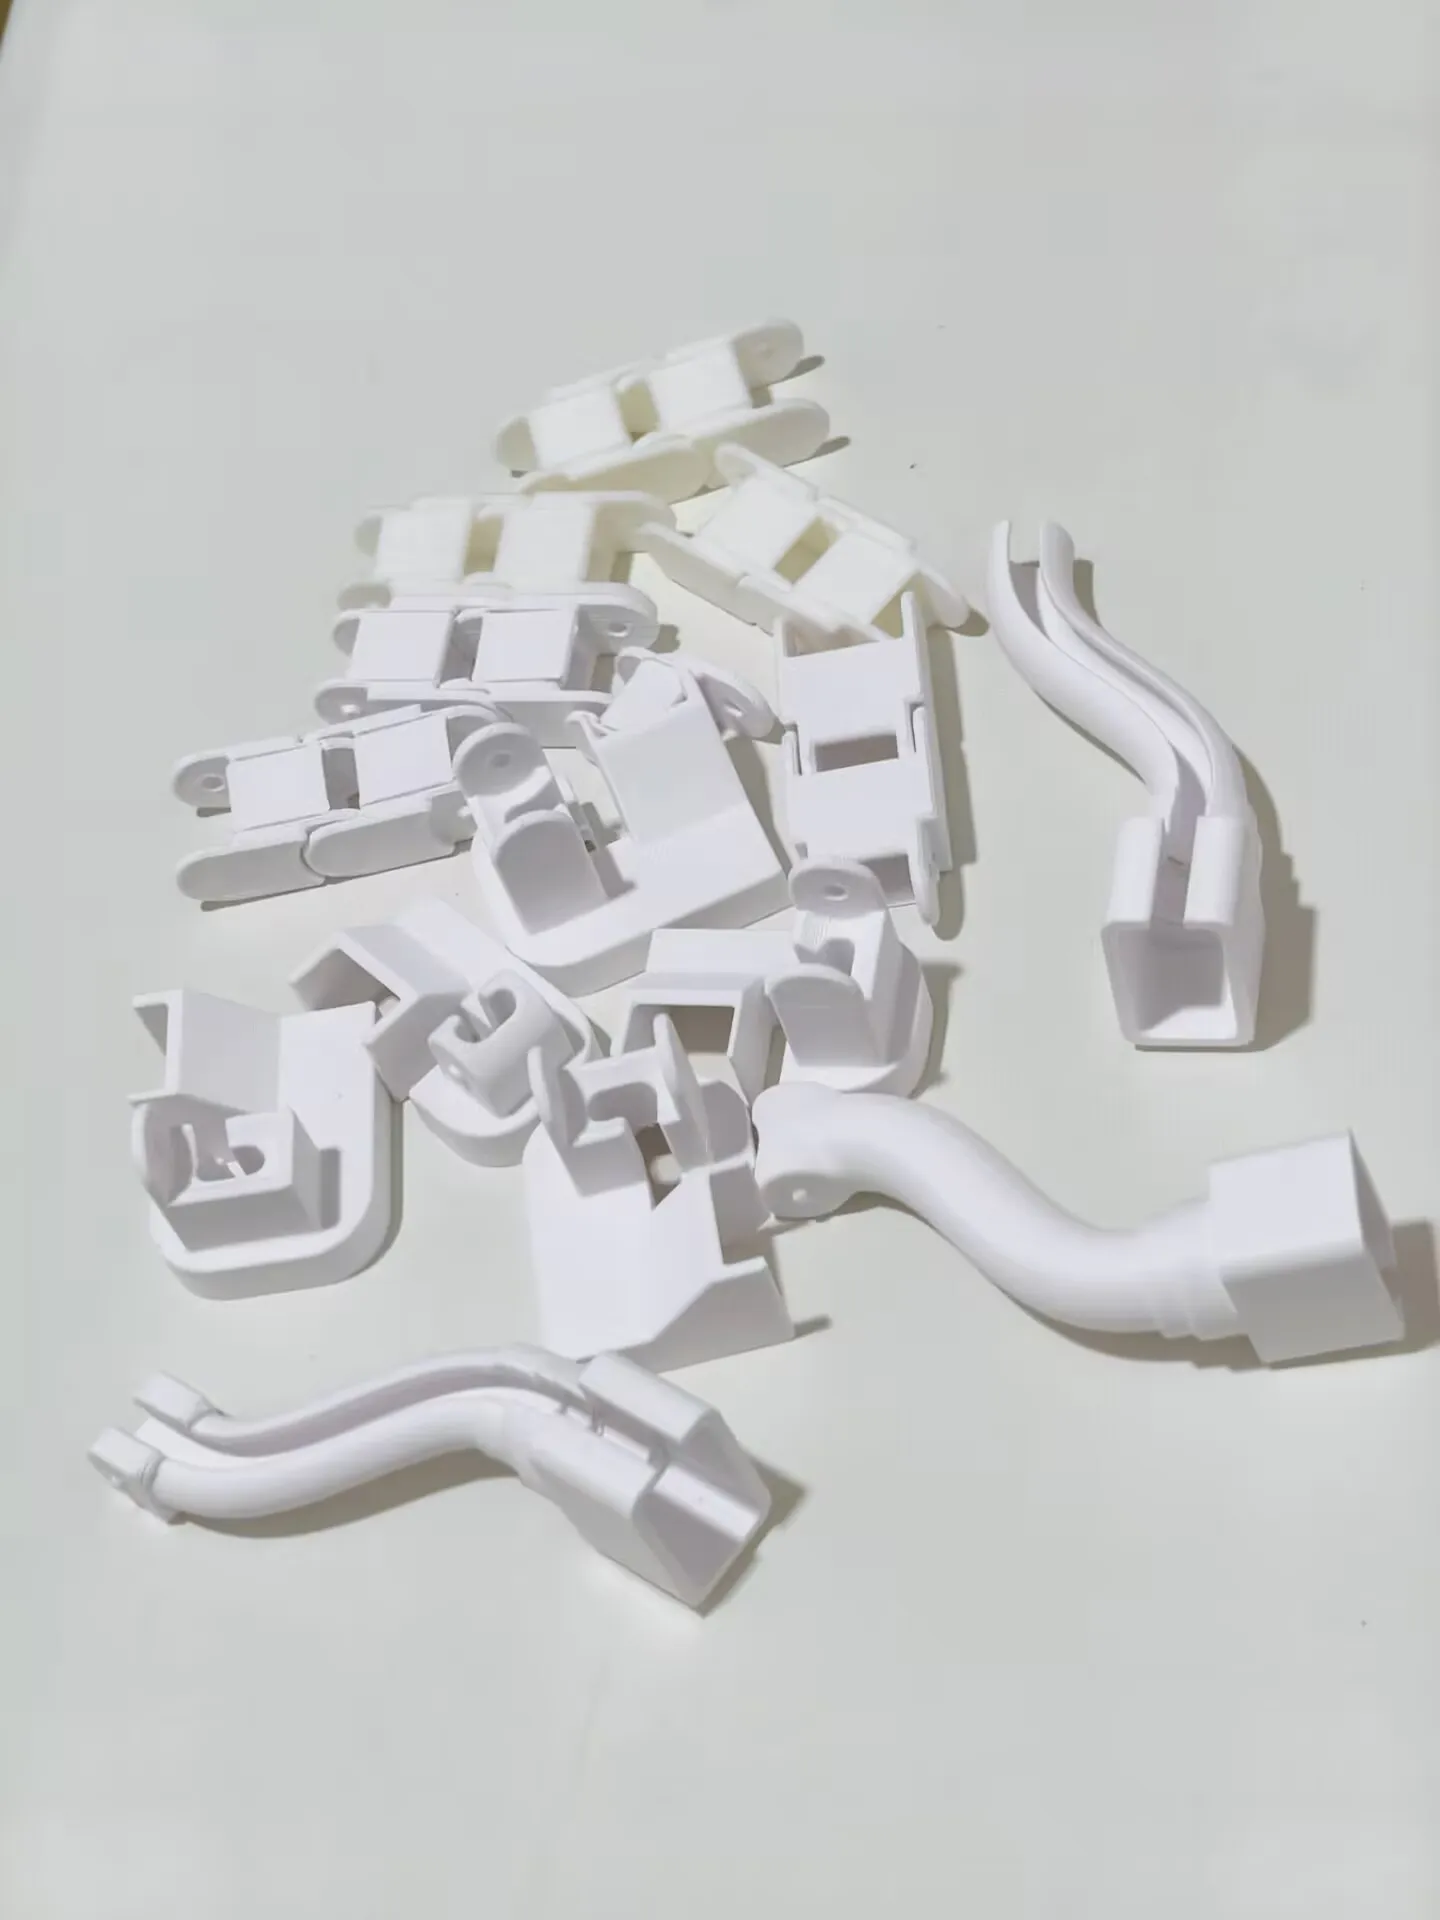
The parts include two other lengths of chain, which can be freely combined to increase or decrease length;
Note that the connection on the print head requires inserting the cable and PTFE tube, making installation difficult.
Installation Process:
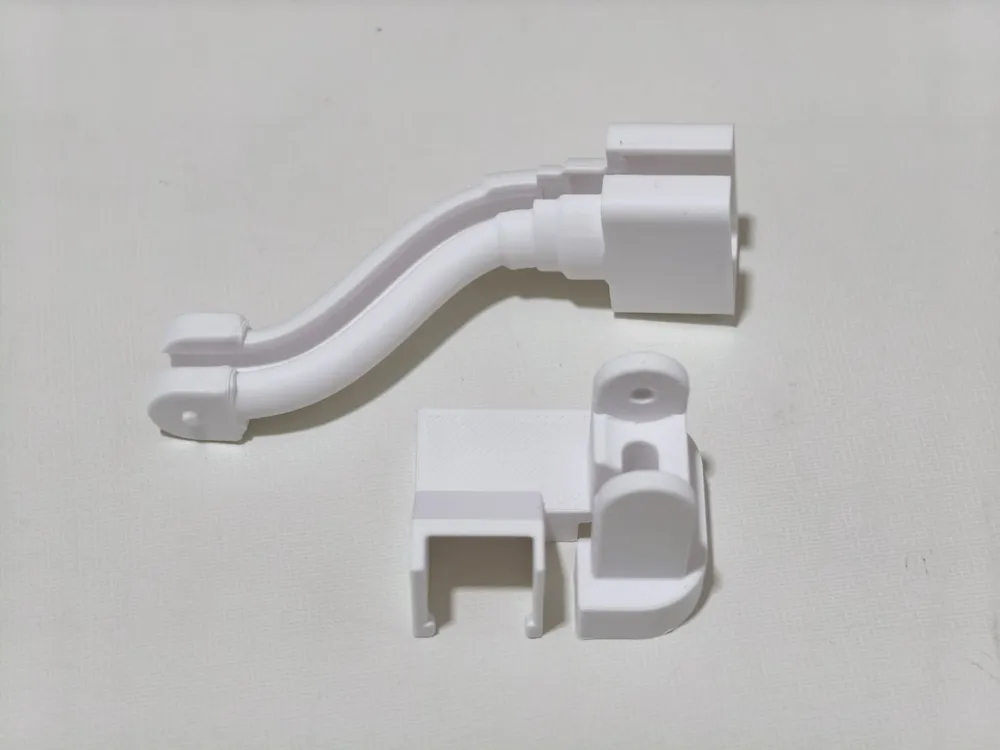
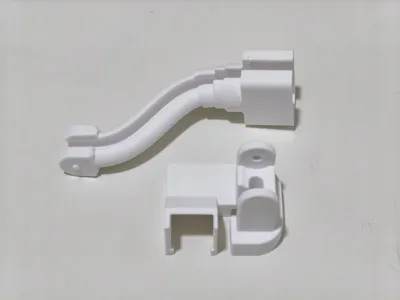
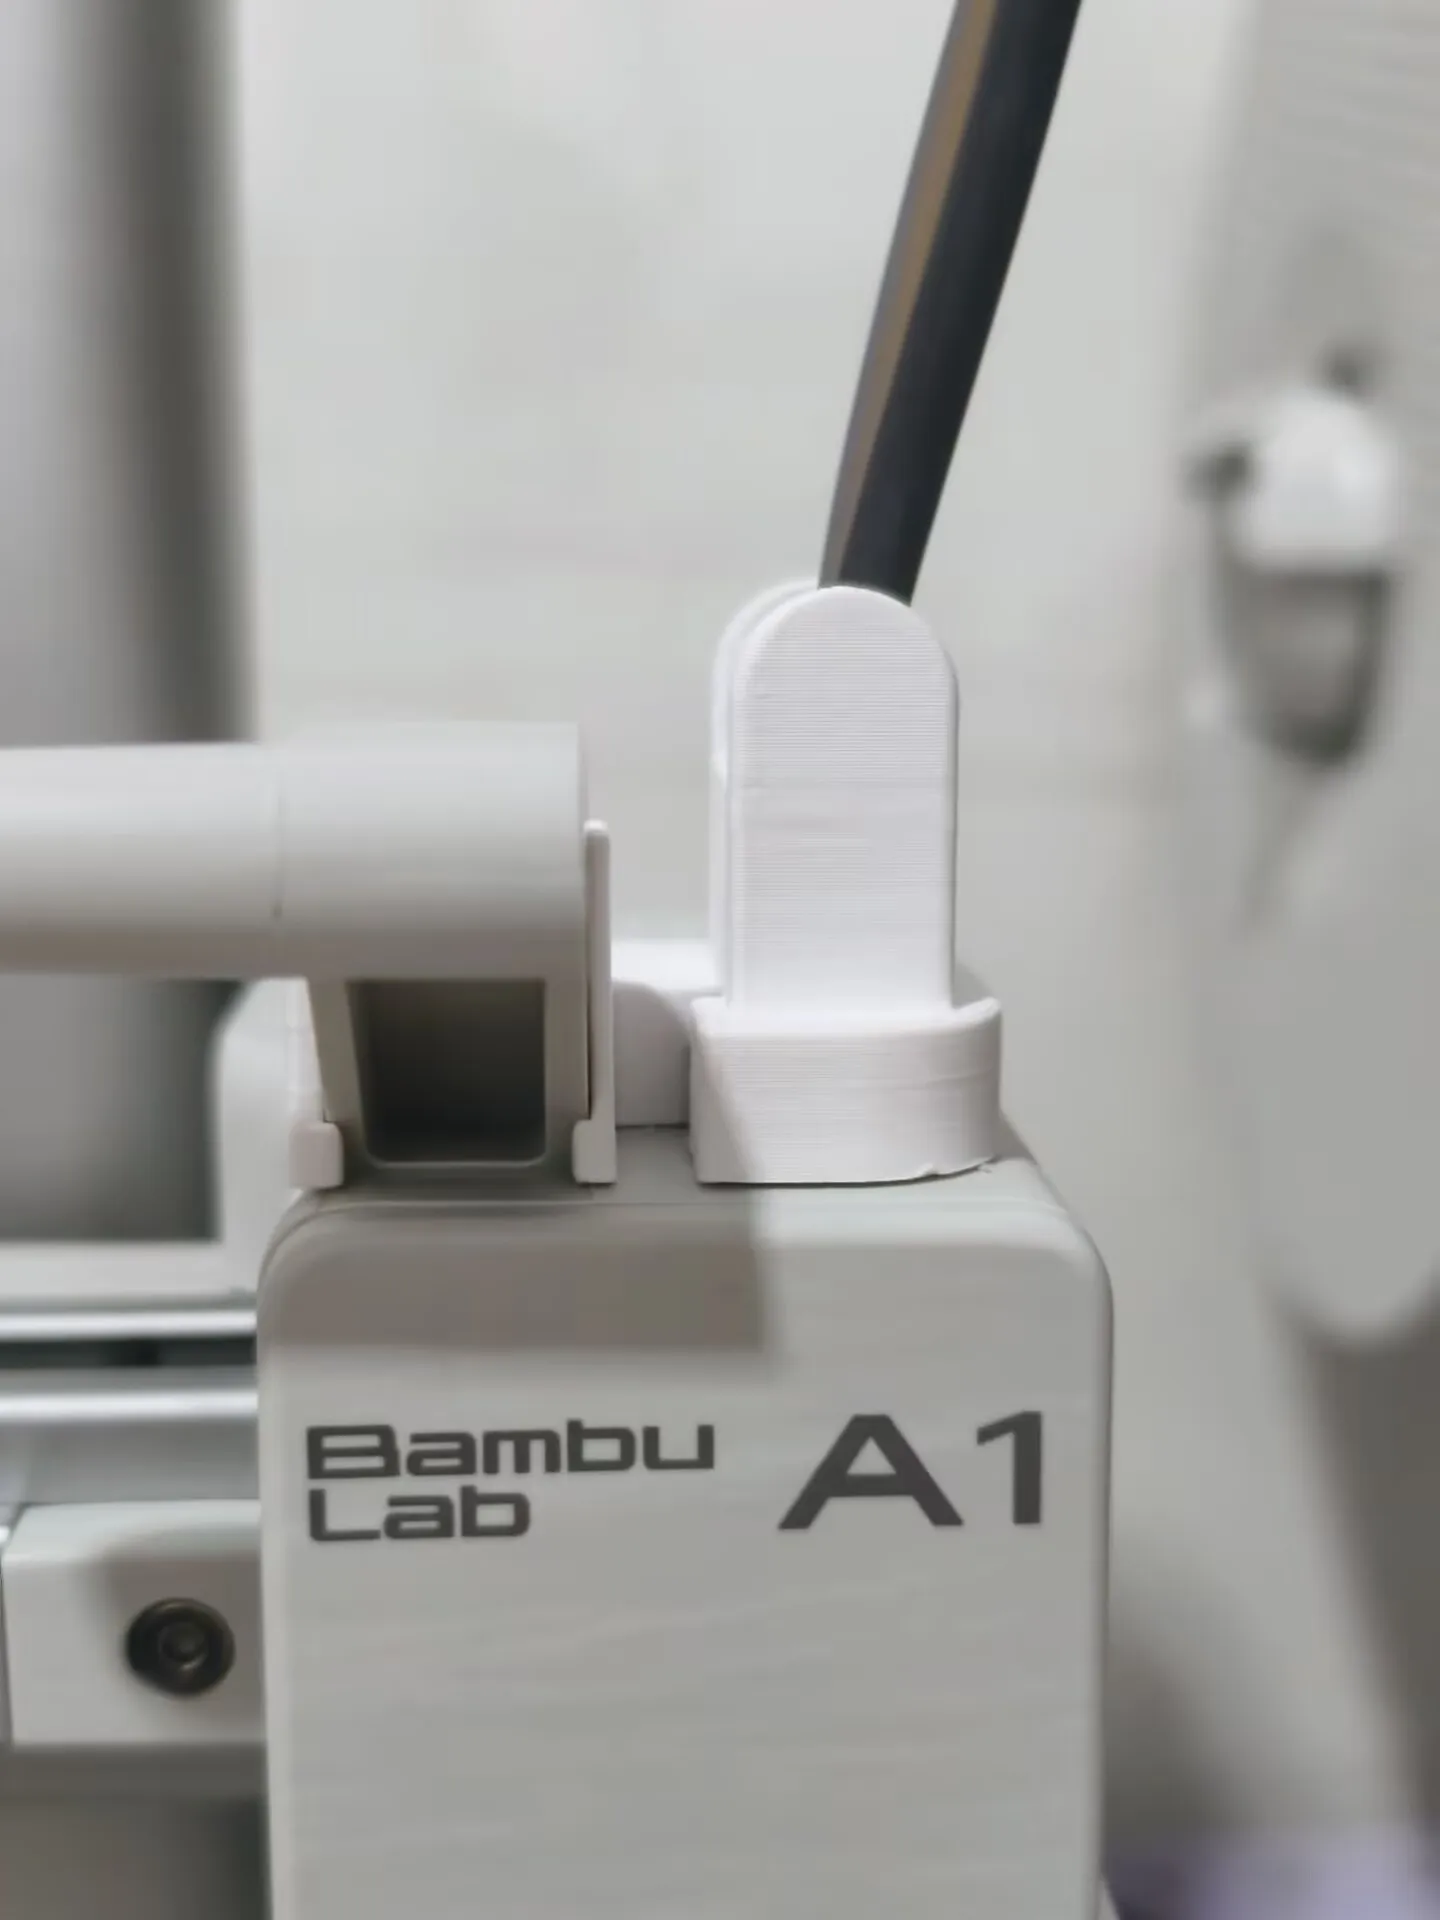
Install the X-axis connector
- Snap the cable into the slot
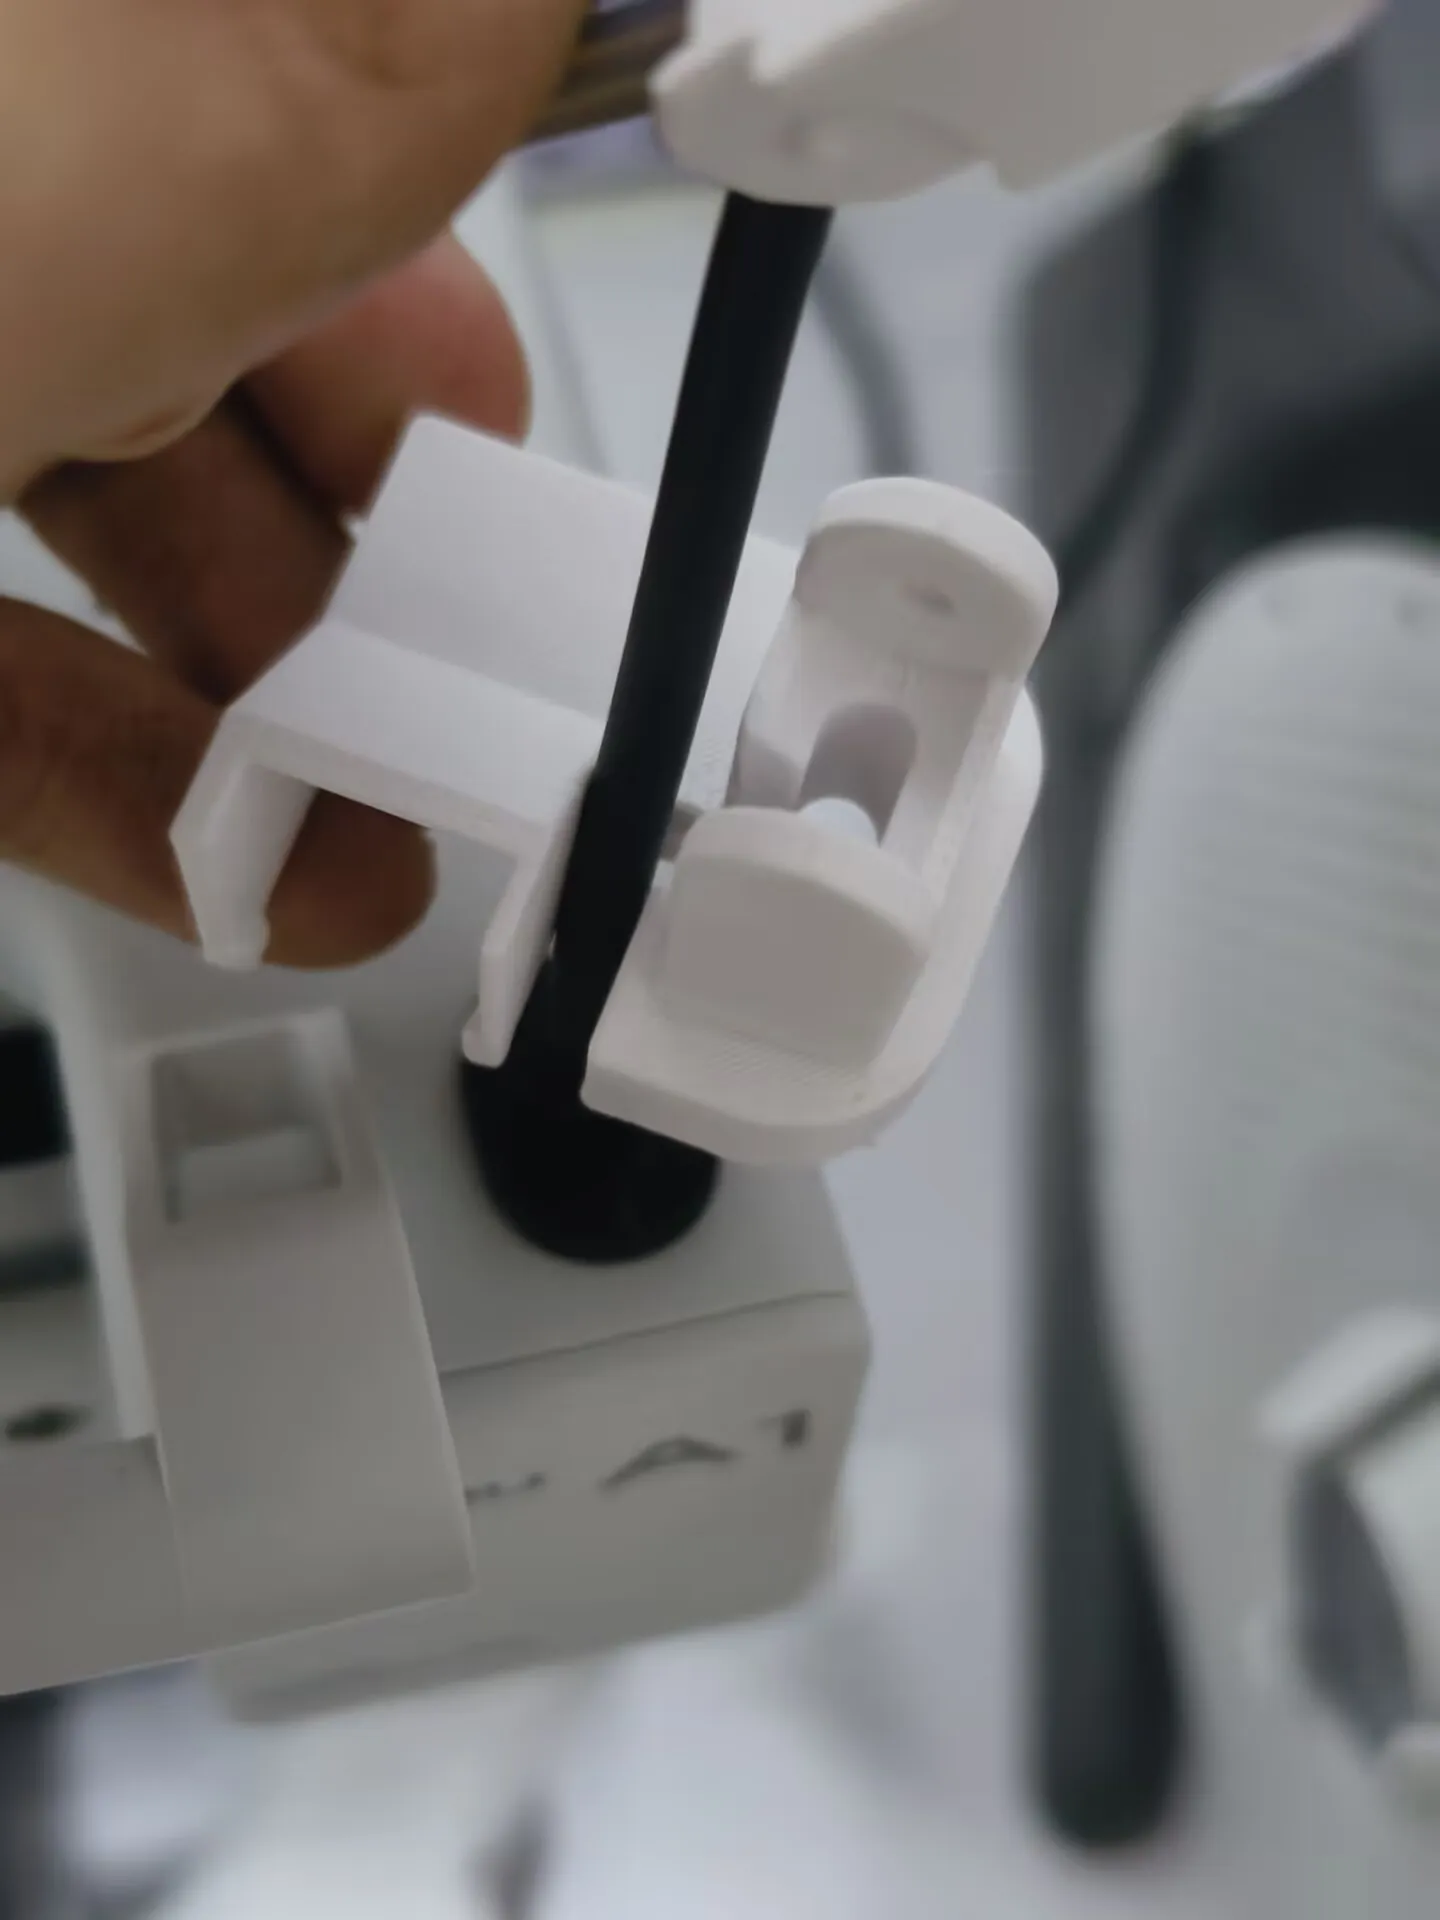
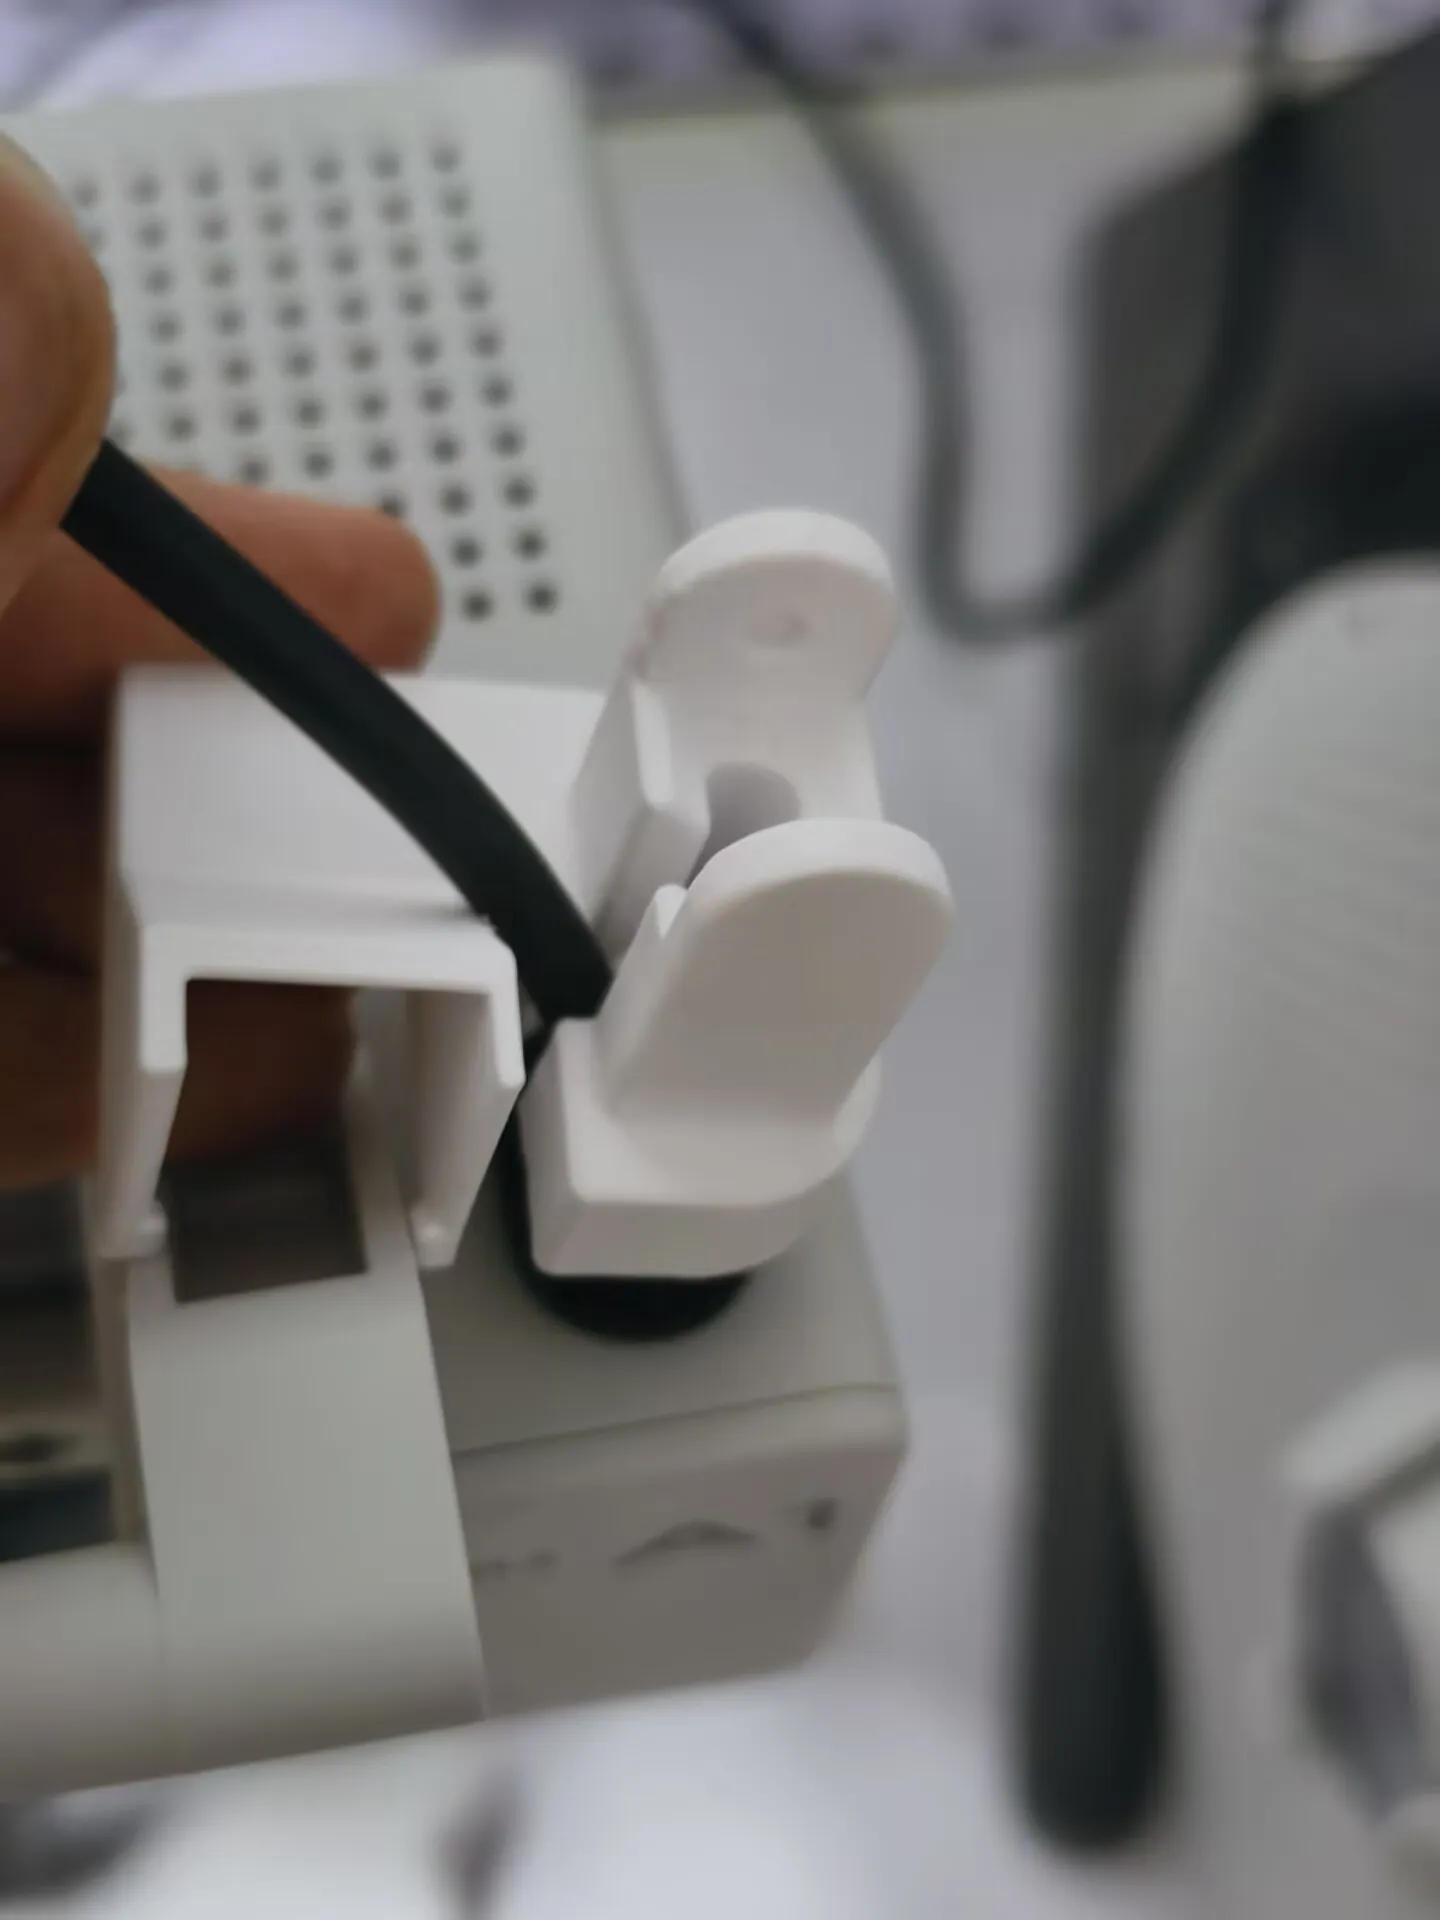
- In the picture below, you can see two snaps, just press them directly
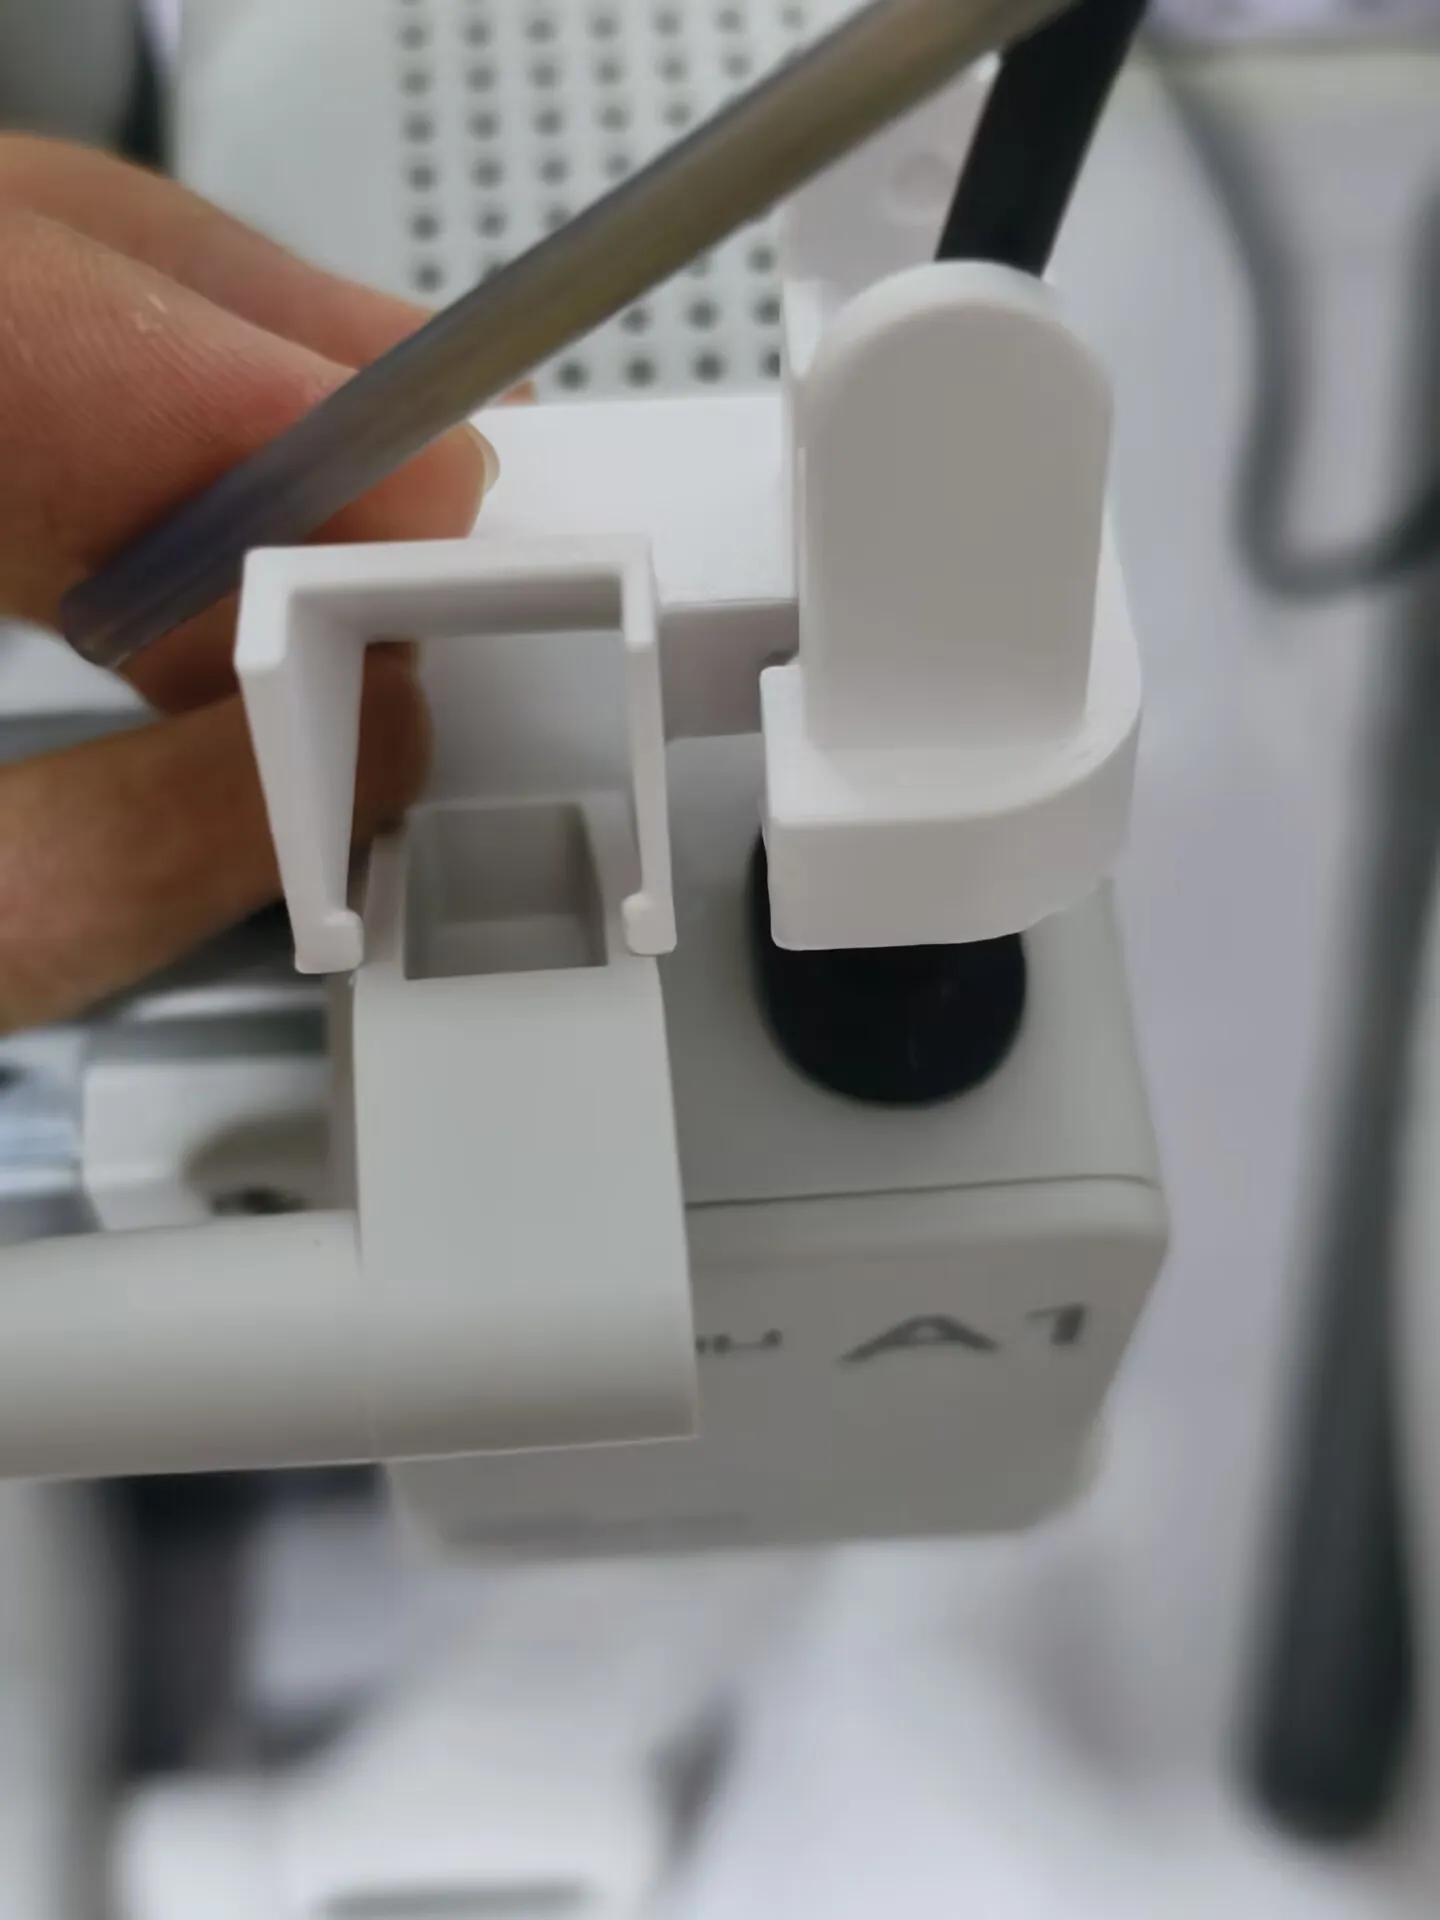
- If it doesn't press all the way down at this point, please press down while applying a slight force towards the back of the machine; if it still doesn't work, you can take it out and check if there are any defects on the support surface blocking it
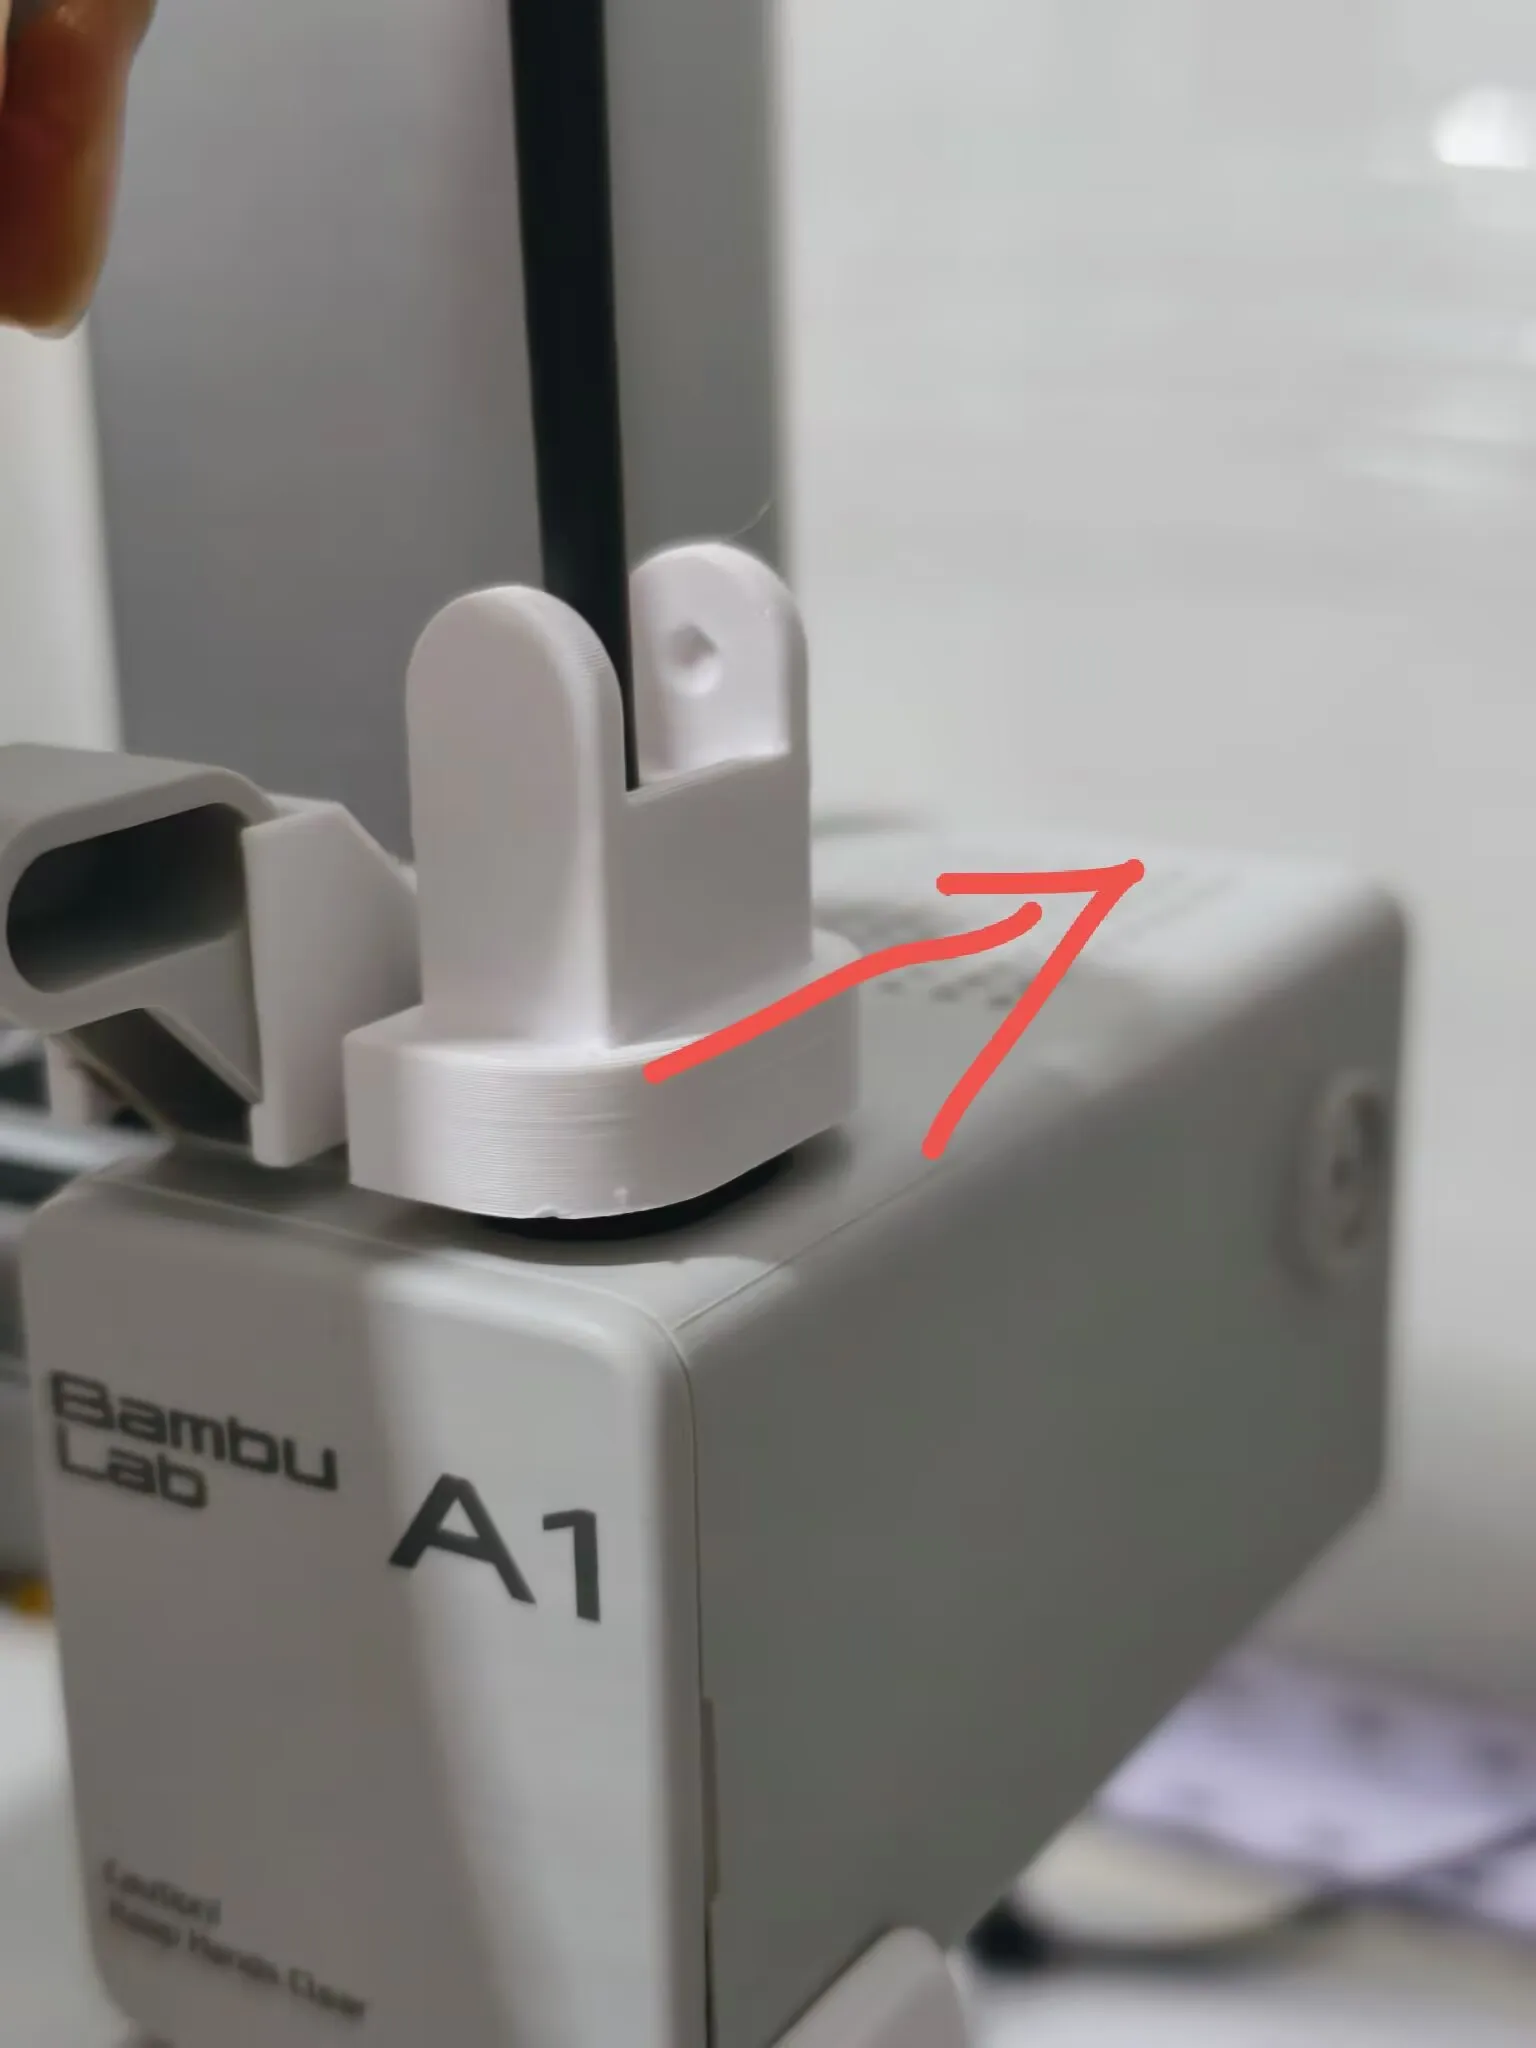
- The picture below shows it installed in place
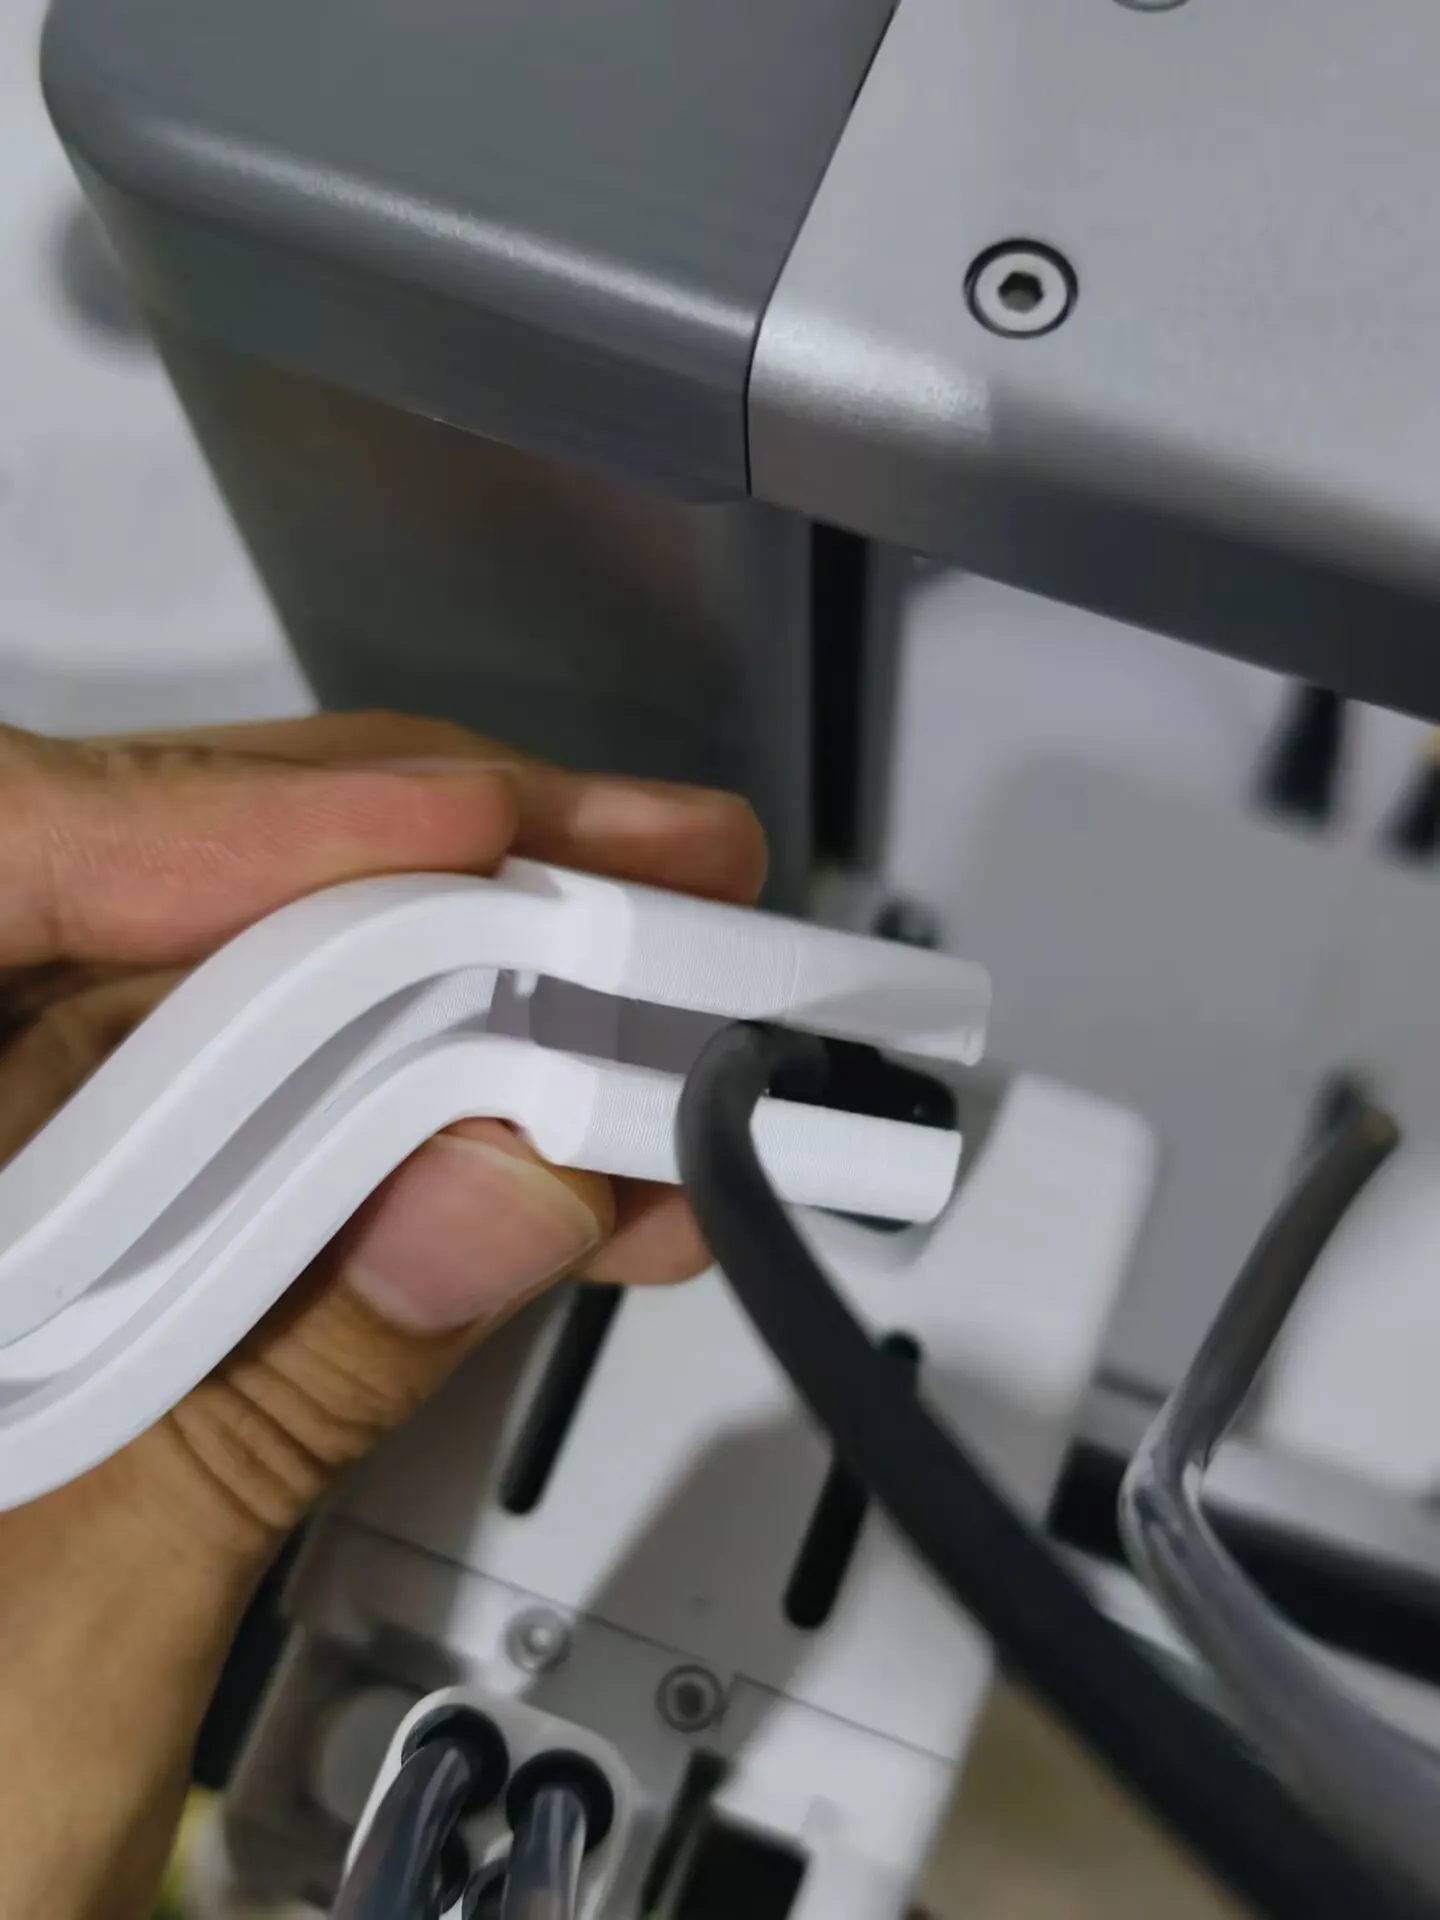
Install the connector on the print head
- Snap the cable in from the side
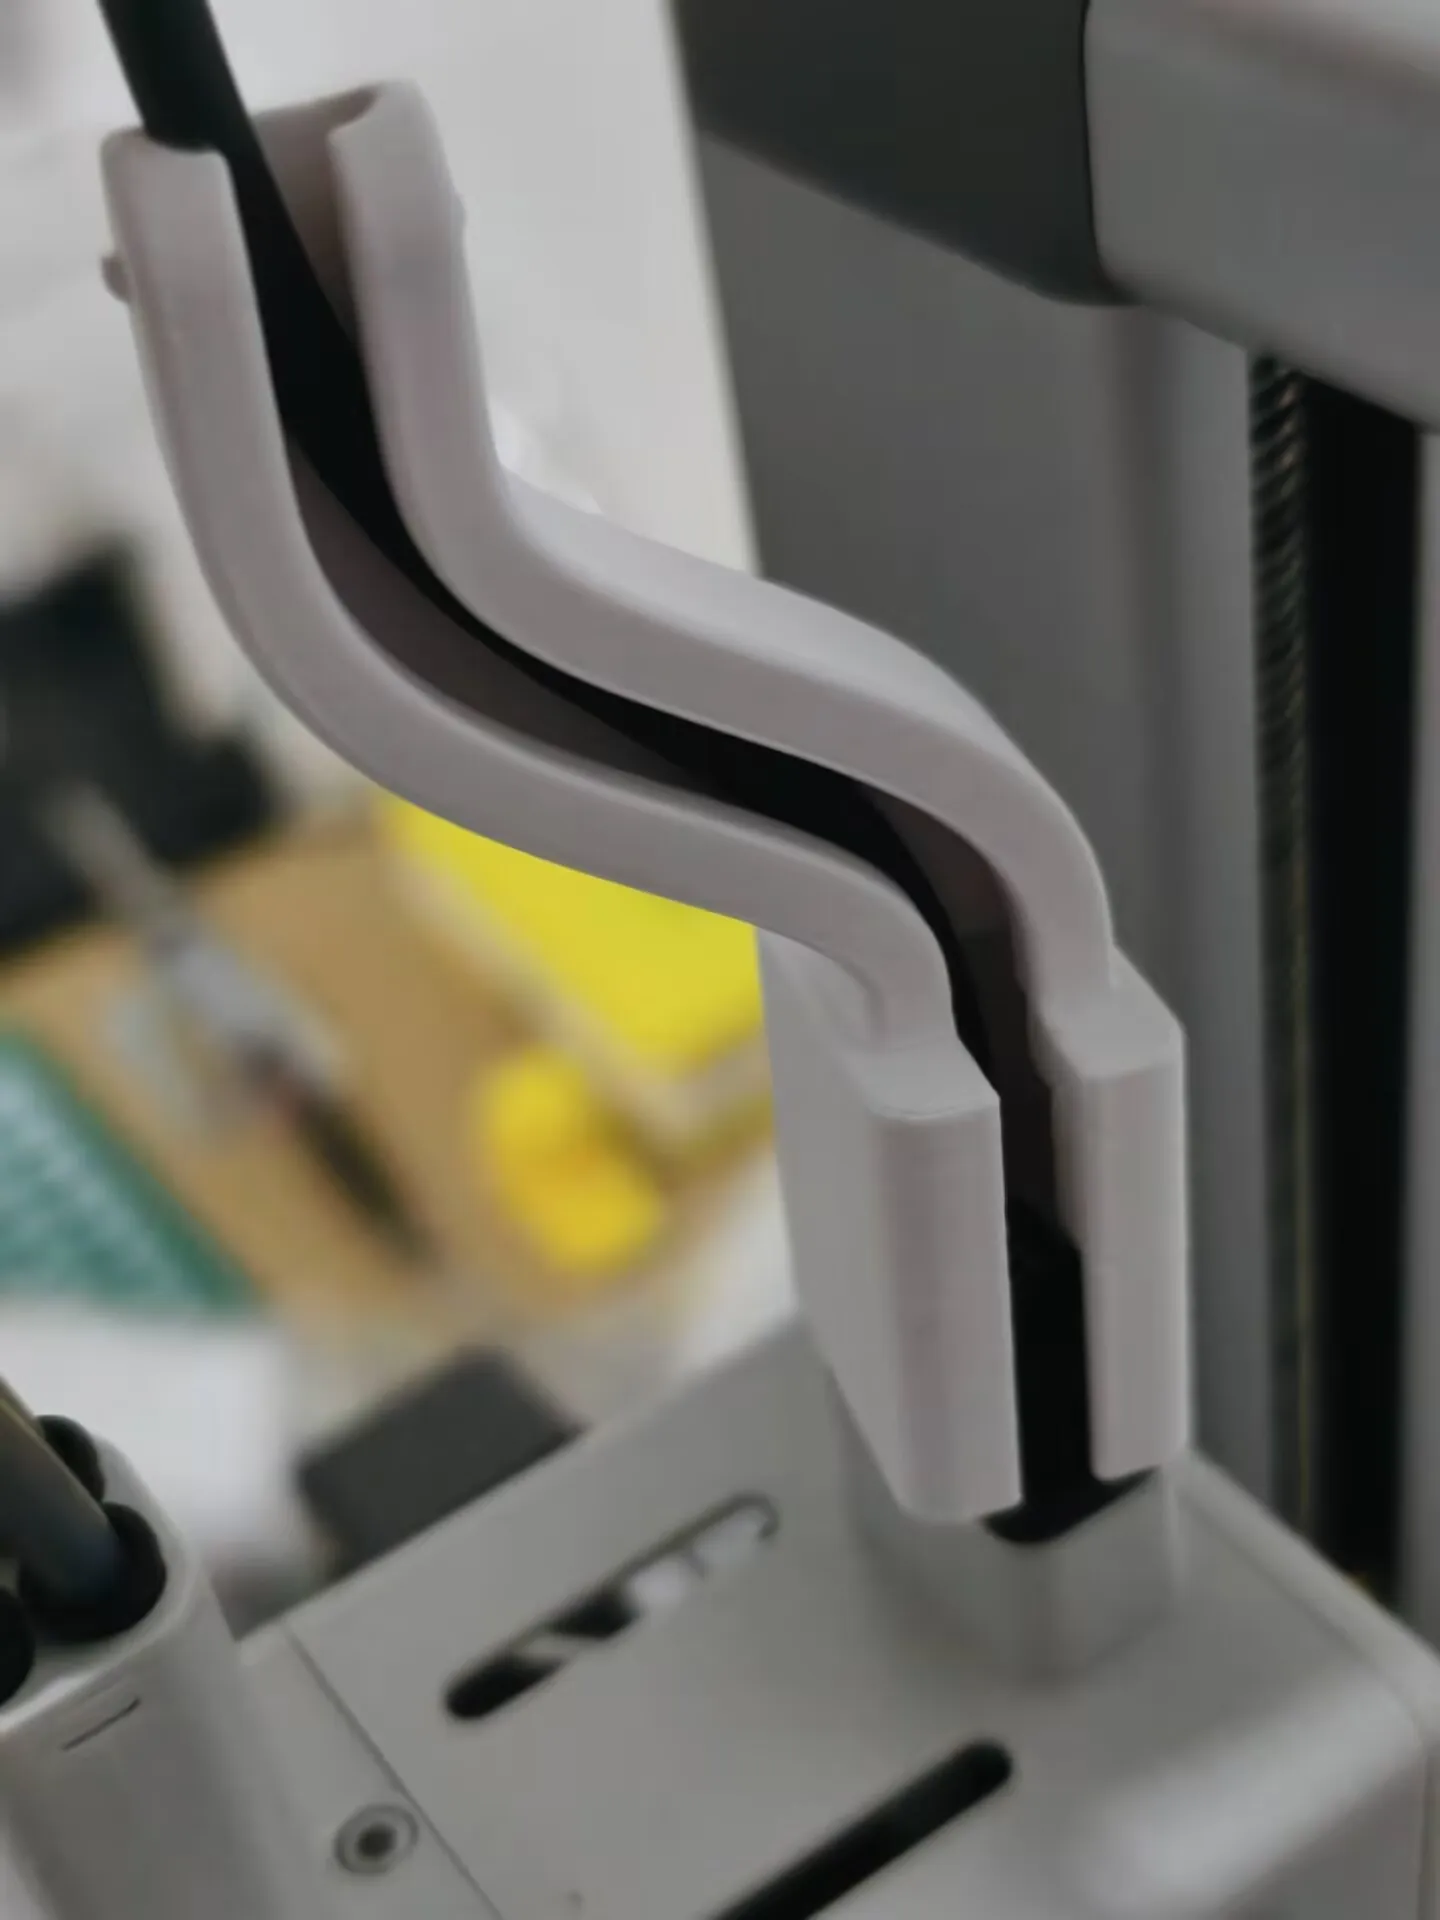
- Press down after snapping it in, the picture below shows it installed in place
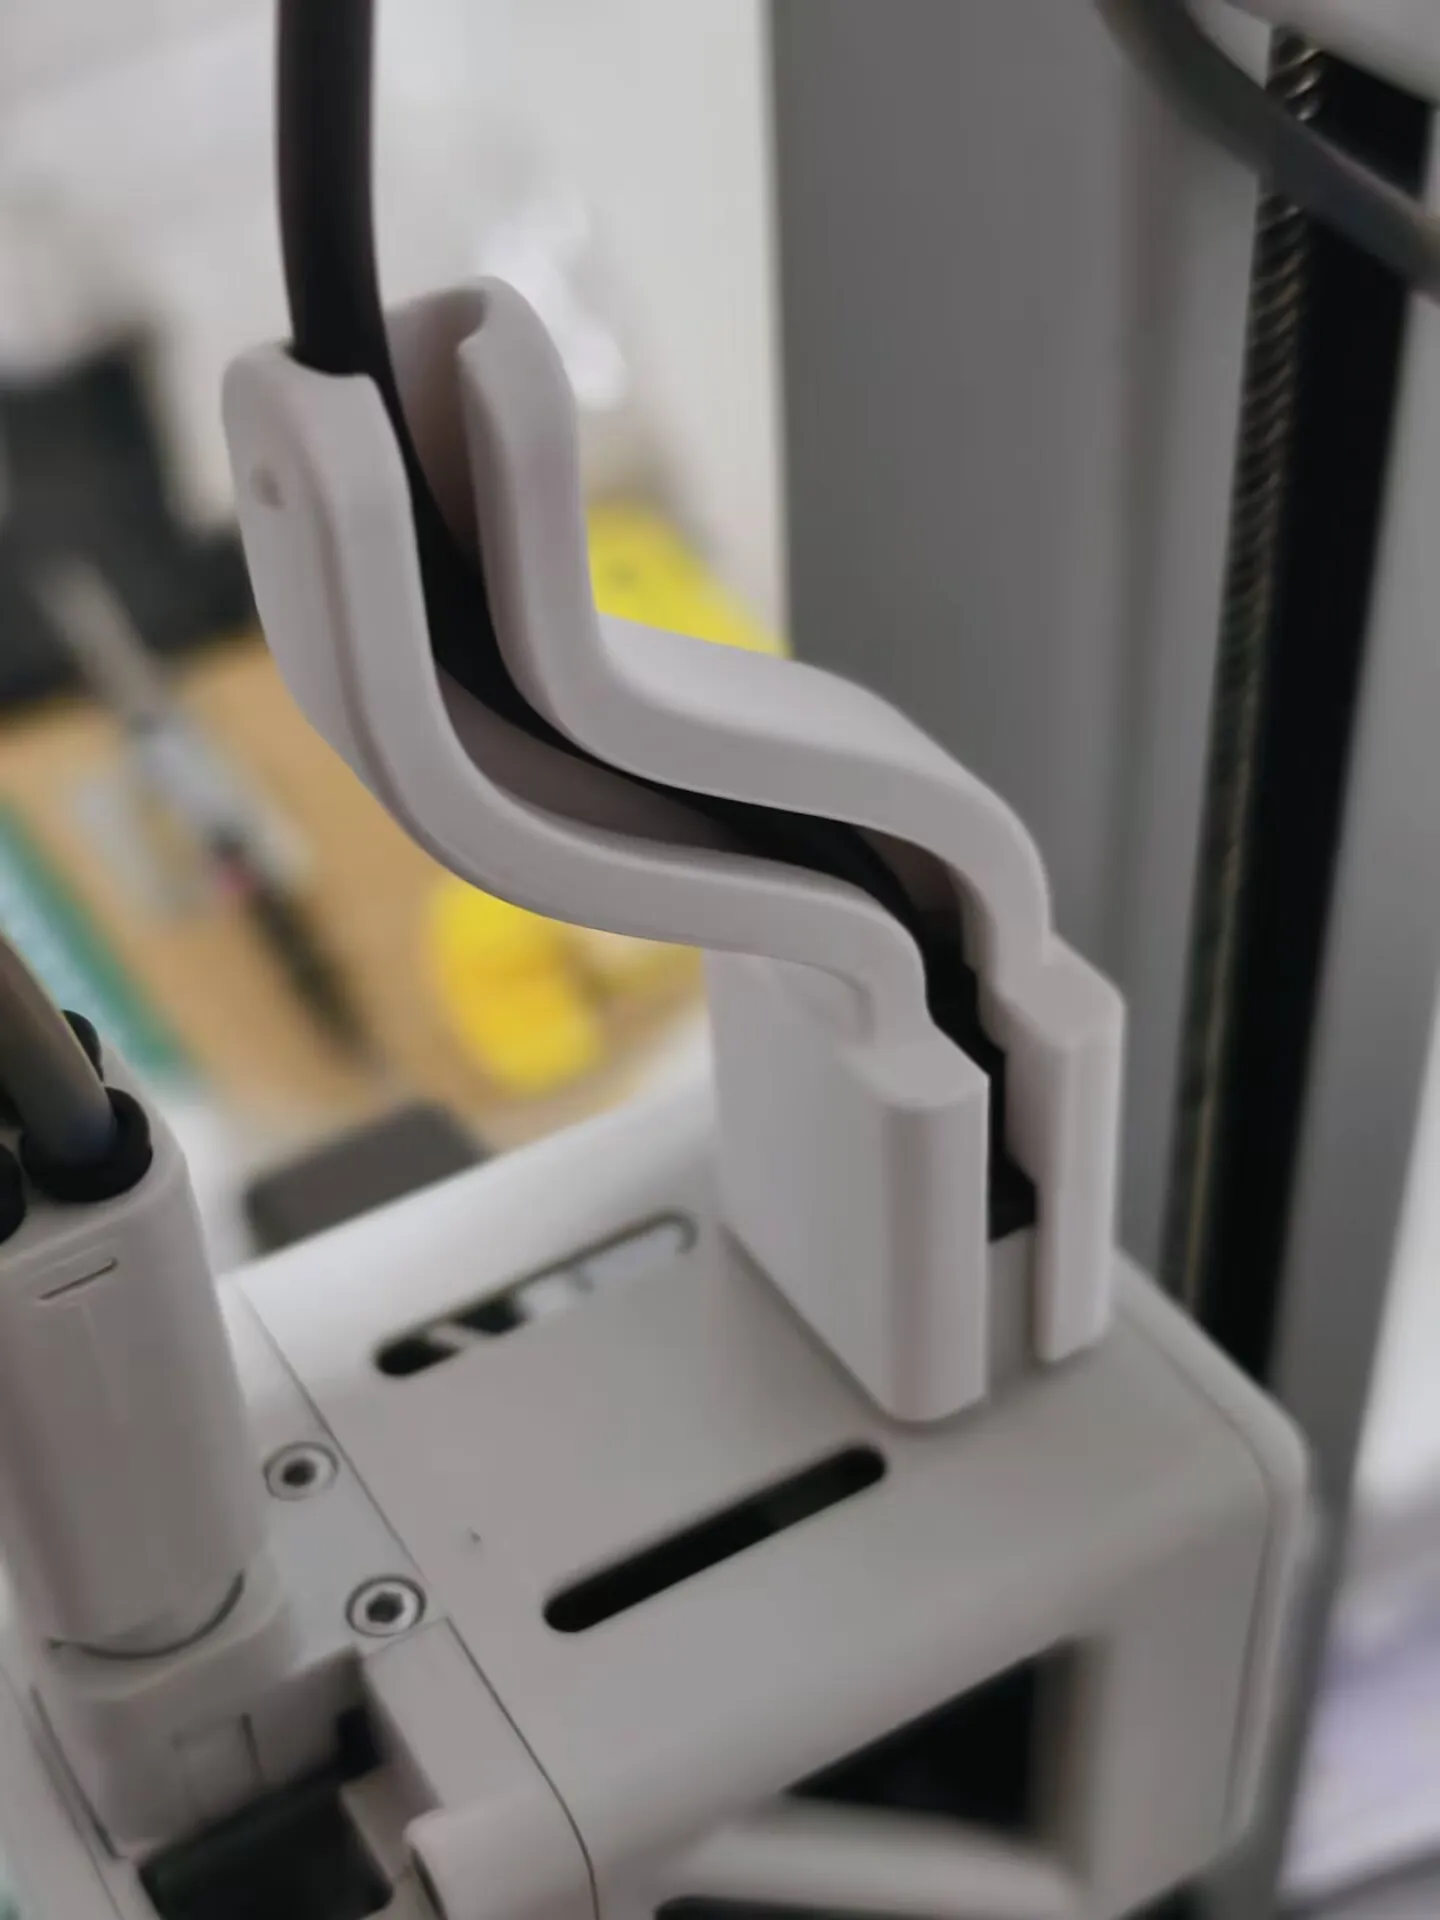
Install the PTFE tube
- Snap the PTFE tube into the inner side, snap in one end first, take your time, it's a bit difficult to press here, you don't need to start snapping from the lowest side, around the first bend is fine
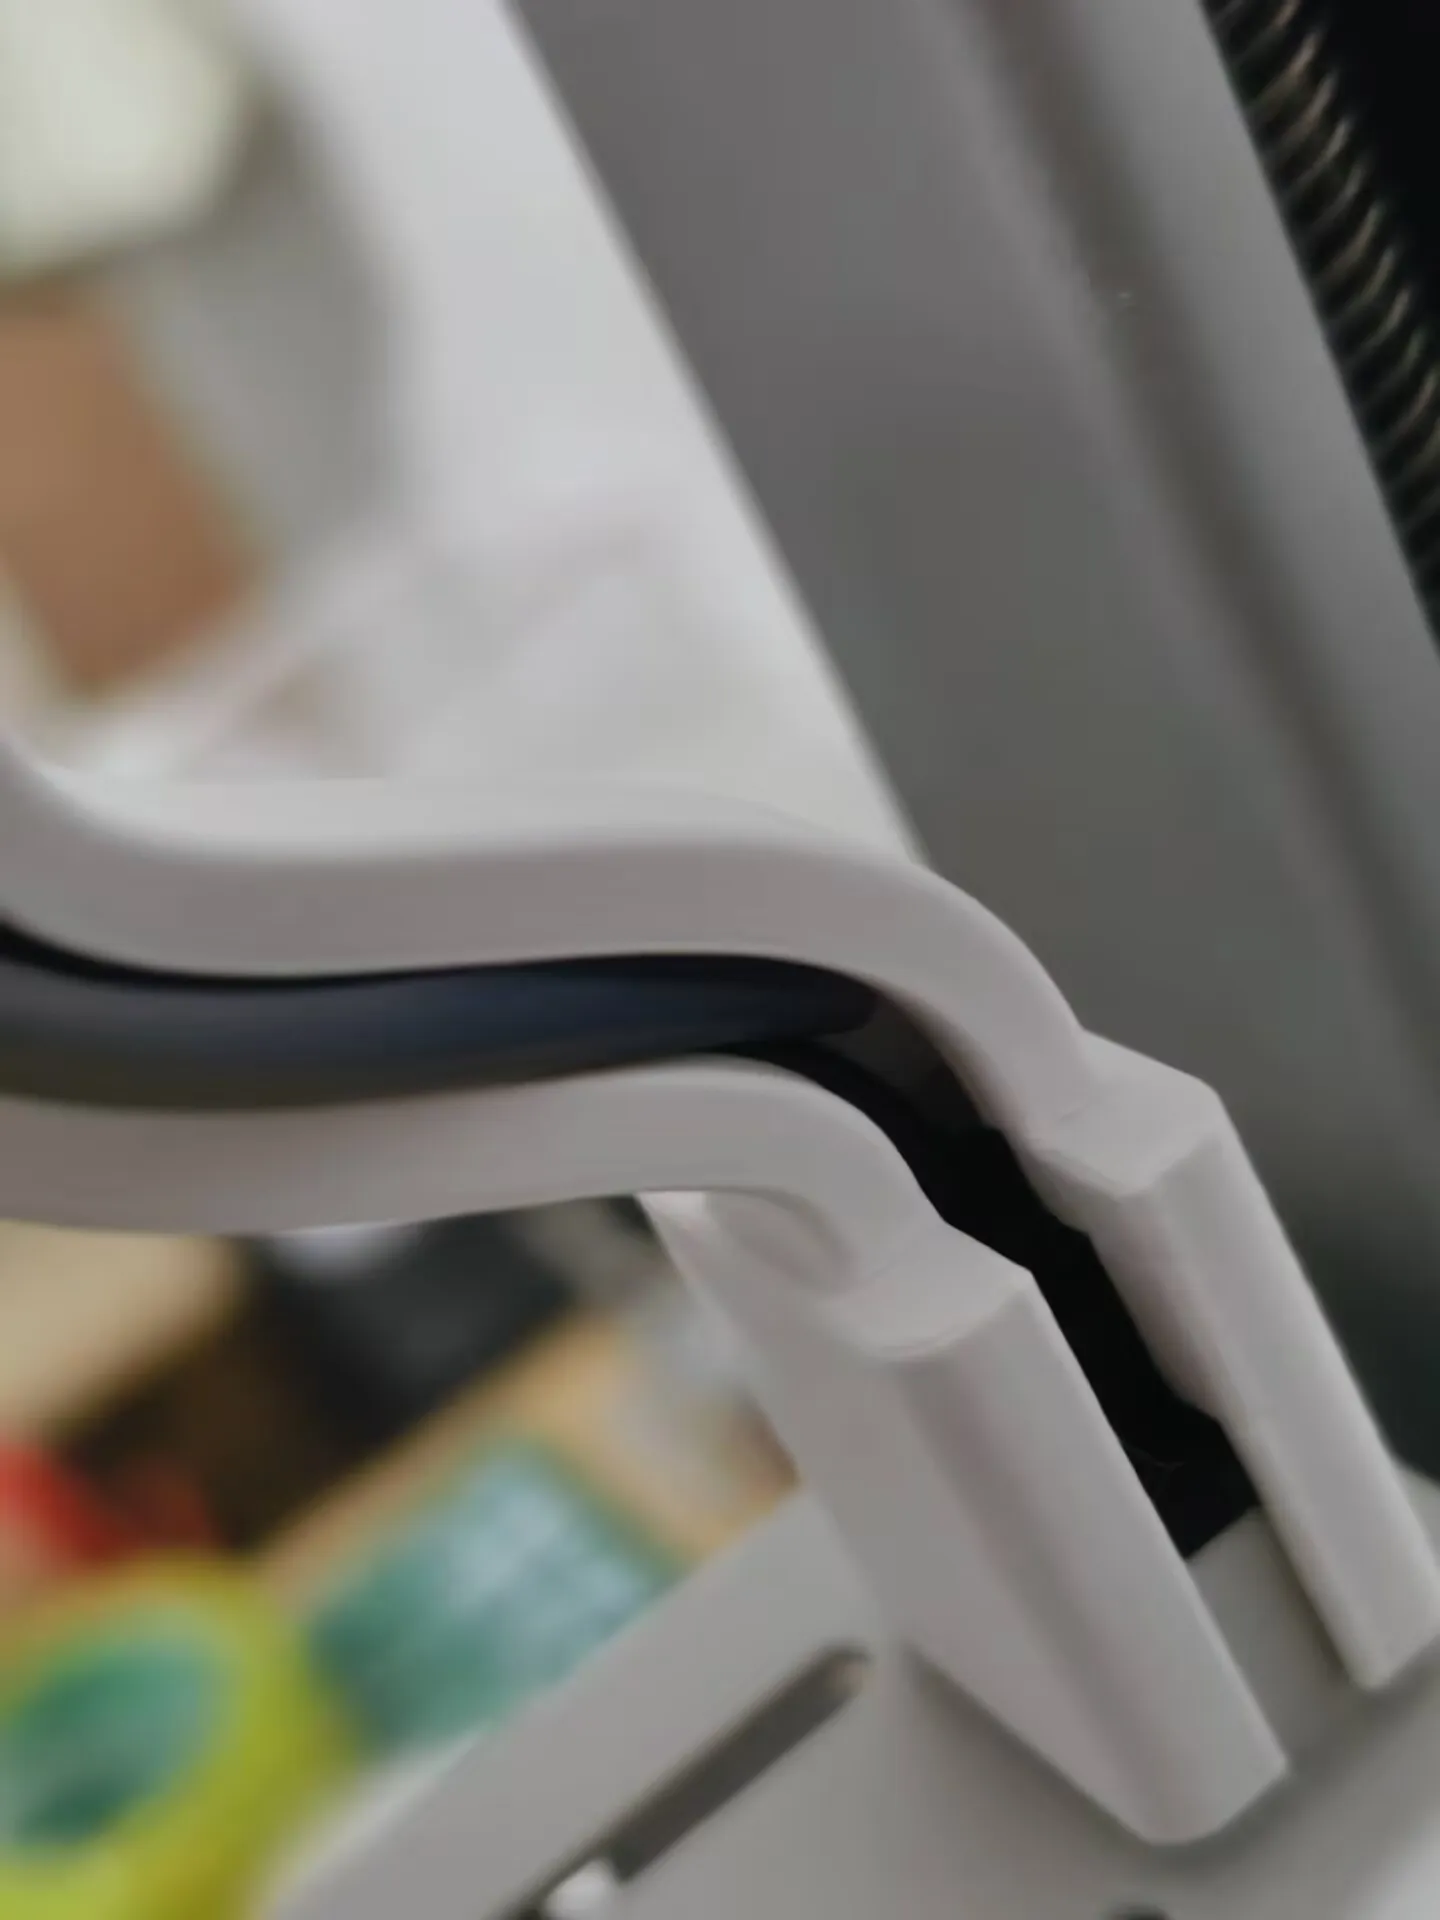
- After snapping in one end, slowly press it in along the inside; if it doesn't move, you can press down on the black line as shown in the picture below to make space for the PTFE tube
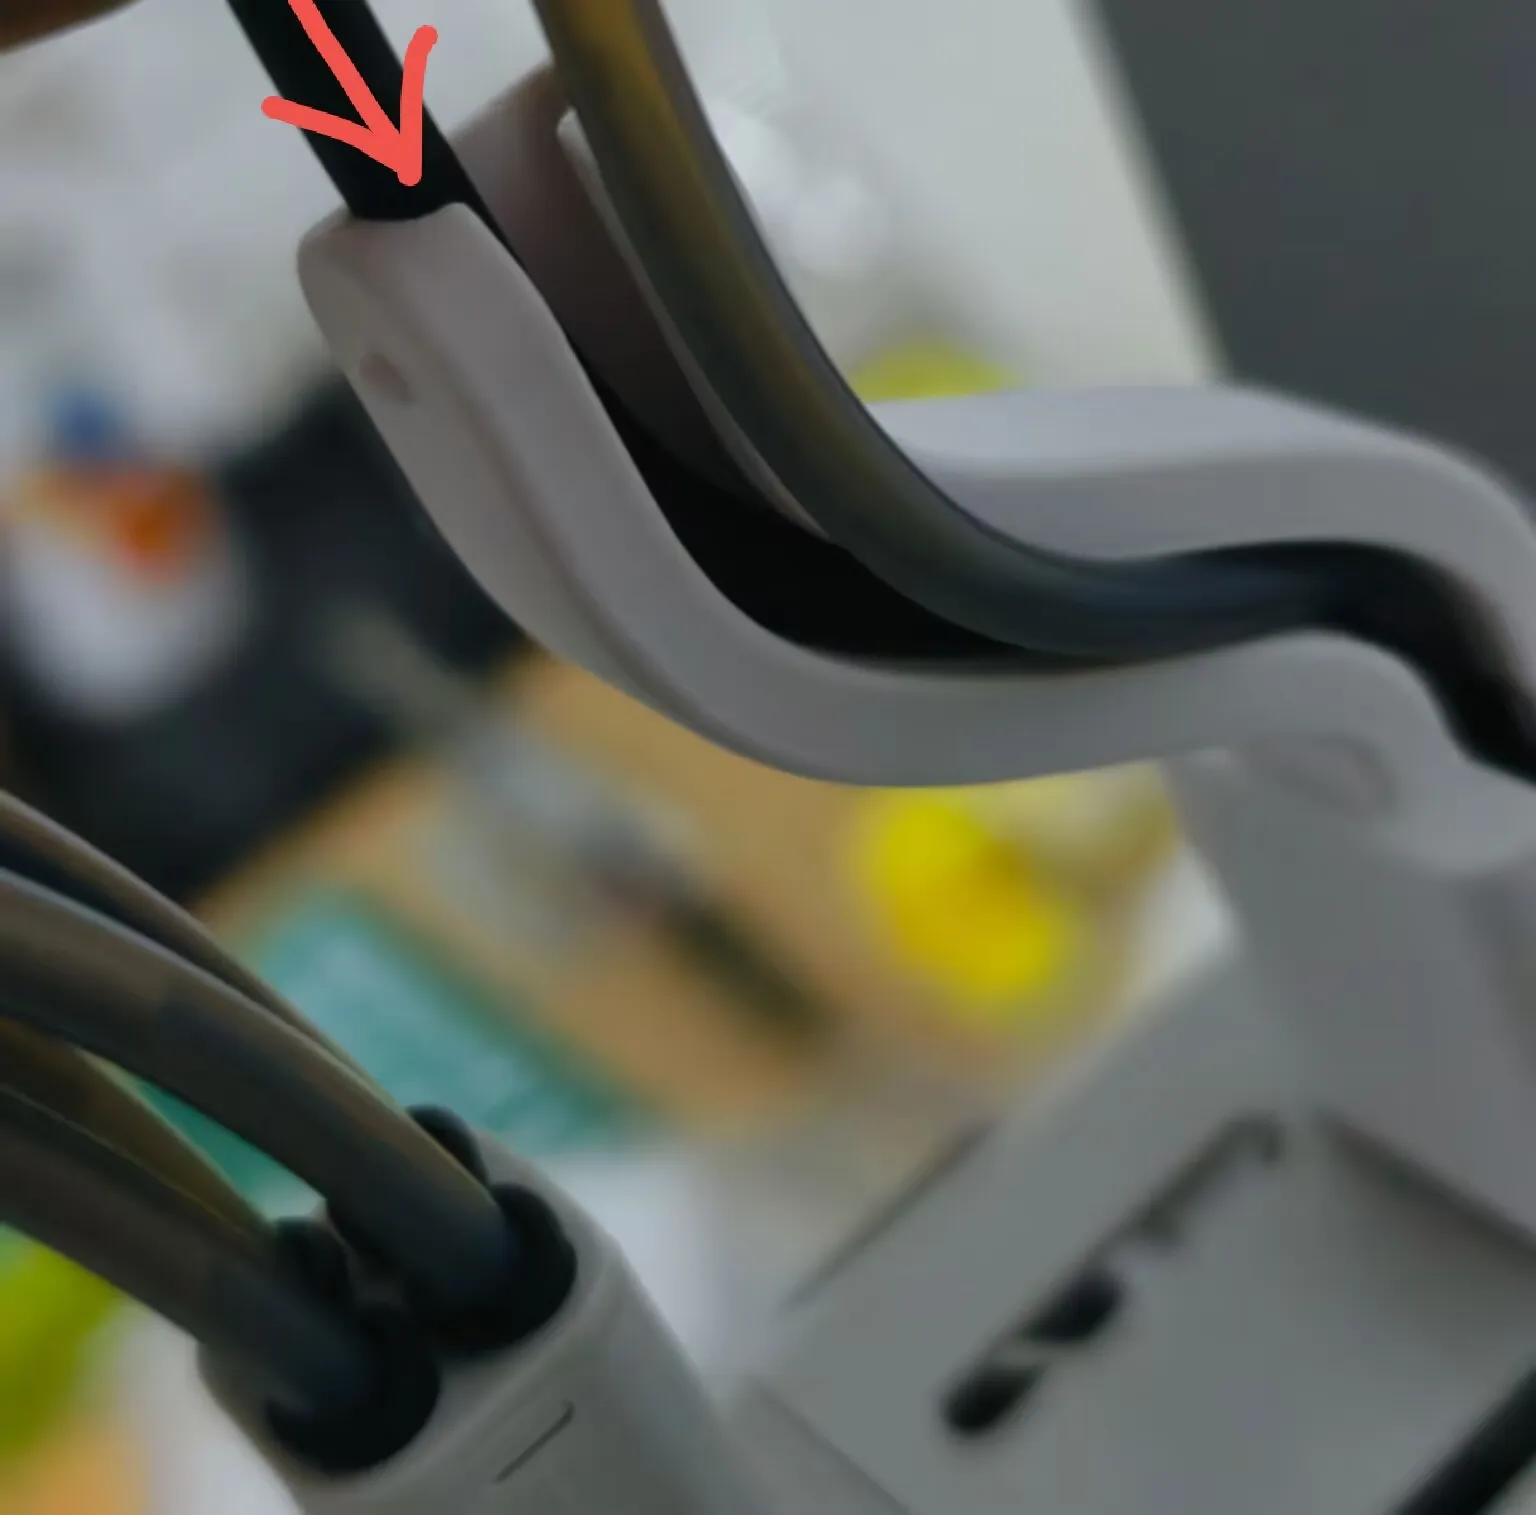
- Installation is complete as shown in the picture below
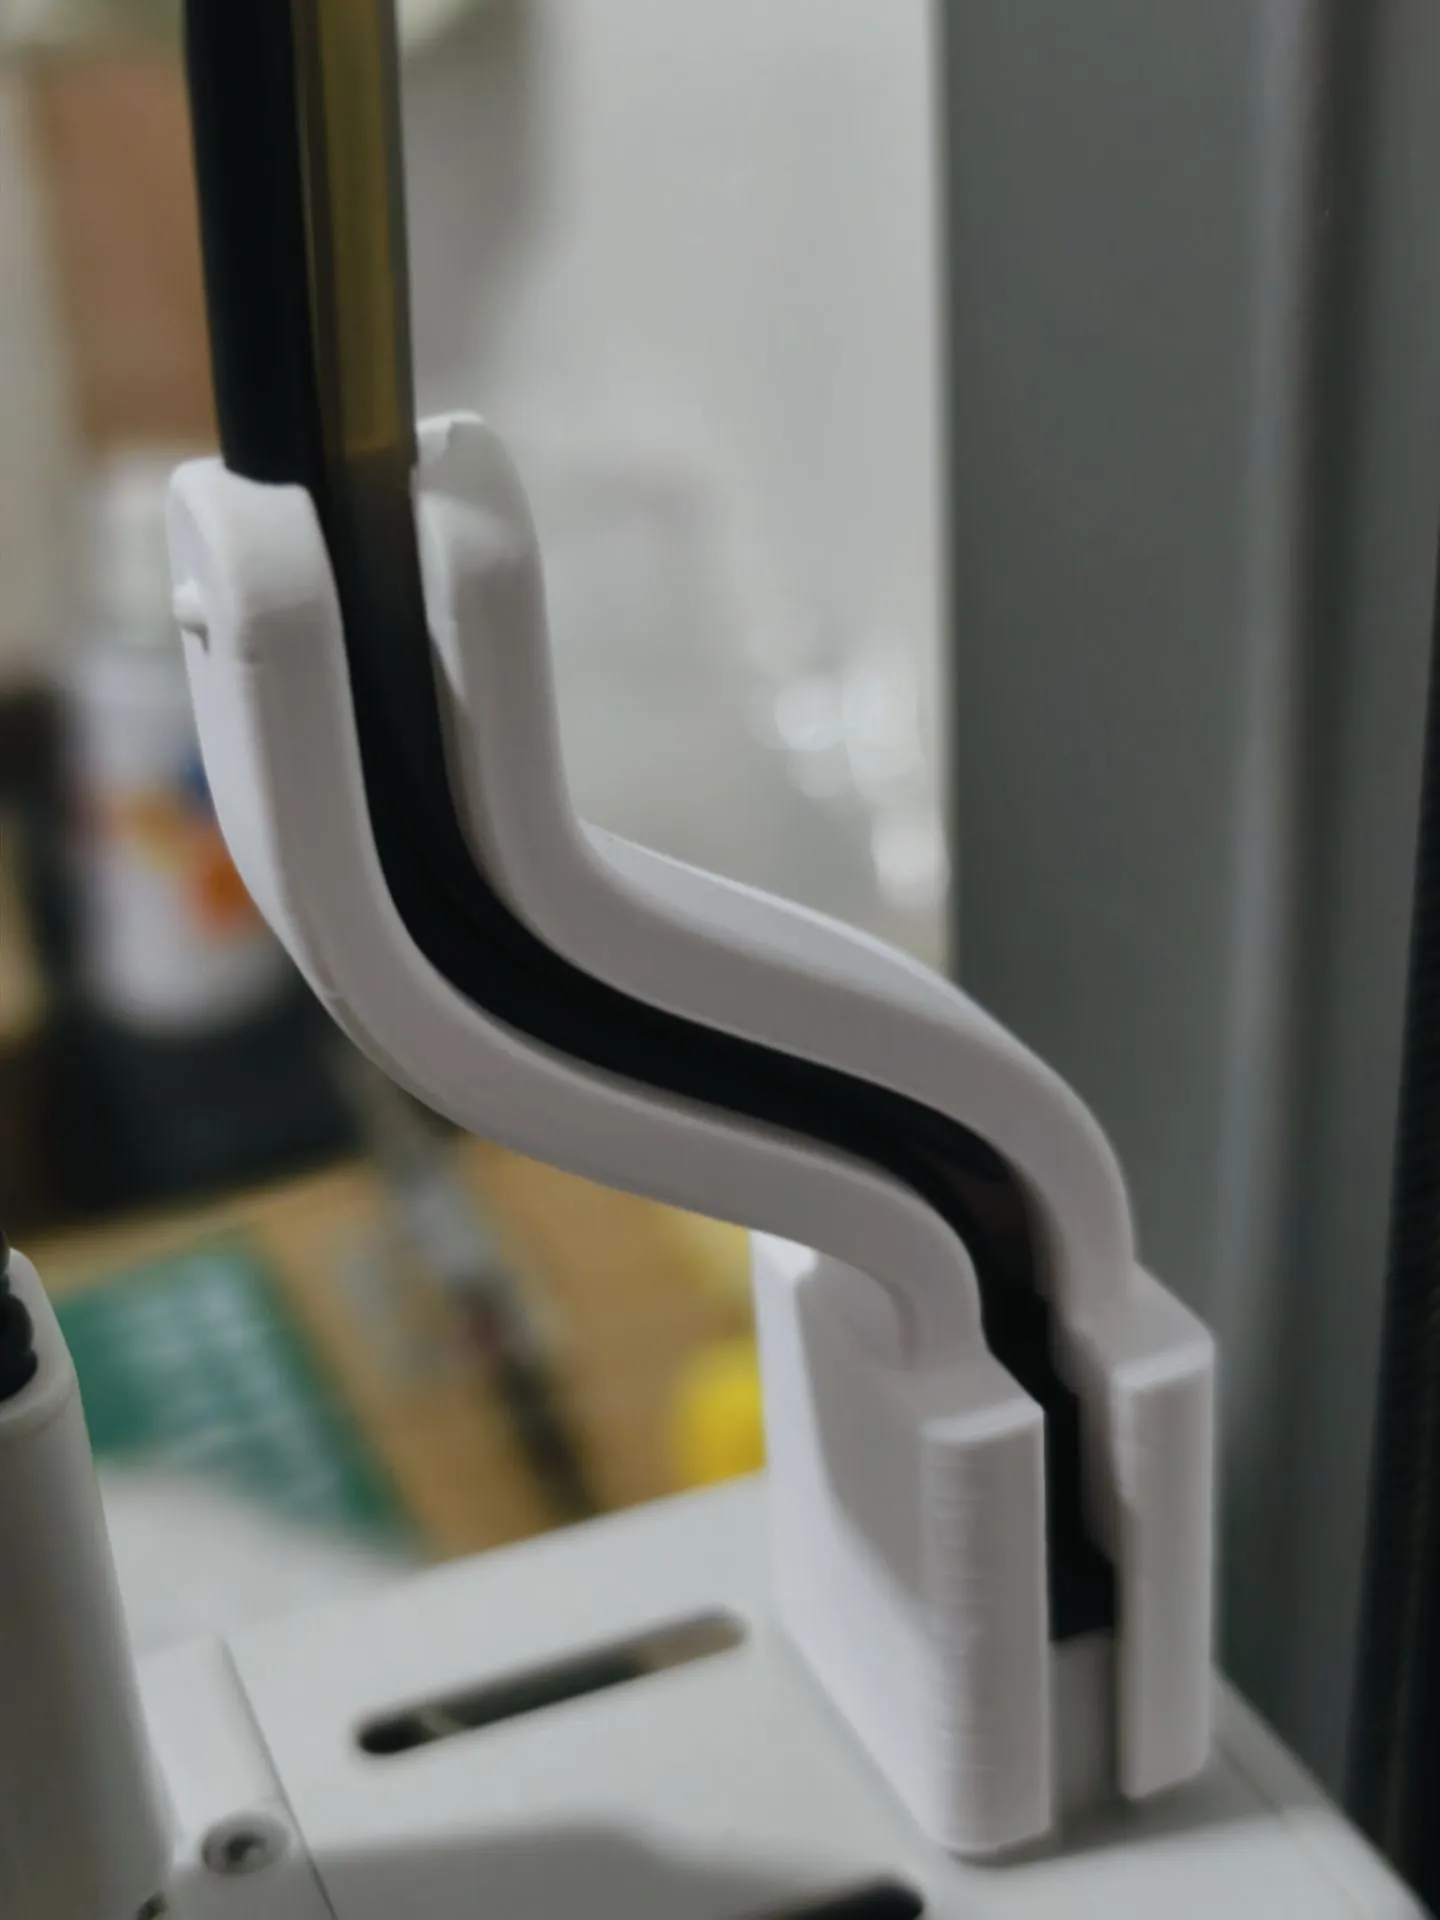
- For the connector on the axis, just insert it directly (note that it should be inserted on the inner side)
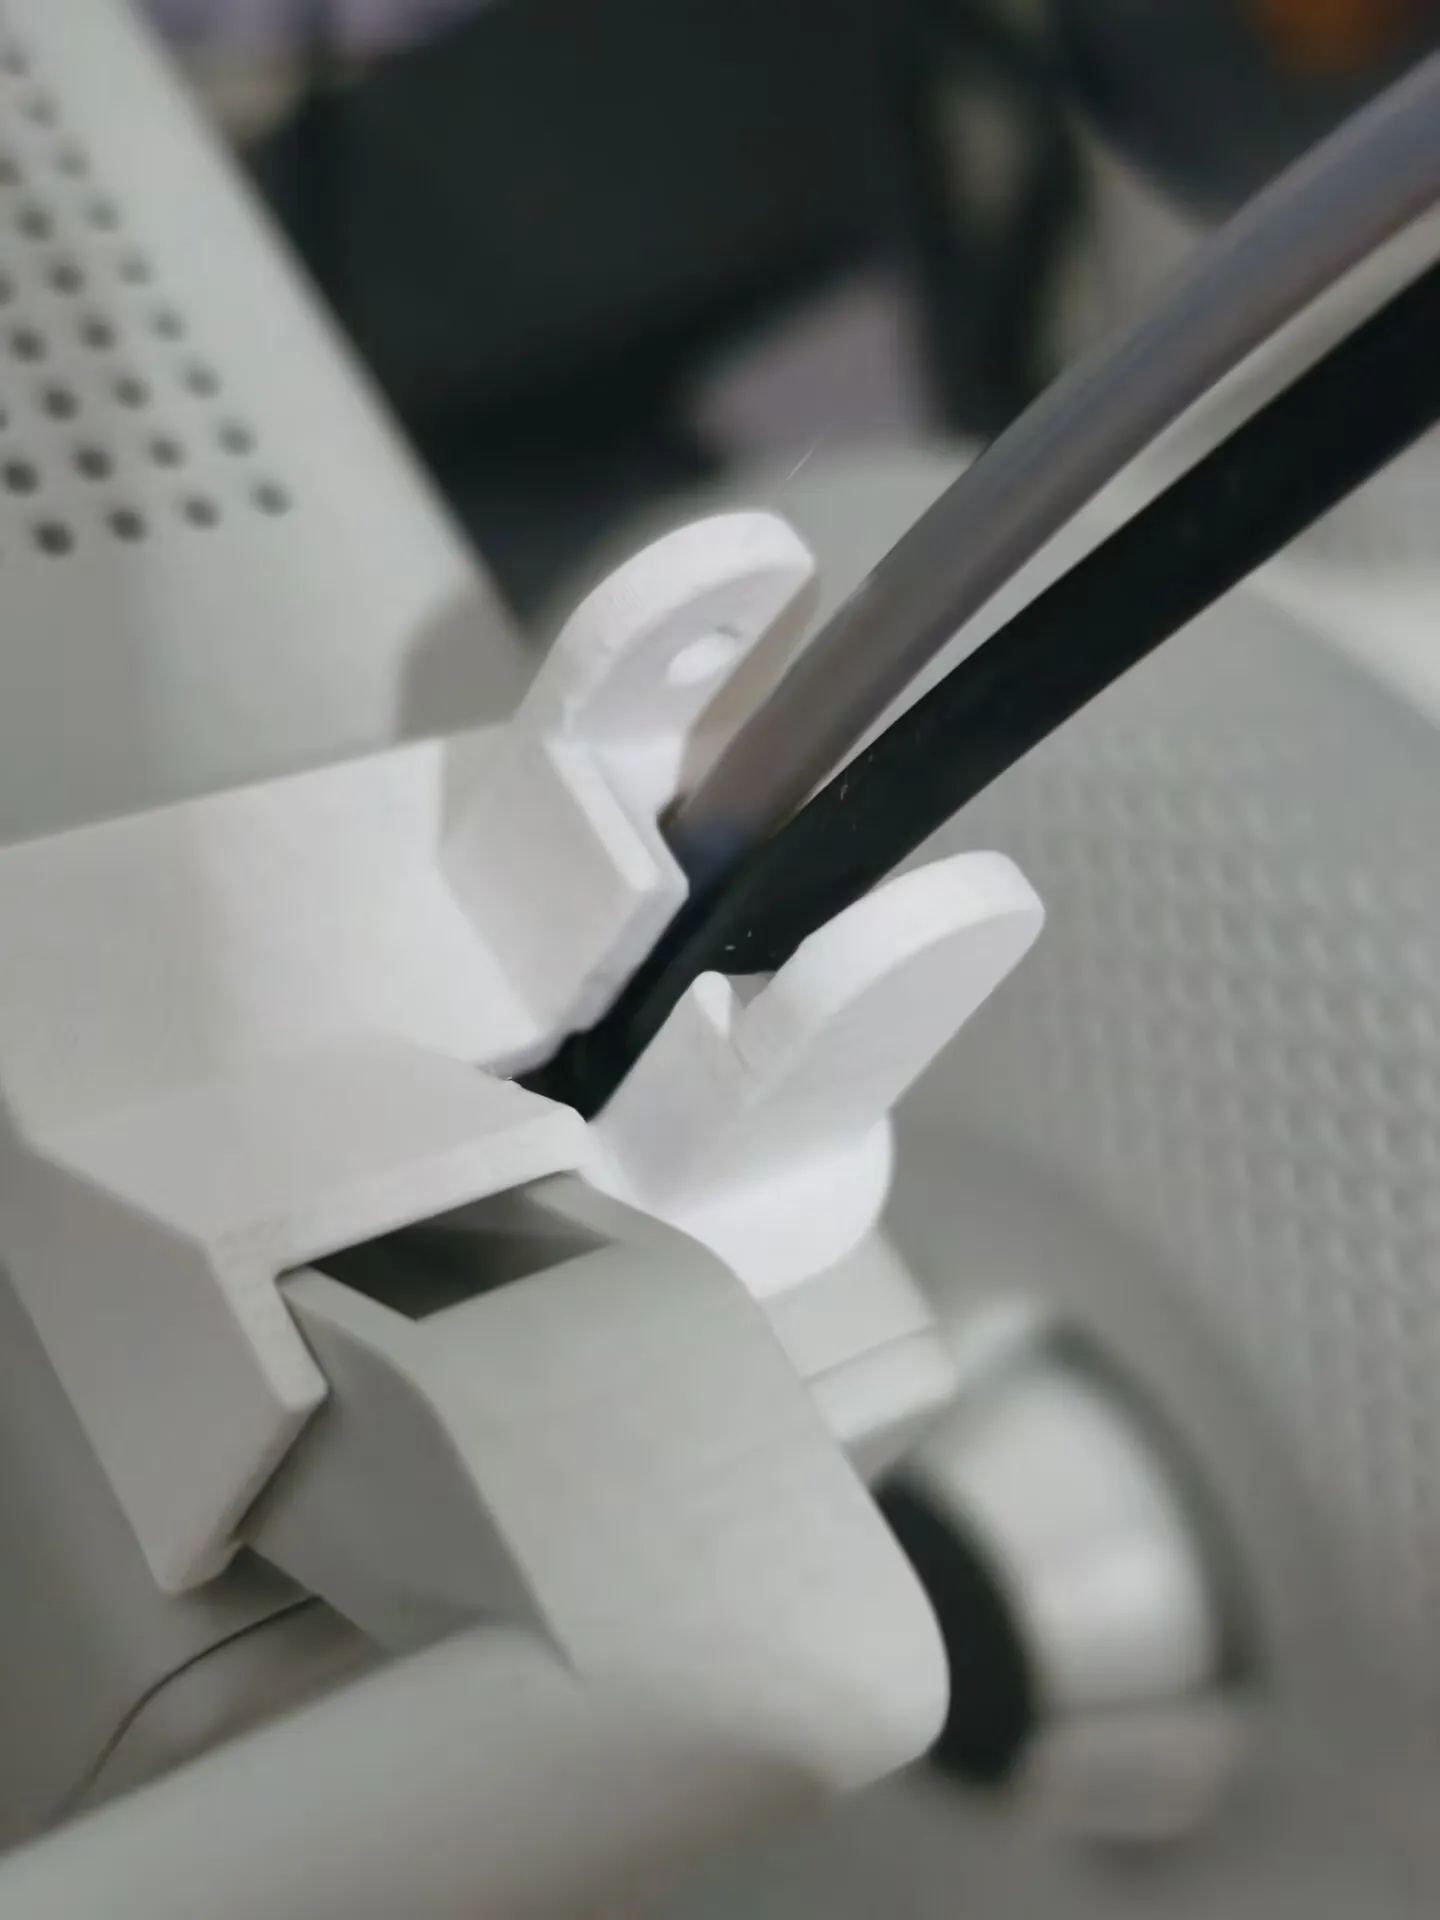
Install the drag chain and its cover plate
- Note that you must install the drag chain first, and then the cover plate last
- The drag chain has no specific orientation, but it's easier to install with the cover plate facing up, just install one section at a time
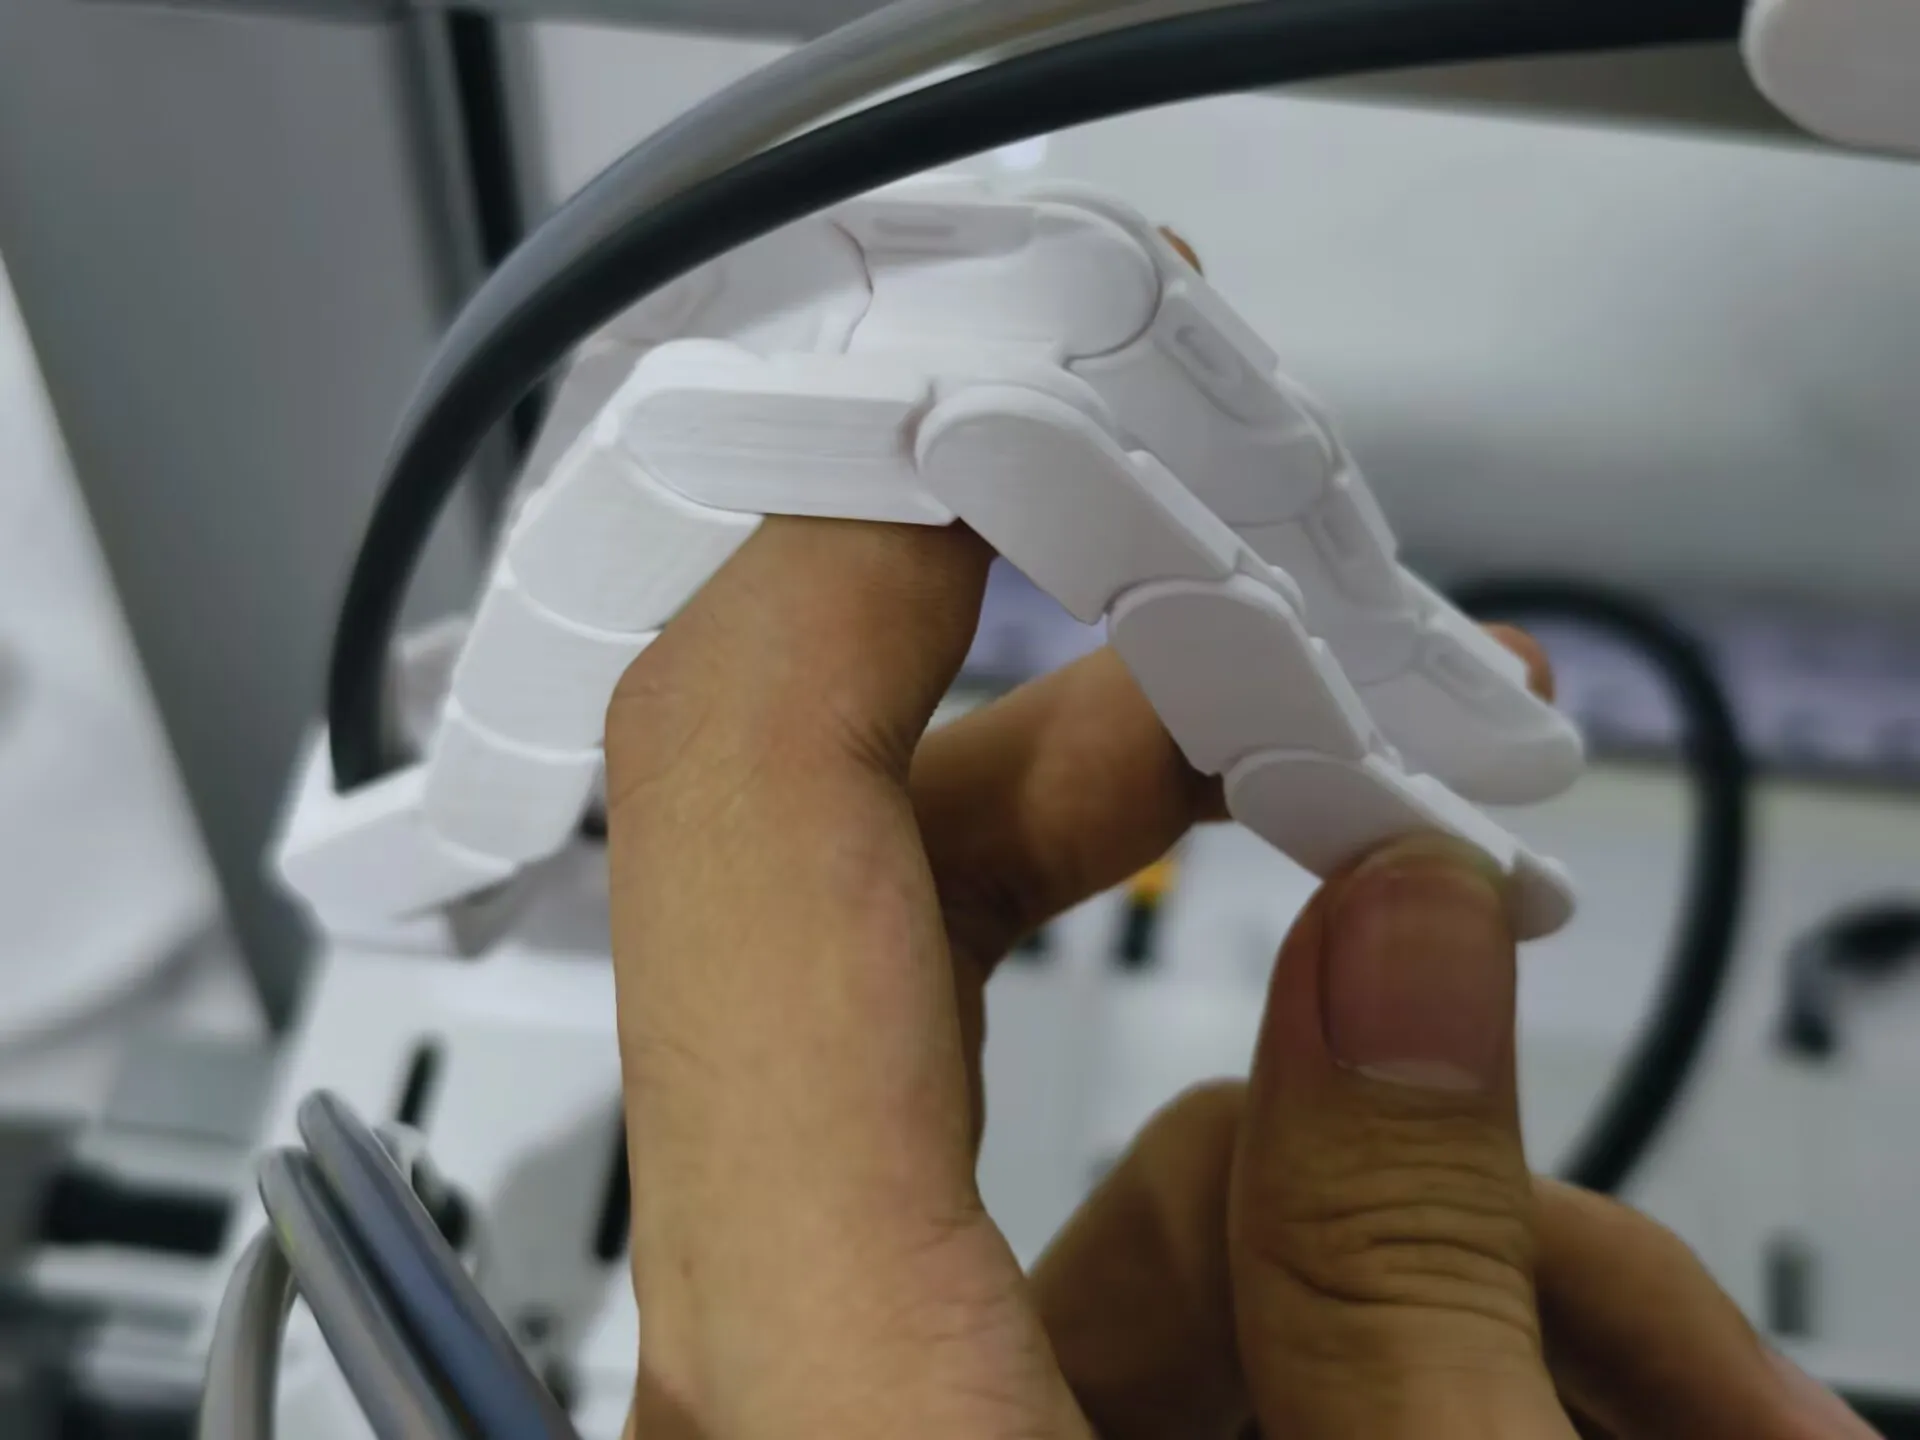
- The cover plate has a direction, pay attention during installation
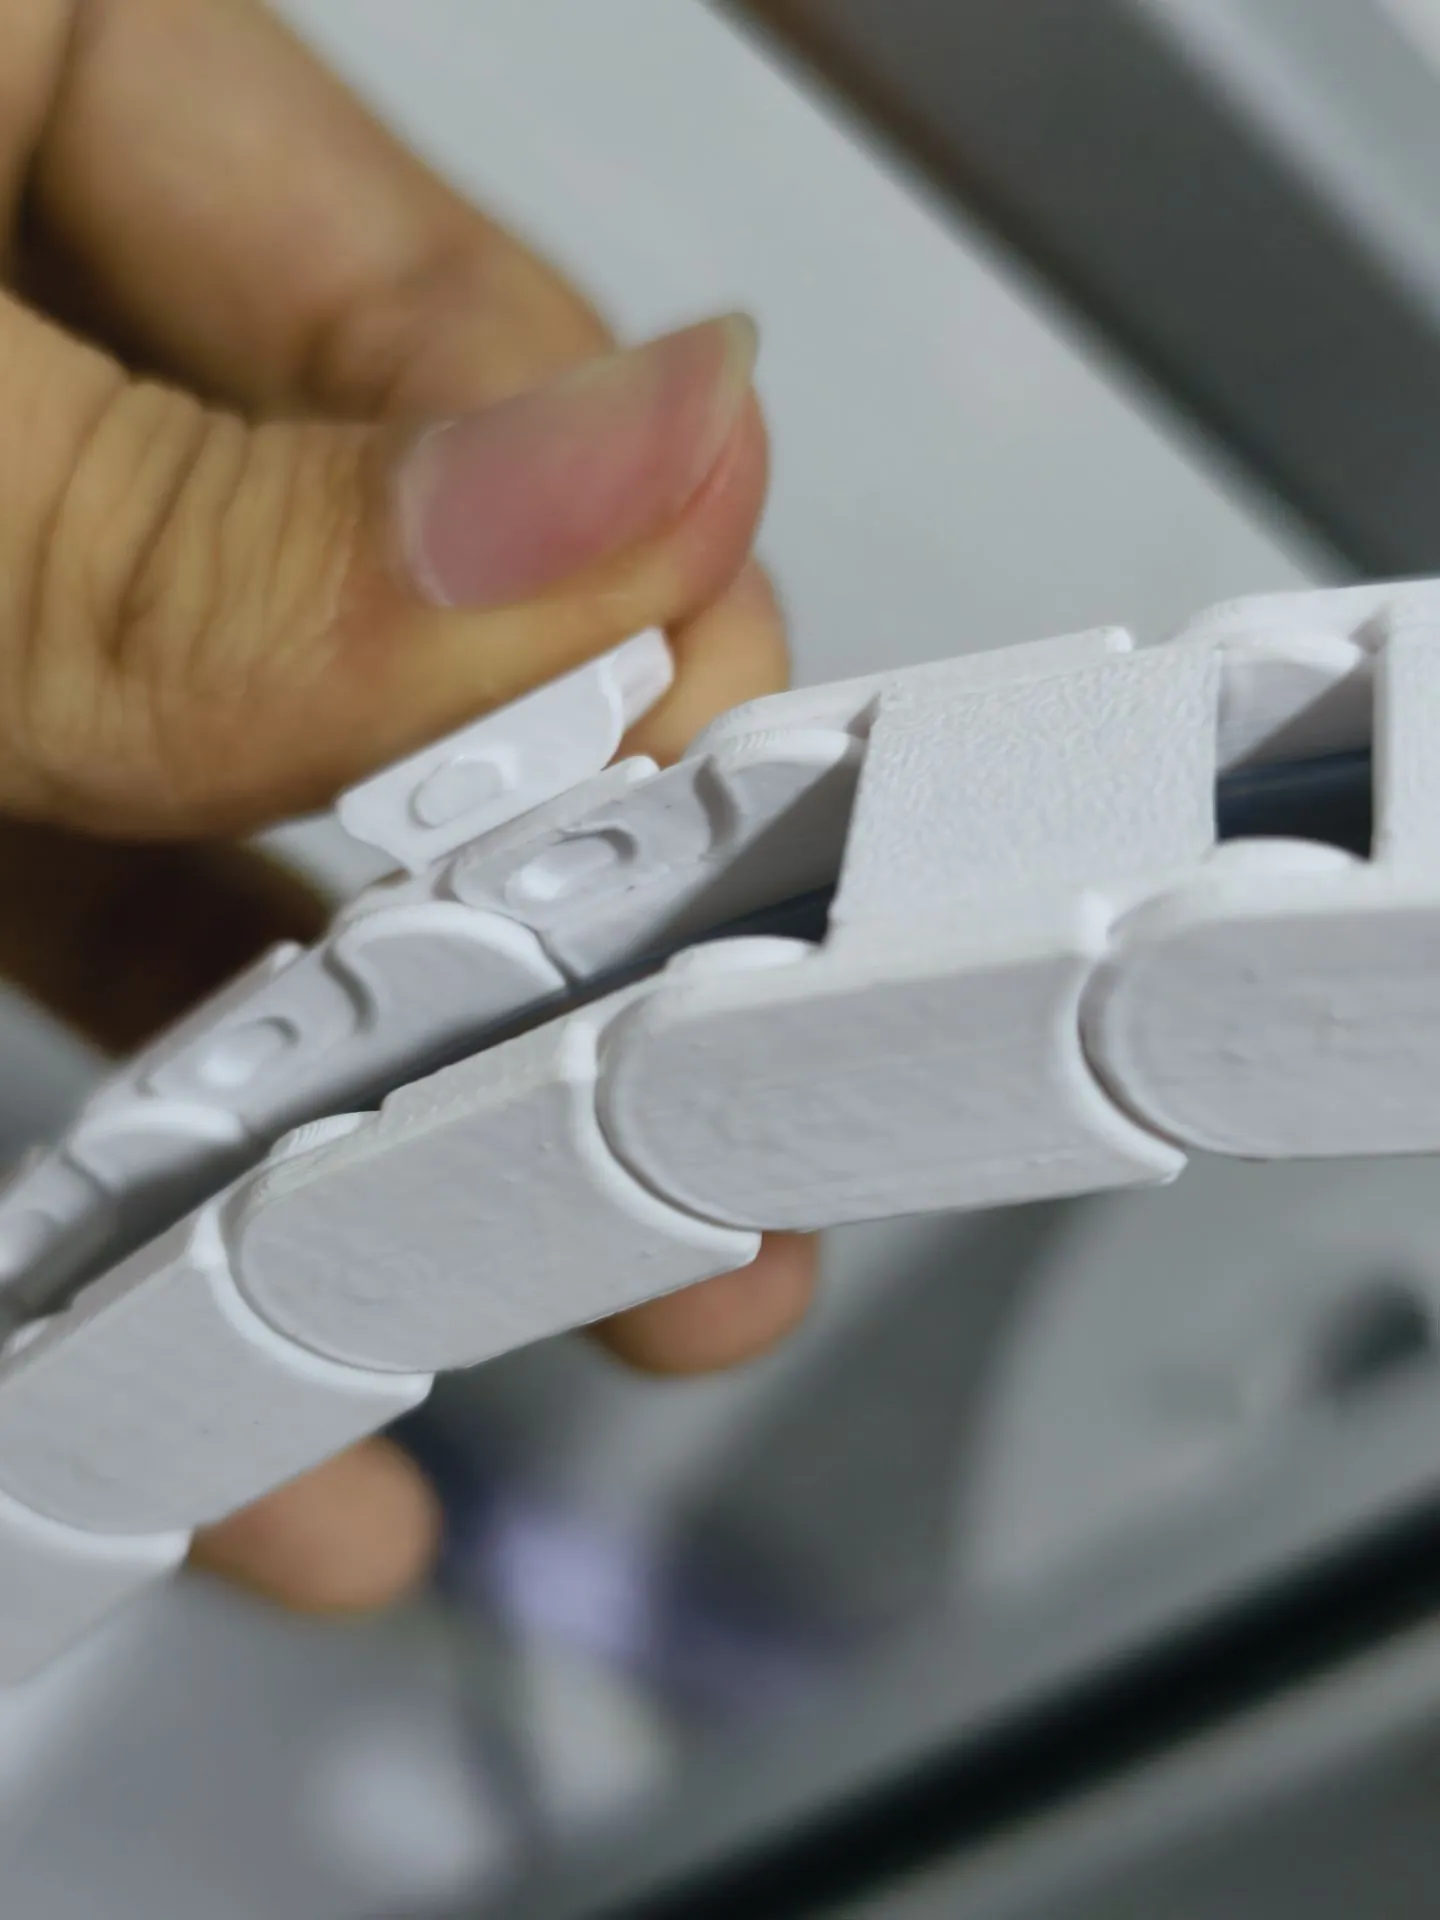
Ramblings:
Tested countless times, really difficult
Took two weeks in total
Hope everyone likes it ❤ovo❤
Boost Me (for free)
If you like it, give it a boost ^v^
License



Comment & Rating (126)