
Vodafone Power Hub Wall Mount
Print Profile(4)


Bill of Materials

Description
Update 1 29/05/2026: Following feedback about support removal from @dublajes the supports have been optimised for removal and should come off in large chunks if not a single piece. My thanks to everyone who has left their positive comments - hopefully this update makes that experience even better.
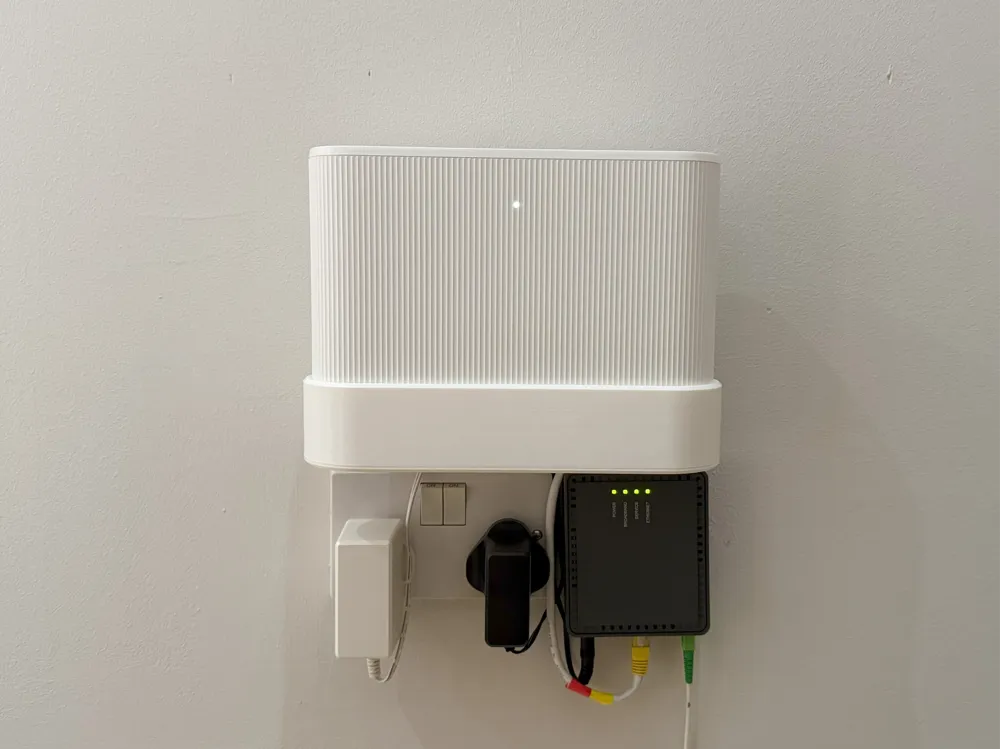
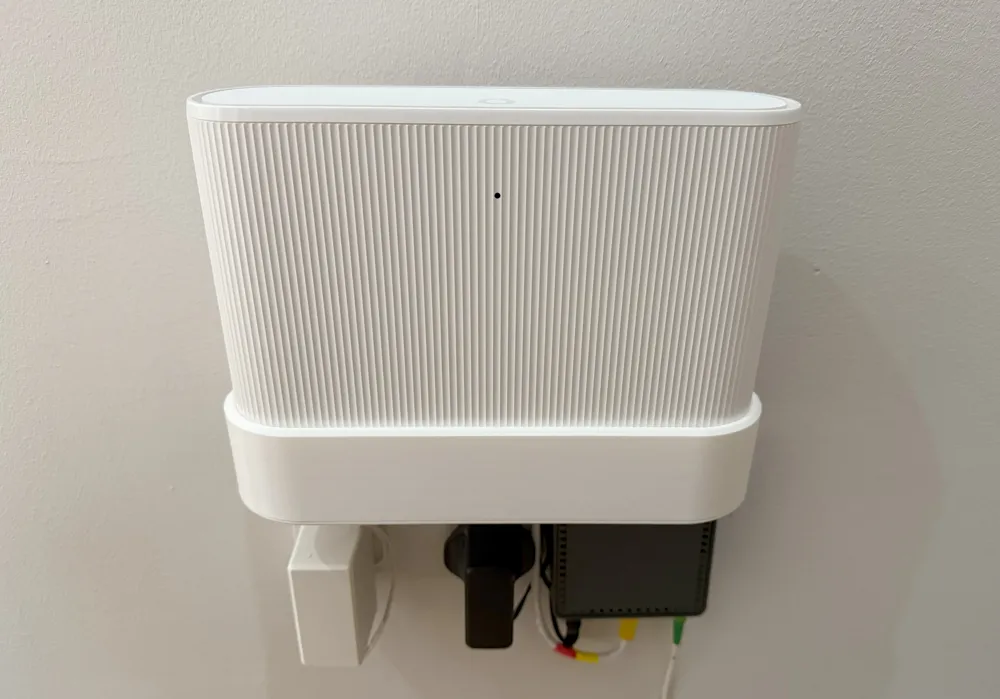
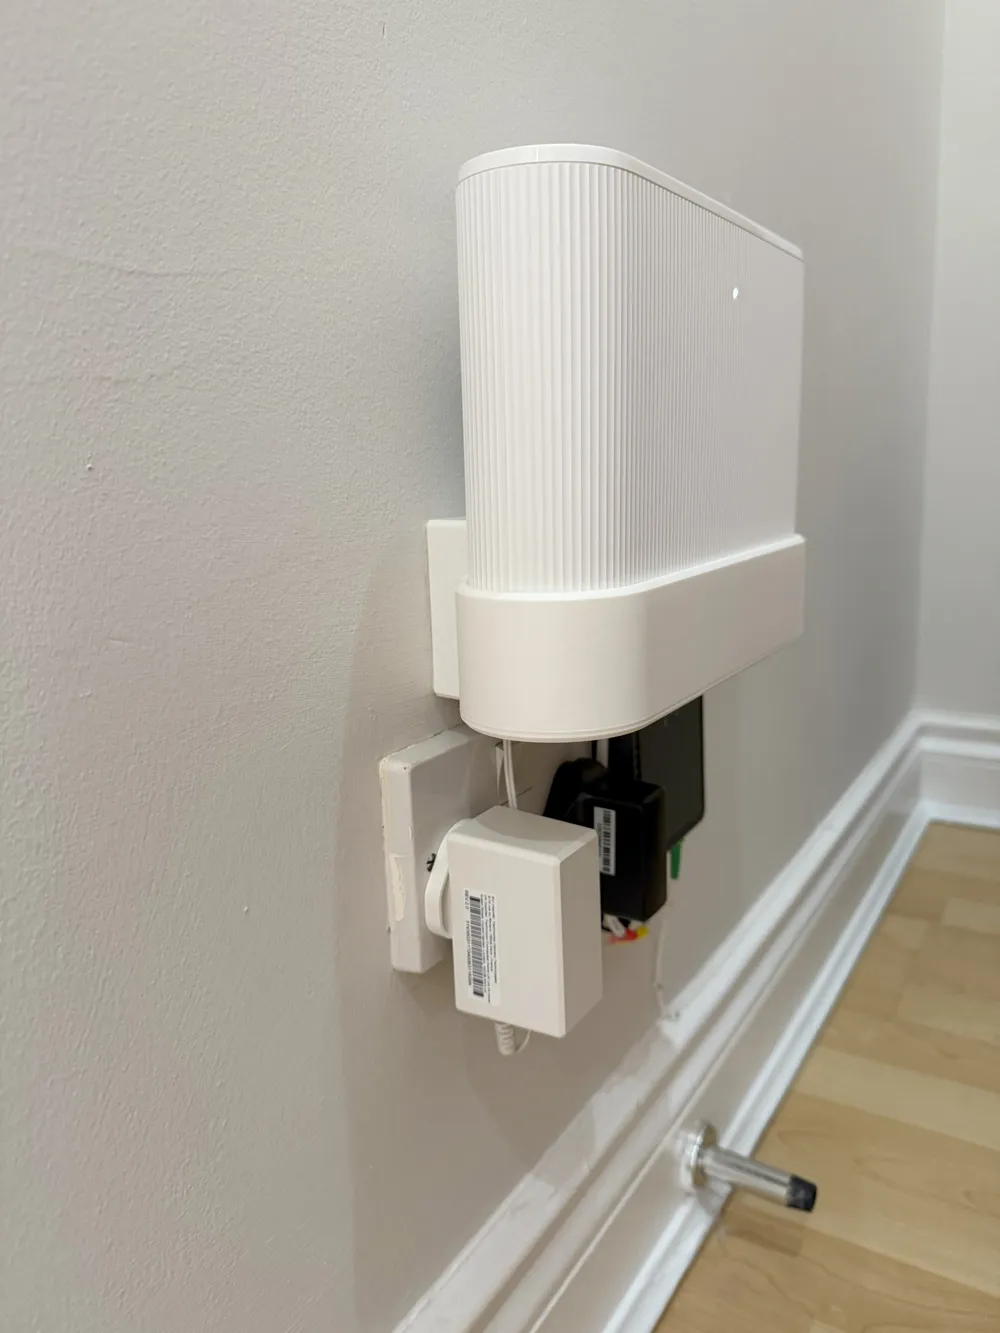
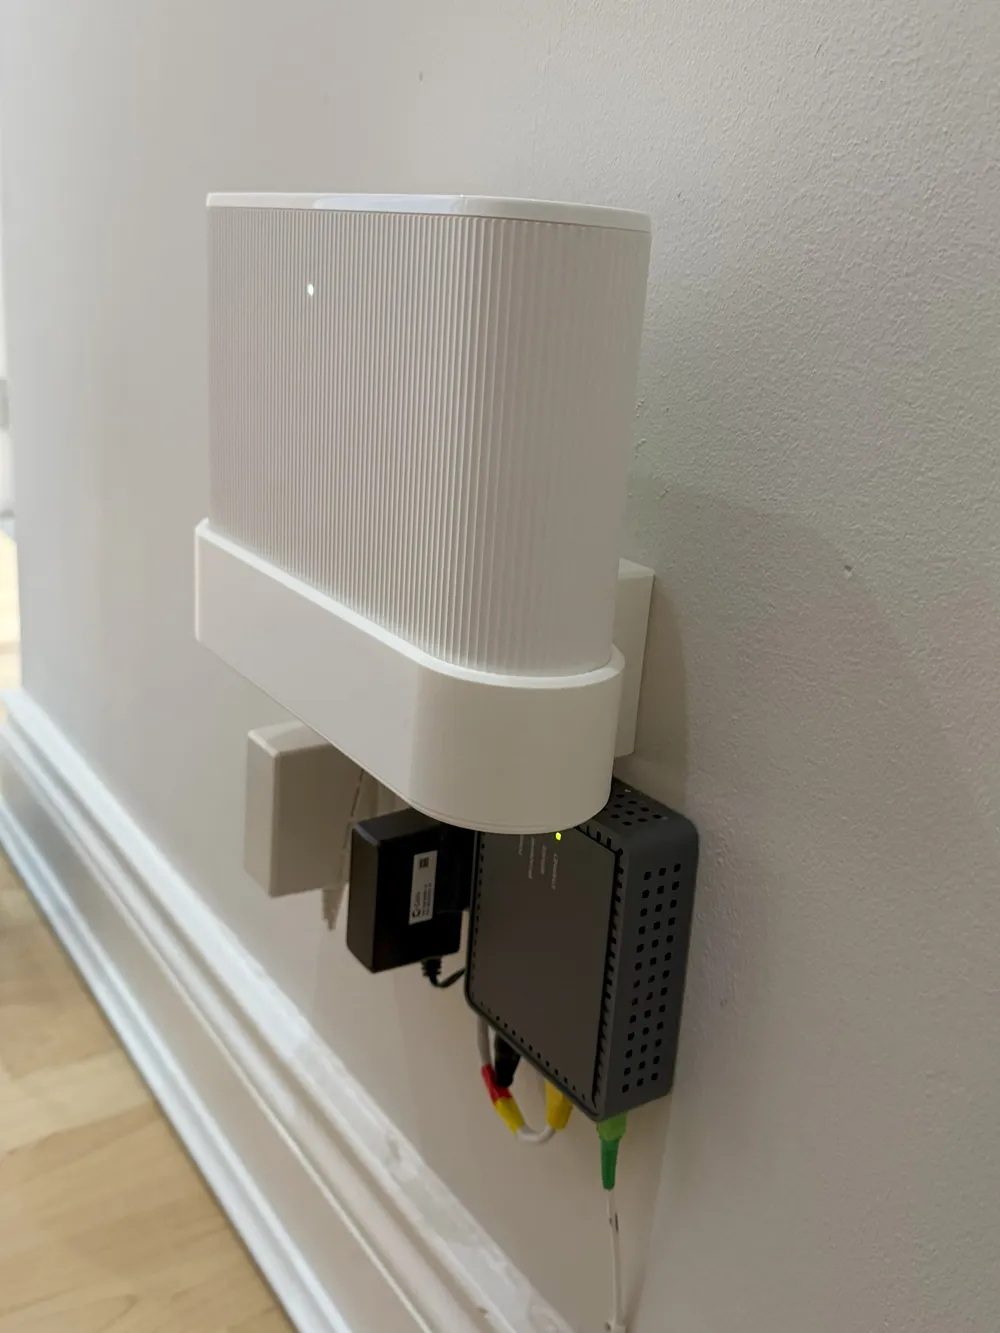
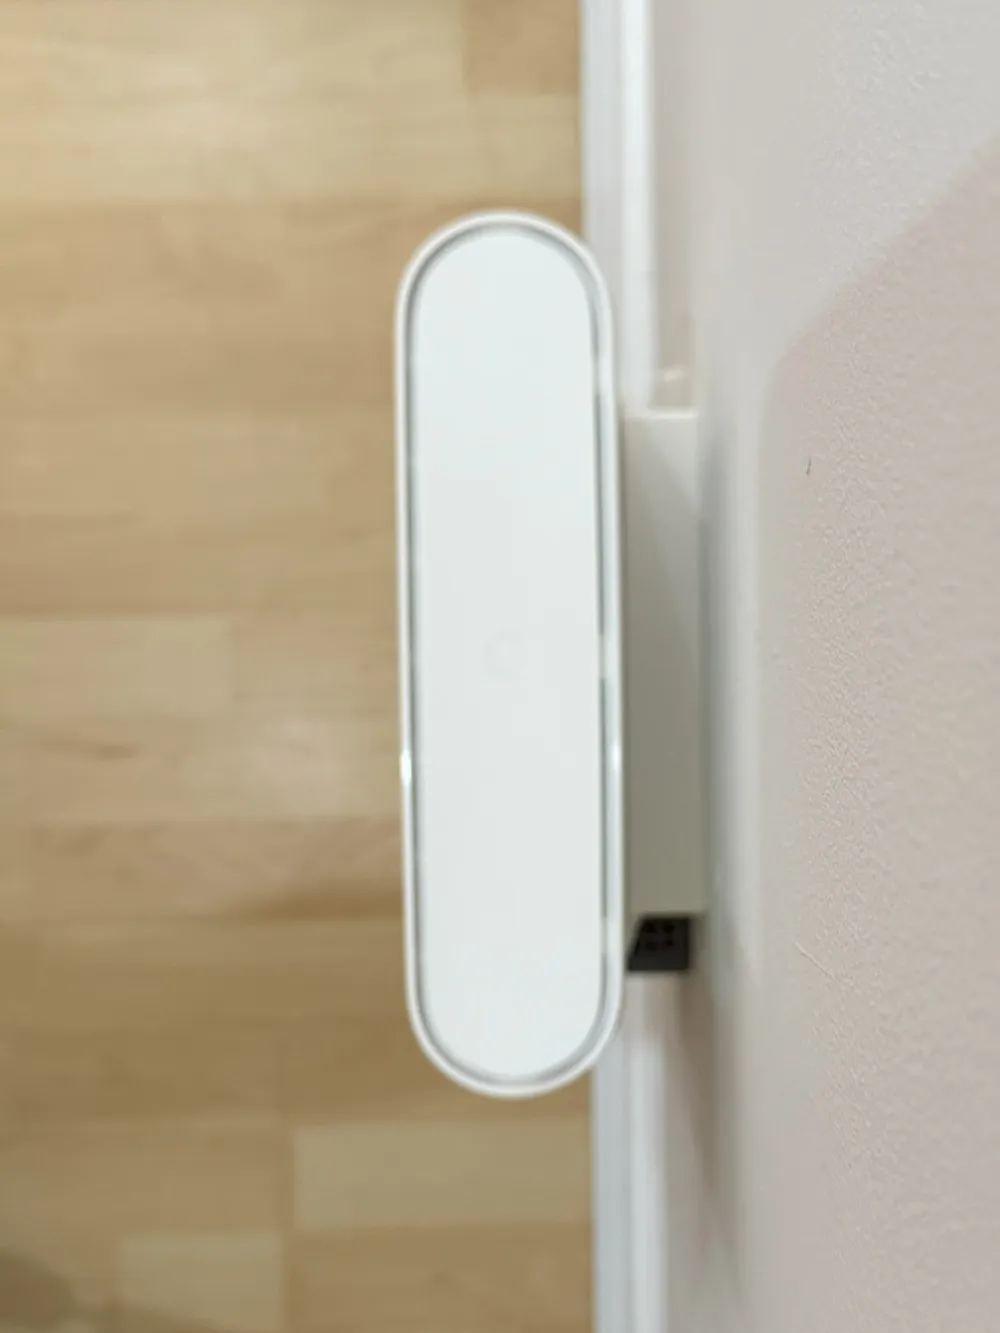
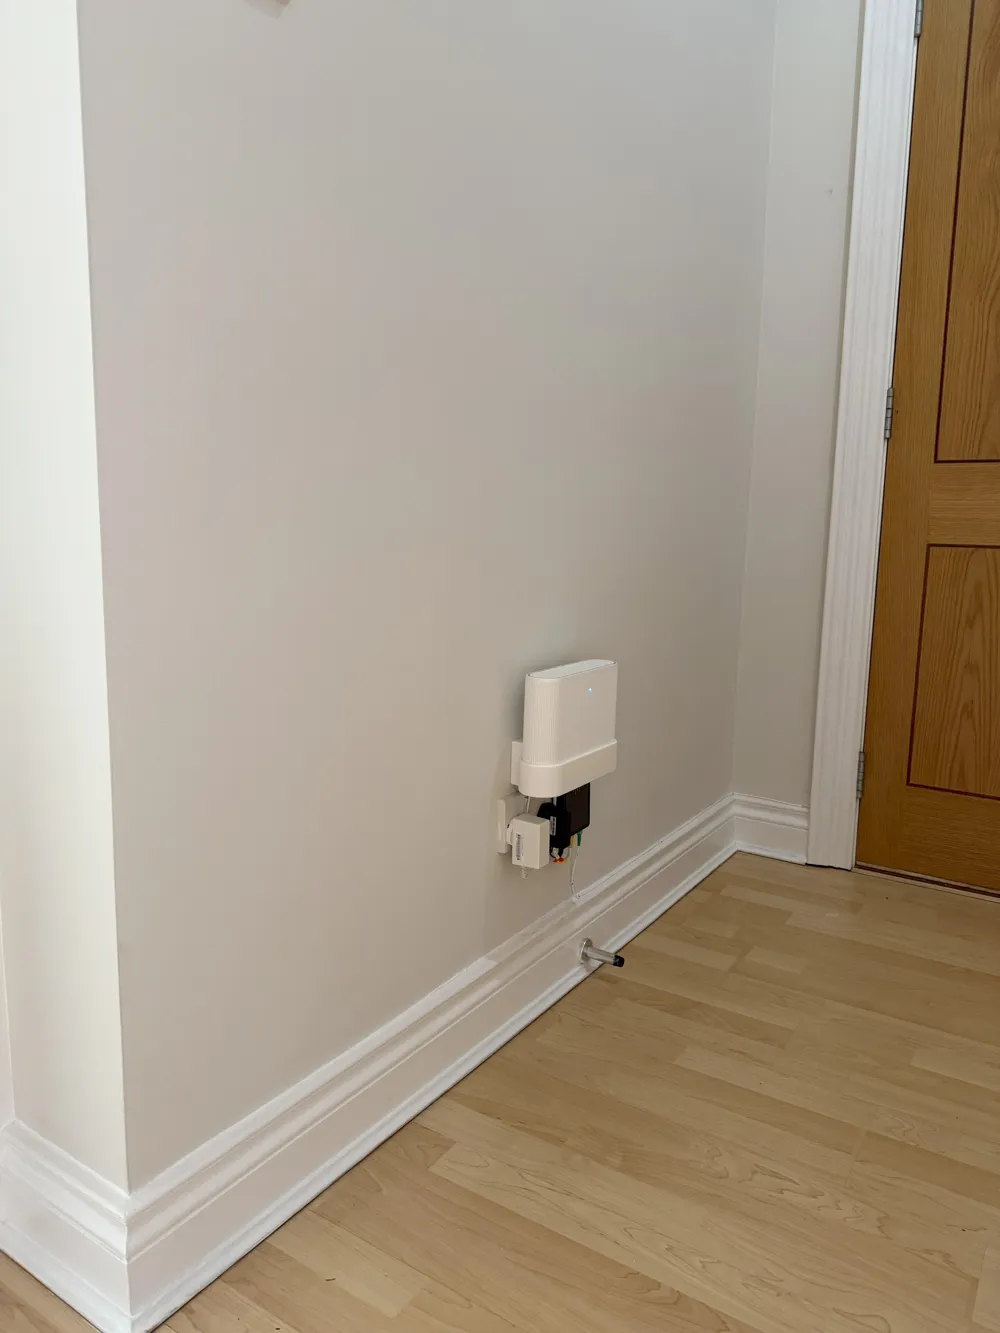
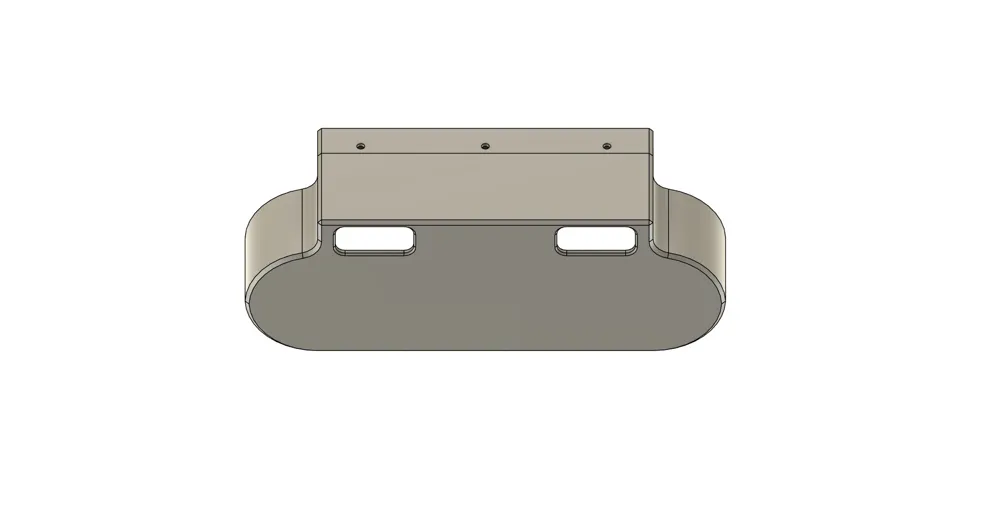
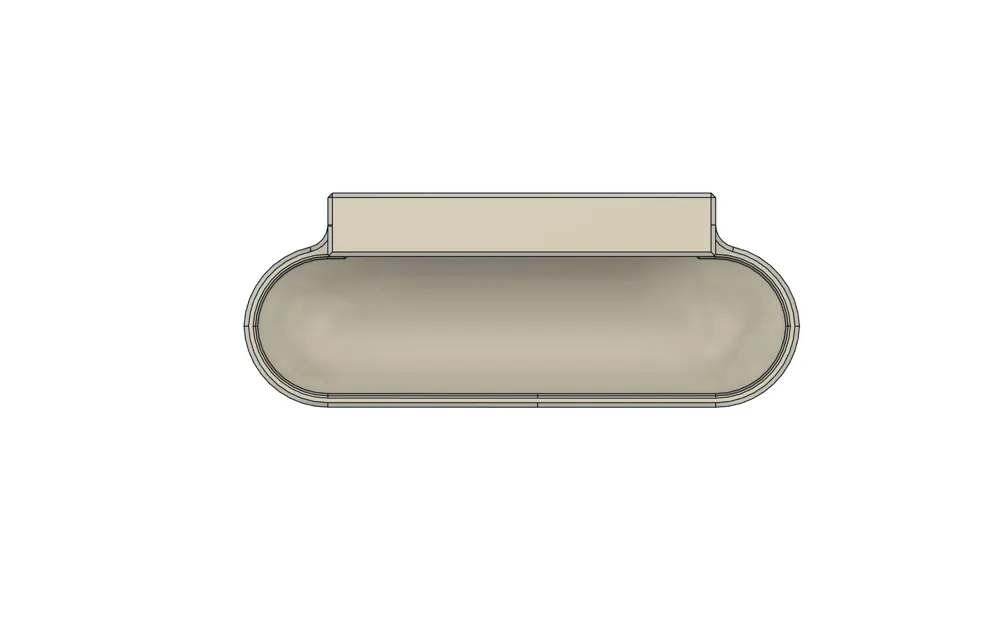
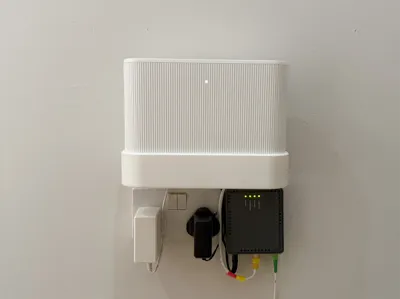
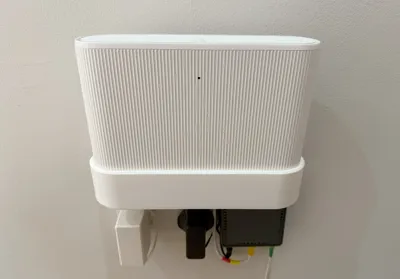
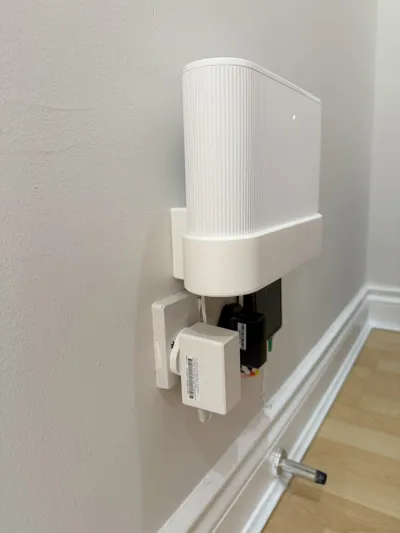
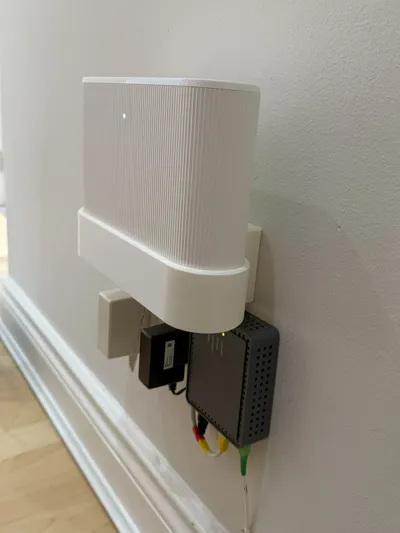
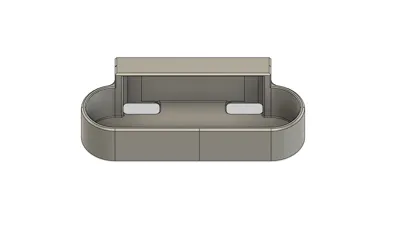
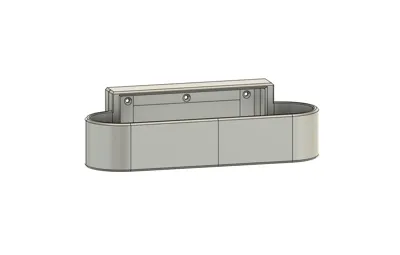
Neat little mount for a Vodafone Power Hub - with space to organise and hide the power cables for the unit itself and nearby optical network terminal if your set-up is like my neighbour's who this mount was designed for.
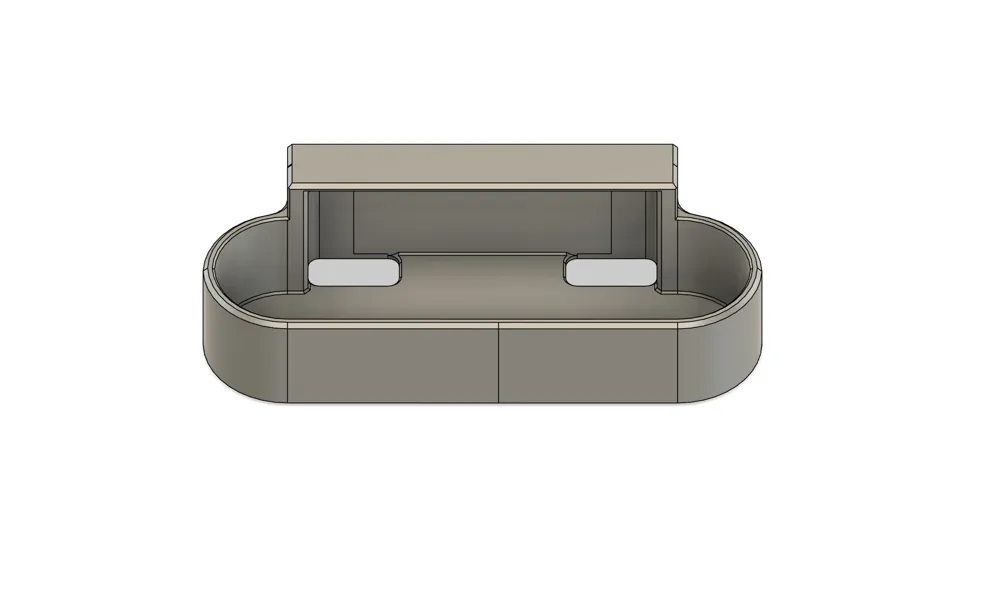
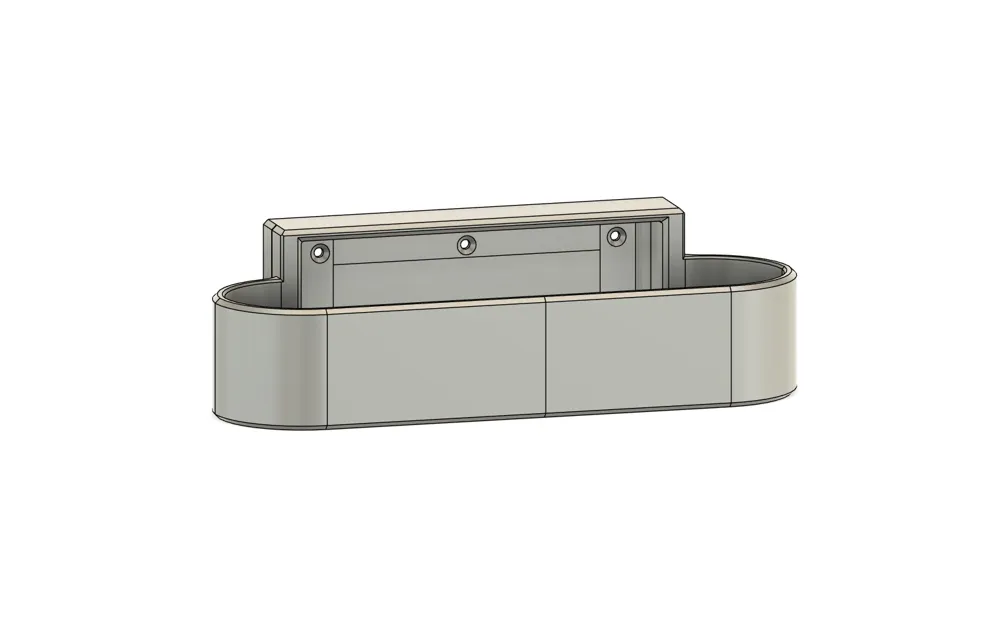
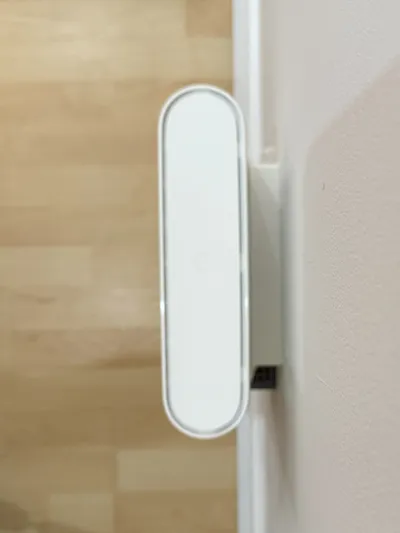
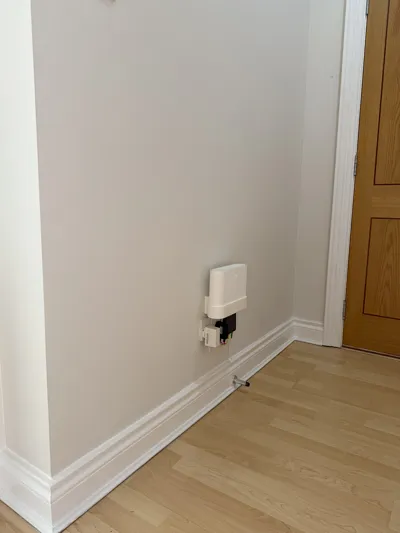
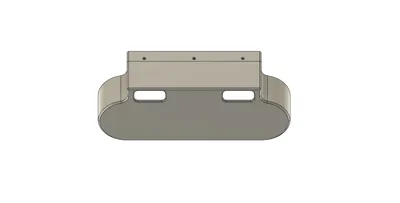
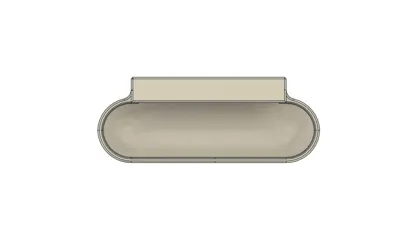
Very easy to install: just position the bracket where you want the unit mounted, in this case above the wall socket/outlets and internet service provider's optical network terminal. Drill the relevant mounting points either into a stud or using wall plugs in your drywall and install the bracket with some 4mm diameter screws. The power and ethernet cables can be tucked into the back compartment of the holder and plugged into the unit before the power hub unit itself is slid backwards and down into place.
Which version should I print?
Enclosed printer (H2D, X1C & P1S ) - Snug Fit Model.*
Unenclosed printer (P1P & A series machines) - Larger Tolerances model.*
*This should ensure the model fits nicely with the additional shrinking when printing unenclosed.
Boost Me (for free)
If you have found this model useful and wish to support my future designs please remember to leave a rating/review and boost. Thank you!
Please be exceedingly careful not to damage or pierce the electrical mains wires in your wall if you are mounting yours close to a socket like you see in the photos. Before the install I removed the electrical sockets and ensured my drill holes and mountings would not interfere or contact the electrical cables running to and from the socket in the mains ring in any way. The power was turned off, pilot holes drilled and cables double-checked, the socket re-instated and tested. Please take care.
License

You shall not share, sub-license, sell, rent, host, transfer, or distribute in any way the digital or 3D printed versions of this object, nor any other derivative work of this object in its digital or physical format (including - but not limited to - remixes of this object, and hosting on other digital platforms). The objects may not be used without permission in any way whatsoever in which you charge money, or collect fees.


Comment & Rating (17)