
Model Mountain Bike Roscoe
Print Profile(5)


Description
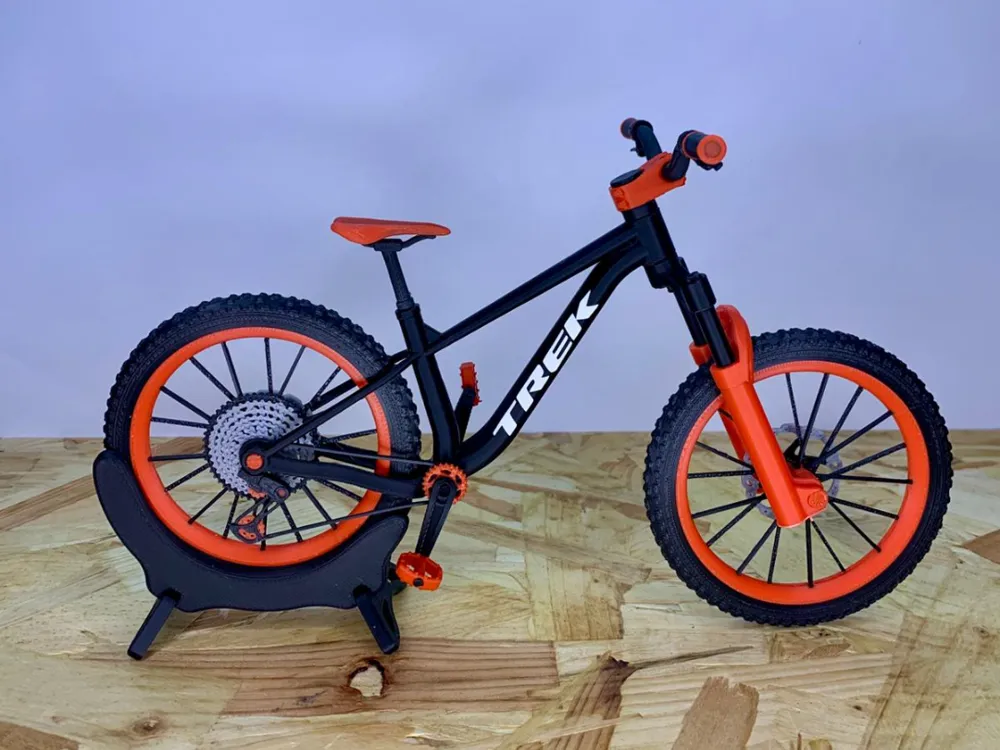
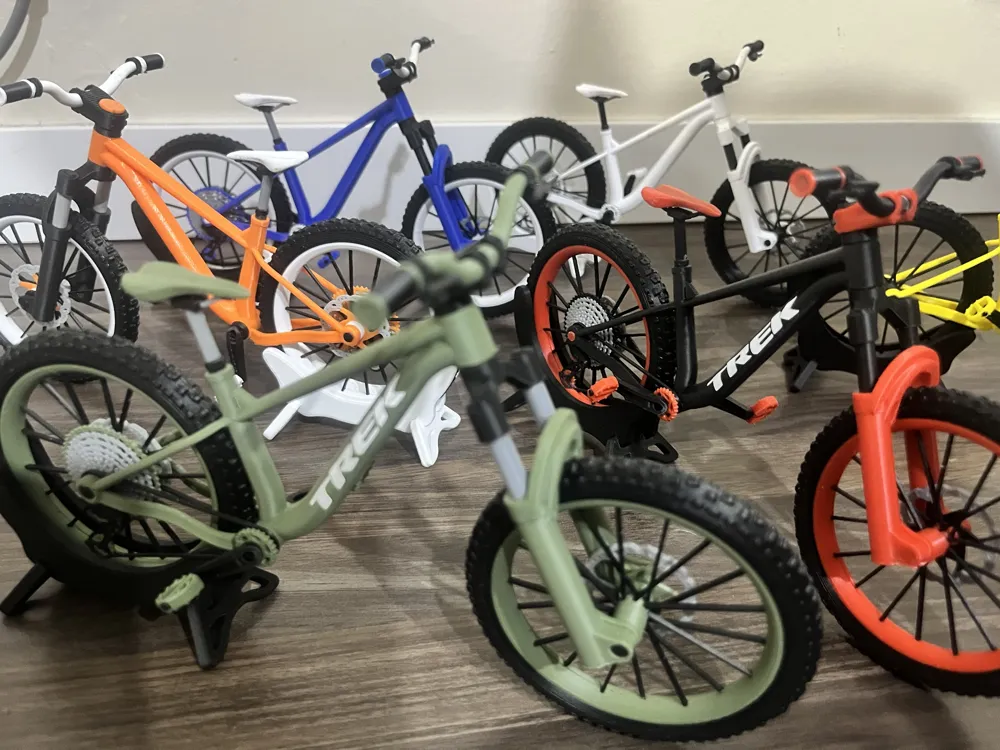
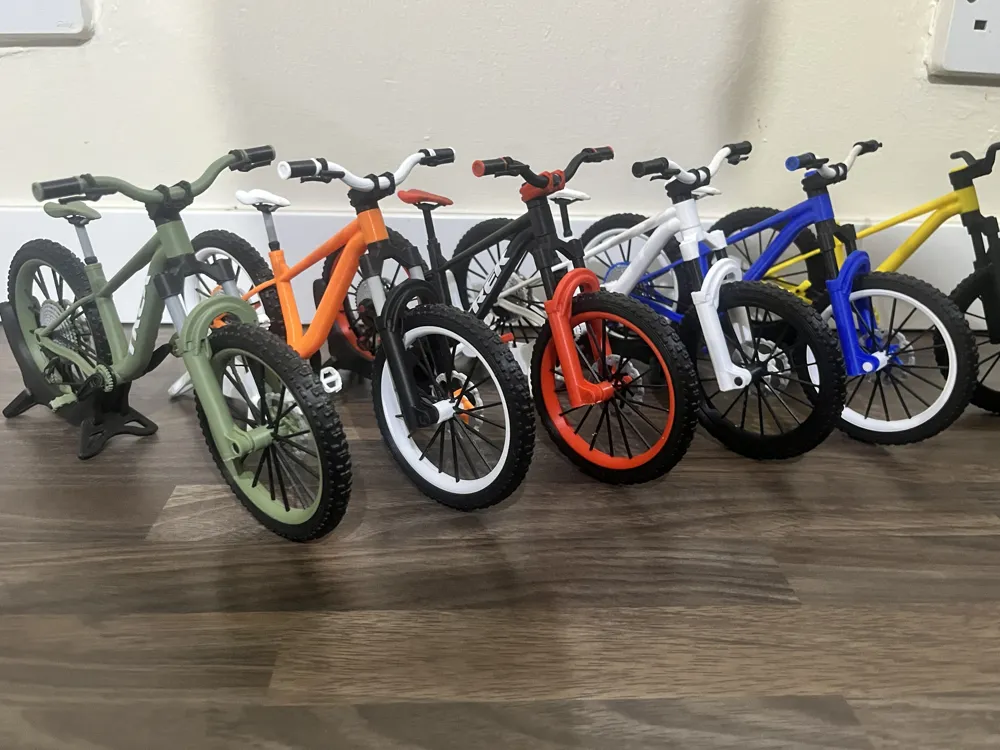
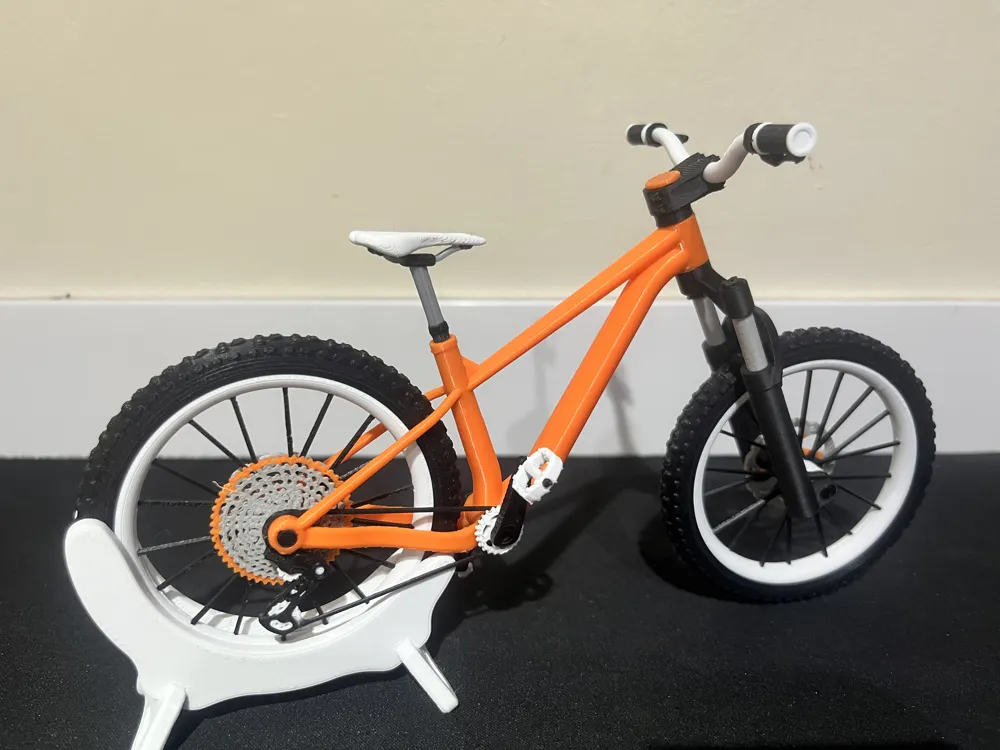
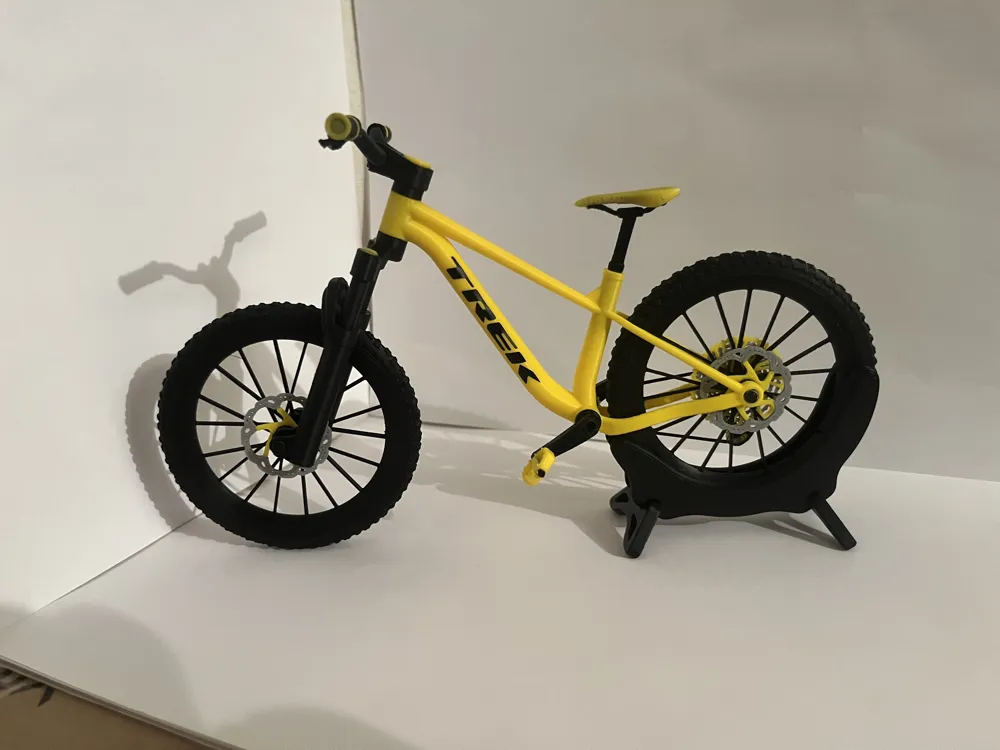
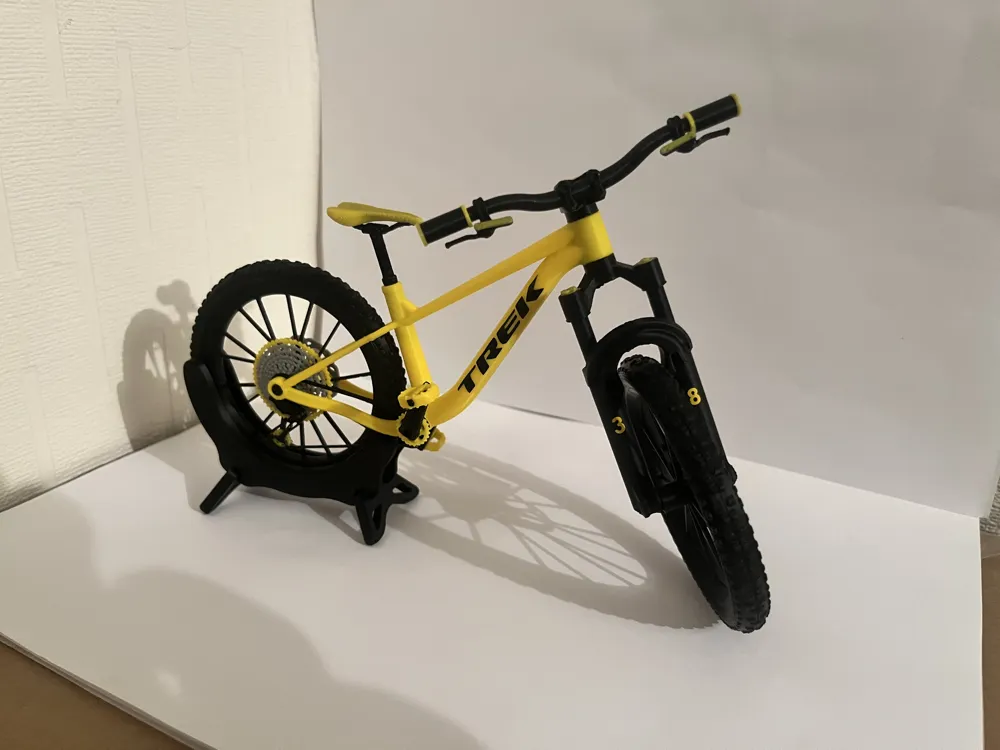
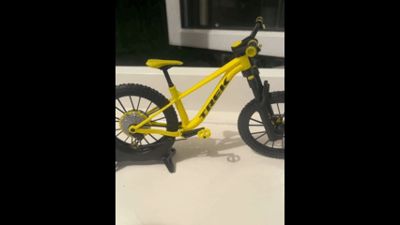
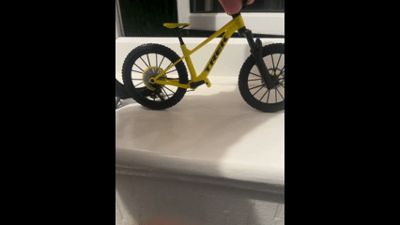
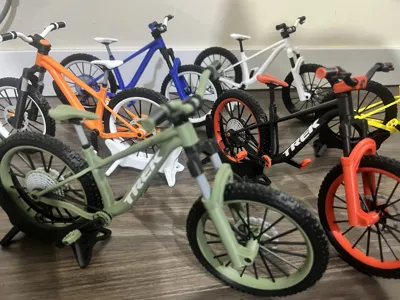
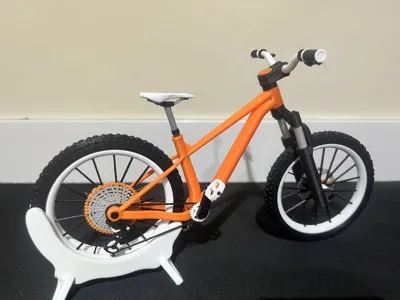
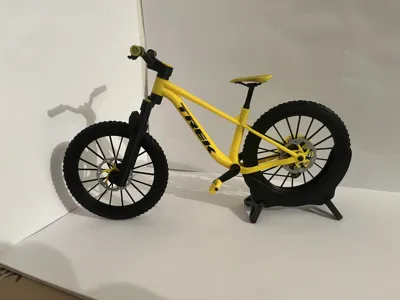
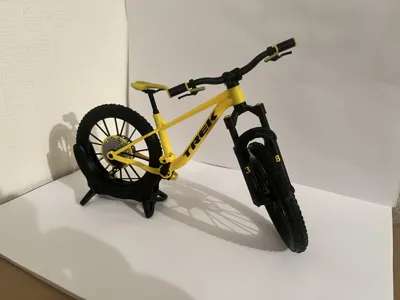
TREK ROSCOE 1.9 SCALE
Boost Me (for free)

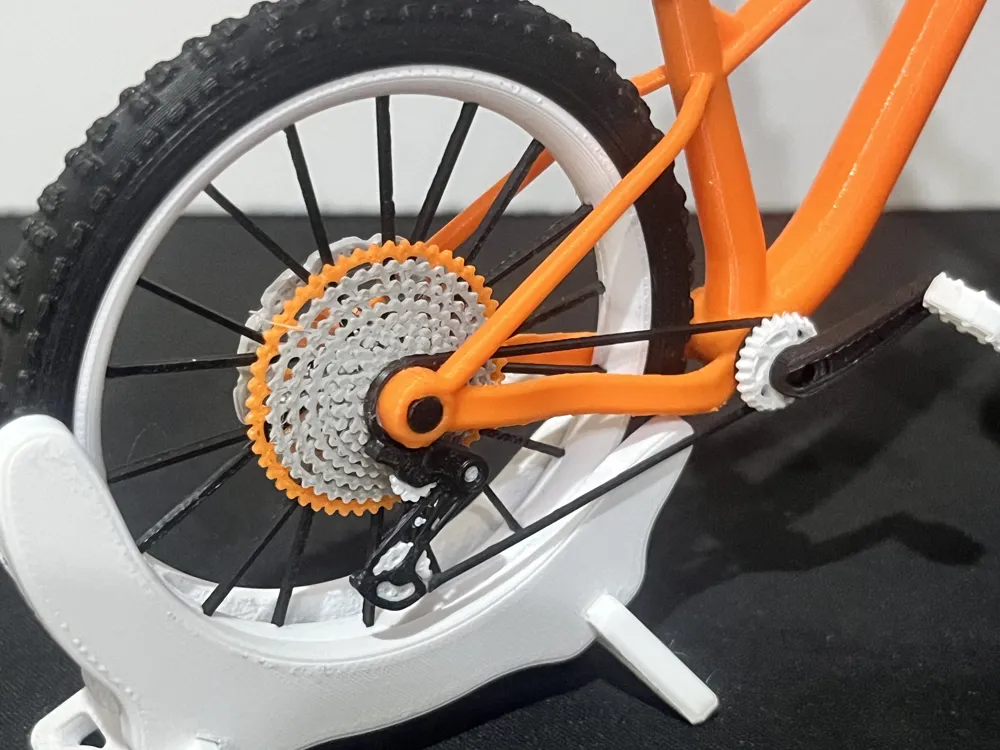
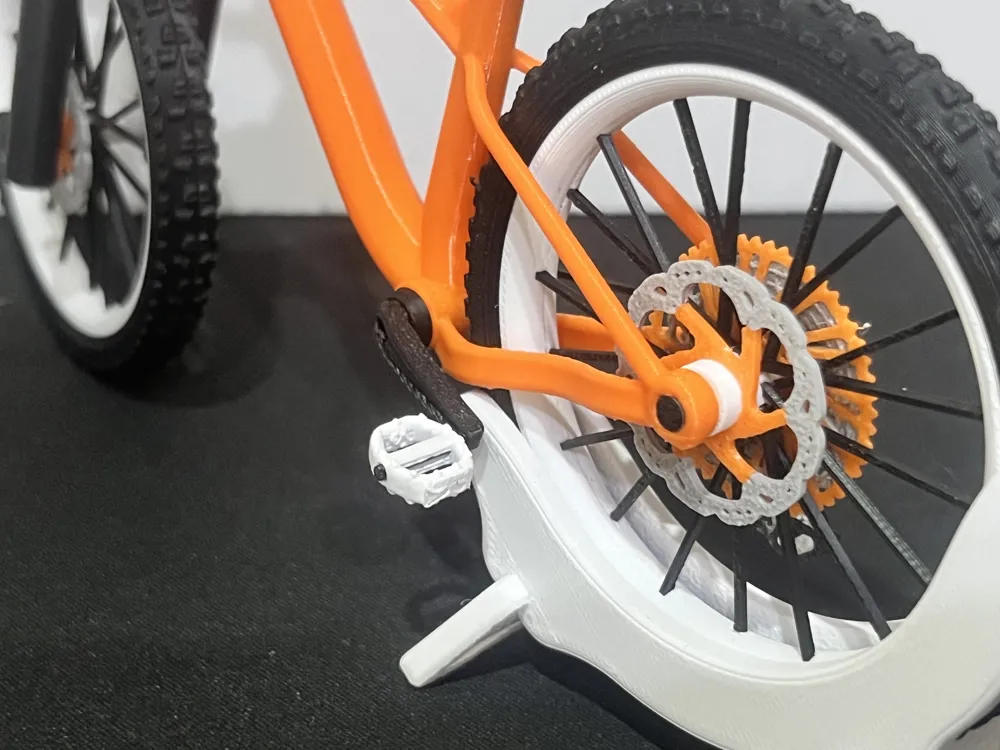
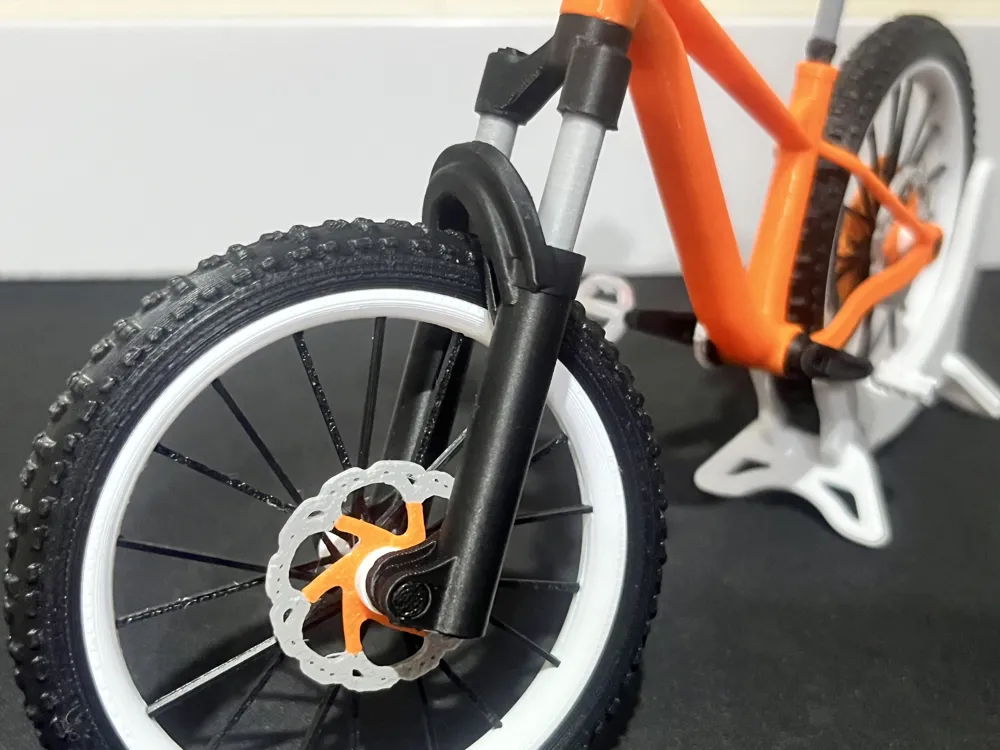
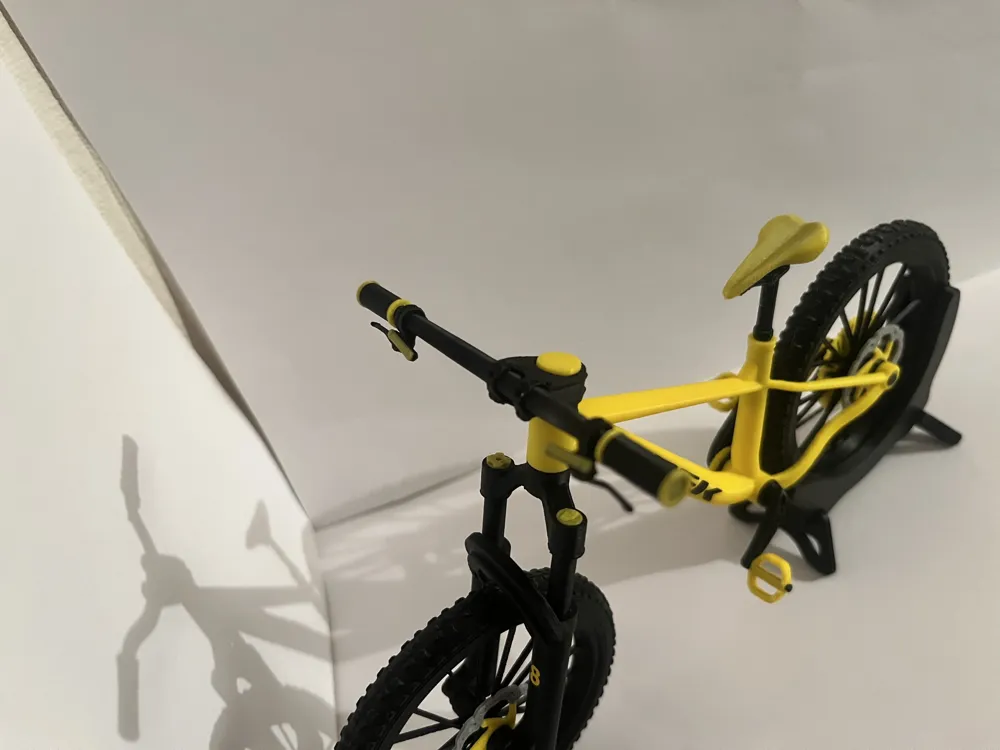
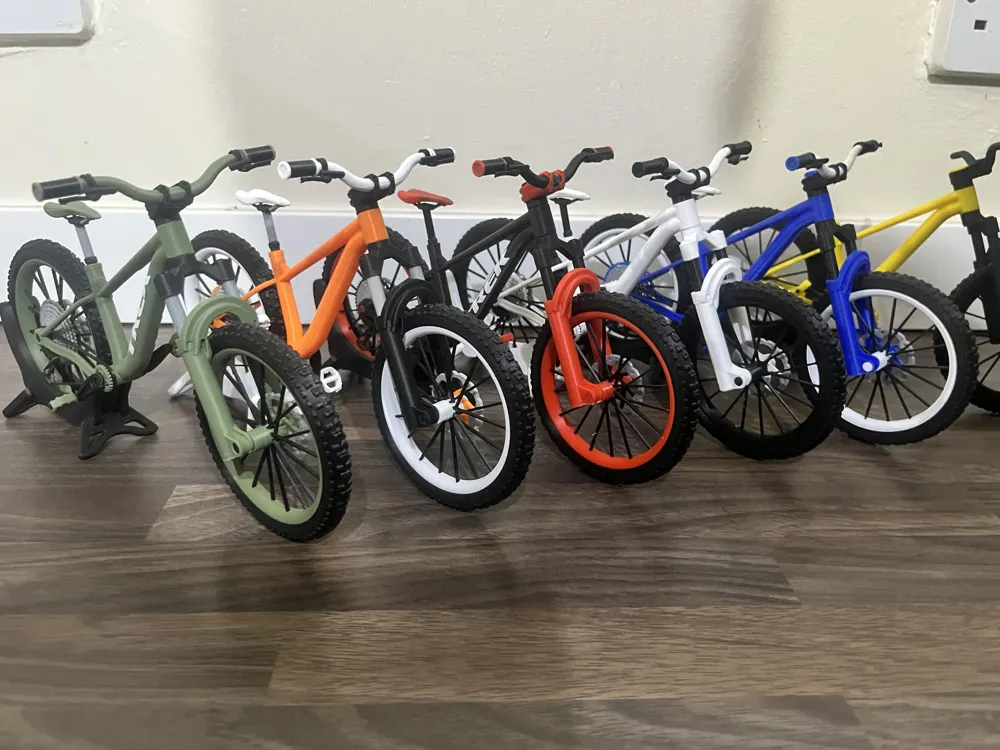
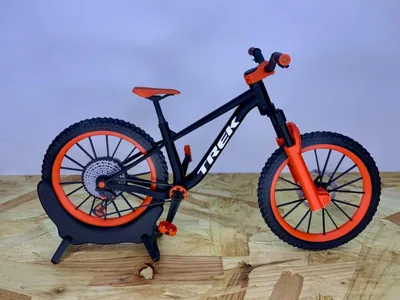
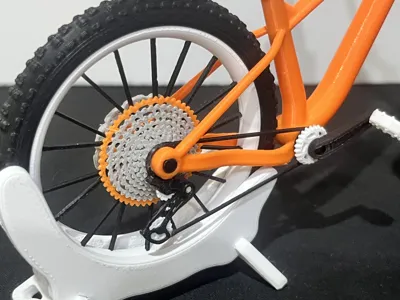
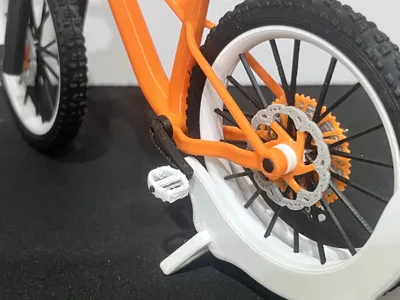
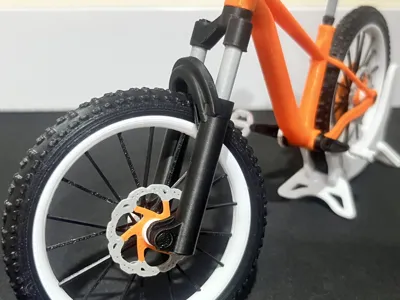
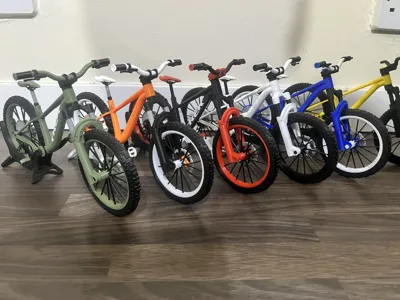
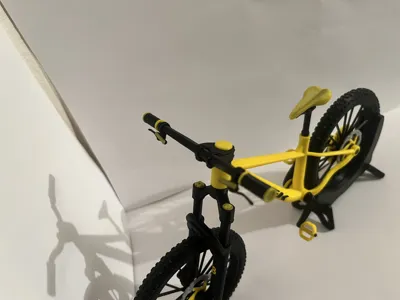
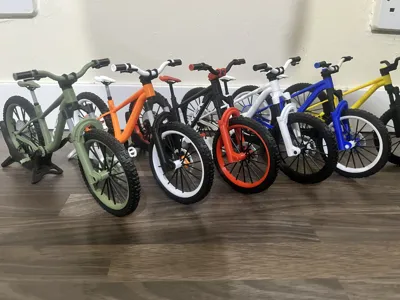
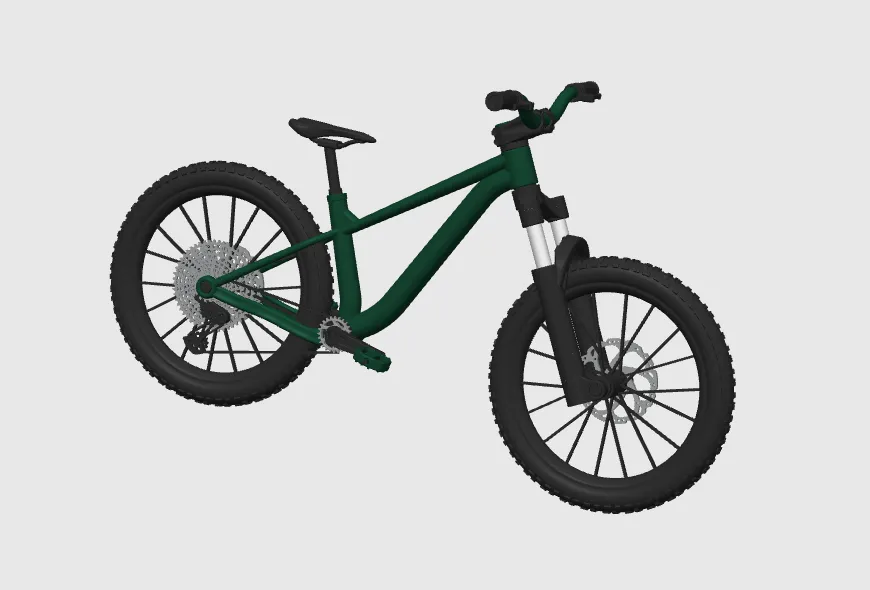
This is a 1.9 scale Mountain Bike based off a trek Roscoe with rotating wheels bars crank and pedals.
Feedback much appreciated!!
Go checkout HowTwoRandom profile for more designs https://makerworld.com/en/@howtworandom
Link to Stickers https://www.cavemandecals.co.uk
ASSEMBLY GUIDE
- STEP 1
Wheel Assembly
Place the alignment blocks (2 Red Pieces) into the correct cut outs on one half of the wheel. apply glue all round then place the second half of the wheel on to the first. (don’t forget to align the Tred pattern) (As shown below)
ASSEMBLY GUIDE
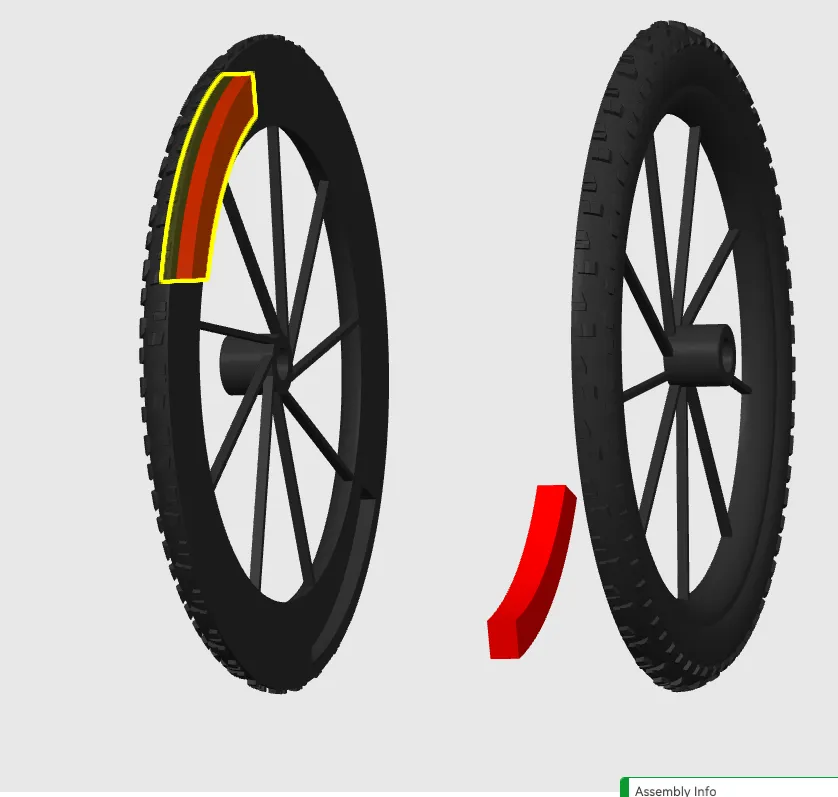
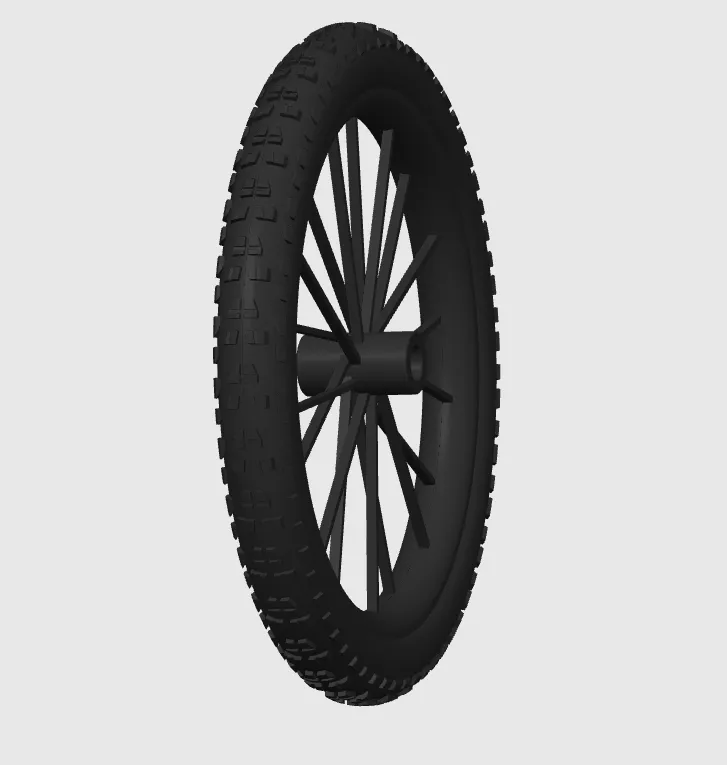
(Repeat step one for the other wheel)
- STEP 2
Rear Wheel Assembly
Slide gears on to the right side of the rear hub. (As shown below)
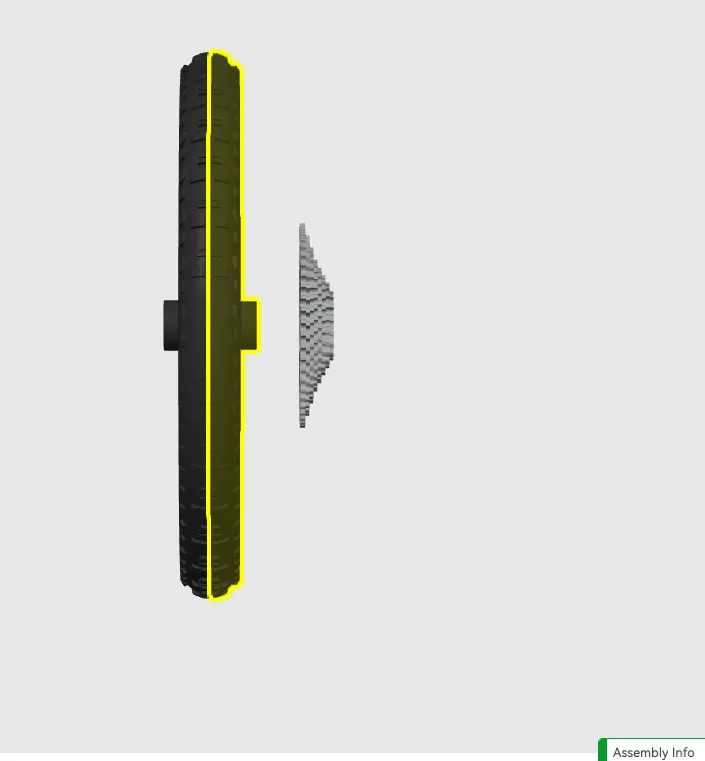
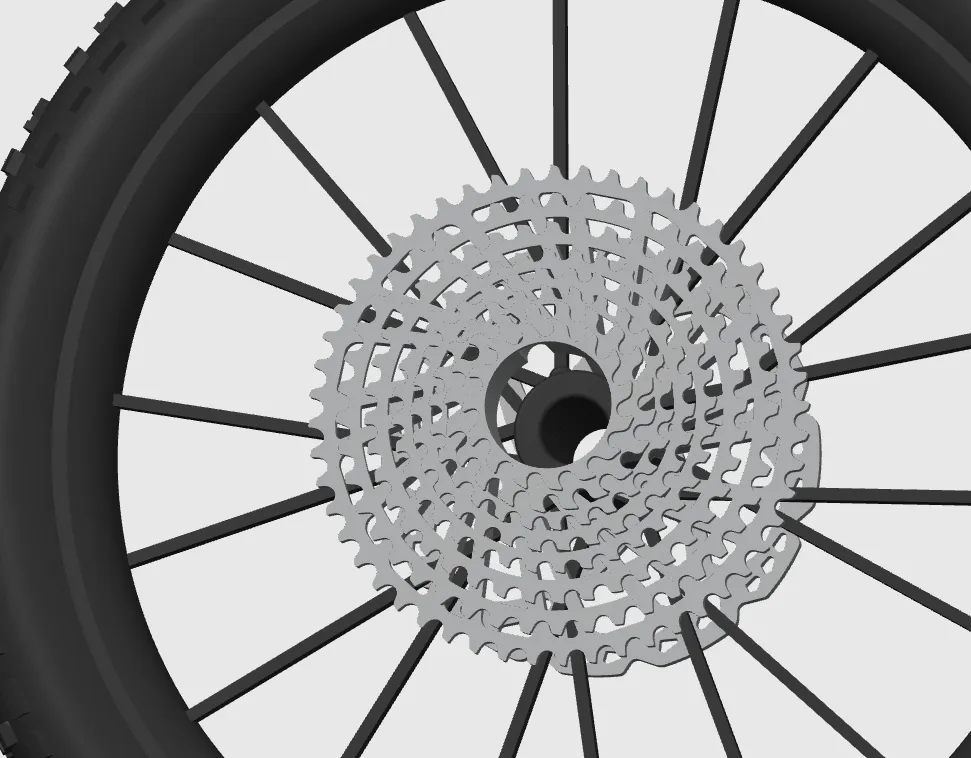
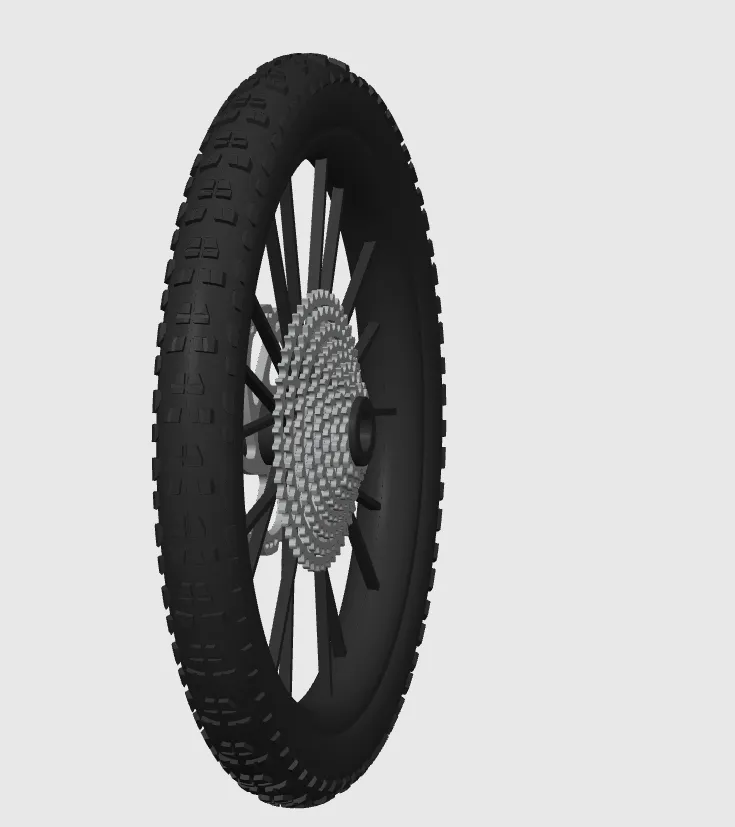
- 2.1
Next slide the rotor on to the left side of the hub. (Repeat step 2.1 for the other wheel)
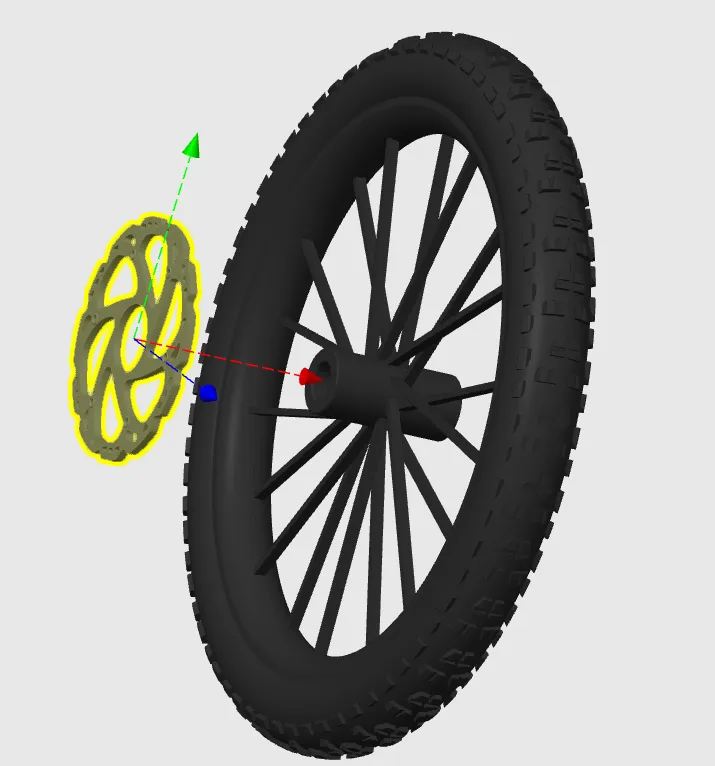
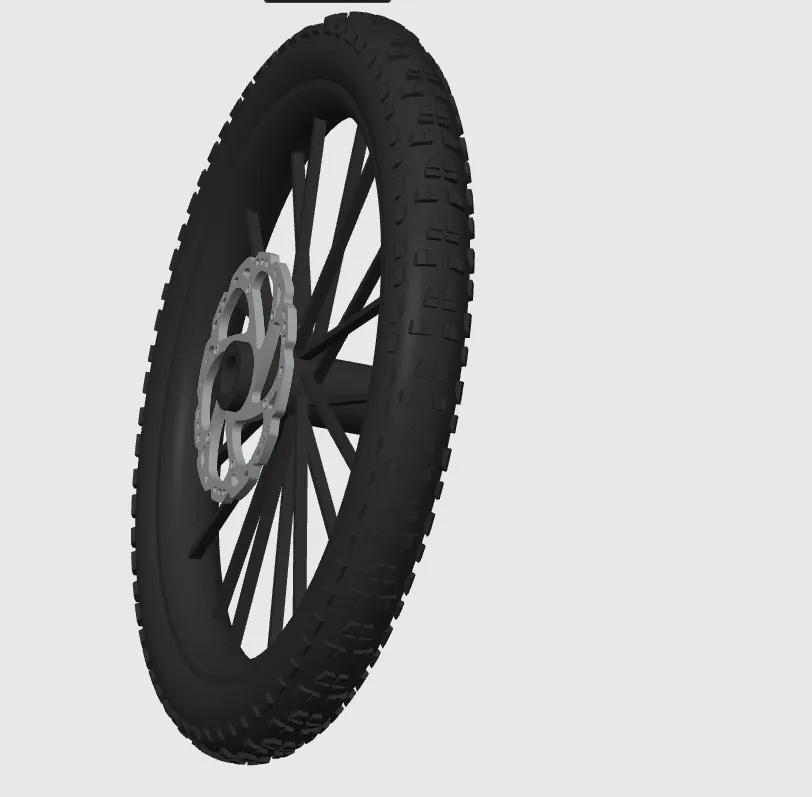
- Step 3
Fork Assembly
Slide the fork stanchion into the fork lower body from the bottom. (Make sure to align the protrusions at the bottom of the stanchion with the grooves in the lower body)
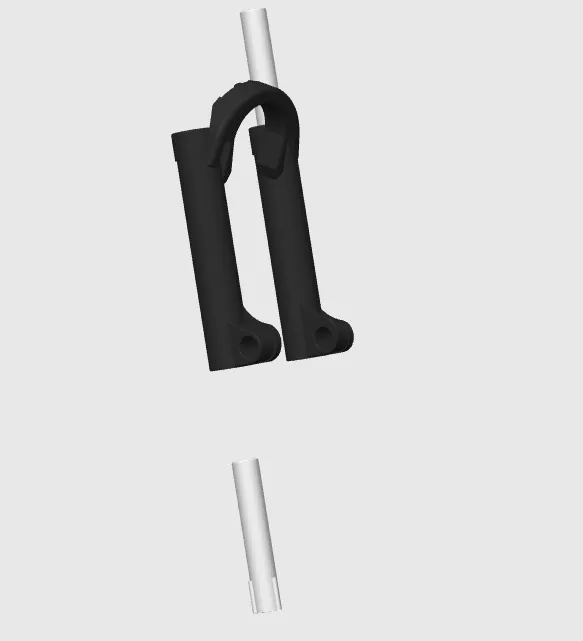
- 3.2
Next slide in the Spring (Outer Diameter 4mm Length 30mm to 40mm)
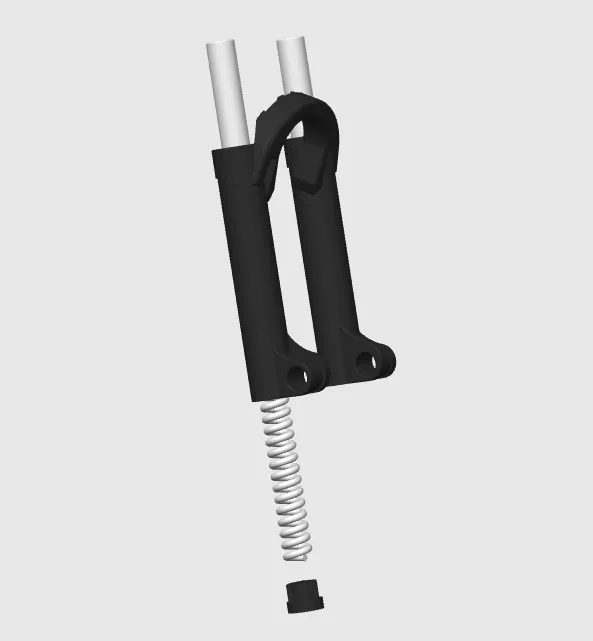
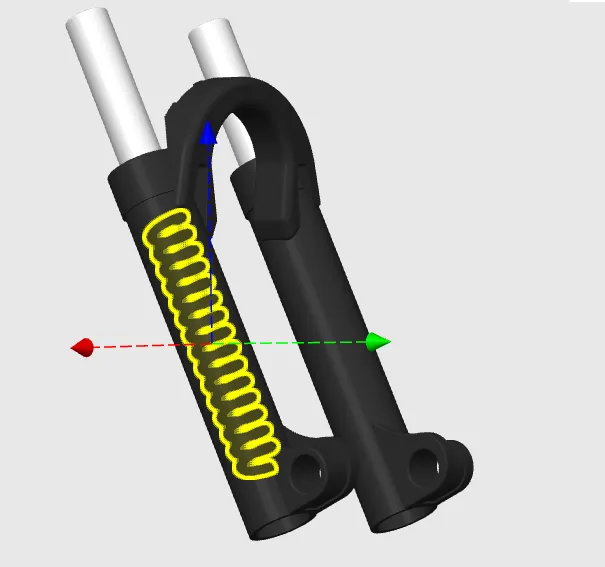
- 3.3
Then push in the caps at the bottom (Be sure to align the caps to the grooves in the Fork lower body) (As shown below)
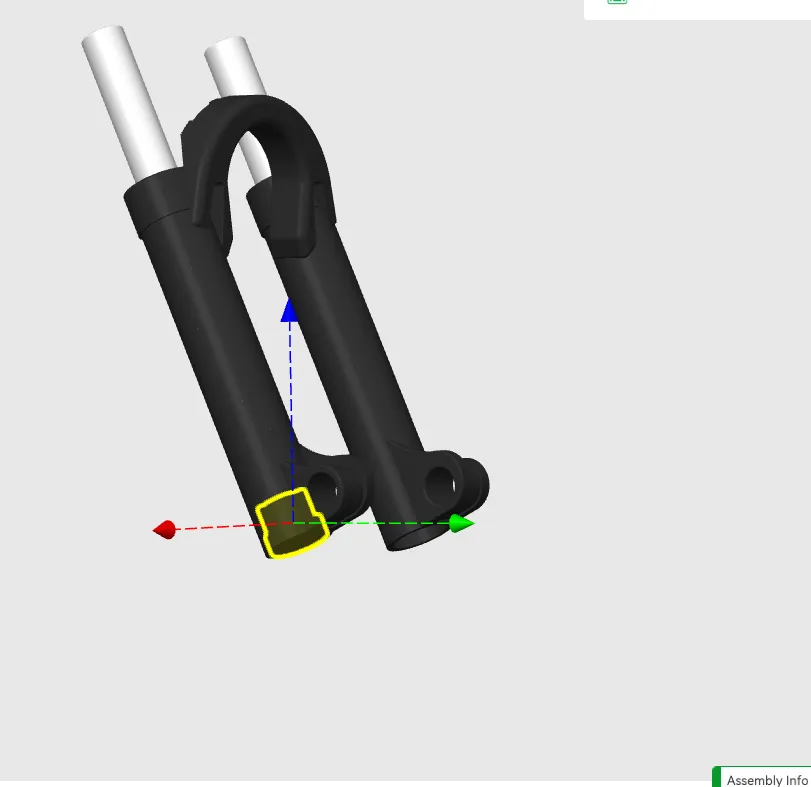
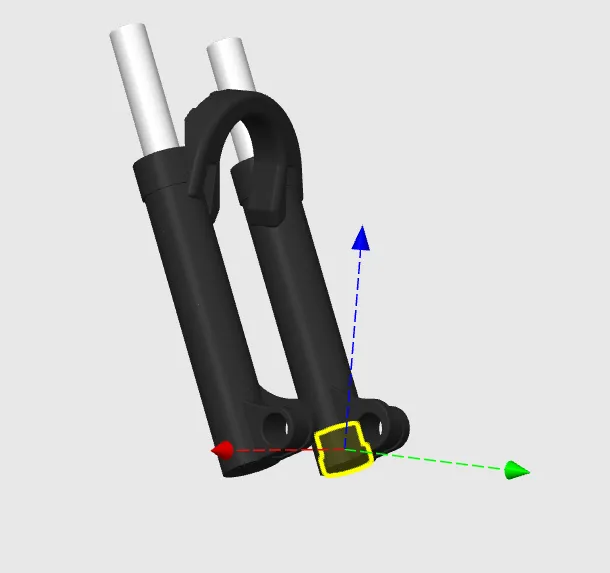
- 3.4
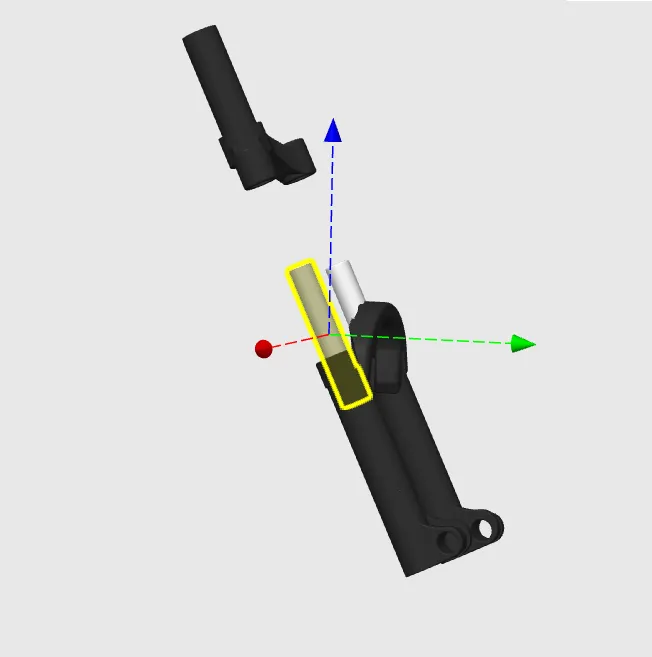
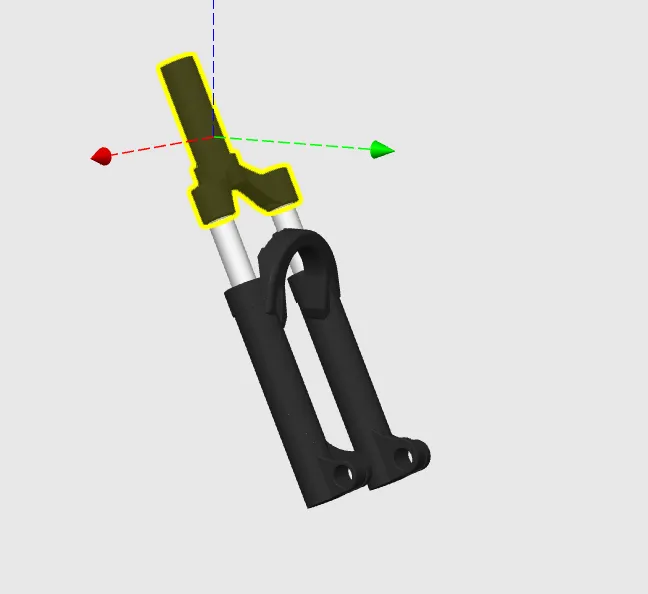
Next push the stanchions into the Fork Crown. (As shown below)
- 3.5
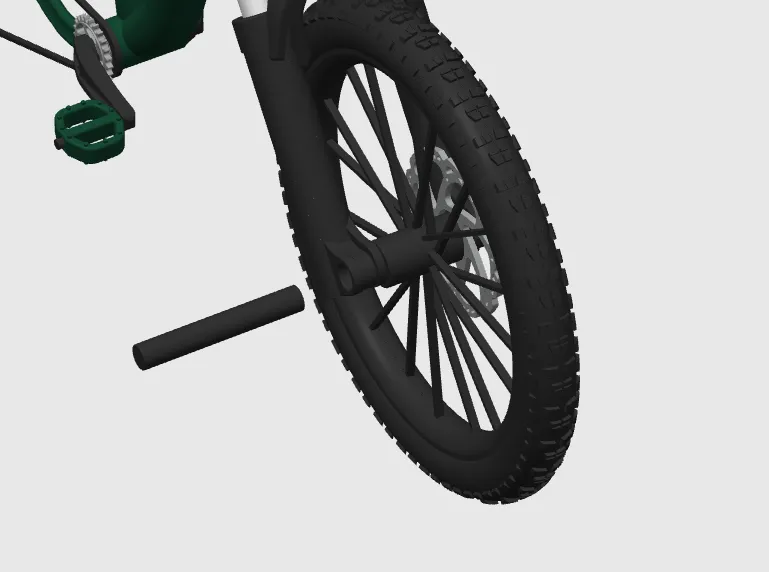
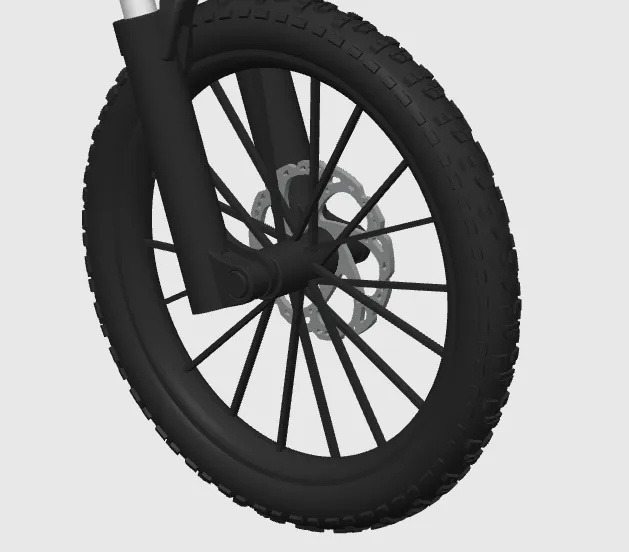
Slide the Front Wheel into the fork lower then secure with Front Axle. (As shown below)
- STEP 4
Cockpit Assembly
Slide the Stem through the Handlebar till it’s in the center.
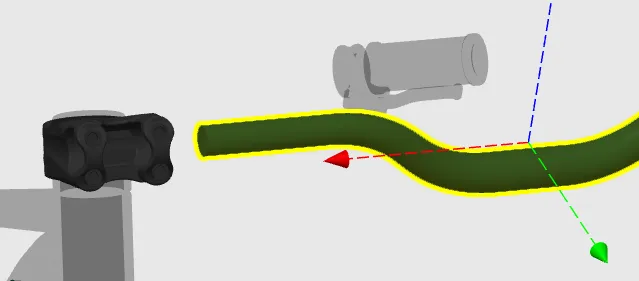
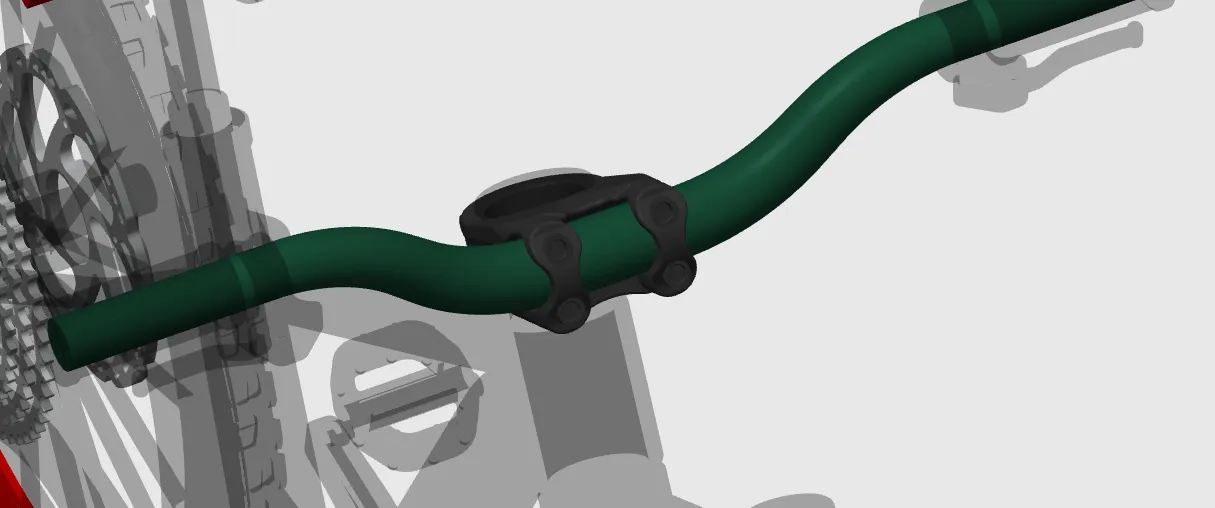
- 4.2
Next slide on Brakes and Grips.
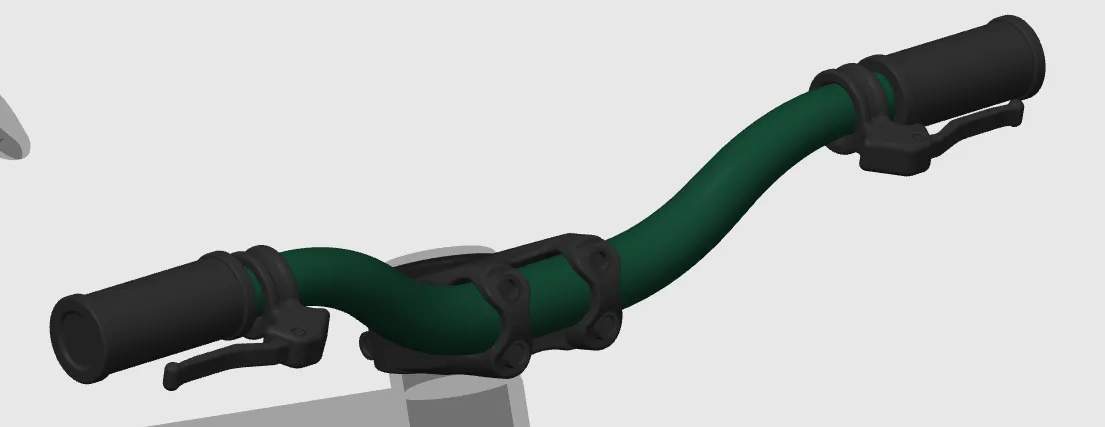
- Step 5
Seat Assembly
Glue the two halves of the Seat together.
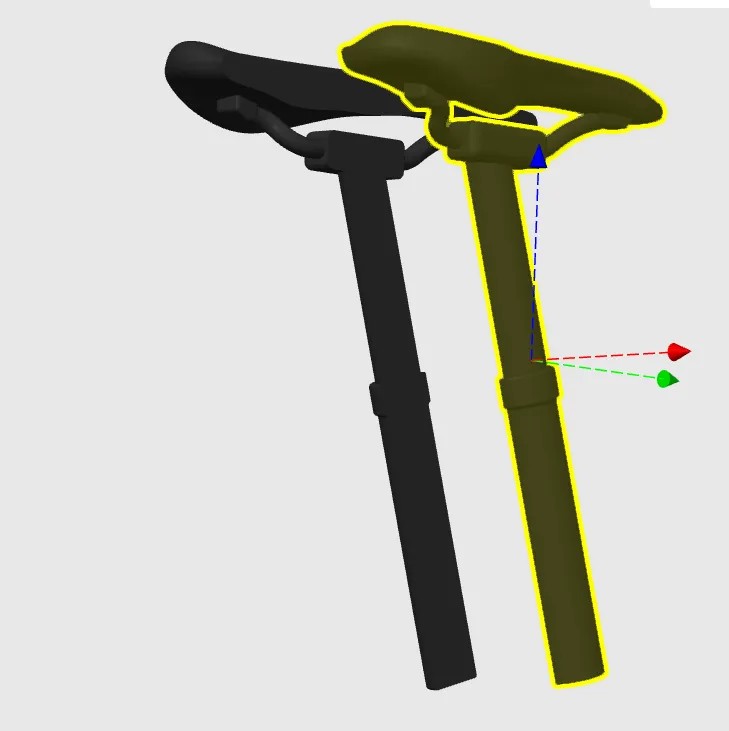
- Step 6
Main Assembly
Get the Drive Chain and thread it through the right side of the Chain Stay on the Bike Frame. (As shown Below)
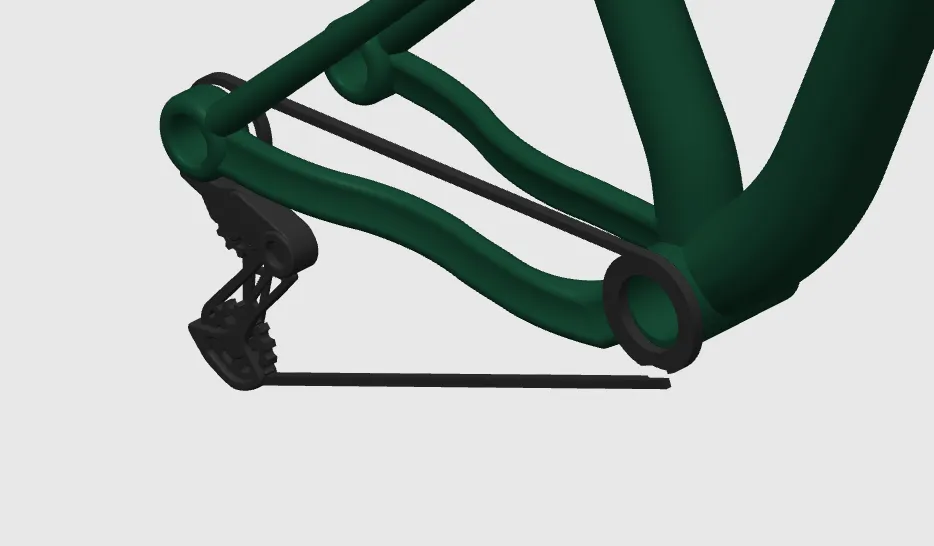
Then Glue the end of the chain to the cut out on the ring.
- 6.2
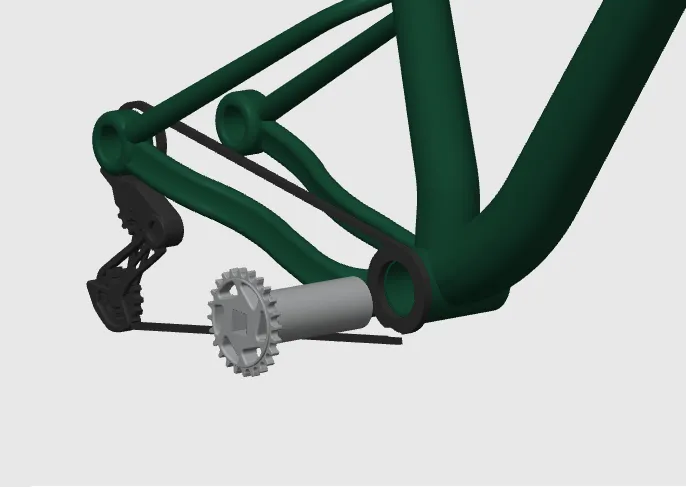
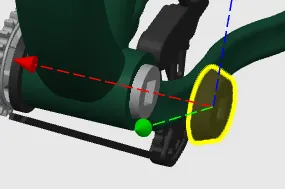
Next slide the crank through the Drive Chain then the Frame and secure on the other side with the Crank Cap.
6.3
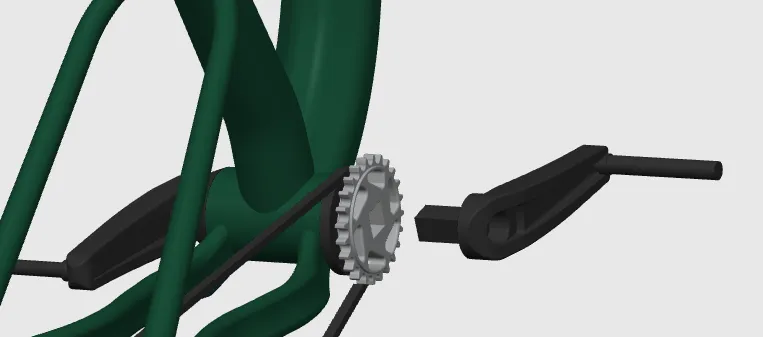
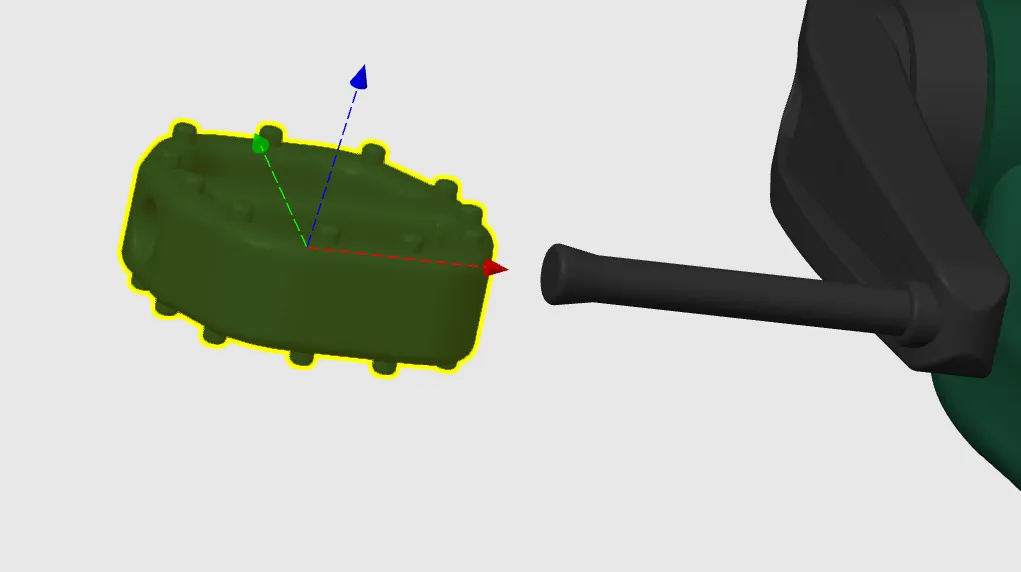
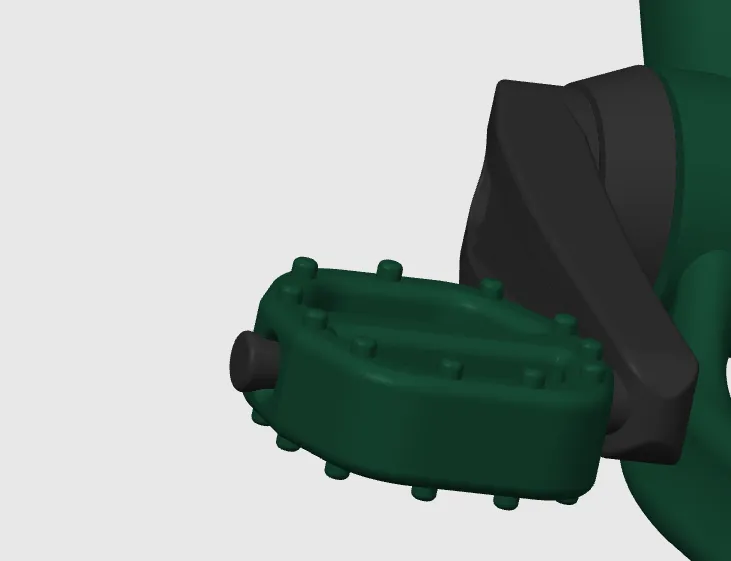
Grab the Crankarms and attach them on both sides of the crank via the square holes. Next slide the Pedals on to the other end of Crankarms. (Use a 2mm Drill bit by hand to open hole on the pedals) (Apply a little heat to the end of the Crankarm and flatten a touch if the Pedal slides back off)
- 6.4
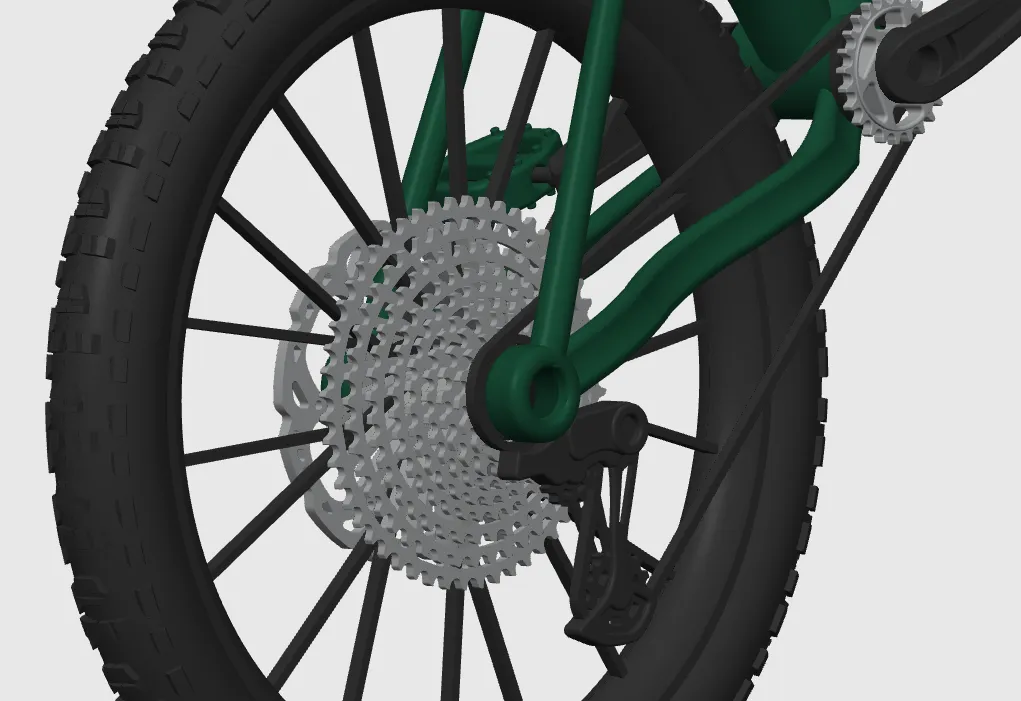
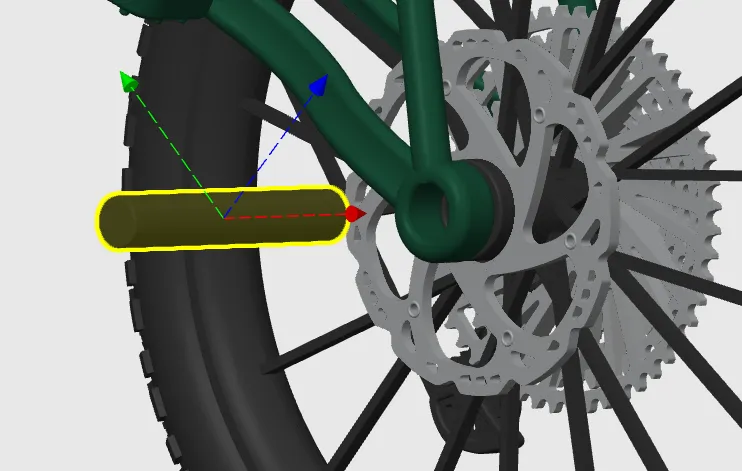
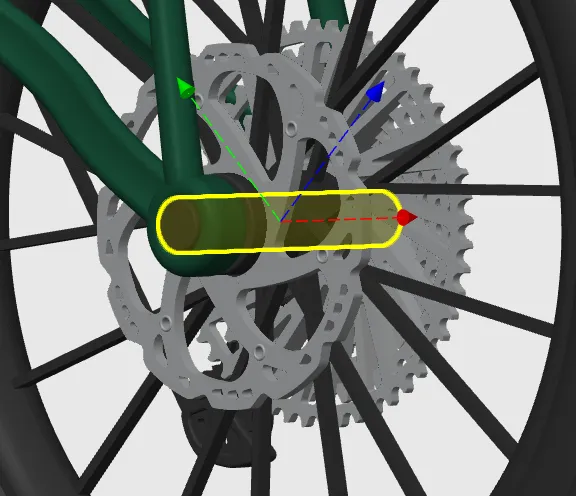
Get the rear Wheel and secure it in place with the rear Axle. (As shown below)
- 6.5
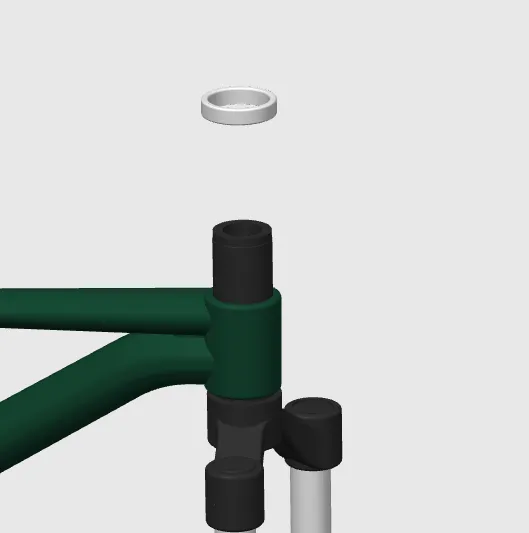
Get the Fork Assembly you made earlier and push it through the Headtube of the Frame then place the spacer on top.
- 6.6
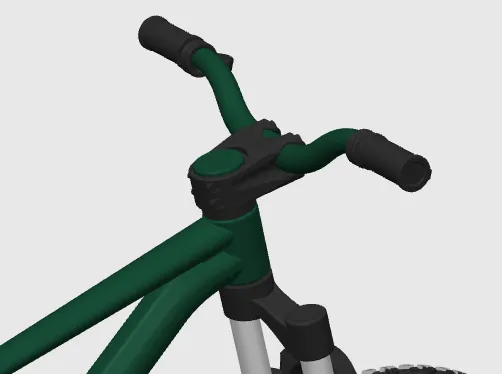
Finally push on the Stem and glue on Top Cap.
Documentation (1)
License

You shall not share, sub-license, sell, rent, host, transfer, or distribute in any way the digital or 3D printed versions of this object, nor any other derivative work of this object in its digital or physical format (including - but not limited to - remixes of this object, and hosting on other digital platforms). The objects may not be used without permission in any way whatsoever in which you charge money, or collect fees.


Comment & Rating (103)