
Sardines Jewellery Box Travel Case
Print Profile(5)



Description
Membership
Want to sell your own sardines? Please join my membership! (˶ᵔ ᵕ ᵔ˶)
🐟🐟🐟🐟🐟🐟🐟🐟🐟🐟🐟🐟🐟🐟🐟🐟🐟🐟
THE LONG AWAITED UPDATE (JUNE 2026)
👀 tl;dr 👀
- Original supports updated - cleaner print & much higher success rate!
- Blank lid added
- 3(!!) new print options added for the tab and lid design:
- print pause
- tab with filament hole insert
- new hinge design (courtesy of @Seiffer)
📖 very long, do want to read 📖
Ok so I may have gone a little overboard and over complicated it with the amount of lid options but you should definitely find one that works for you and all have pretty high print success rates. I hope this update solves a lot of issues!
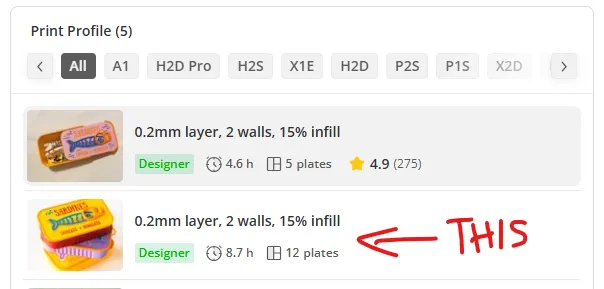
I have tried to name each plate and part/assembly accordingly but here are the extended notes for each plate:
- Plate 1 - Separated Tab Original: This is the original separated lid design with updated supports, it should print cleaner and supports are easier to remove
- Plate 2 - Separated Tab w Split: Print profile originally uploaded by @Seiffer (thank you!!), so simple, much less complicated than what I've done. I have updated their idea and have shaved off a layer on all relevant sides so it fits nicely in the graphic and lid
- Plate 3 - Separated Tab w Print Pause: No supports, complete assembly when print is finished, follow these steps:
- PRINT A SEPARATED GRAPHIC PLATE FIRST (Plate 9 or 10)
- PRINT THE TAB SEPARATELY
- Print the lid
- The print will automatically pause at layer 26 (approx. 22min mark) basically the end of the print
- place the preprinted graphic on
- place the preprinted tab in
resume the print

Plate 4 - Separated Tab with filament hole insert: This tab design has been updated to include a hole that you can (very tightly) thread 1.75mm filament through to act as the rod in the tab
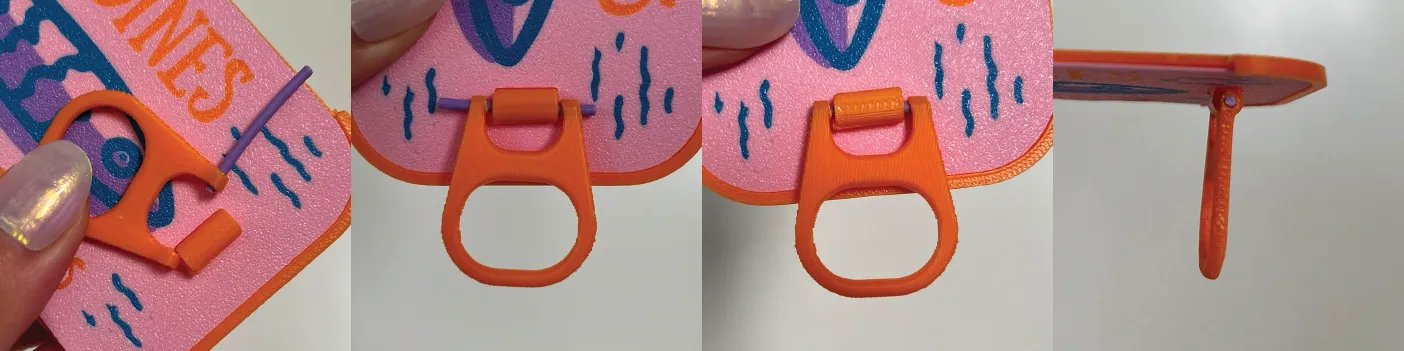
This tab can also be use with any of the print pause lids, just remove the pause! Or if your tab has broken from an existing tin
- Plate 5 - Lid & Graphic Original Assembly (print in place): This is the original lid & graphic design with updated supports, it should have a much higher print success rate
- Plate 6 - Lid & Graphic Assembly (print pause): No supports, complete assembly when print is finished, follow these steps:
- PRINT THE TAB SEPARATELY
- Print the lid
- The print will automatically pause at layer 26 (approx. 1hr 20min mark)
- place the preprinted tab in
- resume the print
- Plate 7 - Blank Lid Assembly (print in place): Same as Plate 5 but no graphic, just a blank lid
- Plate 8 - Blank Lid Assembly (print pause); Same as Plate 6 but no graphic, just a blank lid
- Plate 9 - Separated Graphic Plate: Same as original, no updates. Use with Plate 1, 2, 3, or 4
- Plate 10 - Blank Separated Graphic Plate: I have included this incase you want to make your own design and print it face down on a Textured Plate or Effect Plate. Use with Plate 1, 2, 3, or 4
- Plate 11 - Tin: Same as original, no updates
- Plate 12 - Fish Holders: Same as original, no updates
Please wait another 8-10 business months for a non-AMS version (kidding! I think 😅)
🐟🐟🐟🐟🐟🐟🐟🐟🐟🐟🐟🐟🐟🐟🐟🐟🐟🐟
Original text:
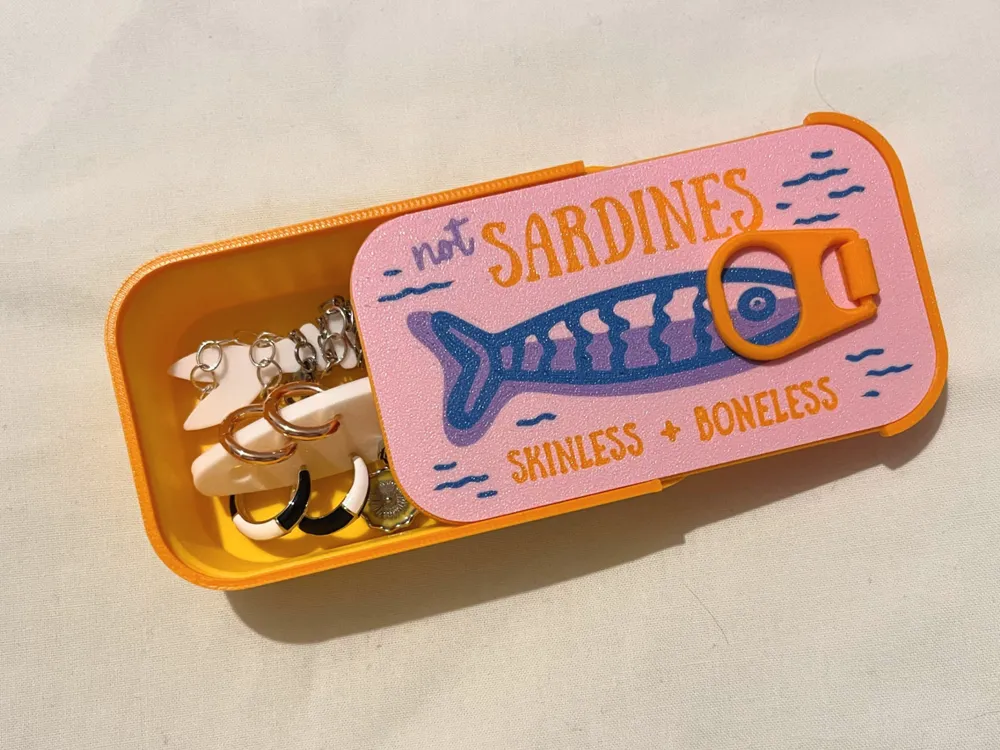
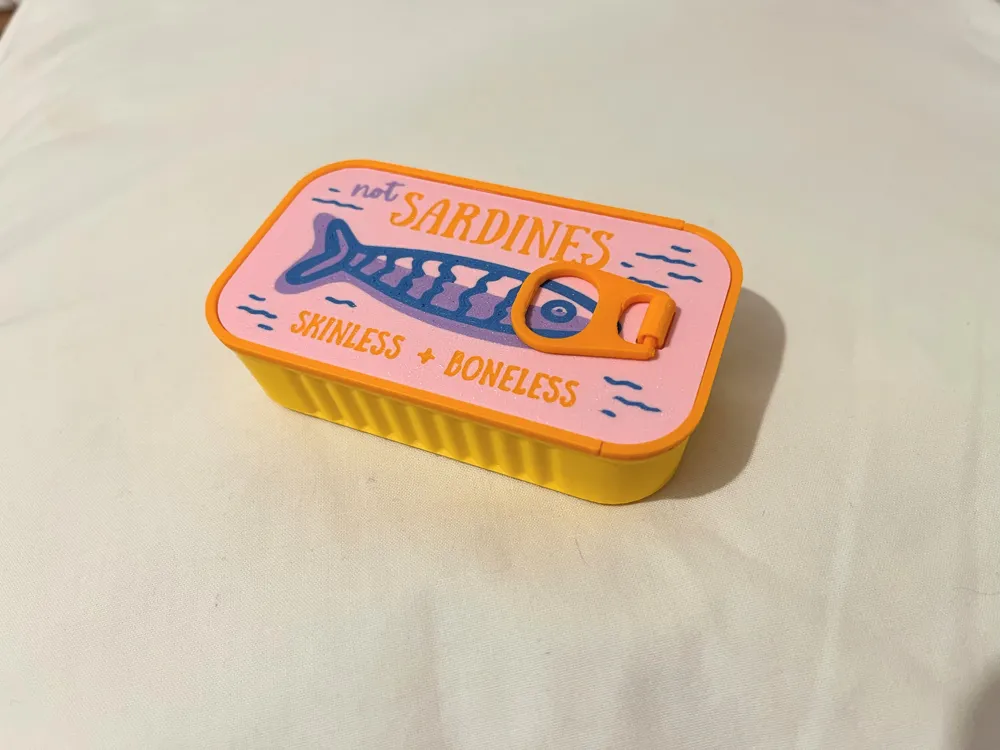
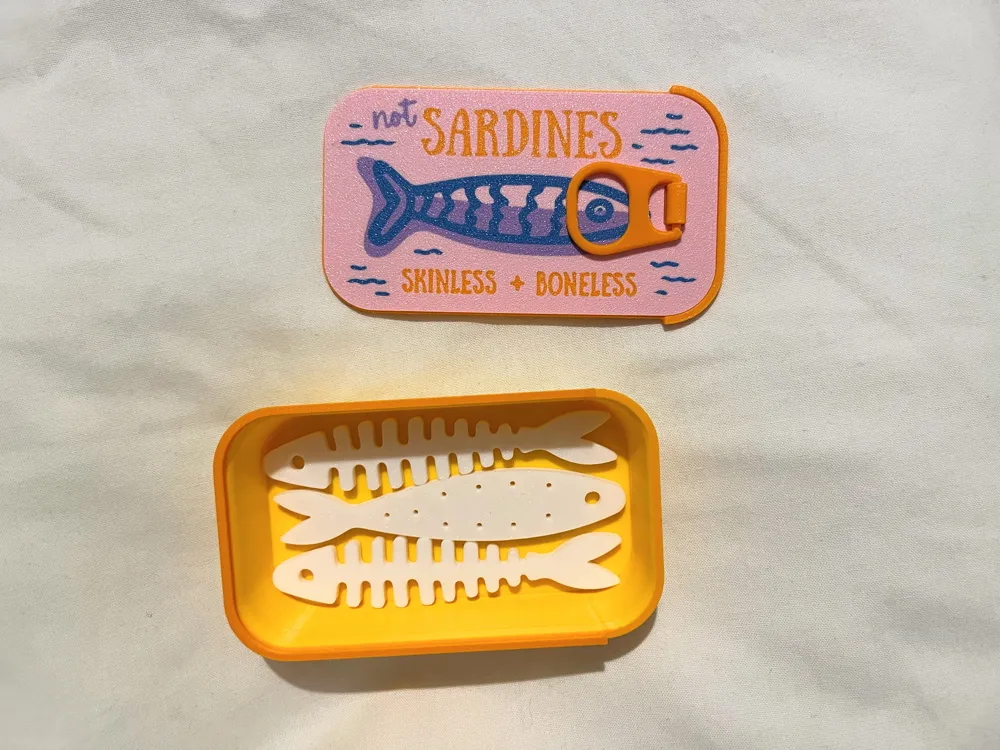
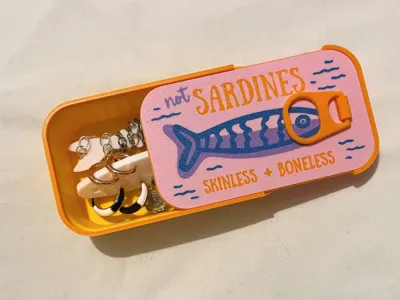
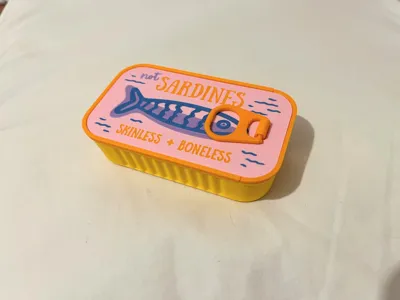
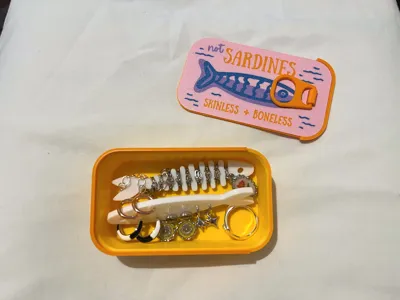
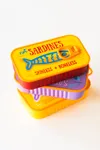
It's sardine girl summer so you can keep your jewellery in this sardine case :)
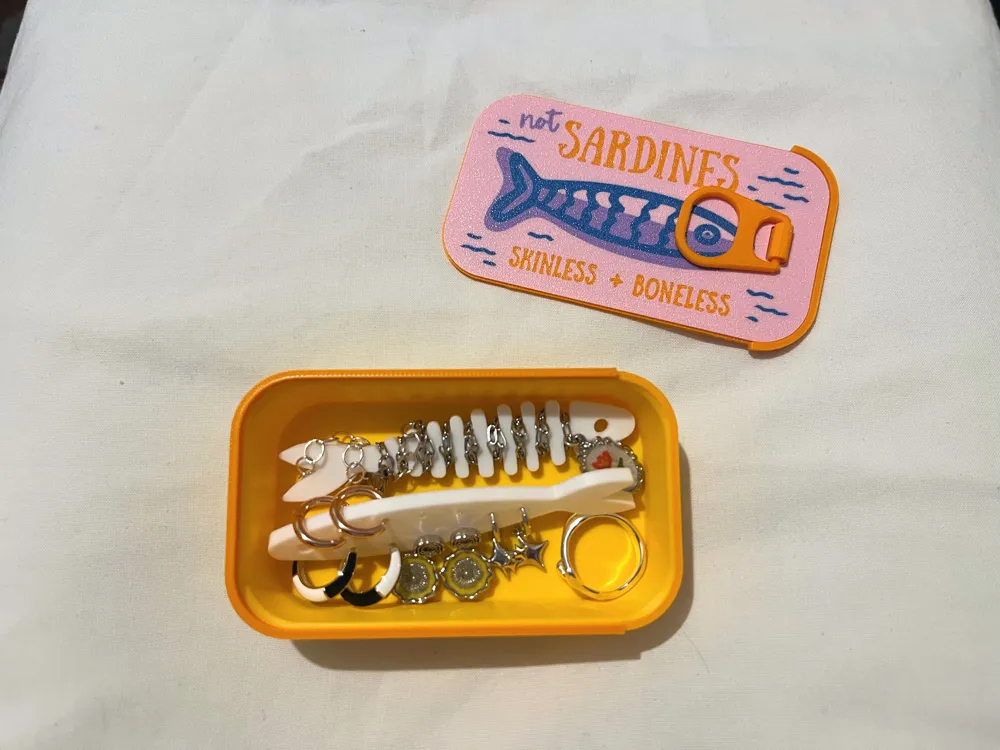
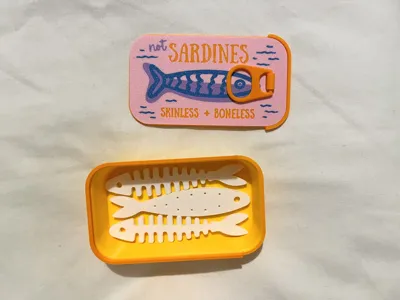
1:1 scale, handy for travel, 2 sardine holder designs:
- One with holes that can hold 5 pairs of earrings
- One as the skeleton which can be used to wrap a necklace, bracelet or anklet around
2 lid options provided:
- Full lid as 1 piece
- Lid separated into 3 pieces so you can print the graphic face down on textured plate. Push the hinge base through the hole in the graphic then stick to the lid
License

You shall not share, sub-license, sell, rent, host, transfer, or distribute in any way the digital or 3D printed versions of this object, nor any other derivative work of this object in its digital or physical format (including - but not limited to - remixes of this object, and hosting on other digital platforms). The objects may not be used without permission in any way whatsoever in which you charge money, or collect fees.


Comment & Rating (651)