Vintage Singer Sewing Machine – Functional Model


Print Profile(2)

Bill of Materials


Description
Boost Me (for free)
Your boost will help me to improve my model. Thank you!
Membership
If you want to sell this printed model please subscribe. This will also help me to make new miniature models.
 Check also my other miniature model: Old Style Miniature Barber Chair (functional)
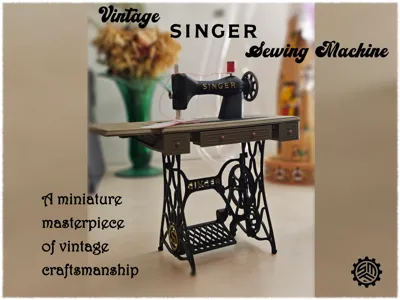
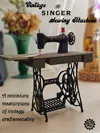
✨ A miniature masterpiece of vintage craftsmanship ✨
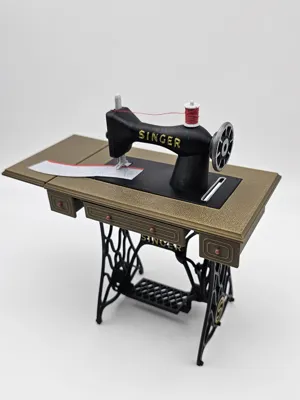
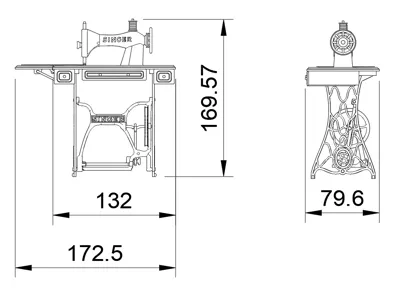
Vintage Singer Sewing Machine – Functional Miniature Model
Rediscover the charm of classic craftsmanship with this 3D-printed miniature Singer sewing machine, complete with an extendable table and pedal mechanism. Designed to balance authentic detail with functional features, this model is both a decorative piece and an interactive collectible.
Highlights:
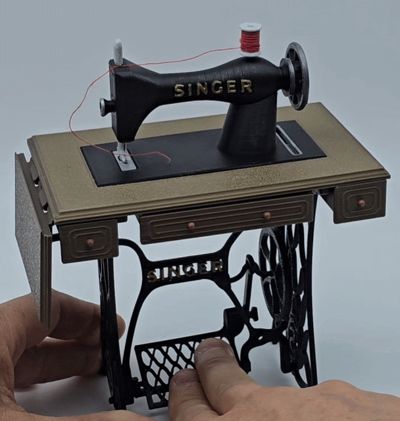
- 🧵 Authentic motion – The pedal drives the side wheel, replicating the feel of the original machine.
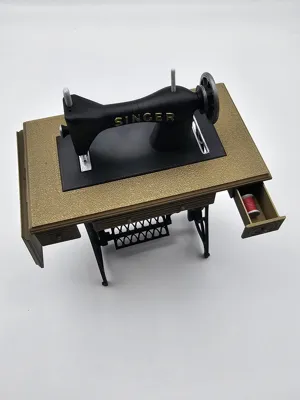
- 🧰 Practical storage – Two side drawers and one central drawer are fully functional and removable.
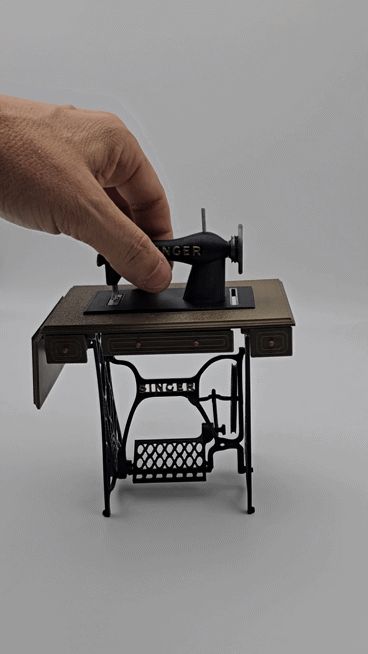
- 🔄 Convertible design – The sewing machine can be detached and folded inside the table for complete stow-away.
- 🪡 Needle ready – A 0.5 mm pin can be installed to simulate real sewing.
🎀 Accessories included – A printable thread spool sits on top of the machine. Extra spools can be printed and stored in the drawers for added realism.


This model is perfect for makers, collectors, and diorama builders who appreciate the elegance of vintage design combined with interactive details. It brings a piece of history to life – in miniature form.
Assembly instruction

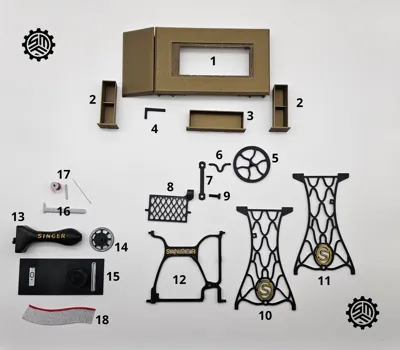
Parts List:
1) Table
2) Drawer (lateral)
3) Drawer (middle)
4) bracket for tilted table
5) Belt Wheel
6) Wheel Driving Crank (for pitman rod)
7) rod (connect crank to foot treadle)
8) Foot Treadle
9) Stud (pitman-rod, connect rod to foot treadle)
10) Left Leg
11) Right Leg
12) Center Brace
13) Sewing machine Arm
14) Balance wheel
15) Sewing machine Bed
16) Presser foot
17) Spool pin, Spool, needle (need real 0.5mm dia)
18) fake fabric (only scenographic)
NOTE: The real product as also additional parts as belt guides and skirt guard. These parts have not been designed.

Assembly the Sewing Machine
- Connect (14) with (13). Check if the balance wheel can rotate.
- Insert (16) before next step.
- Use glue to fix (13) to (15)
- Insert parts (17)
- Colour it as you prefer.

Assembly the Table
- Remove the support from (1). This can take a little work in order to clean the recess.
- Insert the three drawers (2) (3)

- Insert the bracket (4)

Assembly the ironcast structure
- Insert (6) on (5). use glue if necessary.

- Insert (9) on (7) and complete inserting it on (8).
- Instert other side of (7) in previous assembled (6).

- Instert the above assembled parts on the center brace (12) : first insert on [yellow 1], press on red arrow direction to flex a little the wheel driving crank (6) so to insert on hole [yellow 2]. Do not apply glue!
- Insert the foot treadle first on the right hole [red 1] at the base of the center brace (12) then insert is left pin to the right open hole [red 2] and finally little shift the foot treadle on left [red 3]. Do not apply glue!


- you can now try the mechanism if work, tilting the foot treadle:
- Insert the above assembly to (10) and (11). Use a drop of glue to fix the four points.

- Insert the above sub-assembly to the assembled table (I suggest to put the table upside down for this operation):

- finally insert the assembled sewing machine over the table recessed hole:

COMPLETE!
Enjoy it.
License
You shall not share, sub-license, sell, rent, host, transfer, or distribute in any way the digital or 3D printed versions of this object, nor any other derivative work of this object in its digital or physical format (including - but not limited to - remixes of this object, and hosting on other digital platforms). The objects may not be used without permission in any way whatsoever in which you charge money, or collect fees.
Comment & Rating (337)