
EDC Spring-Axis Lock Folding Utility Knife II
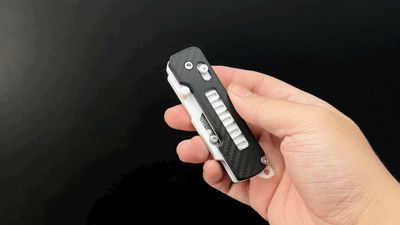
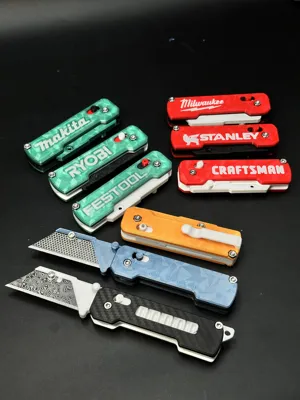
Print Profile(7)


Bill of Materials


Description
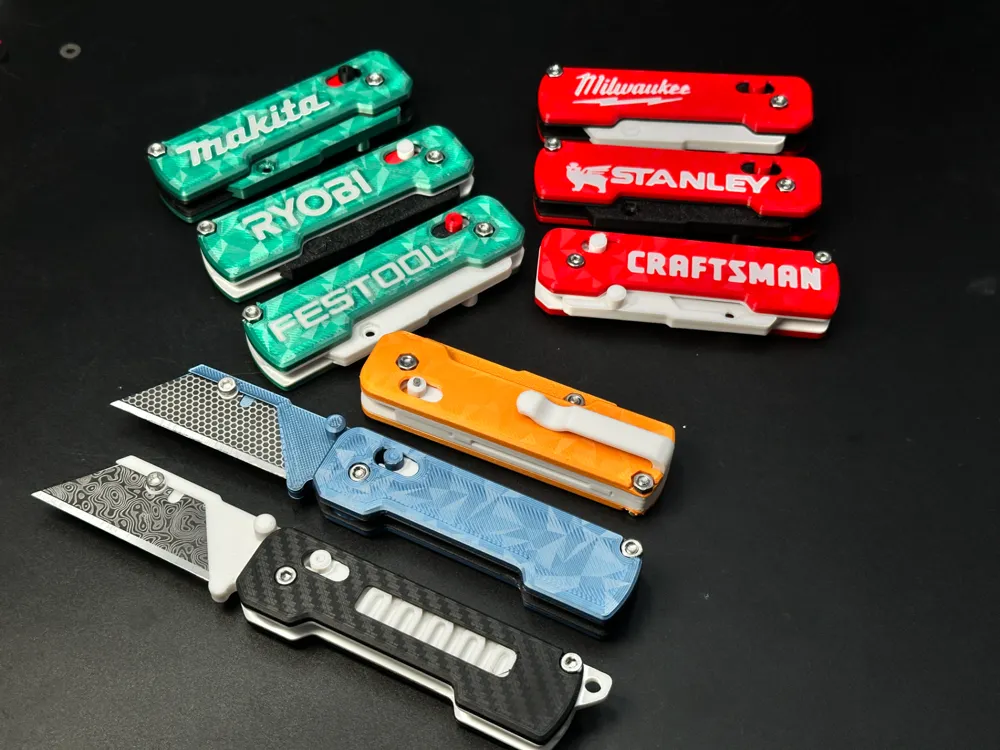
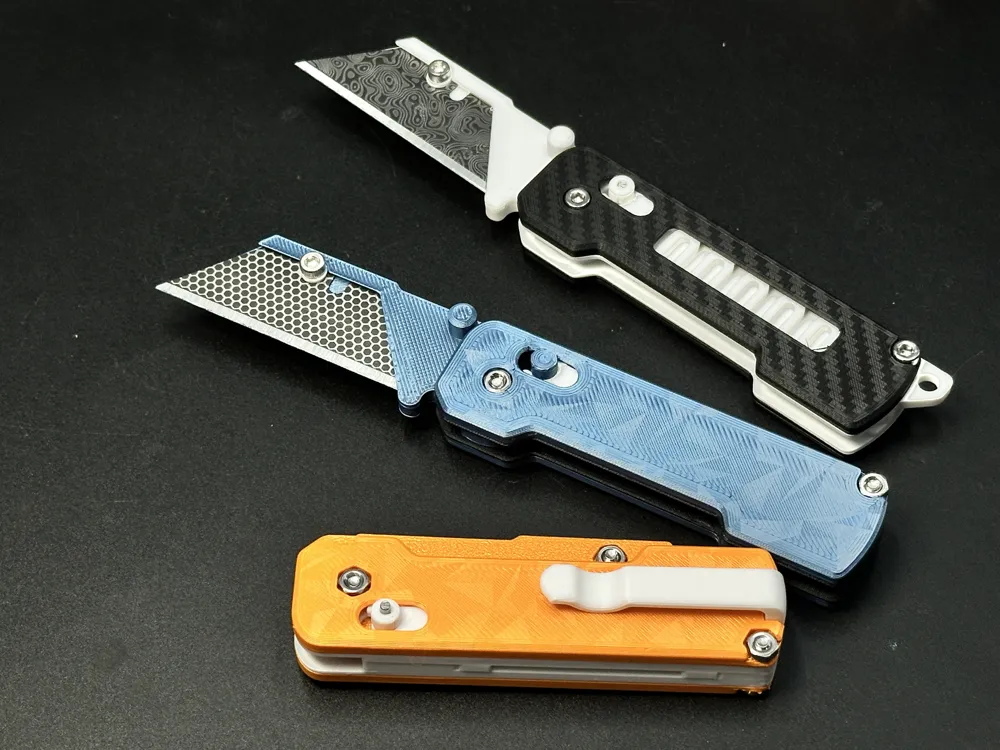

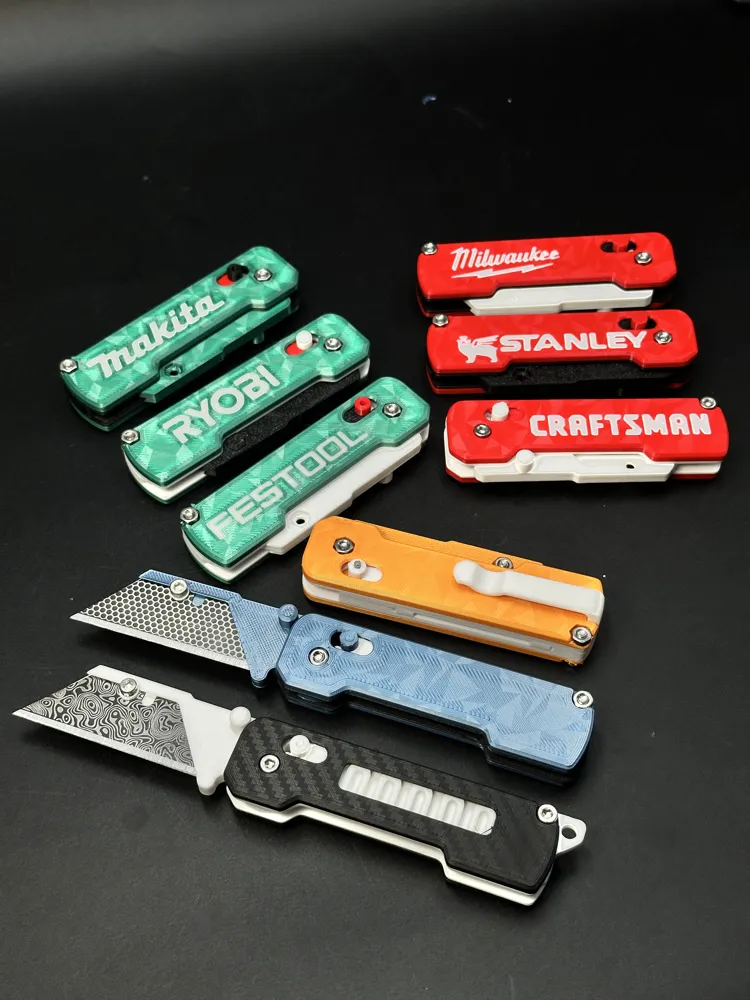
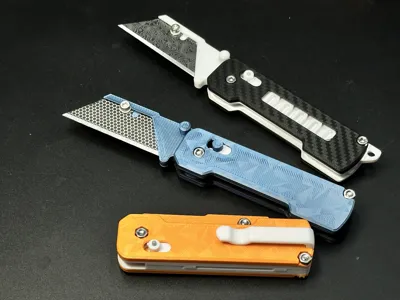

This compact folding utility knife features an Axis Lock mechanism—my third design using this system. Building on lessons from earlier versions, its lock is more stable and tolerates more wear/spring fatigue. But due to its compact size, it’s not meant for heavy-duty tasks. I recommend it as a lightweight package opener!
Customization Options:
I’ve designed these add-ons for it:
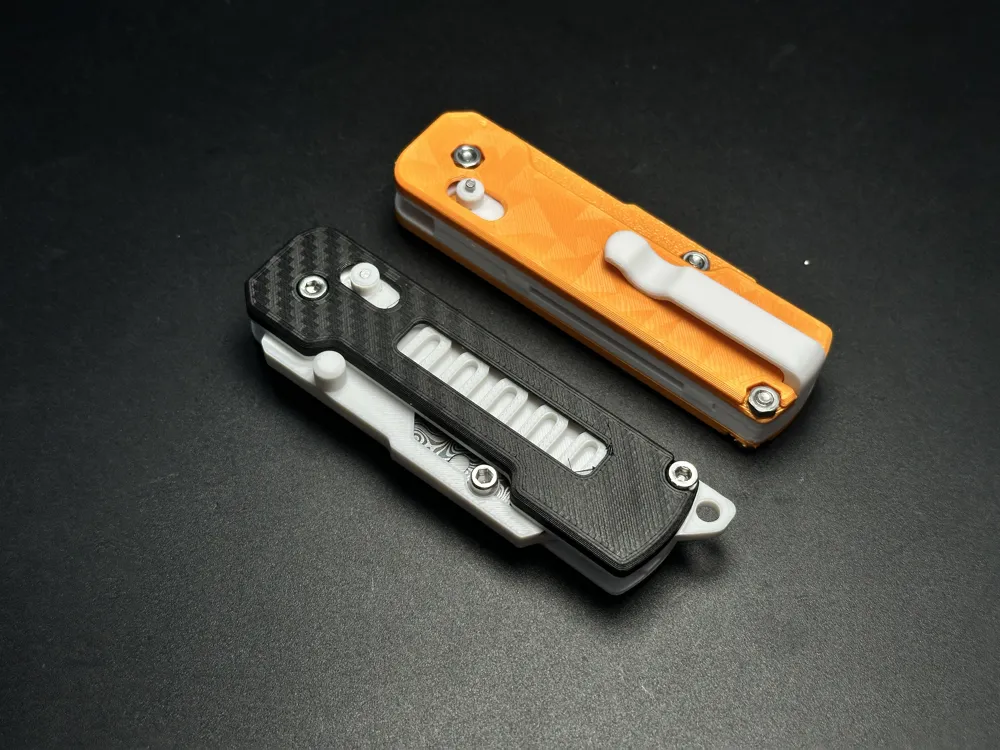
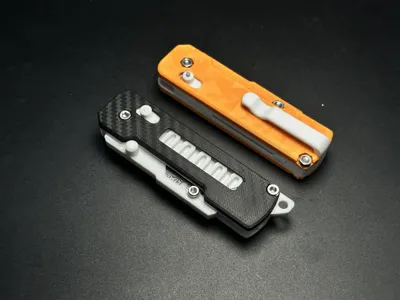
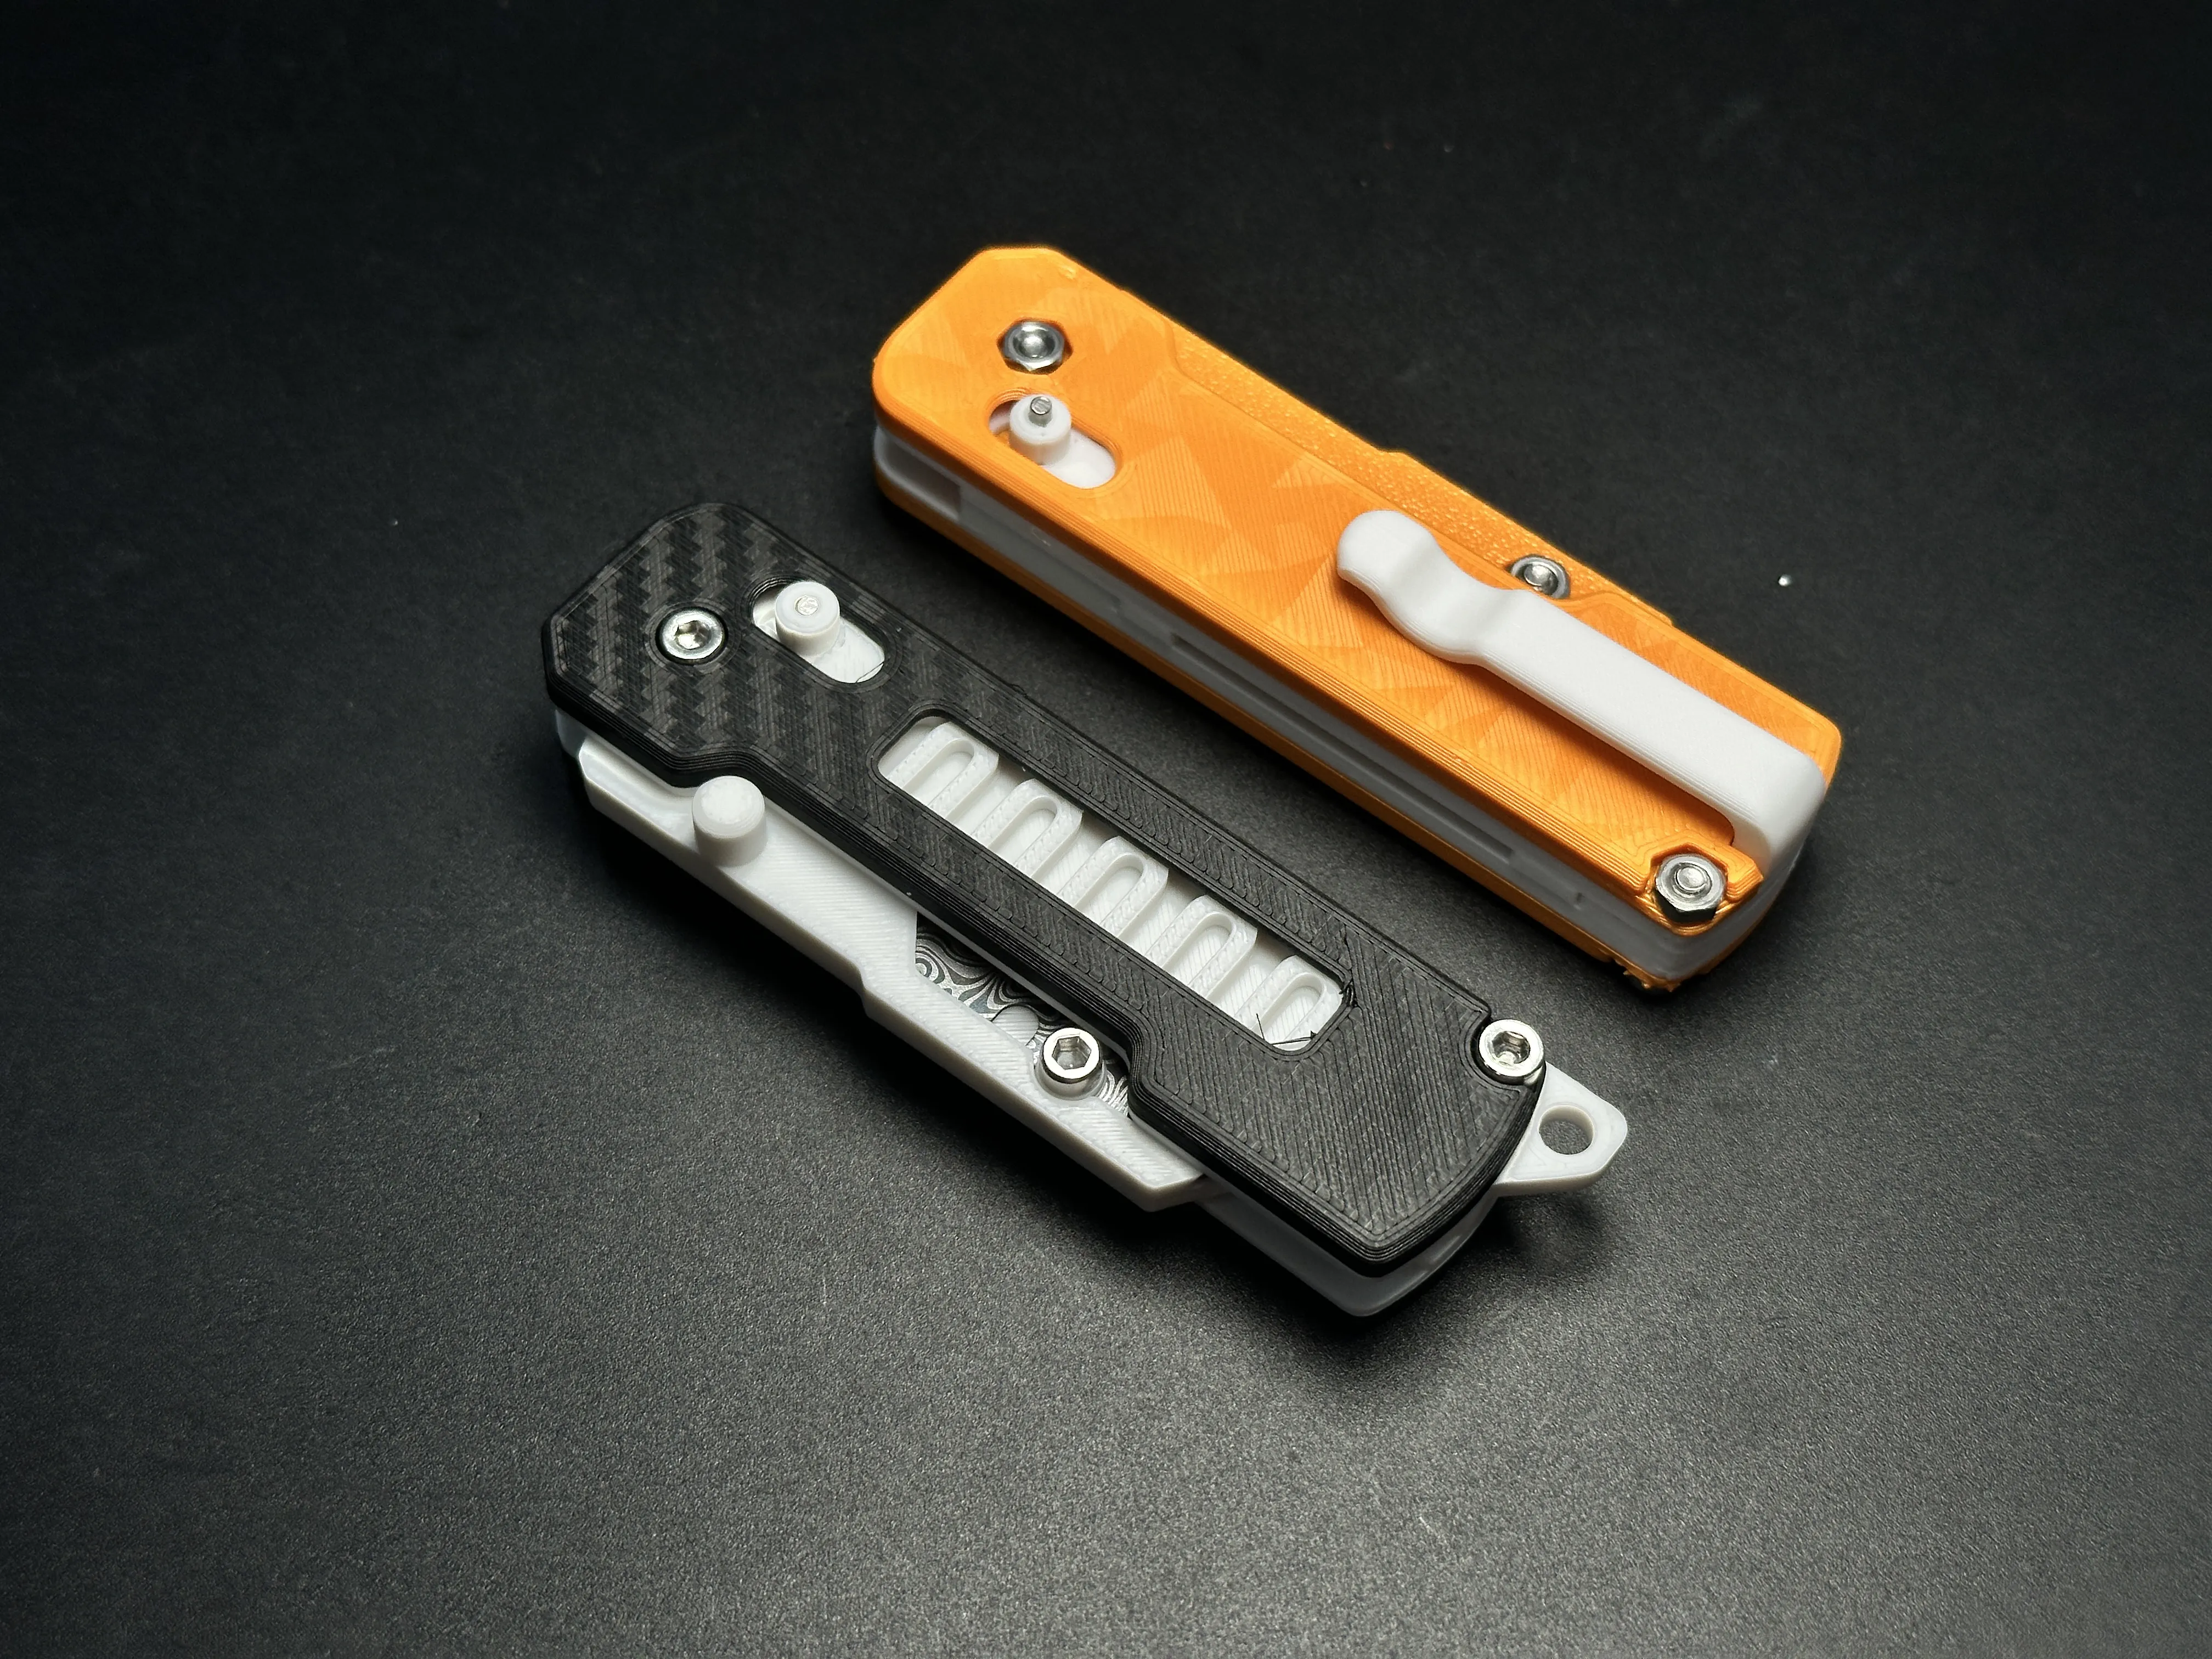
- Pocket clip
- Keychain ring
- Handle covers with side-access cutouts
- 6 logo plates (branded with popular tool logos)
Extra 3MF files help you mix-and-match. All options work solo or combined.
Printing Tips:
- Easy to print, but avoid matte filaments (except decorative handle covers)! Matte adds drag that jams the mechanism—especially on springs.
- Supports are only needed in screw countersinks. Remove them with a screwdriver before assembly—all support marks hide under screws.
Assembly Notes:
You’ll need some hardware:
- 2× M3-12mm screws + nuts (to lock handles)
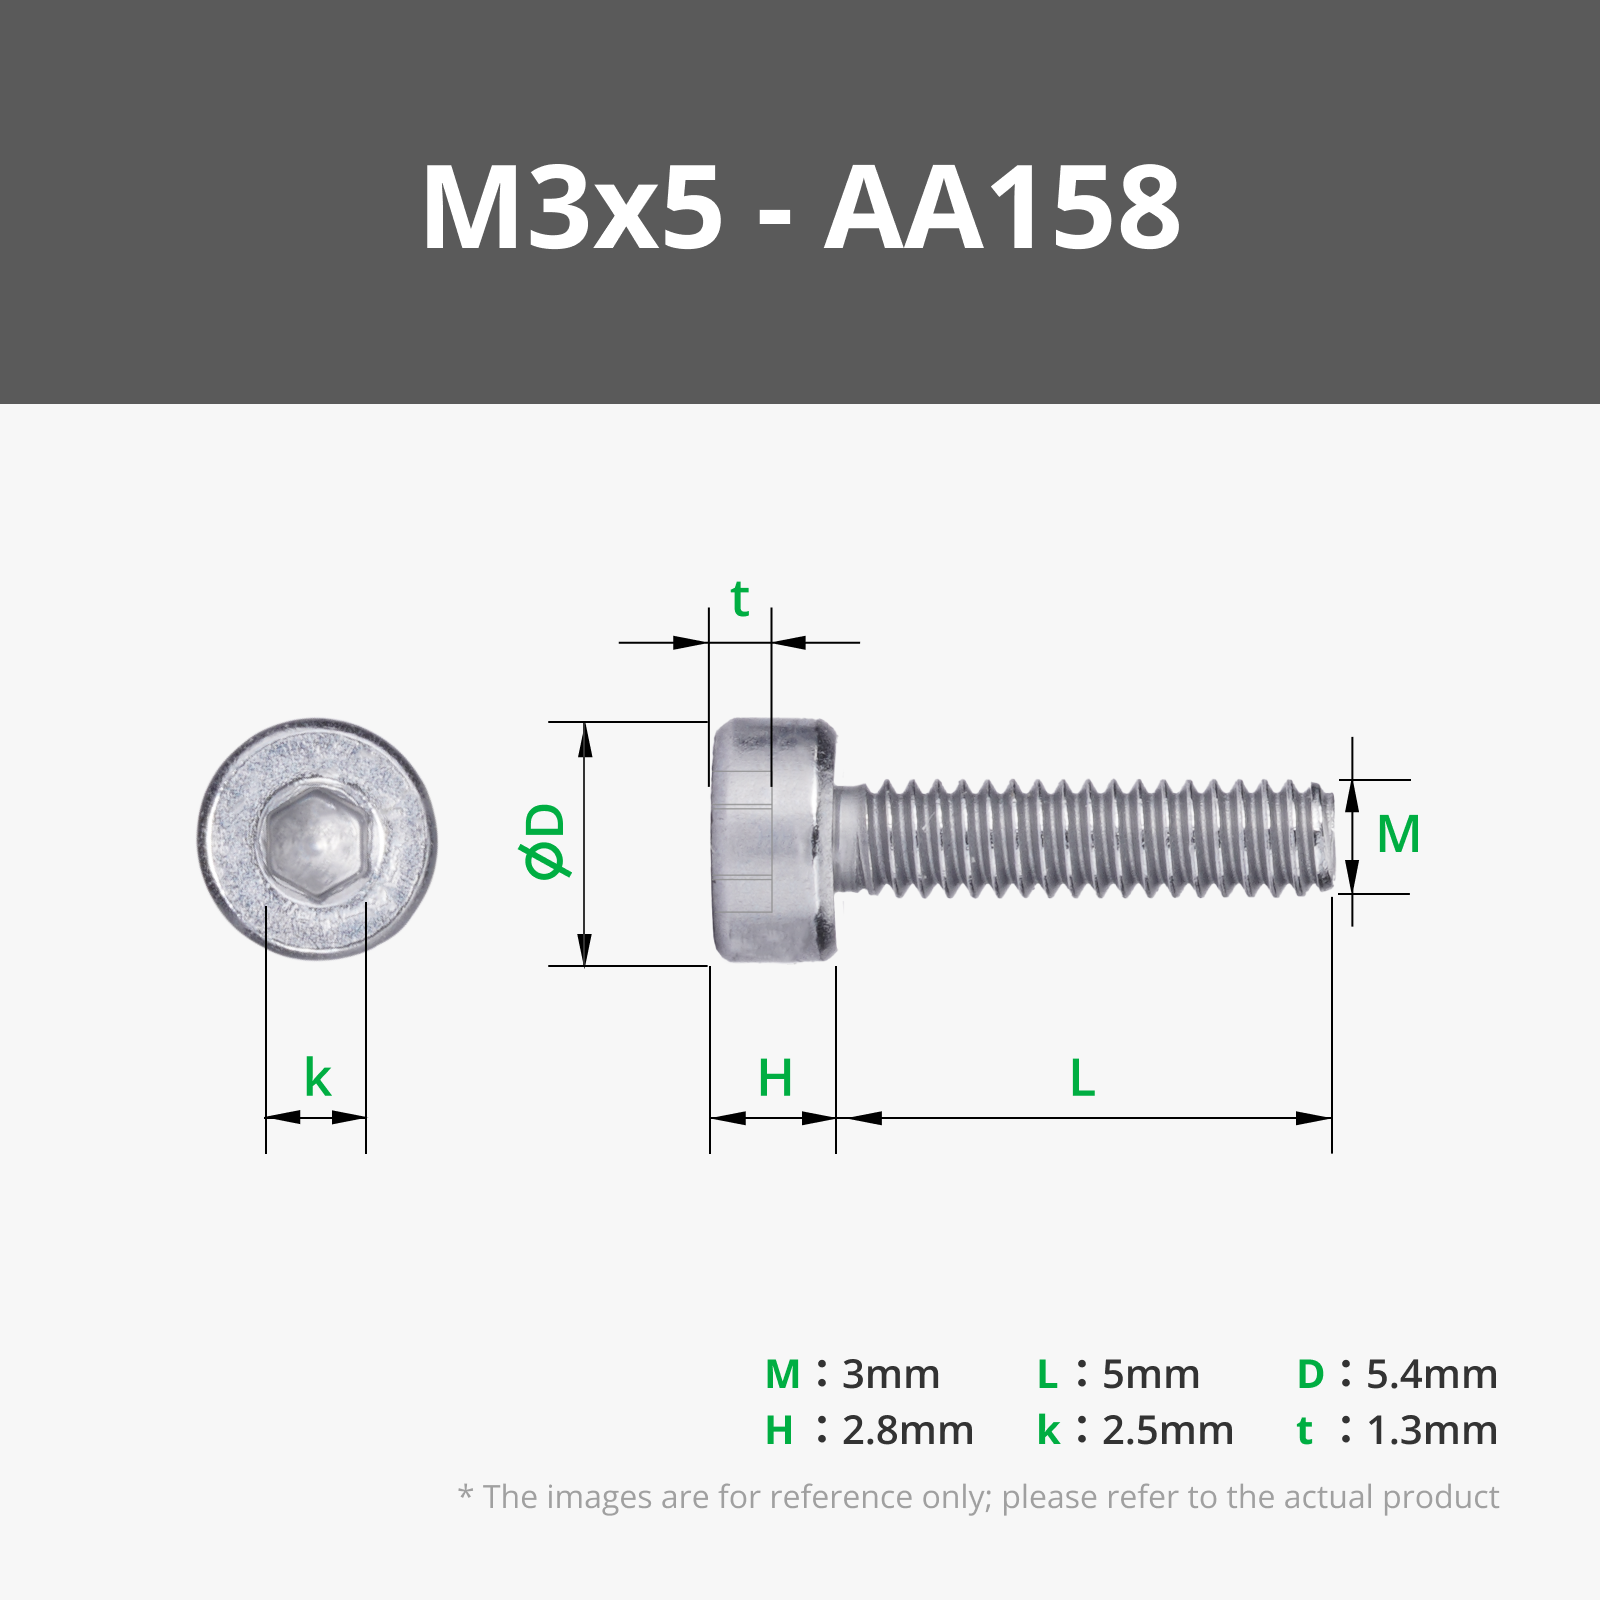
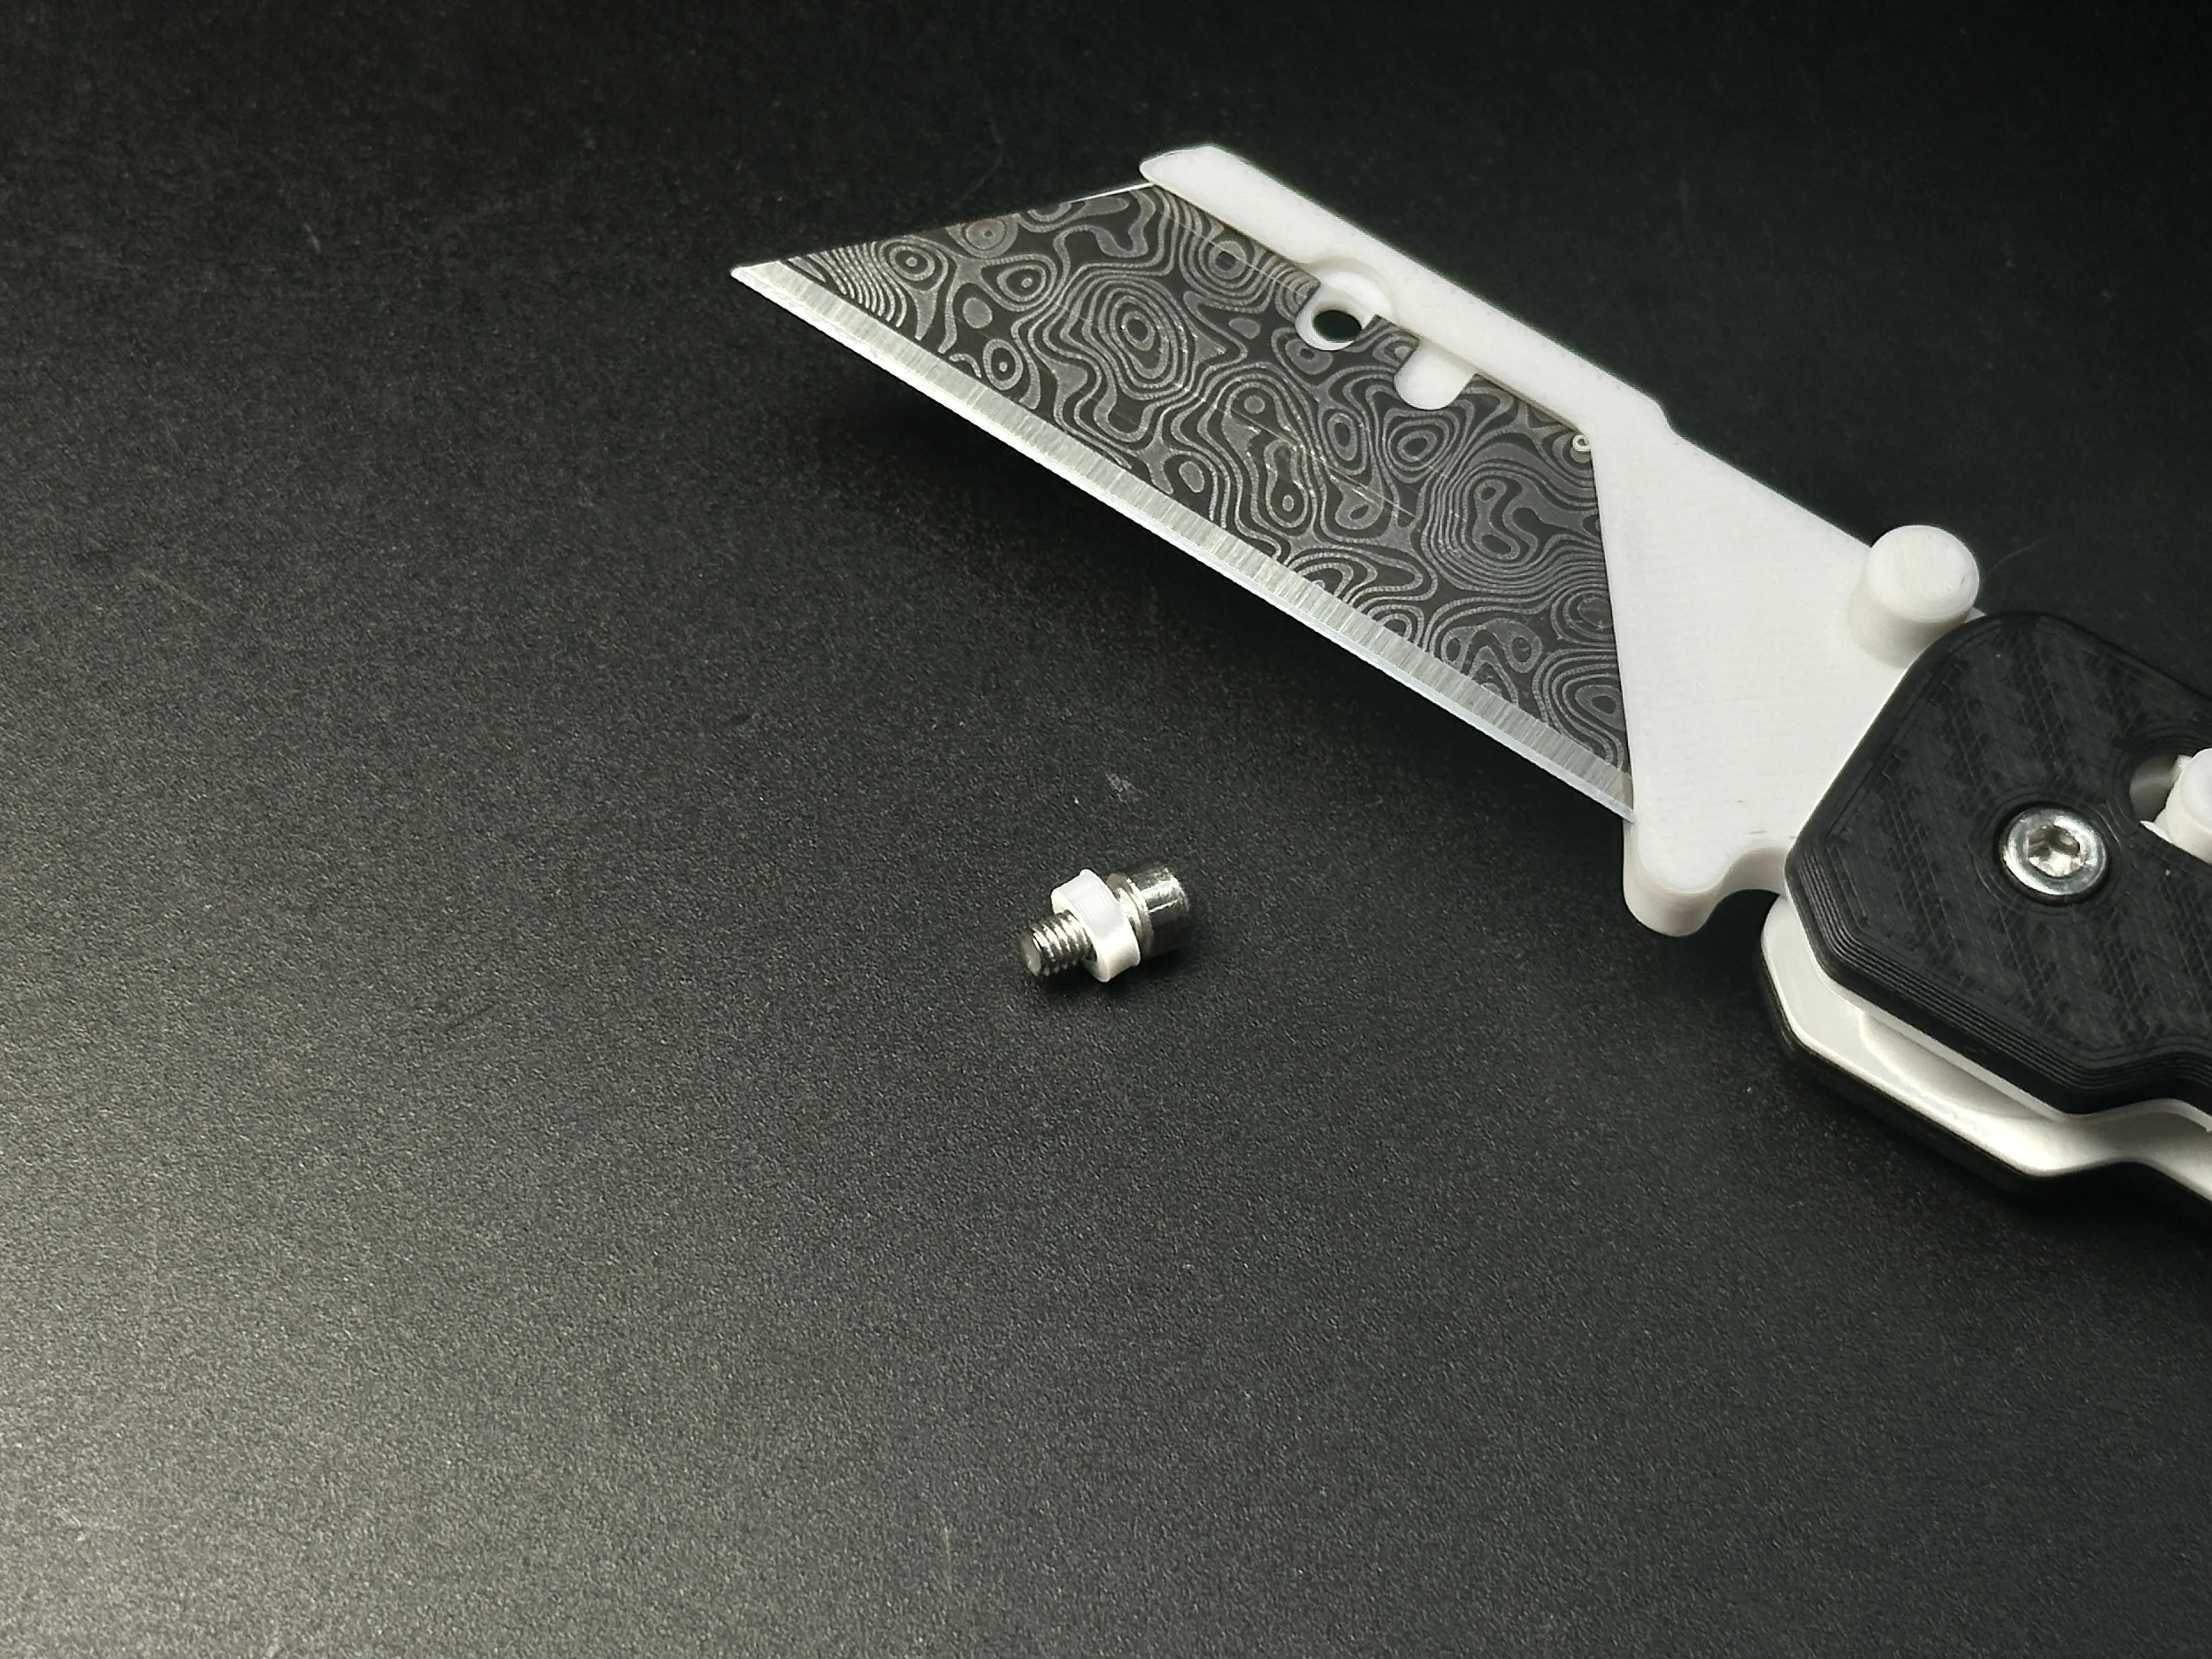
- 1× M3-5mm screw + nut (to secure the blade)
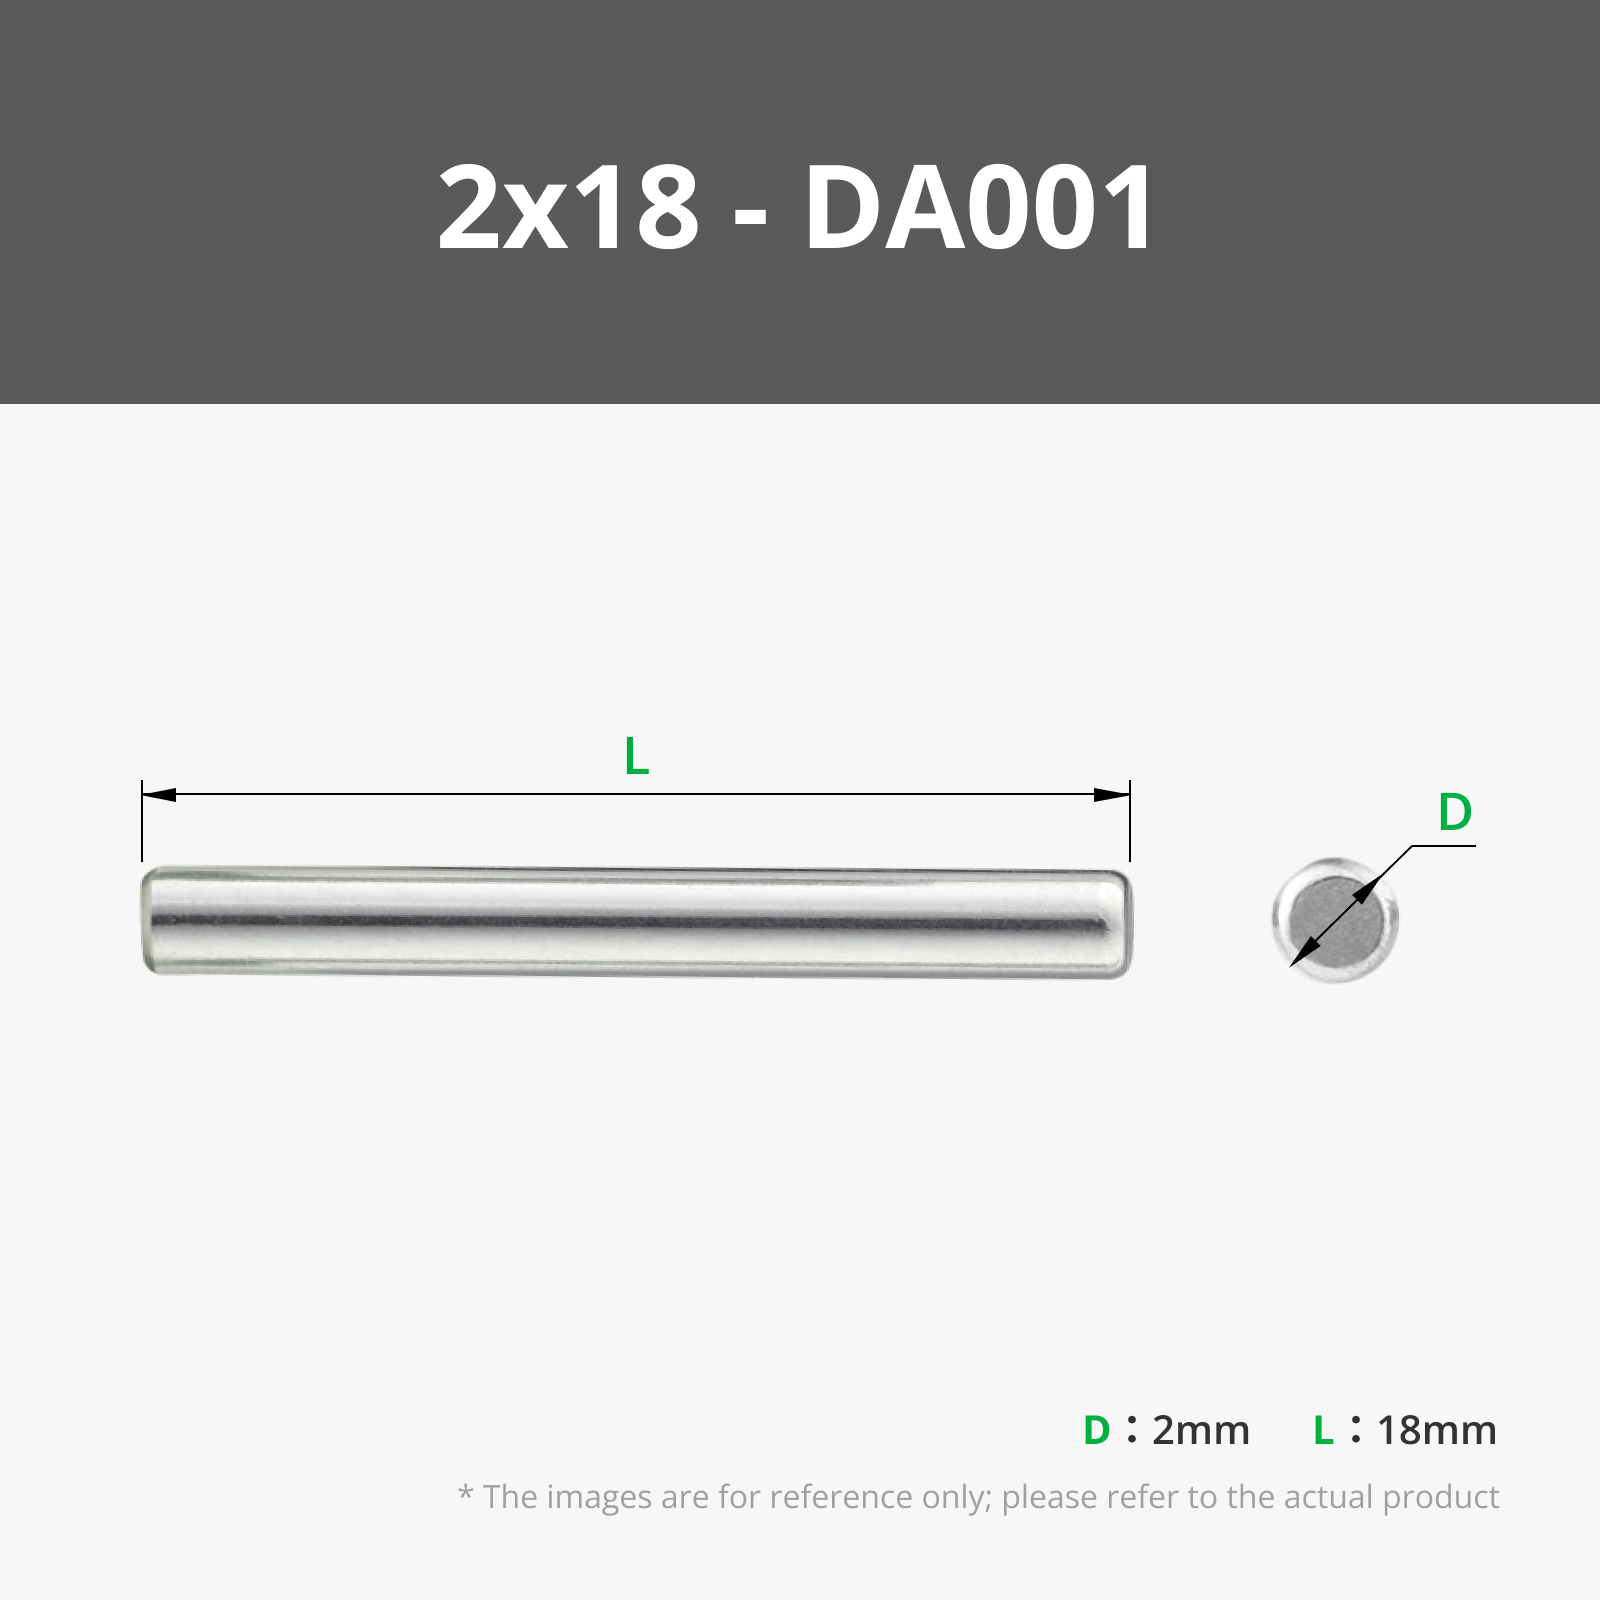
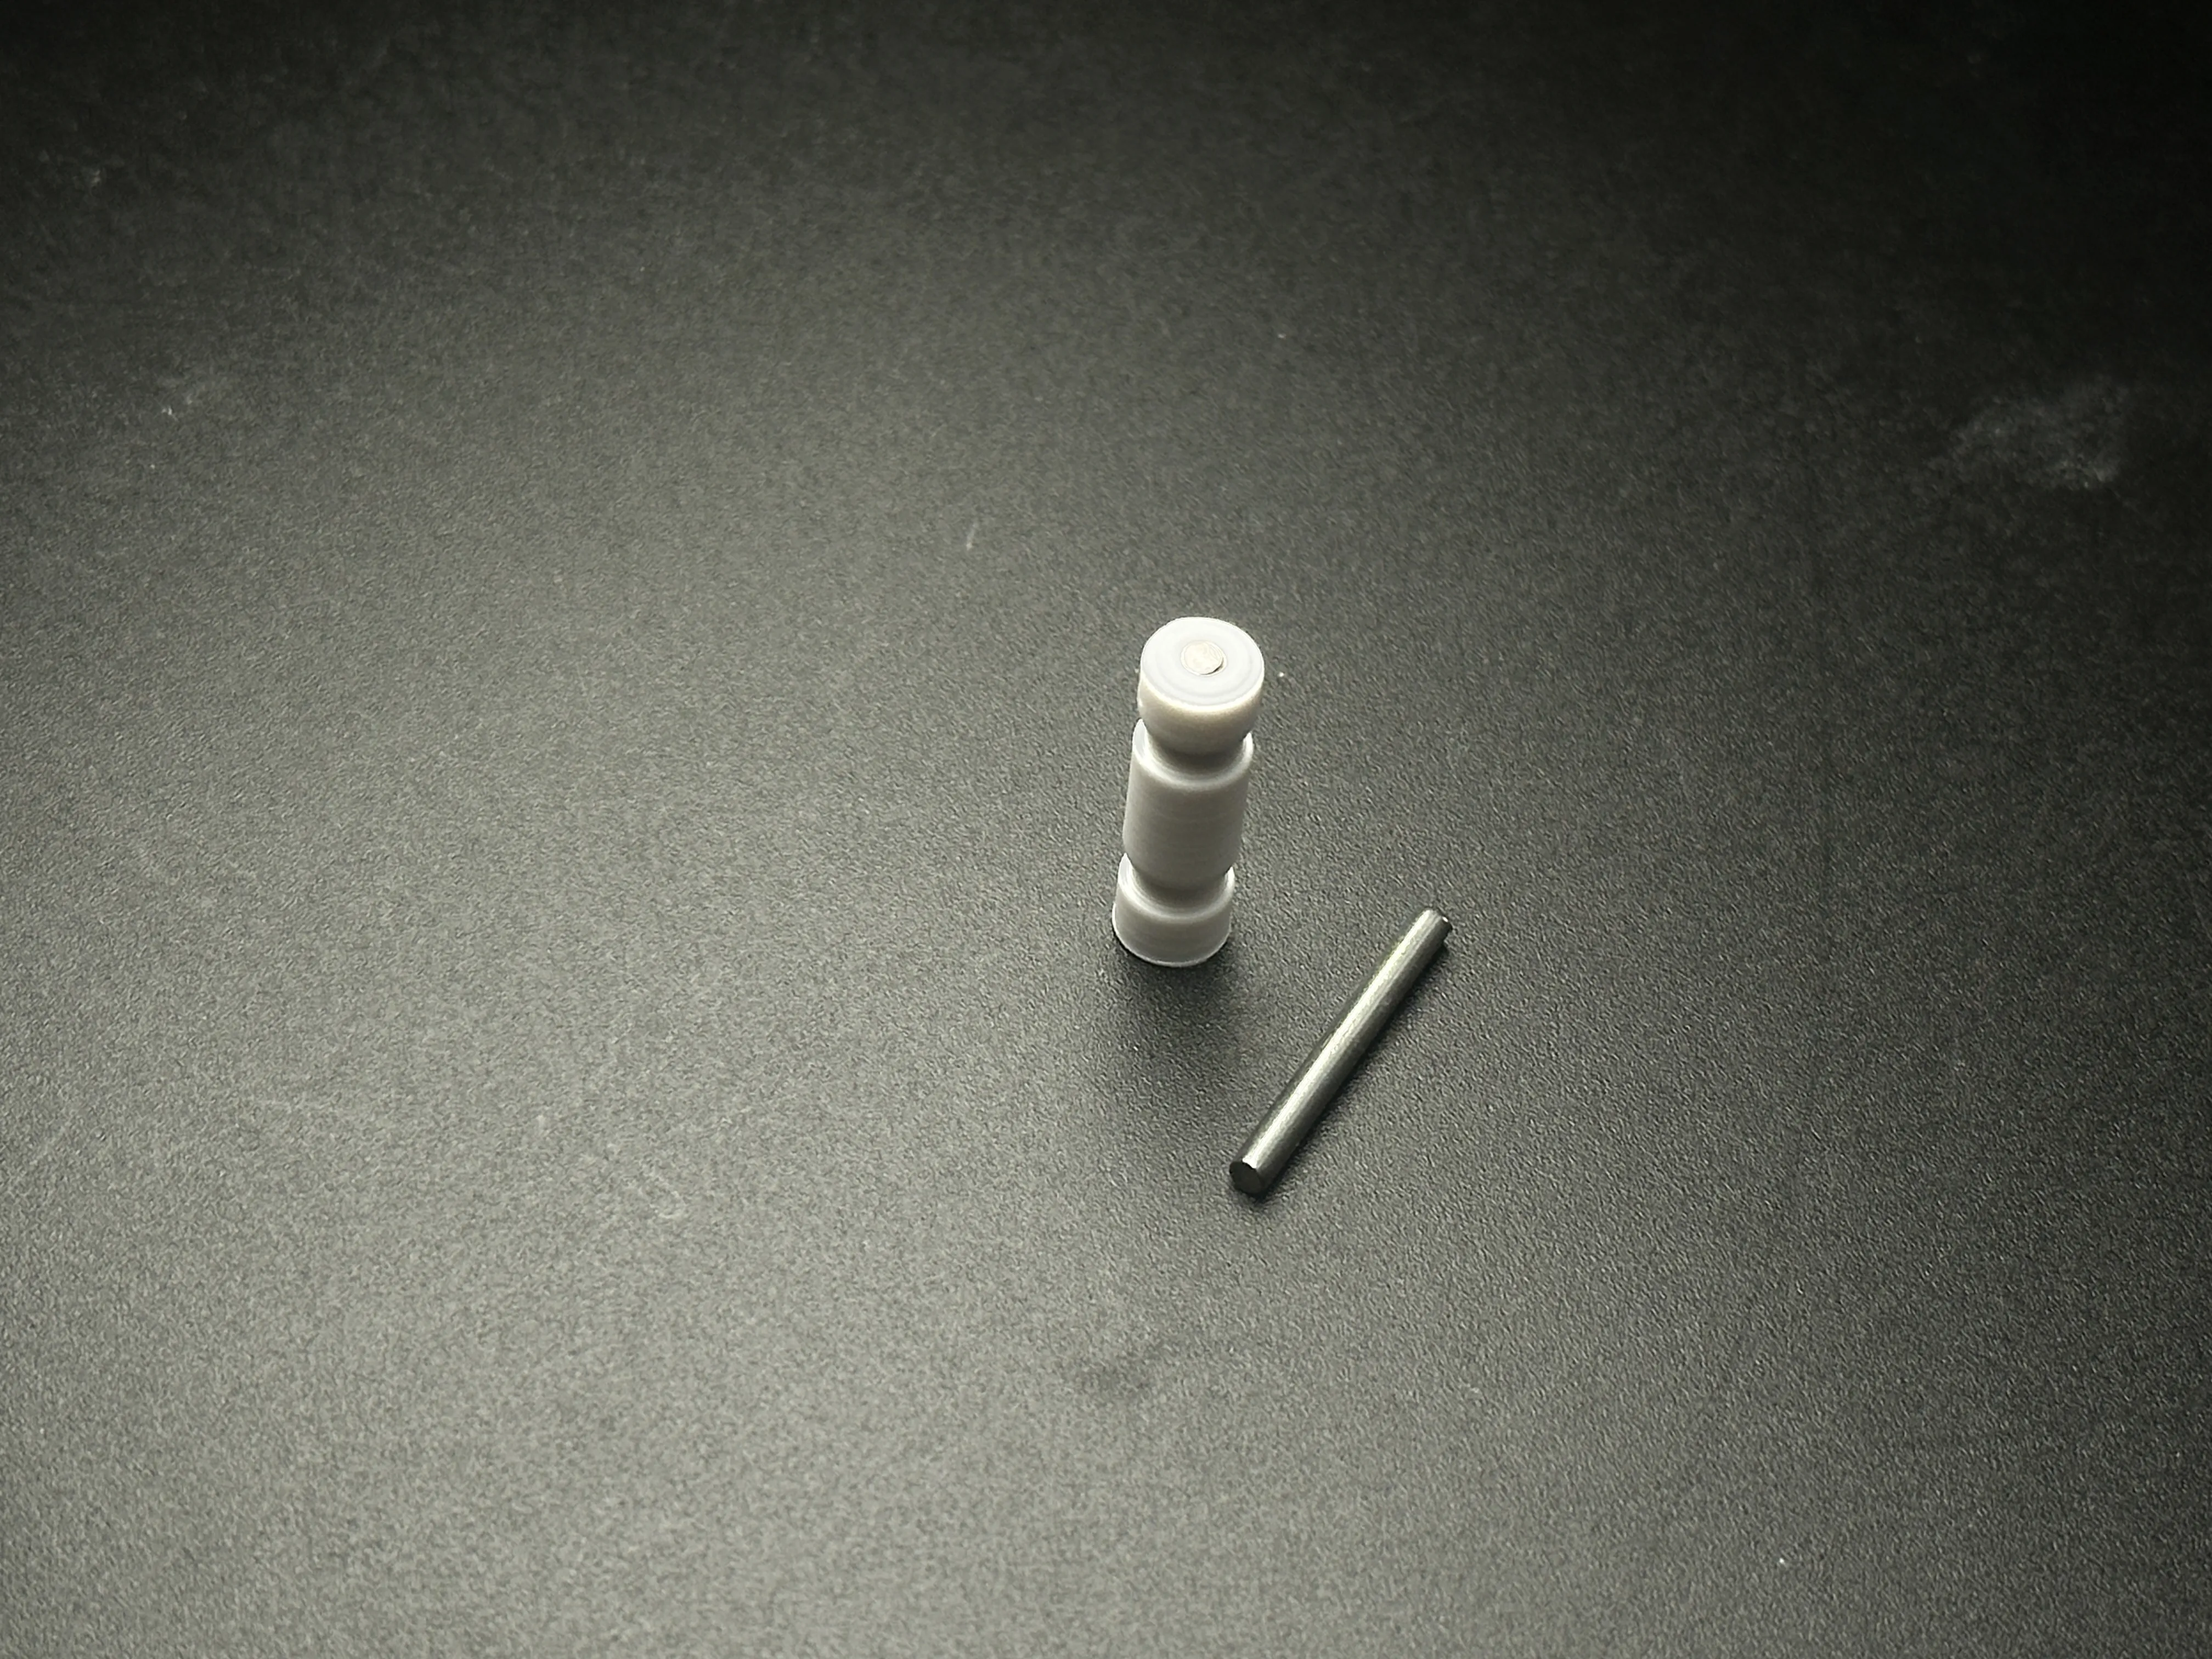
(Spacers included for M3-6mm screws if needed) - Optional: 1× 2mm-diameter dowel pin (16-18mm long) to reinforce the lock button.
Hardware PSA:
Screws are sized for Bambu Lab Maker's Supply kits (nuts are slightly larger). Standard hardware works too—though nut tightening can be tricky. (Don’t worry, your fingers are strong enough!)
Video Guide & Manual:
Detailed assembly video (includes pocket clip install) and instructions below:
Step-by-Step Assembly:
Hook one spring onto the unlock button.
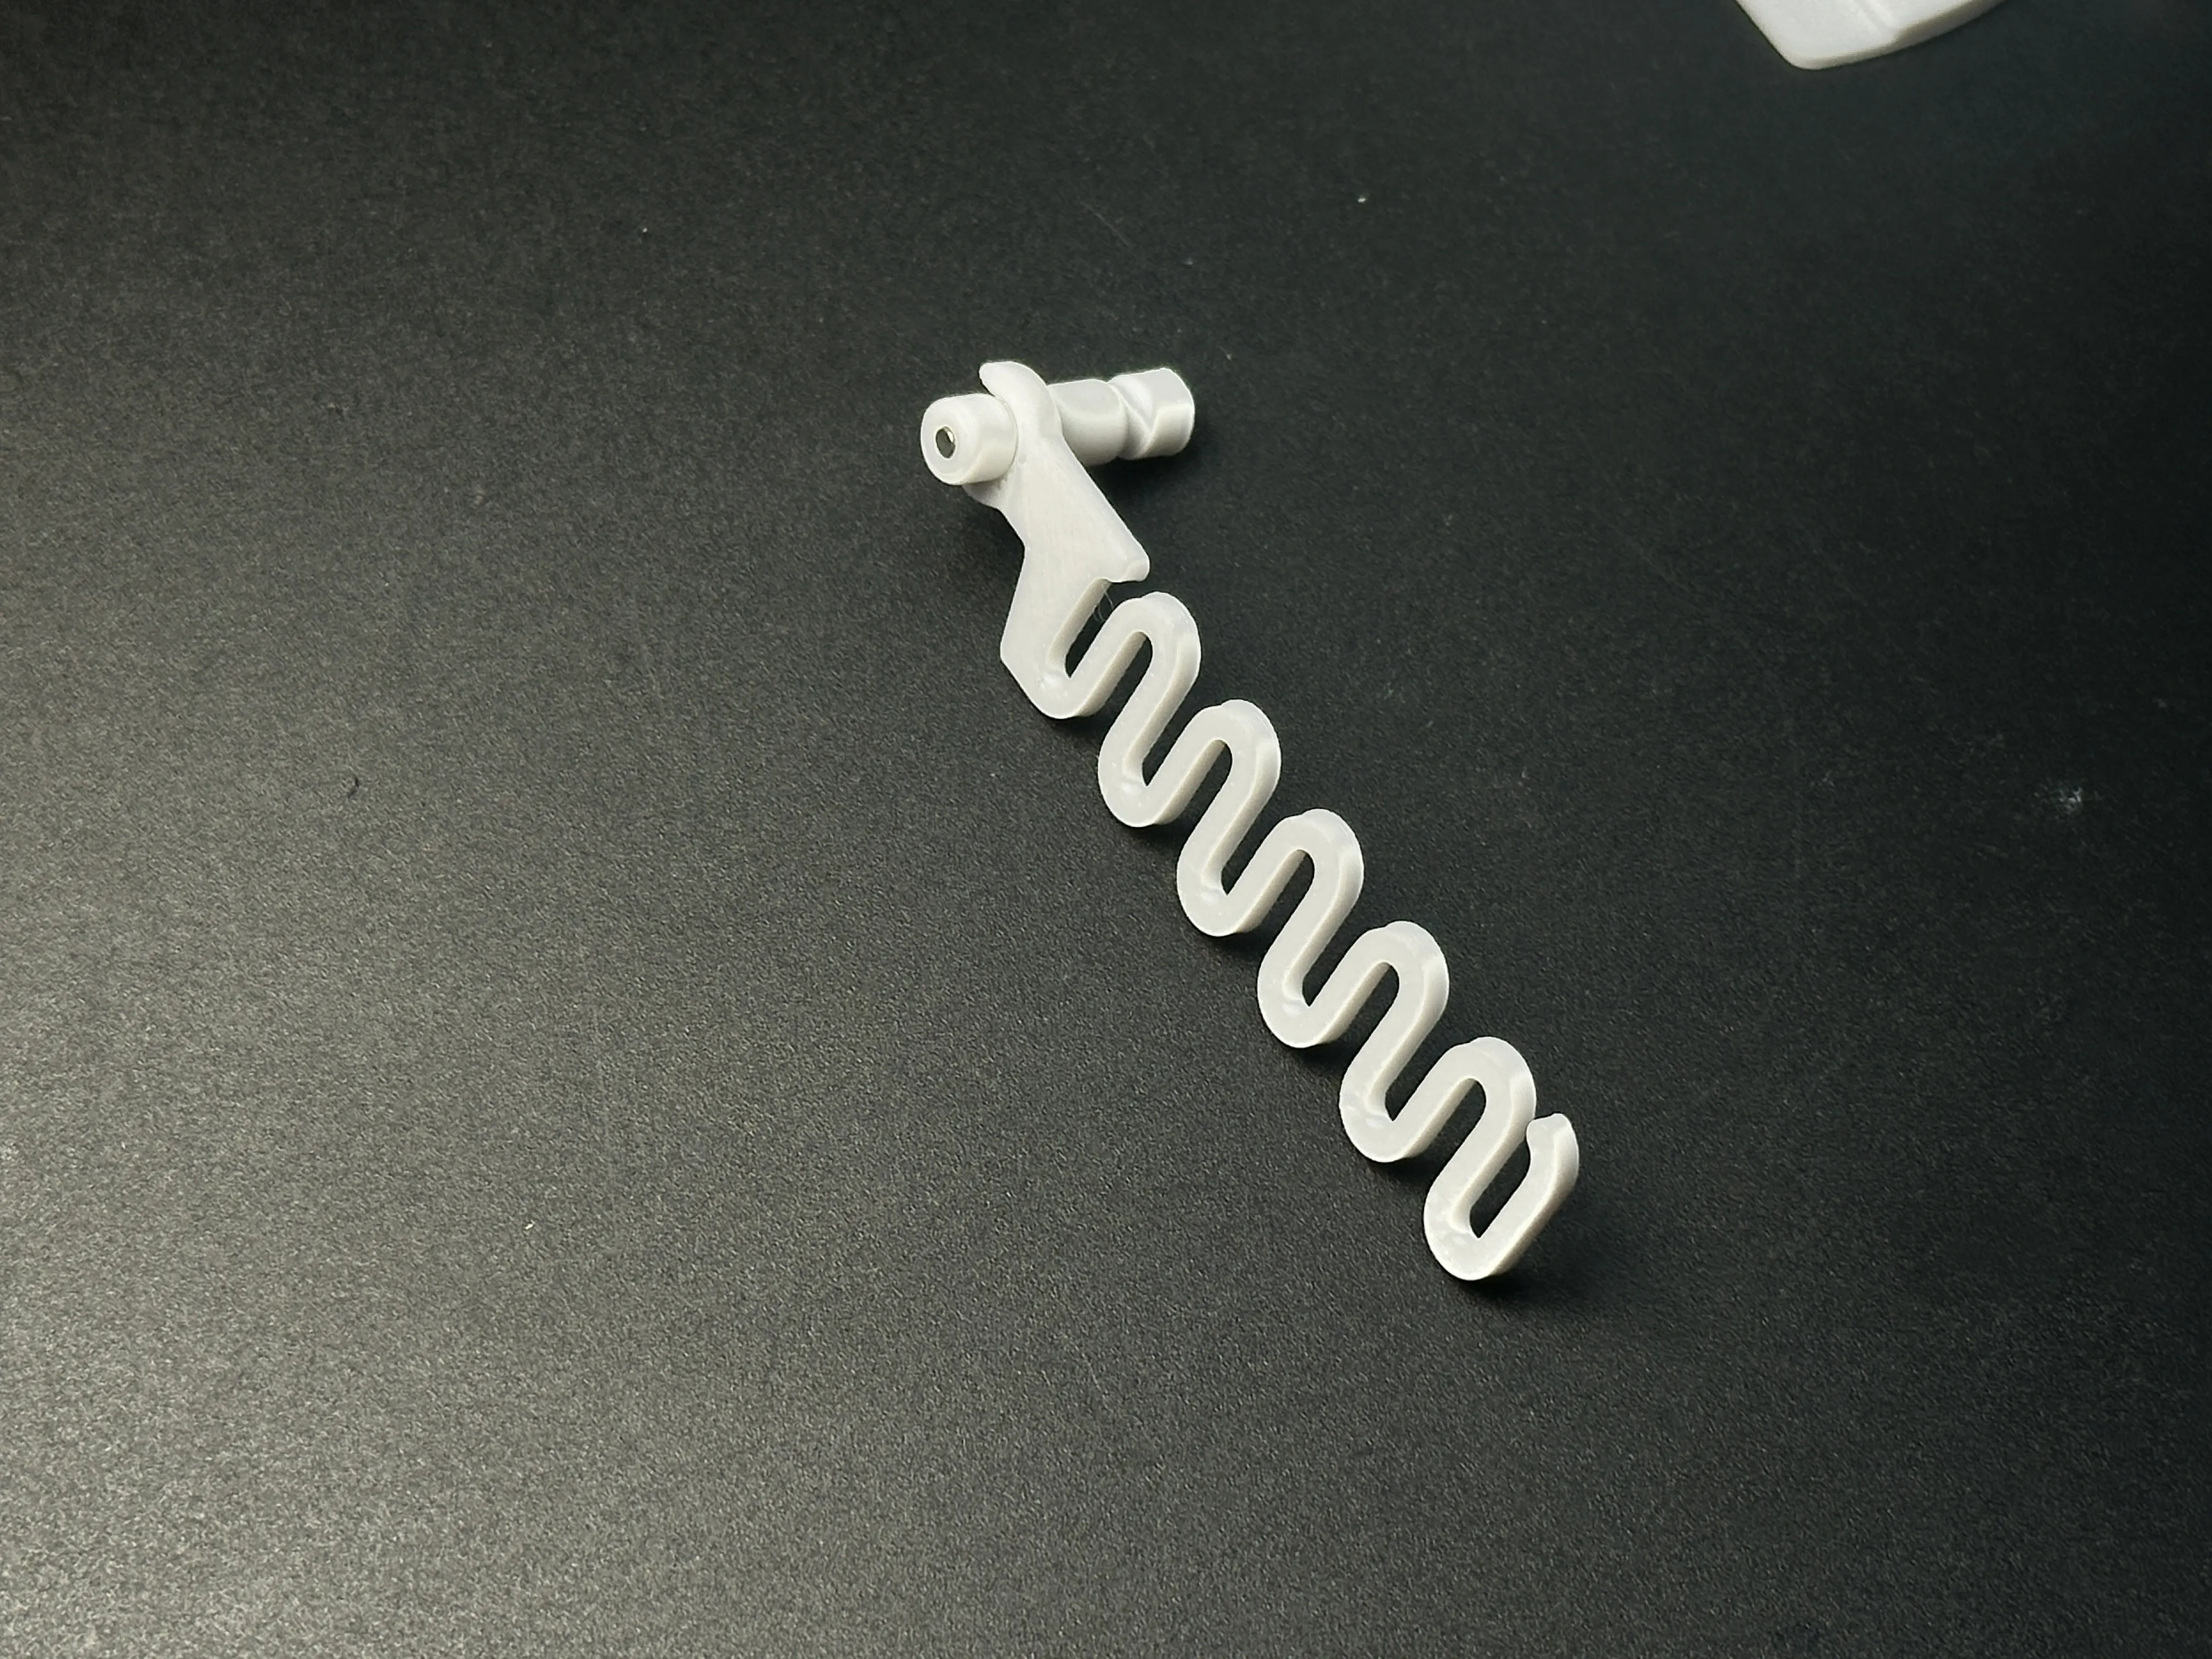
Align white handle frames, slide button through both.
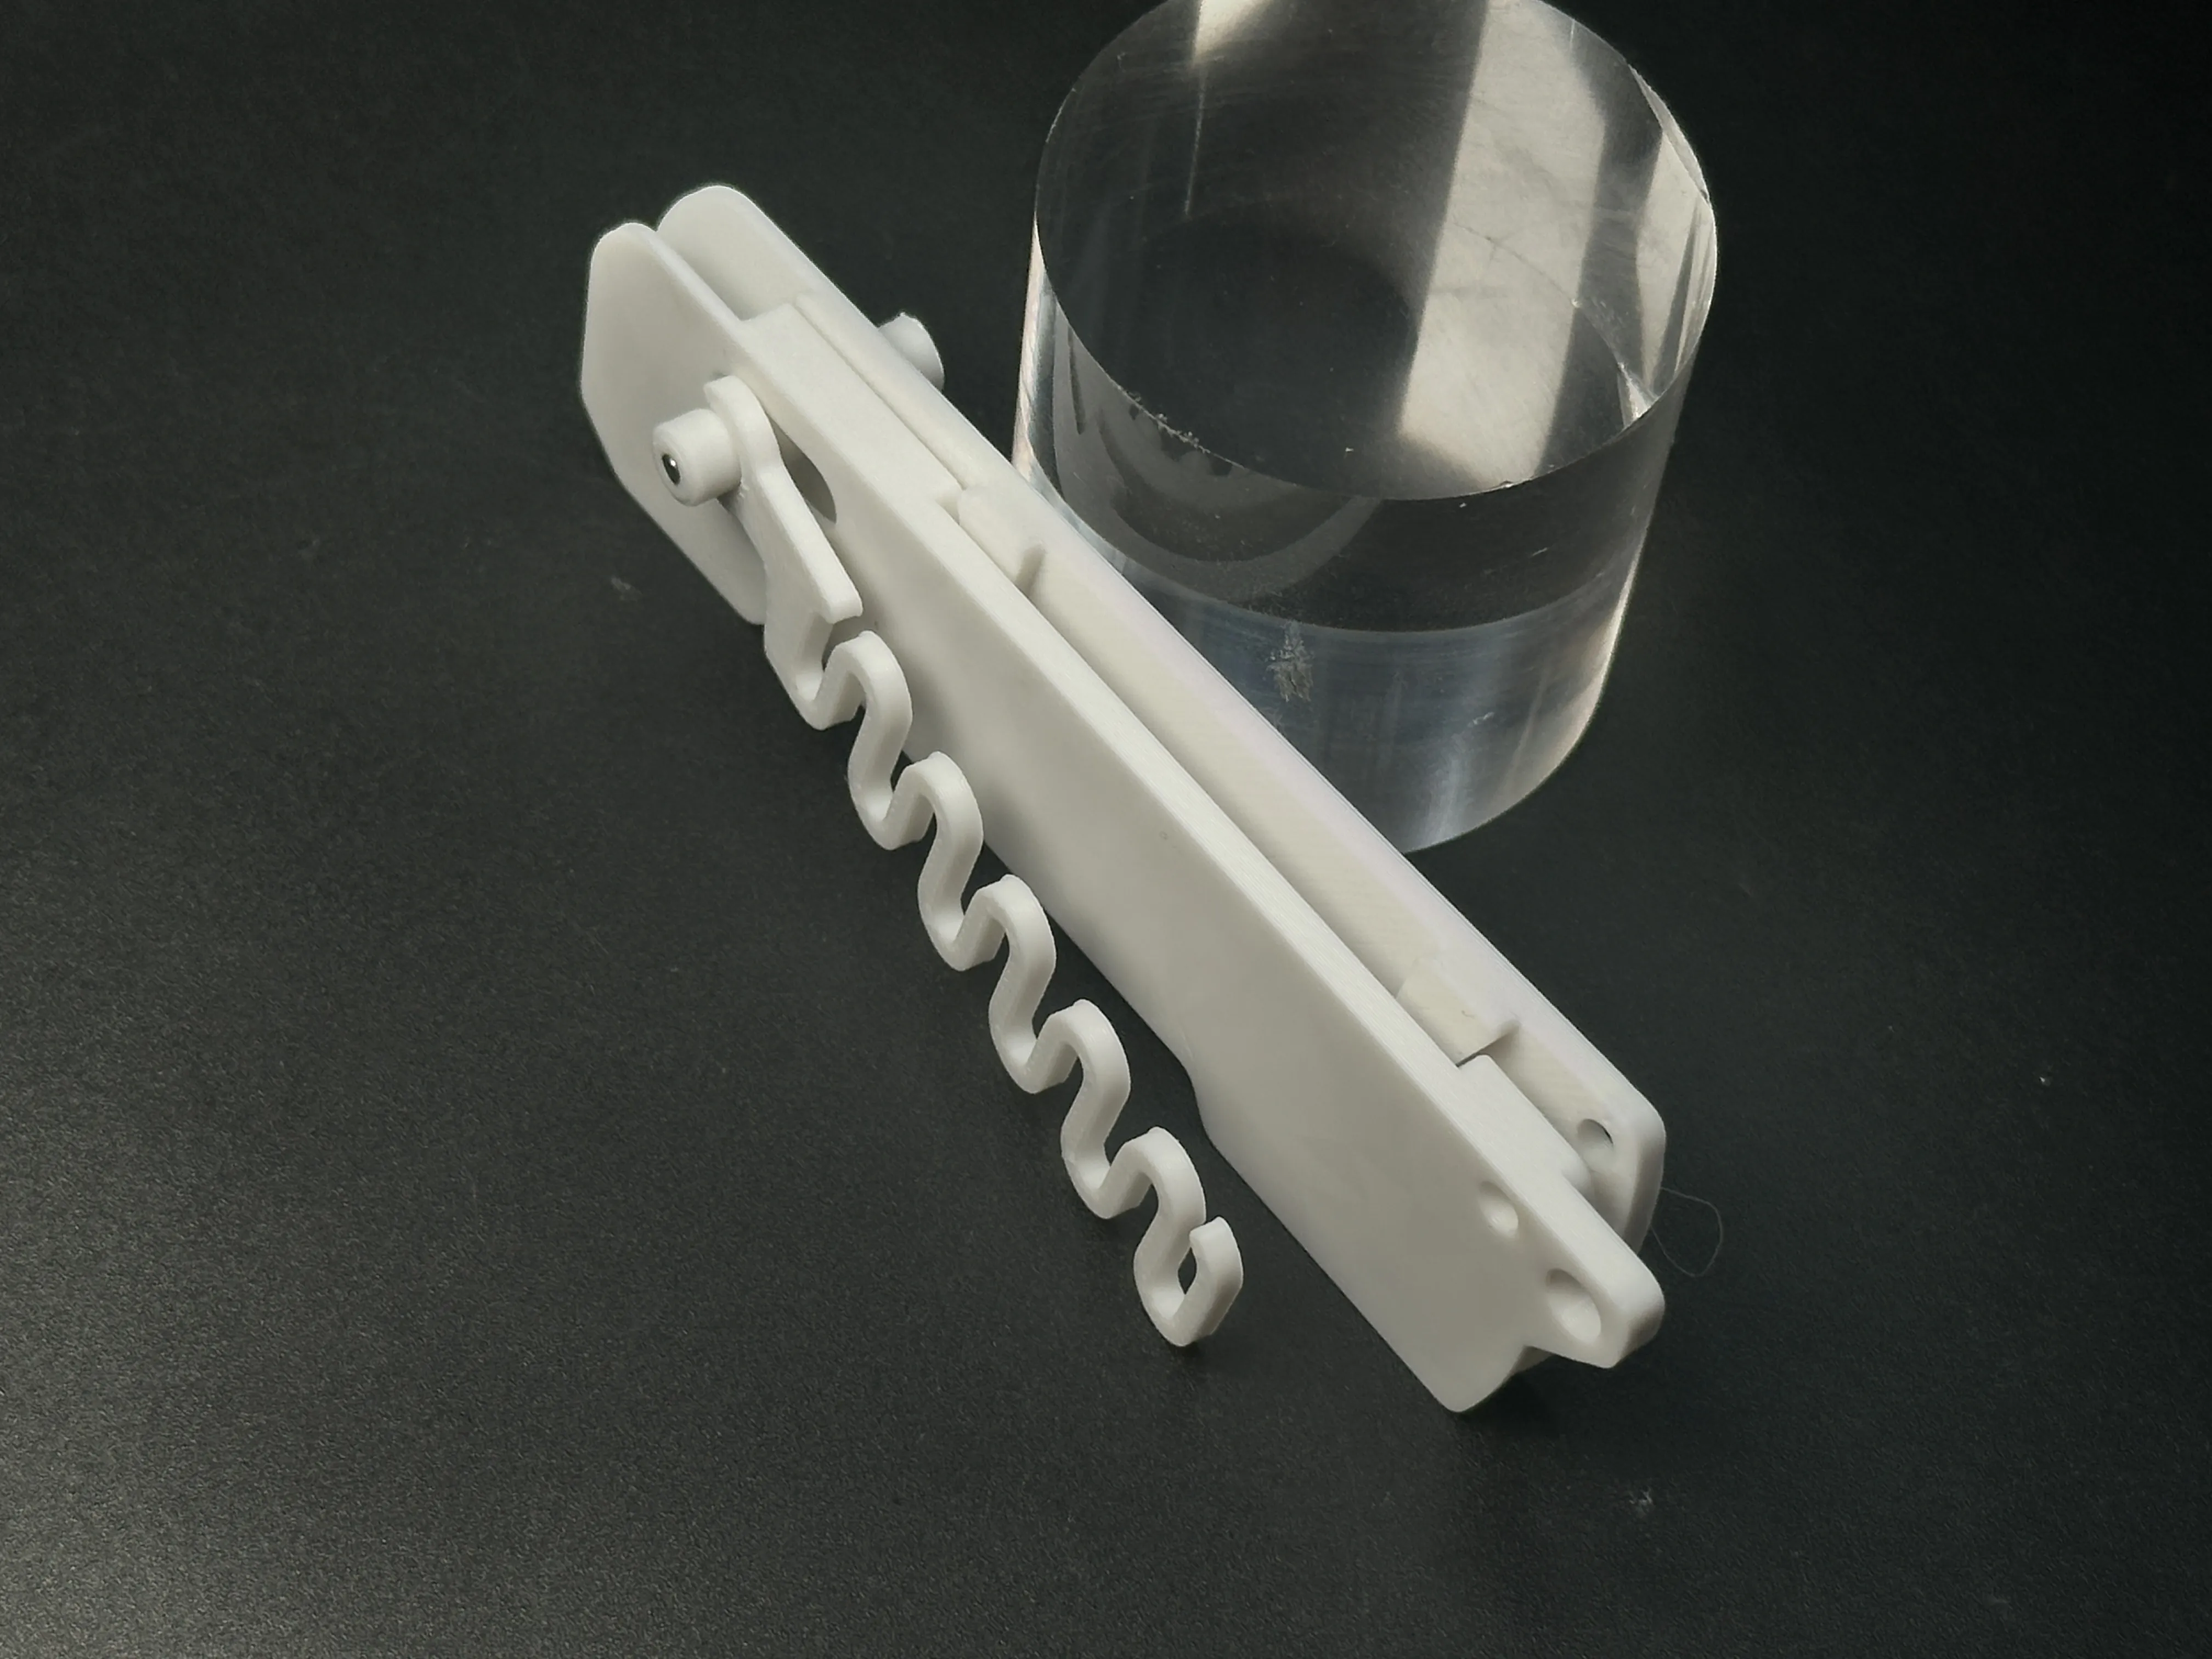
Attach the other spring to the button.
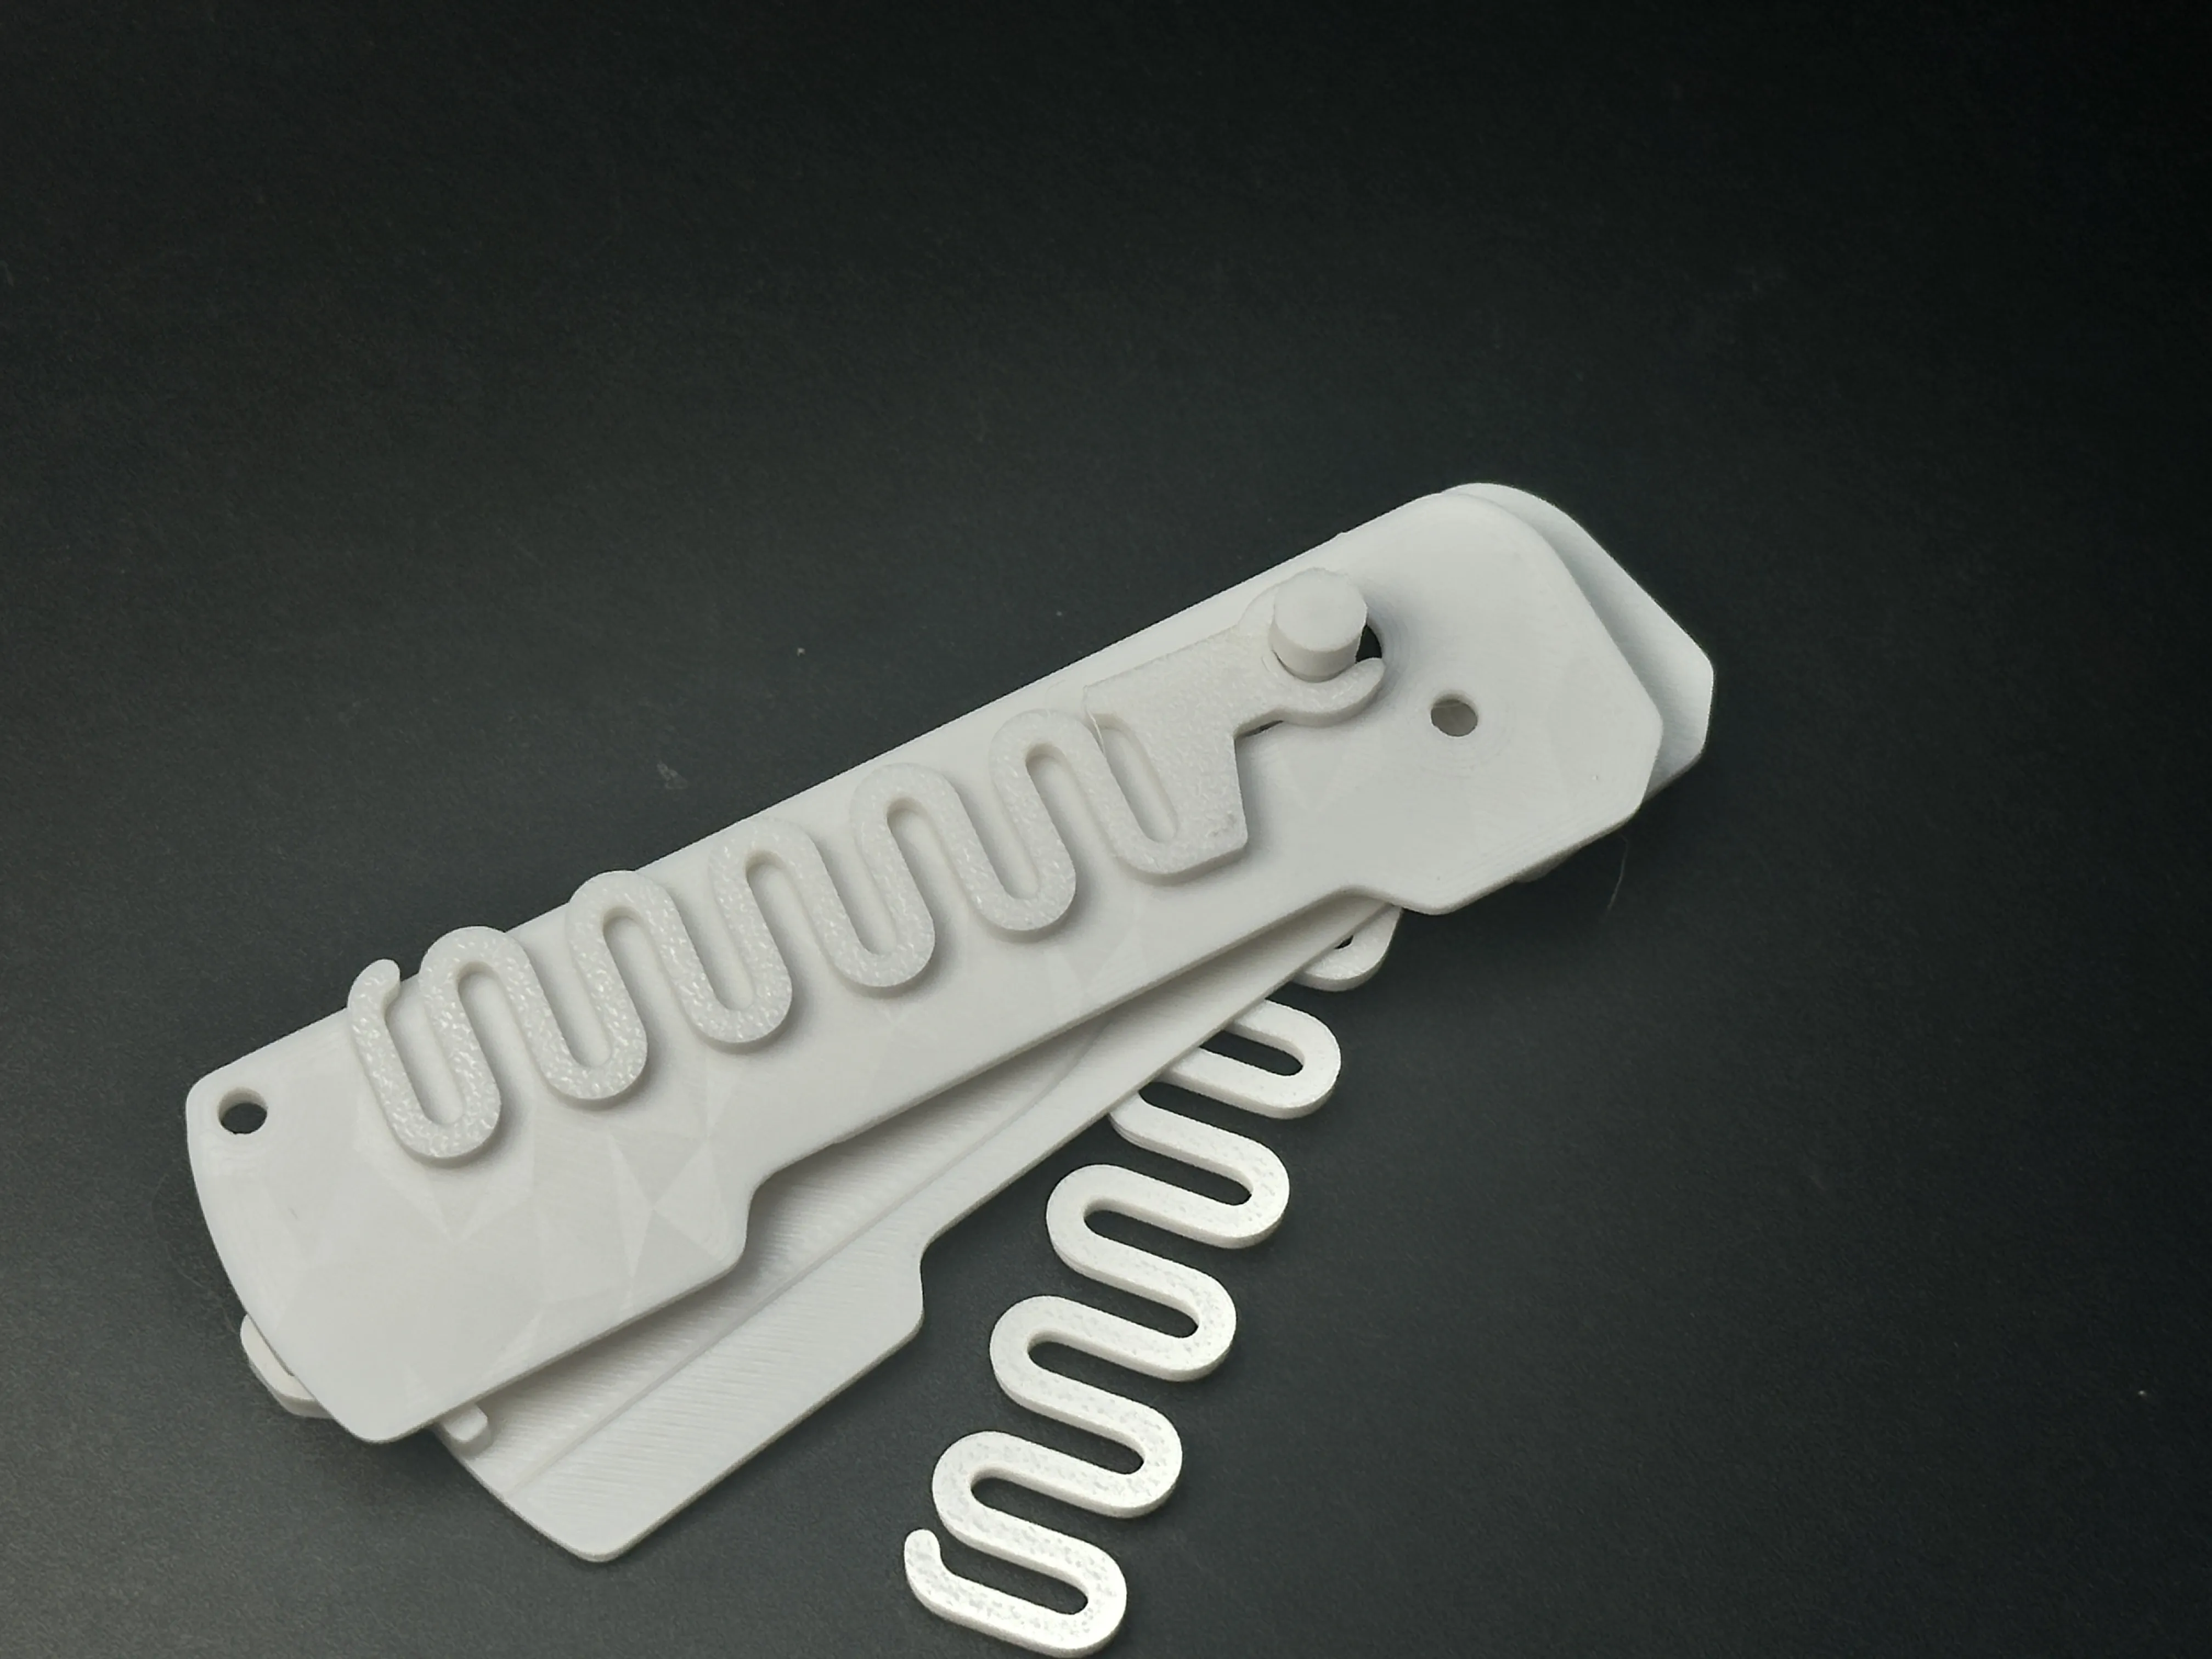
Snap handle covers on. Must seat springs in cover grooves!Lock handle rear with M3-12mm screws/nuts.
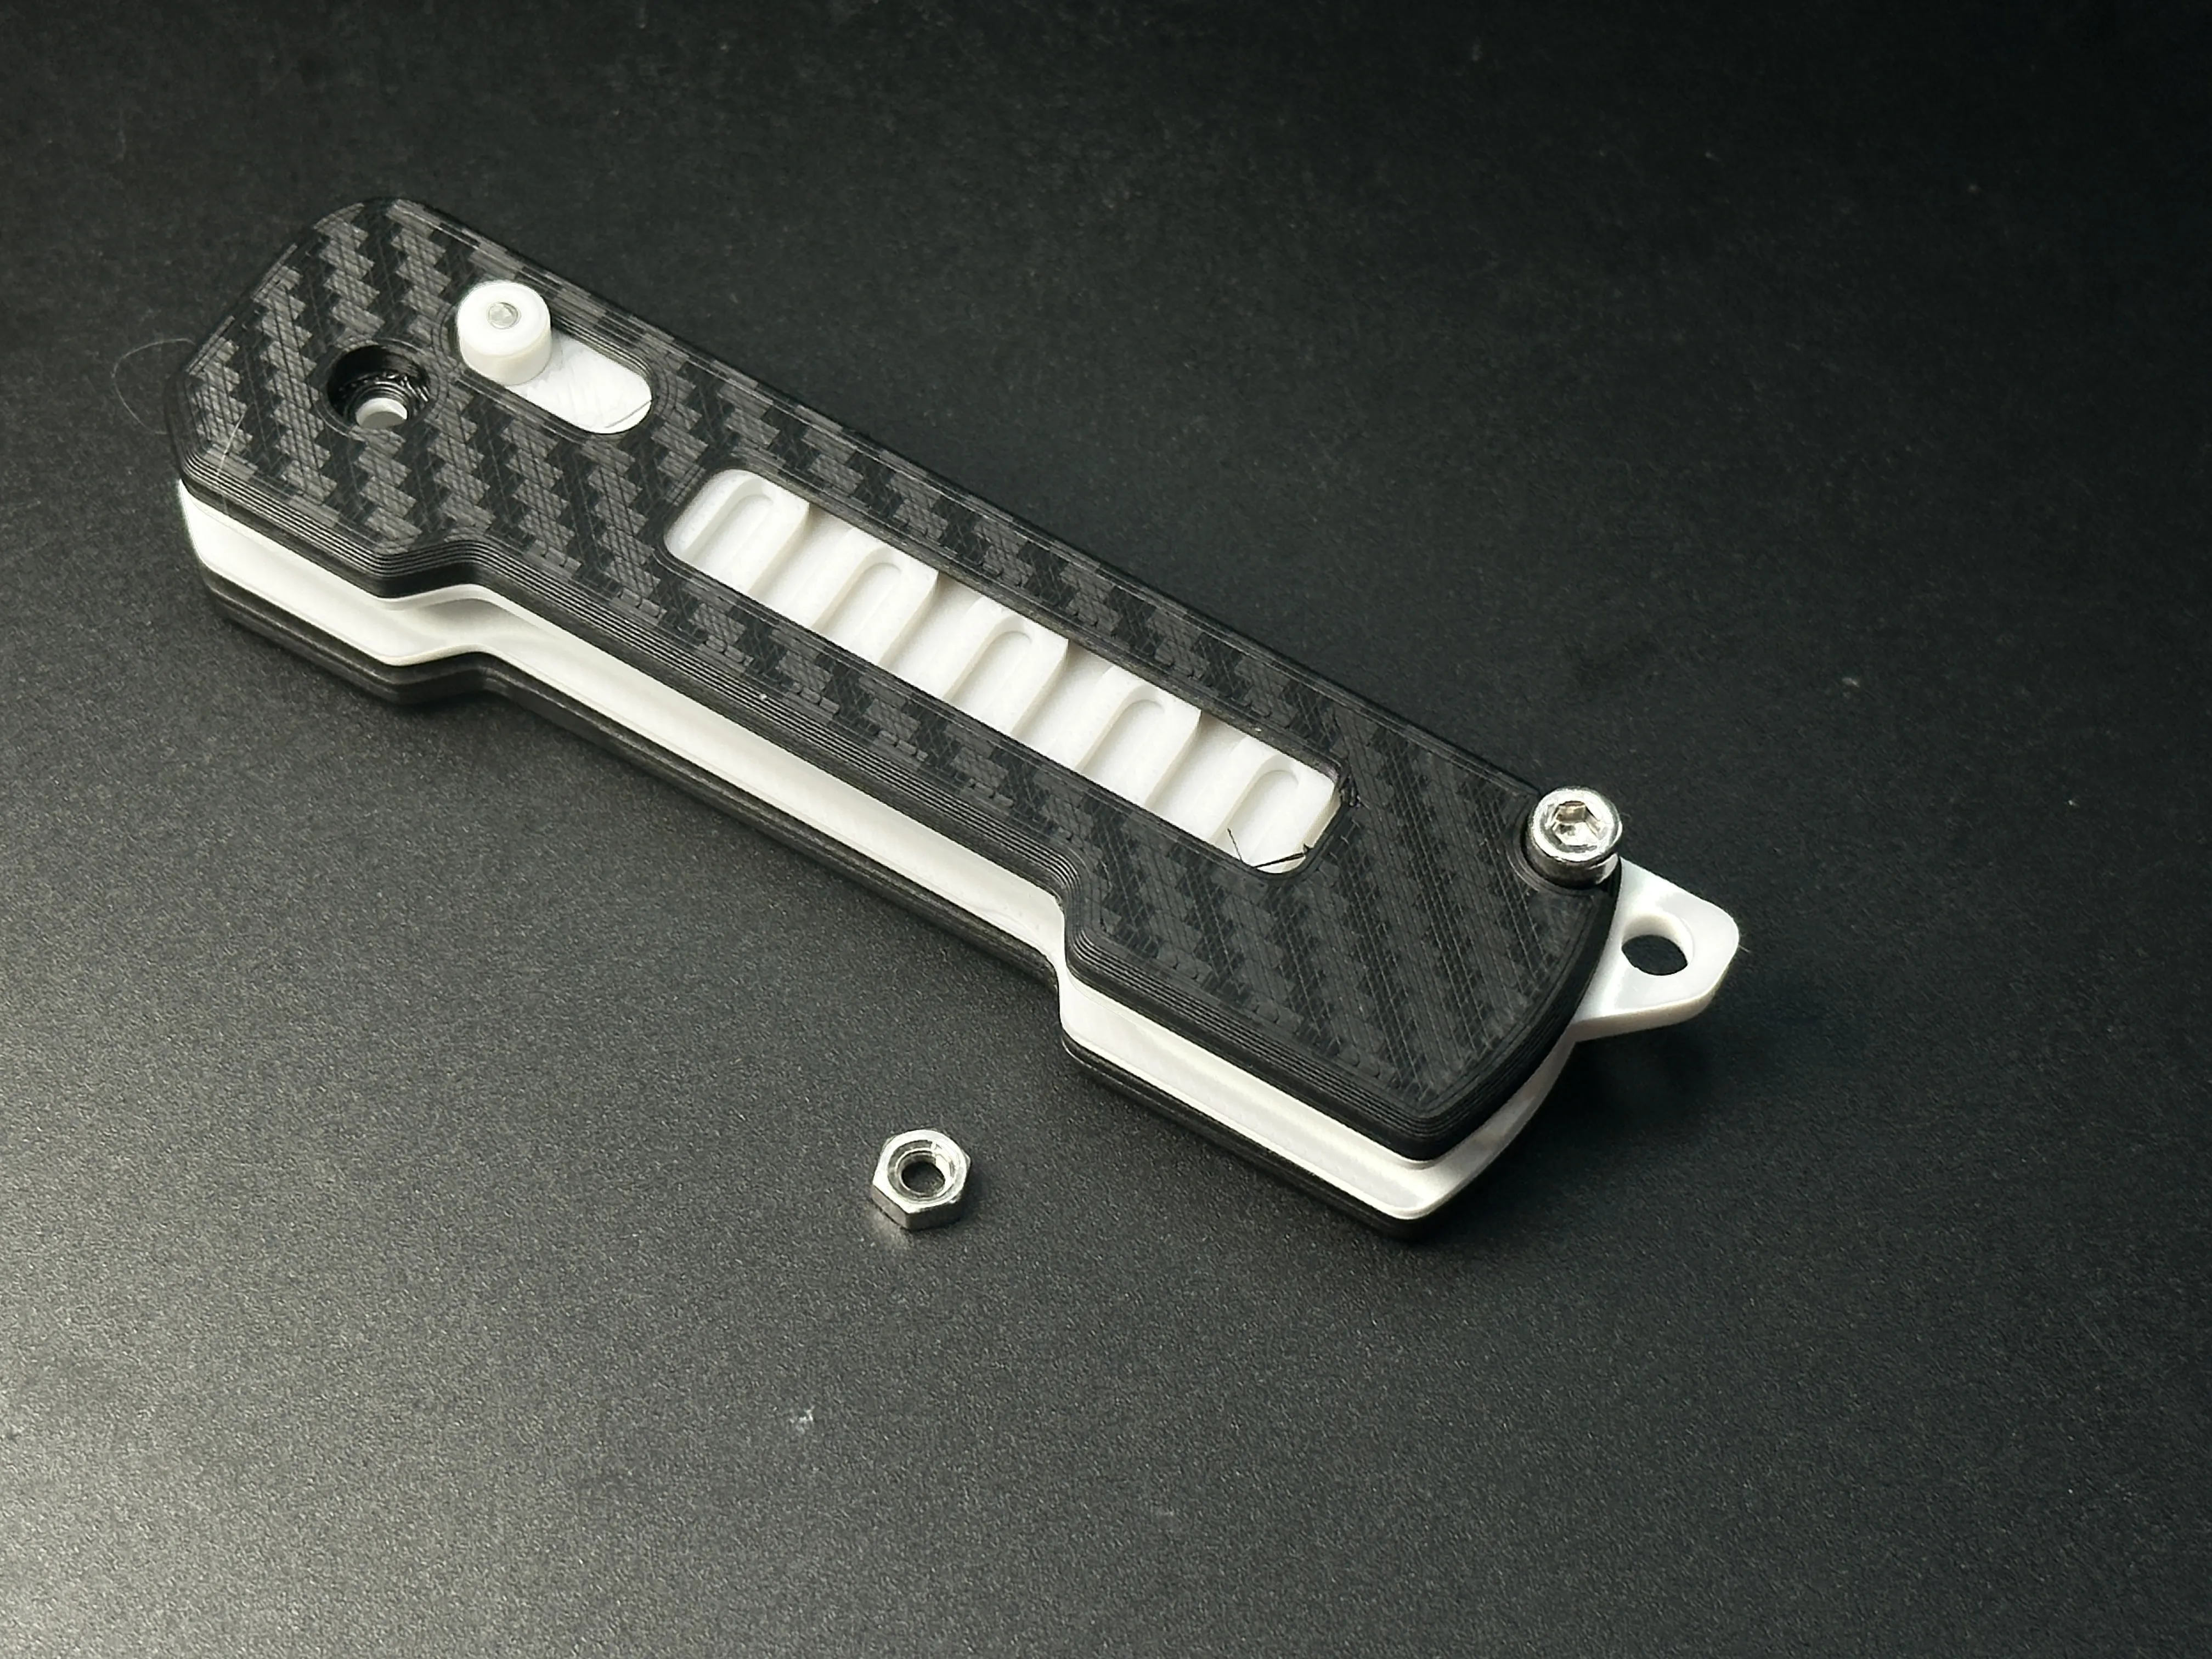
Pivot-mount blade holder with M3-12mm screws/nuts.
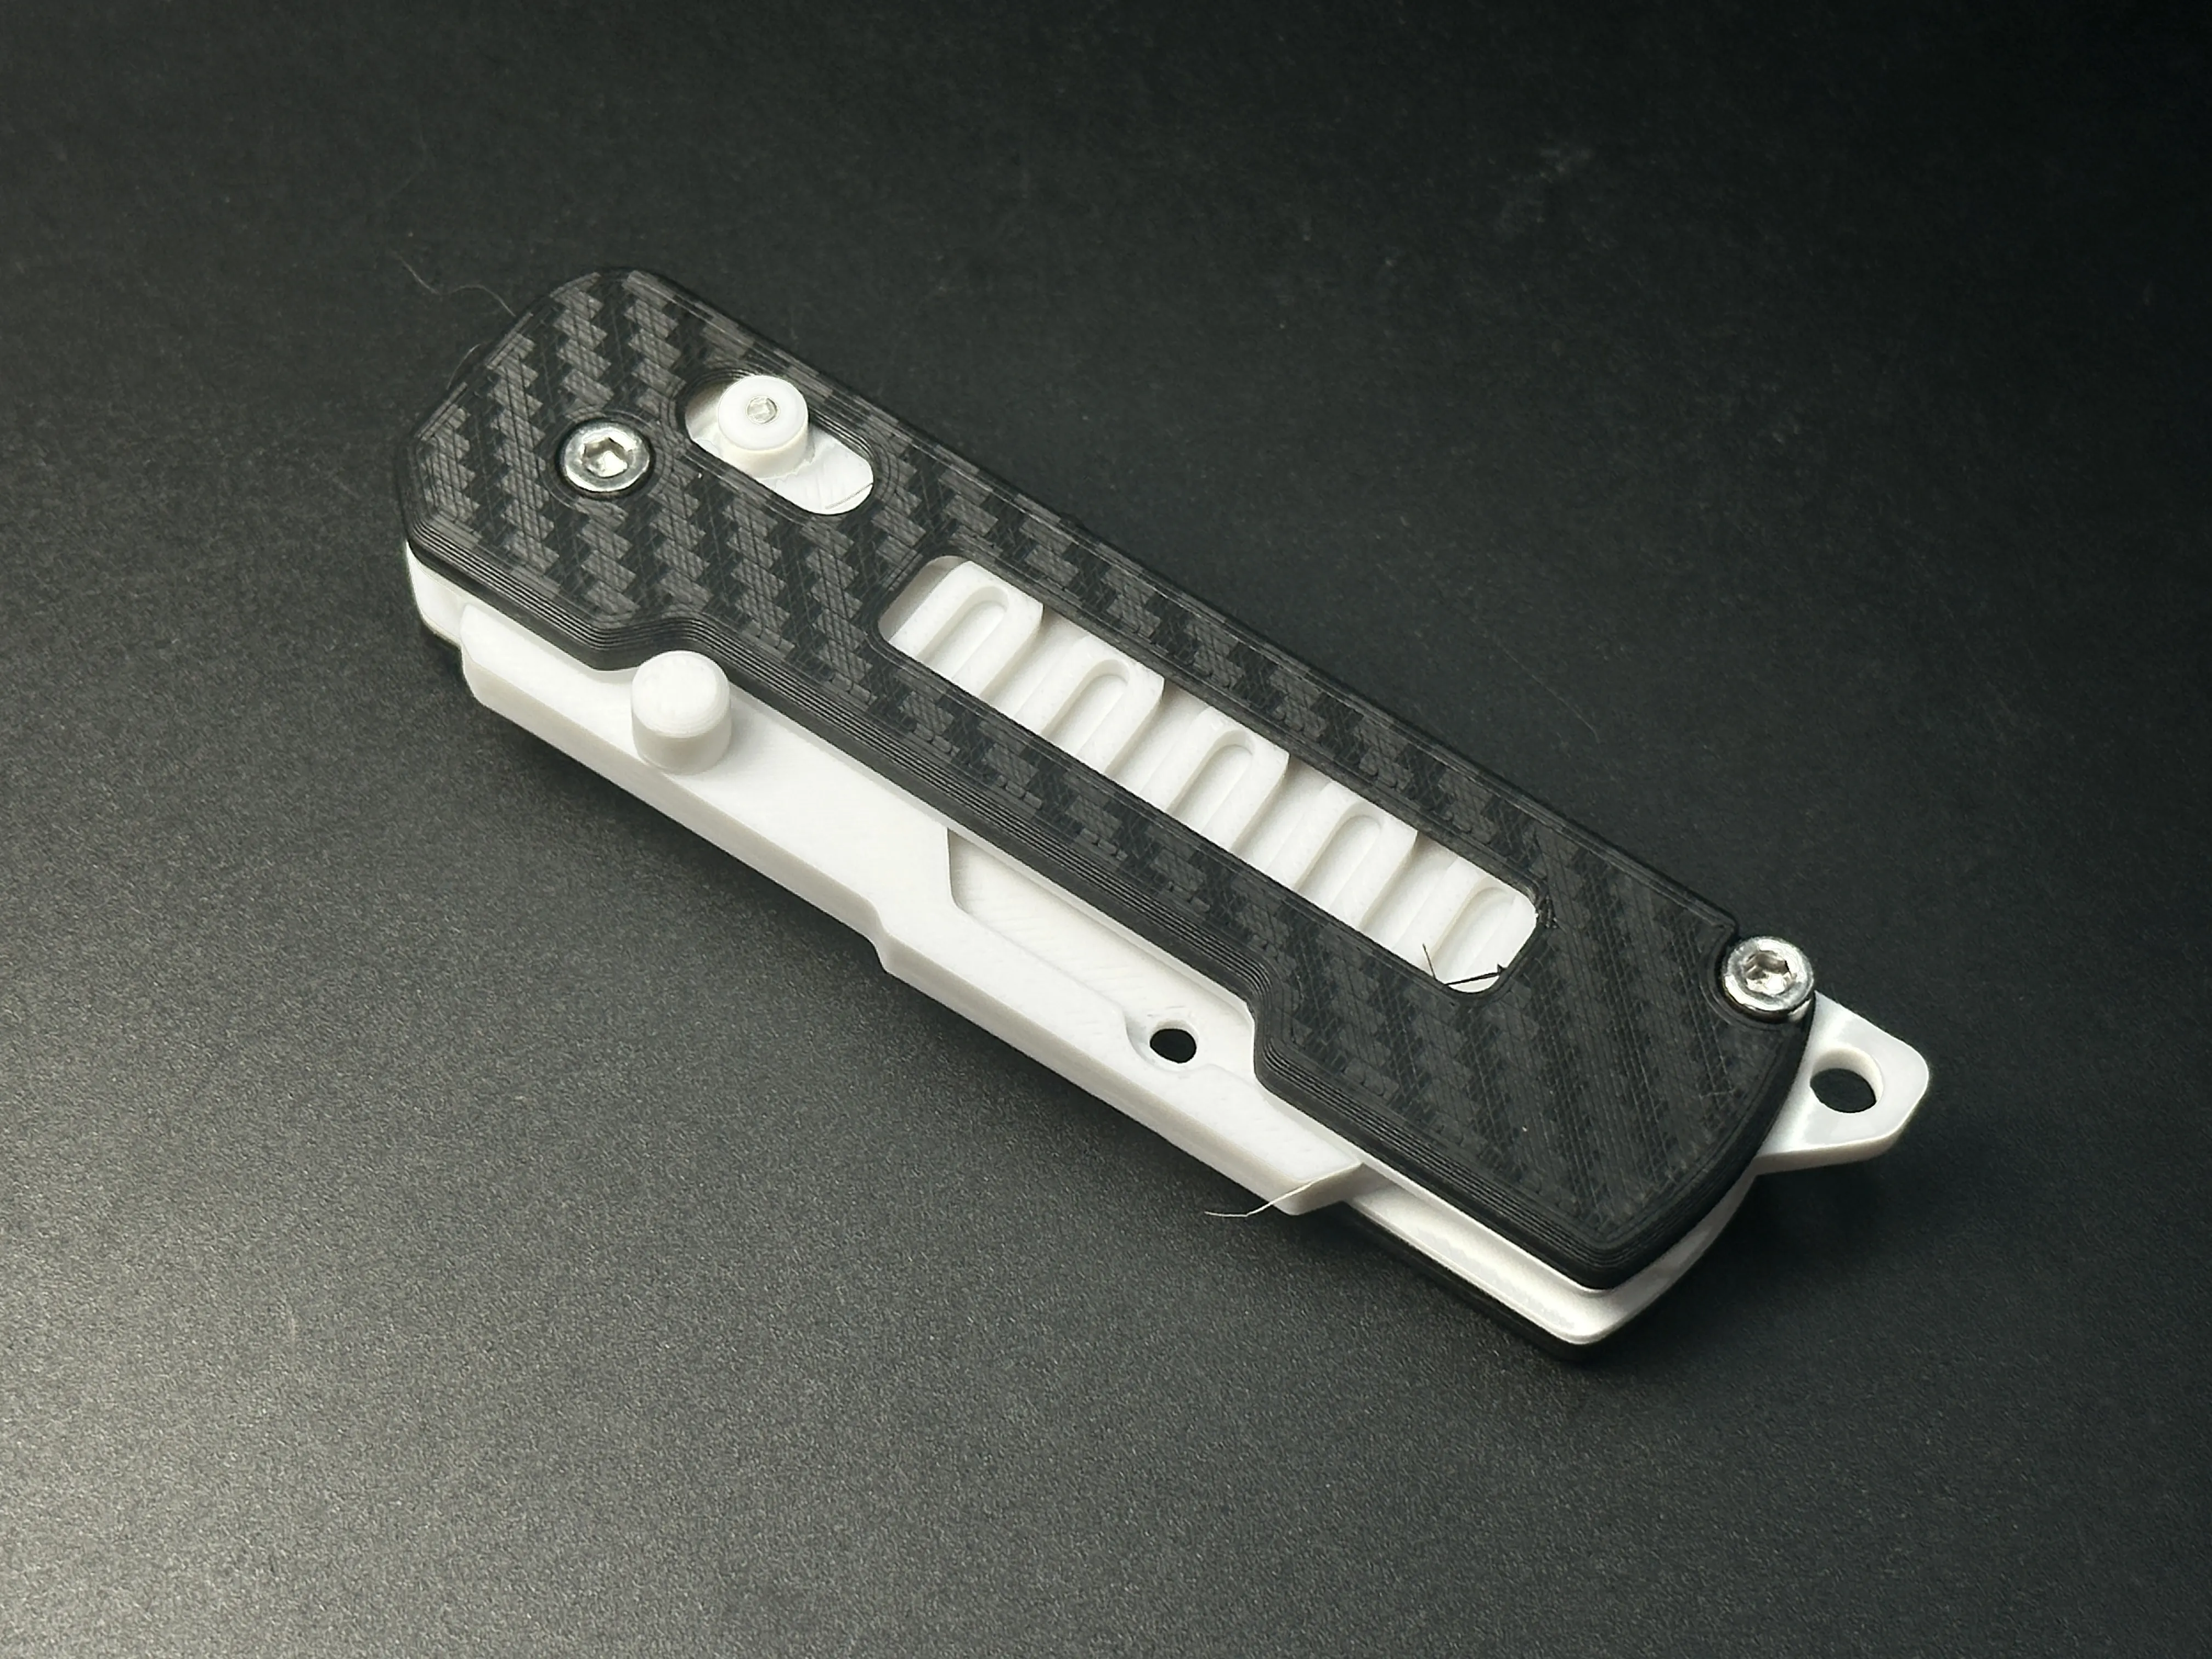
Insert blade, secure with M3-5mm screw/nut. Use spacers if your screw’s longer.
The strength of 3D-printed knives cannot be guaranteed and they are suitable only for light-duty tasks, such as cutting paper or opening Amazon packages. Unless otherwise specified, all of my knife designs are intended for light-duty use only.
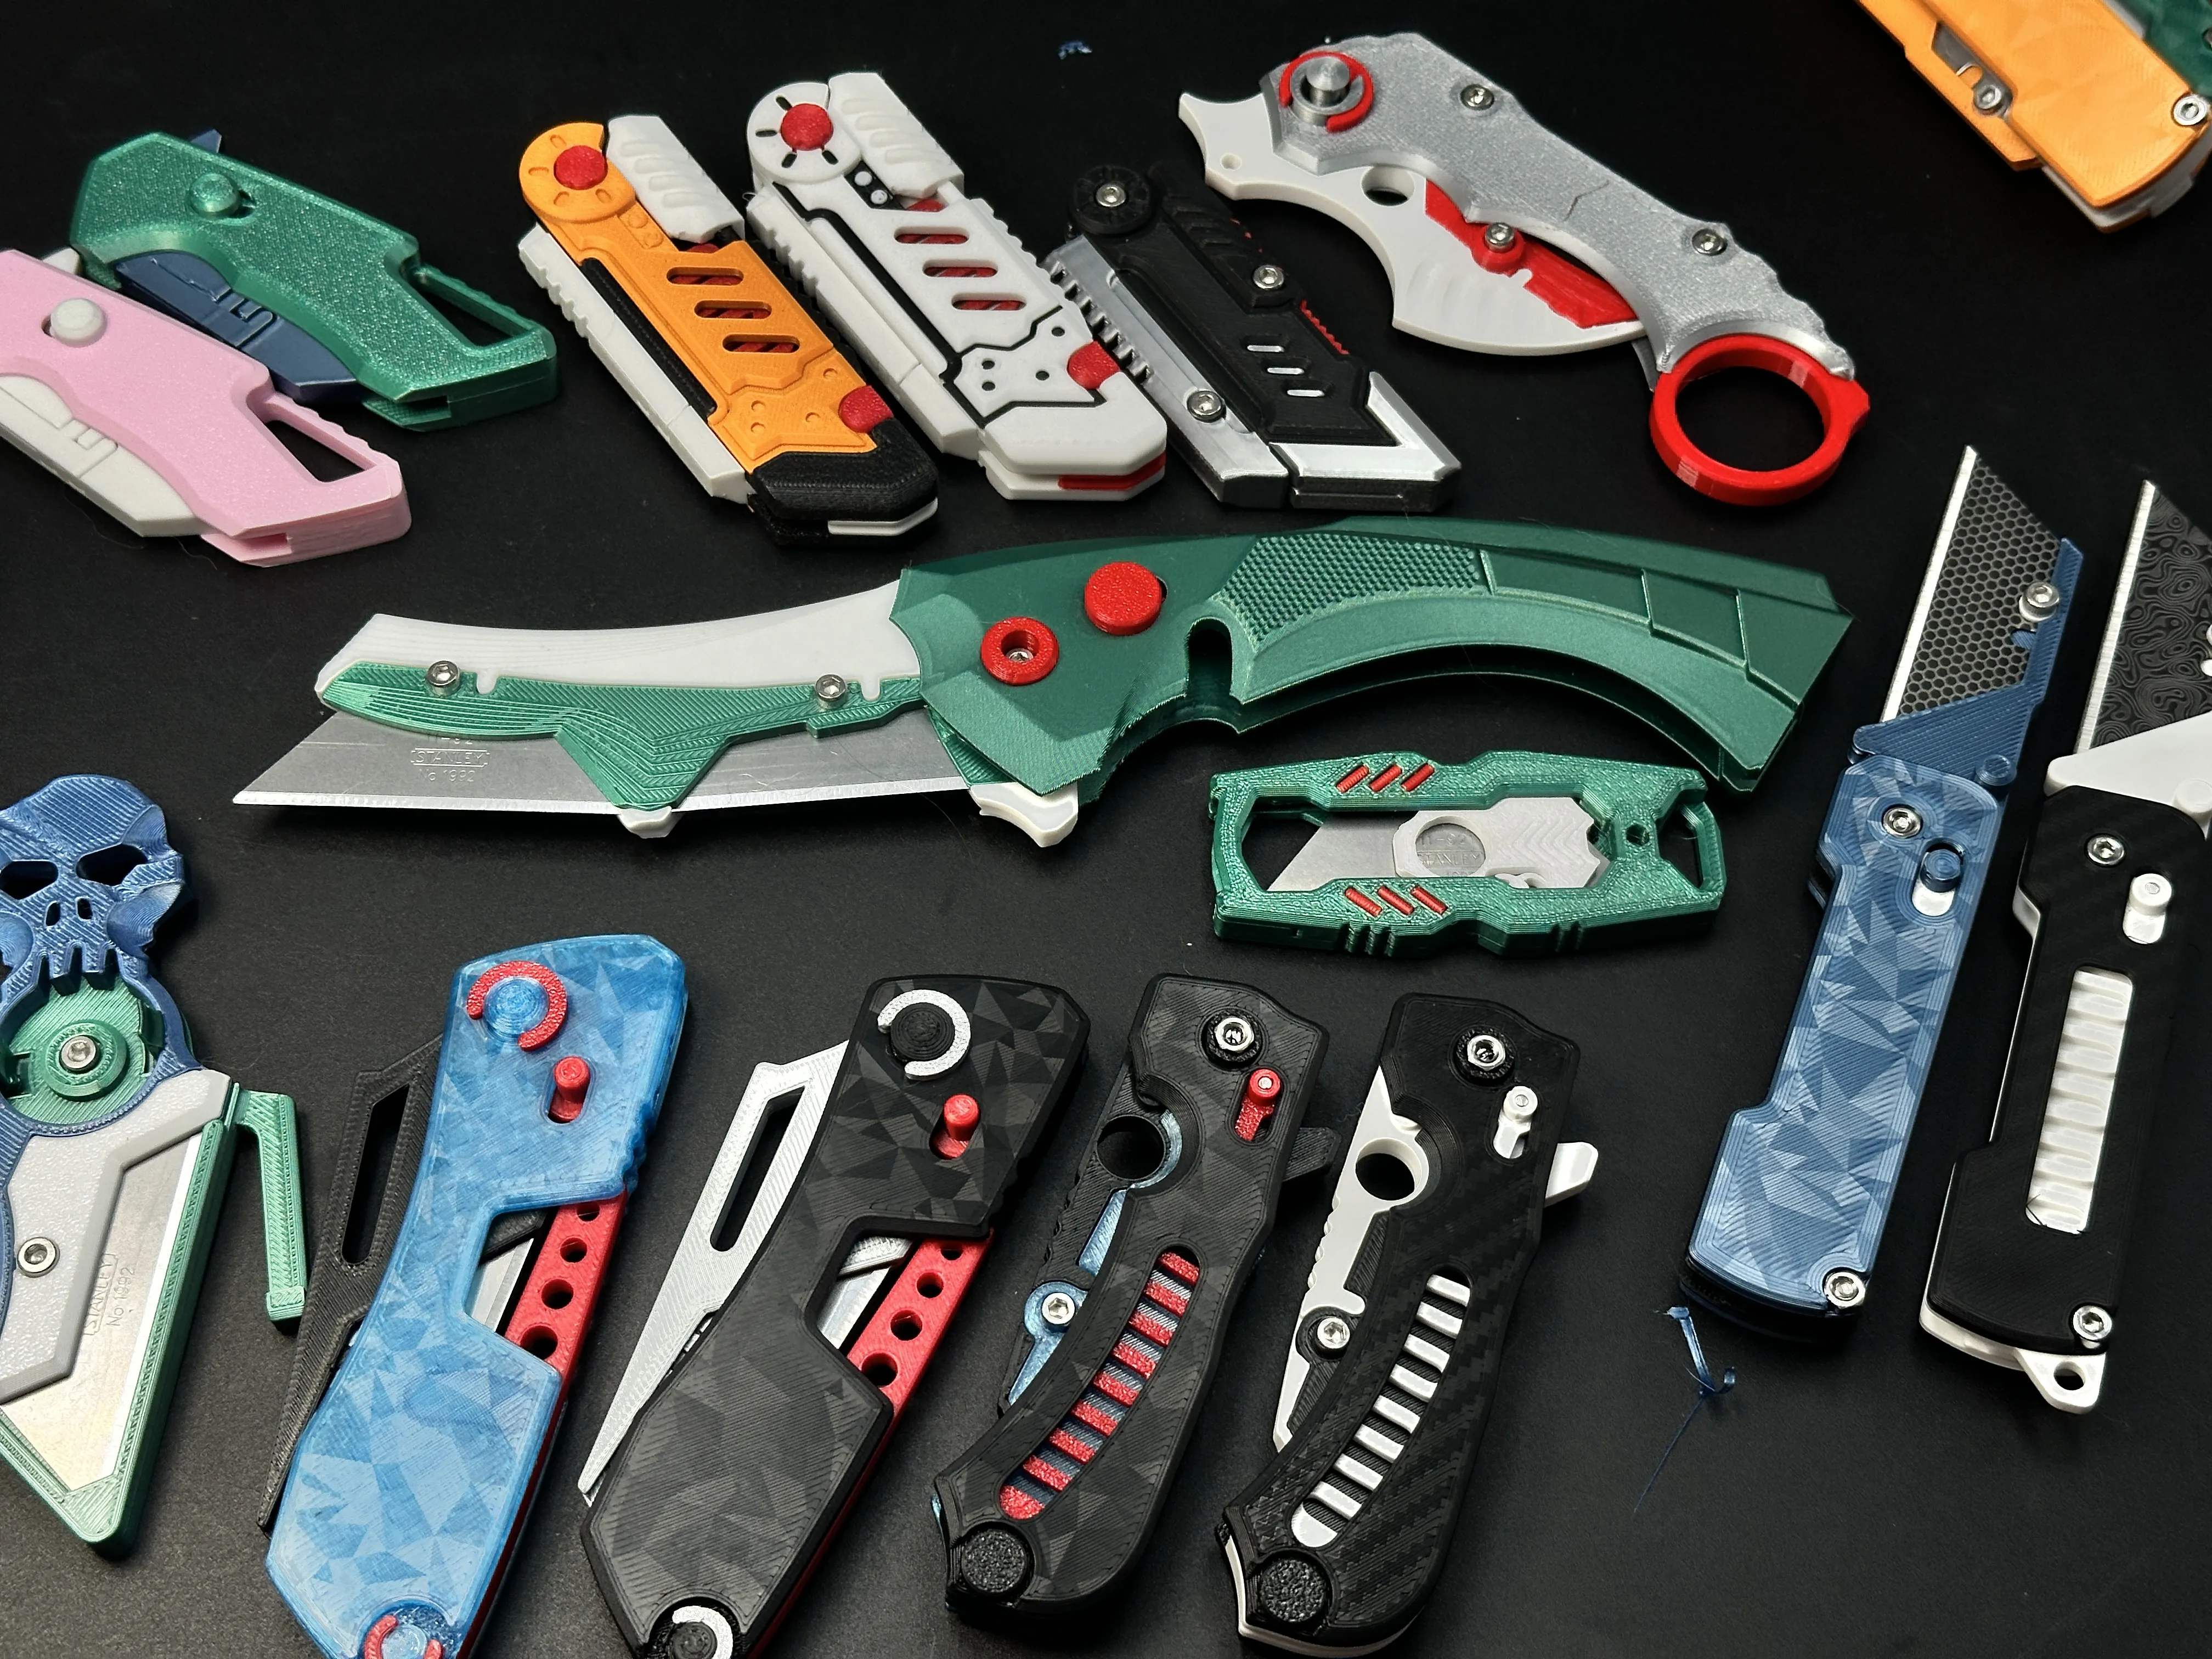
My similar projects, click on the picture
Membership
License

You shall not share, sub-license, sell, rent, host, transfer, or distribute in any way the digital or 3D printed versions of this object, nor any other derivative work of this object in its digital or physical format (including - but not limited to - remixes of this object, and hosting on other digital platforms). The objects may not be used without permission in any way whatsoever in which you charge money, or collect fees.


Comment & Rating (110)