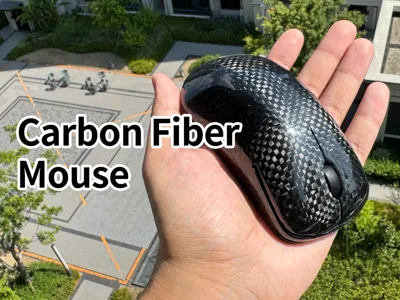
Carbon Fiber Wireless Mouse


Print Profile(1)

Bill of Materials


Description
Hello everyone, my two previously designed go-karts were very popular, which greatly encouraged me. So I've decided to share the molding solution for my latest carbon fiber mouse design
I divided the model into three plates based on their intended use, but in reality, any Bambu Lab printer can print the models for this solution
The first plate is for installing the electronic components of the MH002 wireless mouse kit, and the installation method is the same as the wireless mouse 002 solution, except the fastening method has been changed to using three small blocks to secure the circuit board to the base plate, and the screws also come from the kit. Additionally, there are two small ramp-shaped parts which need to be adhered to the prepared carbon fiber shell using about 1mm of 3M VHB double-sided tape, acting as spacers between the mouse buttons and microswitches
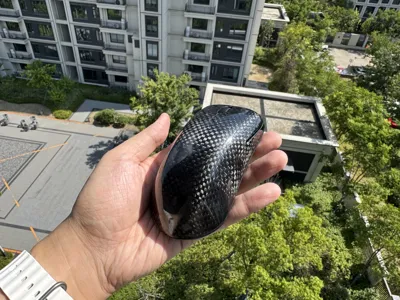
The second plate is used for carbon fiber molding. Before molding, it is recommended to treat the mold with PLA polishing liquid to make it as smooth as possible. Then apply 1-2 coats of release wax and 2 coats of PVA release agent. Use 3-4 layers of 200g carbon fiber cloth and perform carbon fiber shell molding using the standard hand lay-up method
For the specific molding process, please see the video I published on Bilibili ⬇️
The third plate is designed to assist you with grooving, drilling, and sanding the carbon fiber shell. The four components are used for leveling the shell edges, longitudinal grooving, transverse grooving, and drilling the scroll wheel hole, respectively. It is recommended to use an electric grinder with a milling cutter of about 1mm diameter and a relatively small cutting disc of about 1mm thickness for this work
Alright, have fun

Comment & Rating (1)