Mosquito net (mosquito net)


Print Profile(3)


Bill of Materials


Description
Assembly Instructions for Mosquito Net (mosquito net)
The frame of this mosquito net consists of various pieces that must be assembled correctly, below is the list of available parts:
1) Linear pieces (ATTENTION they have an internal and an external part)
2) Corner piece
3) Crossbars
4) Short linear pieces (ATTENTION they have an internal and an external part)
5) Low central crossbar pieces (ATTENTION they have 2 internal sides)
6) Inserts (to join the various pieces)
7) Handle and stopper
8) hinge
-------------------------------------------------------------------------------------------------------
To assemble the mosquito net, 2 identical pieces and the mesh are joined “sandwich” style.

.
I have created a file ( misure.ods ) to help you compose the pieces you need to make the mosquito net, just insert your ideal composition into the green frame and calculate your size.
In the File comp_misure.pdf you will find help on how to compose the short measurements.
-----------------------------------------------------------------------------------------------------------------------------------------------------------------------
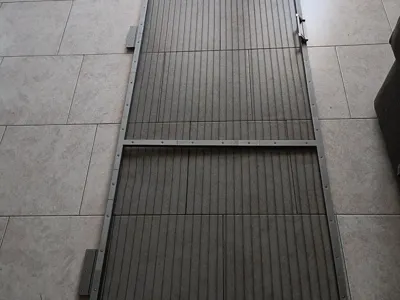
Mosquito Net Assembly
Once all the necessary pieces have been calculated and printed, join the pieces using the inserts, adding a few drops of glue to make the pieces more stable.

------------------------------------------------------------------------
ATTENTION remember that on the linear pieces the internal part is marked by a larger protrusion

The pieces for the central crossbars that have both internal sides are marked with the word Basso or B

On the first half, the nuts (M3x5x4 Round Threaded Brass Heat-Insert Nut (20pcs) – AB012) are inserted from the outside.
It must then be flipped over and the mesh cut to size inserted, so that it fits into the appropriate protrusions.
Place the second half on top and screw with the screws (M3X14 BHCS Machine Screw (10pcs) – AA173).
Once the first side is assembled, remember that the second must be mirrored, so that once the 2 parts are joined, the pieces match.

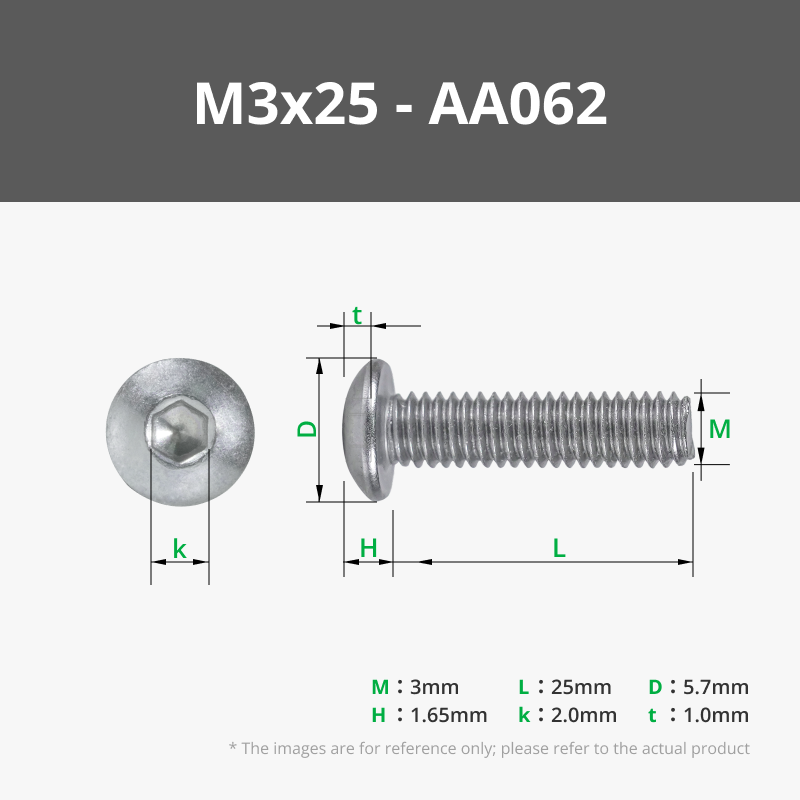
For the assembly of the handle and hinge, the screws must be replaced with M3x25.
10x3 magnets must be inserted into the handle.
Comment & Rating (11)