Toilet Brush: IKEA Baren + Wenko Silicone Head


Print Profile(1)

Description
Remix of the 3D project of the toilet brush head adapter with Wenko connector. I reused the adapter and recreated the rest; I needed to replace the brush and not throw away the IKEA BAREN handle.
_____________
Give new life to your IKEA BAREN toilet brush! The handle, divided into two parts for a perfect print without supports, allows you to replace the original brush with a modern and hygienic WENKO silicone head. By combining the BAREN handle design with the effectiveness of the silicone head, you will get a more durable, hygienic, and functional toilet brush.
- The IKEA BAREN Handle: Elegant and sturdy, but with the flaw that the original brush is not the most hygienic.
- The WENKO Silicone Toilet Brush Head: Flexible, non-stick, and much easier to clean than traditional brushes.
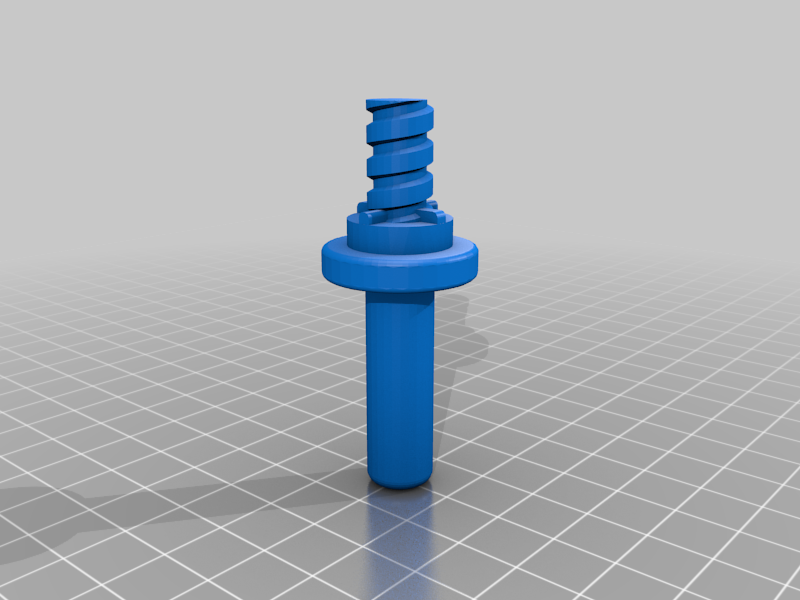
This 3D model replaces the lower part of the original IKEA handle, allowing you to directly screw on a WENKO silicone replacement head.
Why choose this upgrade?
- Very Easy Printing: The design is divided into two parts to ensure simple and high-quality 3D printing, completely eliminating the need for supports.
- Sustainability: Don't throw away the entire toilet brush! Reuse the IKEA BAREN handle you already own.
- Improved Hygiene: Silicone heads are known to be more hygienic and easier to rinse.
- Savings: WENKO replacement heads are easily available and economical.
- Customization: Print the handle in the color you prefer to match your bathroom.
Compatibility:
- Handle: Designed to be compatible with the IKEA BAREN toilet brush handle.
- Brush Head: Compatible with WENKO silicone replacement heads (usually with a diameter of about 7.5 cm).
ATTENTION: The threading of WENKO heads may vary slightly. Before printing, I recommend checking the threading of your silicone head to ensure compatibility.
Certainly, here is the "Print Settings" section rewritten with your specific parameters.
Print Settings
These are the exact settings I used for a robust and quality print.
- Profile Quality: 0.20 mm (Standard)
- Perimeters (Wall Loops): 6
- Infill:
- Density: 35%
- Pattern: Grid
- Material: Printed in PLA. PETG is recommended for resistance to humidity and chemicals.
- Supports: Not necessary.
Assembly Instructions
- Disassemble the IKEA handle: Unscrew and remove the original lower part of the BAREN handle (the one with the brush).
- Print the two parts: Print both parts of the model with the recommended settings.
- Glue the two parts: Join the two printed parts. Apply a few drops of cyanoacrylate glue (like Super Glue) on the contact points for a solid and permanent bond. Make sure the parts are aligned correctly and hold for a few moments.
- Screw on the silicone head: Once the glue is completely dry, screw your WENKO toilet brush head onto the newly assembled handle.
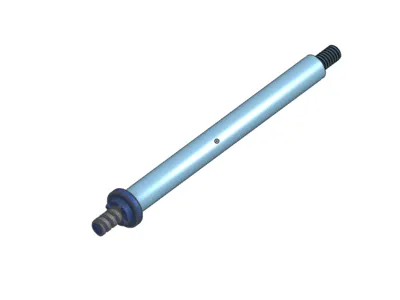
- Complete the assembly: Screw your new handle (with the silicone head already mounted) onto the steel rod of the IKEA BAREN handle.
- Done! Your new, improved, and more hygienic toilet brush is ready to use.
Comment & Rating (0)