
Mechanical Wound Counter
Print Profile(4)


Description
New version of the counter with extended numbers of 0-99, smoother rotation and slimmer profile is out now! And it can be found here:
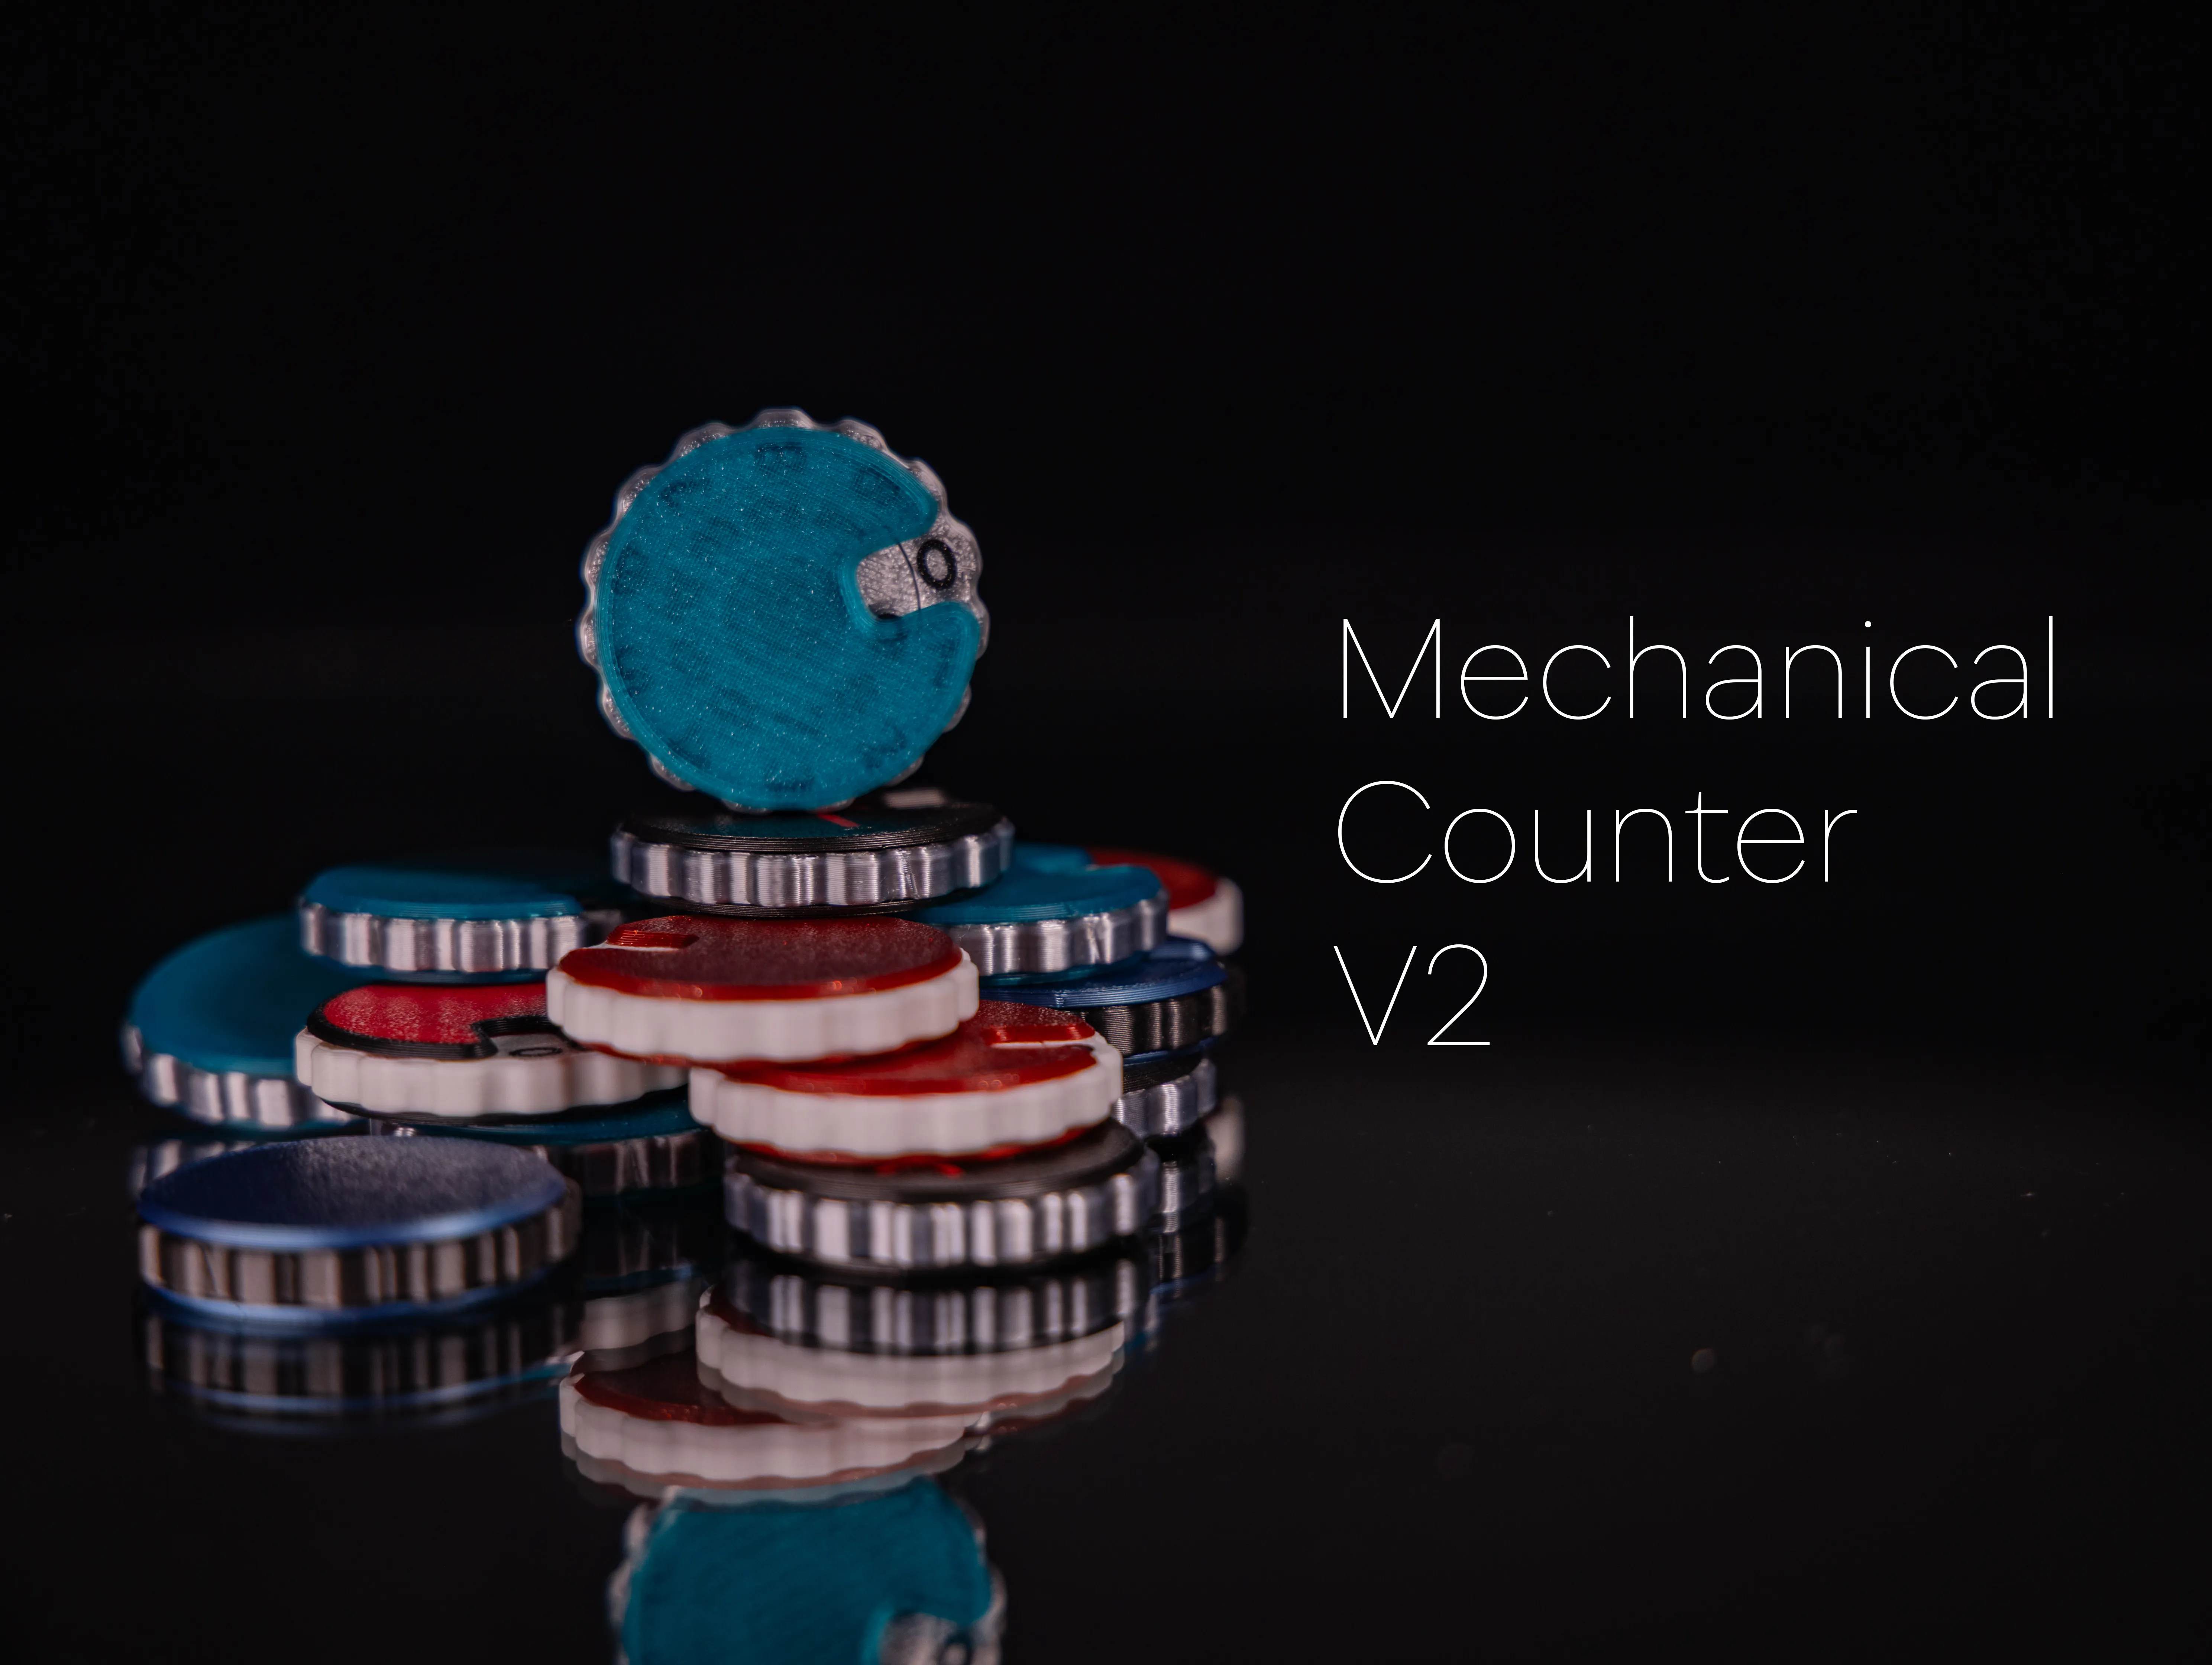

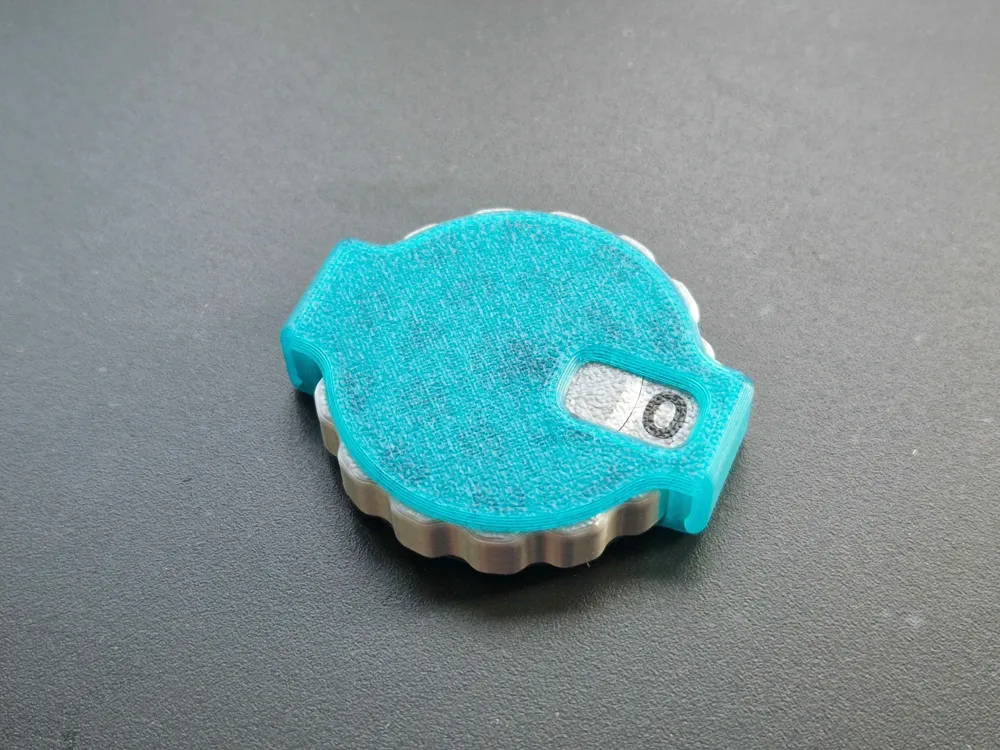
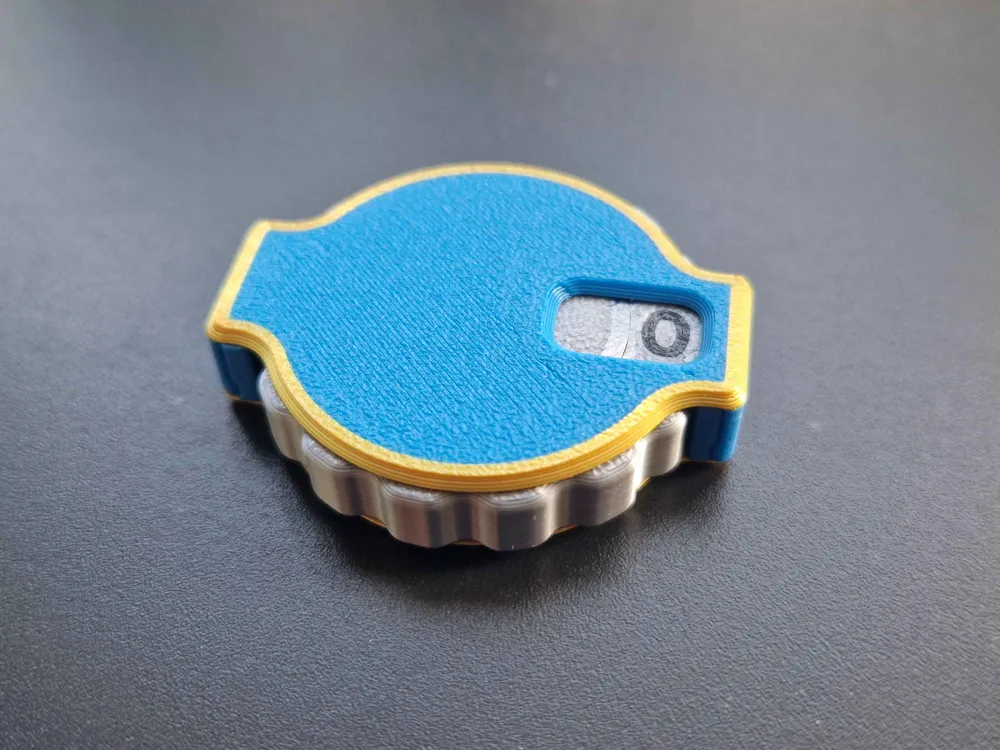
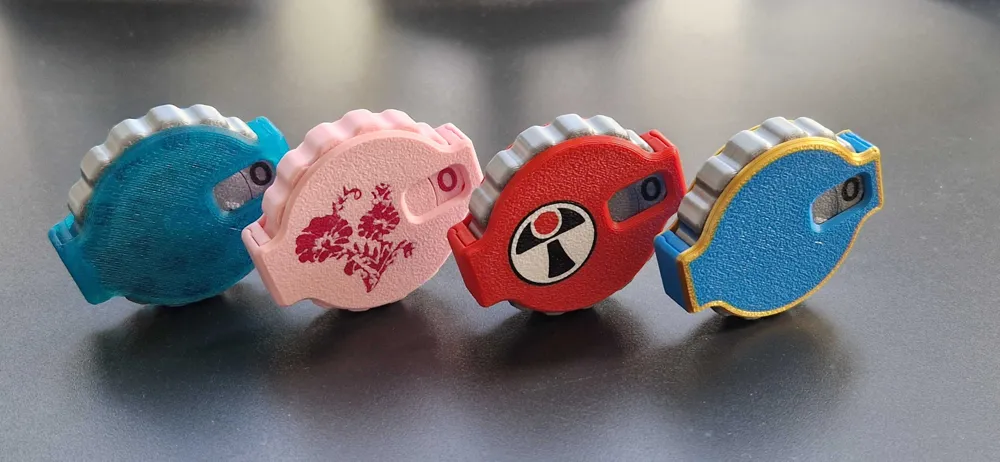
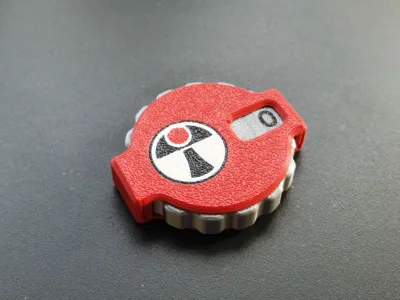
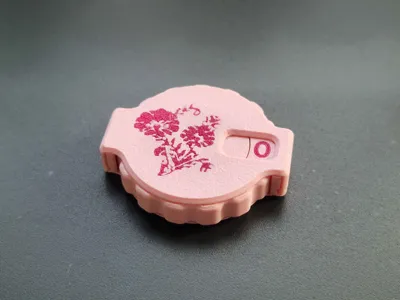
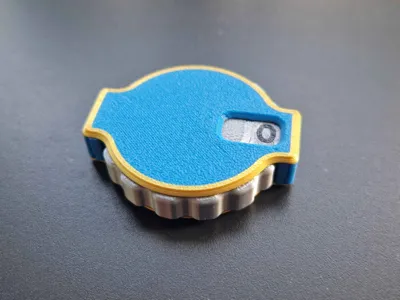
Mechanical, small sized wound tracker that can count 0-79 with a very smooth rotation. No screws, glue or grease required!
This was designed with inspiration from multiple other wound trackers, with improvements in printability, functionality and looks.
The counter utilizes a printed spring for that satisfying, almost clicking movement. This spring is best printed in PETG. PLA works but with a heavily reduced life span along with a tougher rotation!
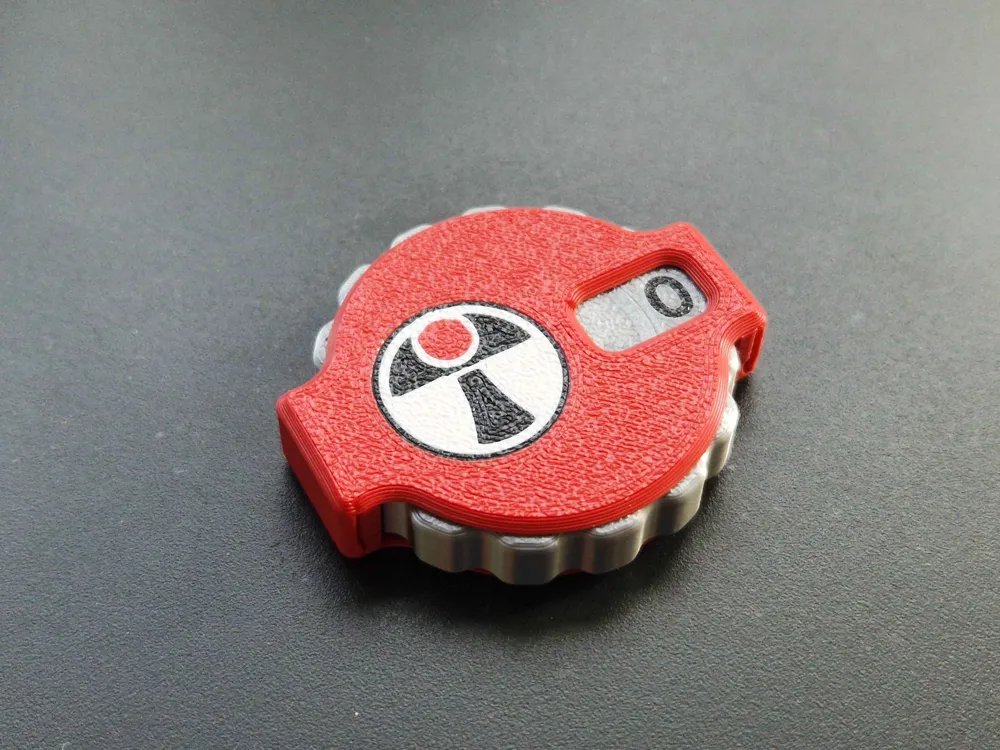
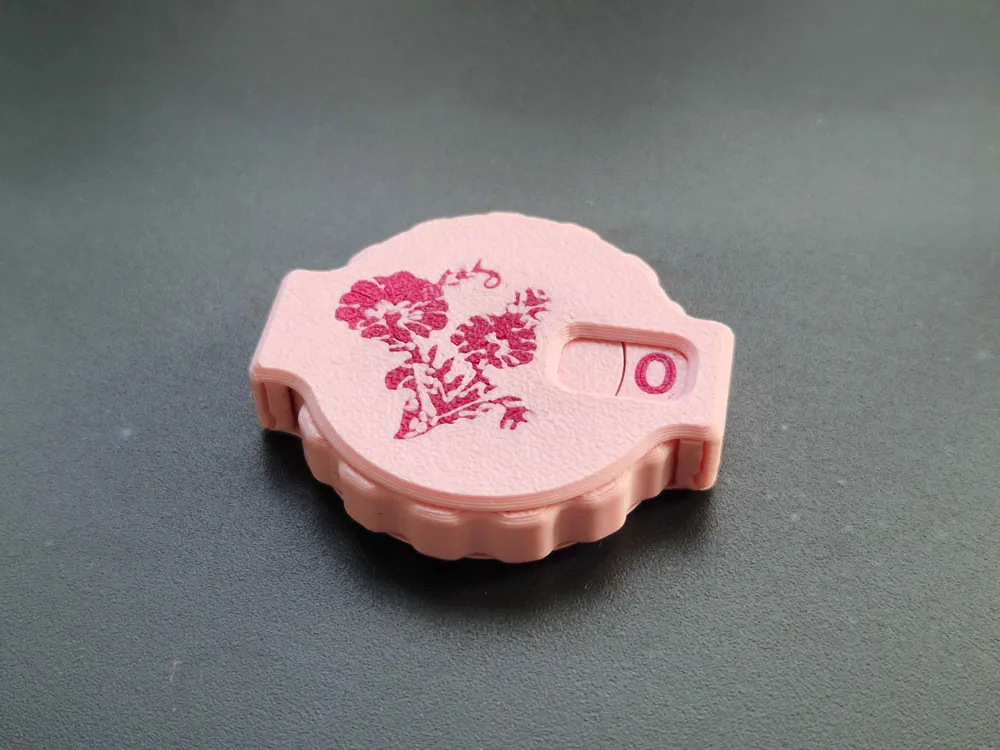
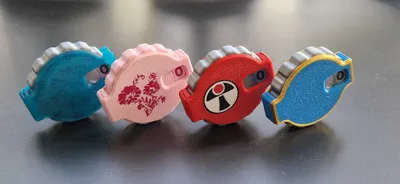
The casing was designed as a canvas, to be able to personalize your own with details for favourite army/archtype/whatever.
Remember, .svg vector graphics can be imported directly into Bambu Studio to add single coloured images into your print!
There is a single coloured, fully PLA print profile uploaded for those that wish to test the functionality and/or tolerances first.
Assembly instructions:
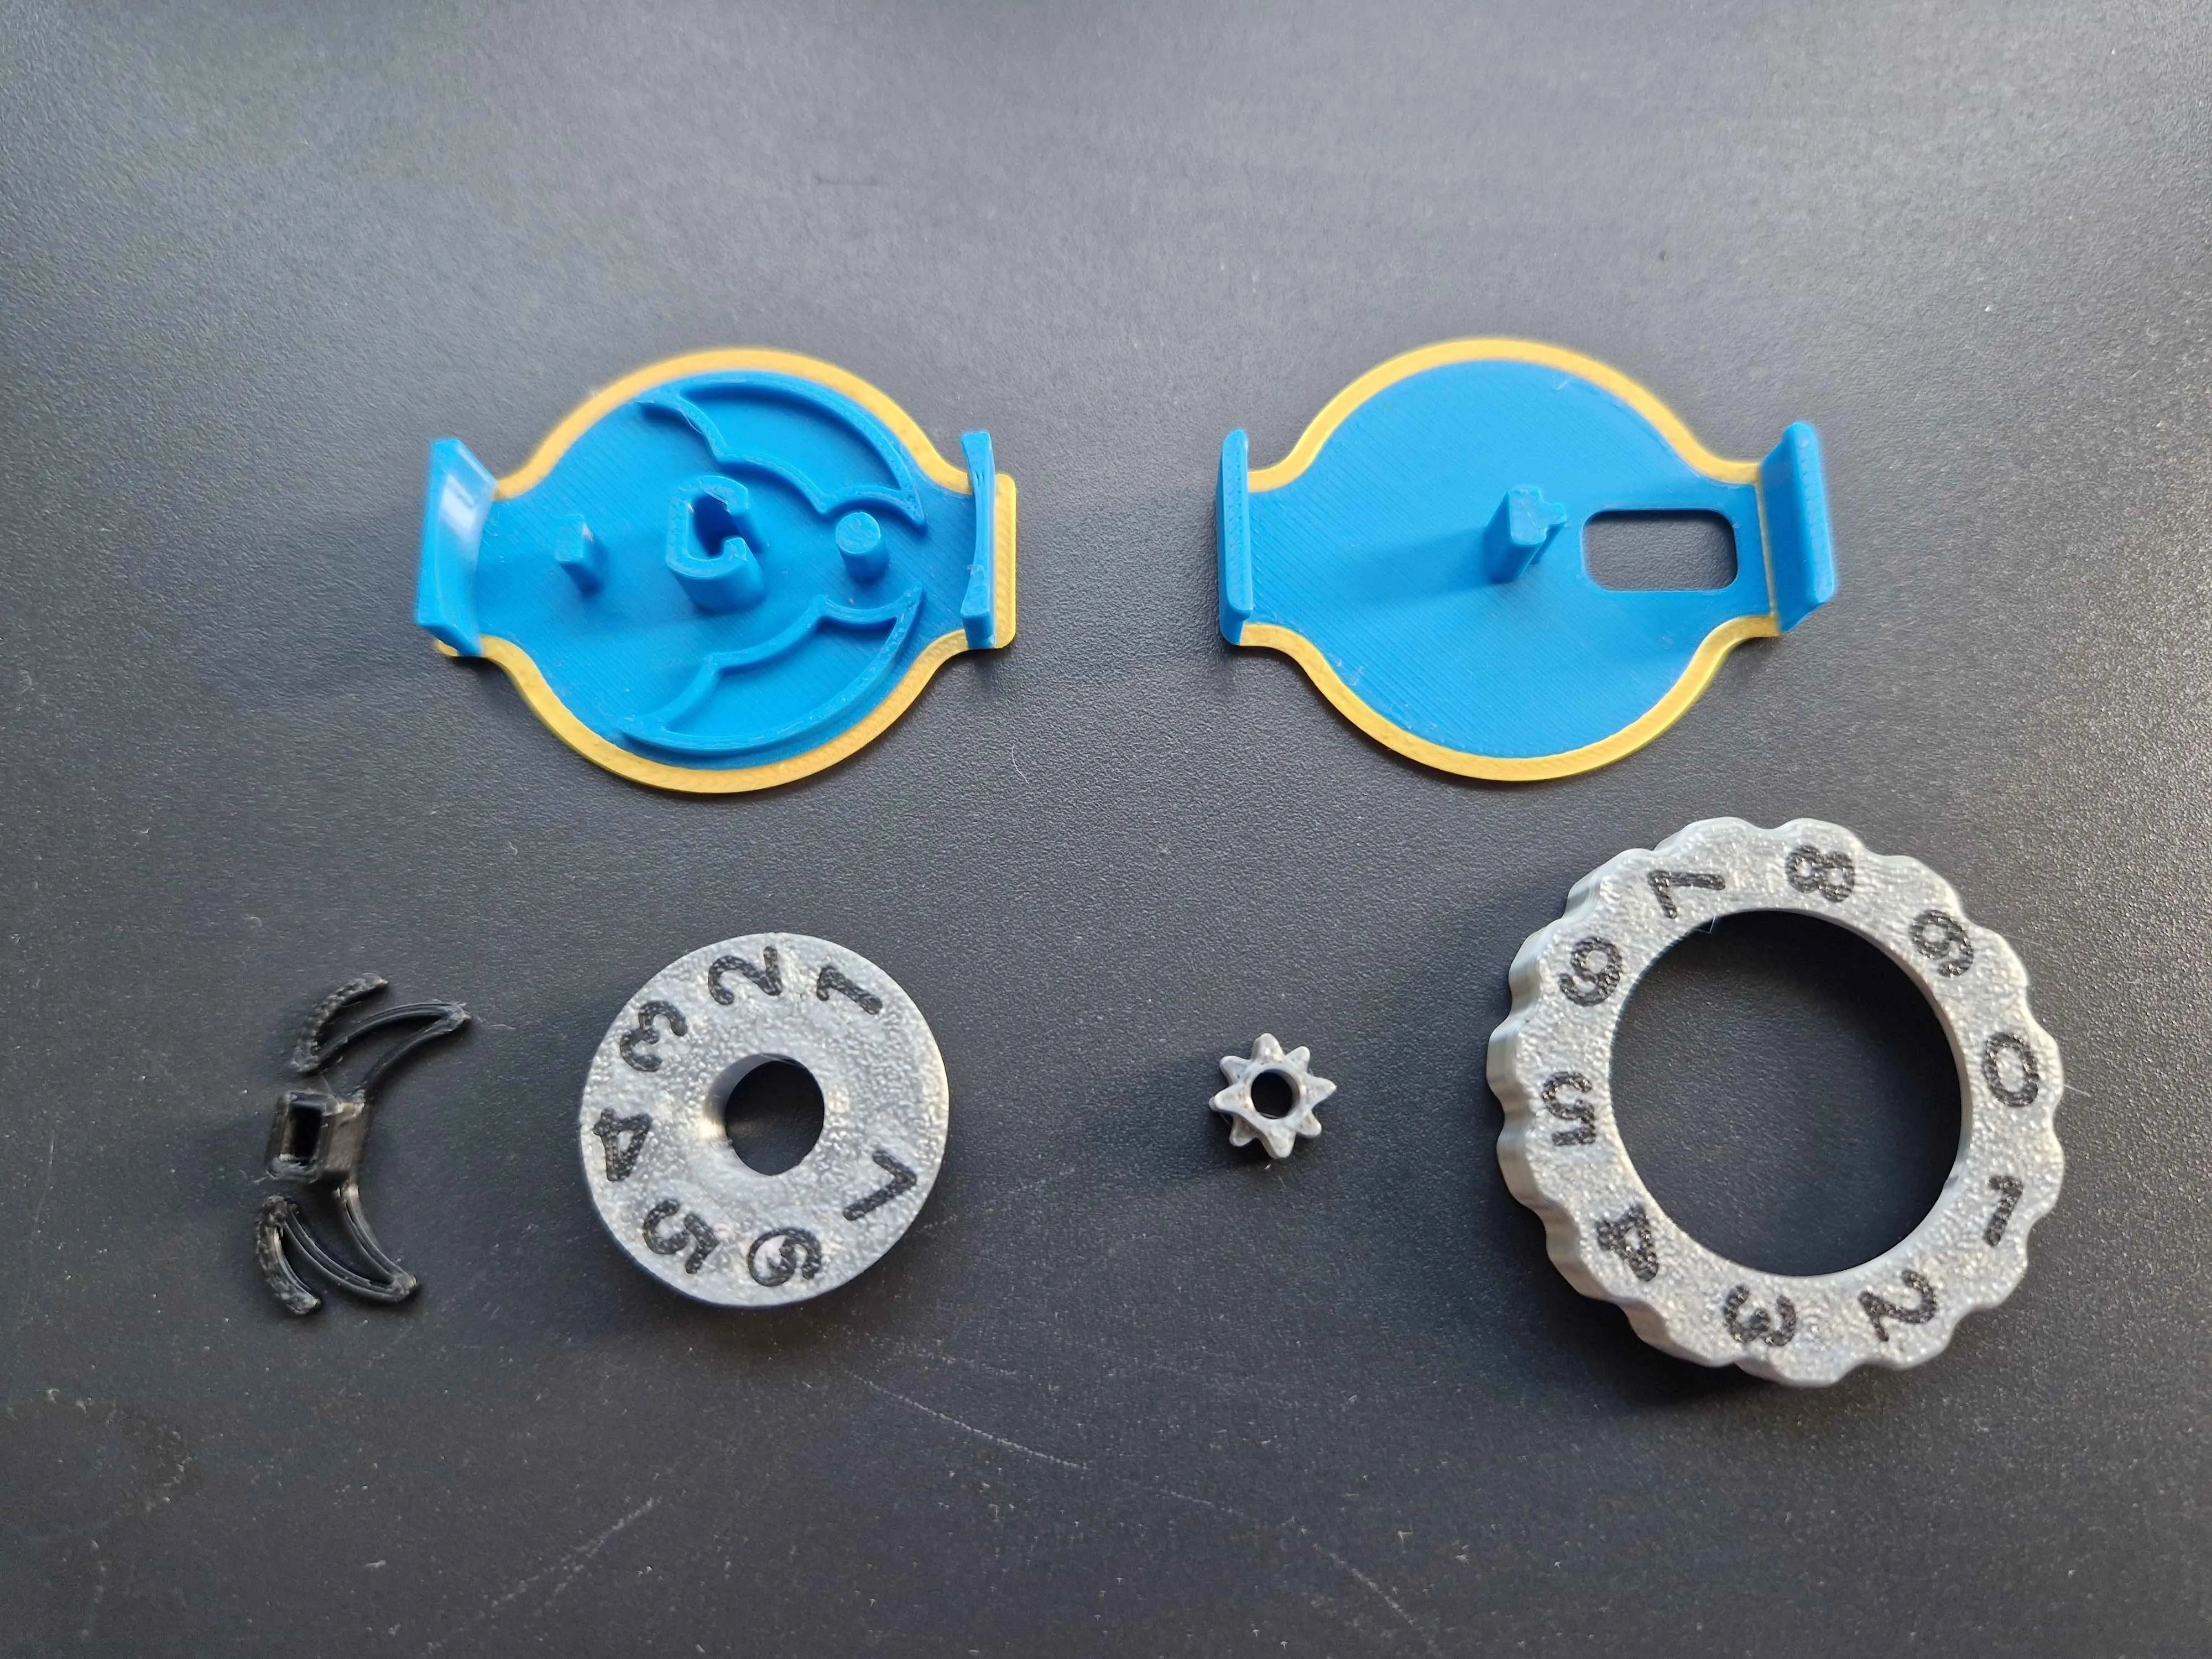
Place the spring and small cog on their respective pins like the image below
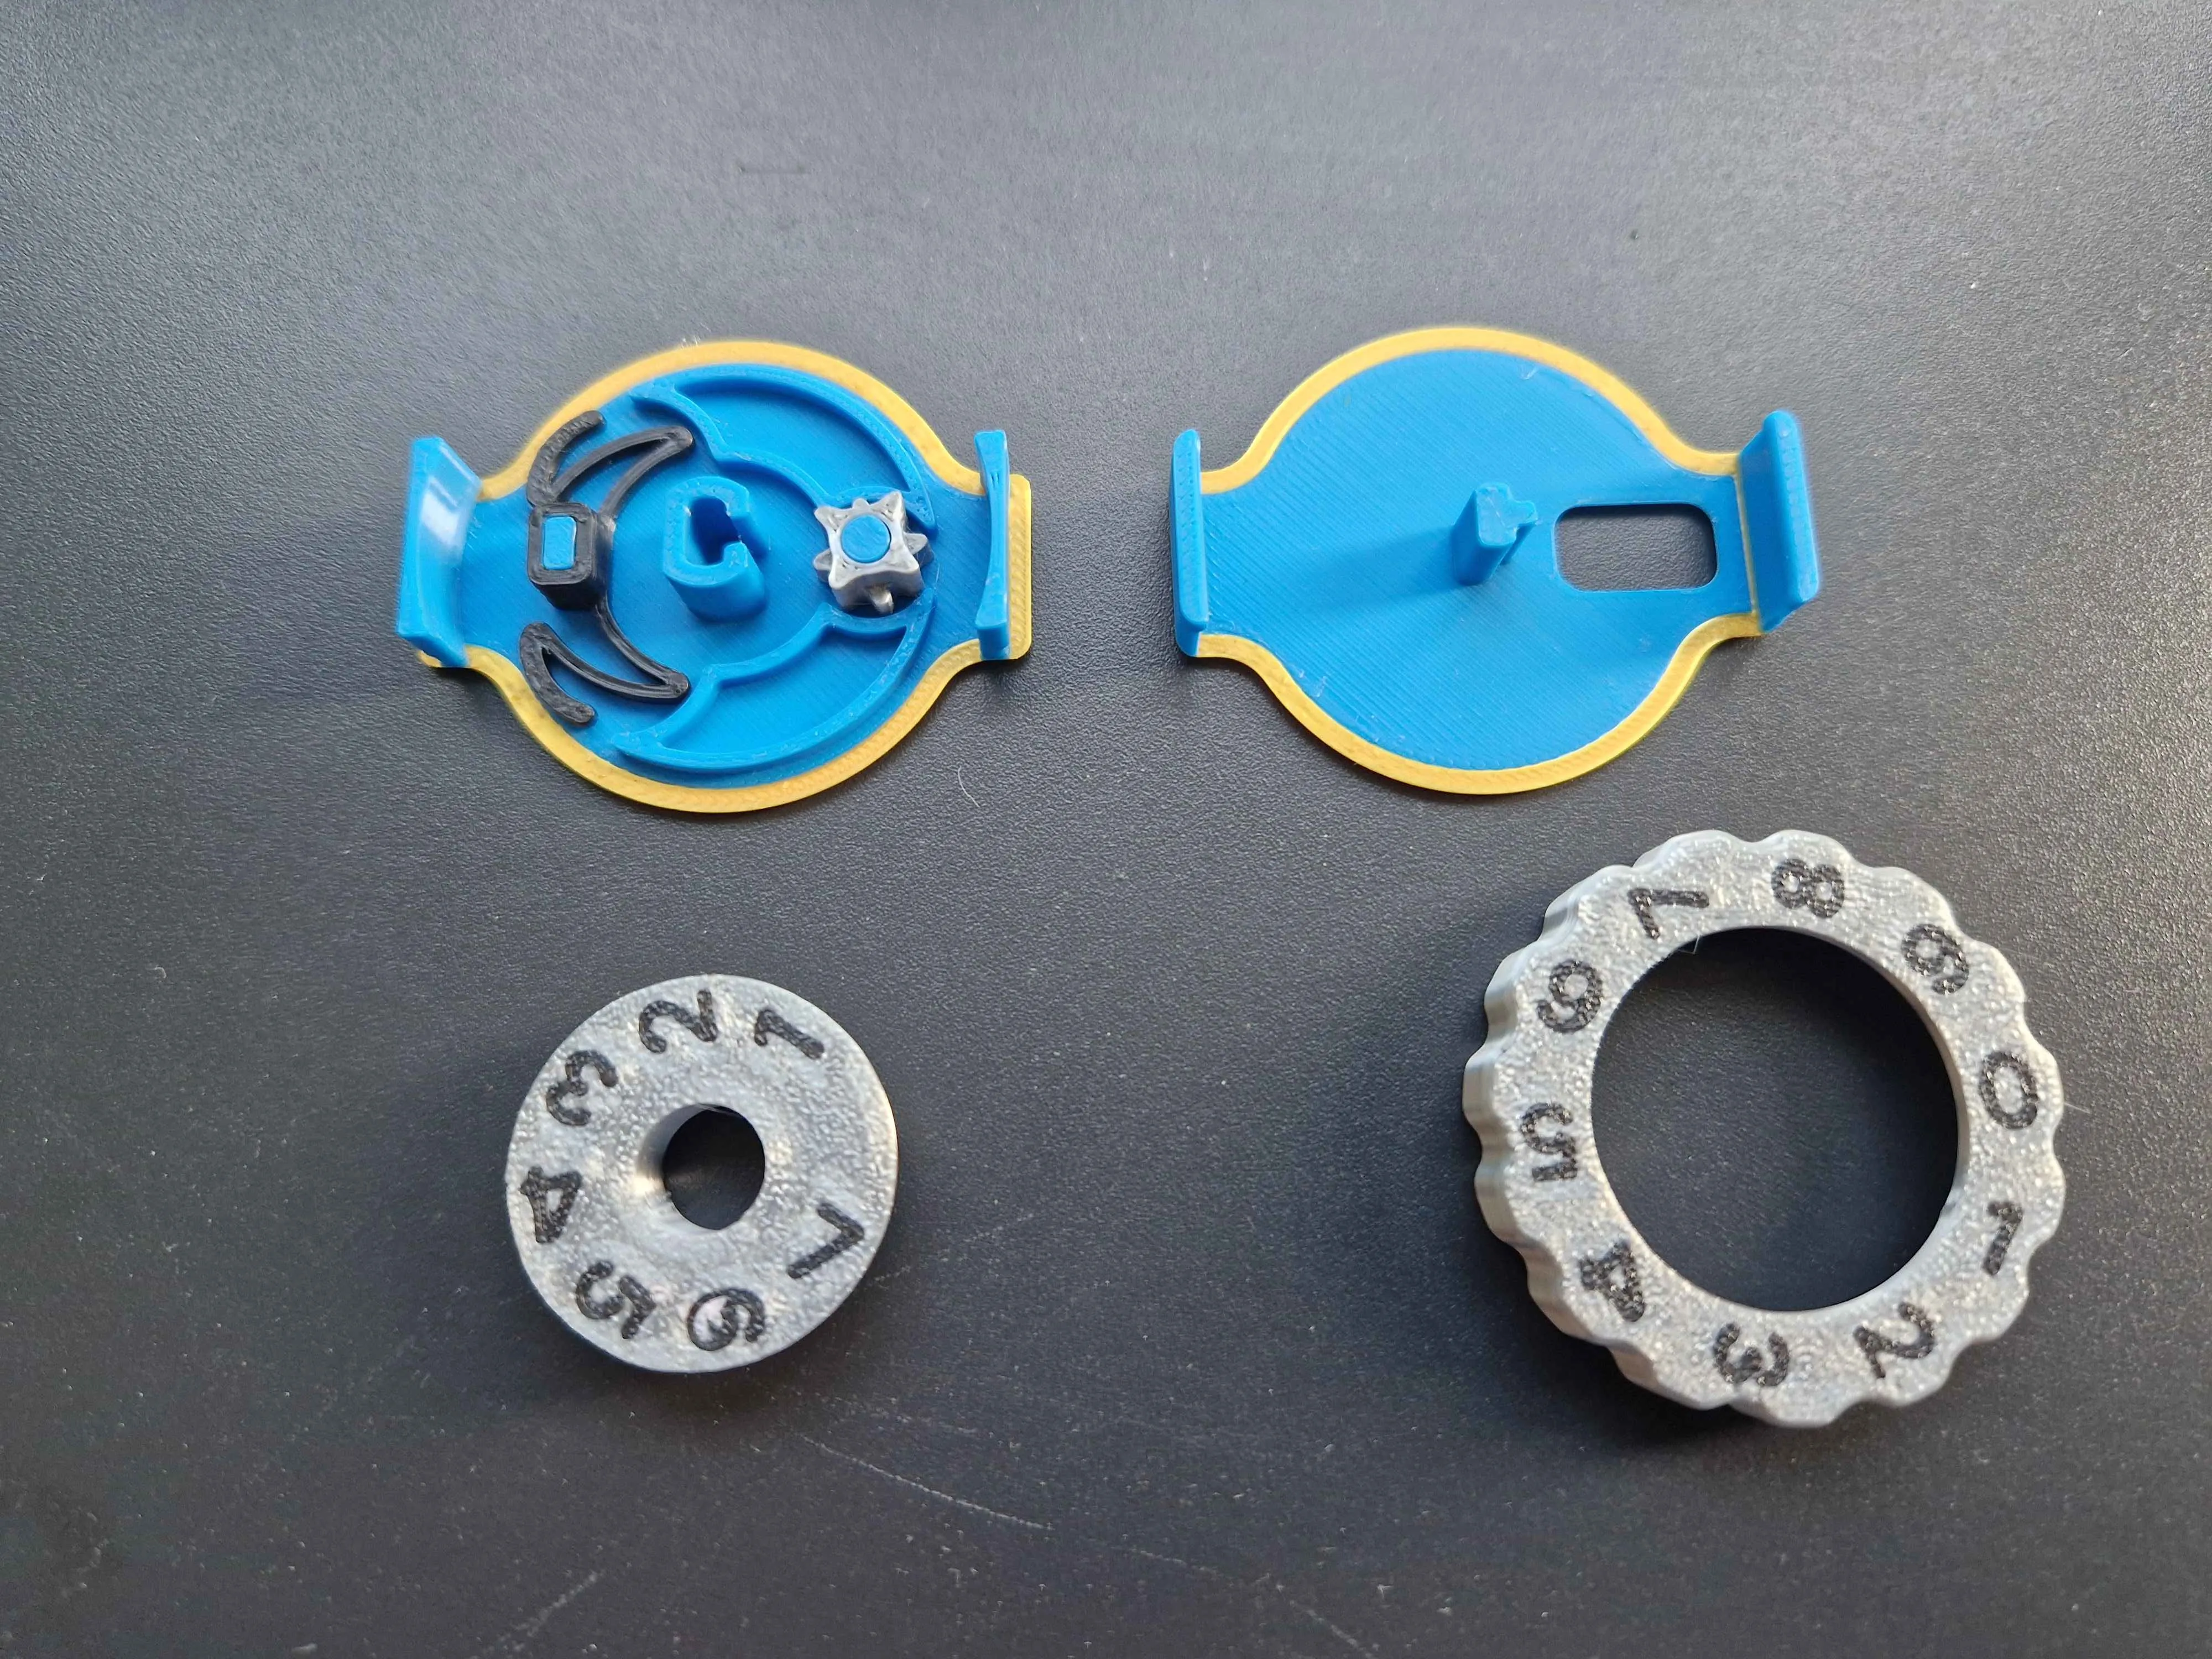
Place the small numbered disc on the center axle. It must be placed with a number towards any of the shorter teeth on the small gear!
If you are unsure if it is placed correctly, try turning it. If it turns, it is correctly aligned.
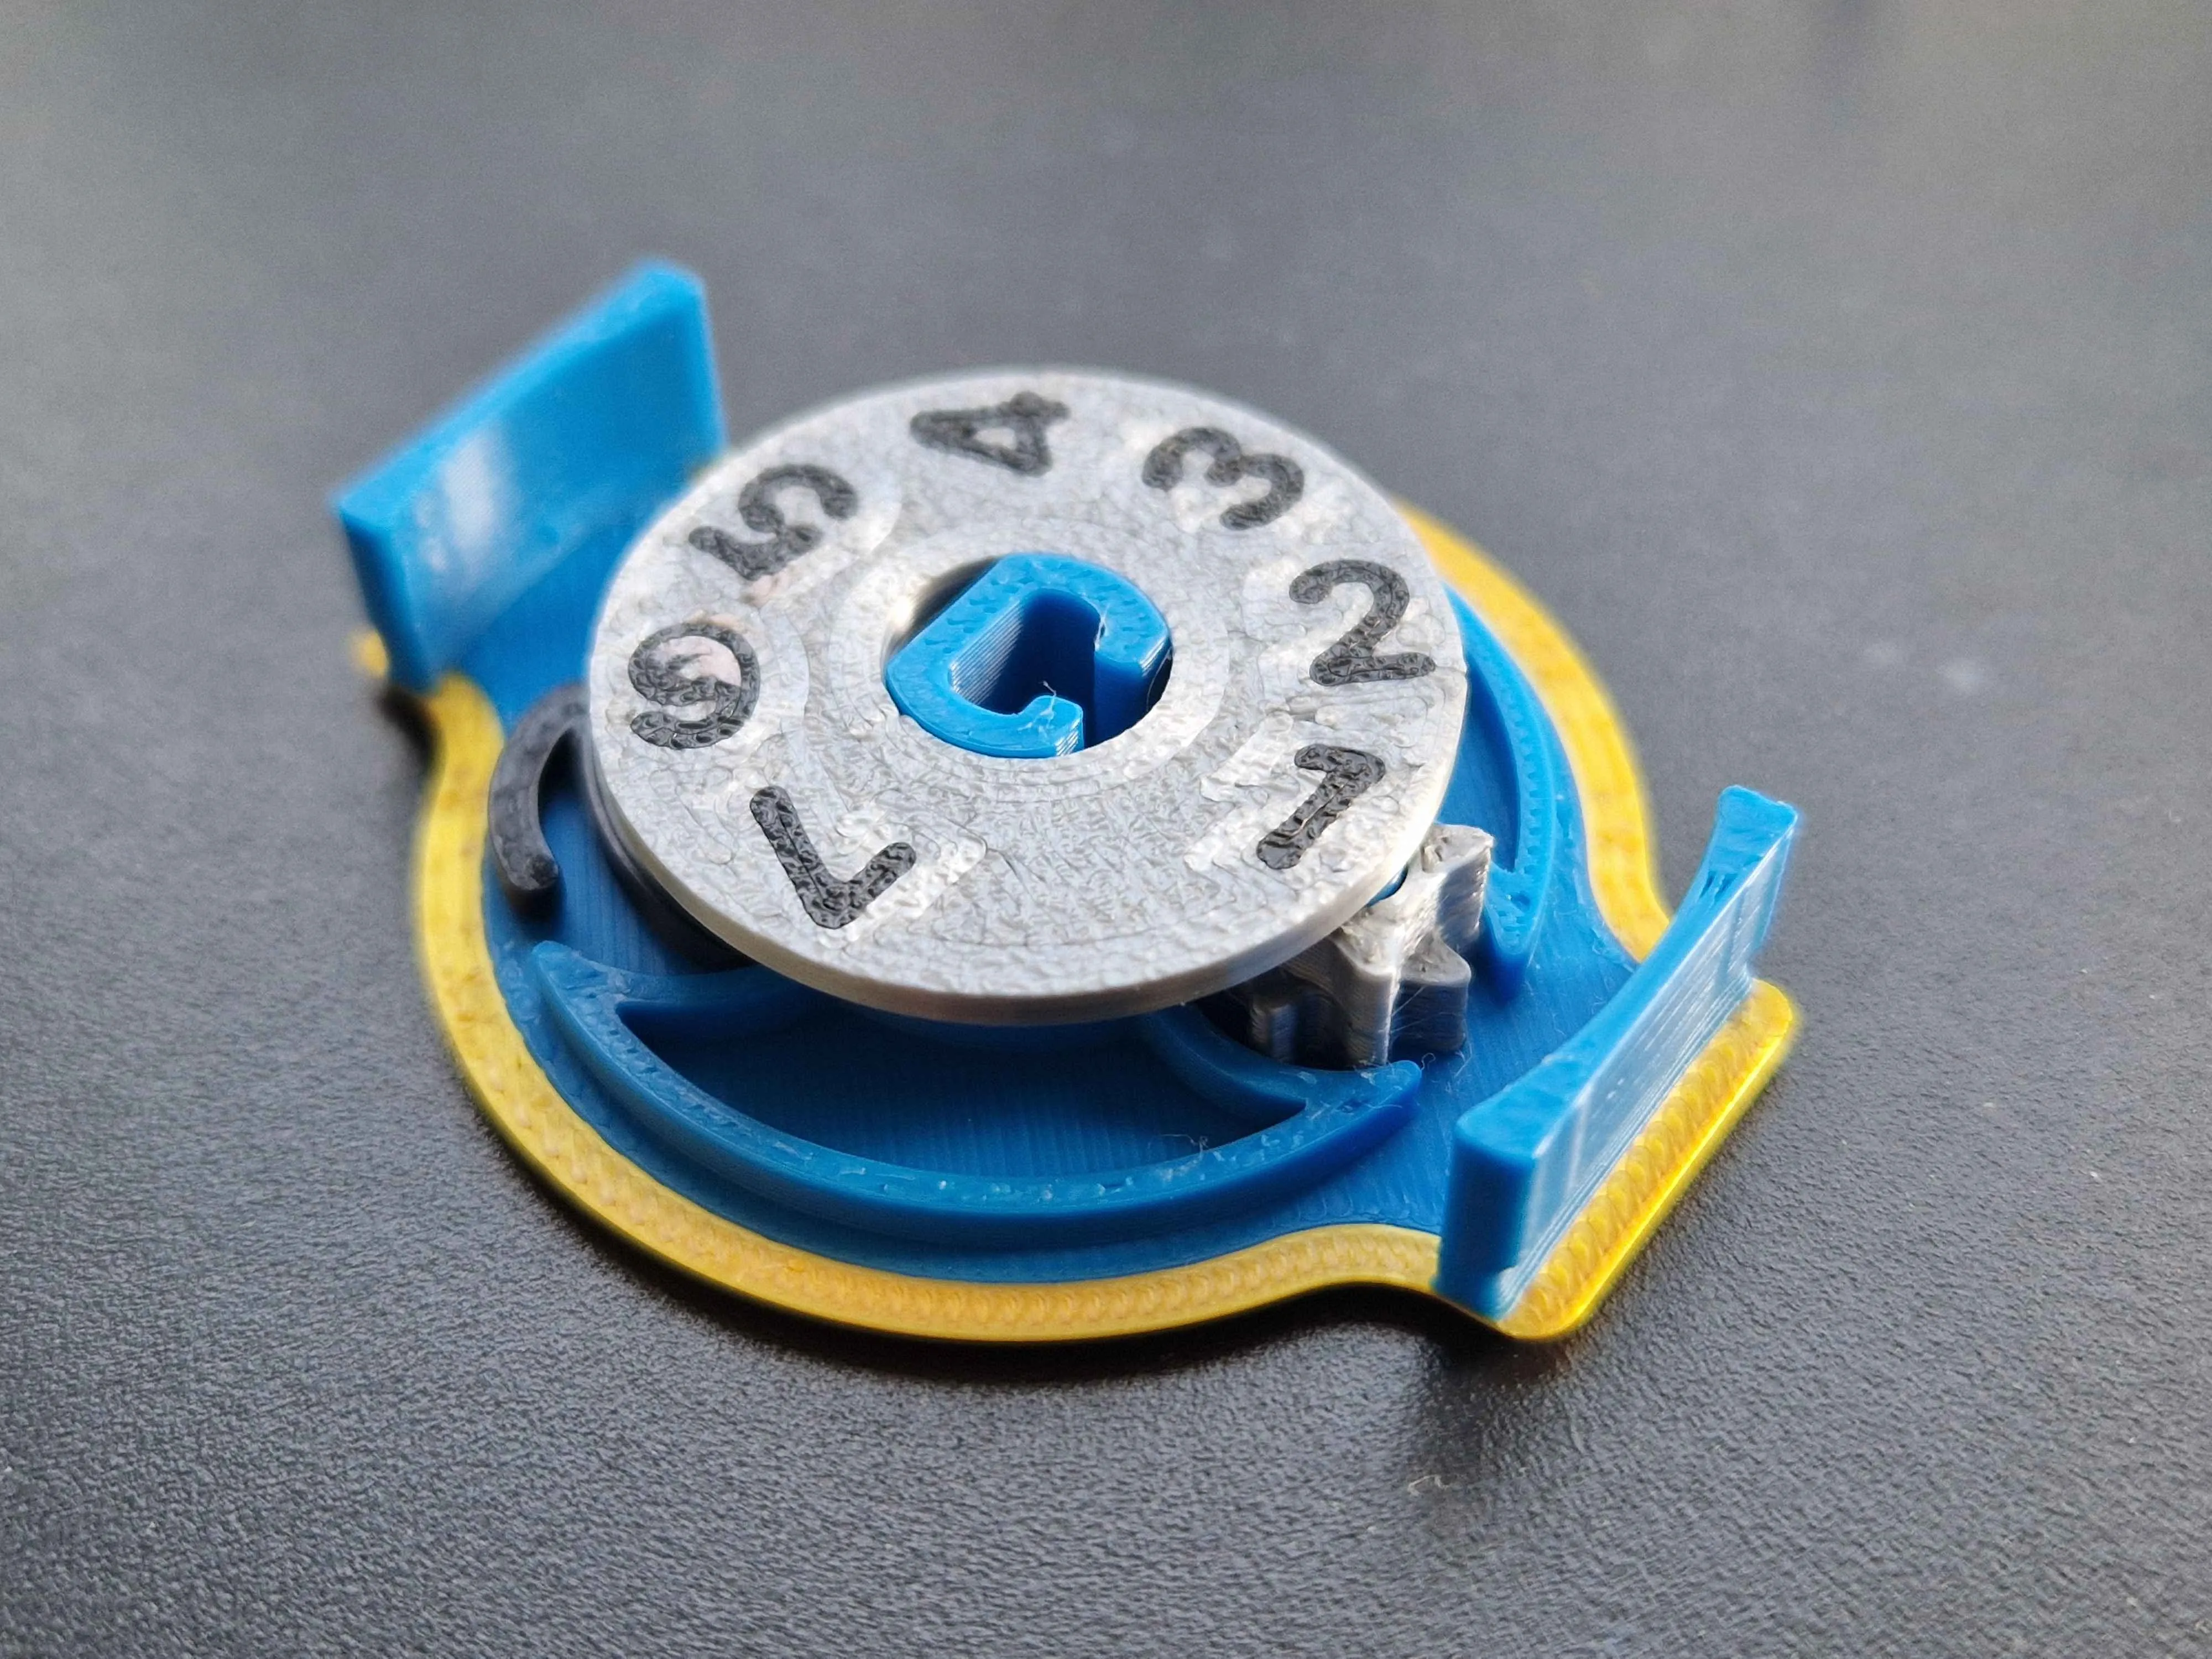
Place the large numbered disc around the small one. The numbers must be aligned over the small cog for it to be placed correctly, like the number 10 in the image below.
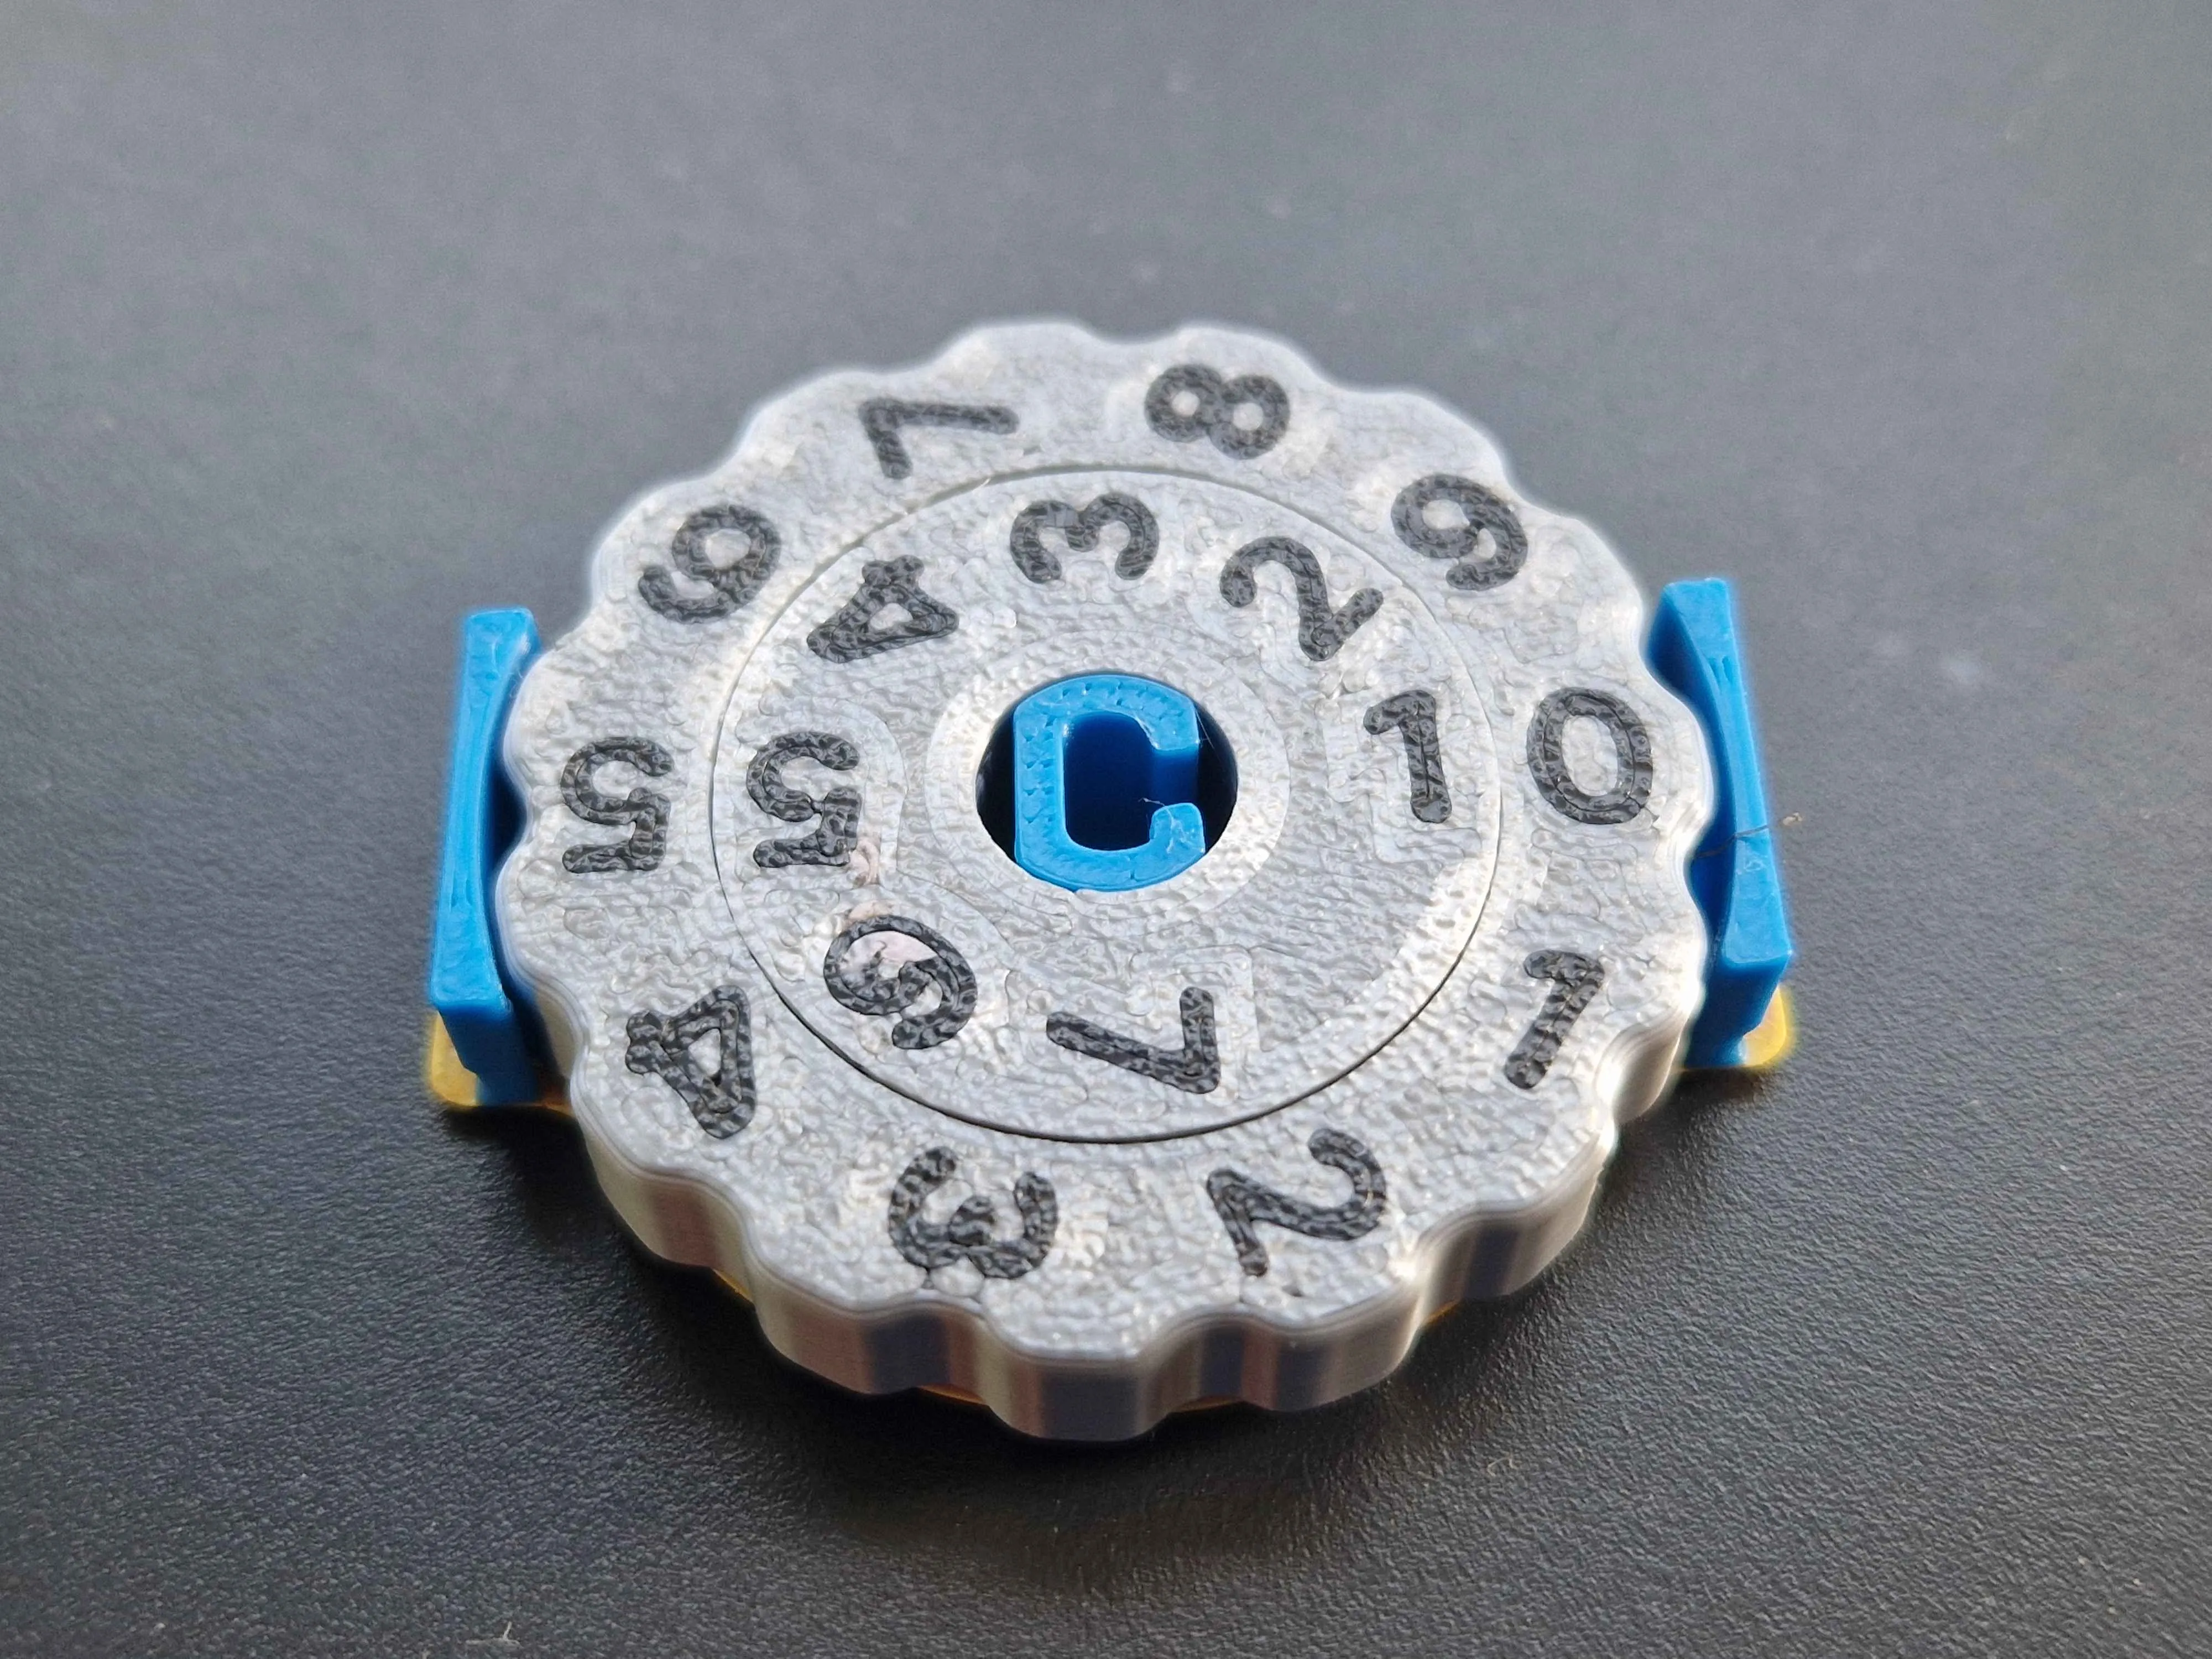
Press the top cover in place. The center pin only fits one way. The numbers you aligned in the last step will be the ones visible in the opening.
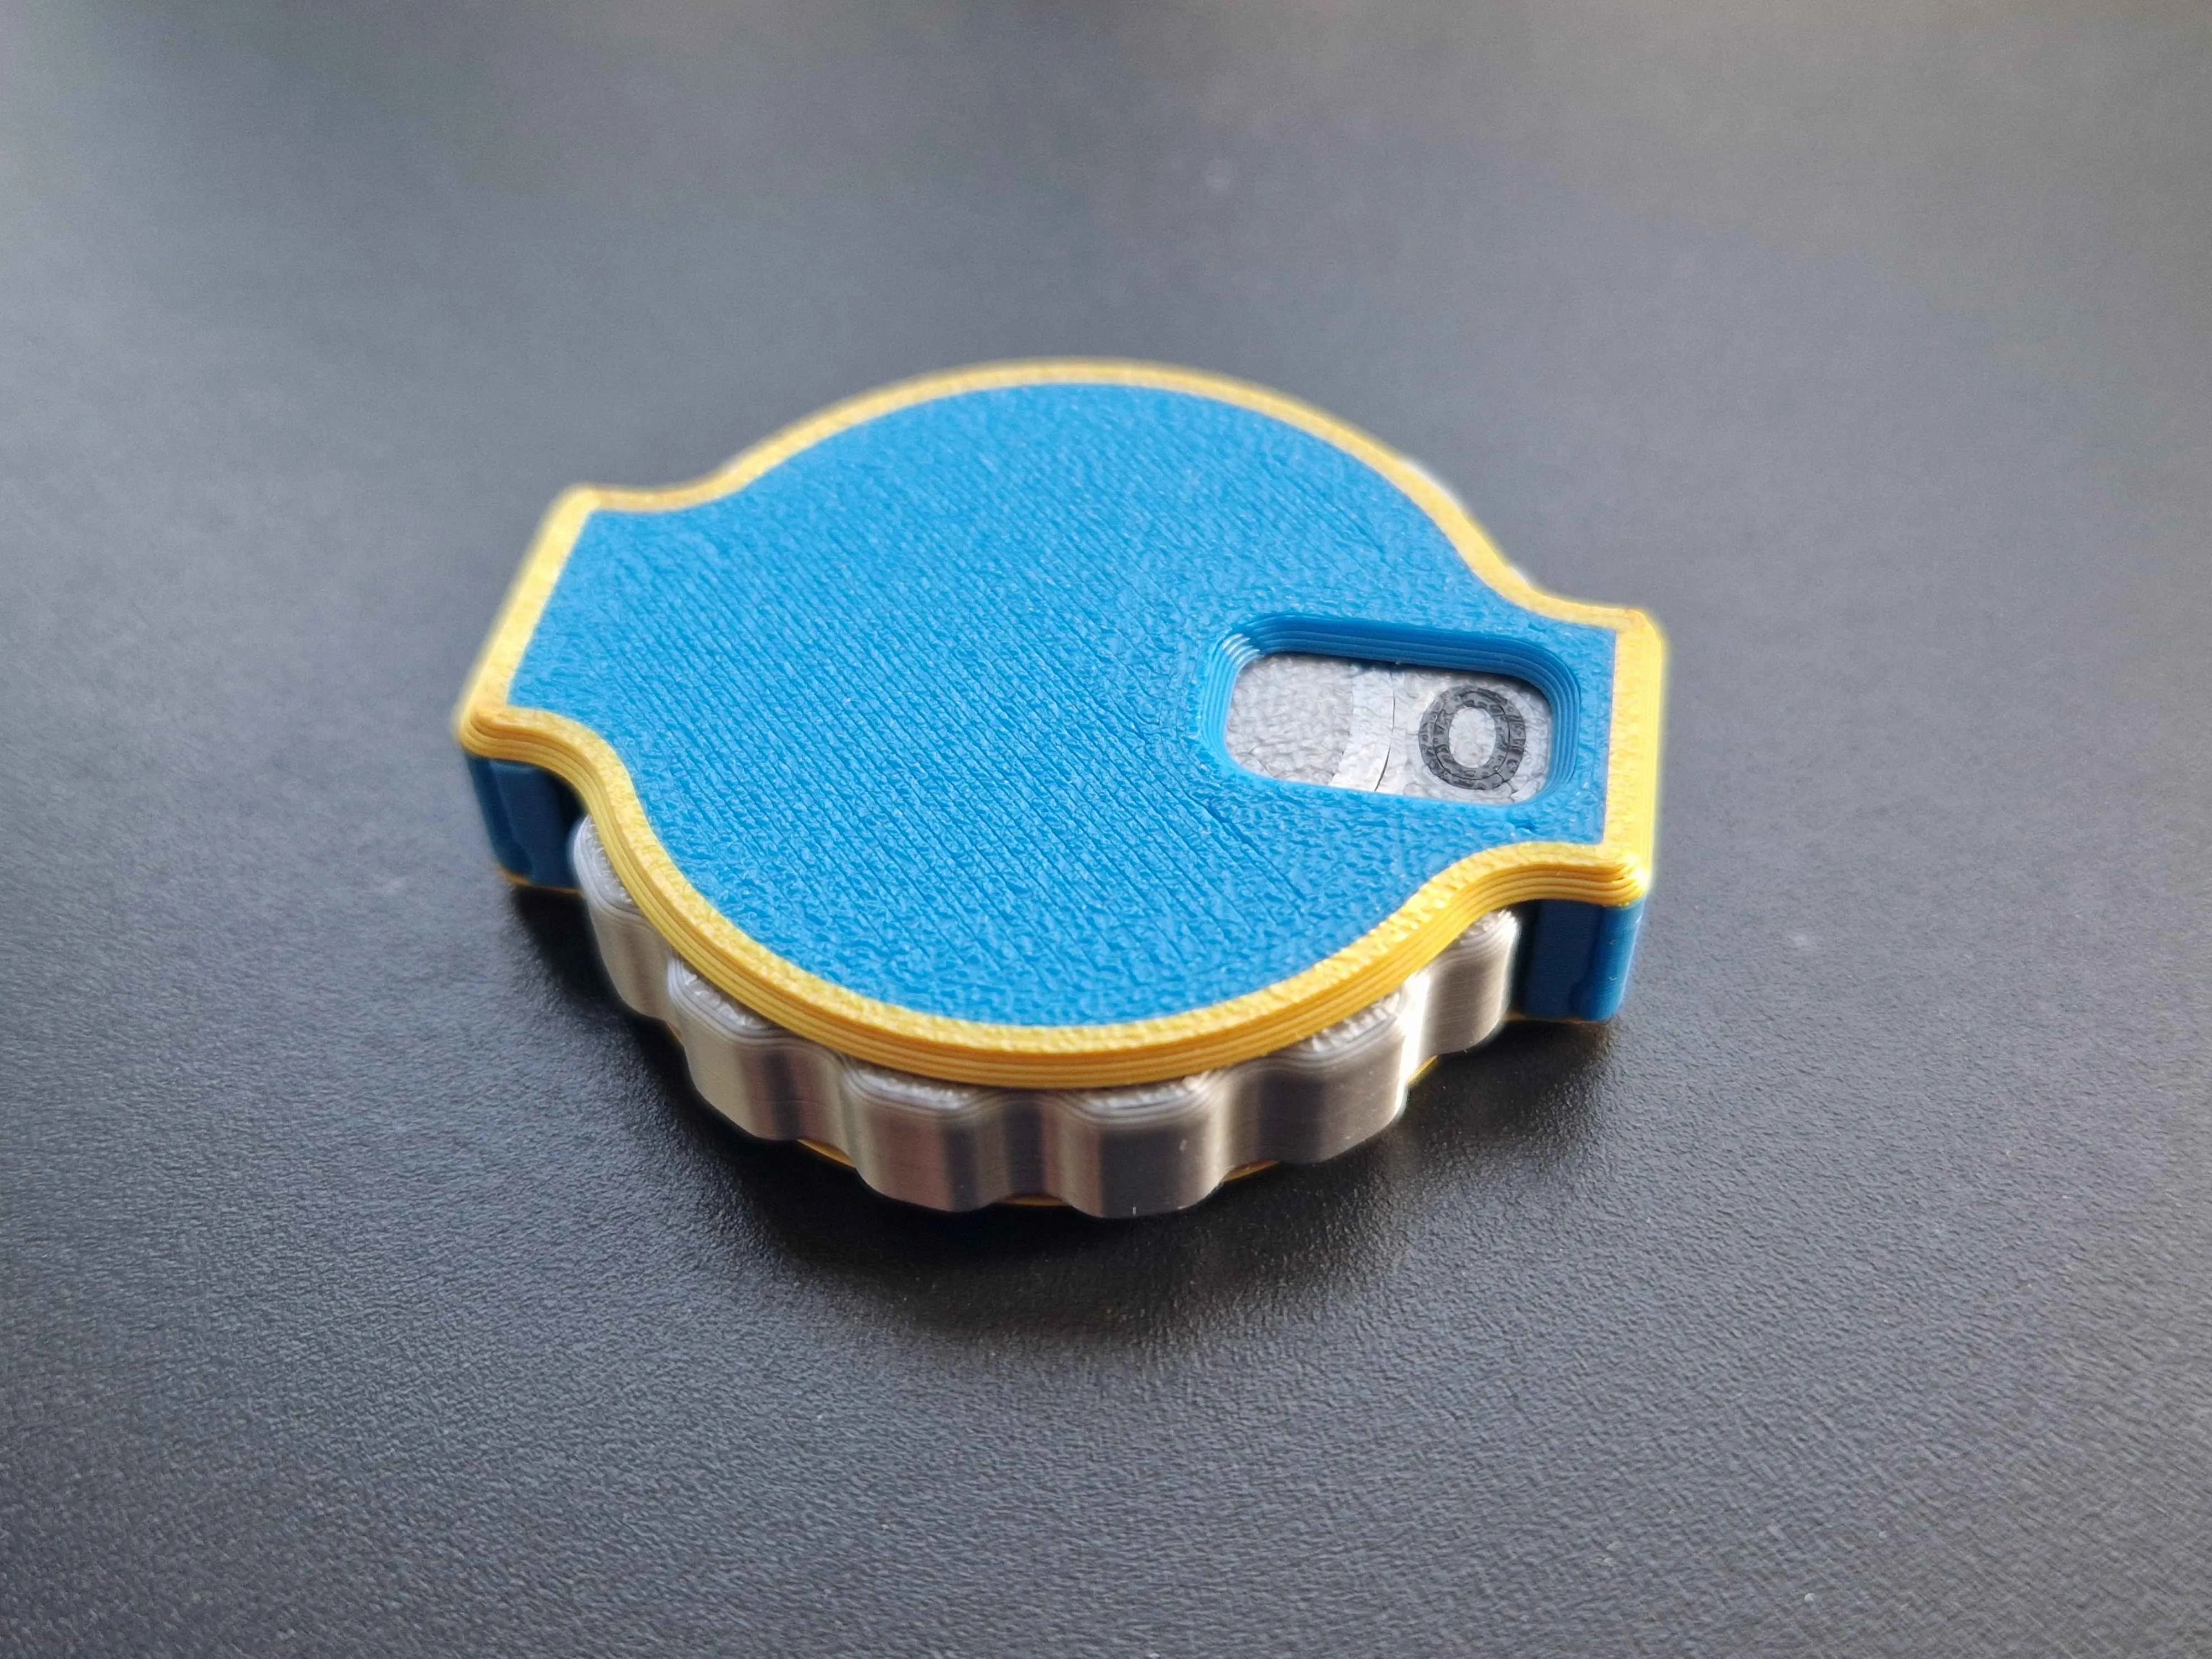
And now it is finished! It might take a full rotation for it to get the smooth movement, depending on which type of filament was used.
Membership
Interested in selling these in your store? Join my newly set up Commercial License Membership today!
Boost Me (for free)
Did this print help you in your minifigure/tabletop/tcg games? Then please give it a boost!
License

You shall not share, sub-license, sell, rent, host, transfer, or distribute in any way the digital or 3D printed versions of this object, nor any other derivative work of this object in its digital or physical format (including - but not limited to - remixes of this object, and hosting on other digital platforms). The objects may not be used without permission in any way whatsoever in which you charge money, or collect fees.


Comment & Rating (132)