
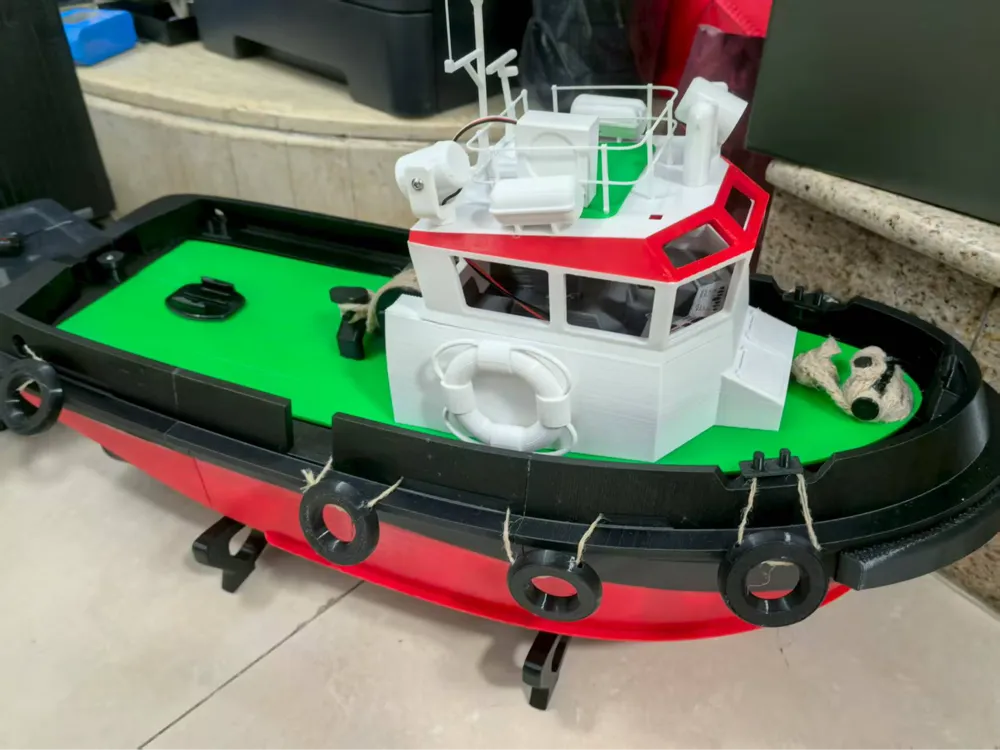
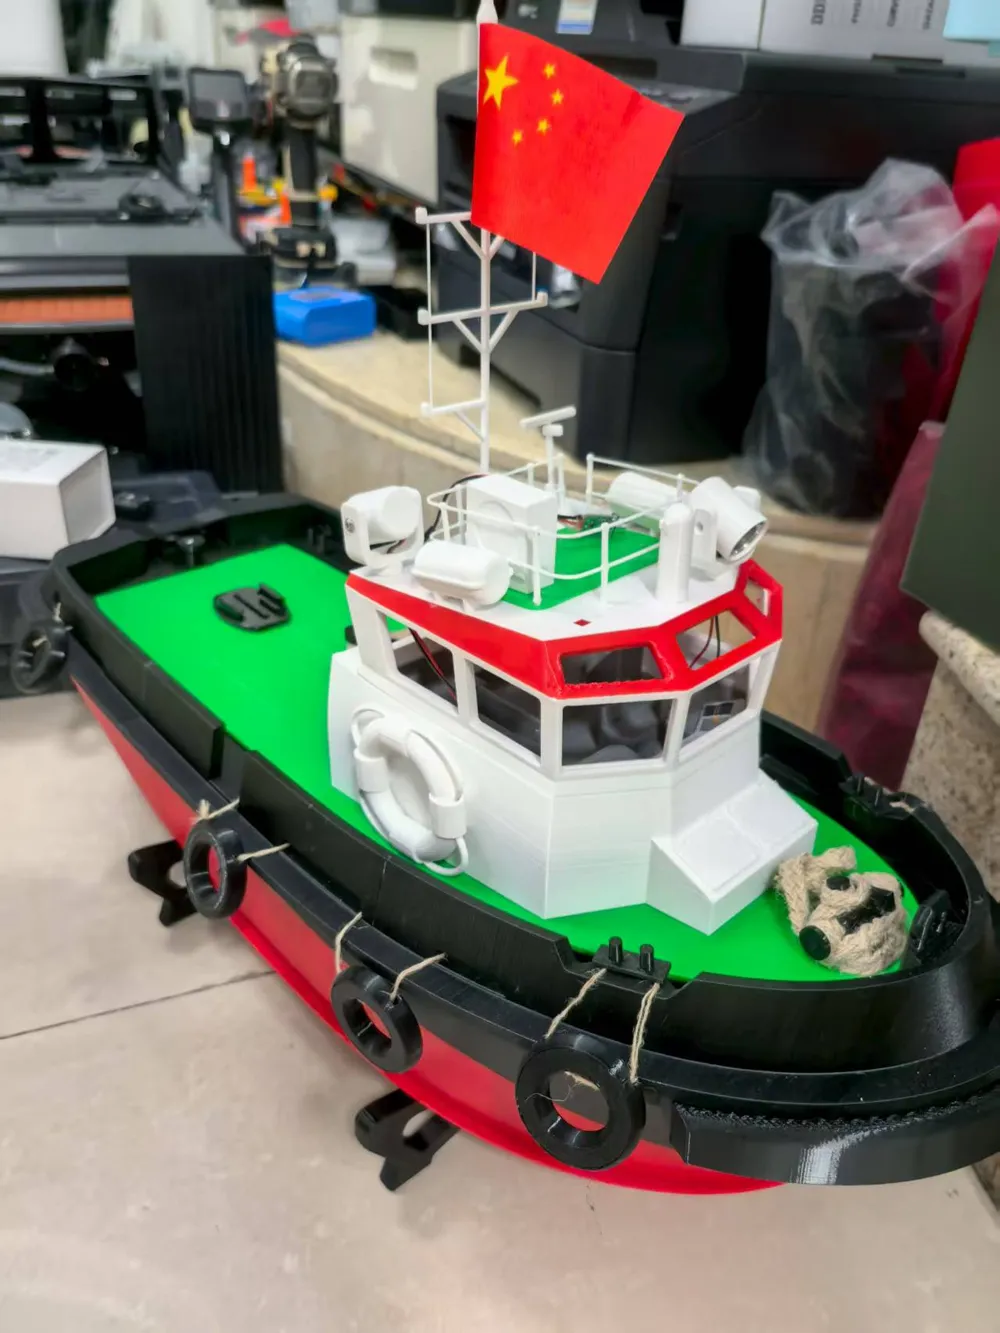
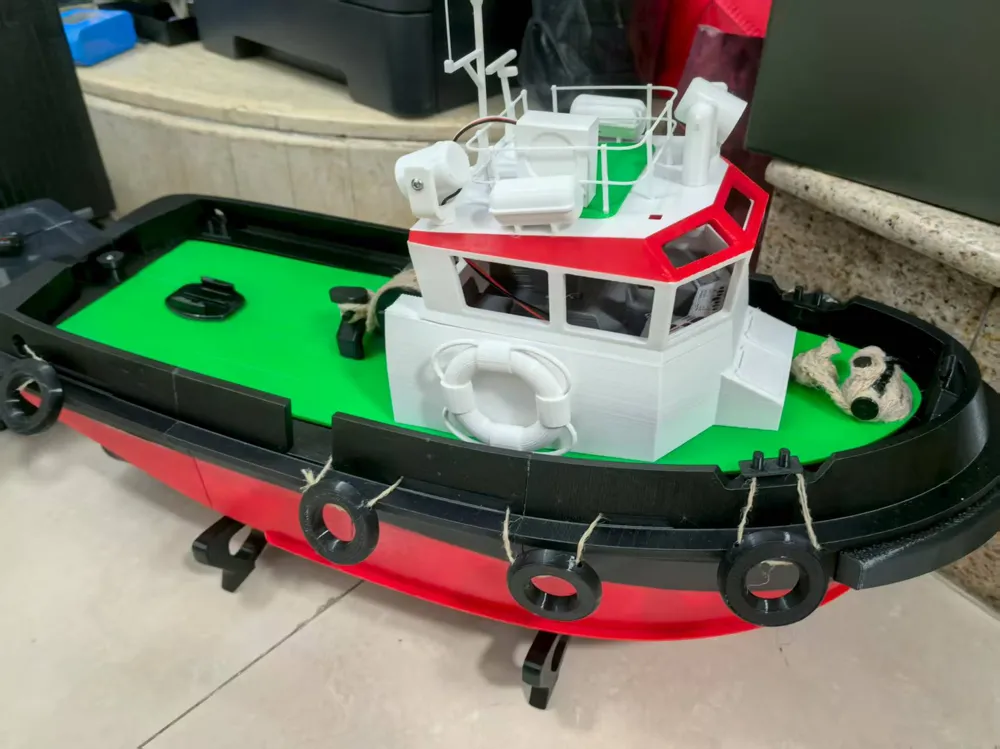
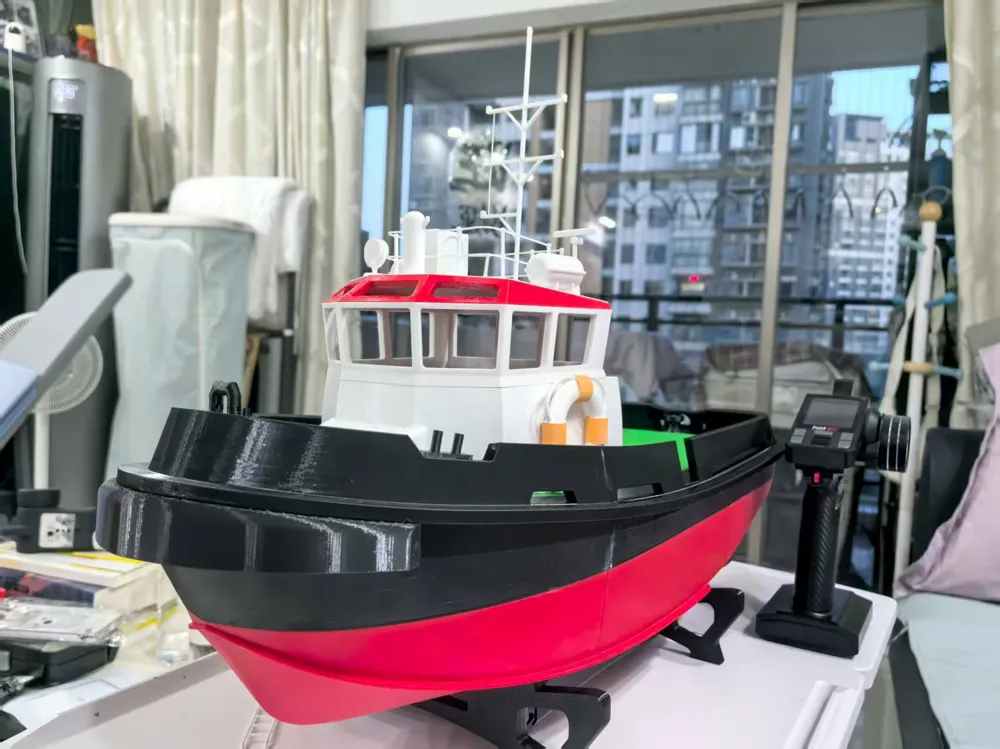
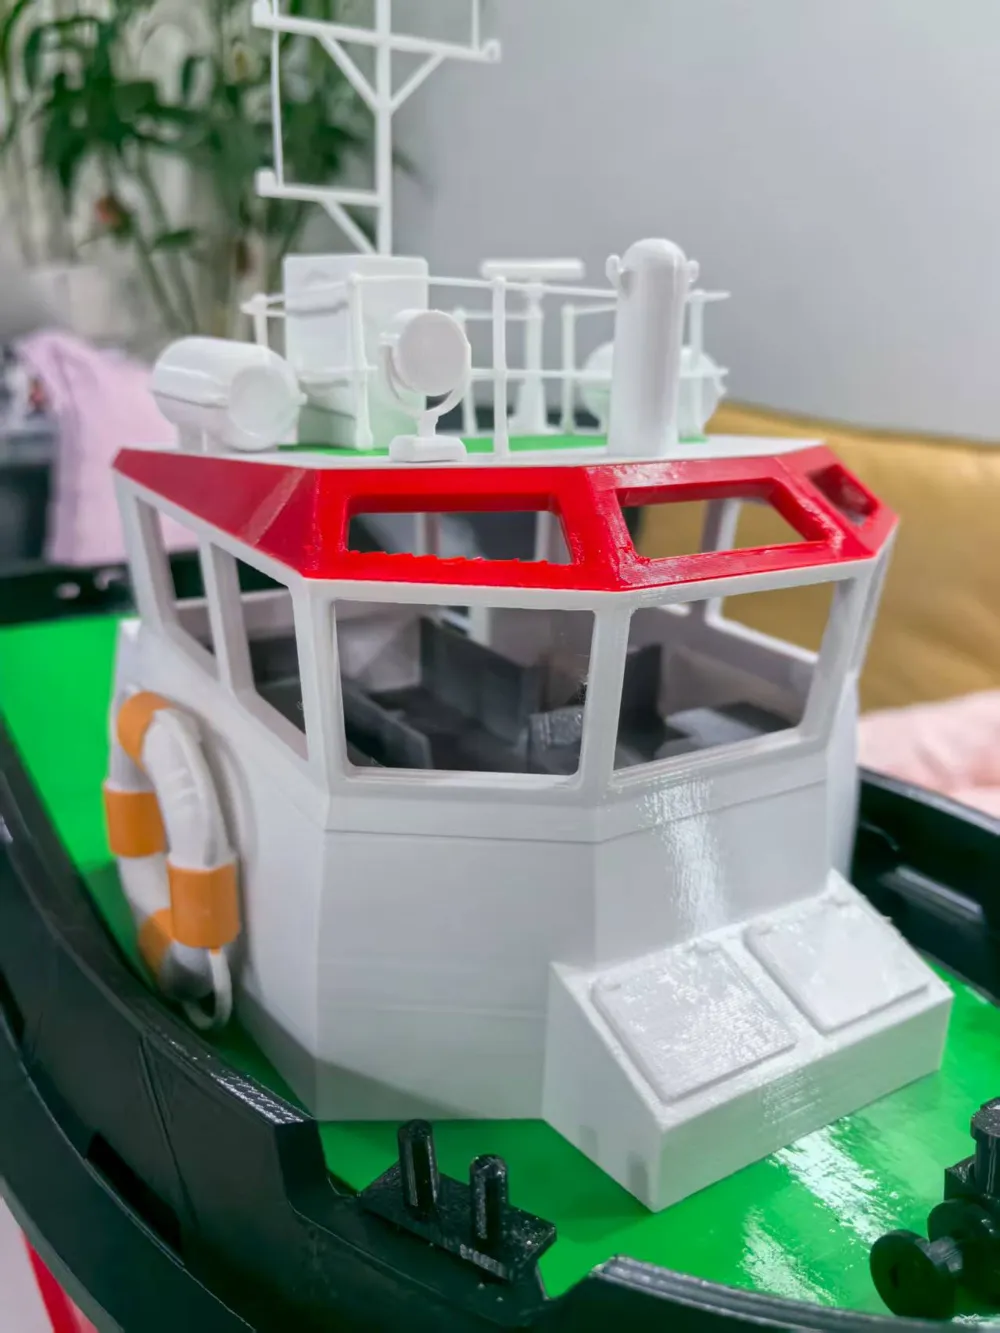
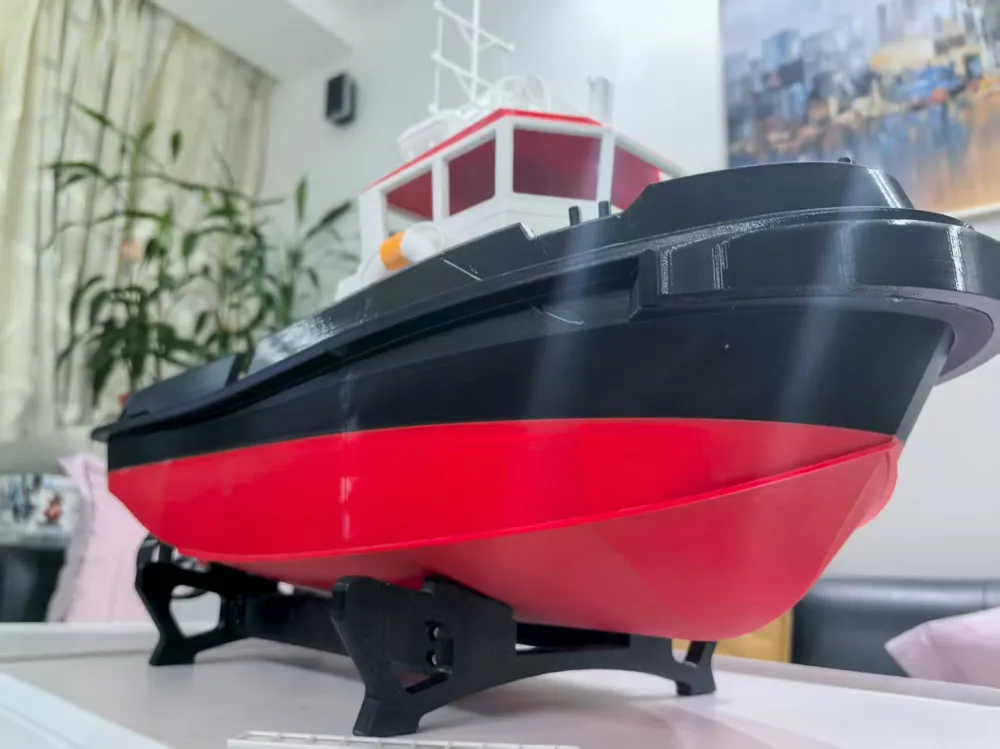
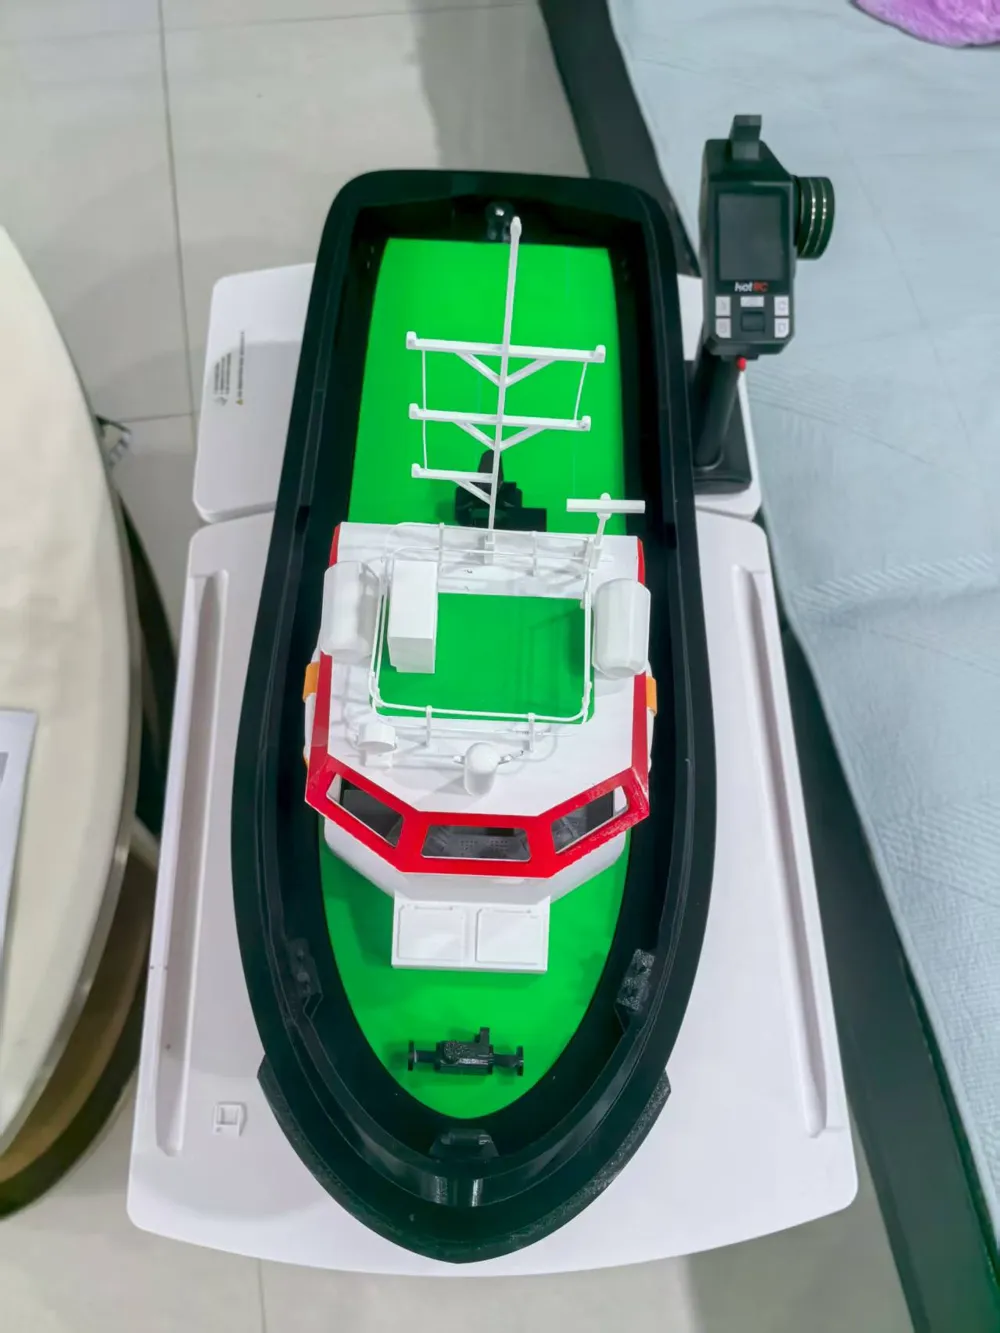
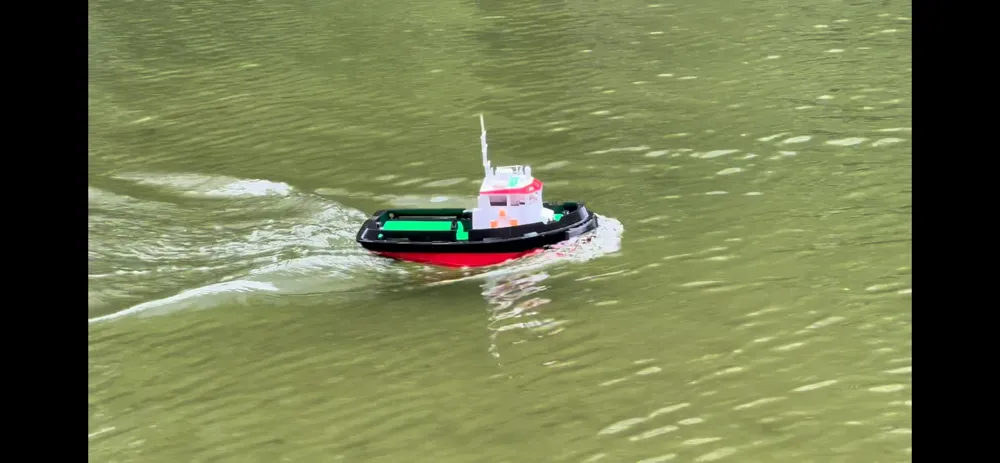
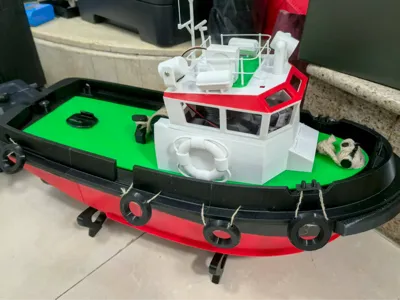
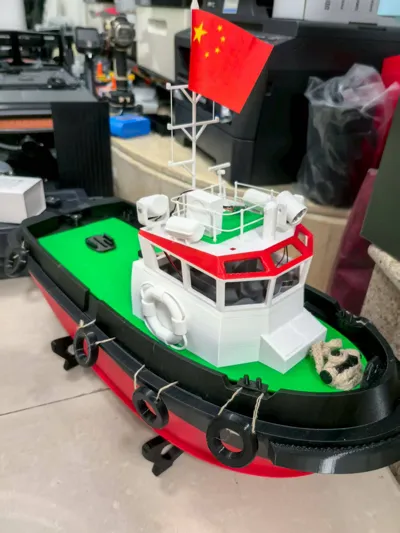
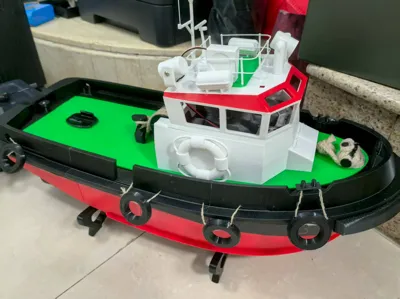
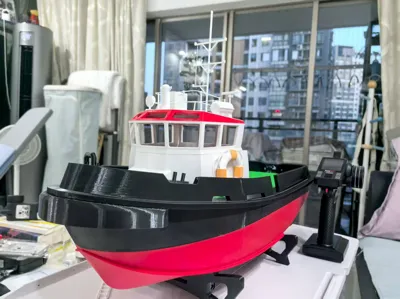
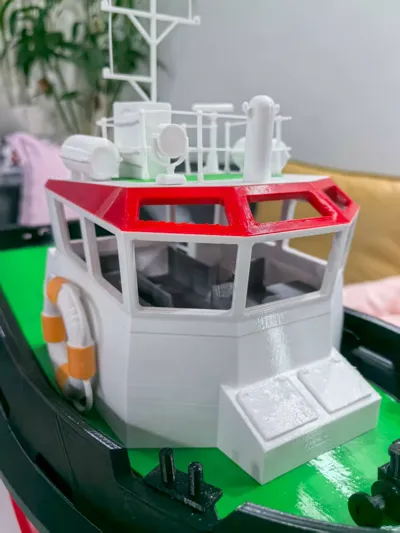
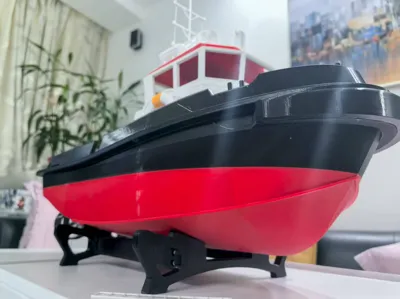
Paint-free version tugboat, no multi-color printing required
Print Profile(8)


Description
Boost Me (for free)
Thanks for your support
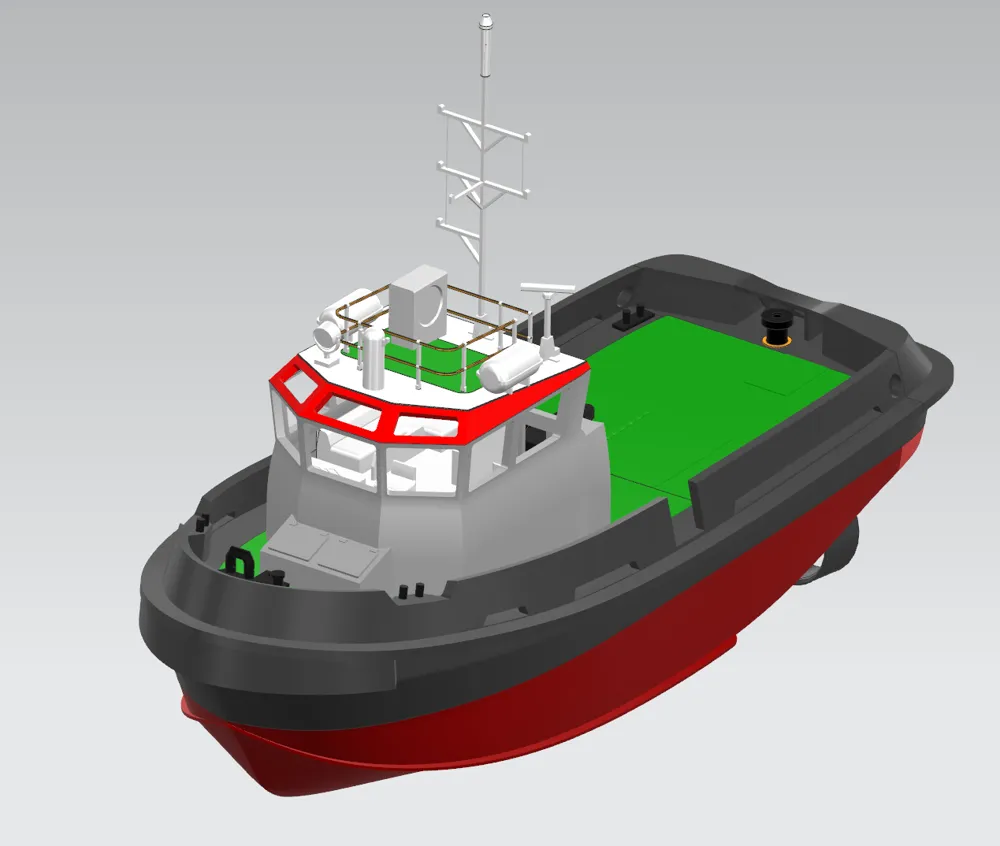
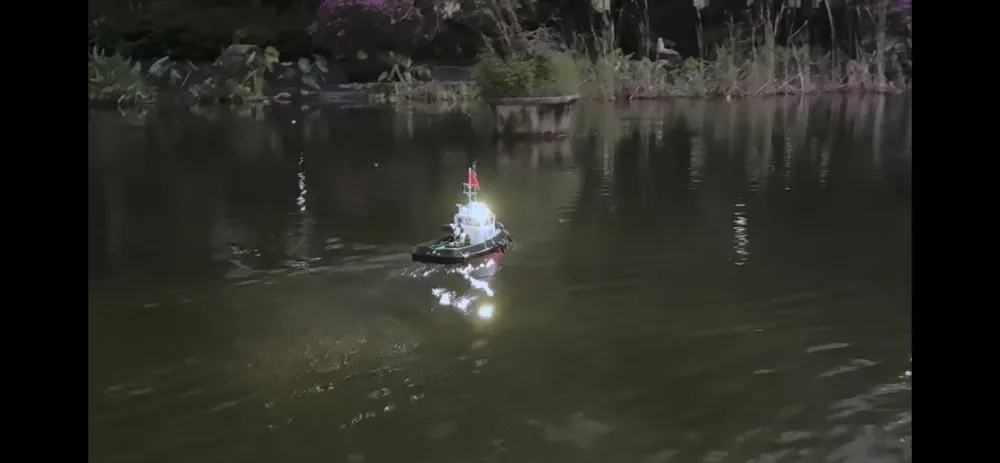
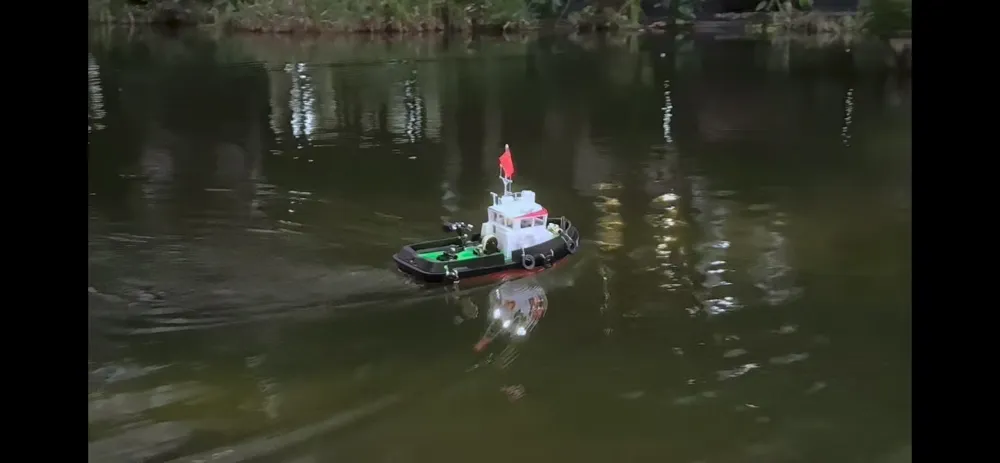
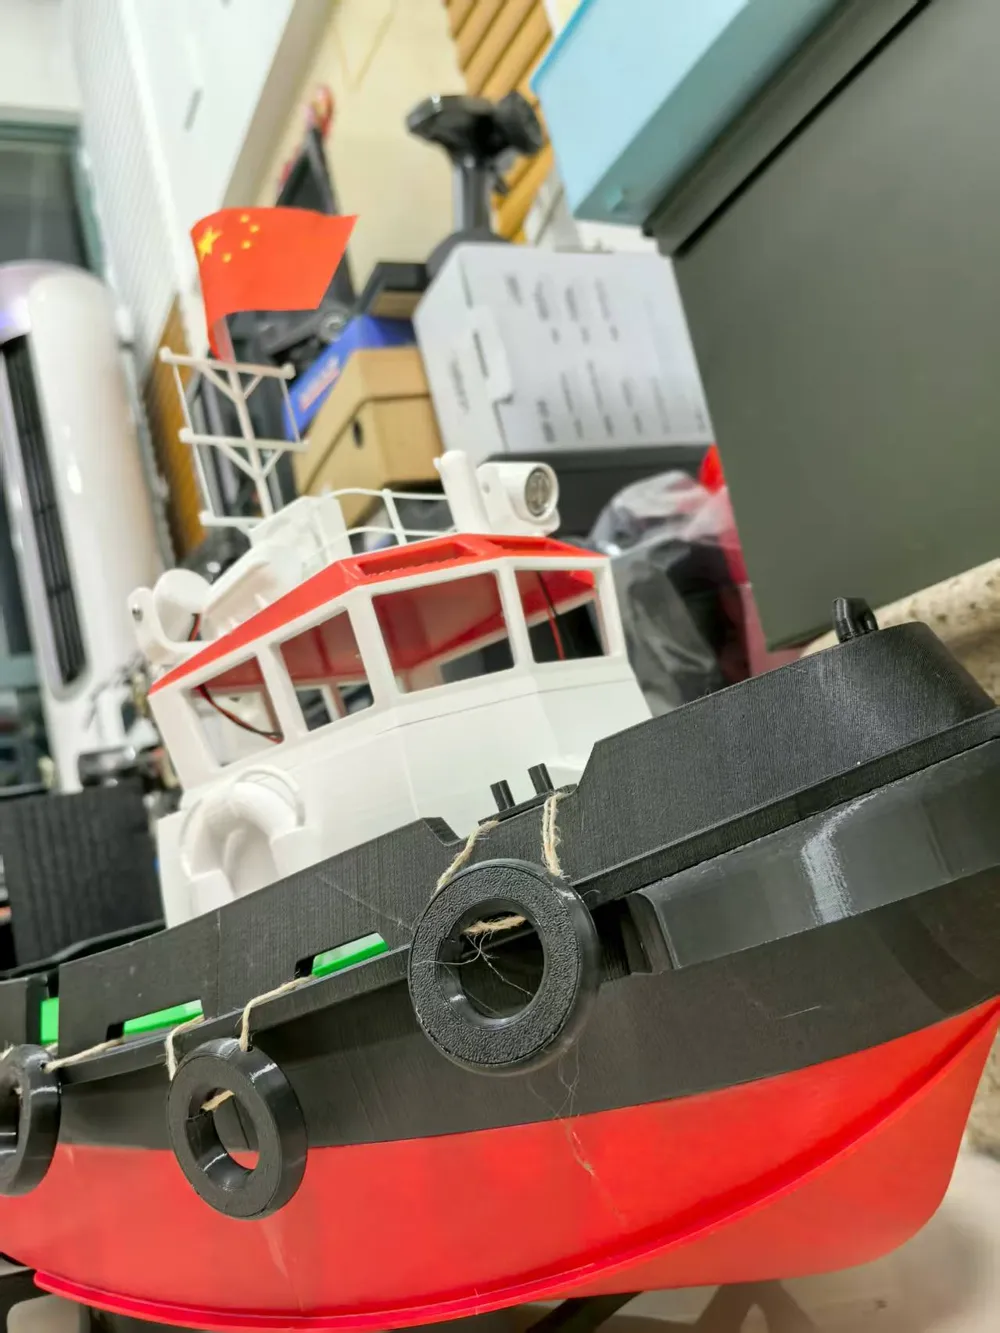
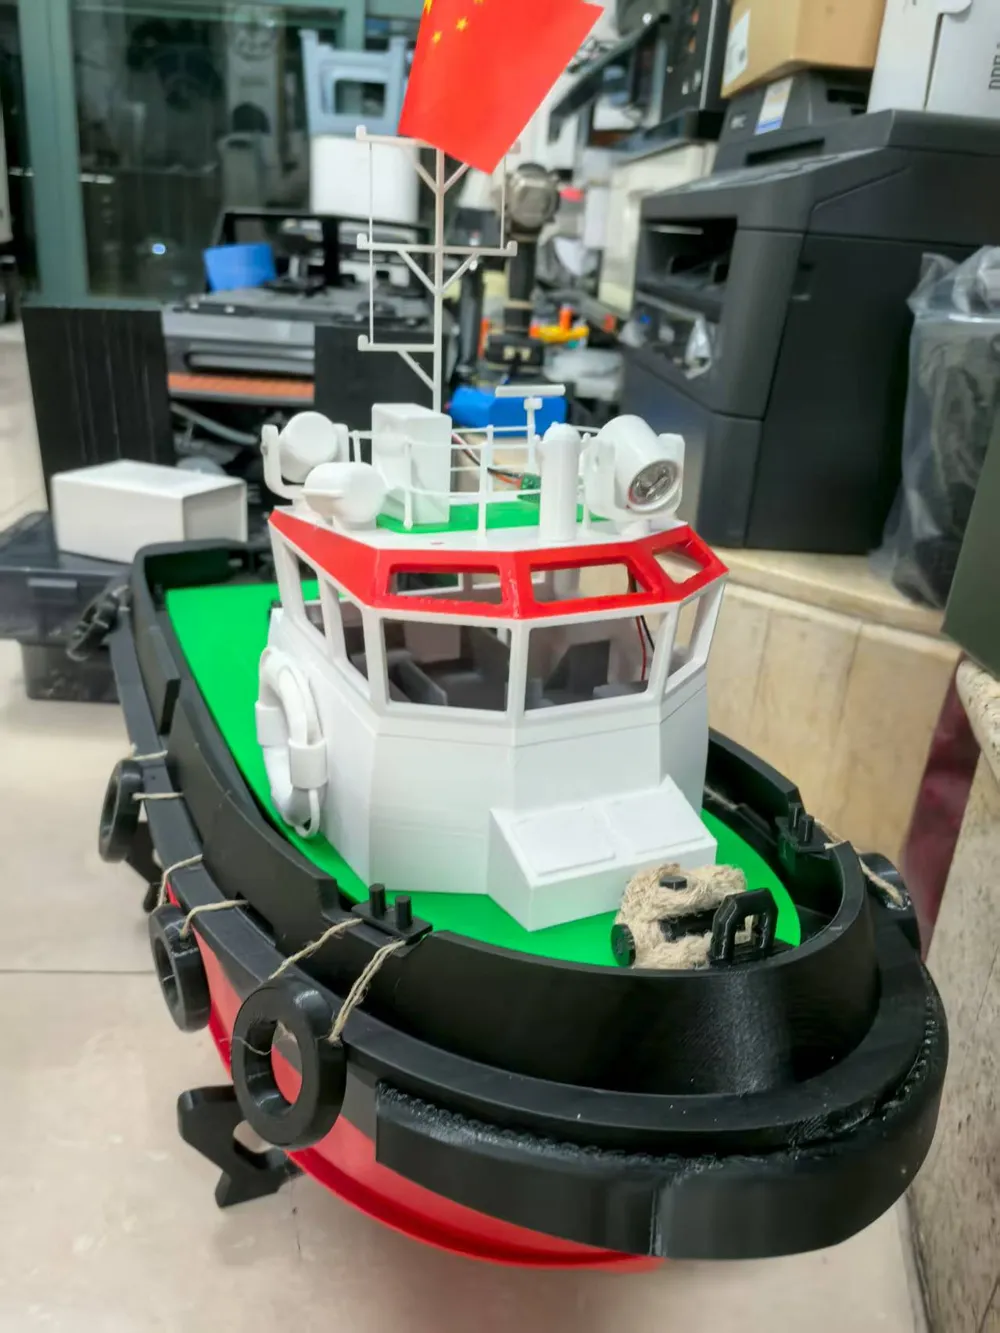
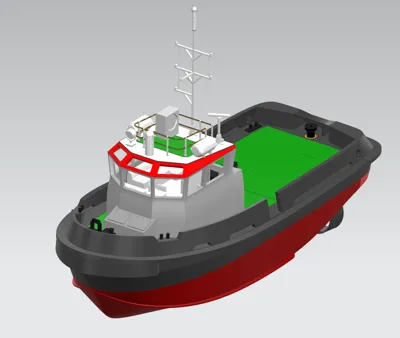
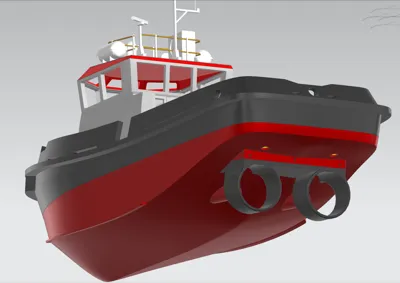
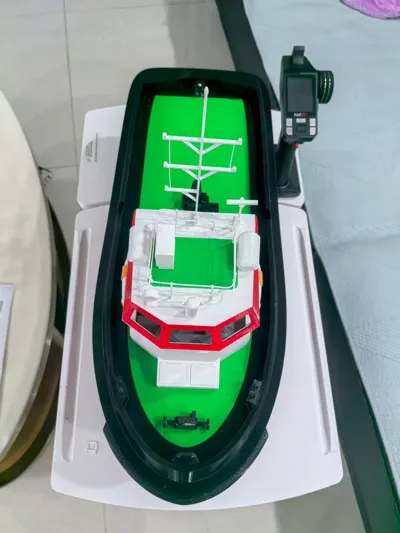
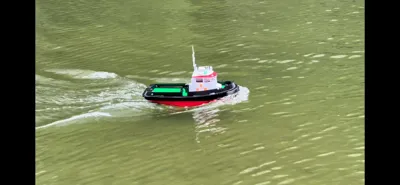
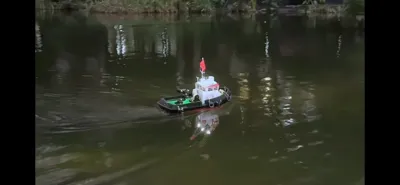
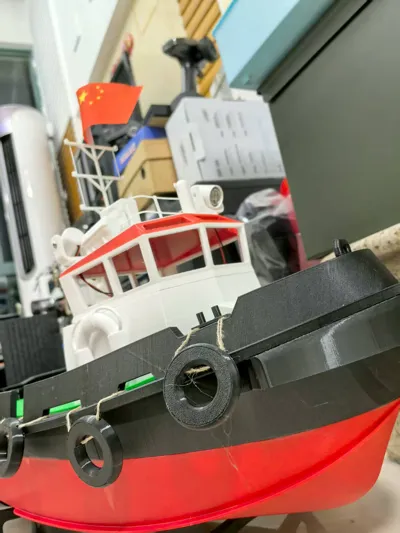
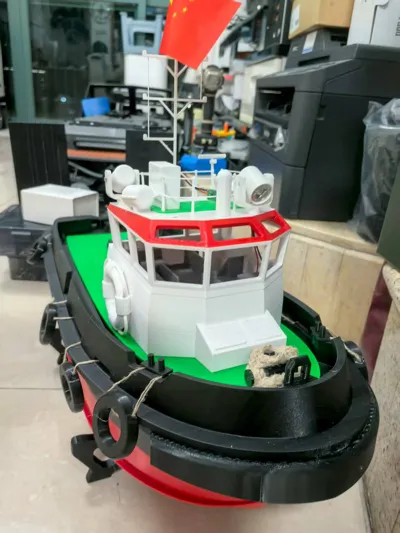
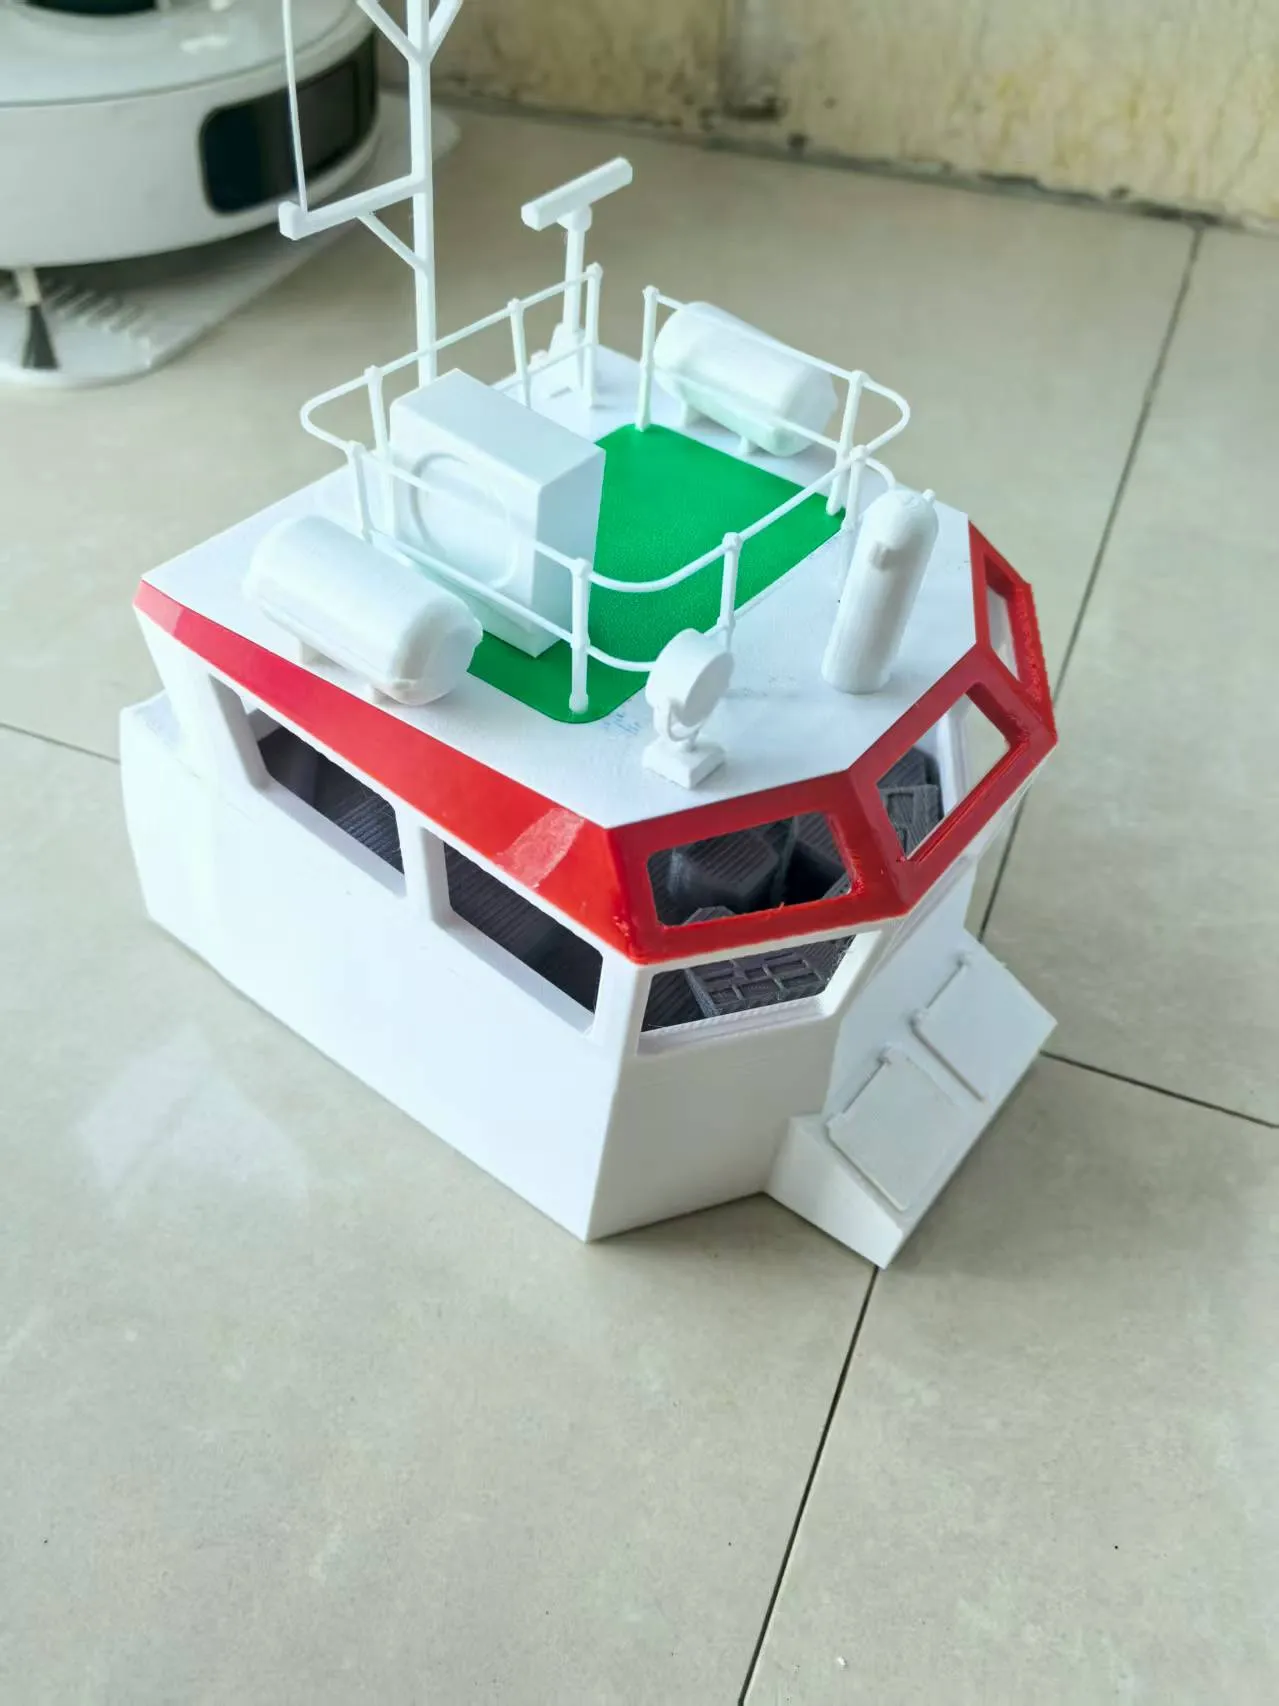
Tugboat, my extensively modified version
The main differences from the version on Xianyu are as follows:
1. Parts are printed separated by color, reassembled after separating the parts, eliminating the hassle of painting
2. Magnetic cabin cover, convenient for opening
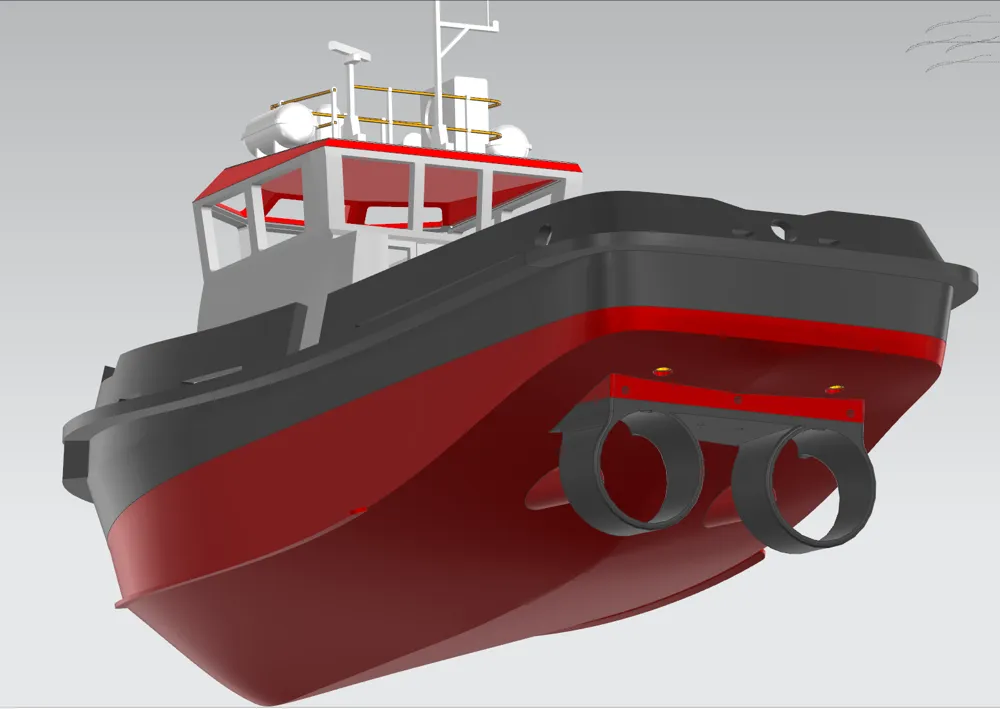
3. Changed the shaft size, replaced with off-the-shelf rudders, simplifying assembly
The boat length is approximately 600mm
Filament budget: Black 1 roll, Red 1 roll, Green 1 roll, White 1 roll, TPU 1 roll
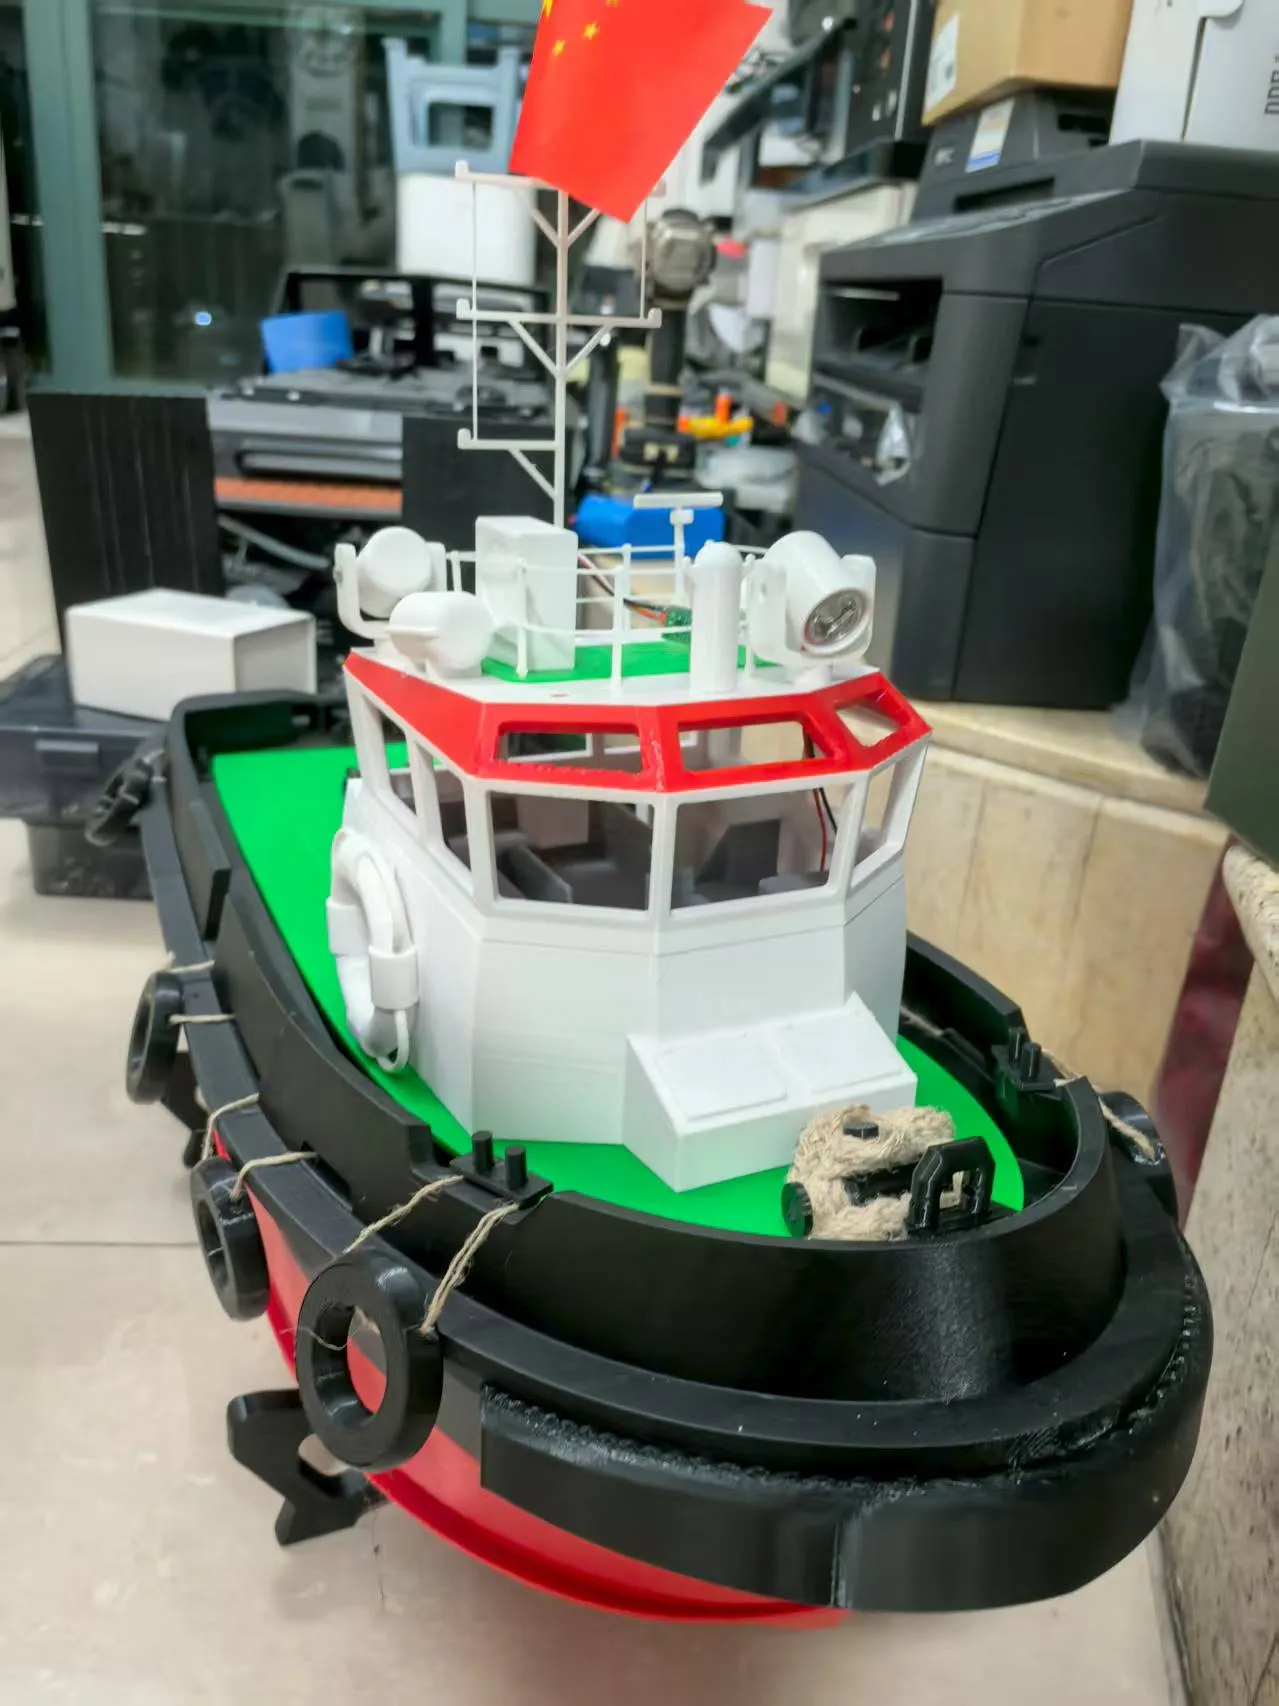
The accessories list is as follows:
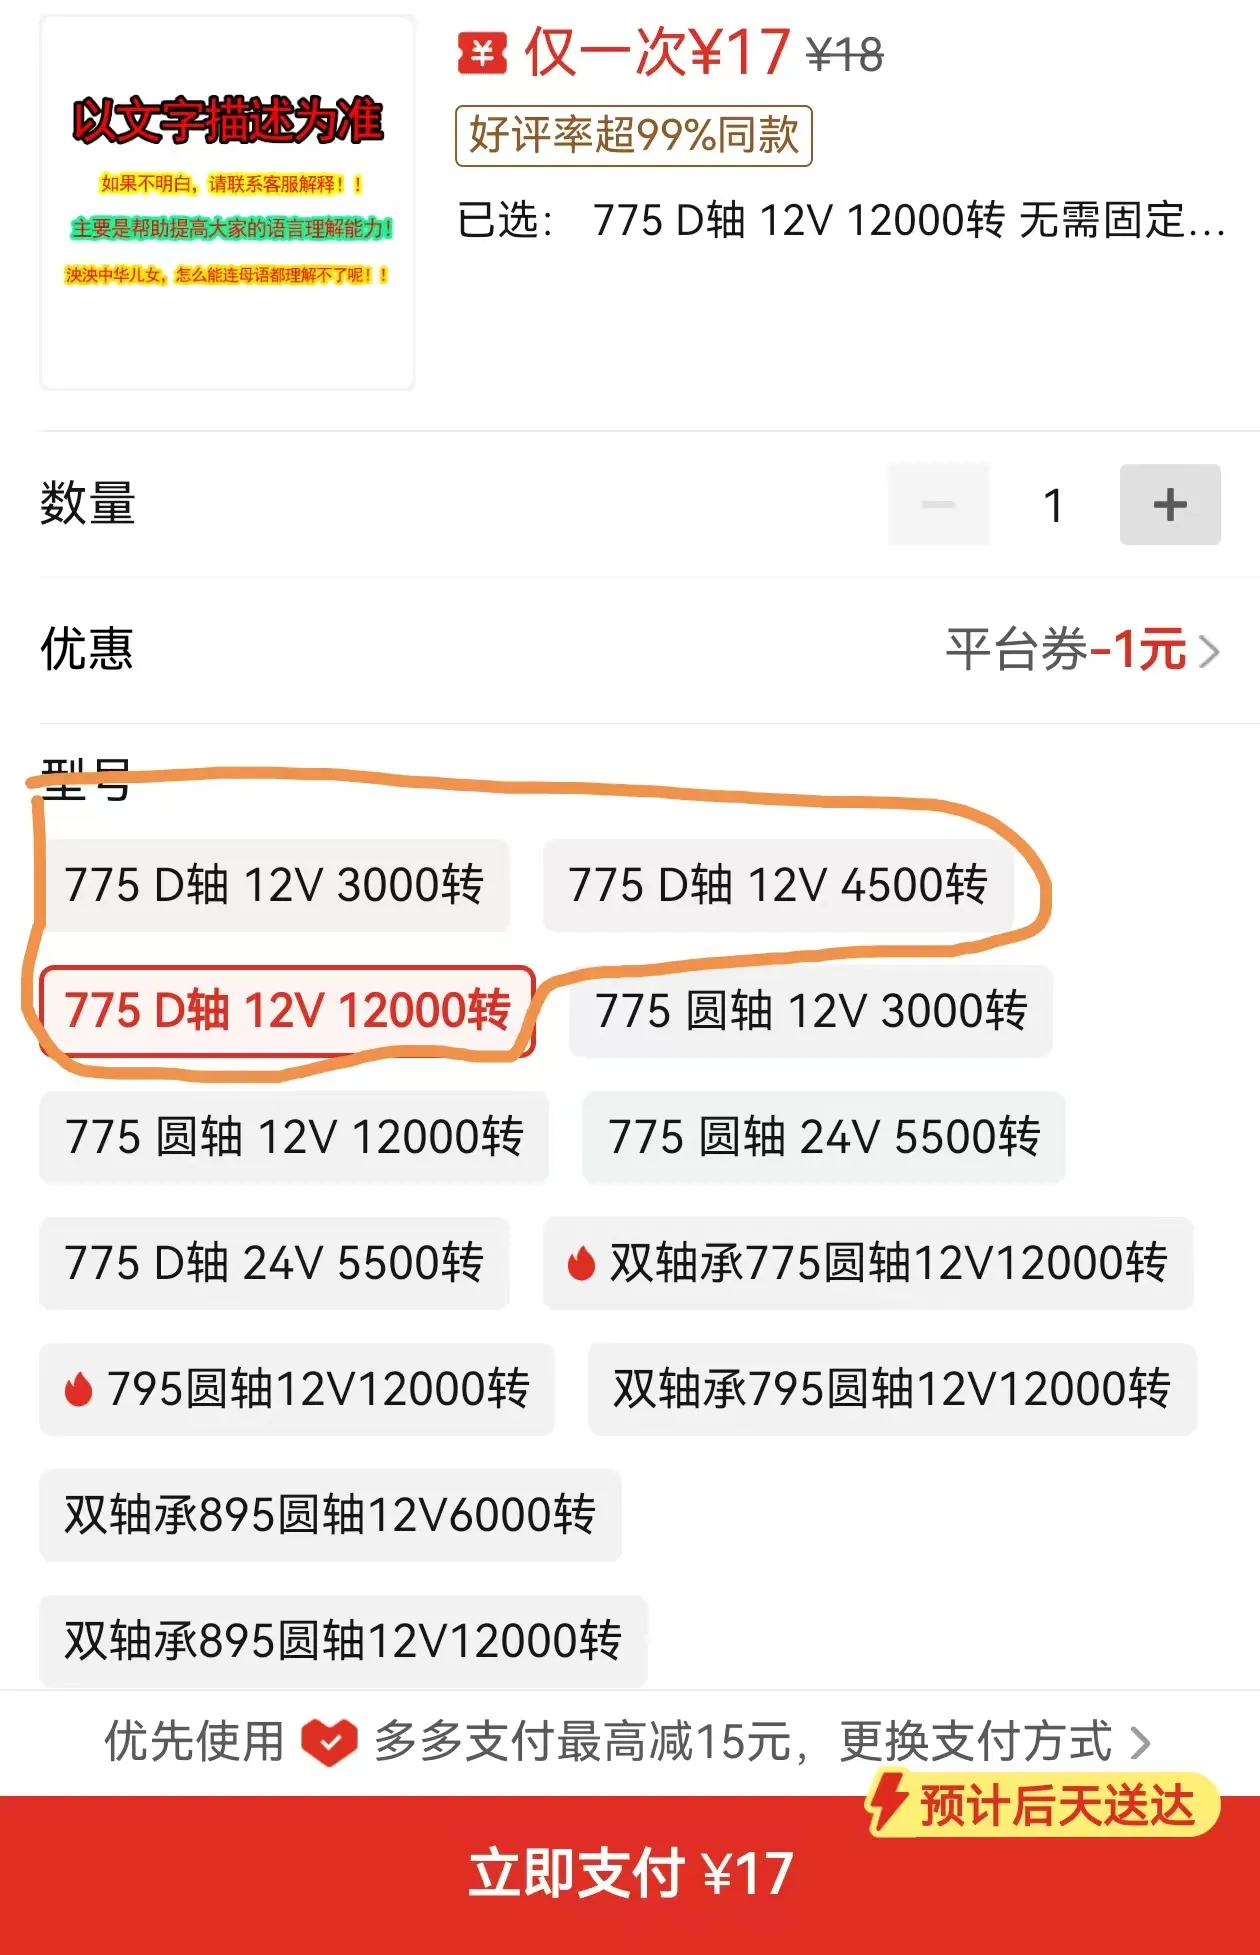
1. Dual 775 motors, D-shaft, optional 3000-12000 RPM (approximately 6000 RPM recommended)
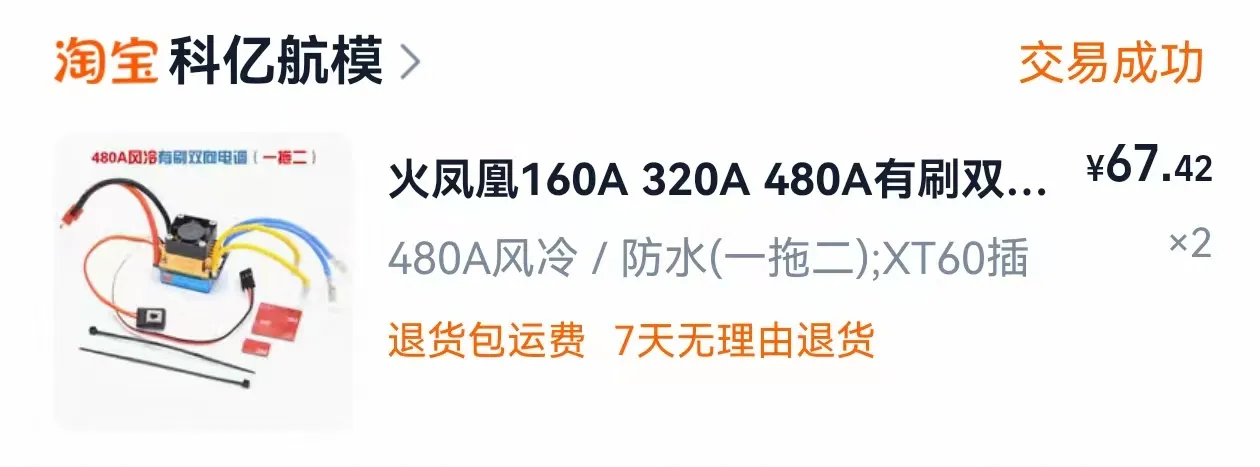
2. Fire Phoenix 480A ESC, one for two motors (maximum support 4s battery)
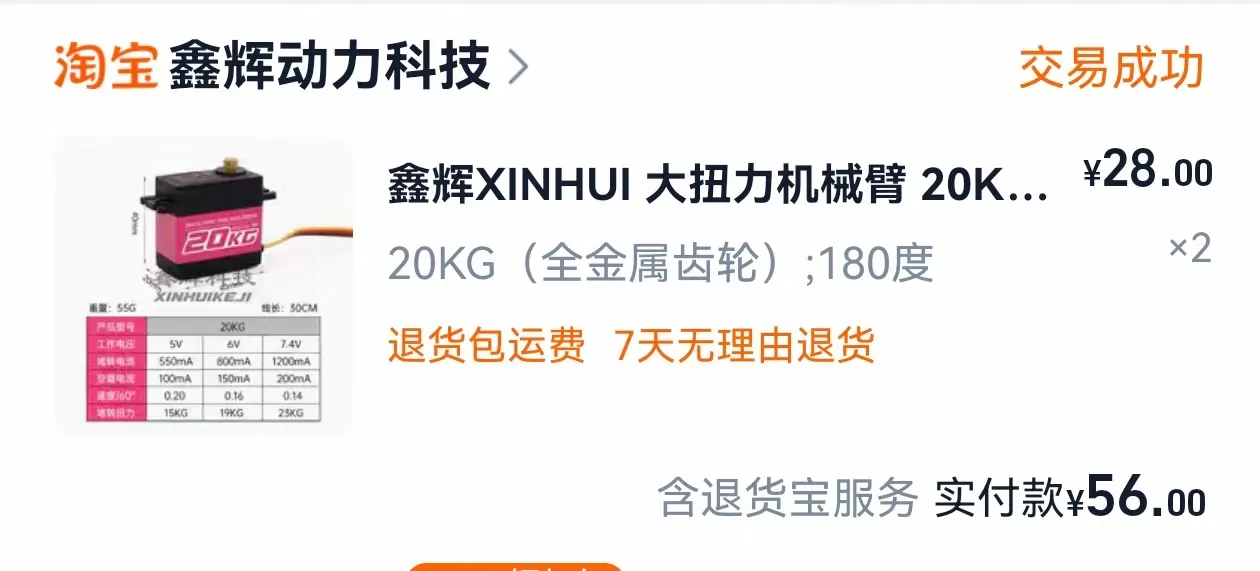
3. 1 x 20KG servo
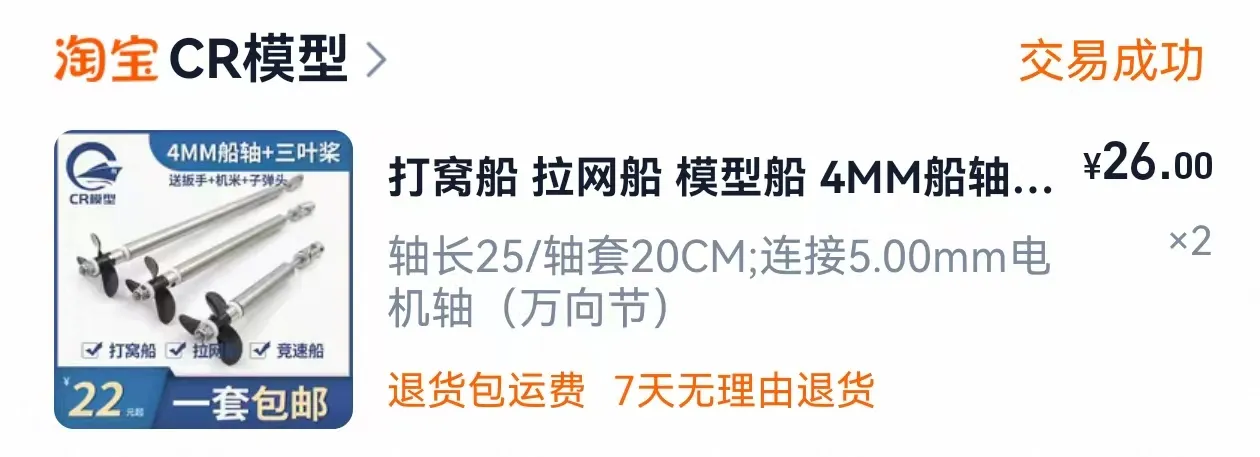
4. 4mm boat shaft, shaft length 25cm, shaft sleeve 20cm, connected to 5mm (universal joint)
5. Counterweights, 200g each or multiple pieces
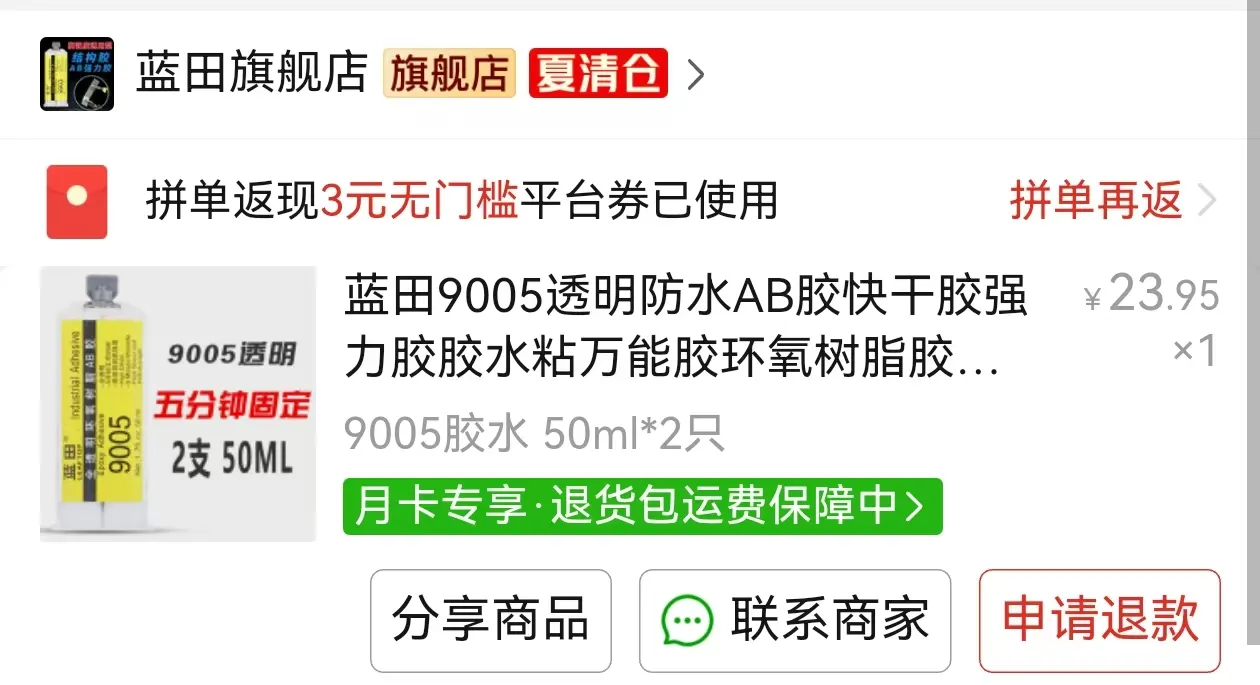
6. Lantian 9005 transparent AB glue
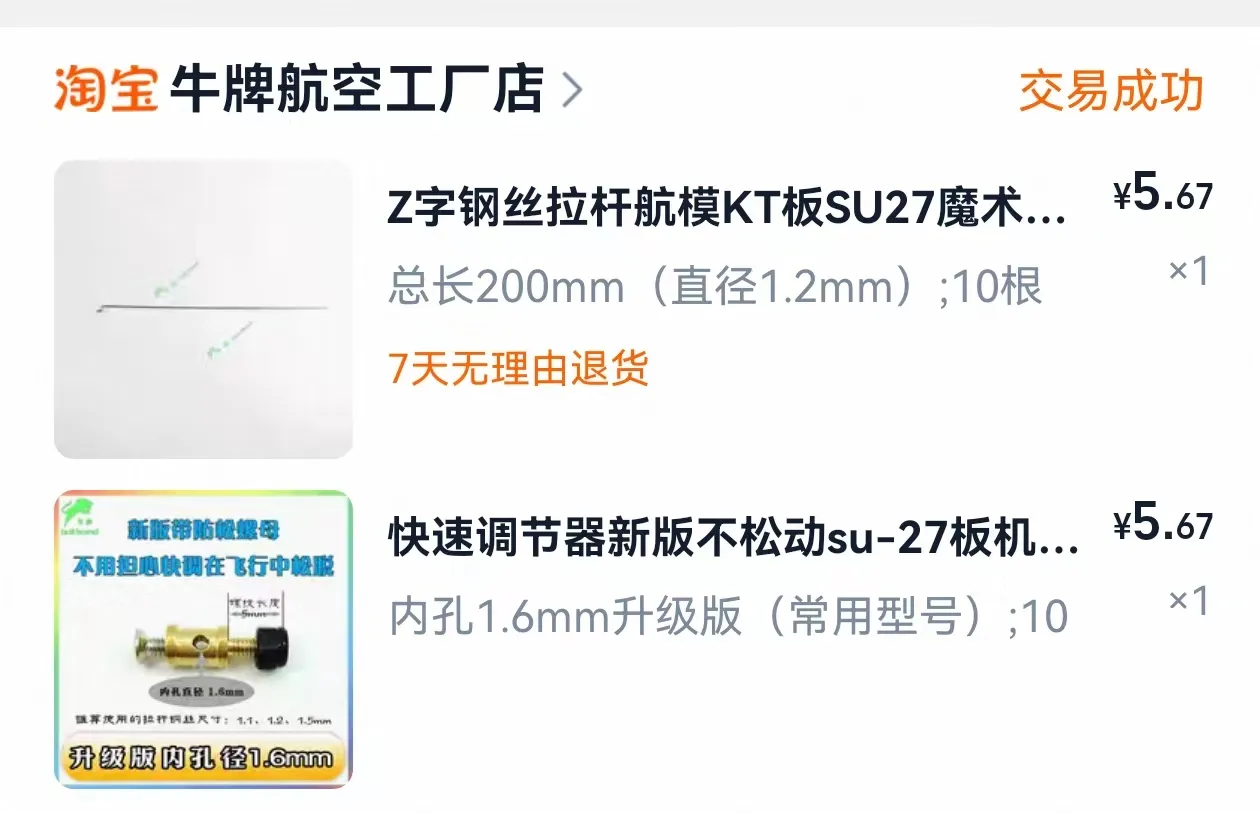
7. Z-shaped steel wire, total length 200mm, wire diameter 1.2mm, at least 2 pieces (requires manual cutting and bending)
8. Quick adjusters, 1.6mm inner hole, 3 pieces (for fixing steel wire)
9. 6 magnets, National Standard N52, 7mm diameter, 6mm thickness For making magnetic hatch covers
10. Rudders, 2 pieces, one L-shaped, one straight

Experiments show that unless the boat swings violently left and right and submerges, water will not enter in other situations
20250819 Update:
1. Added black hull slot parts, added white cockpit window parts
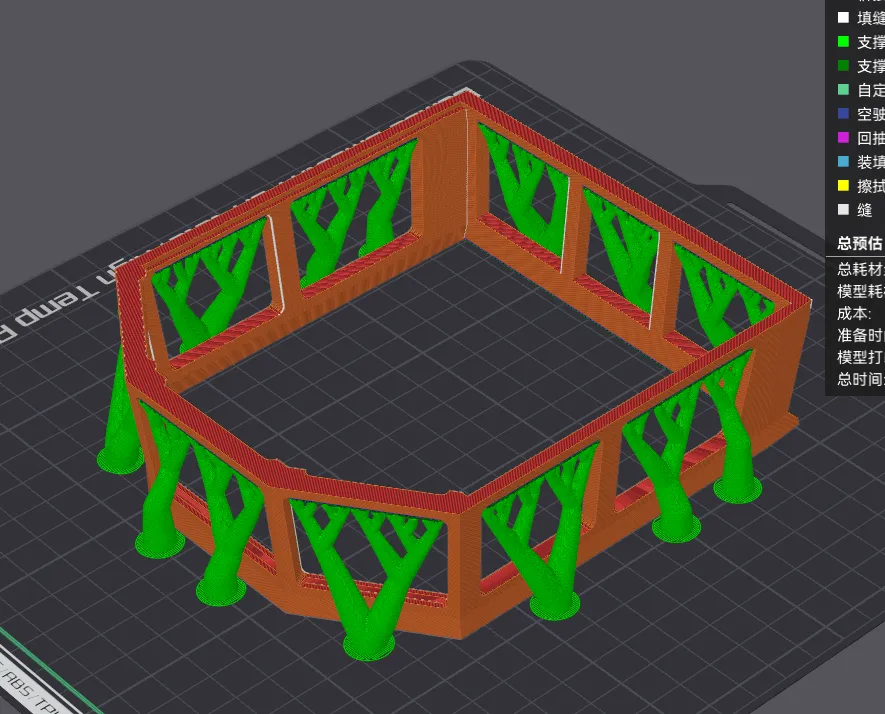
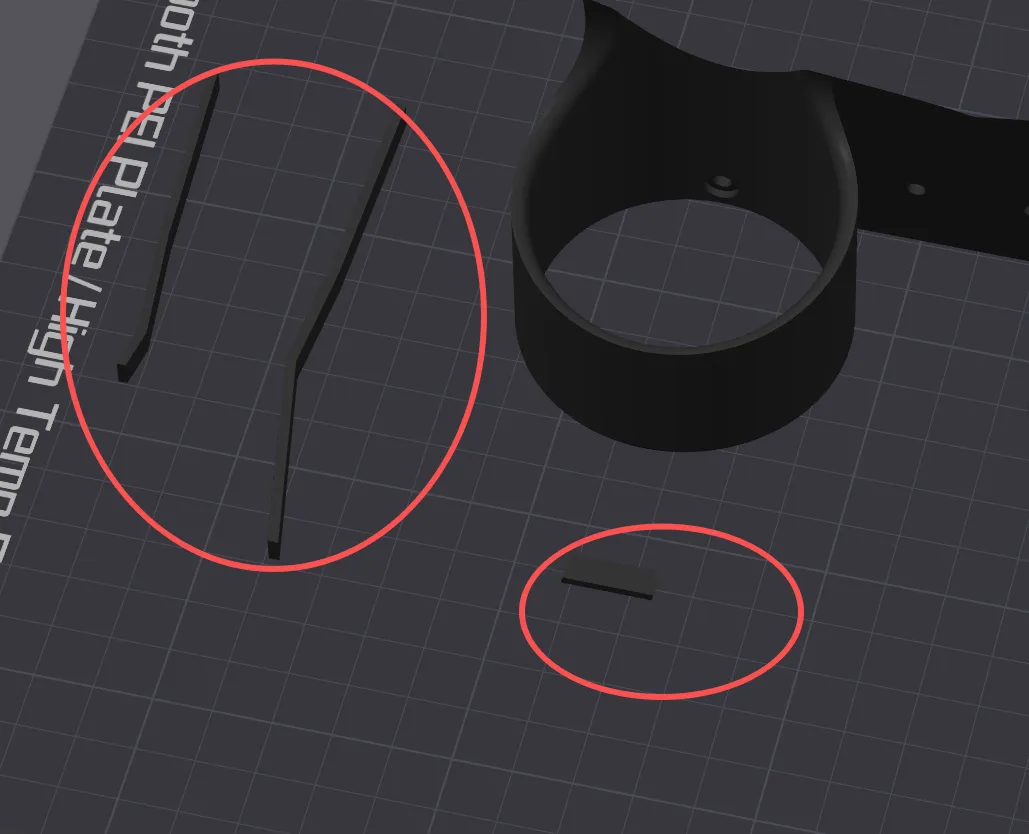
2. Added wiring reference diagram:
The rudder servo is generally connected to channel 1 of the receiver
The ESC is generally connected to channel 2 of the receiver
Other devices such as light controllers can be connected to other channels
The red dot next to the motor's copper plate indicates the positive terminal, the two motors are wired oppositely, the forward and reverse impellers at the tail must produce airflow in the same direction simultaneously, if not, please adjust the motor's positive and negative poles
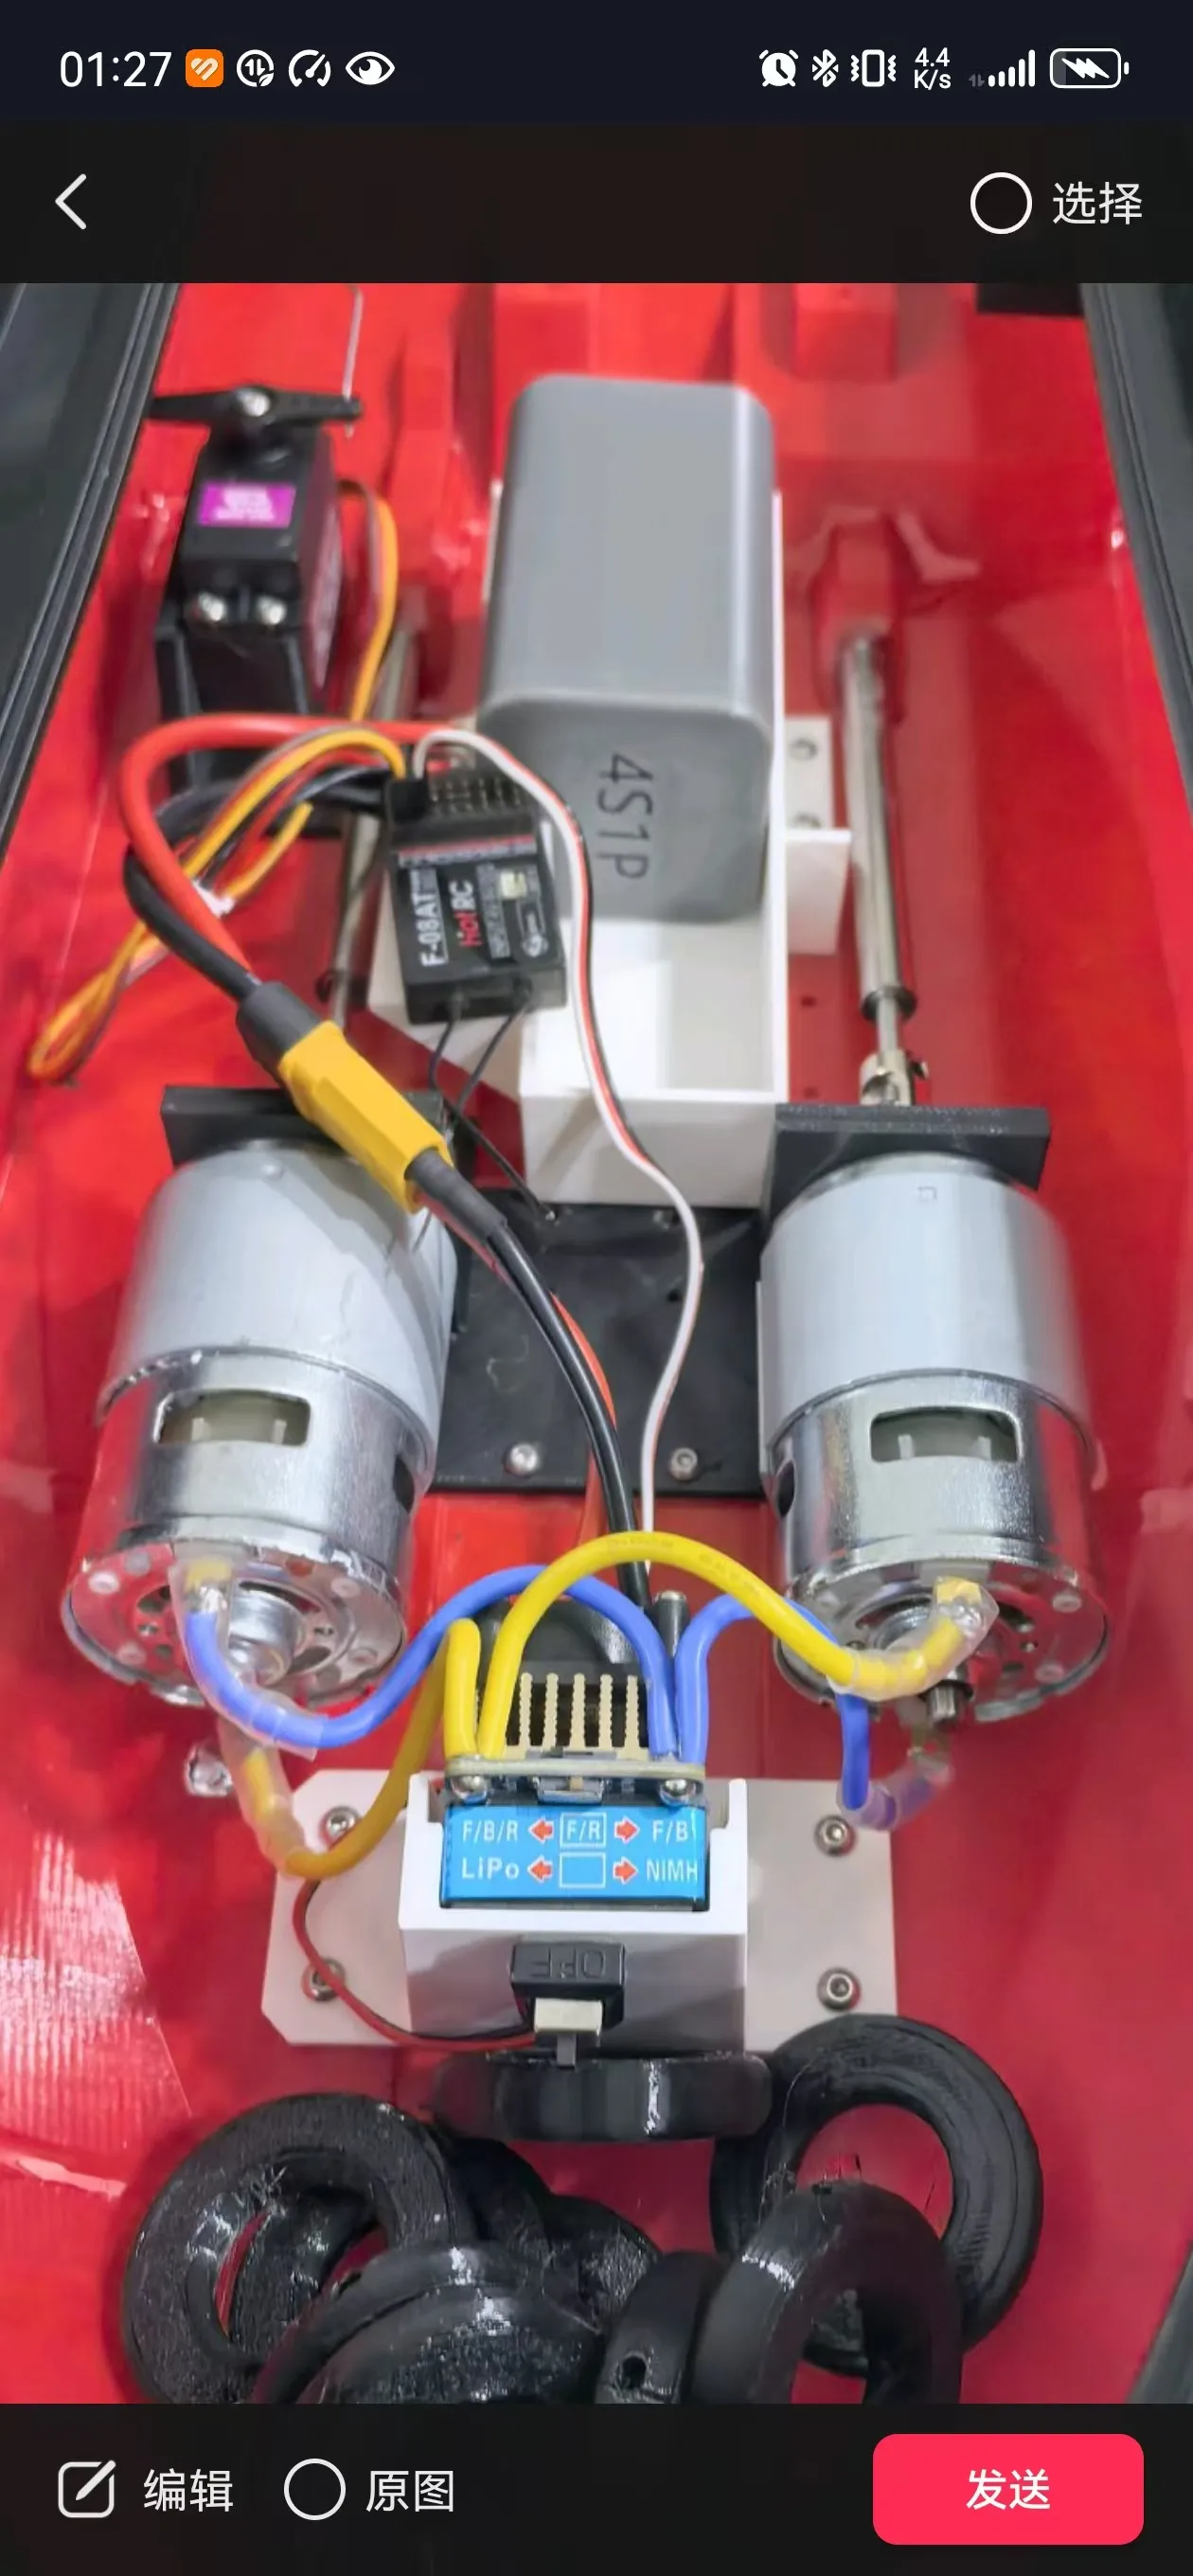
Simple installation instructions:
Step one: Assemble the red part:
First, bond the red hull together using AB glue, making sure the glue does not flow into the shaft hole during bonding
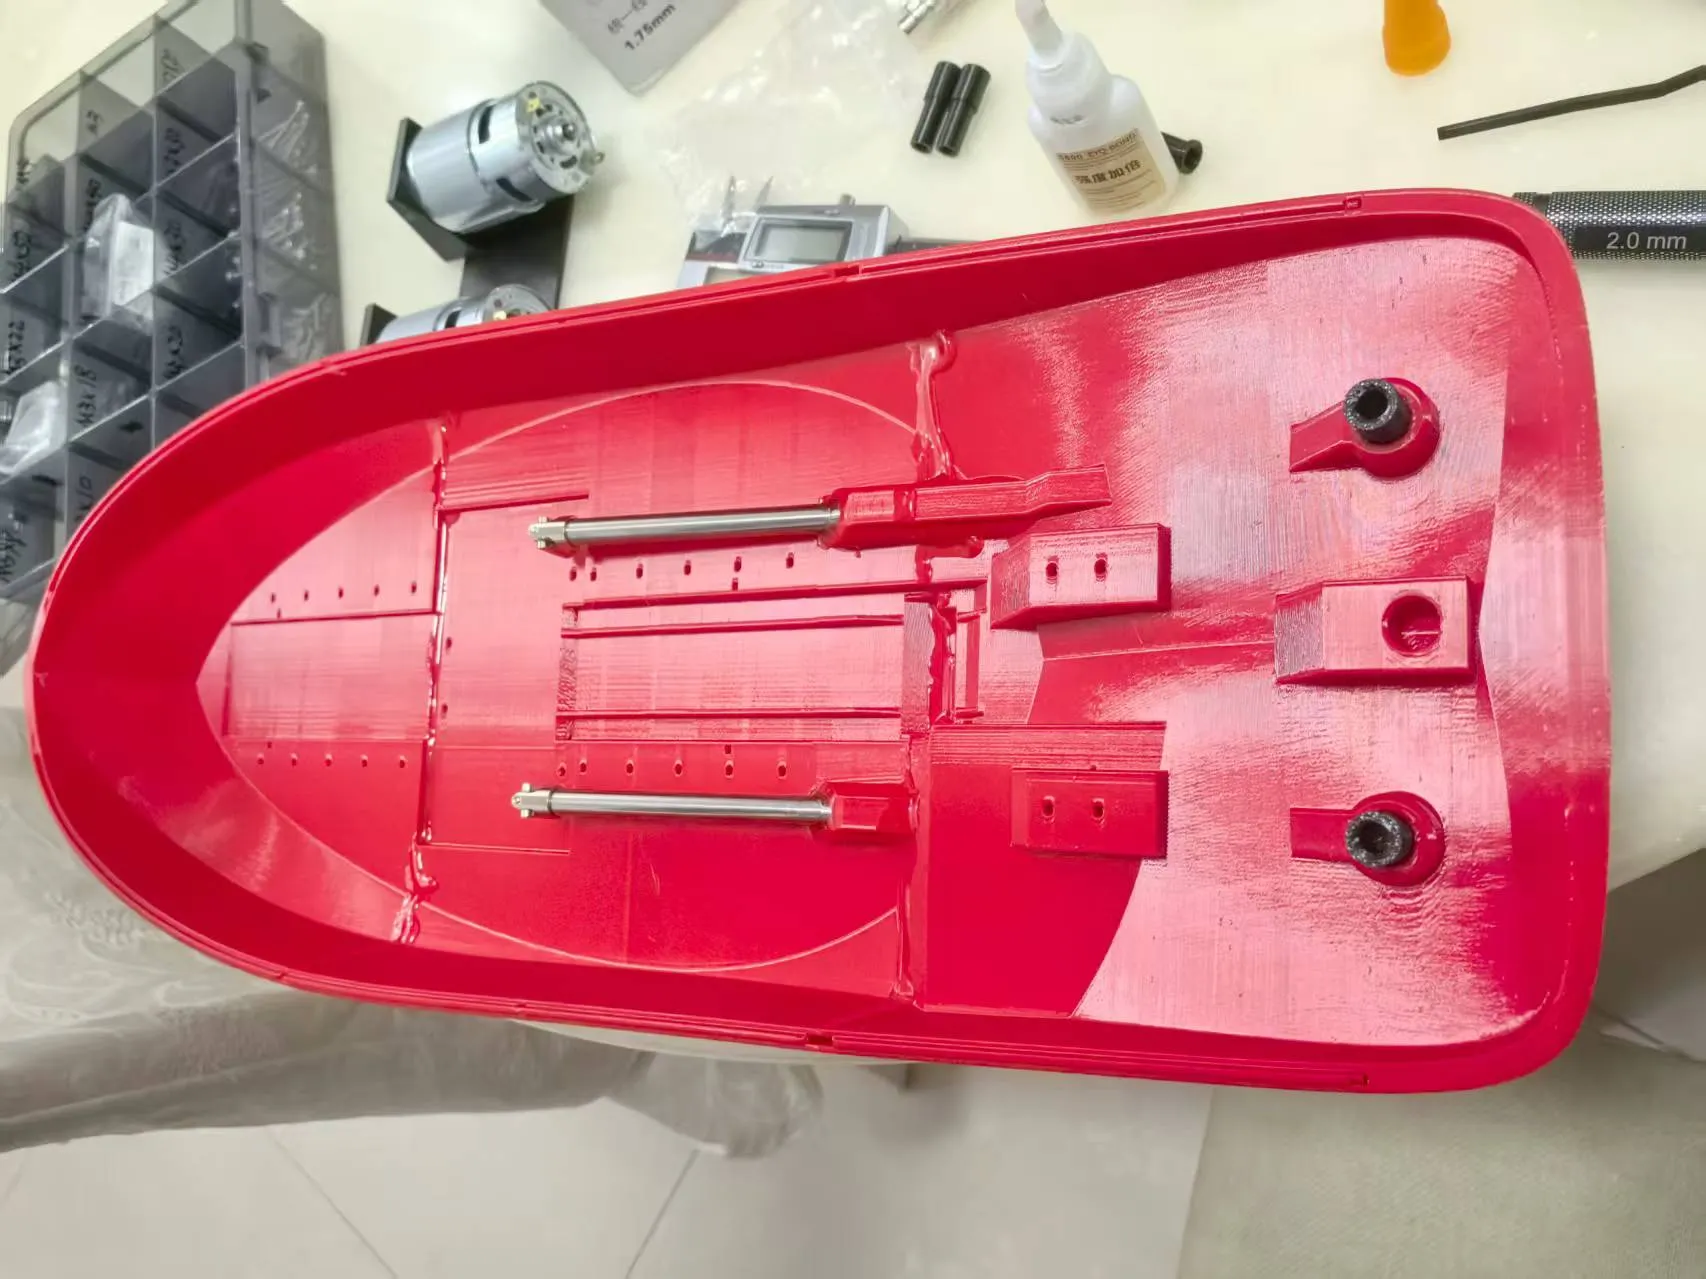
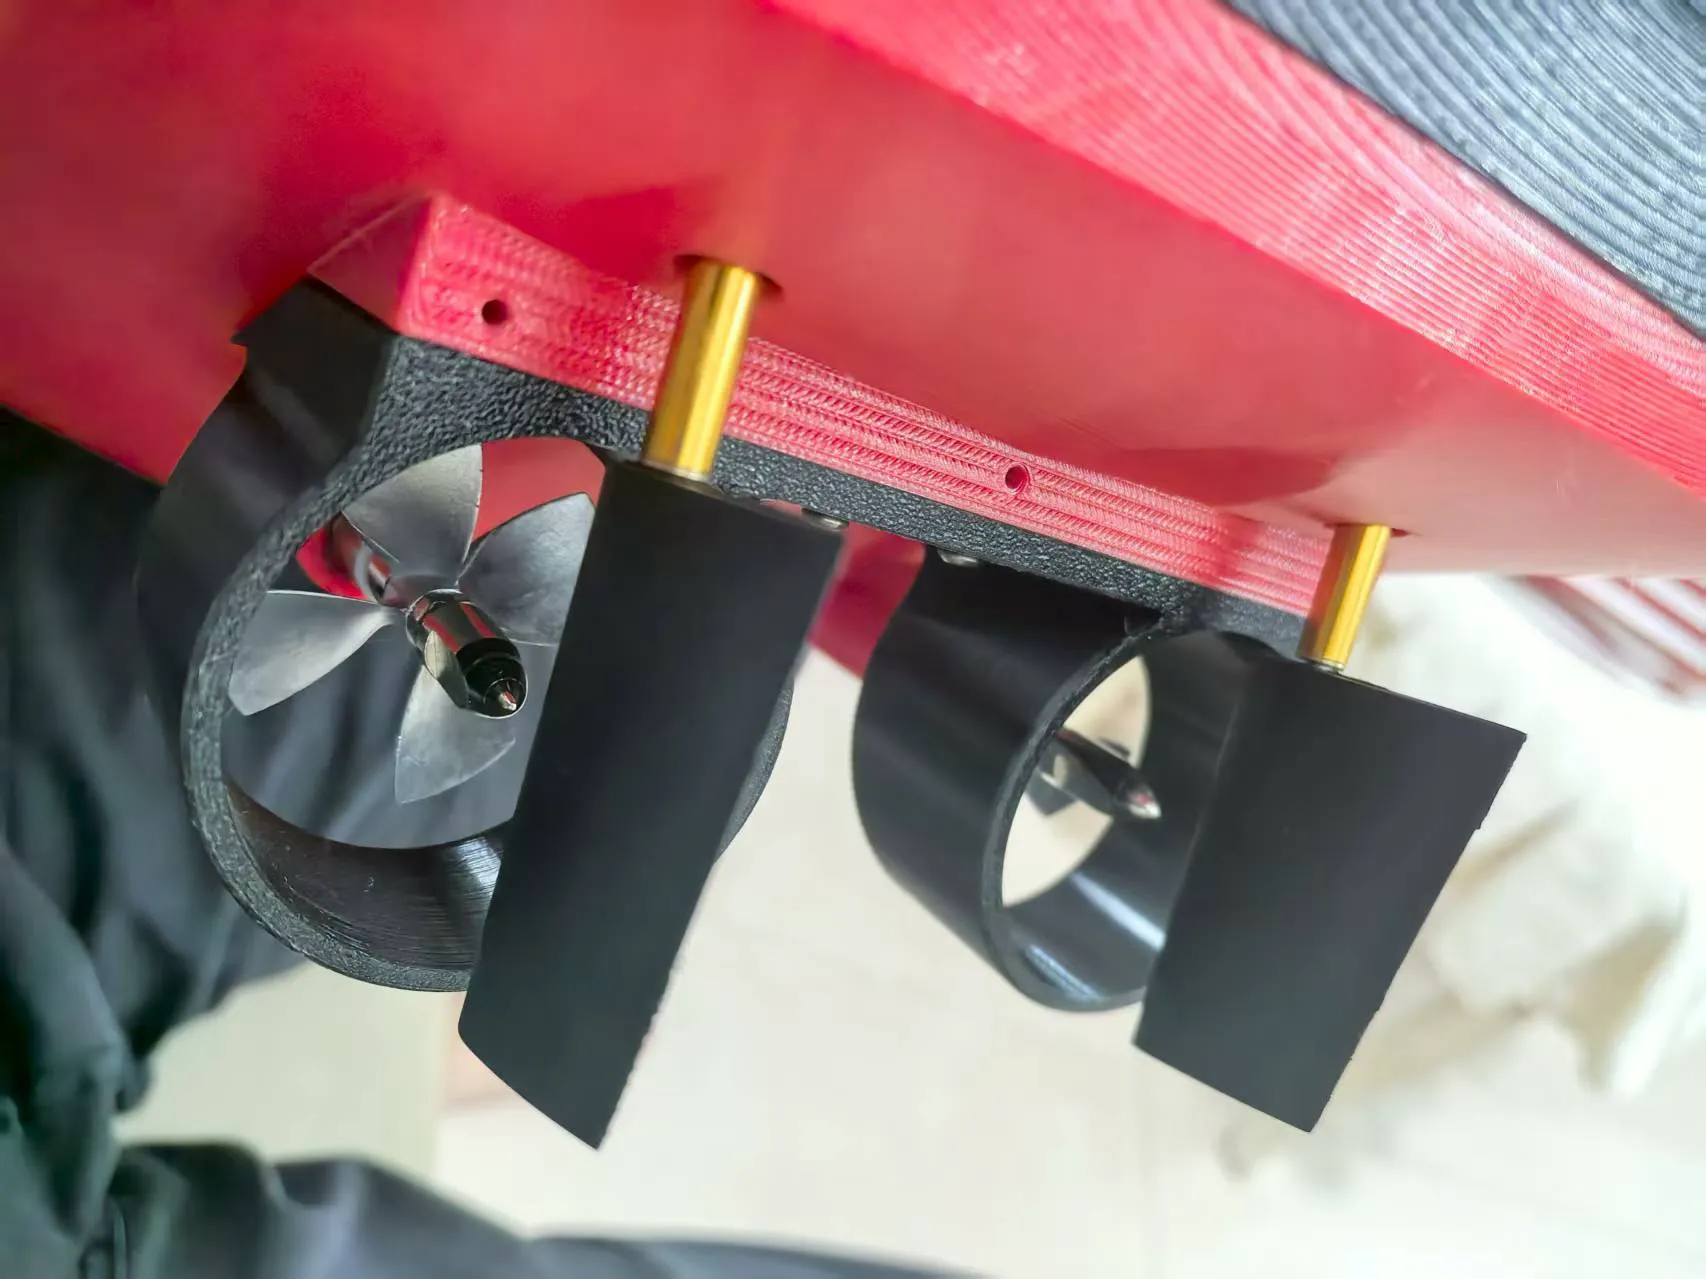
After bonding, install the two black rings at the bottom with M3 screws, then insert the shaft with the impeller and apply AB glue to the shaft and hull inside the boat The propeller must not extend beyond the end of the black ring, otherwise it will affect the rudder As shown below:
Find these two printed parts:
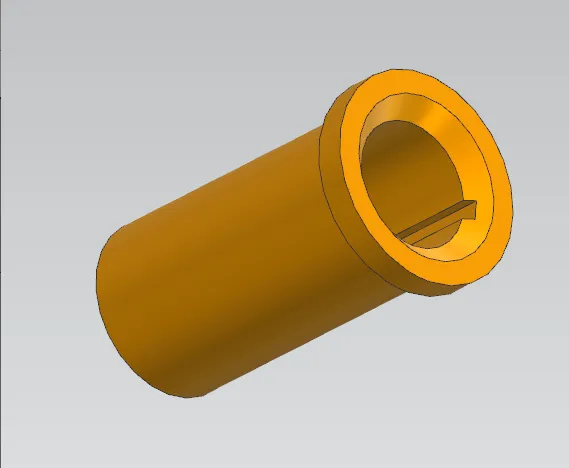
Install as shown below:
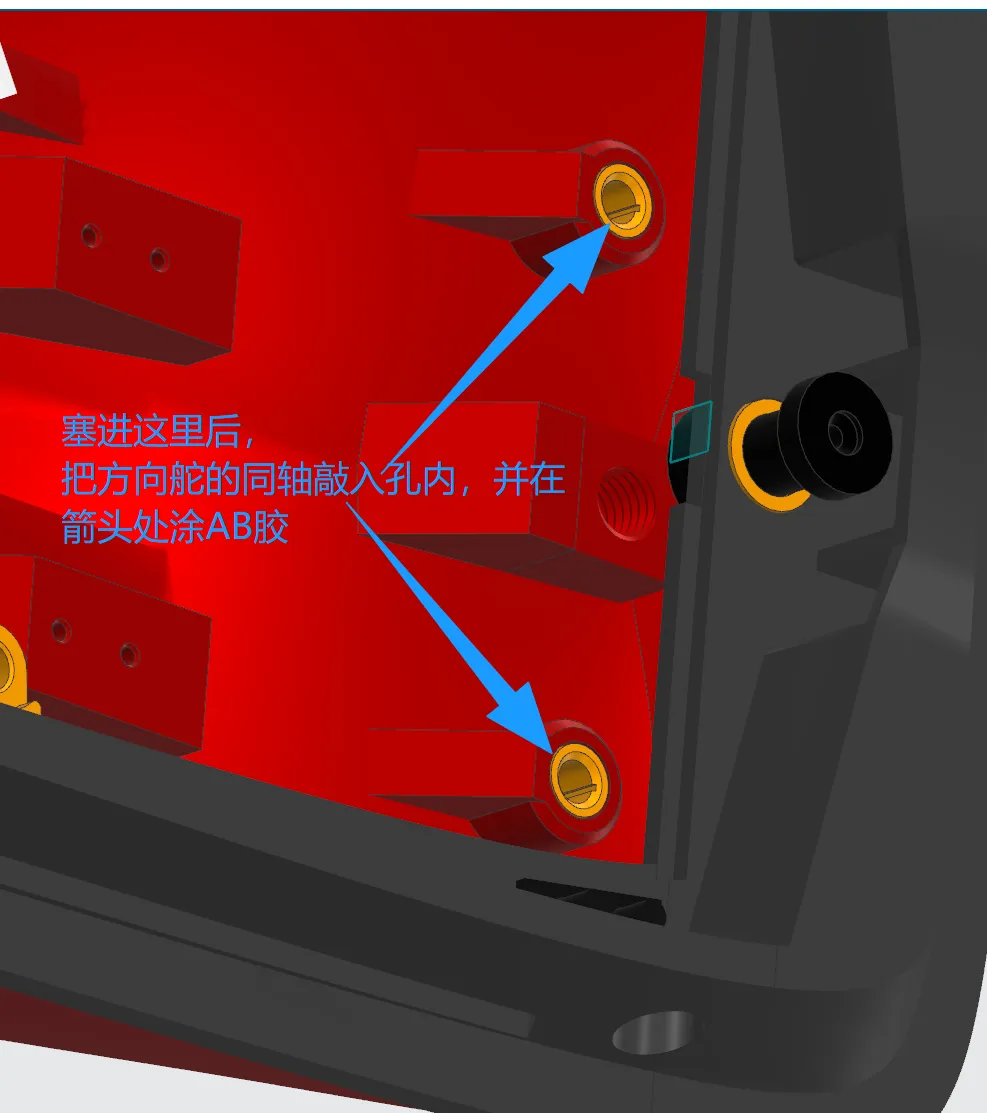
Step two: Bond the black part:
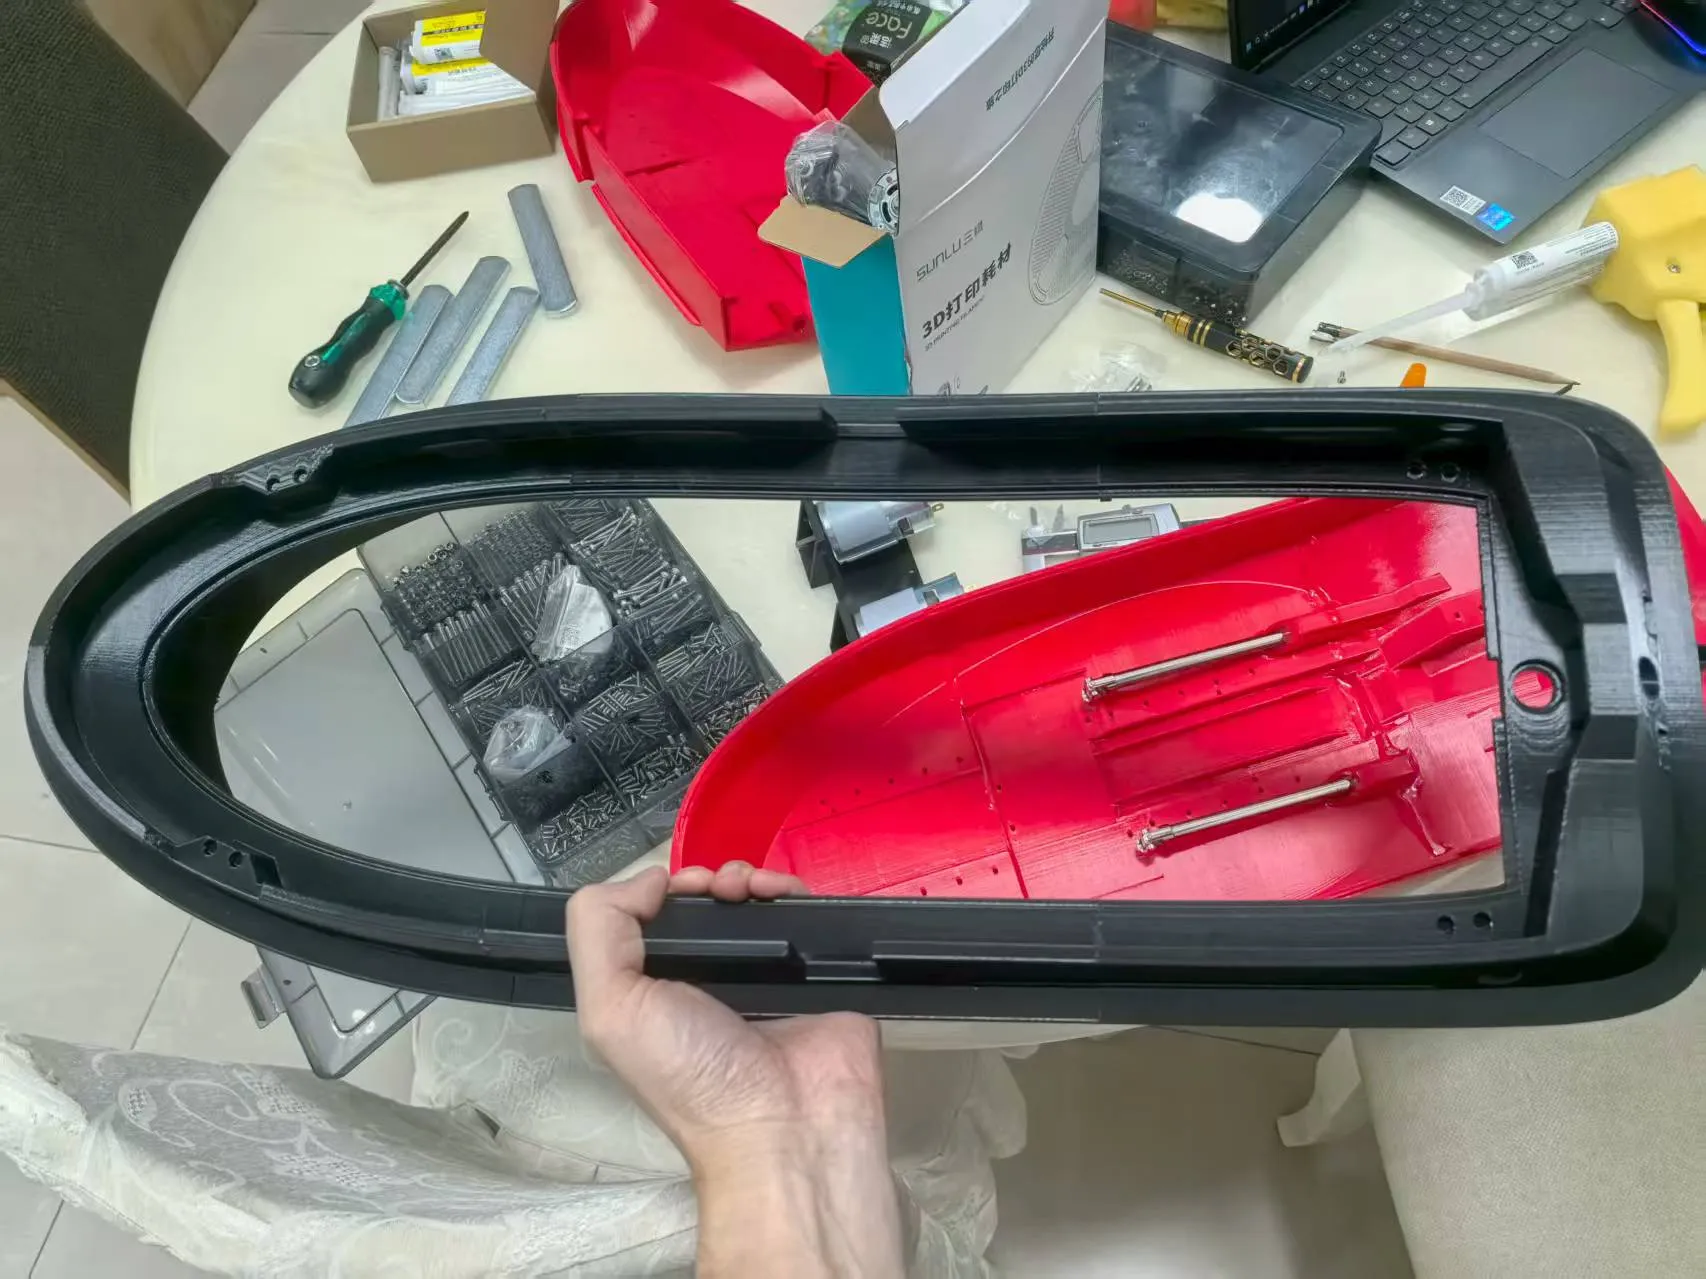
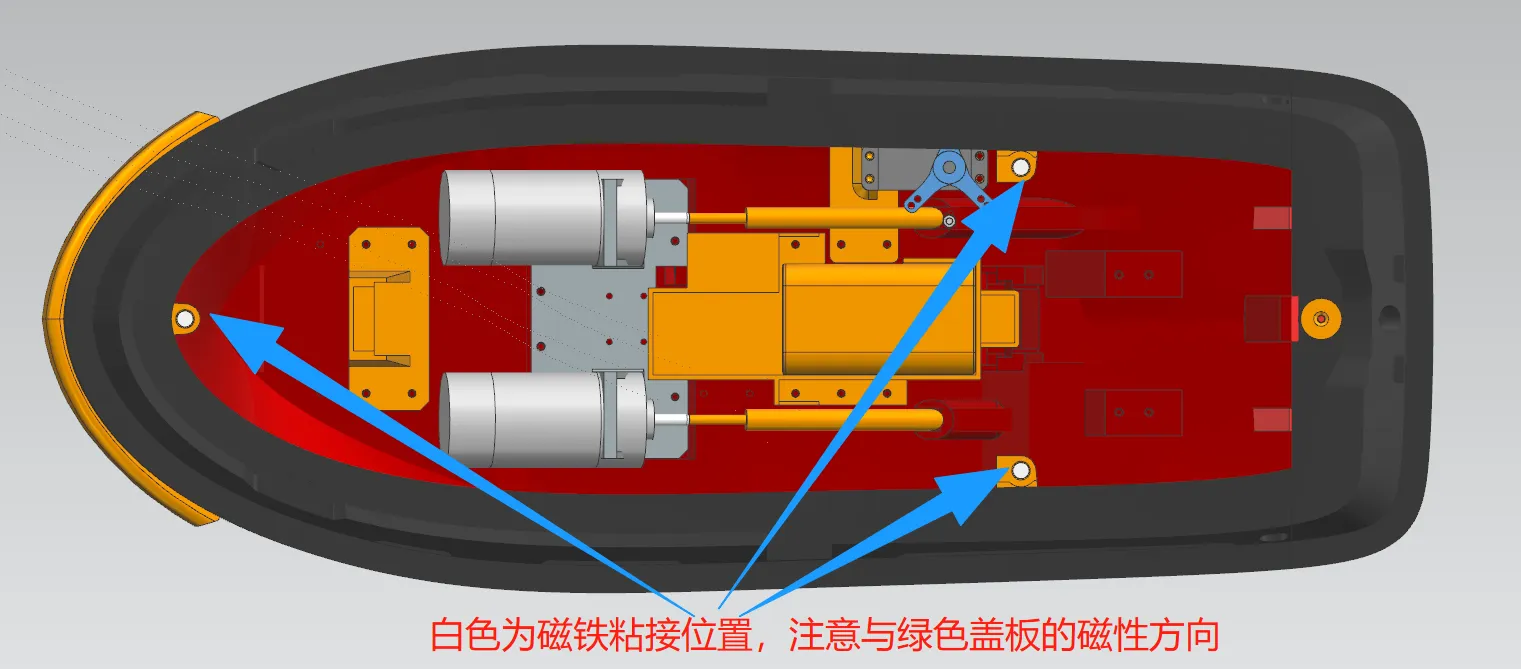
Glue the magnets into these three holes shown below:
Once the black part is bonded, it can be attached to the red part as a whole All gaps must be sealed with AB glue
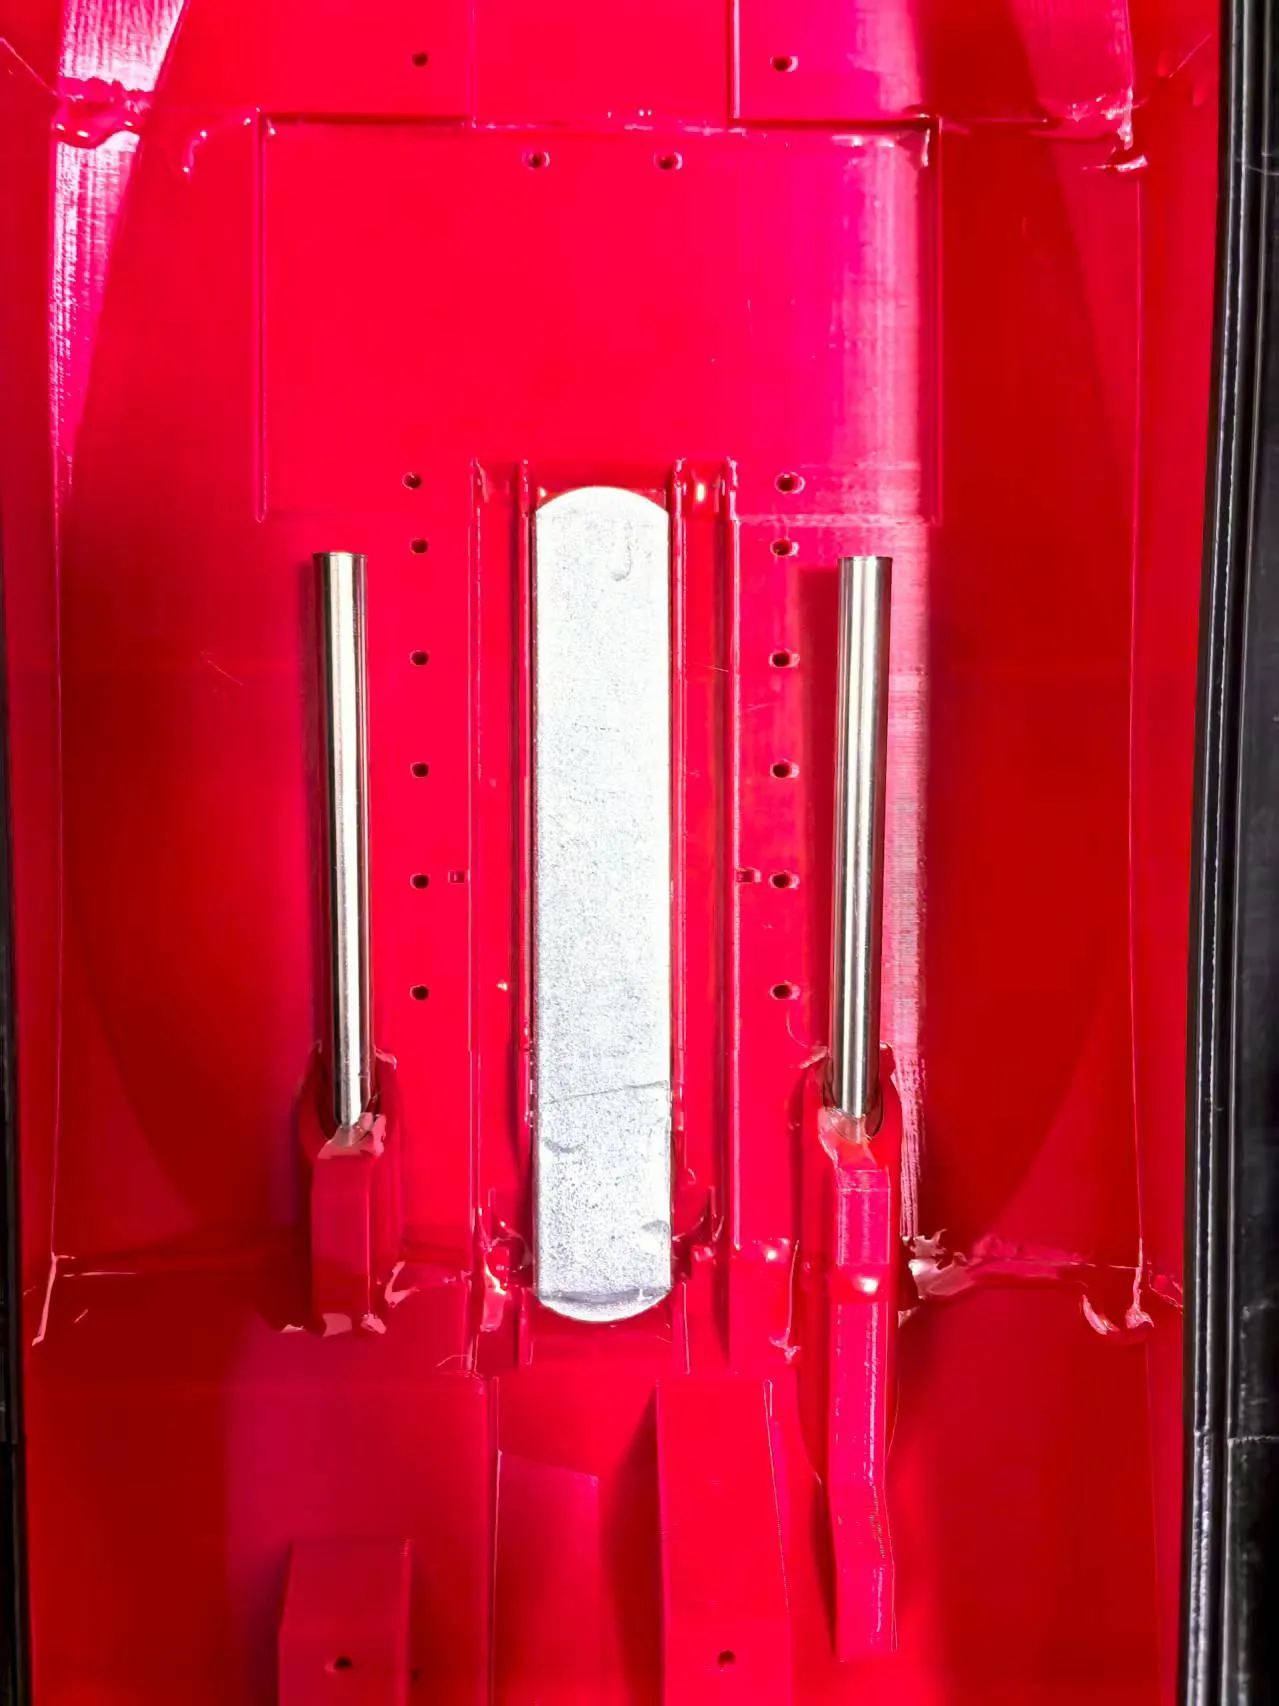
If you feel the boat's draft is insufficient, you can glue a counterweight strip here, 200g per strip
Step three: Assemble the green hatch cover and cockpit:
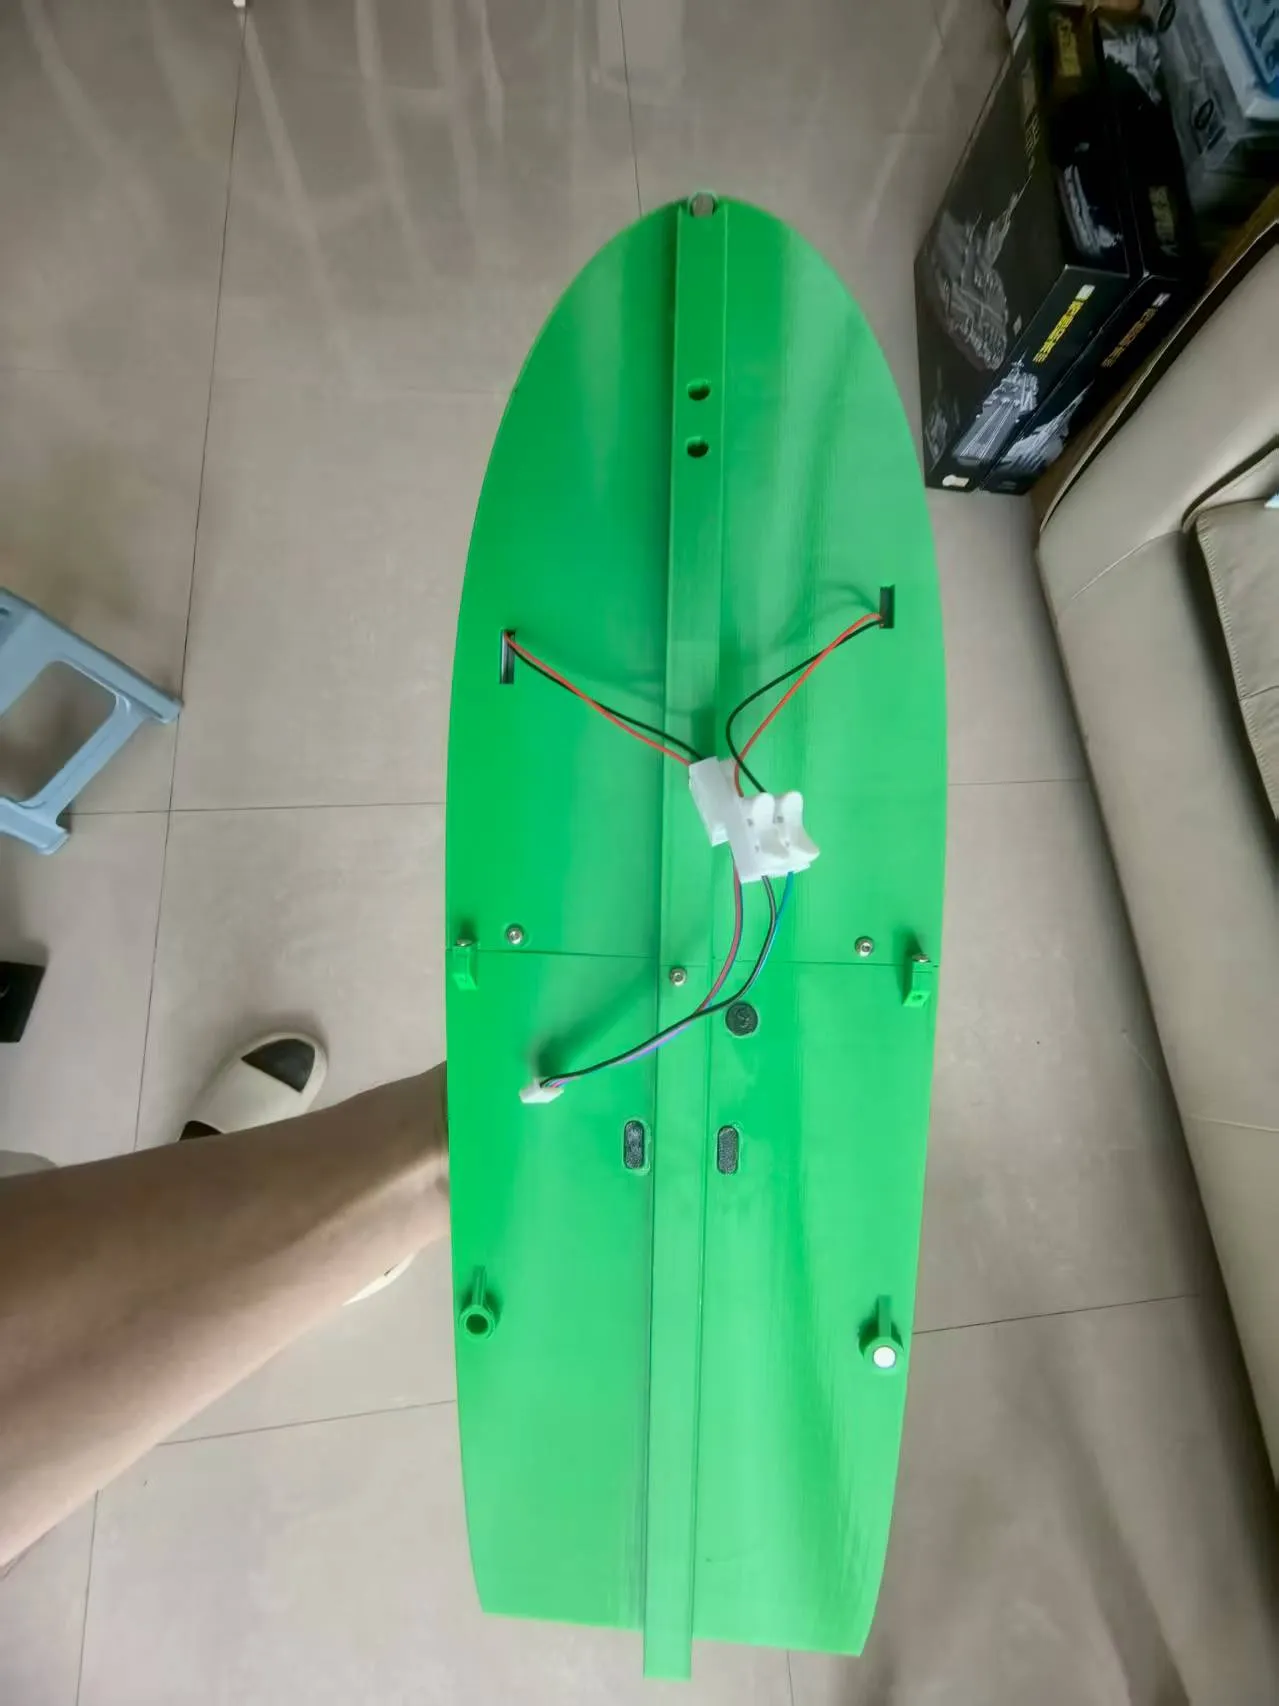
Glue the magnets into the three cavities, paying attention to the magnetic direction of the hull
Additionally, the two rudders are quite close to the hatch cover, and the steel wire linkage might interfere with the hatch cover, so the steel wire needs to be bent into a Z-shape See below:
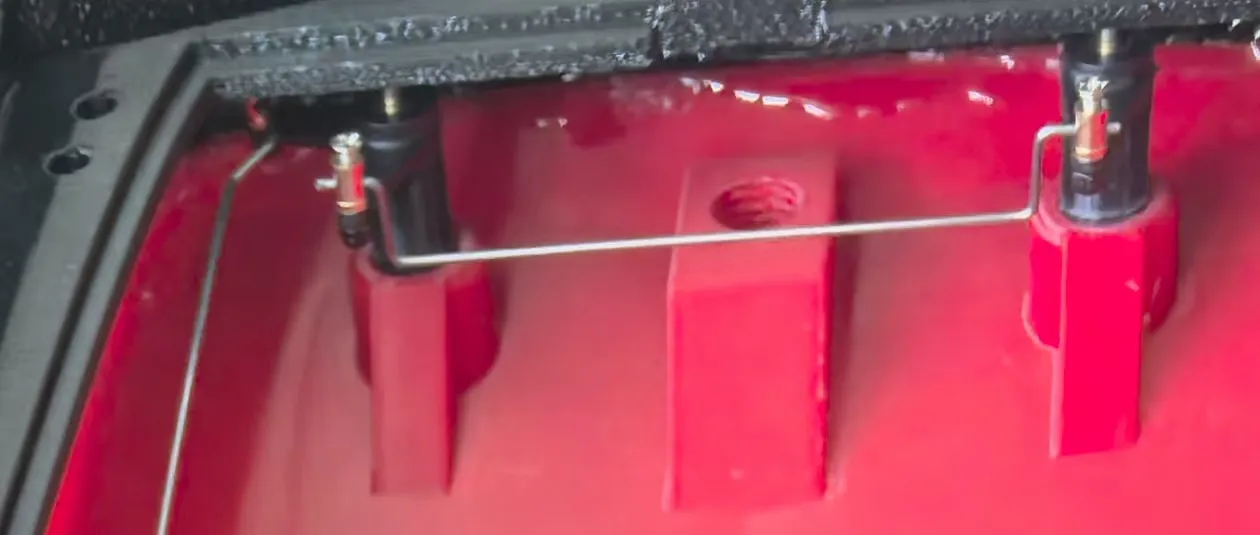
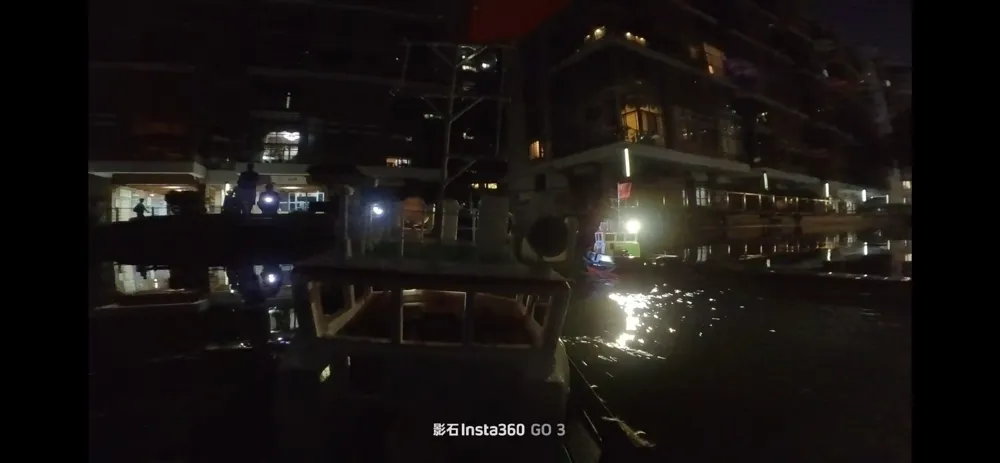
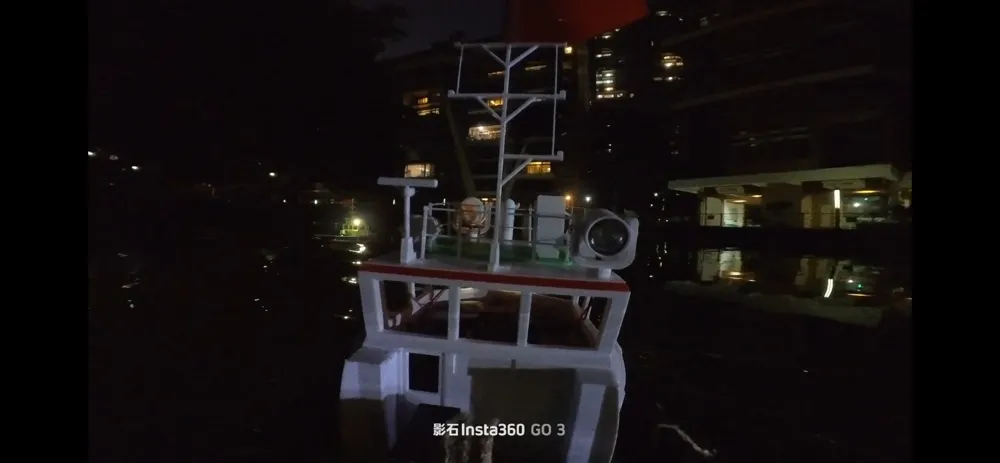
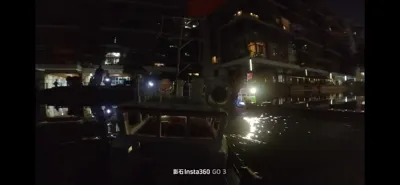
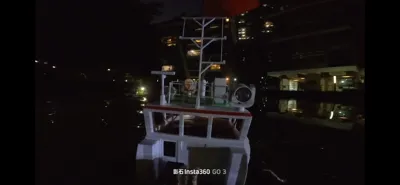
Other parts will not be described in detail, I will upload a few more pictures for your reference You can add or remove parts, and also add lighting effects, sound effects, or camera mounts, etc., according to your preferences
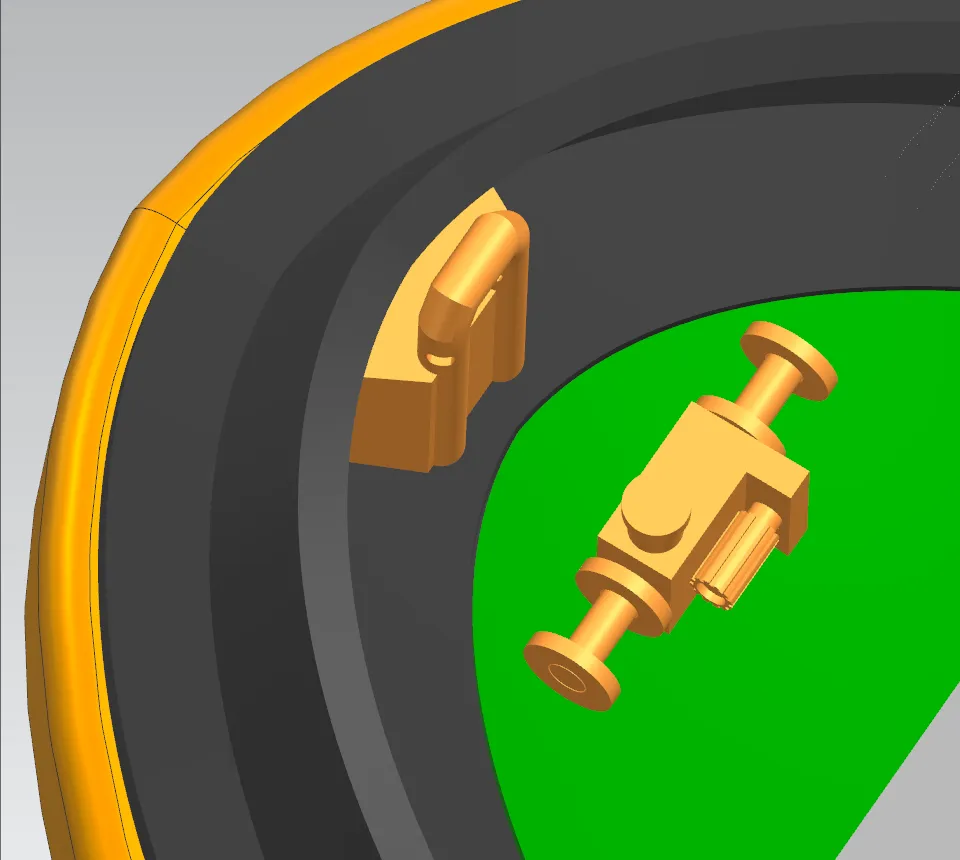
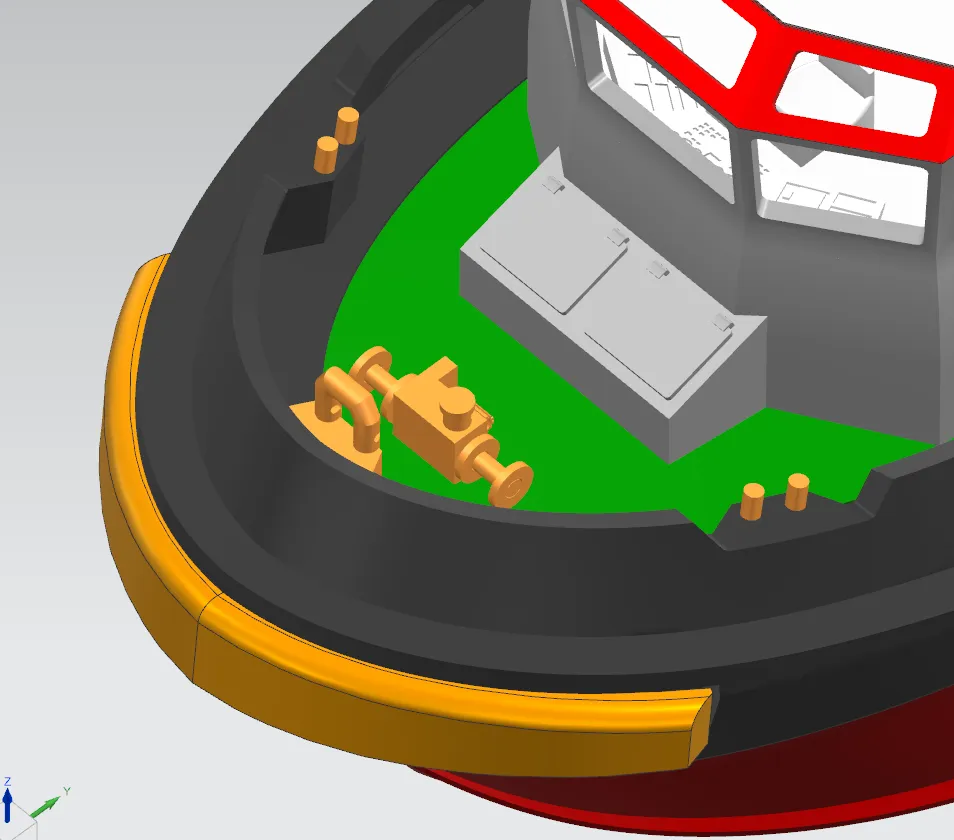
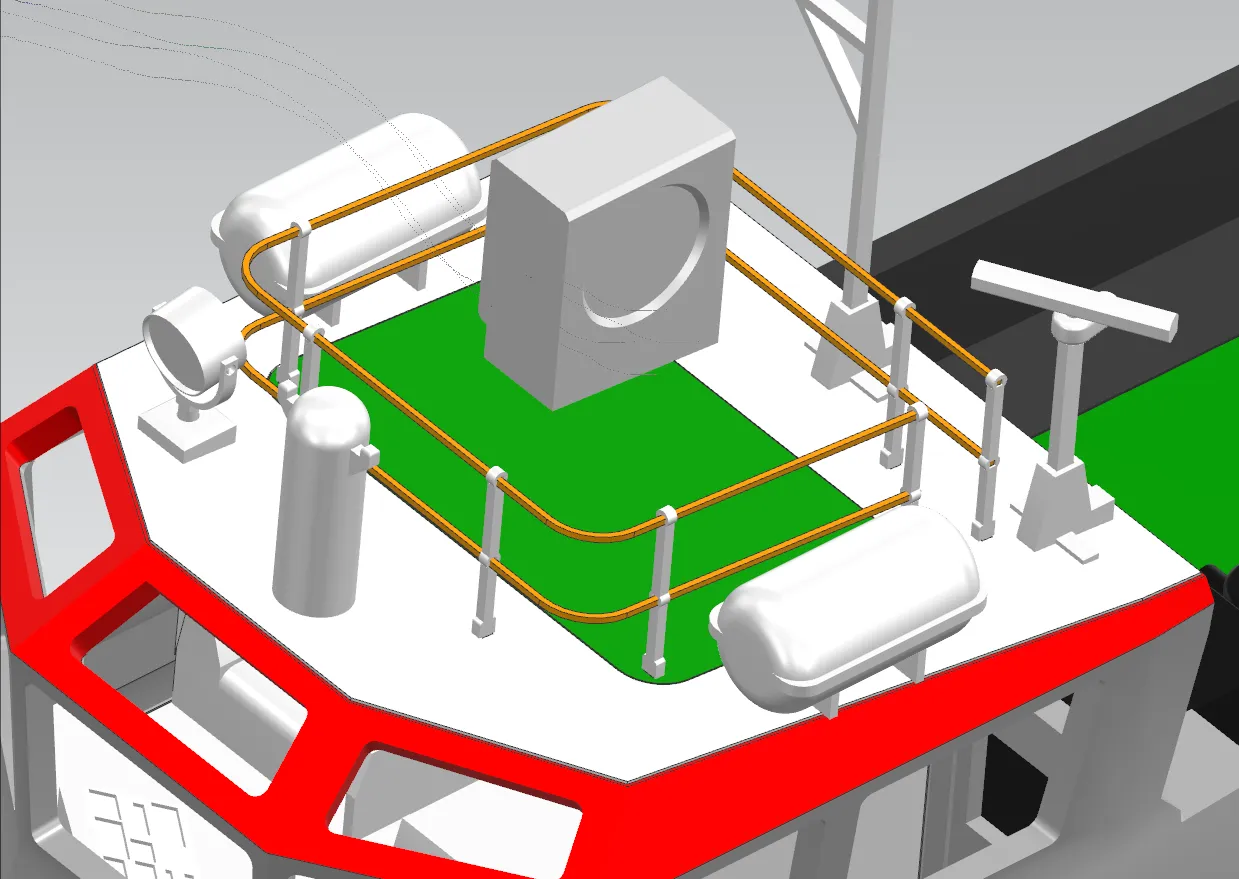
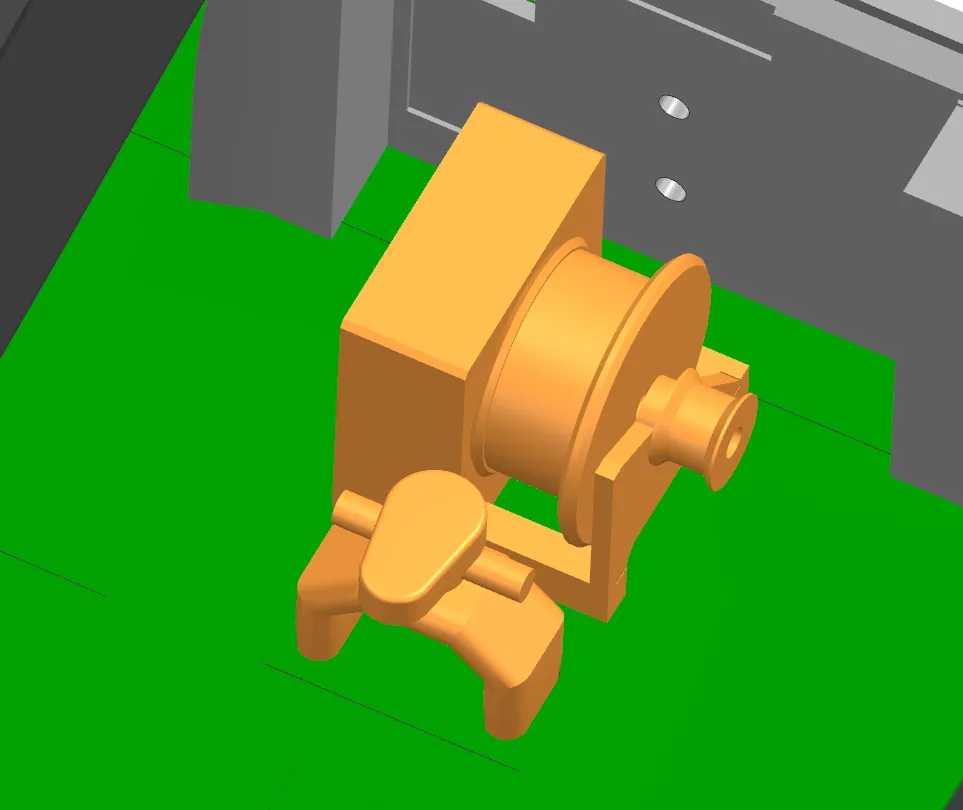
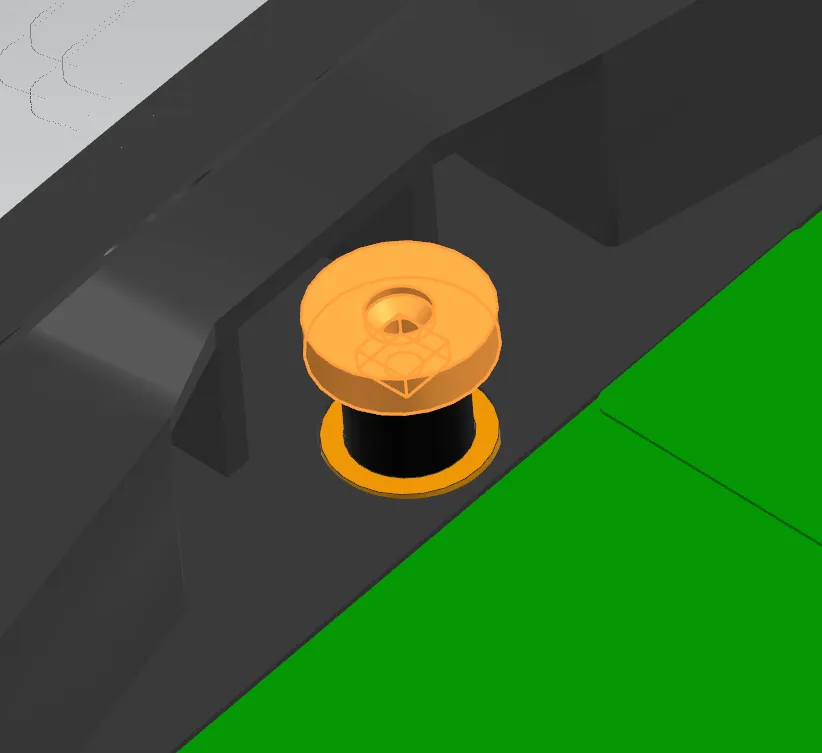
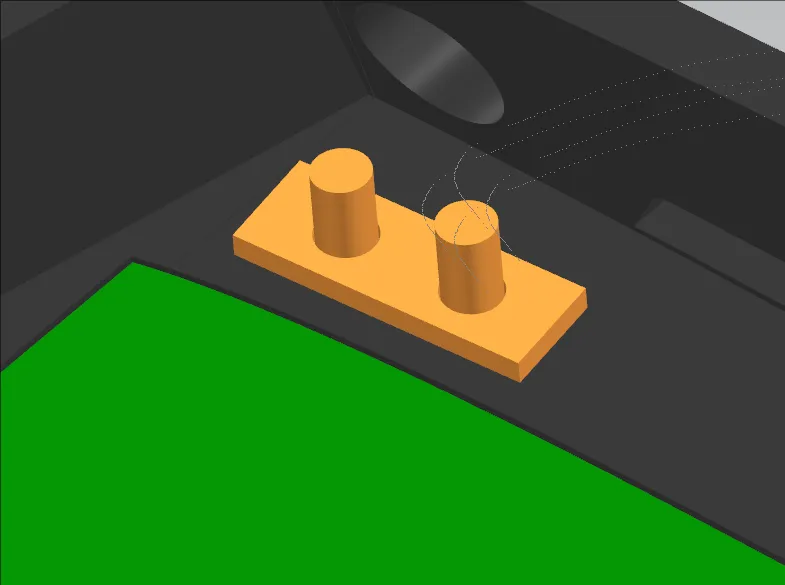
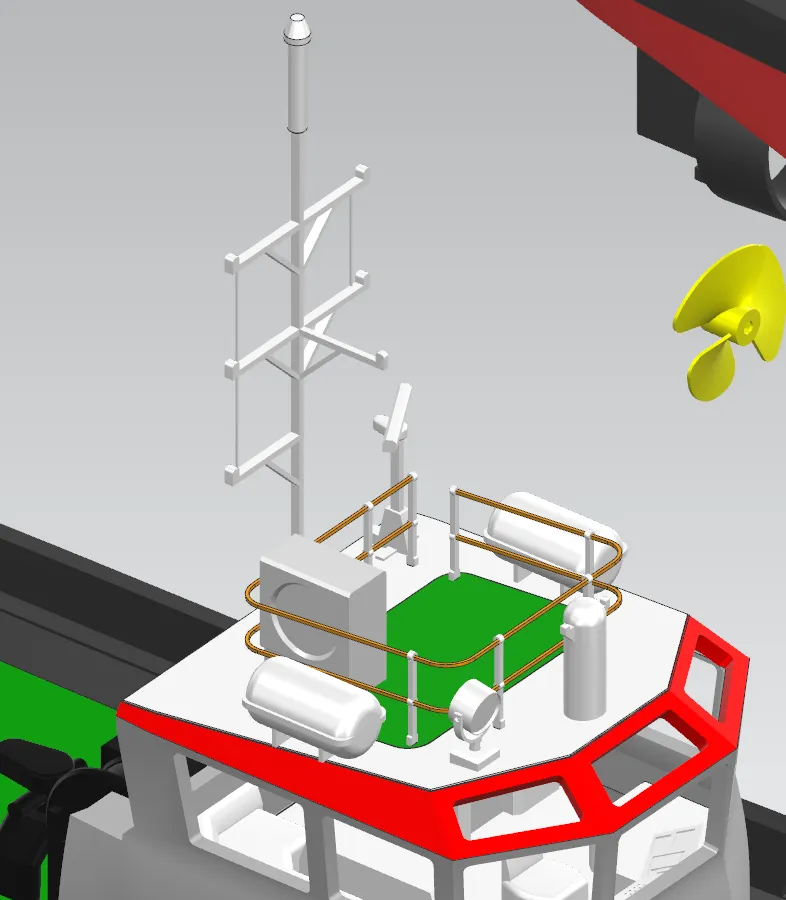
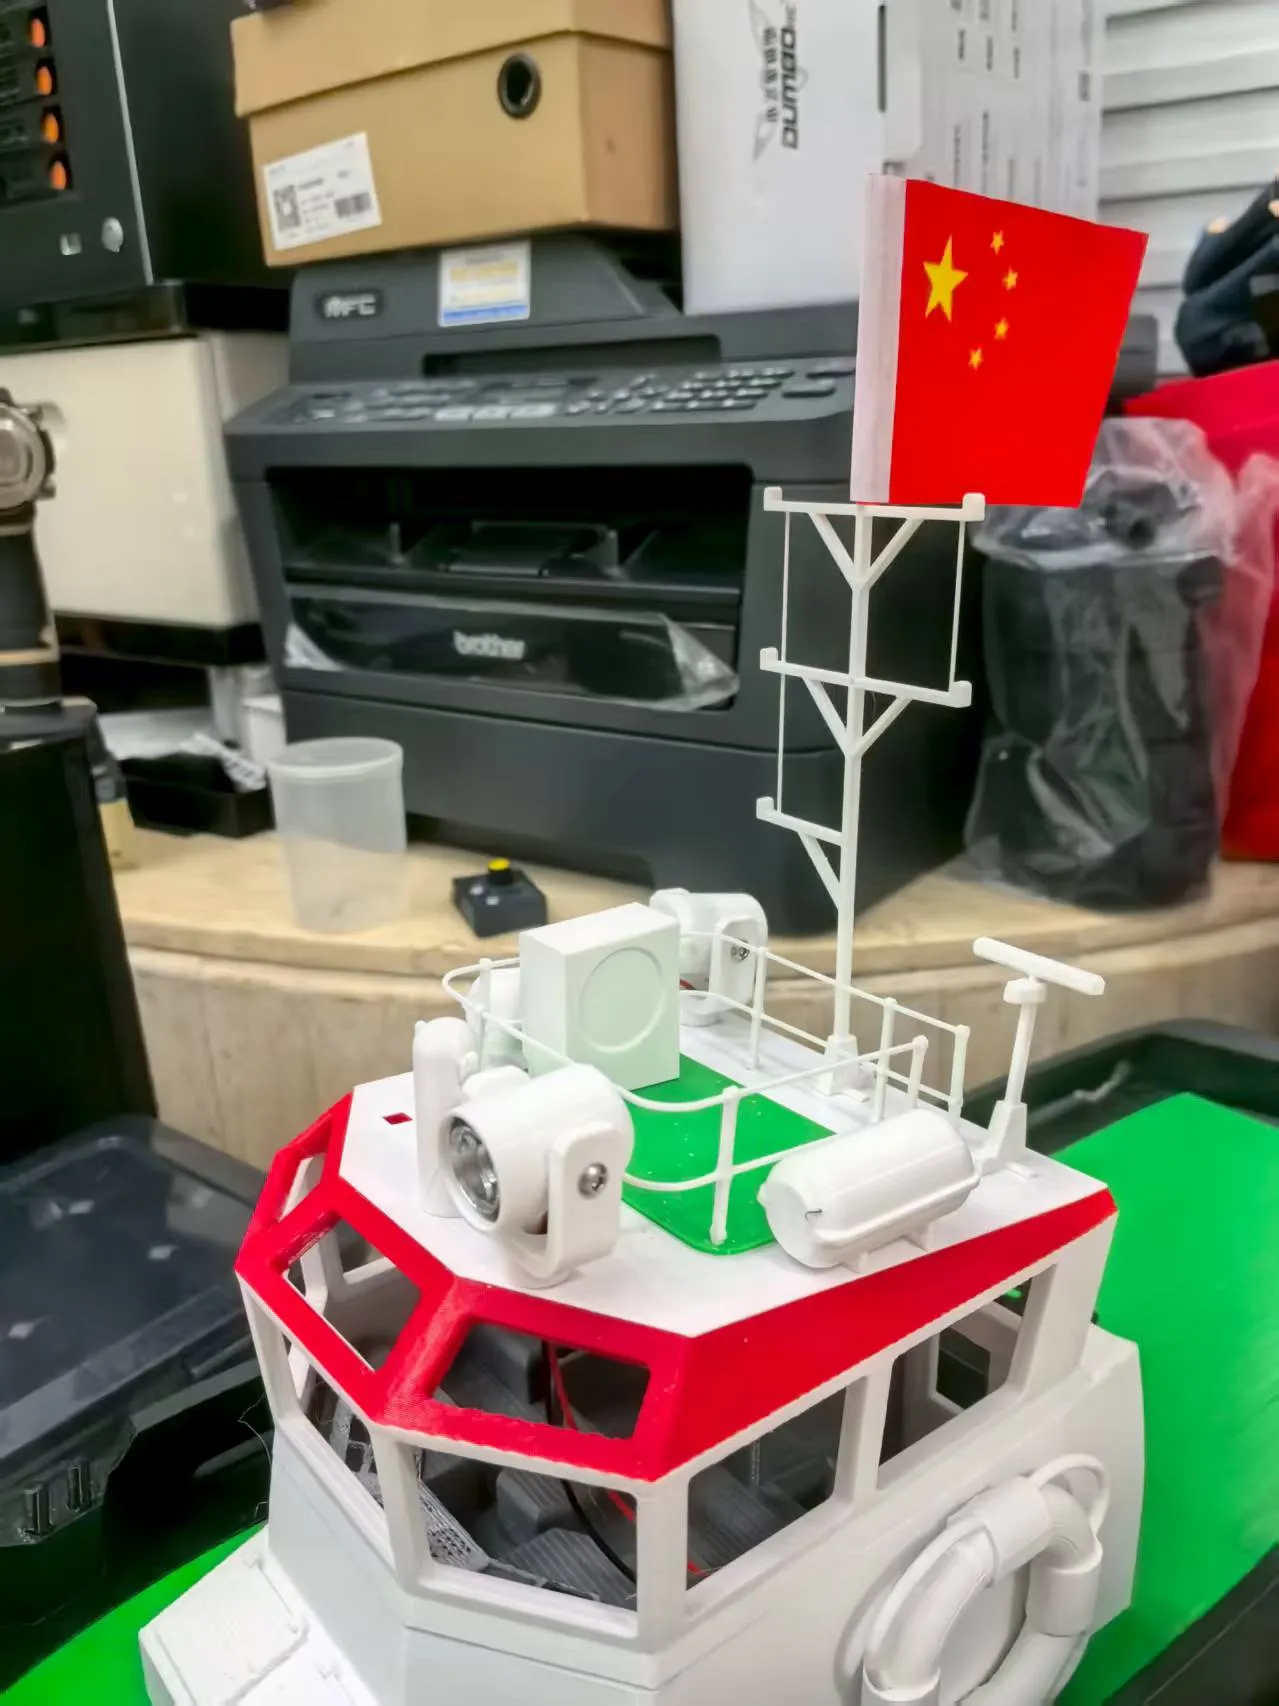
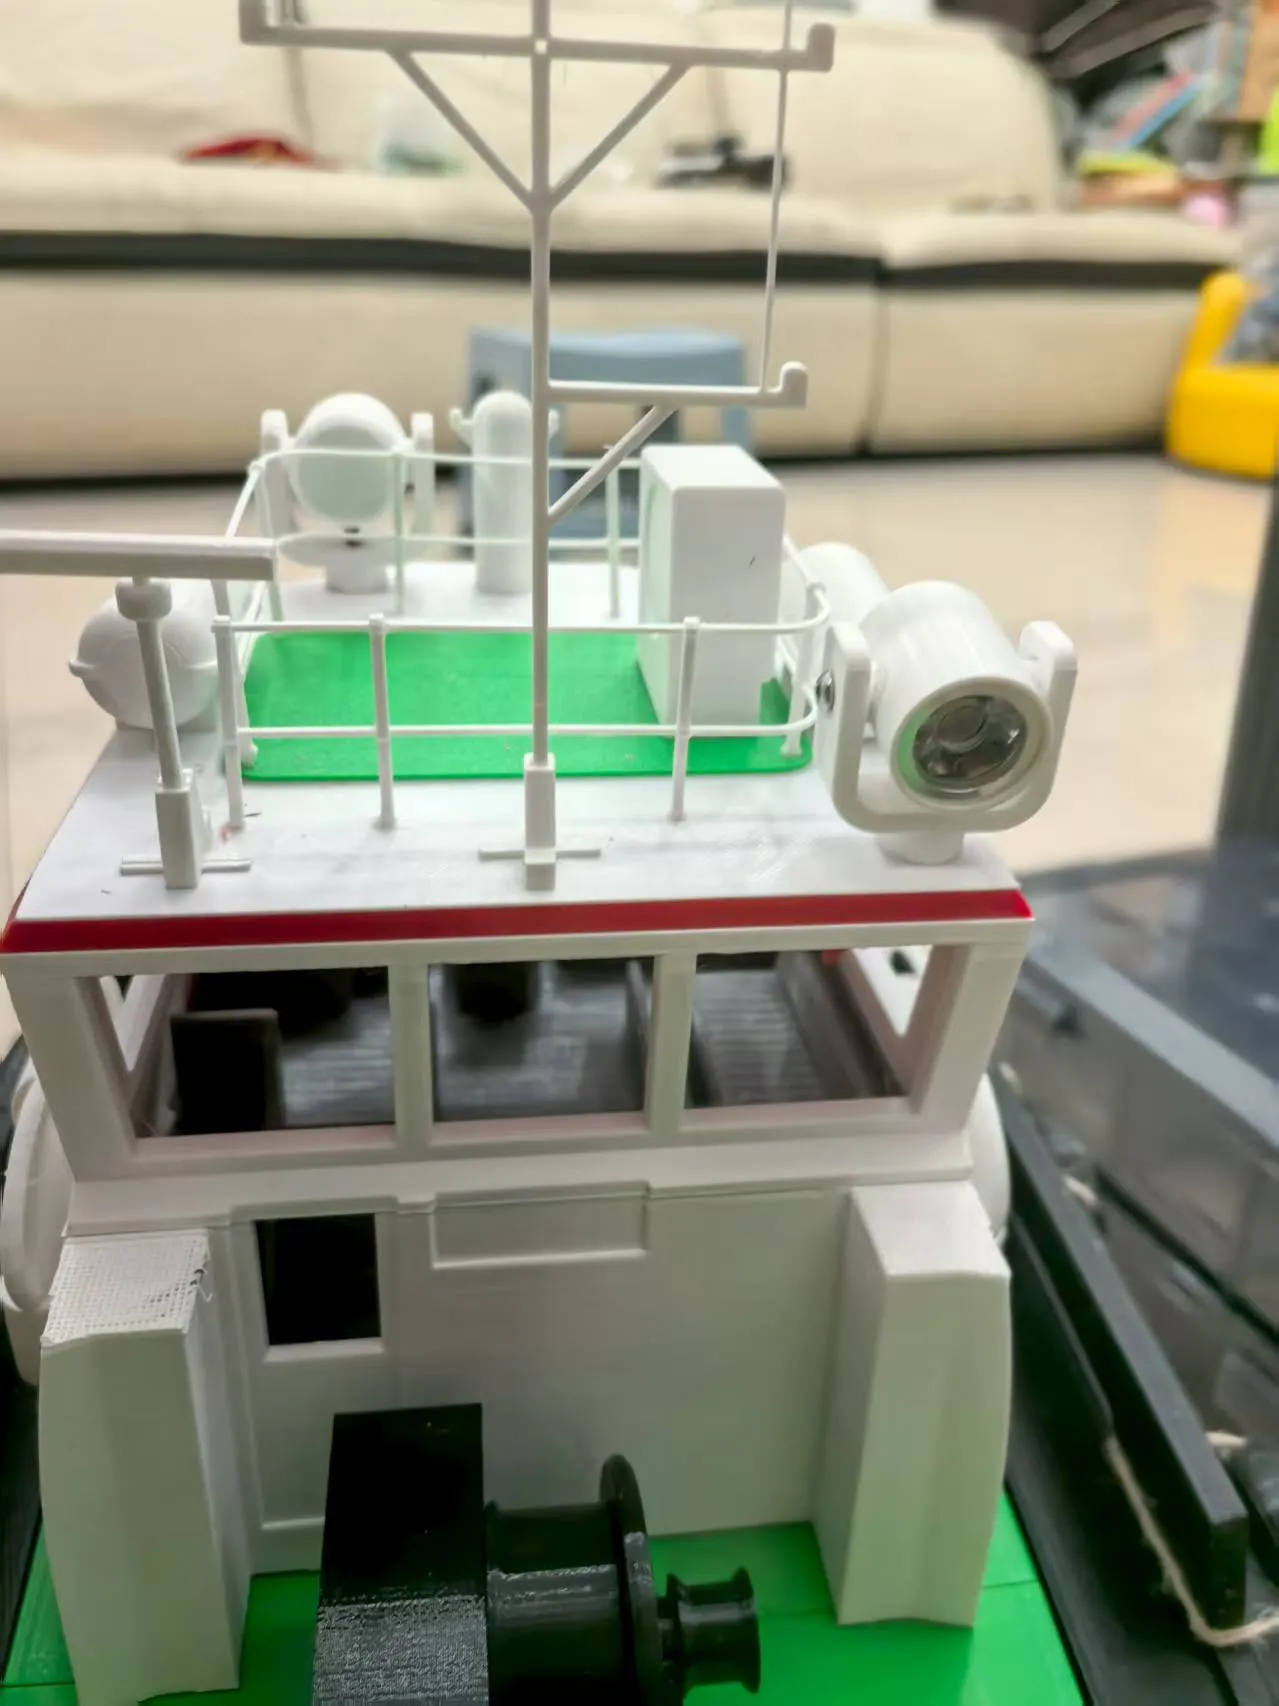
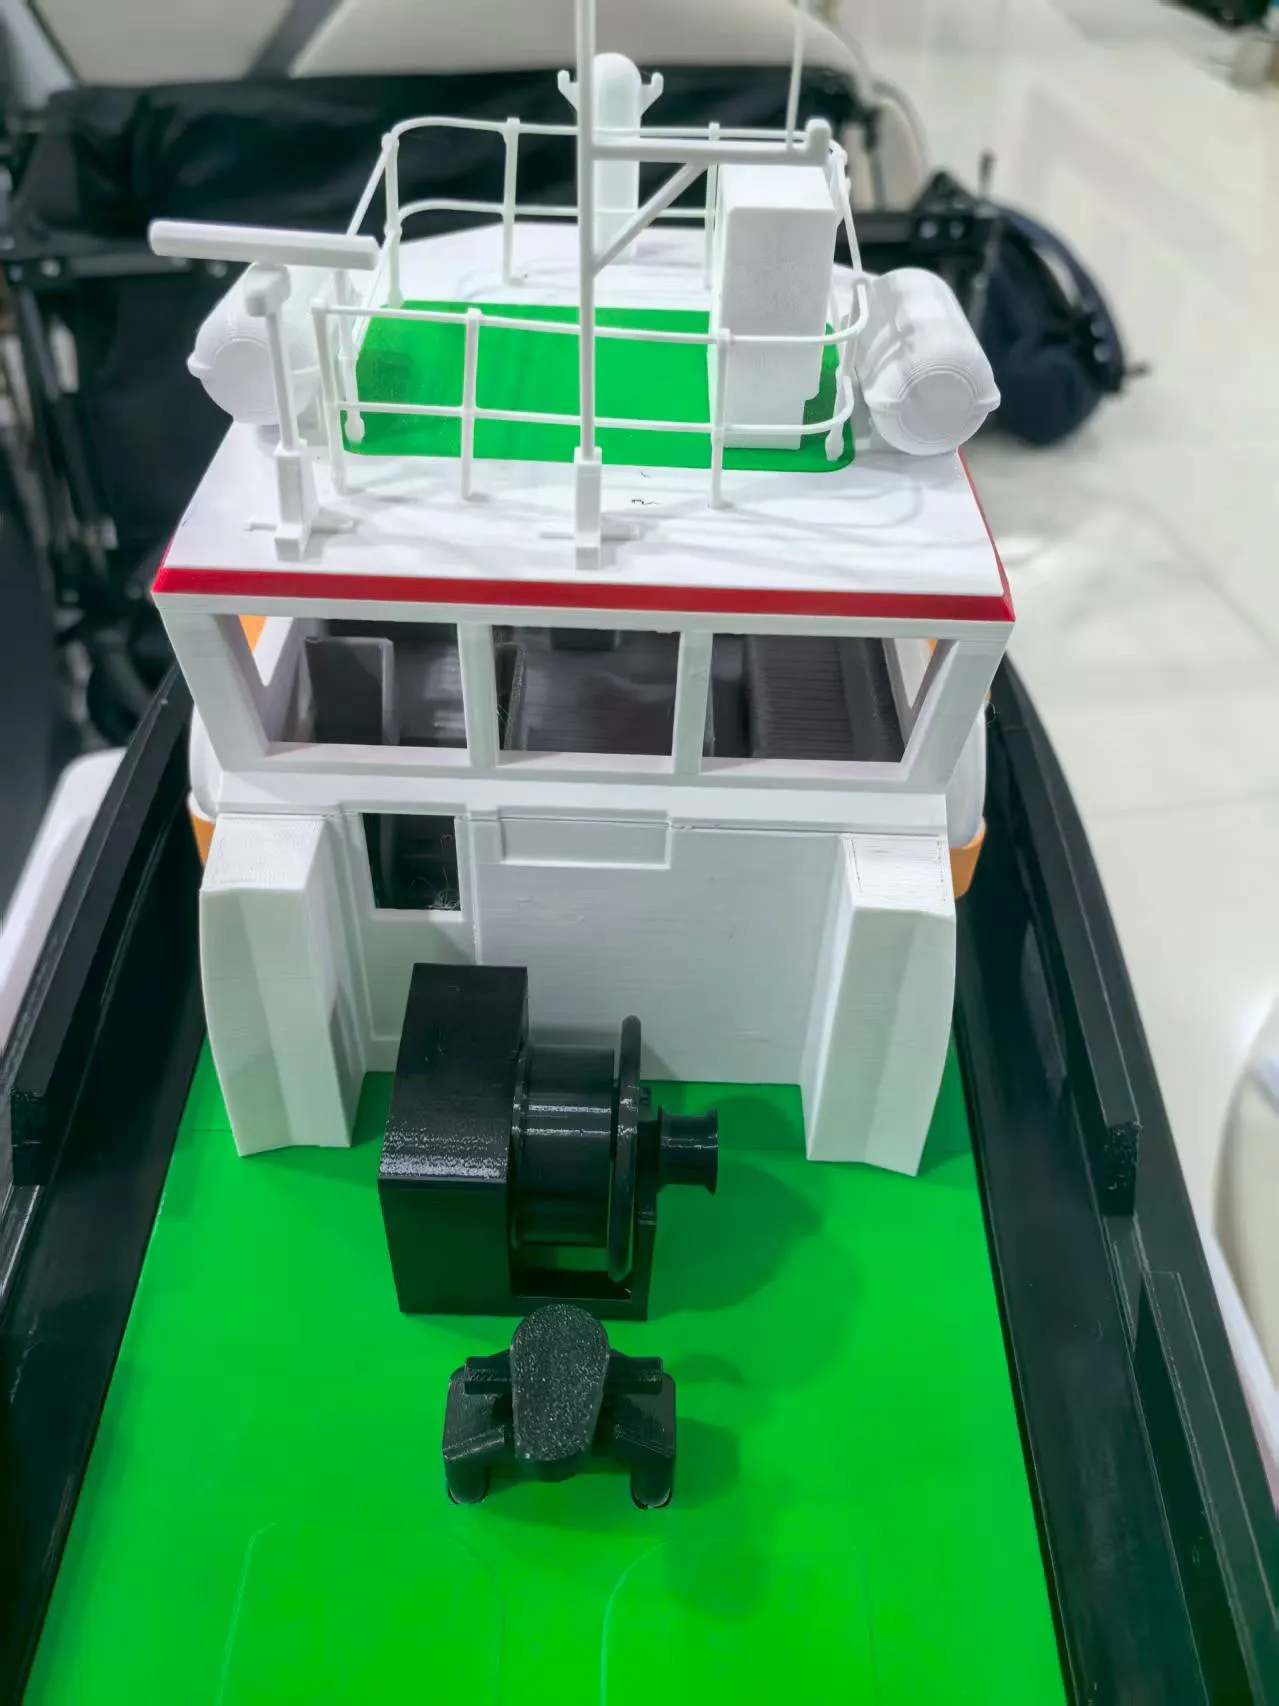
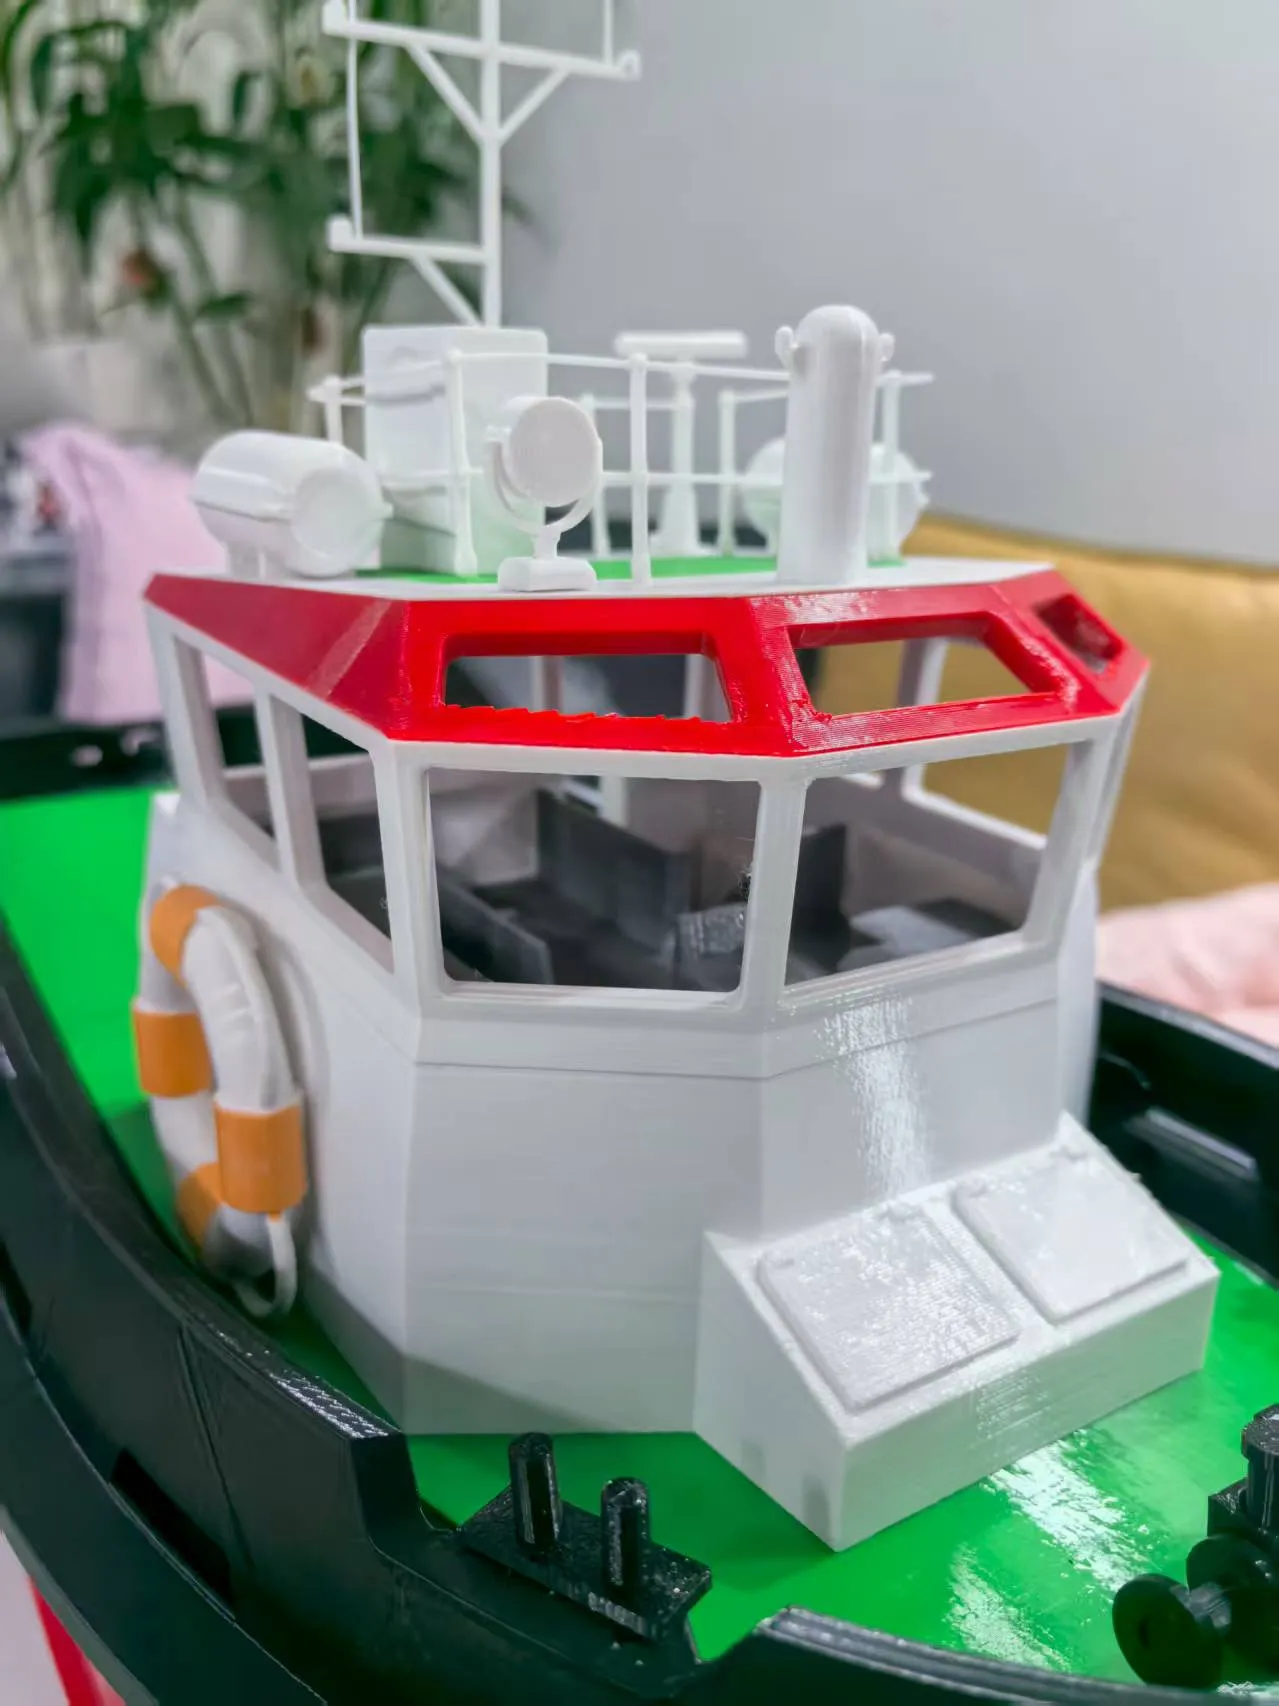
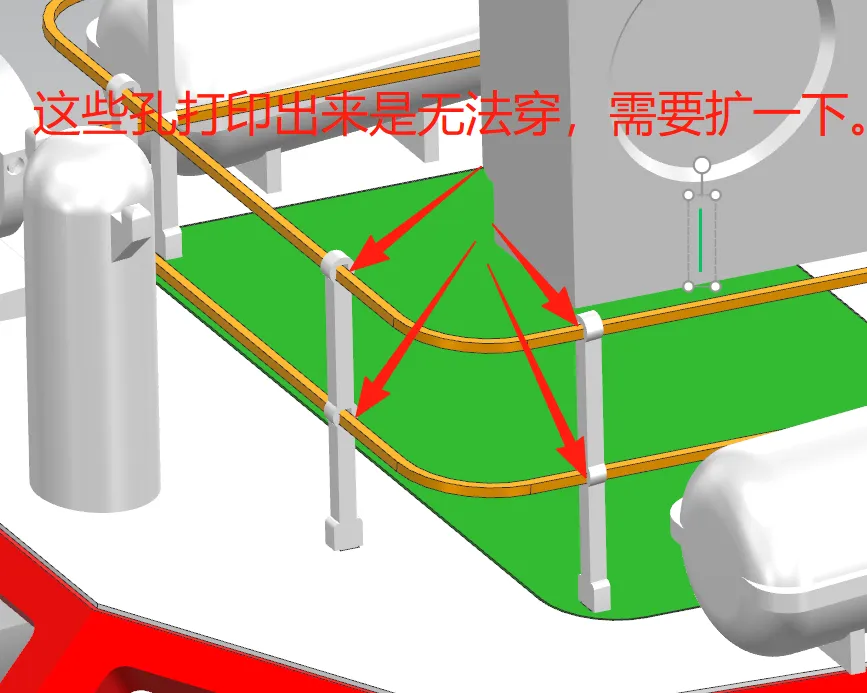
Additionally, the two holes on these railings below need to be widened before threading:
Below is the bill of materials I purchased, for your reference, do not rely on the quantities in the pictures



License

You shall not share, sub-license, sell, rent, host, transfer, or distribute in any way the digital or 3D printed versions of this object, nor any other derivative work of this object in its digital or physical format (including - but not limited to - remixes of this object, and hosting on other digital platforms). The objects may not be used without permission in any way whatsoever in which you charge money, or collect fees.


Comment & Rating (87)