
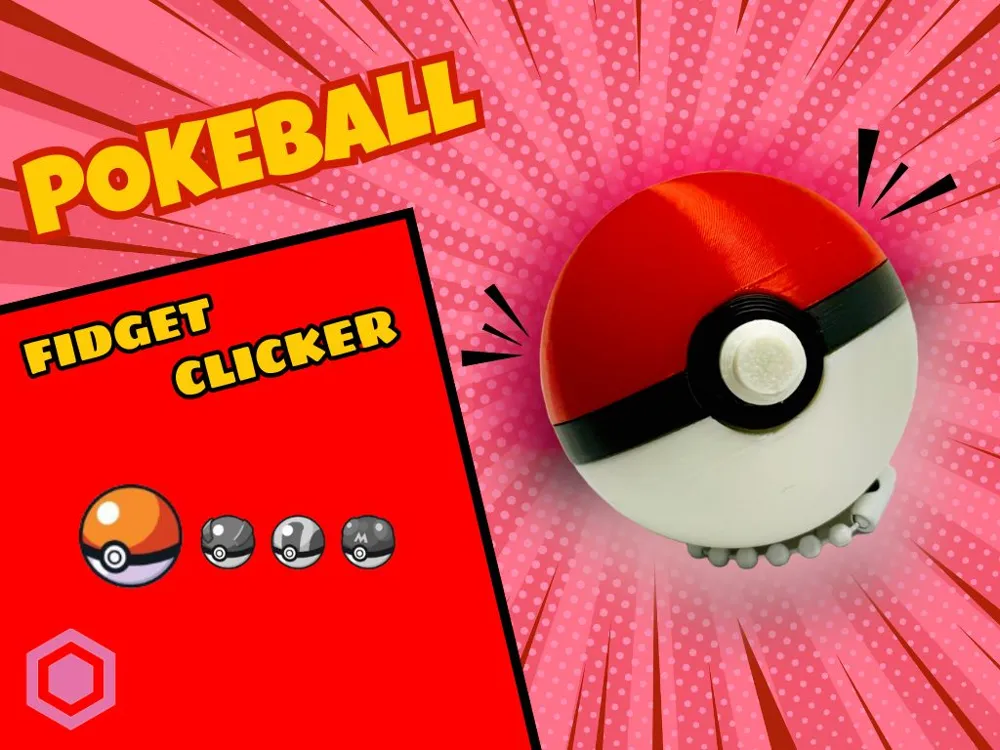
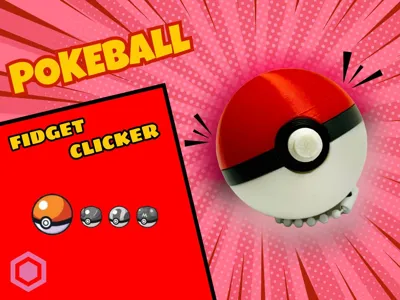
Pokeball Fidget Clicker - OG Collection (1/4)
Print Profile(2)


Bill of Materials



Description
Boost Me (for free)
If you like this print help me out with a Boost :)
Pokéball Fidget Clicker – New Design!
Catch ‘em all… and click ‘em too! 🎯
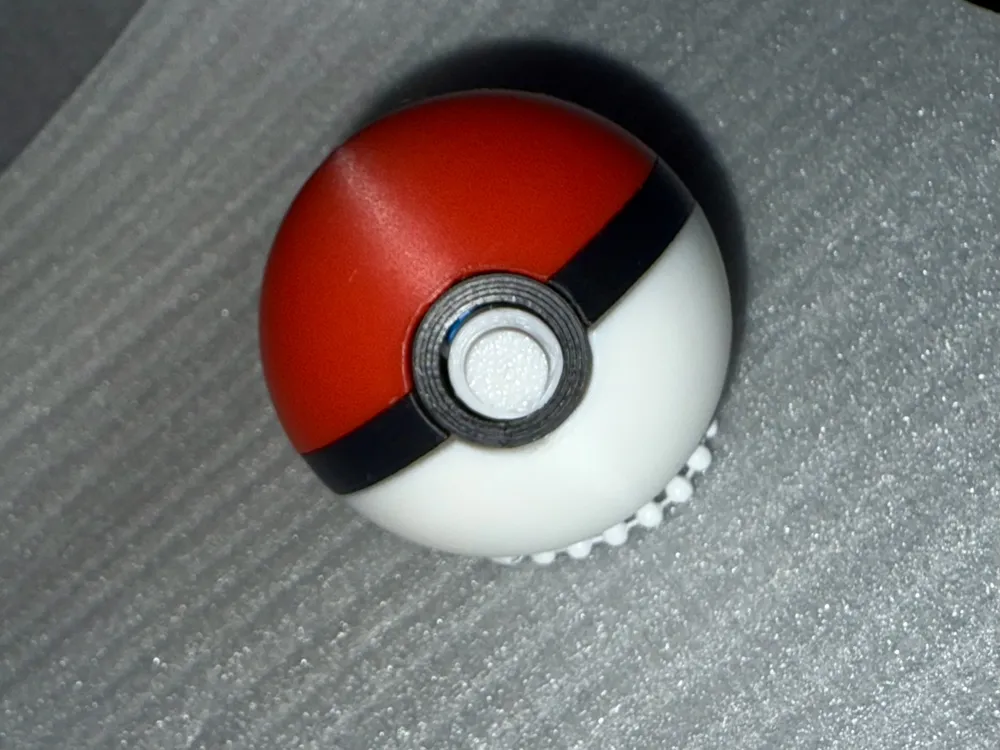
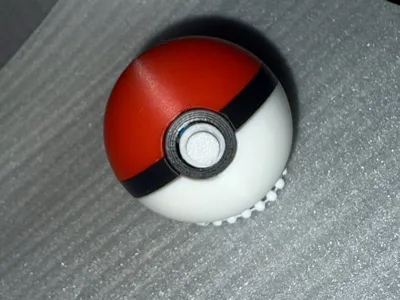
This fresh Pokéball fidget clicker is a fun and tactile way to keep your hands busy while showing off your Pokémon love. Designed with smooth curves, it’s perfect for fans, collectors, and fidget enthusiasts alike.
This PokeBall Fidget Clicker is the first design in my OG Pokéball Collection.
Great Ball Fidget Clicker (2/4)
Ultra Ball Fidget Clicker (3/4)
Master Ball Fidget Clicker (4/4)
✨ Features:
- 🎨 New design with improved shape and smoother edges
- 🖨 3D printable with minimal post-processing
- 🔴⚪ Iconic Pokéball style that Pokémon fans will love
- 🧩 Easy assembly – no special tools needed
Assembly


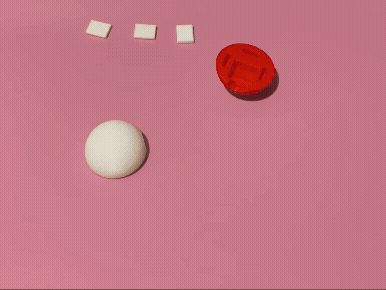
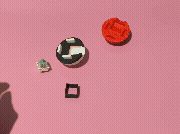
- Remove the small supports from the top (red) and bottom (white) parts.

- Add a small amount of super glue to the insert holes of the bottom (white) part and stick the inserts (small squares) in.
- Place the Middle (black) part on top over the inserts.

- Insert the Key Switch into the square brace (black) and place it through the Bottom (white) and Middle (black) parts with the switch facing outwards.
- Add a small amount of super glue into the insert holes of the Top (red) part.
- Press firmly together until the glue dries.


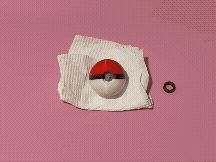
- Add a small amount of super glue to the inner recess created for the outer ring (black) part to insert.
- Be careful not to get any glue on the switch.
- I put this on a folder paper towel to help keep in place.
- Insert the out ring (black) part.


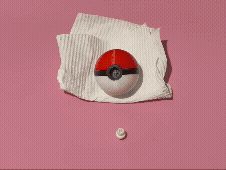
- Optional: Put a small amount of glue inside the inserts of the button and let it dry for a few seconds. I like to do this so little ones don't pull it out or lose it.
- Line up and press in the Button (white) part onto the switches insert.


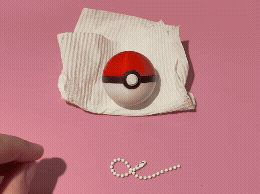

- Optional: Thread a key chain through the holes on the back of the Middle (black) part.
I'd love to see your prints!
Feel free to drop a comment with feedback or photos especially if you add your own twist colours.
Your ideas and prints help improve future designs and inspire others! 🖨️❤️
Boost Me (for free)
If you like this print help me out with a Boost :)
License

You shall not share, sub-license, sell, rent, host, transfer, or distribute in any way the digital or 3D printed versions of this object, nor any other derivative work of this object in its digital or physical format (including - but not limited to - remixes of this object, and hosting on other digital platforms). The objects may not be used without permission in any way whatsoever in which you charge money, or collect fees.


Comment & Rating (23)