Meter & Double meter


Print Profile(3)


Description
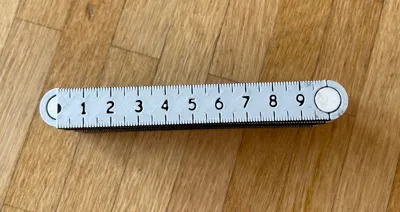
Here you will find a simple meter (= 1m length, 10x10cm), with and without AMS. If there is interest, I can also upload the double meter (2m, 10x20cm). It is ready in CAD, but not yet processed. I have an A1 mini and therefore cannot print the double meter, because one section is about 22cm long…
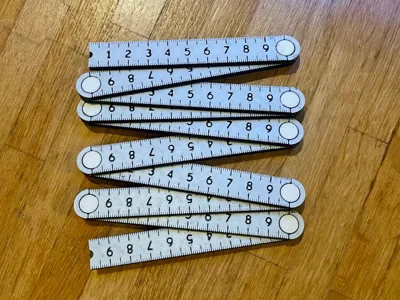
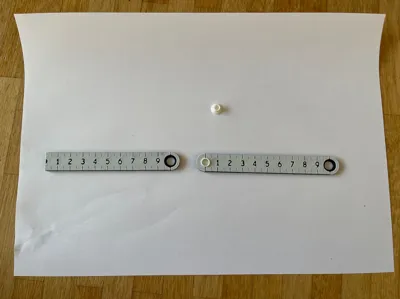
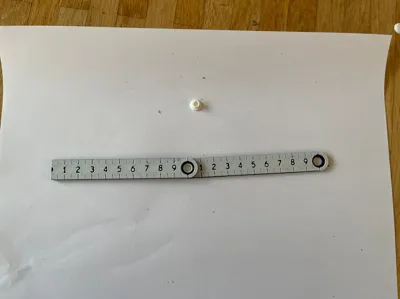
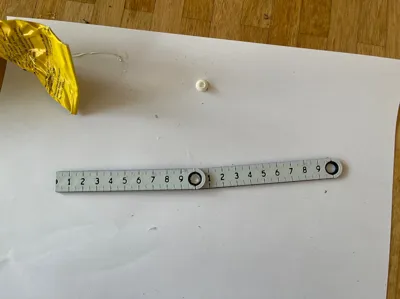
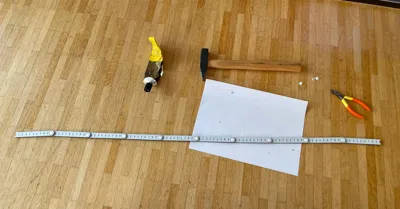
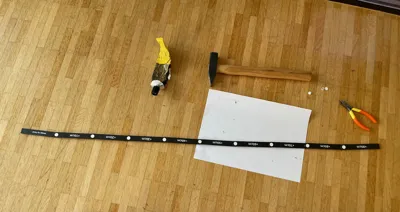
After you have printed the parts, simply lay them out in a row
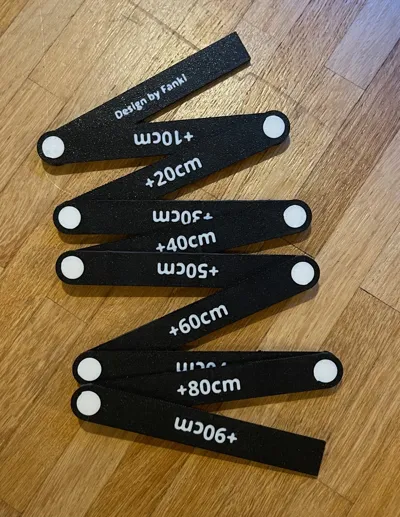
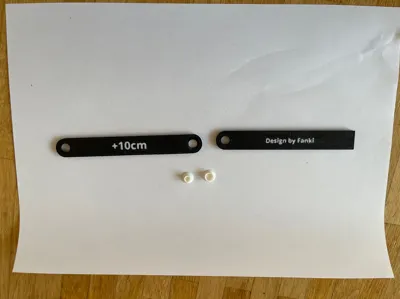
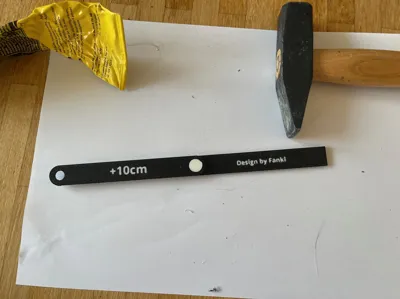
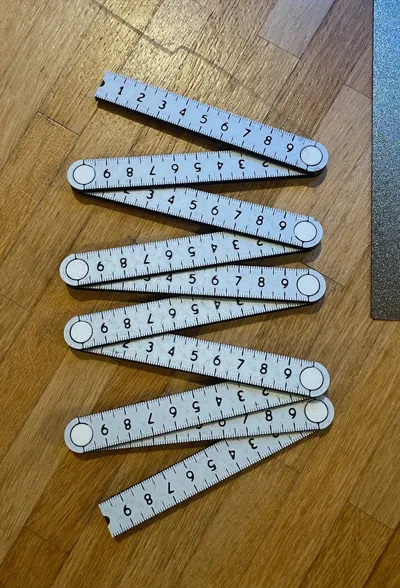
The order is important, as there is a measurement on the back of each piece. Since I did not include decimal values on the front, they can be found on the back. With AMS it is two-color, and without AMS it is just a gap. So if you read 4.3 cm on the front, turn the meter and add it to, for example, +50cm. That means 54.3cm


Unfortunately, this photo shows that all the texts were applied incorrectly! I have since fixed that;-)
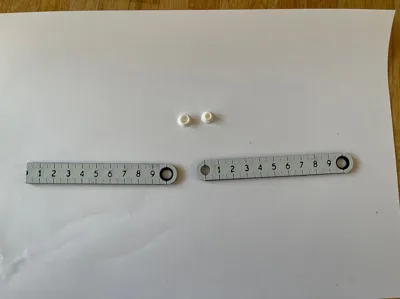
Make sure the holes and pins are clean. So that no residue gets stuck inside. Otherwise, the pins cannot be pressed together flush

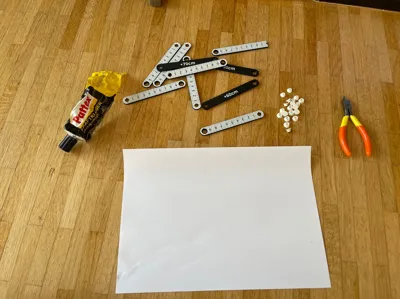
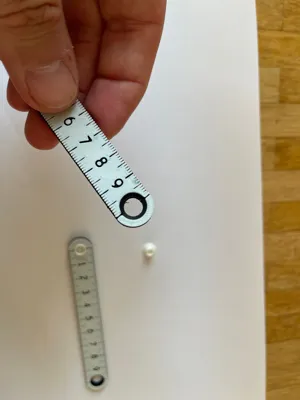
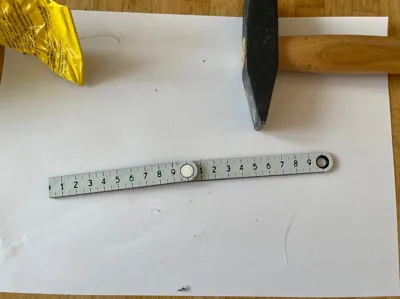
12 pins are printed, although you only need 9. Always insert the larger pin into the bottom and fill with a drop of glue. Push in the smaller counterpart and press firmly together. Optionally, give it a subtle tap with the flat side of the hammer! Continue like this until you have everything assembled. Finally, press everything firmly again and let it dry
You can also see the process in the photos
This part is not intended for craftsmen! More for the hobby sector, at home, on the desk, and so on
The profile without AMS has a pause integrated on the second to last layer, so you can change the color there. The pins are on a separate plate and should therefore also be printed separately
Have fun and thanks for feedback
Boost Me (for free)
Just thanks
Also check out my other models: Fanki The Printer
Boost Me (for free)
I would appreciate it...
License
You shall not share, sub-license, sell, rent, host, transfer, or distribute in any way the digital or 3D printed versions of this object, nor any other derivative work of this object in its digital or physical format (including - but not limited to - remixes of this object, and hosting on other digital platforms). The objects may not be used without permission in any way whatsoever in which you charge money, or collect fees.
Comment & Rating (8)