
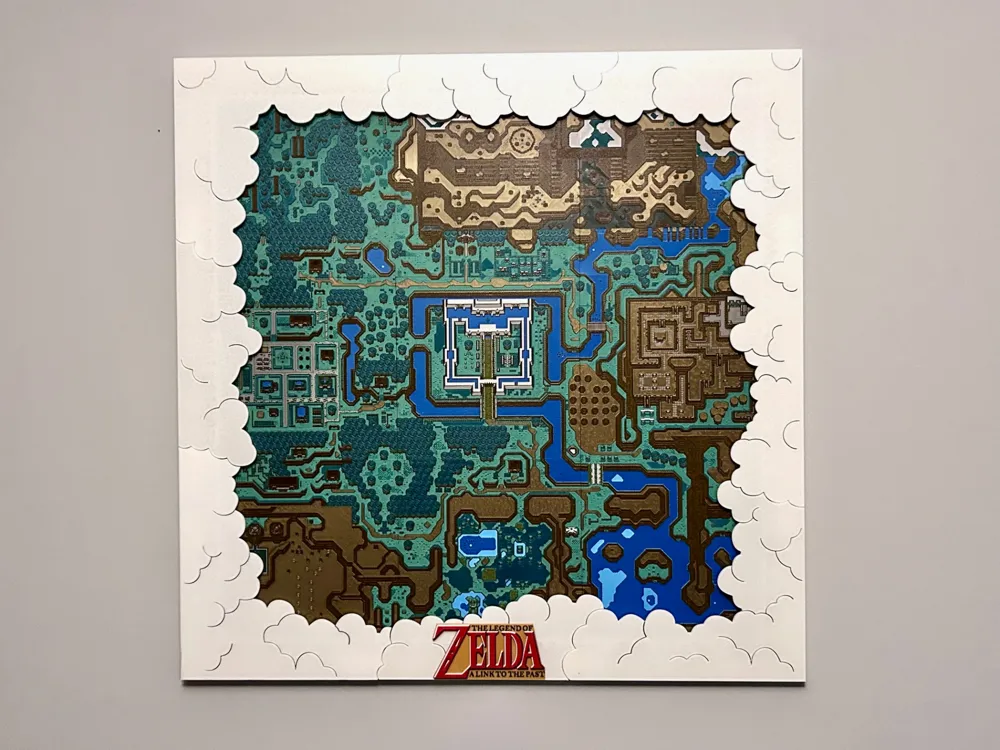
Cloud Frame for SNES Zelda 600mm x 600mm World Map
Print Profile(1)

Description
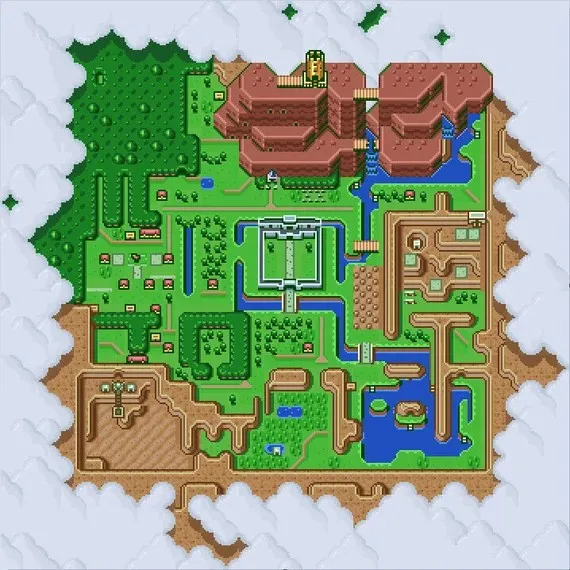
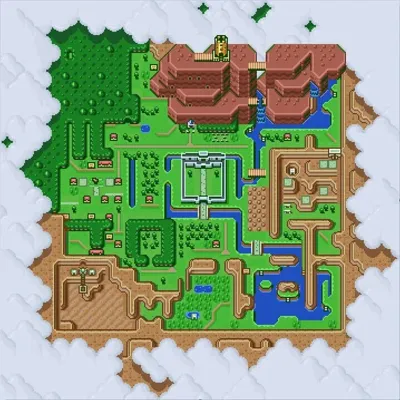
This is my design for a wall hanging cloud frame for Canadian Gamer's 600mm x 600mm SNES Zelda Link to the Past printable world map. The map can be found here:
The only thing you will need to complete this frame is some 1/8" hardboard which you can find at your big box hardware store or lumberyard. You will also need (12) 3x8mm or 3x10mm flat head self-tapping screws (#4 screws are also fine).
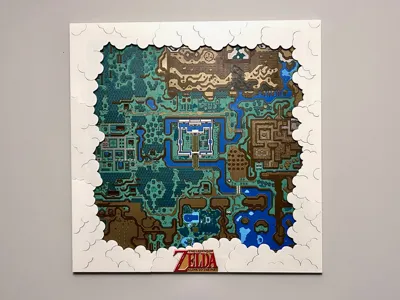
Included with the frame parts is a Zelda plaque and two different gold backplates for the plaque. The black text on the gold backplates is scaled to match the “Zelda” plaque and it will turn out best with a 0.2mm nozzle.
NOTE BEFORE PRINTING: The frame uses a fair amount of white. To ensure matching color for each frame piece, I would suggest starting with a virtually full roll of white. You can see in my photo that I had to change rolls for the left middle piece and it looks a little darker even though I reloaded the exact same brand filament.
ASSEMBLY:
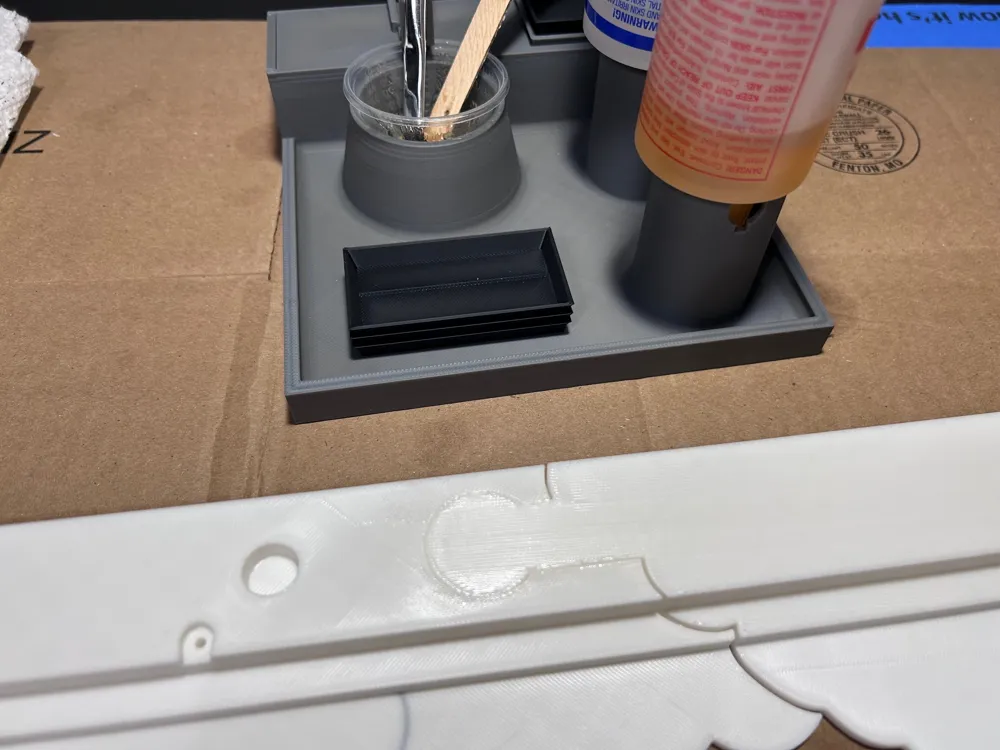
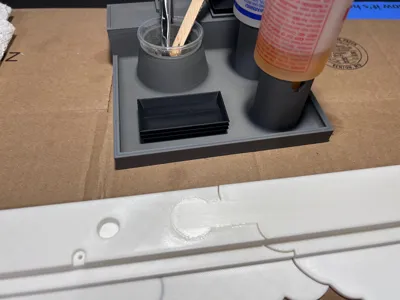
1. I recommend using 2-part epoxy to glue the frame parts together. Apply a thin coat to the male and female receptacle slots. Have some rubbing alcohol and paper towels ready to wipe away any squeeze out. It is advisable to assemble on a large flat surface and put some heavy things on it to keep it flat while the epoxy cures.
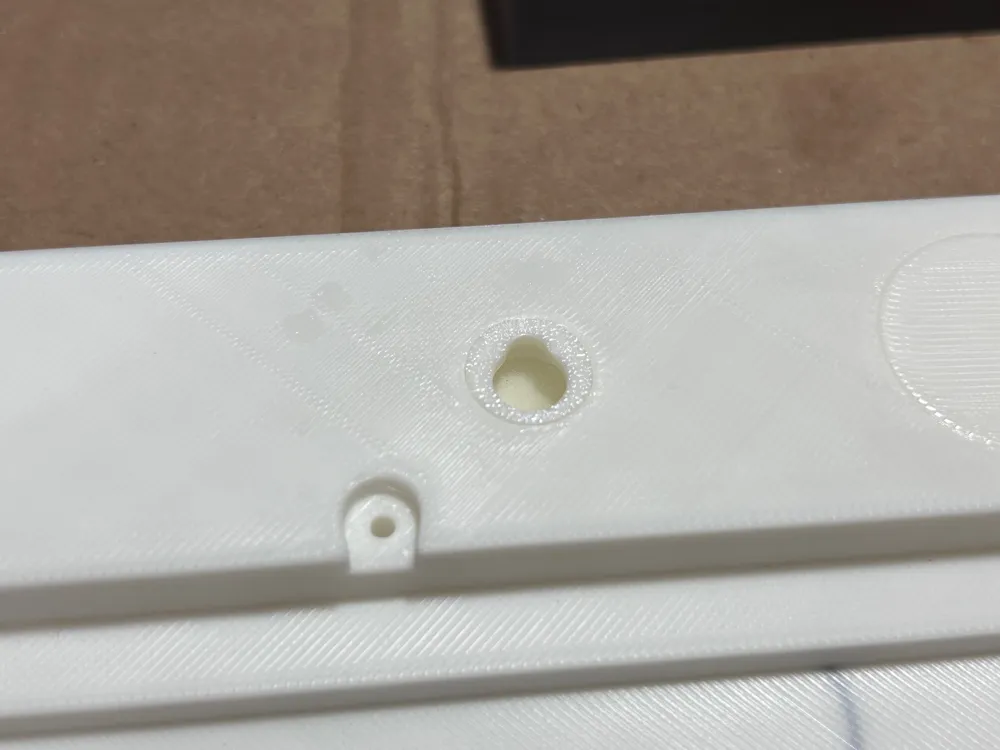
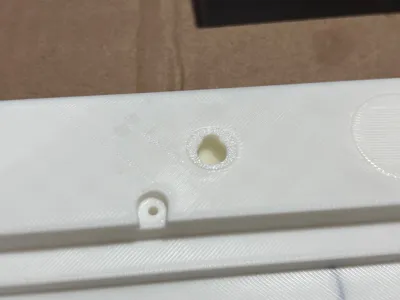
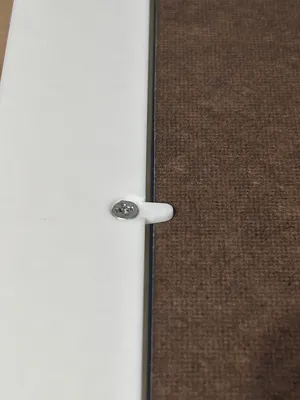
2. Included on one of the plates are three keyhole slot inserts. Glue these in place into the mating holes at the top back side of your assembled frame. Don't overfill the holes with epoxy. A very light coating is adequate. Also, MAKE SURE YOU GLUE THEM WITH THE CORRECT SIDE FACING UP, AND THE CORRECT SIDE FACING OUT. REFERENCE THE CLOSE-UP PHOTO.
3, Cut your hardboard to 23-½" x 23-½" and be sure you cut a nice square with 90-degree corners. These dimensions will allow a little play if you freehand cut it without a table saw fence.
4. Flip the frame over and put your hardboard into the frame. The trick here is going to be gluing the map panel pieces to the hardboard facing the back side of the frame. The frame perimeter will be your guide to ensure the map panels are glued correctly and will fit in the frame when the glue is dry. DO NOT GLUE THE PANELS TO THE HARDBOARD OUTSIDE OF THE FRAME. The panels are a very snug fit in the frame. You will need to persuade them to fit. I assure you they will fit.
5. Run several lines of glue (I used standard wood glue.. white glue should work too) back and forth on the hardboard and use a mixing stick or old credit card or something to spread the glue around. I don't think you need to coat the whole hardboard. Just some flat lines of glue. Now, start in one corner and carefully lay the panels into the glue. DON'T SLIDE THEM IN LIKE YOU ARE PLAYING TETRIS. This will cause the glue to squeeze up between the map panels. Just try and drop them in basically straight down. Have a paper towel ready to wipe away any glue that does squeeze out. Work your way row by row. The final corner map panel will be a tight squeeze. You can do it. After all the map panels are down, check each joint between the panels and around the perimeter to make sure everything is seated properly. Weigh down troublesome joints if needed and let the glue dry overnight.
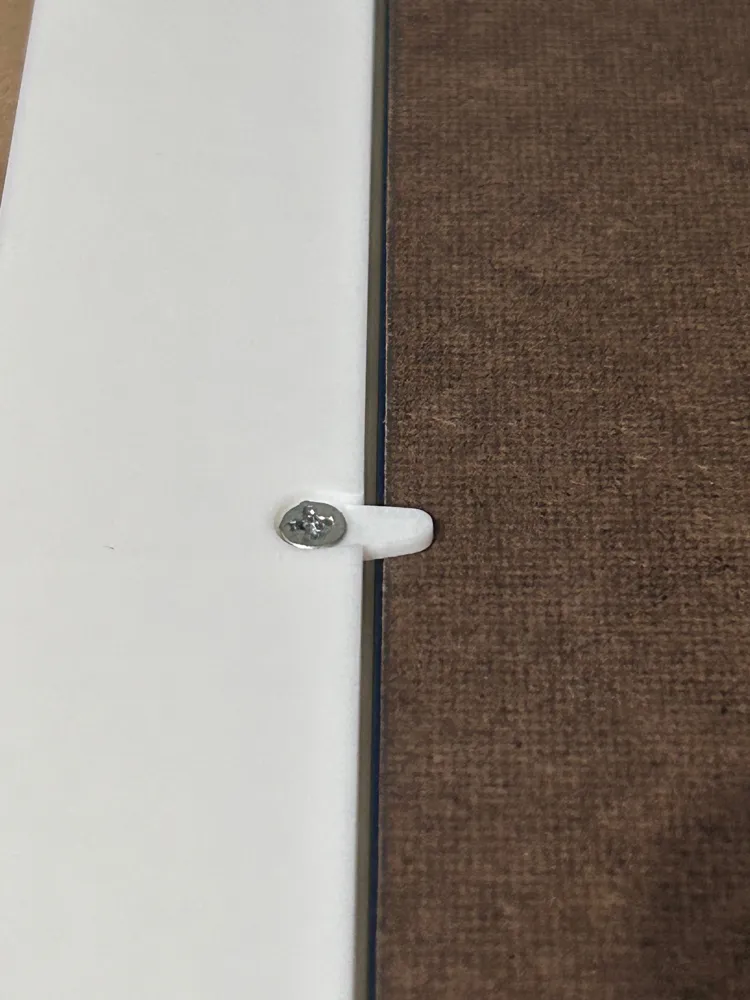
6. With the glue dry, remove the backwards facing glued up map from the frame and flip it around so it is facing the correct way in the frame. Lay the frame face down on your table and use the (12) hardboard retainer tabs with the flathead screws to finish the assembly.
7. If you are using the optional Zelda plaque, glue it to the optional gold backplate that you chose. A couple drops of thick CA glue or wood glue. Then glue the backplate to the bottom of frame centering it in the middle.
A single nail or screw in the center keyhole should be fine if you hang it on a wall stud. If you are going just into drywall, I recommend using the two outside keyhole slots. These are 16" C.D. apart.
Please upload a picture if you use my frame! Also, if you love the original NES Zelda, I have a frame for that map too. Click here for the NES frame (link to the map pieces can be found in the frame description):
Legend of Zelda Overworld Map 200% remix new frame by cmcraig2 MakerWorld: Download Free 3D Models
Boost Me (for free)
If you like this frame, please show your love and send me a boost! Thank you :)
License

You shall not share, sub-license, sell, rent, host, transfer, or distribute in any way the digital or 3D printed versions of this object, nor any other derivative work of this object in its digital or physical format (including - but not limited to - remixes of this object, and hosting on other digital platforms). The objects may not be used without permission in any way whatsoever in which you charge money, or collect fees.


Comment & Rating (17)