
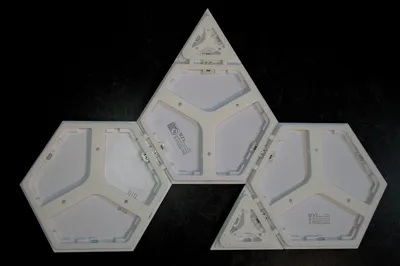
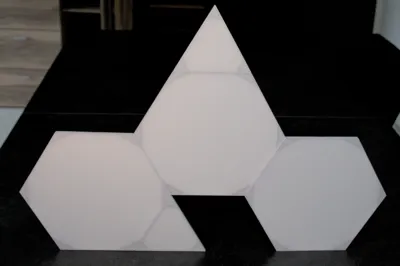
Print Profile(1)

Bill of Materials
- ISO 14581 M2x6mm Screw x 4: 2 per Connector. 4 per Panel connection
- Wall Anchor x 1: 1 or more for large installations
- Countersunk screw 8mm head x 1: 1 or more for large installations
Description
Secure, sleek, and sure to stop that heart-dropping moment when panels fall!
Background:
I still remember waking up to a crash one early morning—over 30 Nanoleaf panels scattered on the floor, the result of those “temporary” adhesive stickers giving way. It was a shocking and (let’s be honest) annoying wake-up call. I designed this Nanoleaf Wall Mount so no one else would have to experience that jolt.
Features:
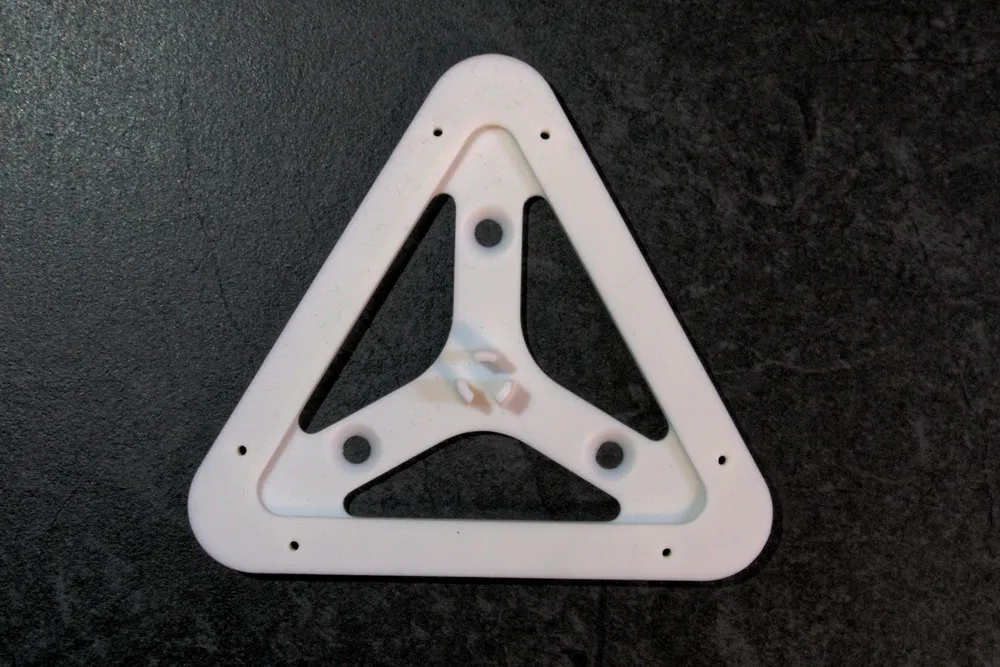
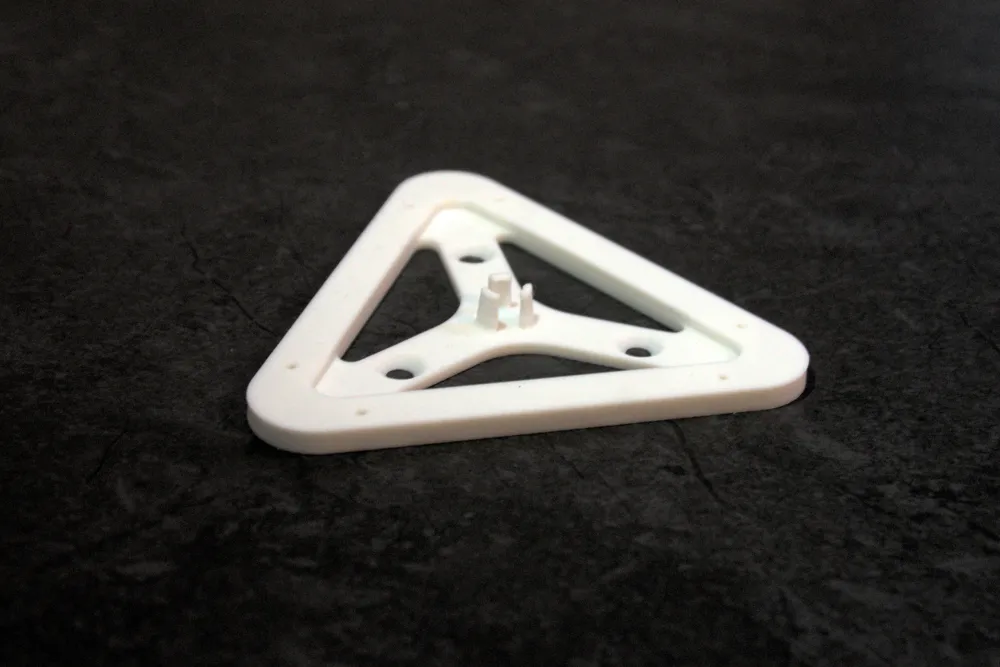
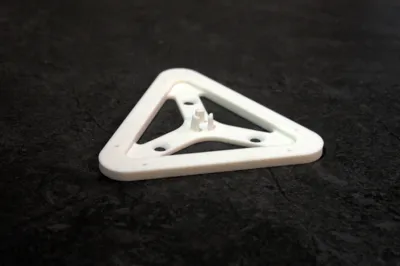
- Eliminates adhesive failures: Replaces sticky mounts with a lightweight screw-together PLA bracket system that clicks panels into a sturdy frame—no more random falls.
- Huge install, tiny footprint: With over 30 panels, only three drilled holes anchor the entire design—minimal wall damage required.
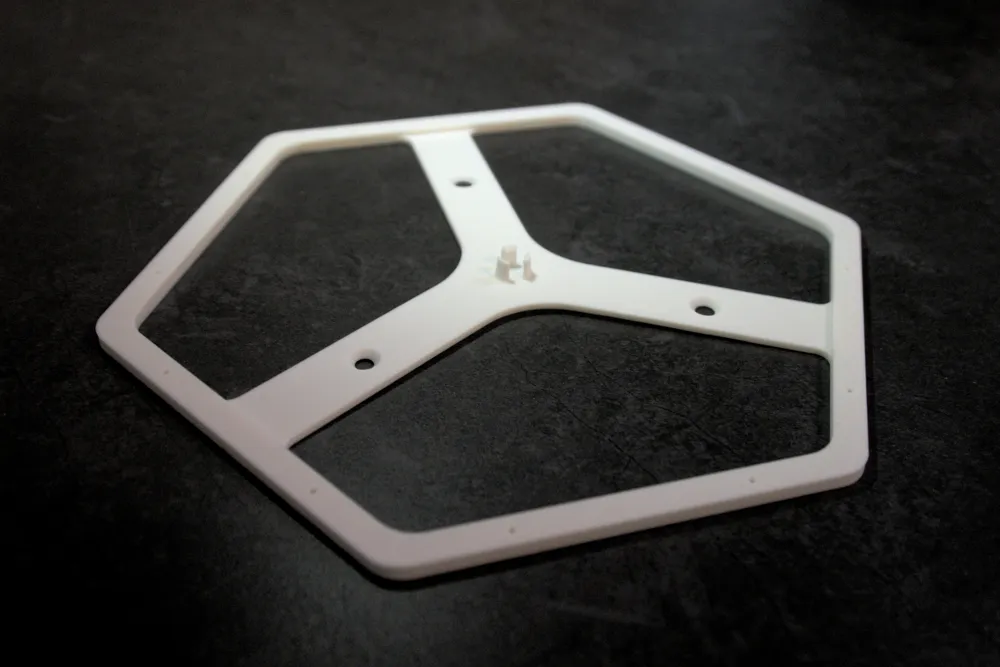
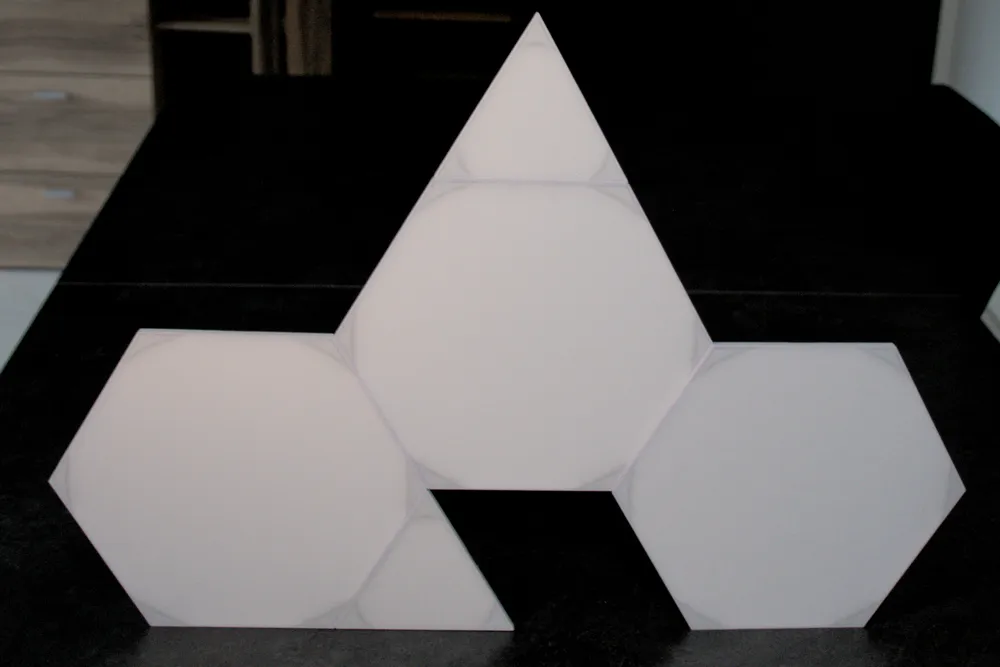
- Invisible by design: Each bracket sits snug behind a panel with just a 4 mm reveal—nearly invisible once installed.
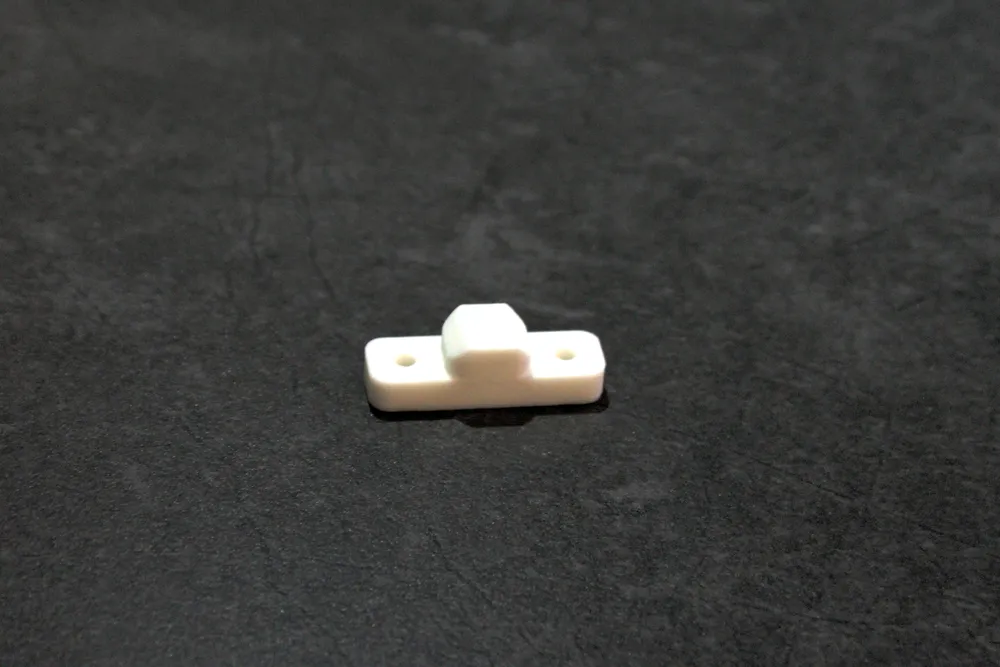
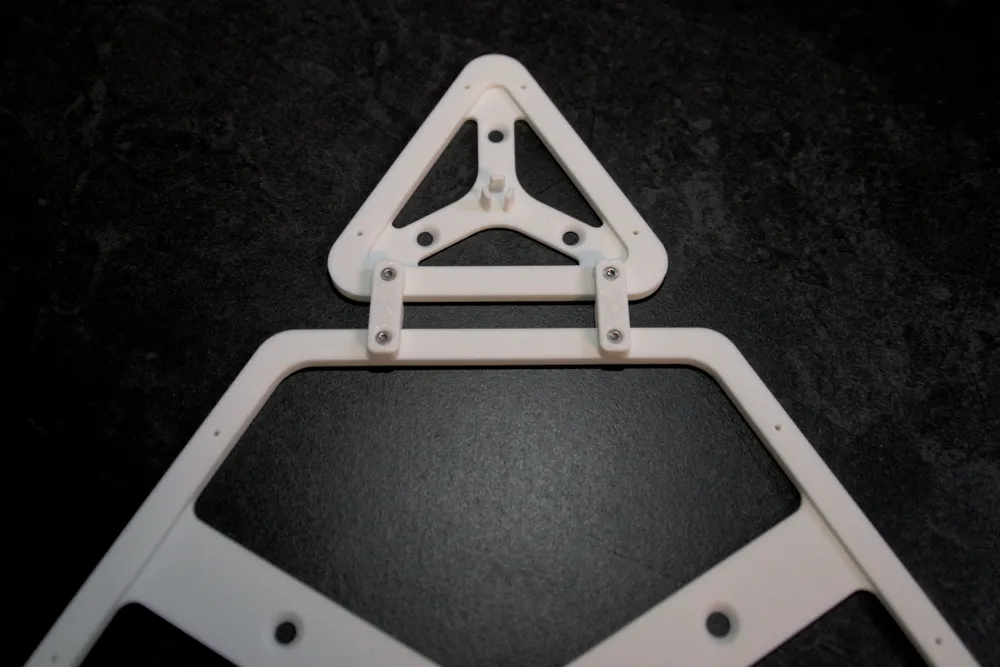
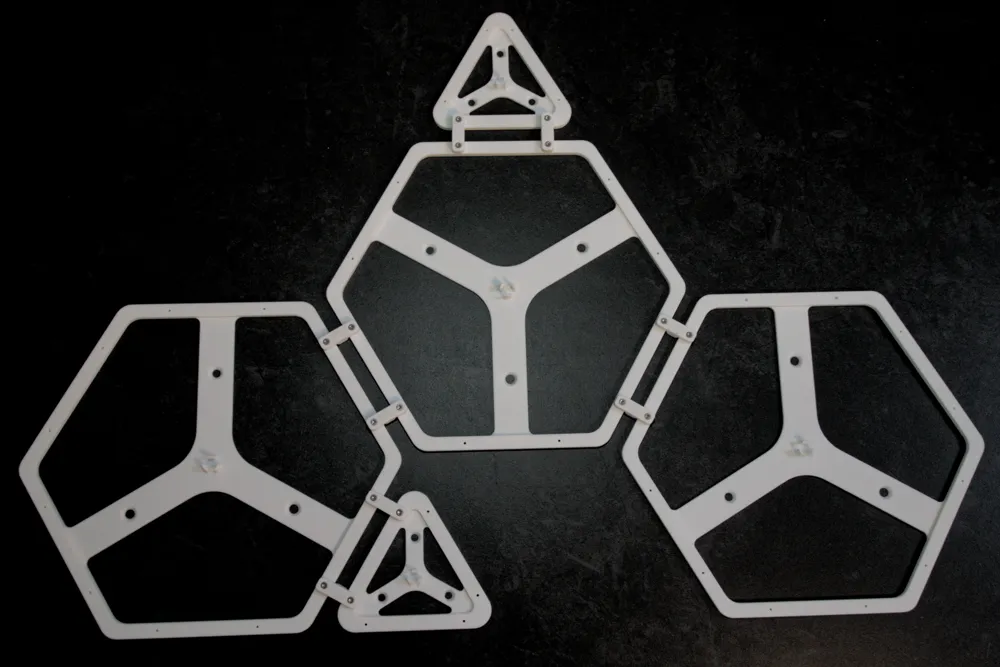
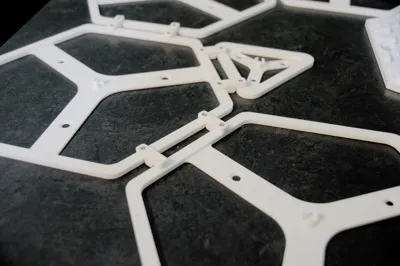
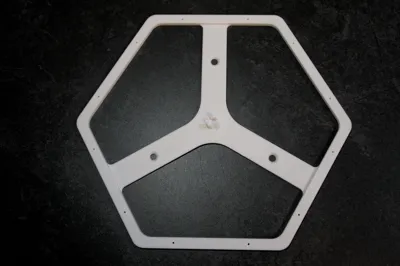
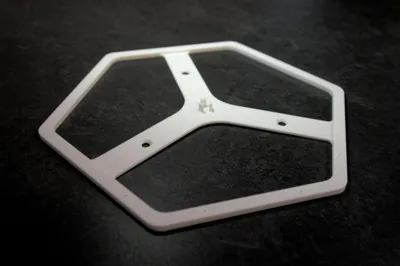
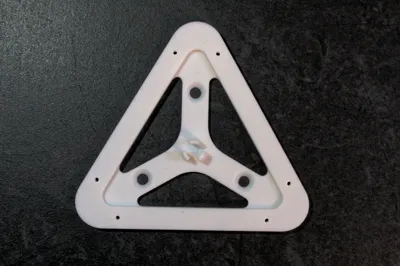
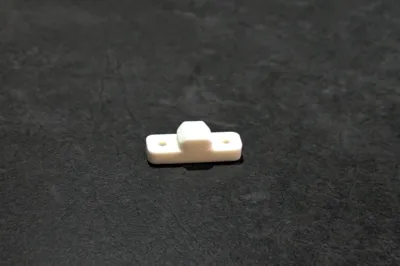
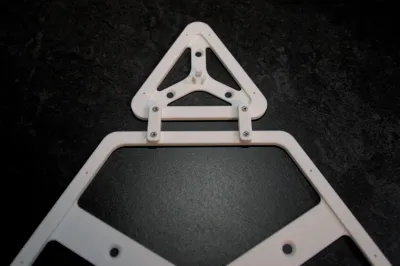
- Fully modular layout: Built specifically for Shapes Mini Triangles and Shapes Hexagons. Brackets click together using two connector pieces per joint and secure with four M2×6 mm screws for each pair of neighboring panels—simple, solid, scalable.
- Customizable aesthetic: Printed in PLA, you can pick white to match Nanoleaf, or color it to blend with your wall.
Boost Me (for free)
Click me if your Nanoleaf shapes shouldn't come off the wall!
Installation guide:
What You’ll Need:
Hardware:
3D printed brackets (PLA recommended)
Connector pieces (2 per connection point)
M2 × 6 mm screws ISO14581 (4 per connection point)
Wall anchors and wall screws (1-2 per meter of your panel design, for main wall support)
optional: Nanoleaf adhesive Mounting Tape (small) to prevent the panels from lifting from wall far away from screws
Tools:
Screwdriver (preferably electric for speed)
Wall drill (for anchors)
Level (optional, for alignment)
Ruler or measuring tape
Marker or pencil (for marking drill holes)
Step 1: Plan Your Layout
- Design your Nanoleaf layout on the floor or in a design app.
- Count your panels and determine the number of brackets and connectors you’ll need:
- One bracket per panel.
- Two connectors per point of contact (connection points) between panels.
- Four M2×6 mm screws per connection point (two per connector).
Step 2: 3D Print the Mounting System
- The used filament needs to have a very good layer adhesion! Any PLA filament with good layer adhesion will be sufficiently stable. I used Ele-Goo PLA. For me recycled filament didn't work well due to insufficient layer adhesion and high brittleness.
- Choose the filament color to match your Nanoleaf panels or your wall for a nearly invisible result.
Print:
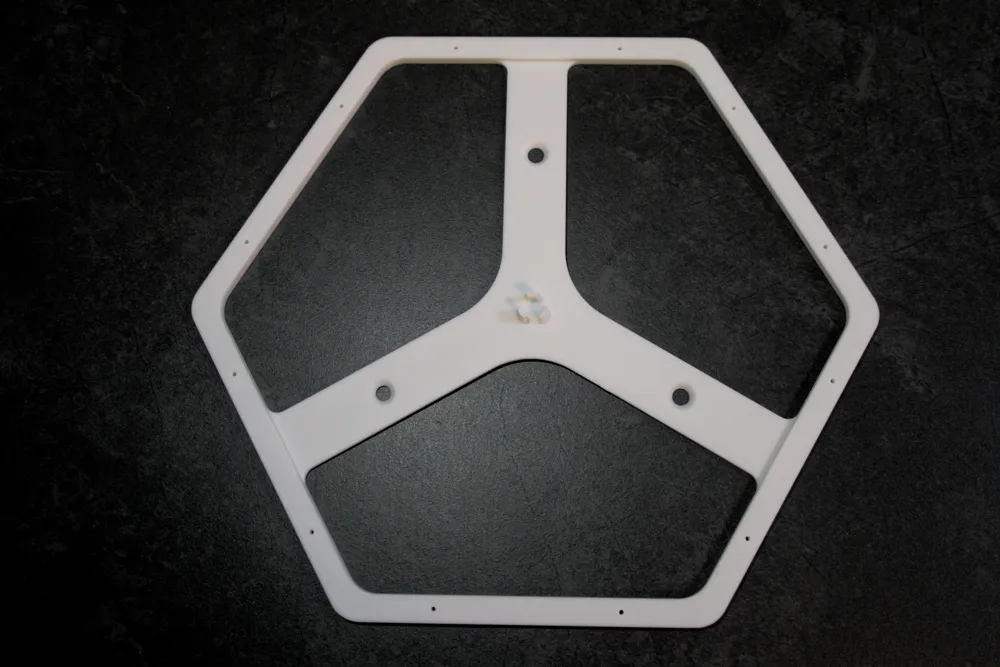
- One wall bracket per panel
- Two connector pieces per panel joint (fill printer bed with required number of connectors to print all at once)
Note: Ensure print accuracy—tight tolerances ensure a secure snap-fit.
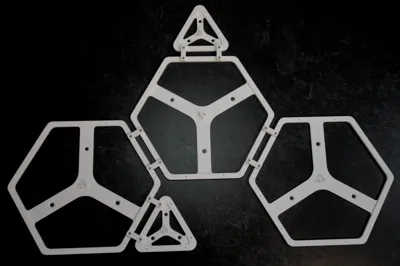
Step 3: Assemble the Brackets Grid
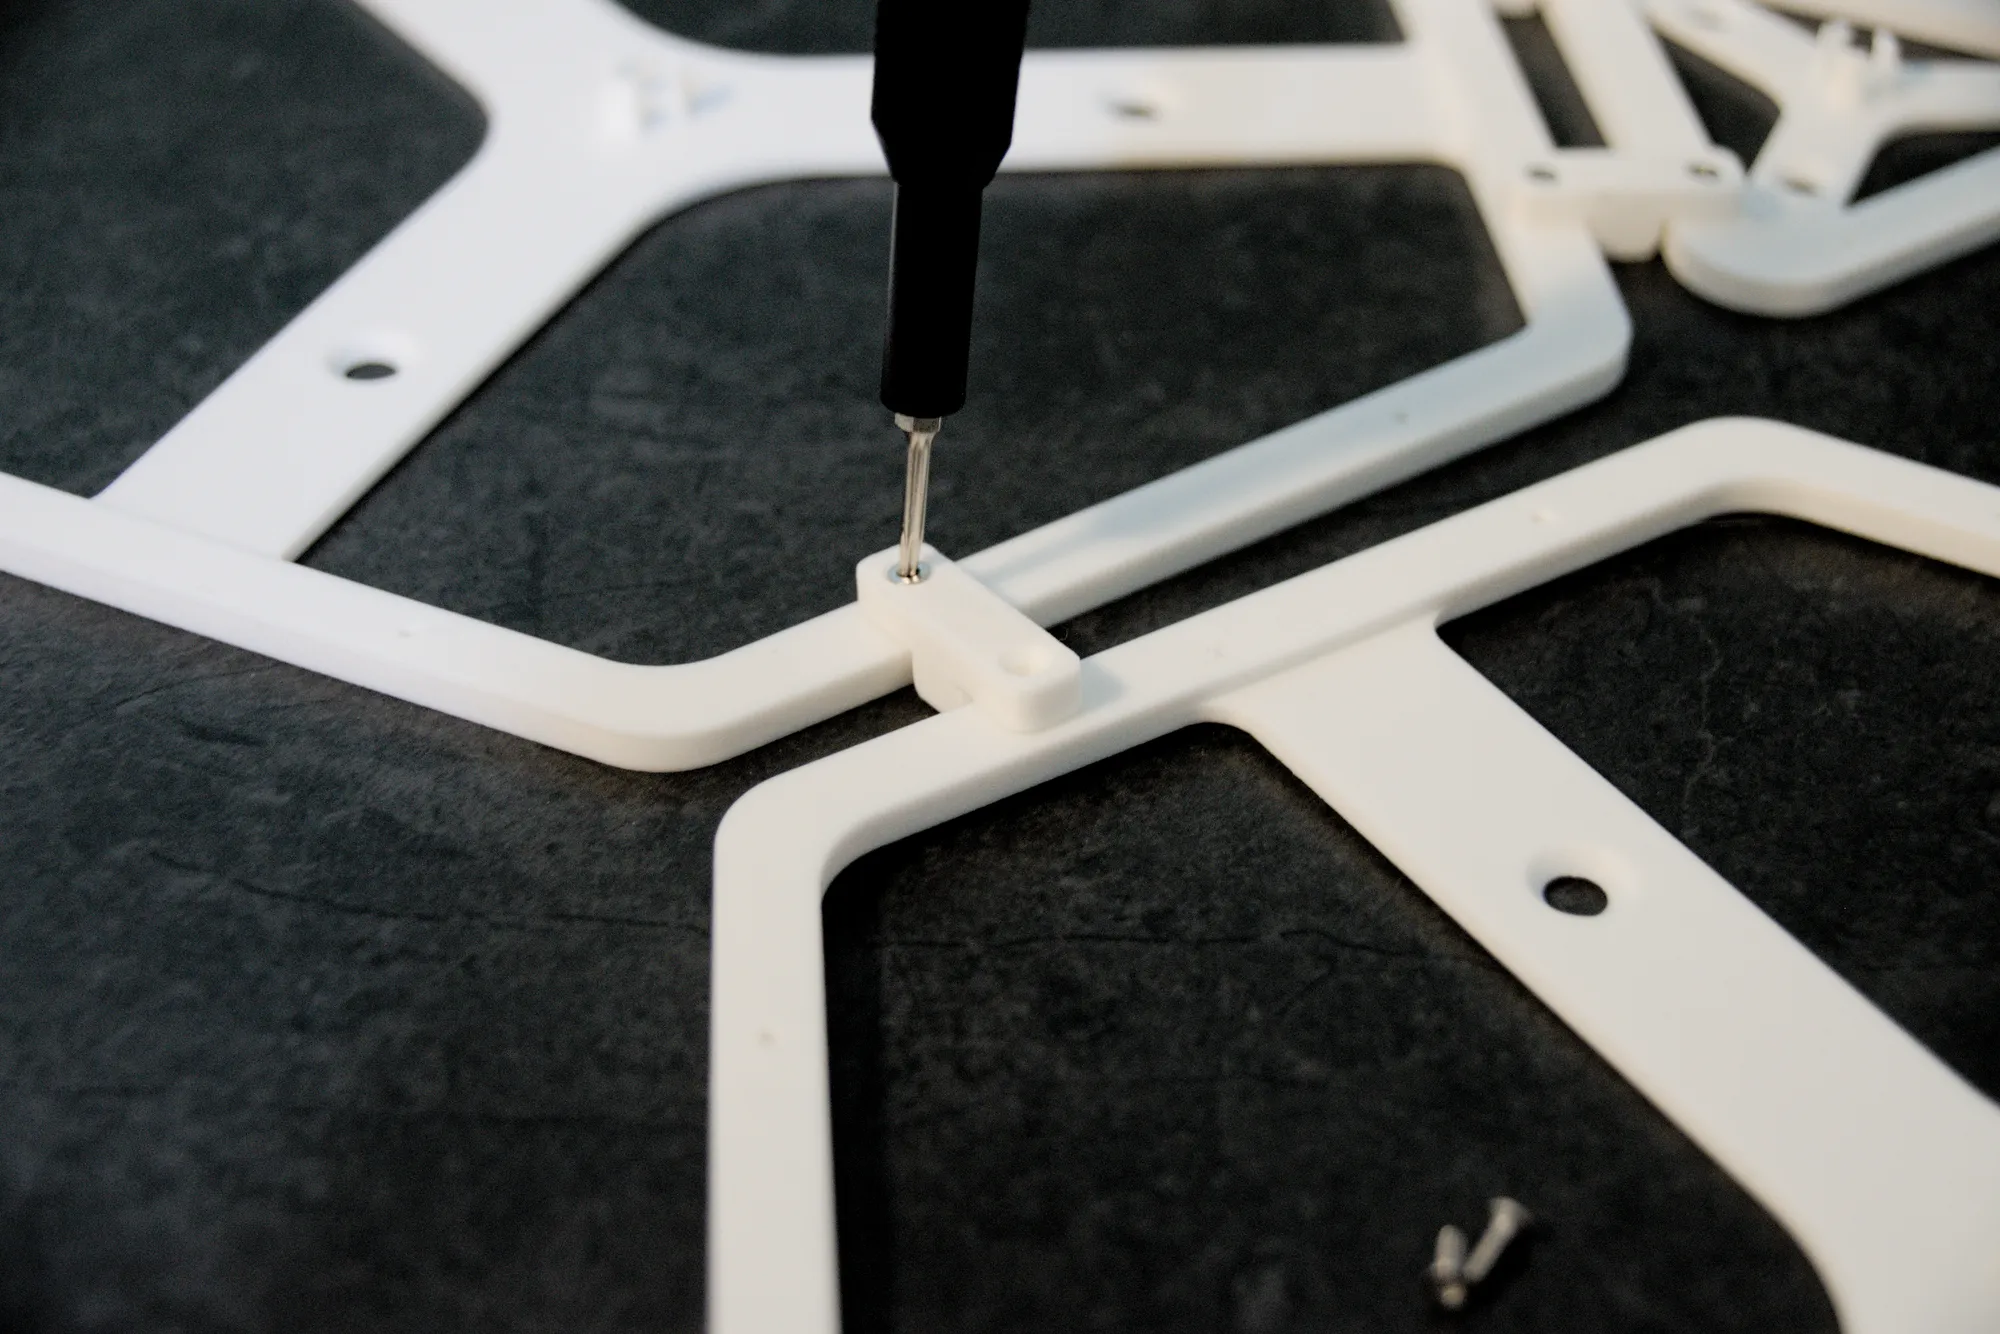
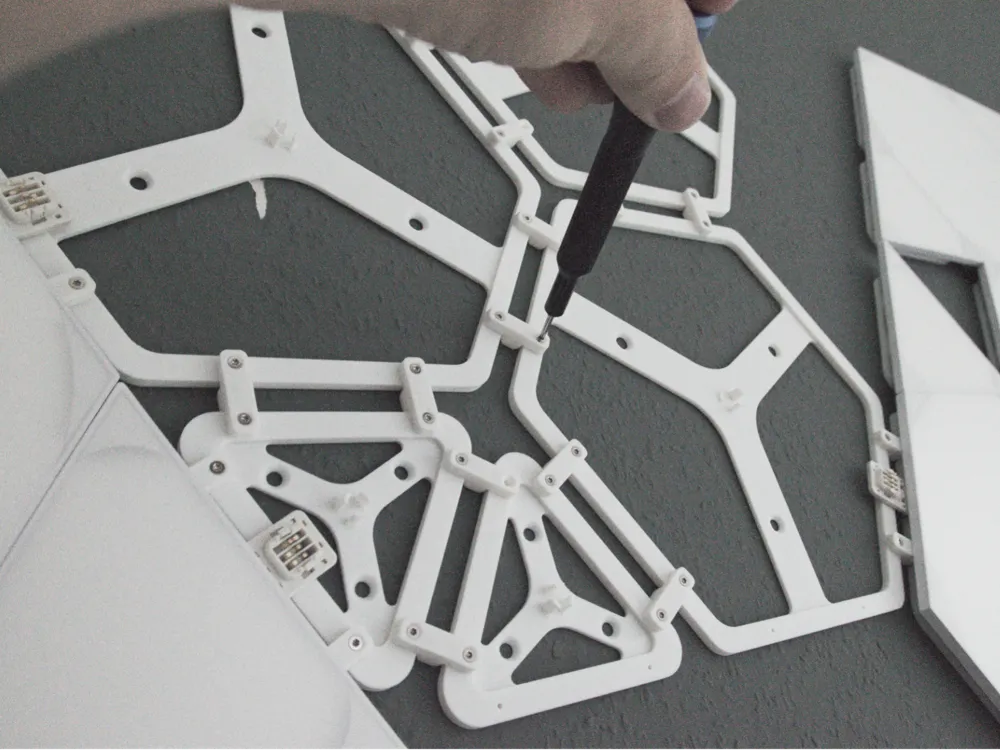
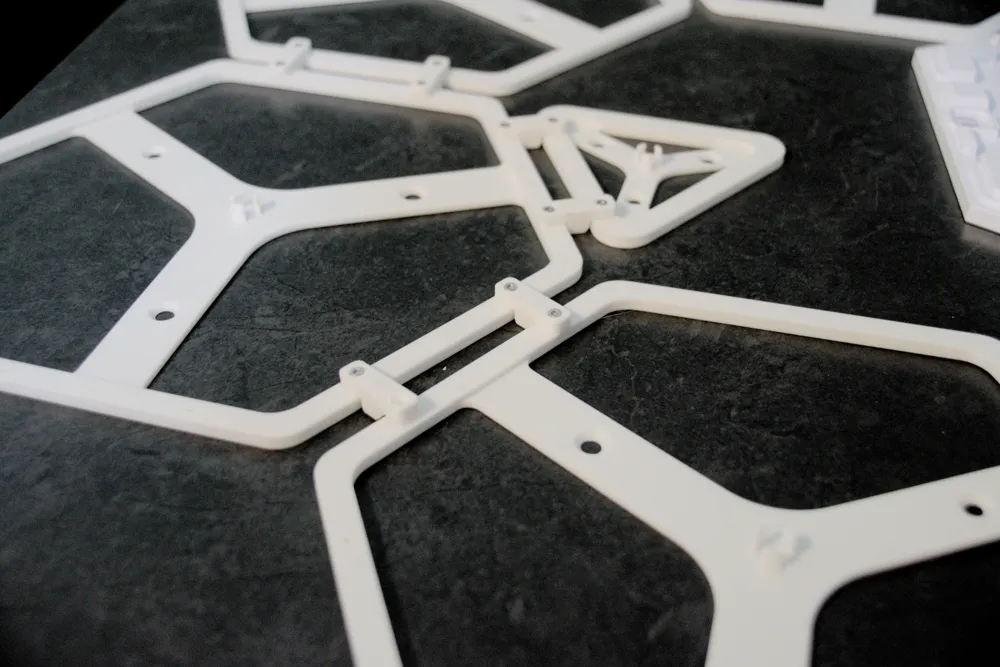
- Lay the brackets according to your Nanoleaf design flat on the floor or any other big enough flat surface. The snap claws need to face upwards!
- If your design is too big and heavy for lifting at once divide it in as few tile groups as possible. Do not connect these together to avoid stress and warping during mounting.
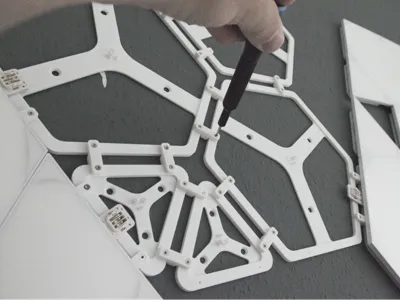
- Fix all connection points together by using two connectors and four M2x6 mm screws. The flat side of the connectors has to face upwards
Step 4: Drill Anchor Points for the Grid
- Carefully take the whole assembled grid or a tile group of your design and position it on the wall as you desire.
- Use a level to keep the design straight.
- Mark and drill the needed number of wall anchor points (2 people recommended) — try to keep the anchor points on top of your design to distribute the weight across your design. Space the holes to not be too near but also not too far away from each other to avoid loose mounting. I used 3 drill points (one in the middle and one on either side having 50cm overhang) for a 75 cm high design which spanned 2.5m in width. For marking the anchor points use the holes on the supportive bridges of the brackets.
- DON'T screw the grid to the wall yet!
Step 5: Snap in the Panels
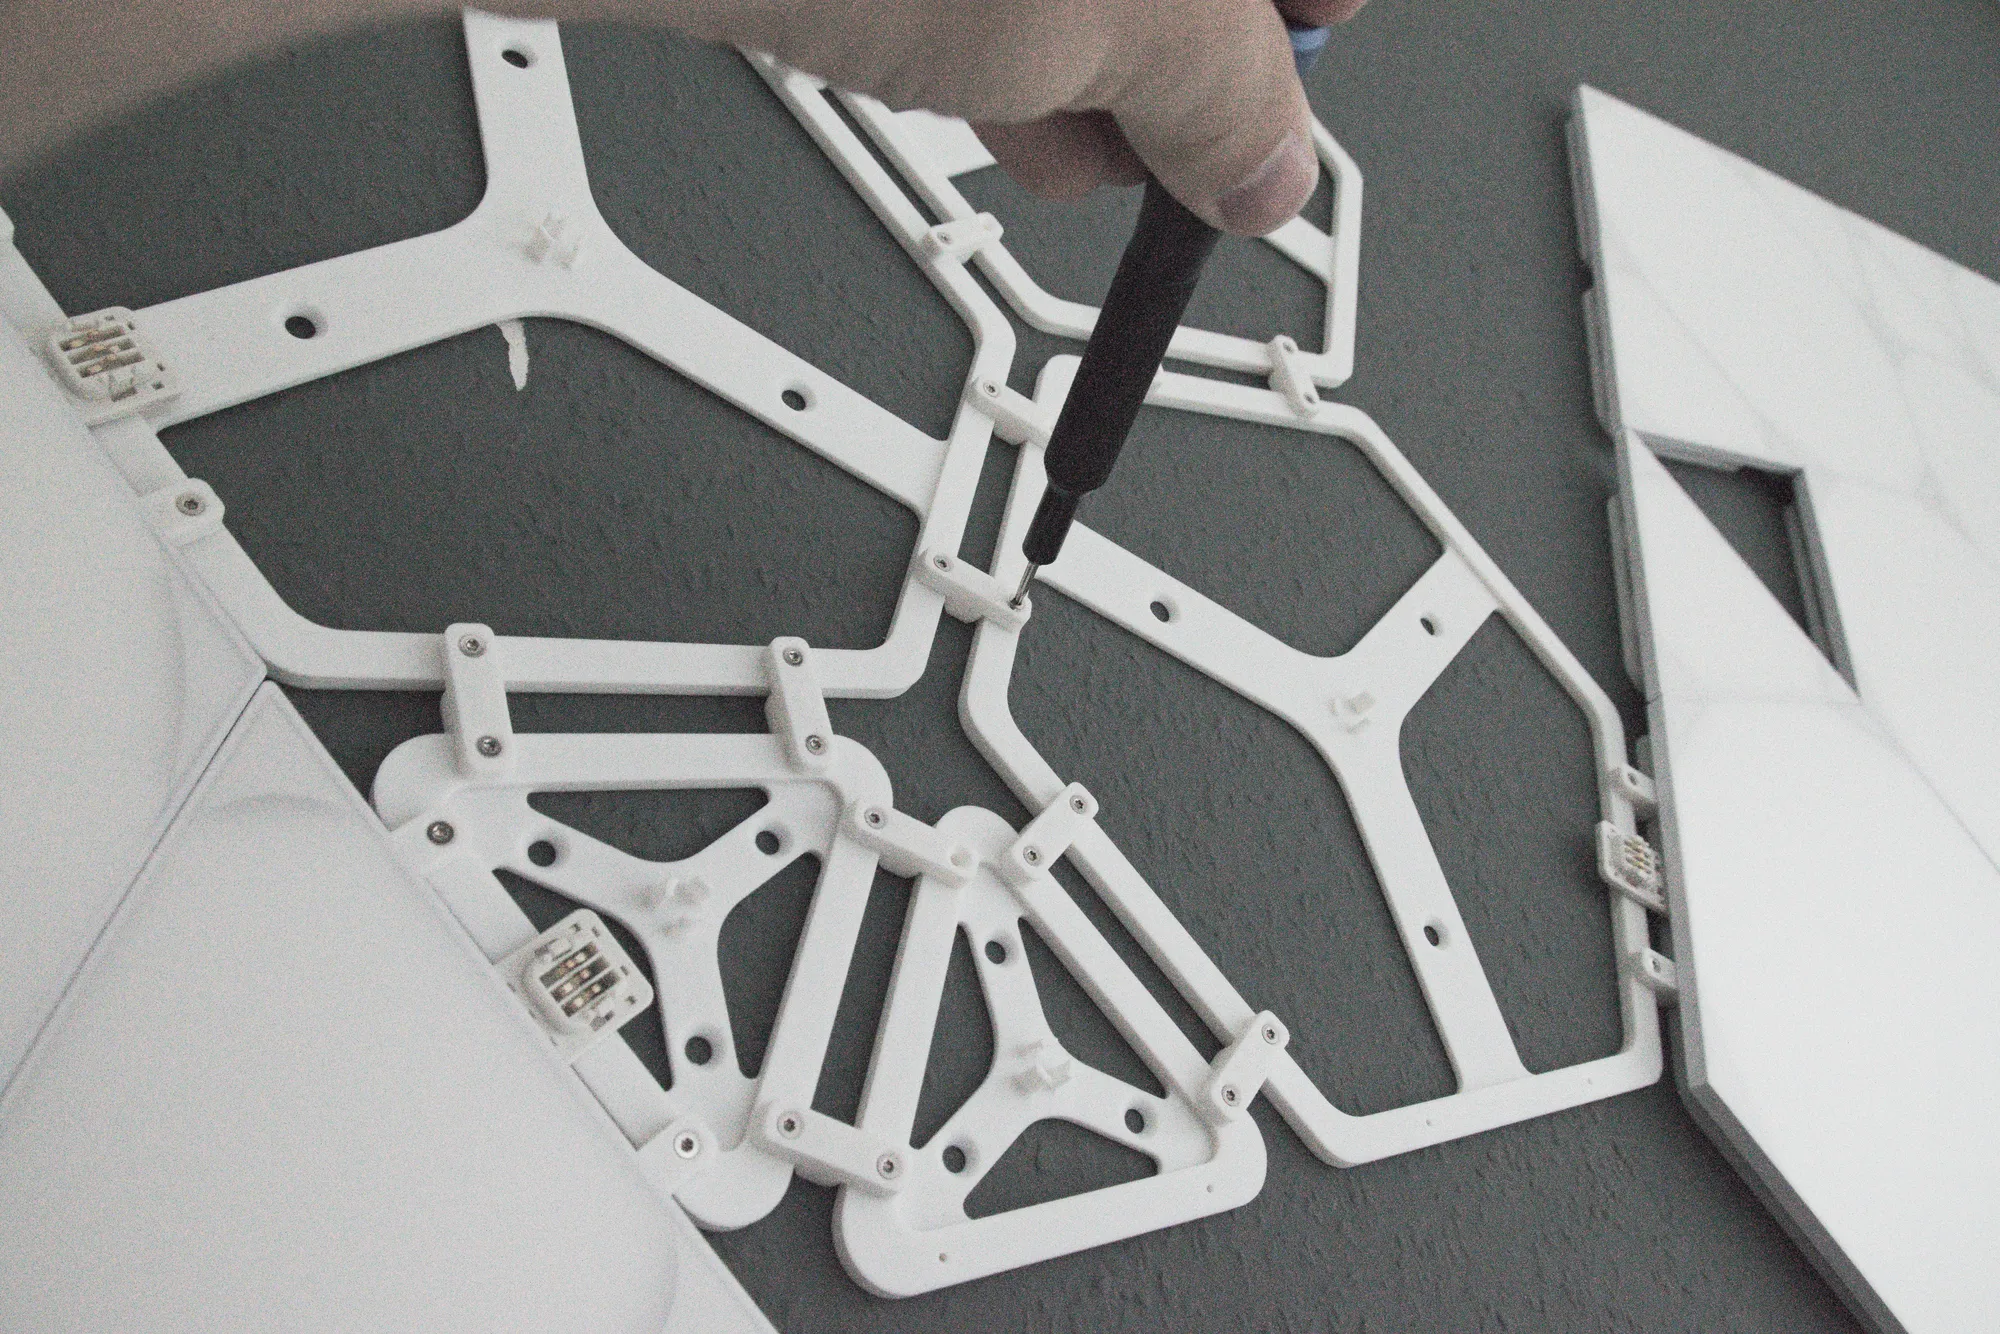
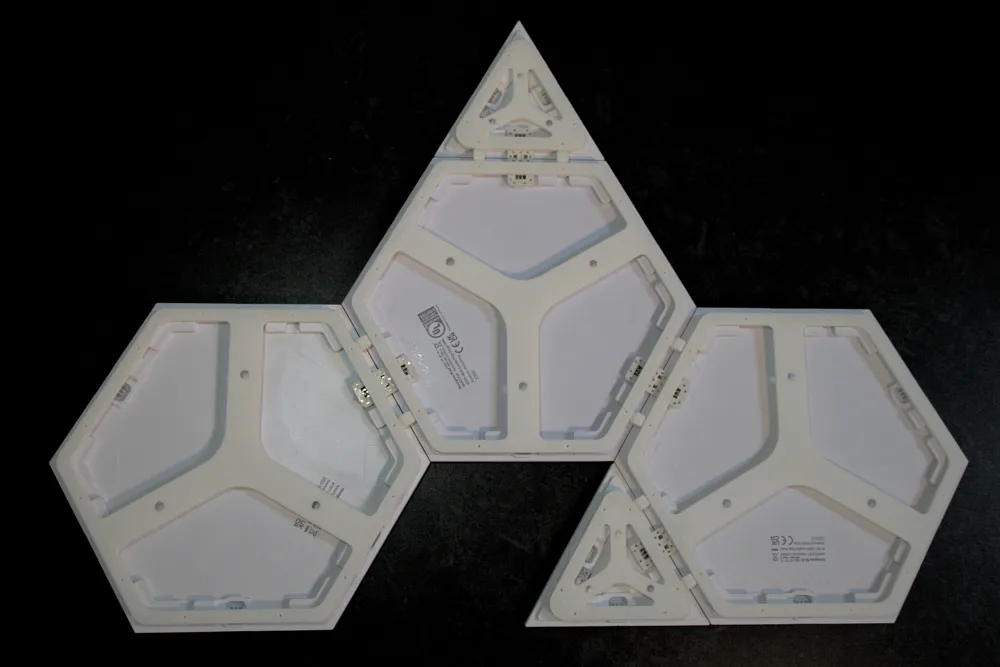
- Lay the bracket system flat on the floor again and begin by clicking the electric connectors of a panel into the required places and THEN click the Nanoleaf panel into place.
- Install all further required electric connectors onto the neighbored panel and also click it into its place. Make sure each electric connector also snaps into the panel which gets pushed into place. Sometimes it needs a little readjustment and force, but try to not break the snap claws of the brackets.
- Repeat until all panels are clicked into place. If you notice too much stress between two panels, you could loosen or remove one of the two connectors as shown in the picture (but not too many of the whole grid). Do not click in panels, which would sit over your anchor points.
- Remember to also install your controller and the power cable.
Just in case you can also remove the panels from the brackets again by carefully but also strong pulling the panel straight off the bracket.
Step 6: Screw Grid to the Wall
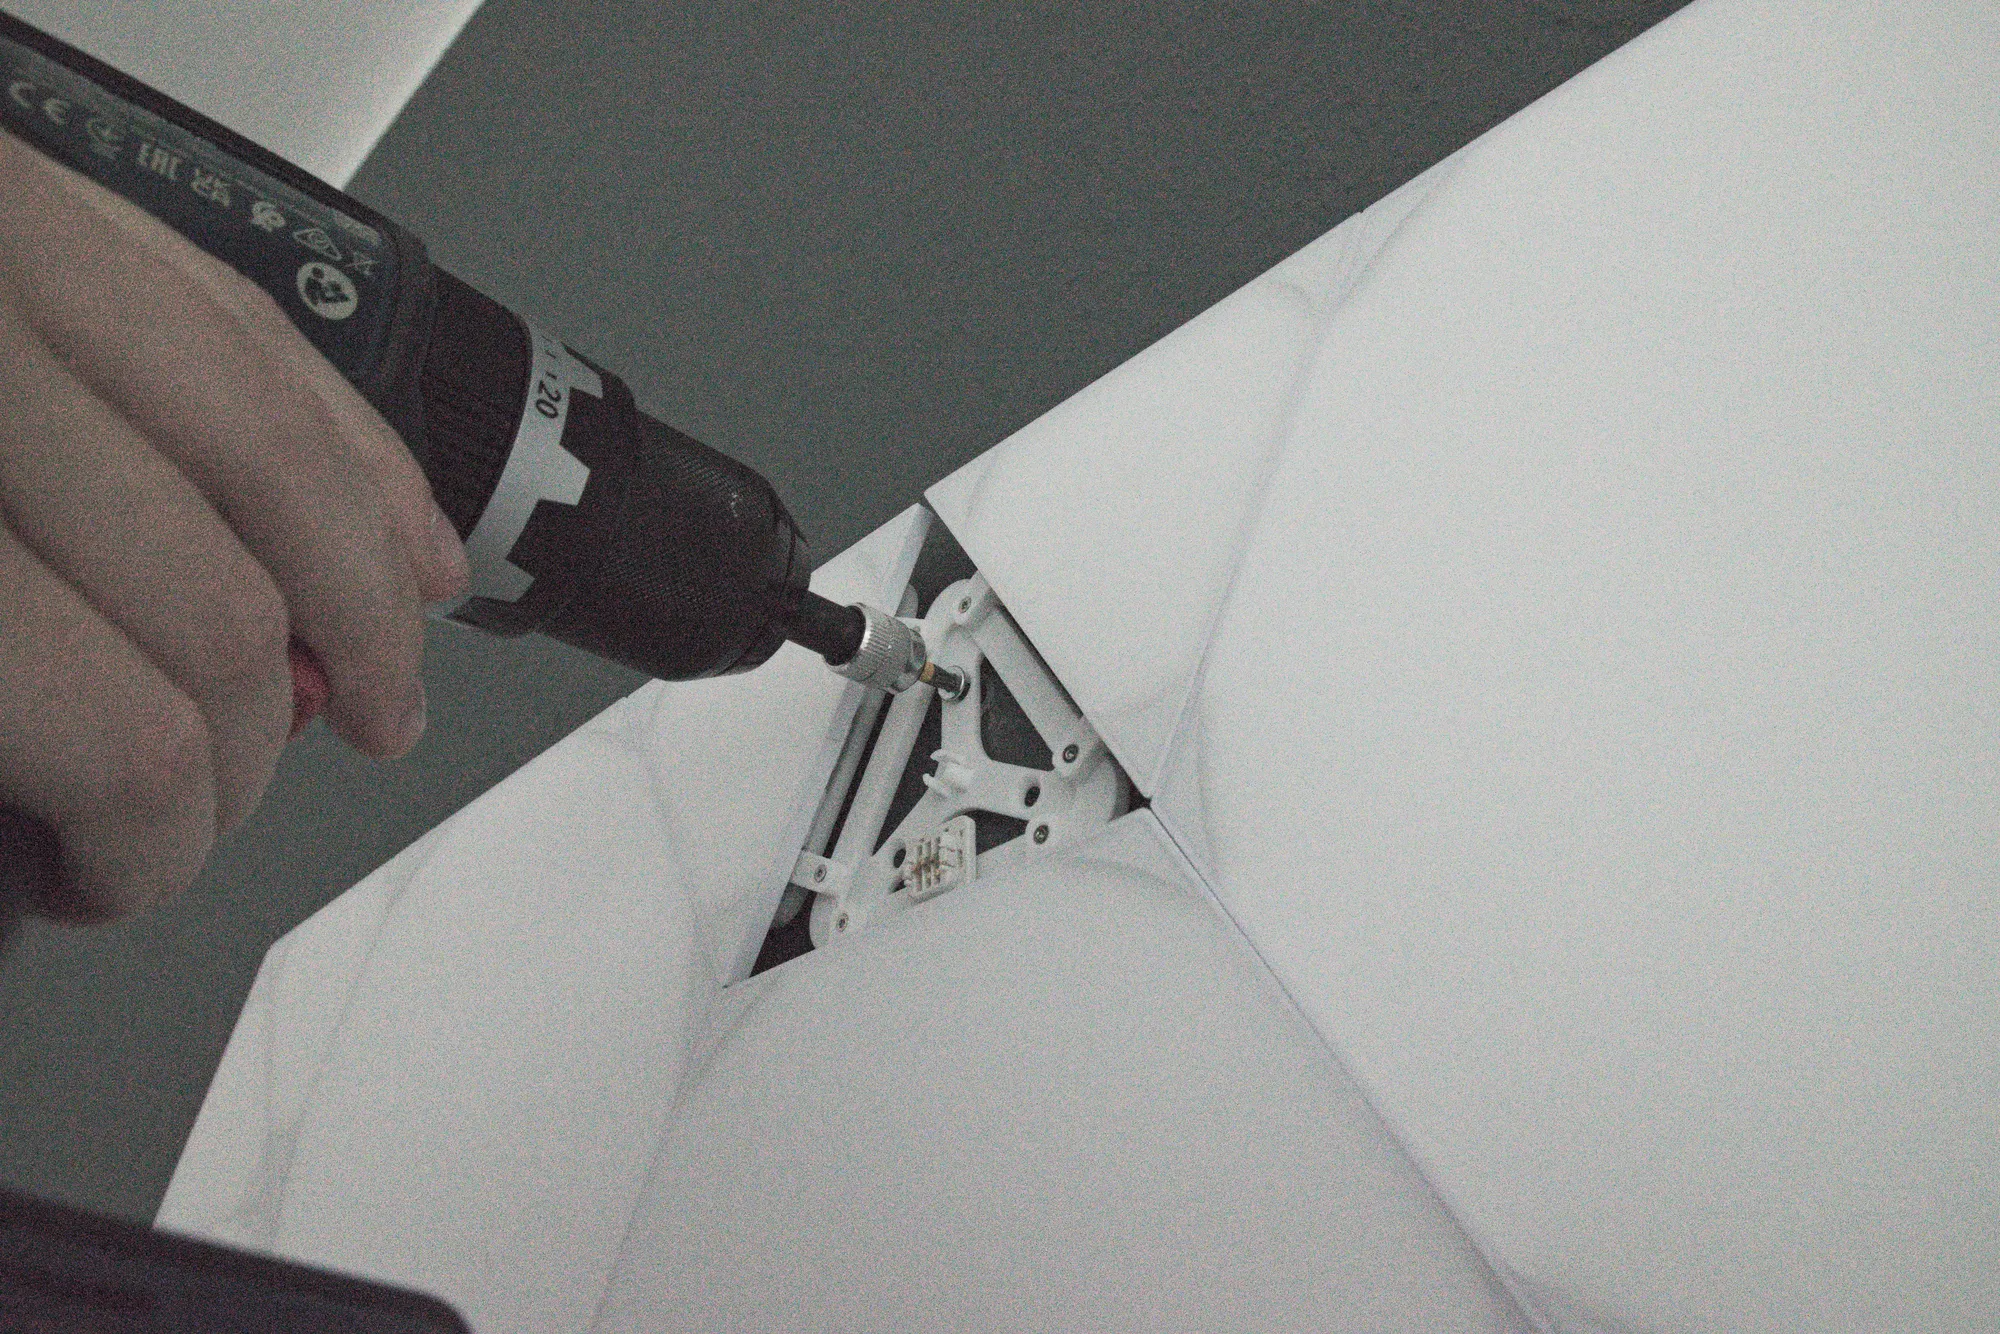
- Screw the bracket grid to the wall using suitable anchors. The screwholes are designed for countersunk screws with an 8 mm head.
- Click the remaining panels into place covering the anchor points. This might require a little bit more adjustment and force than when applying them on the floor.
The frame is designed to hold the panels snugly with just a 4 mm reveal—barely noticeable once installed.
Final Check
- Tug lightly on a few panels to ensure everything is locked.
- Step back and admire your secure, sleek, and fail-proof Nanoleaf display.
License



Comment & Rating (13)